New Crossfire Pro User with problems

G’day guys,

So I’m having a few issues with my Crossfire pro and it doesn’t seem to be cutting correctly and or accurately.

Here is video I filmed cutting out of file as you can see none of it is accurate and it’s not even cutting a standard square it is undershooting along the x-axis in both directions, and some of its movements are just jerky.

Additionally the torch seems to just sometimes go out for no apparent reason whatsoever.

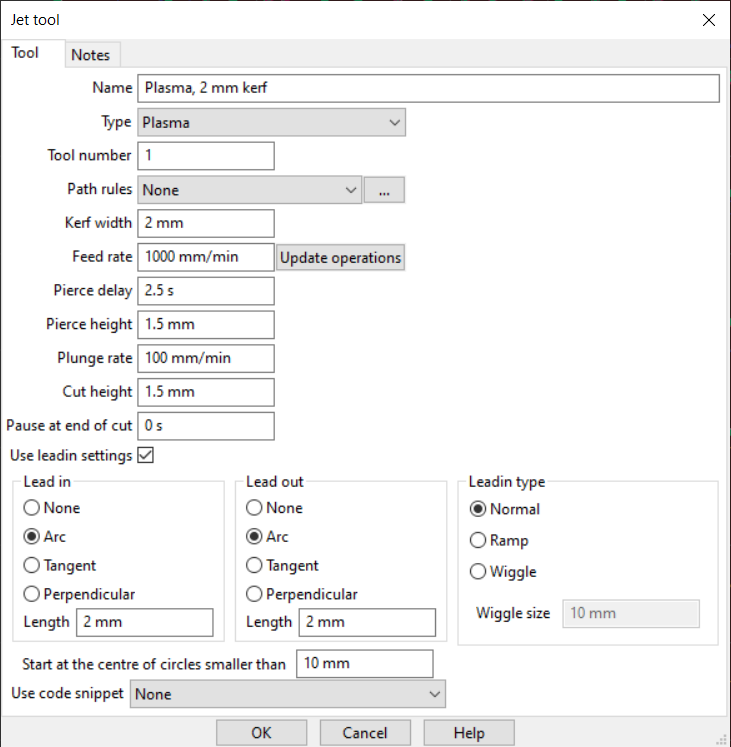
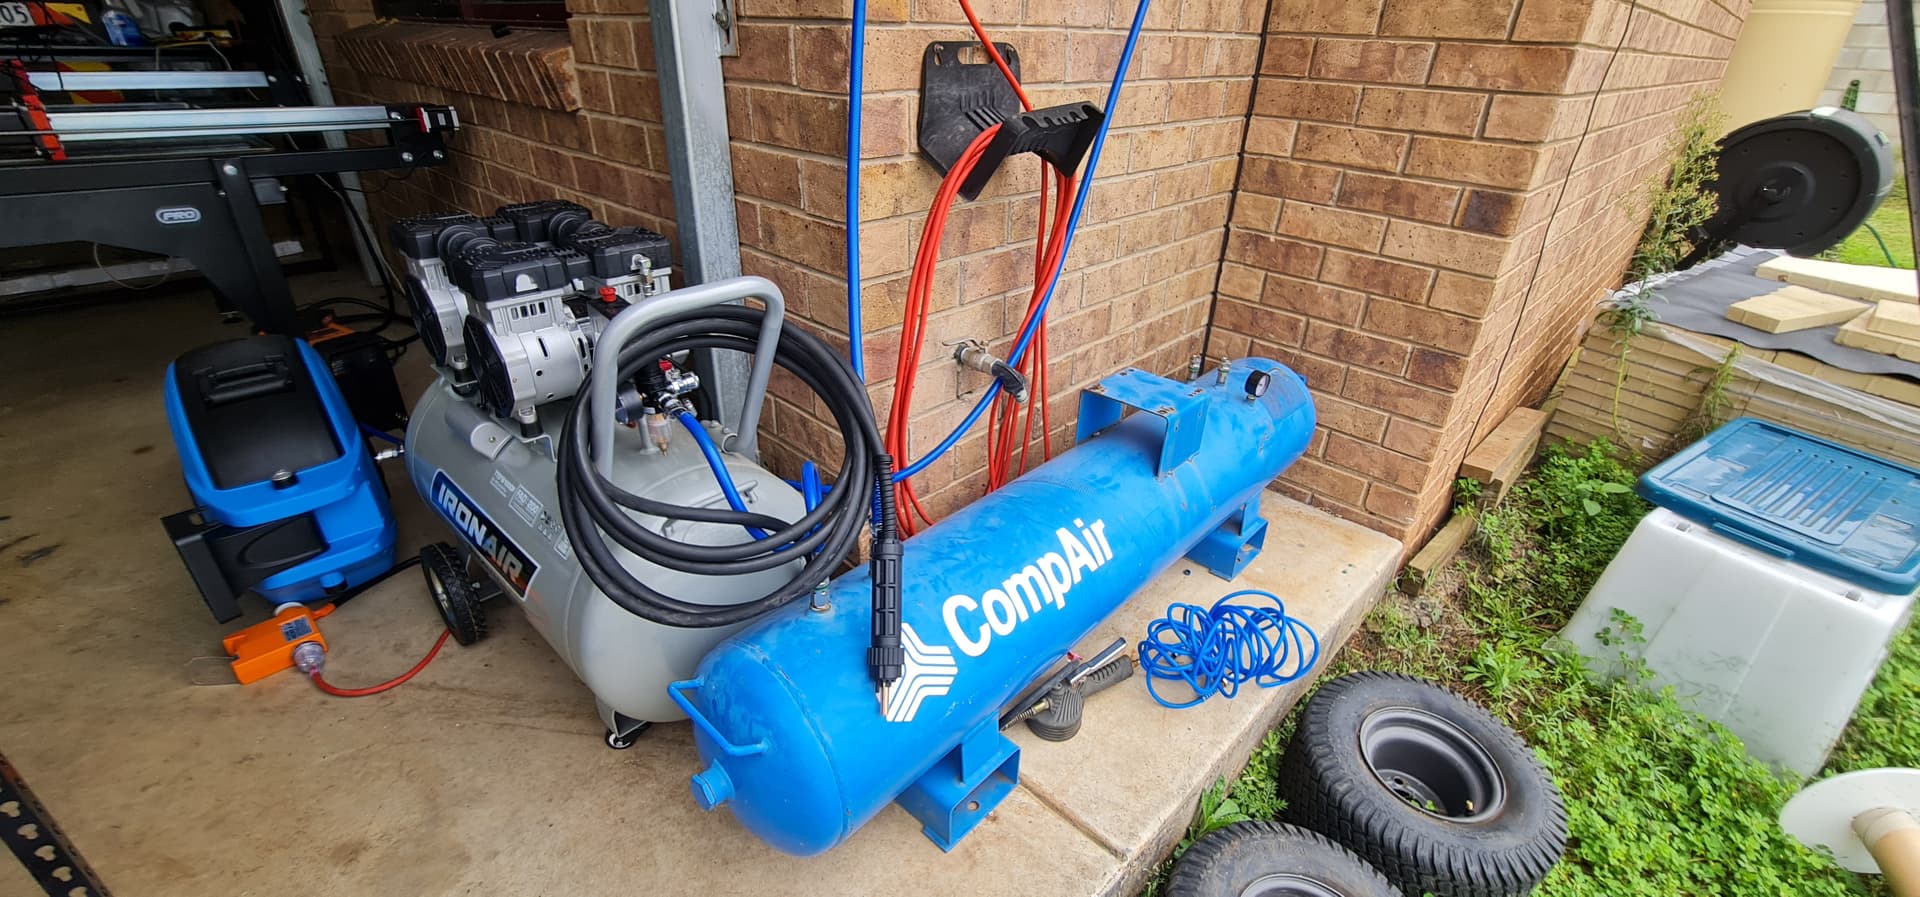
I’m using the razorweld cut 45 which came with the system from langmuir, and my compressor cut-off is at 80 PSI and my regulator is feeding the compressor a consistent 65 PSI as per the manual.

The compressor can keep up a constant 200l minute to the plasma cutter which is more than required at 6 cubic feet per minute.

Some more exactly sure what’s going on here as I genuinely expected to be able to get out of the box assemble it and have it cutting liking all the videos, especially all the review videos which I watched which show people getting it out of the box and it just working.

Now I did order boxes of consumables with the plasma cutter at the same time, and I switched out all the consumables on the machine torch three times now and nothing has seemed to fix the problems.

I’m definitely not sure what’s going on with the x-axis being jerky as I picked everything and everything Springs freely and runs freely until I go to control it with the 7 motor and then it becomes jerky.

It’s almost like there is too much backlash in the lead screw, which is something I’ve encountered on 3D printers before.

The X axis will chatter even at speeds as slow as 250mm/min

And when I asked it to cut me a straight line across a 300mm wife sheet, I programmed in 350mm, and it actually only cut 250mm across the sheet.

Very disappointed in these couple of issues.

you need to check motor couplings, make sure motor wires are plugged in good, could also be lead screw bearing holders you have two different sizes you could have them backwards

3 Likes

@Phillipw is right! those are the things to check for loss of steps.

I’m not sure if that stainless steel or not but from the looks of it your parameters maybe a little off as well.

Can you post your G-Code for this operation?

I would consider starting with something a little more simple to test.

2x2 square with a 1 inch hole in it.

I would make sure while running these low air pressure settings that during the operation you’re not dropping off too low. 75 PSI maybe a little more realistic.

A lot of people do have that experience. Other people don’t want to look bad on a video too so everything’s just roses.

Have you passed your initial THC test and run the initial break in program on this machine?

Can you outline all the parameters you’re using to make this cut?

In your video it’s going out some of the times because it’s trying to cut over empty space.
Which is a product of you losing steps for the above mention reasons.
If you can post your design and toolpaths and we can see if there’s issues there as well.

You’re not too far off from cutting properly.

3 Likes

I would also check the switch on the power supply all the electronics enclosure. If you’re in Australia you’ll want it on the 220 volt setting.

2 Likes

Did you overtighten the bearings on the x axis carriage? if so, it will bind. Did you try lubing the lead screws?

2 Likes

Also after you figure your step loss problem. A lot of people including me had to open plasma up and turn air pressure up. The rw45 seems to like to run at around 70 psi on the gauge hile cutting.

1 Like

Welcome and let us help you…we are all here to help so let me ask a few other questions…

  • What design (CAD) software are you using?
  • What Post Processing (CAM) software are you using to take the CAD drawing to Gcode for the table?
  • what are you settings on the CAM software for the following?
    Amps
    Cut Speed (feed rate)
    Pierce delay
    Pierce height
    Plunge rate
    cut height
    Outside offset or inside offset

is it the compressor I hear running all the time in the background of the video?..if it is then you are having a problem providing enough air…

I ask this because what I see in the video show me a lot of these settings are off…
One thing about CNC plasma cutting is you will spend 75% designing what you want…5% set-up time on the table…5% cutting time…10% cleaning and painting…and 5% with the finished product in your hand…

Hey mate, I have checked those ones first thing this morning. Motor wires are all good, the screw bearings all look fine.

Yes, 316 @ 0.6mm

Turns out I can’t becuase the forum says the file is too many characters.

Interesting, both the book and the email Langmuir sent me when I purchased it specced a compressor that could do 6.3CFM @ 65PSI

So I had this set at 65PSI

I’ll bump it up to 75PSI and see if that changes anything.

Yes. Although seems I need my laptop unpligged or the THC thing fails, which is annoying, as the laptop I wanted to use is an old shitter that I’d not care if it got damaged. Instead I have to use my newer, good laptop that can run on battery. Nowehere in any documentation can I find out how to get around this.

That should be it?

Yes, first thing I did out of the box. Saw a video on youtube where someone didn’t, and they let out the magic smoke the instant they plugged it in.

I’ve checked that this morning, they seem fine.

I did run a bit of bearing grease along them, just a light dusting, as I don’t want to attrract dirt and grime into the mech to foul it either.

Yeah, out of the box mine was set to like, 40PSI. So now I can crank it all the way to 85, and use the regulator on my dryer to make better adjustment.

Fusion 360

SheetCam with the Langmuir Plugin

Set at the machine manually, not via software

1,000mm/min

2.5 seconds

1.5mm (Which after googling a lot of people said 0.06 inches, which is 1.524mm)

100mm/min

1.5mm (Which after googling a lot of people said 0.06 inches, which is 1.524mm)

Depends on which profuile I’m cutting, letters are inside on the settings, but they seem to be cutting outside…despite the fact that they are set on the indide. I’m having whole chunks of text fall out, not be neatly cut.

Yes. Cut out is at 120PSI, Cut in is at 80 PSI.

How do you say that? I’m getting 65 PSI without fail? Which is what the boox says to feed it.

Hey toolboy,

This is also my air setup to provide as much Capacity as possible:

So I have 100l on the compressor itself, and 120l on the blue tank, for 220l of Capacity.

Which seems good enough to maintain the specified 65psi in the manual.

Though 75psi shouldn’t be an issue given where my cut in and out is, as it can drop to 80psi and then hold 80psi from there.

This is the equivalent to four inches per minute which is way too slow for plunge rate.

Switch this somewhere between 60 and 80 ipm?

Someone might have some sheetcam specific advice for the plunge rate

Besides going over empty space this is another reason your Arc is extinguishing.

I would change your Pierce height to 4 and 1/2 mm

1 Like

That’s pretty thin material I would be way faster than the 40 in per minute you’re currently running.

.6mm is that the equivalent to 26 gauge?

And when I cut stainless I like to cut closer than mild steel .02"

Stainless is probably one of the most finicky materials you could have started with.

1 Like

This was just the default in the program, I’ll up it.

So around 2,000mm/min?

Well that’s it, it shouldn’t be over empty space, as it’s dropping huge sections out and gouging the metal unfortunately. It’s not precise :sob:

Though could be as I increase speeds that could work.

I was more going slow to avoid the X-Axis chatter.

No idea, up until a post the other day on Reddit, I’d never heard of Gauges.

So once I get the X-axis sorted, what sort of speeds should I be running? 2,000mm/min? 3,000mm/min? Faster?

When I get back to the computer I’ll start running the imperial metric conversions.

Maybe for the remainder of this topic we should try to express our answers in both metric and imperial.

If you could post some pictures of your assembly that might be helpful the bearing blocks and the threaded nuts. There may be something someone will pick it out from a picture. You should be able to run smoothly back and forth at 300 in per minute (7,620 millimeters per minute)

1 Like

Post the *.tap or *.NC instead of copying and pasting all the content

Yeah fair enough, I can do the Conversion.

I normally don’t work in inches as it’s such an obscure system. Though I suppose it is a US built machine.

That might also explain why movements aren’t exactly in increments of single mm, I tell it to move 1mm and it moves like, 0.98mm per movement in any axis. At least on the screen it says it moved 0.98mm

I live in Canada so I have to do both all the time.

But for the benefit of future viewers of this topic if we just put in both conversions that will help a lot.

2 Likes

So thanks to everyone here, I got a “successful” cut

I have to slow down slightly to get full cutting depth, as I had to hand torch the last bit.

The THC is still a bit finicky, so I have to learn it’s little eccentricity (what I find interesting is that almost no reviews that I could find even discuss the torch height controller or how to work with it)

But here is the first successful part!

5 Likes

That’s awesome to hear you got it going. The follow-up video is very much appreciated for future viewers of this topic.

quick note on your pierce delay. The initial pierce in a run is always a bit longer than every other pierce i forget the exact time but it’s noticeable, this has something to do with pre-flow/post flow.

What i do before i start running a program is in the top left of firecontrol ill do a manual torch on, then turn it right back off, then hit start while the post flow is still running. Makes it so all your pierces are exactly the same.

This had nothing to do with any of your issues but its one of those things i wish i knew right at the start as it helps you tune your machine.

Looks like the table is running good now you’re down to tuning your settings for the plasma.

What kind of info are you interested in about the THC? It seems more complicated than it is in reality, it wants to be at a specific voltage for its best cutting, as you cut the voltage changes from the initial setting. To add more voltage the torch goes up and to reduce voltage the torch goes down. So typically any THC issue is related to it not seeing the real voltage for whatever reason (one you seem to have discovered is the interference issue with plugged in laptops or desktops, there’s a fix in a Pinned post here for that btw)

that signs looking good for getting things figured out, good luck!

1 Like

More getting it tuned so I can have the laptop plugged in.

Which I will now go find, as that was exactly the main one.

The other one is the fact that sometimes when it drops its voltage and stops the cut it will make you restart it from that same run.

However if I am three quarters of the way through a line then the first three quarters of my run will not have any contact with anything because it will be cutting air.

This one’s up leading to a bit of a loop where it just constantly throws errors after it throws an error.

So I end up having to turn off the torch height control run it for a moment let it catch up to where it was pause it and then manually turn the torch control back on and start going again.