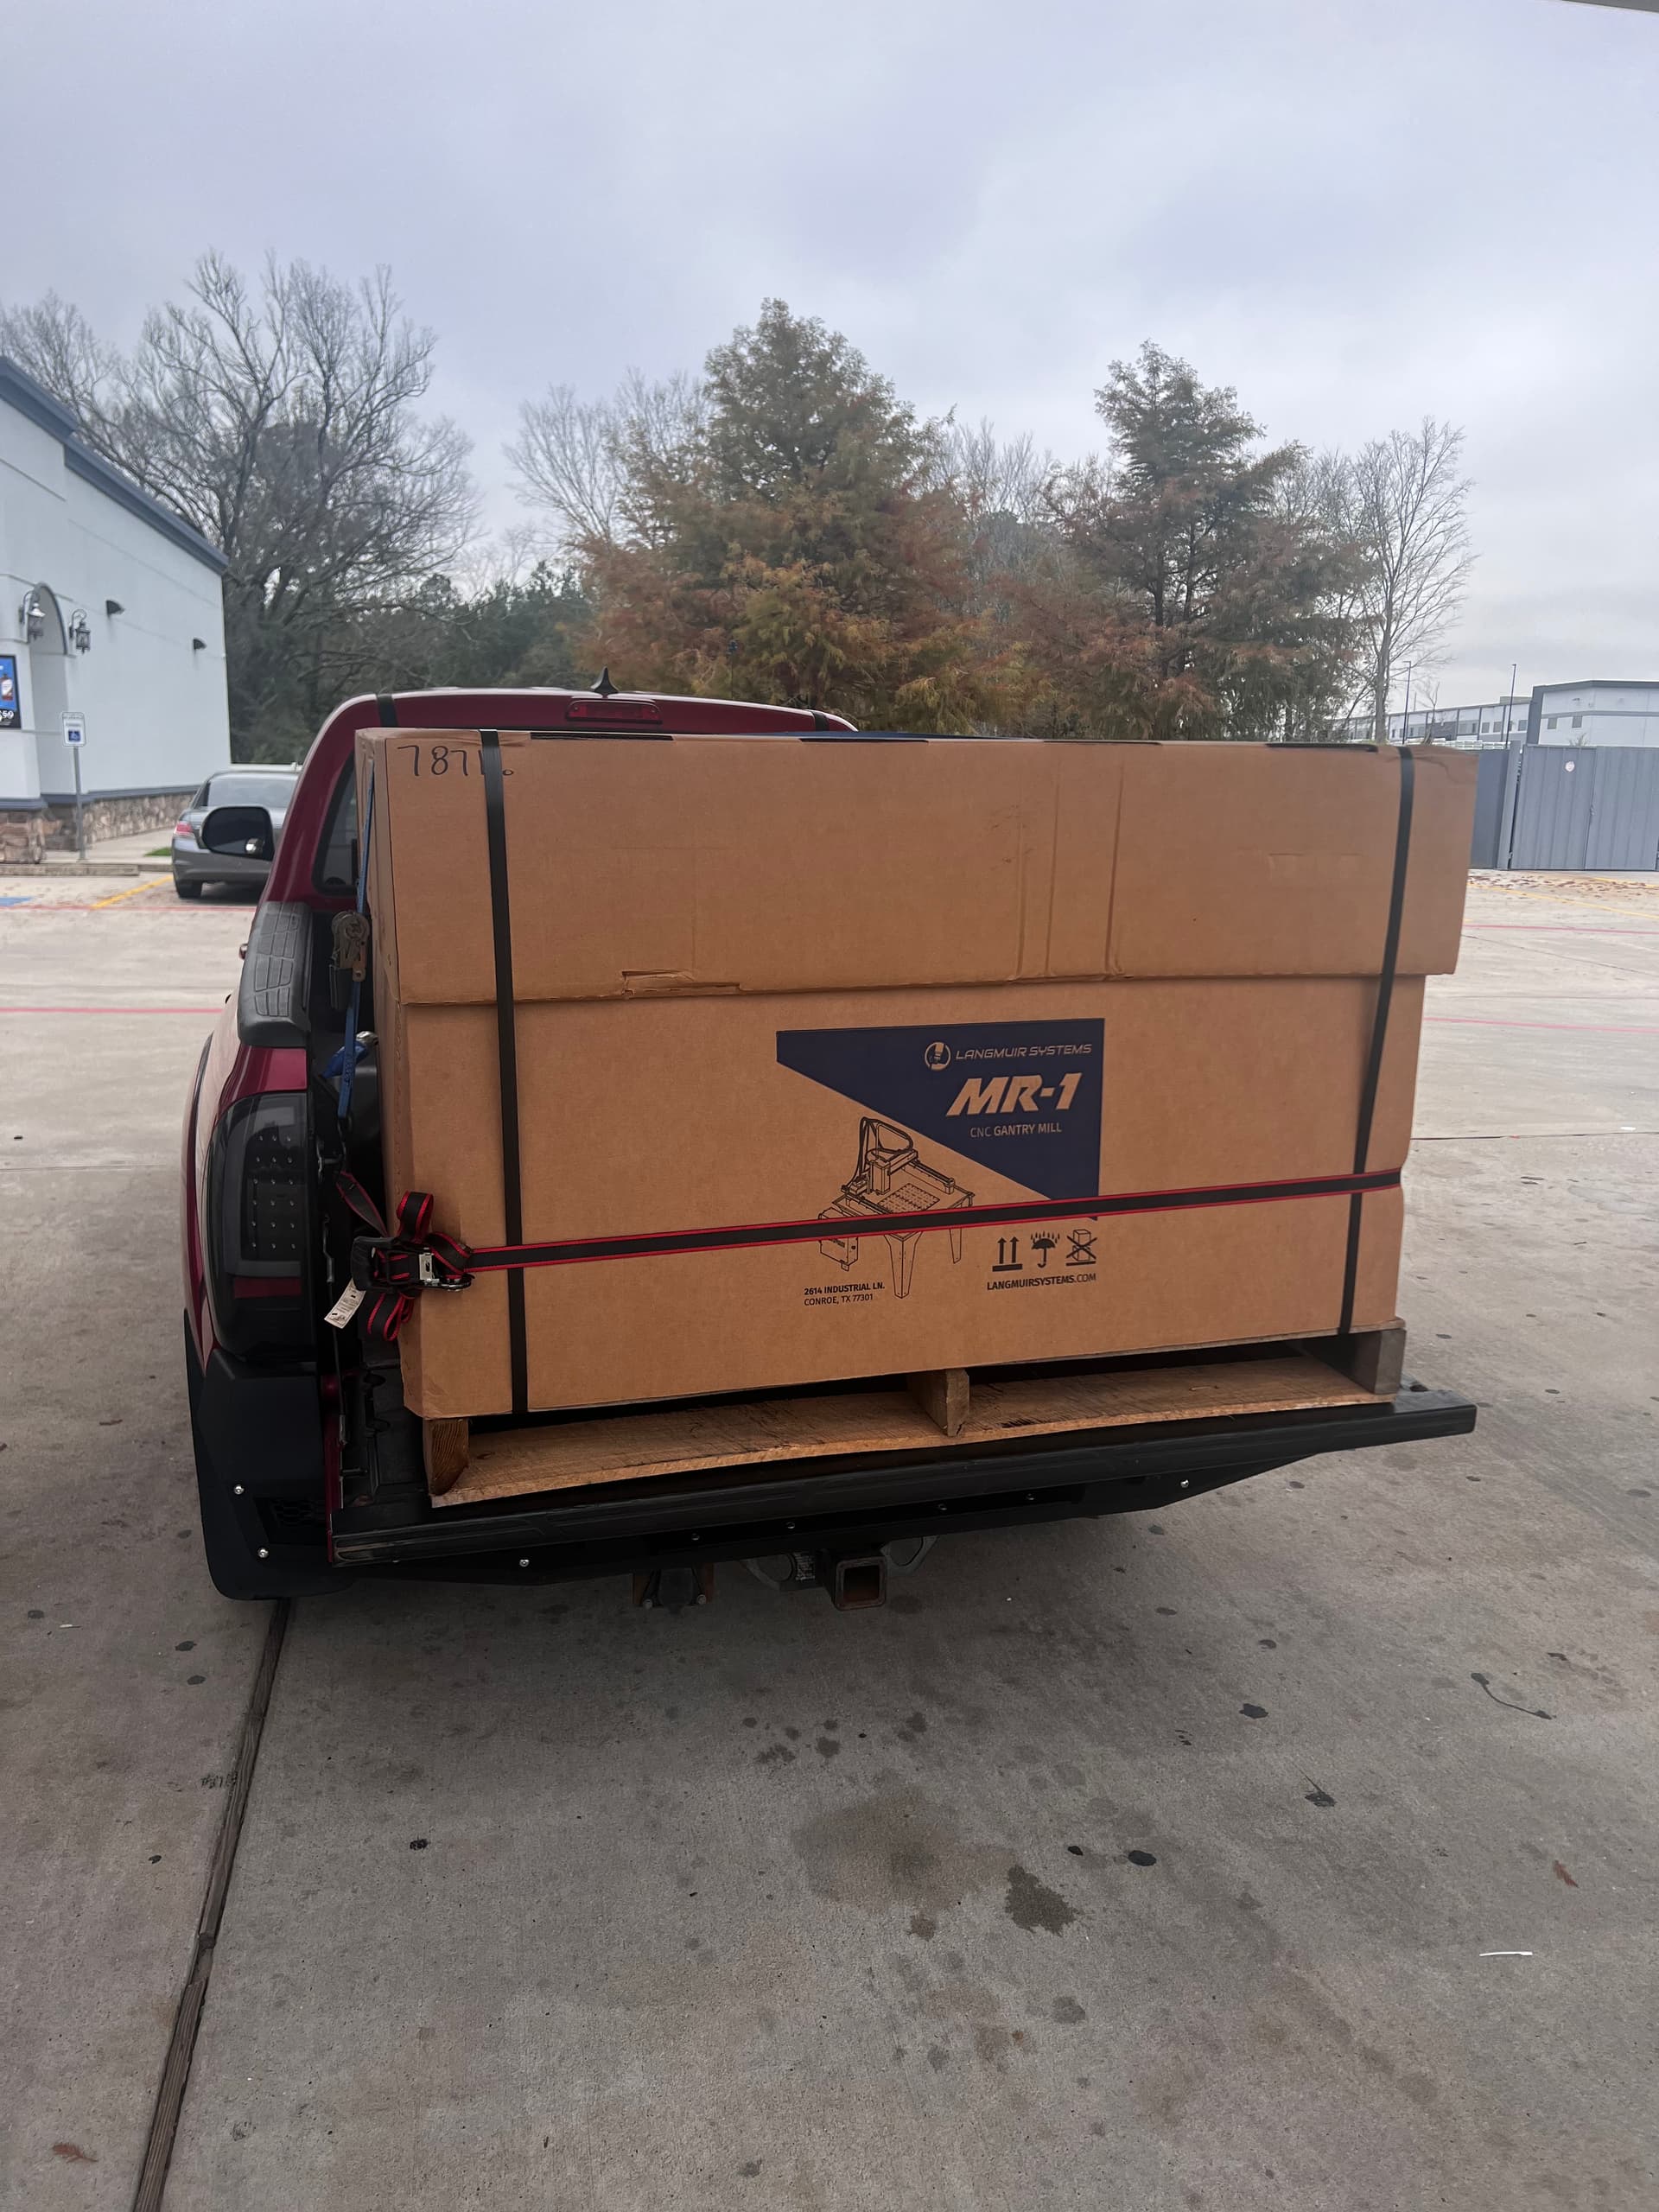
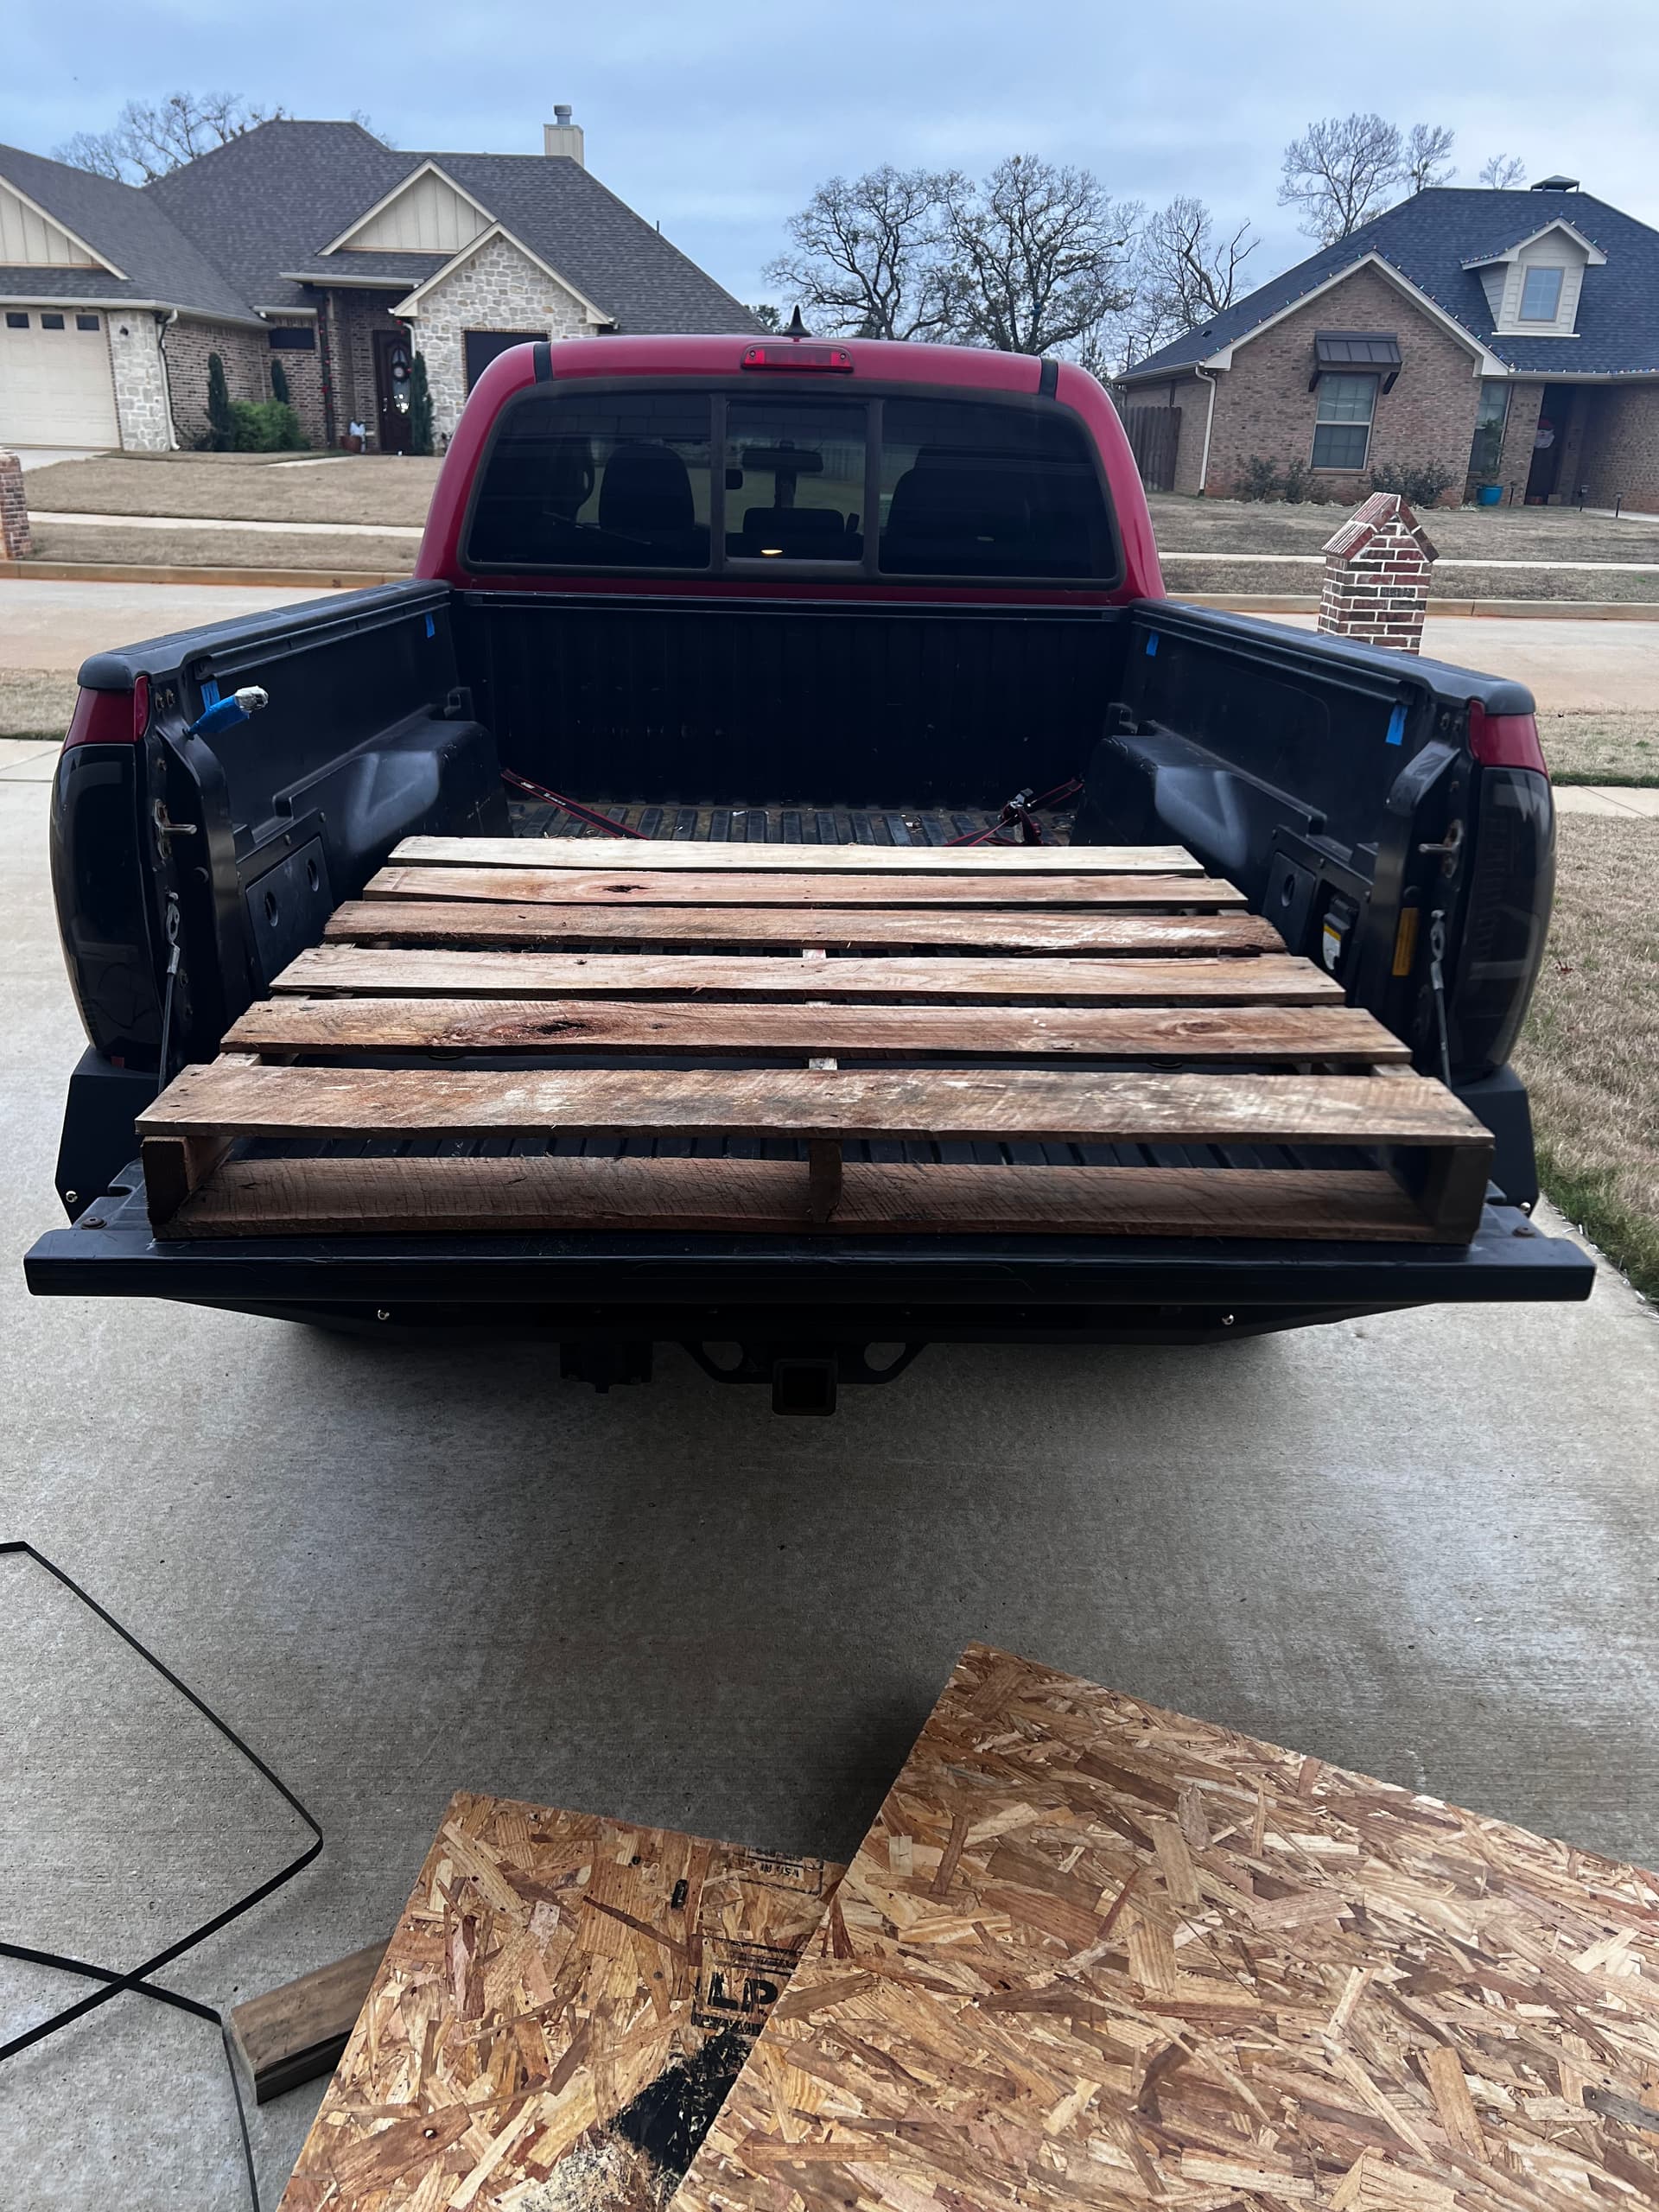
If anyone was wondering if you can fit the crate on a micro machine like a Tacoma, the answer is barely—if you have the 6’ bed. It’s 45” between the wheels, so it can be a little froggy.
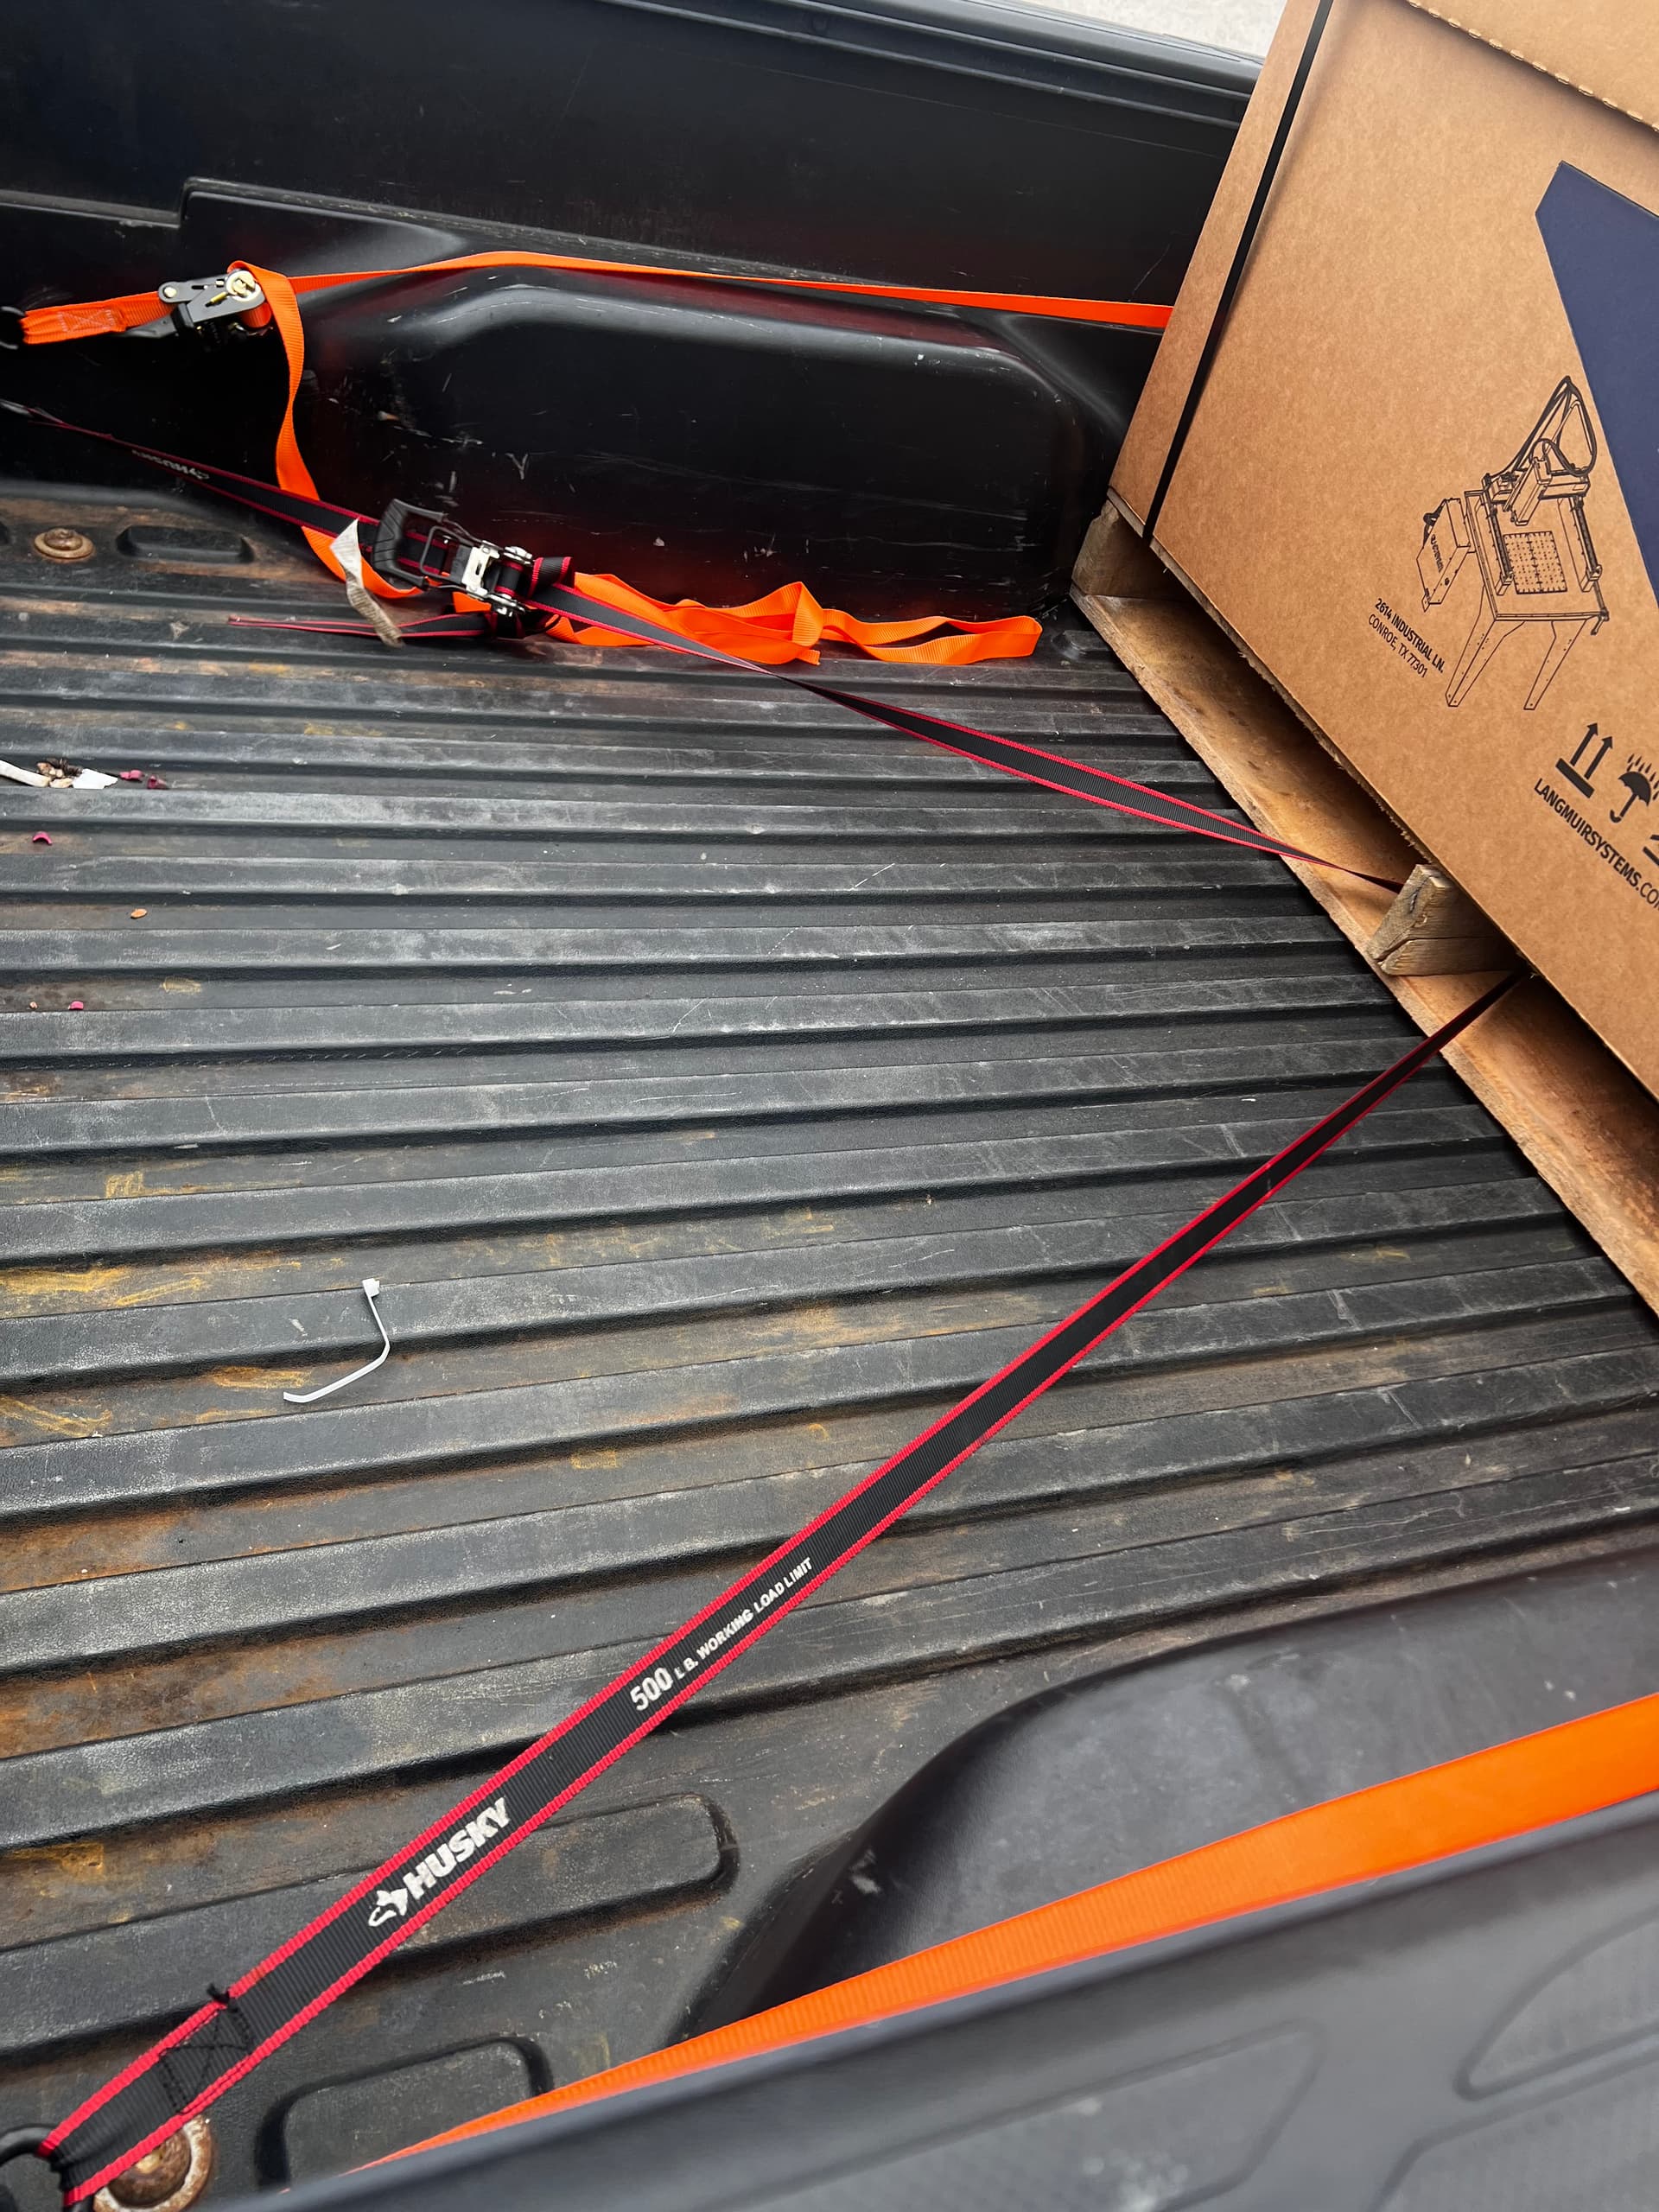
I marked the foot of the pallet when I left, and at about 180 miles of mostly state and country roads, it doesn’t seem to of shifted at all. 787lb pallet and 4 500lb straps later
I did stop at Loves for a beefier strap, but they only had the dovetail ones meant for semi rollers.
I’ll try to update this thread with build stuff, but to be honest I kind of suck at that so no promises.
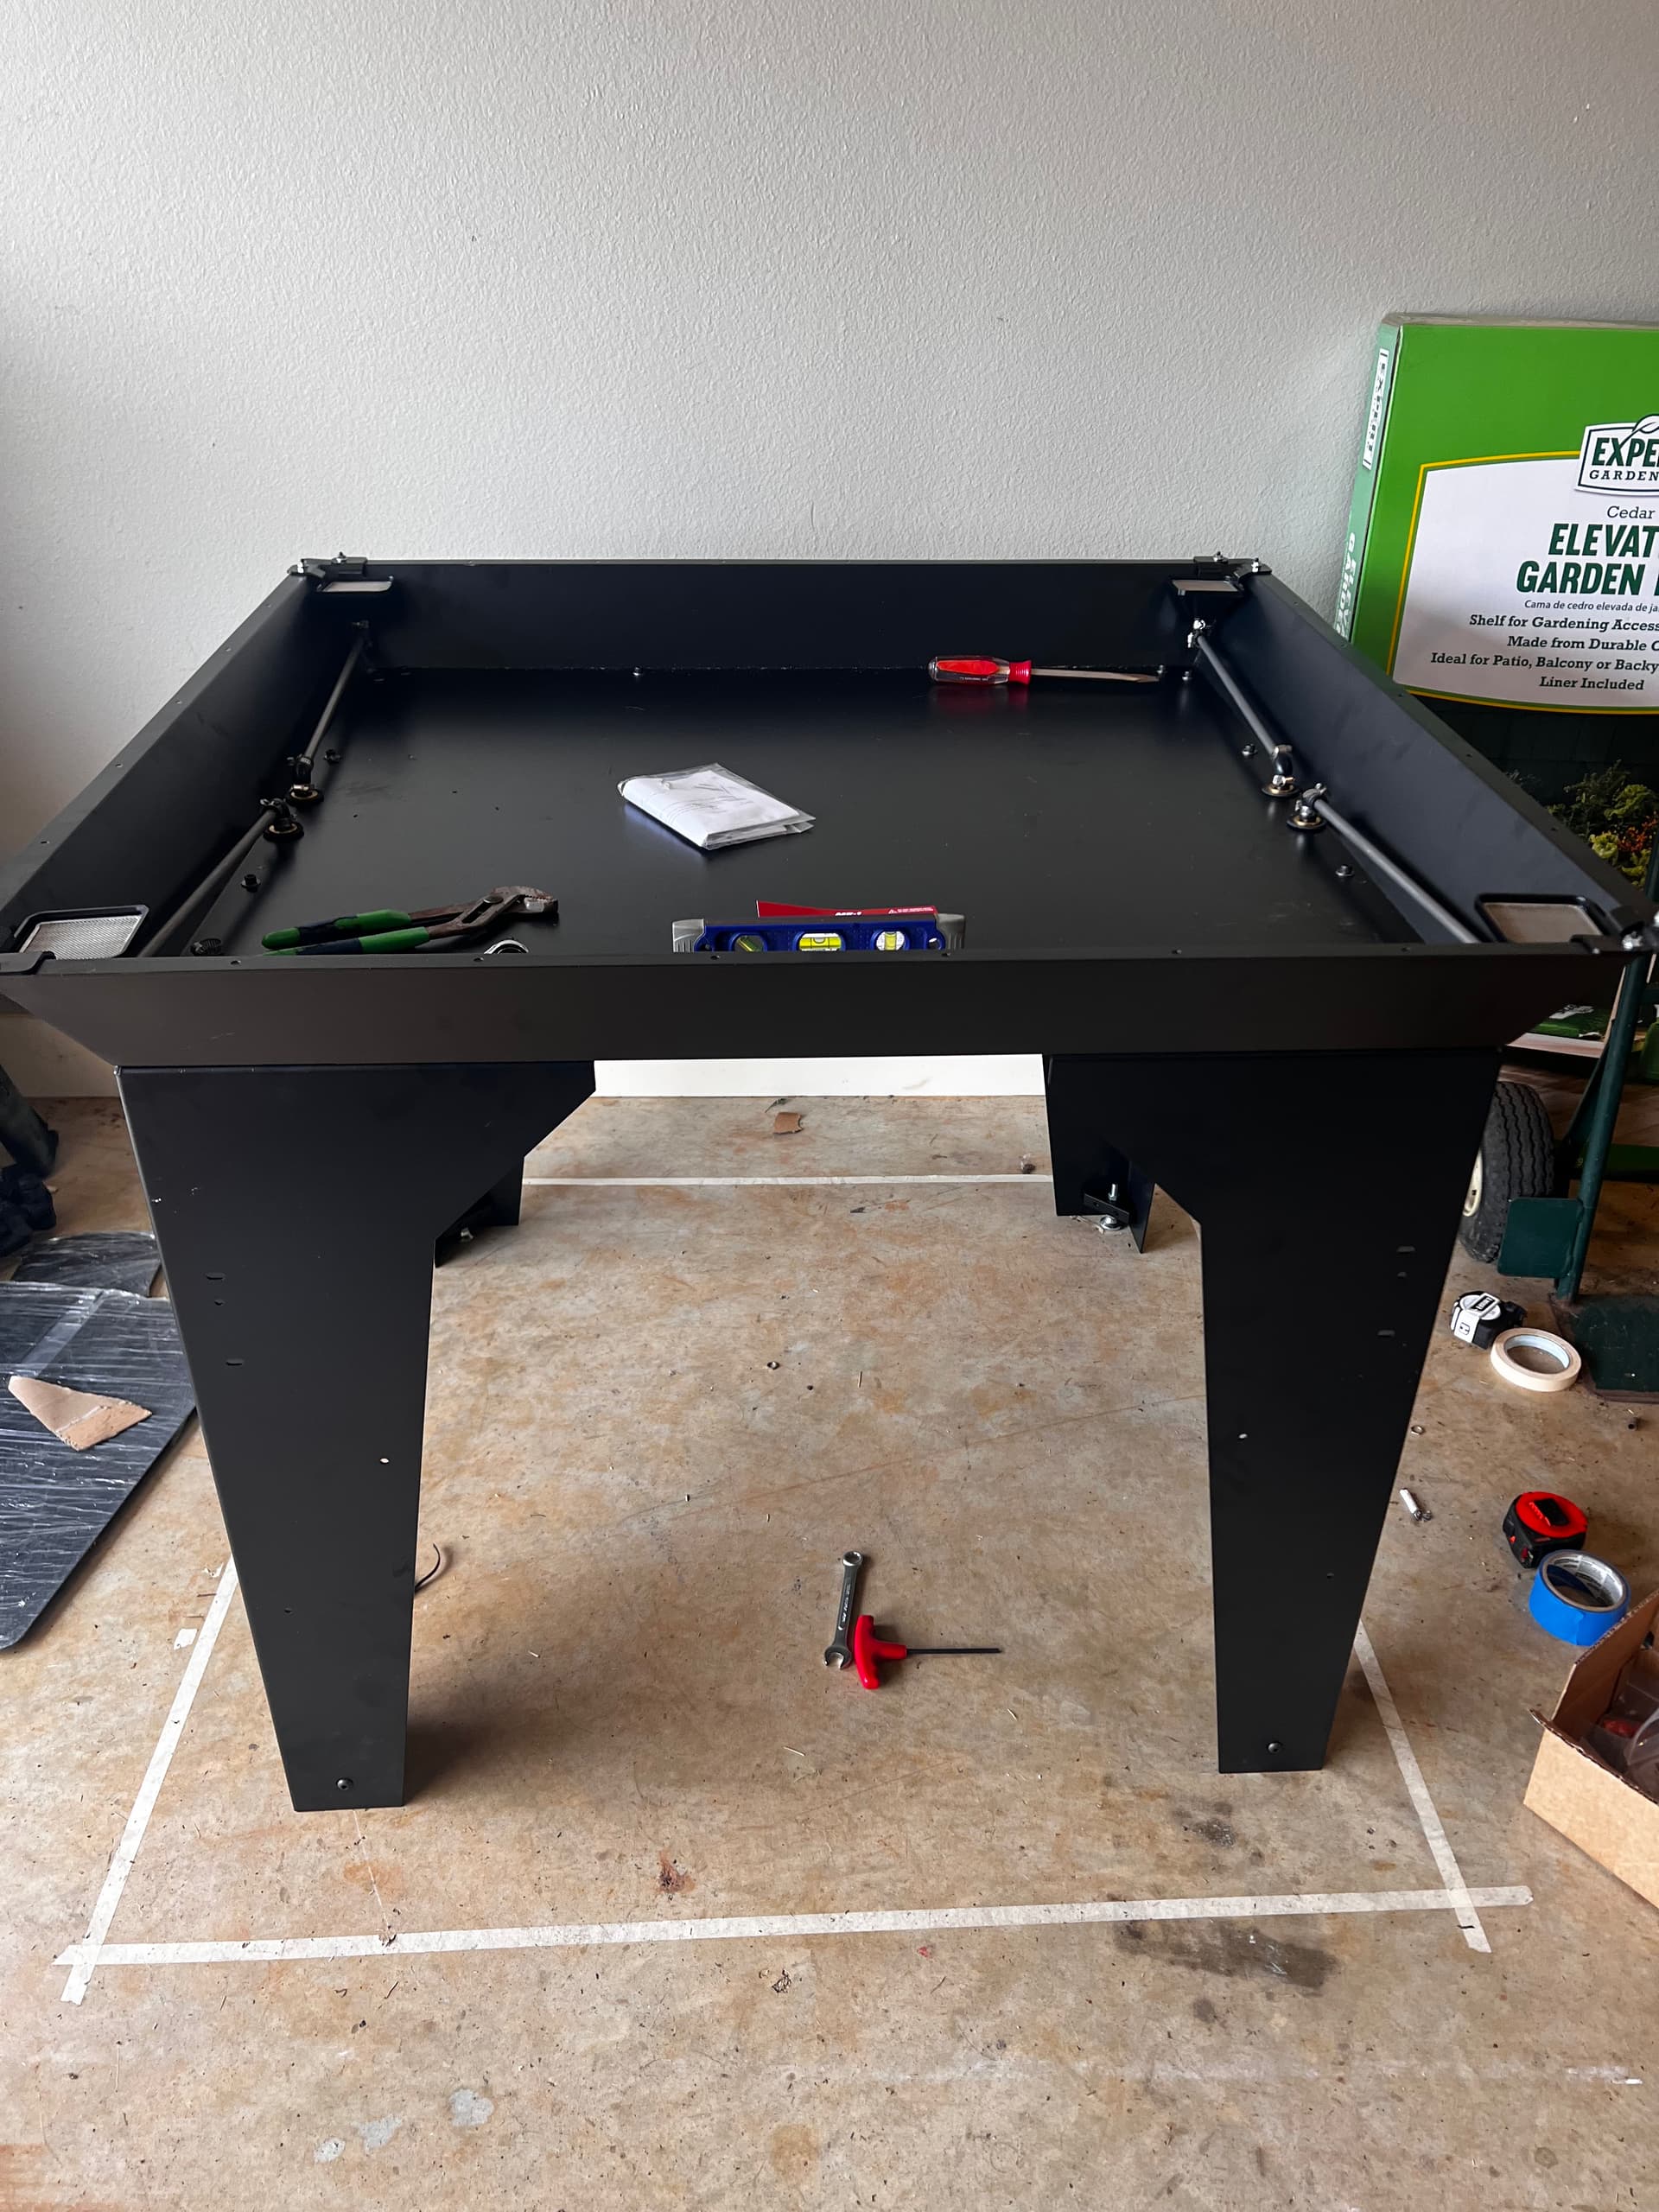
The coplanarity video on the guide, he reads .018” difference and recommends 2 .2mm shims on both sides.
For this step, is there such a thing as too tight of a tolerance? Iirc the video mentions 2-5 thou? My difference just happened to be bang on .018” as well.
My kit came with .2mm and .05mm shims, and .018” converts to .457mm…
With 2x .2mm and 1x .05mm shims, it would be .45, leaving a .007mm difference, and change that back to inches and it’s at .0002”
Am I over thinking this? All my conversion are through the google.
Full disclosure too, I didn’t zero my indicator to the gauge like he did in the video. I zeroed it enduring that it wouldn’t max out on the gauge, then measured both directions and split the difference.
Ie-
BL to FR = 25.5 thou
BR to FL = 7.5 thou
.0255 - .0075 = .018
Sorry if this is Barney level basics. I’m just trying to check, double check and triple check before I irreversibly pour concrete.
Cure looks good! Was sweating it a little with the crazy temp drop off we had here in east Texas.
I would have worked on more today, but we’ve had cellular issues and the internet is down for Lt town, so I was unable to access the instructions until only a few min ago.
Coplanarity is still pretty good. Going to try something after dinner tonight to tighten it as much as possible.
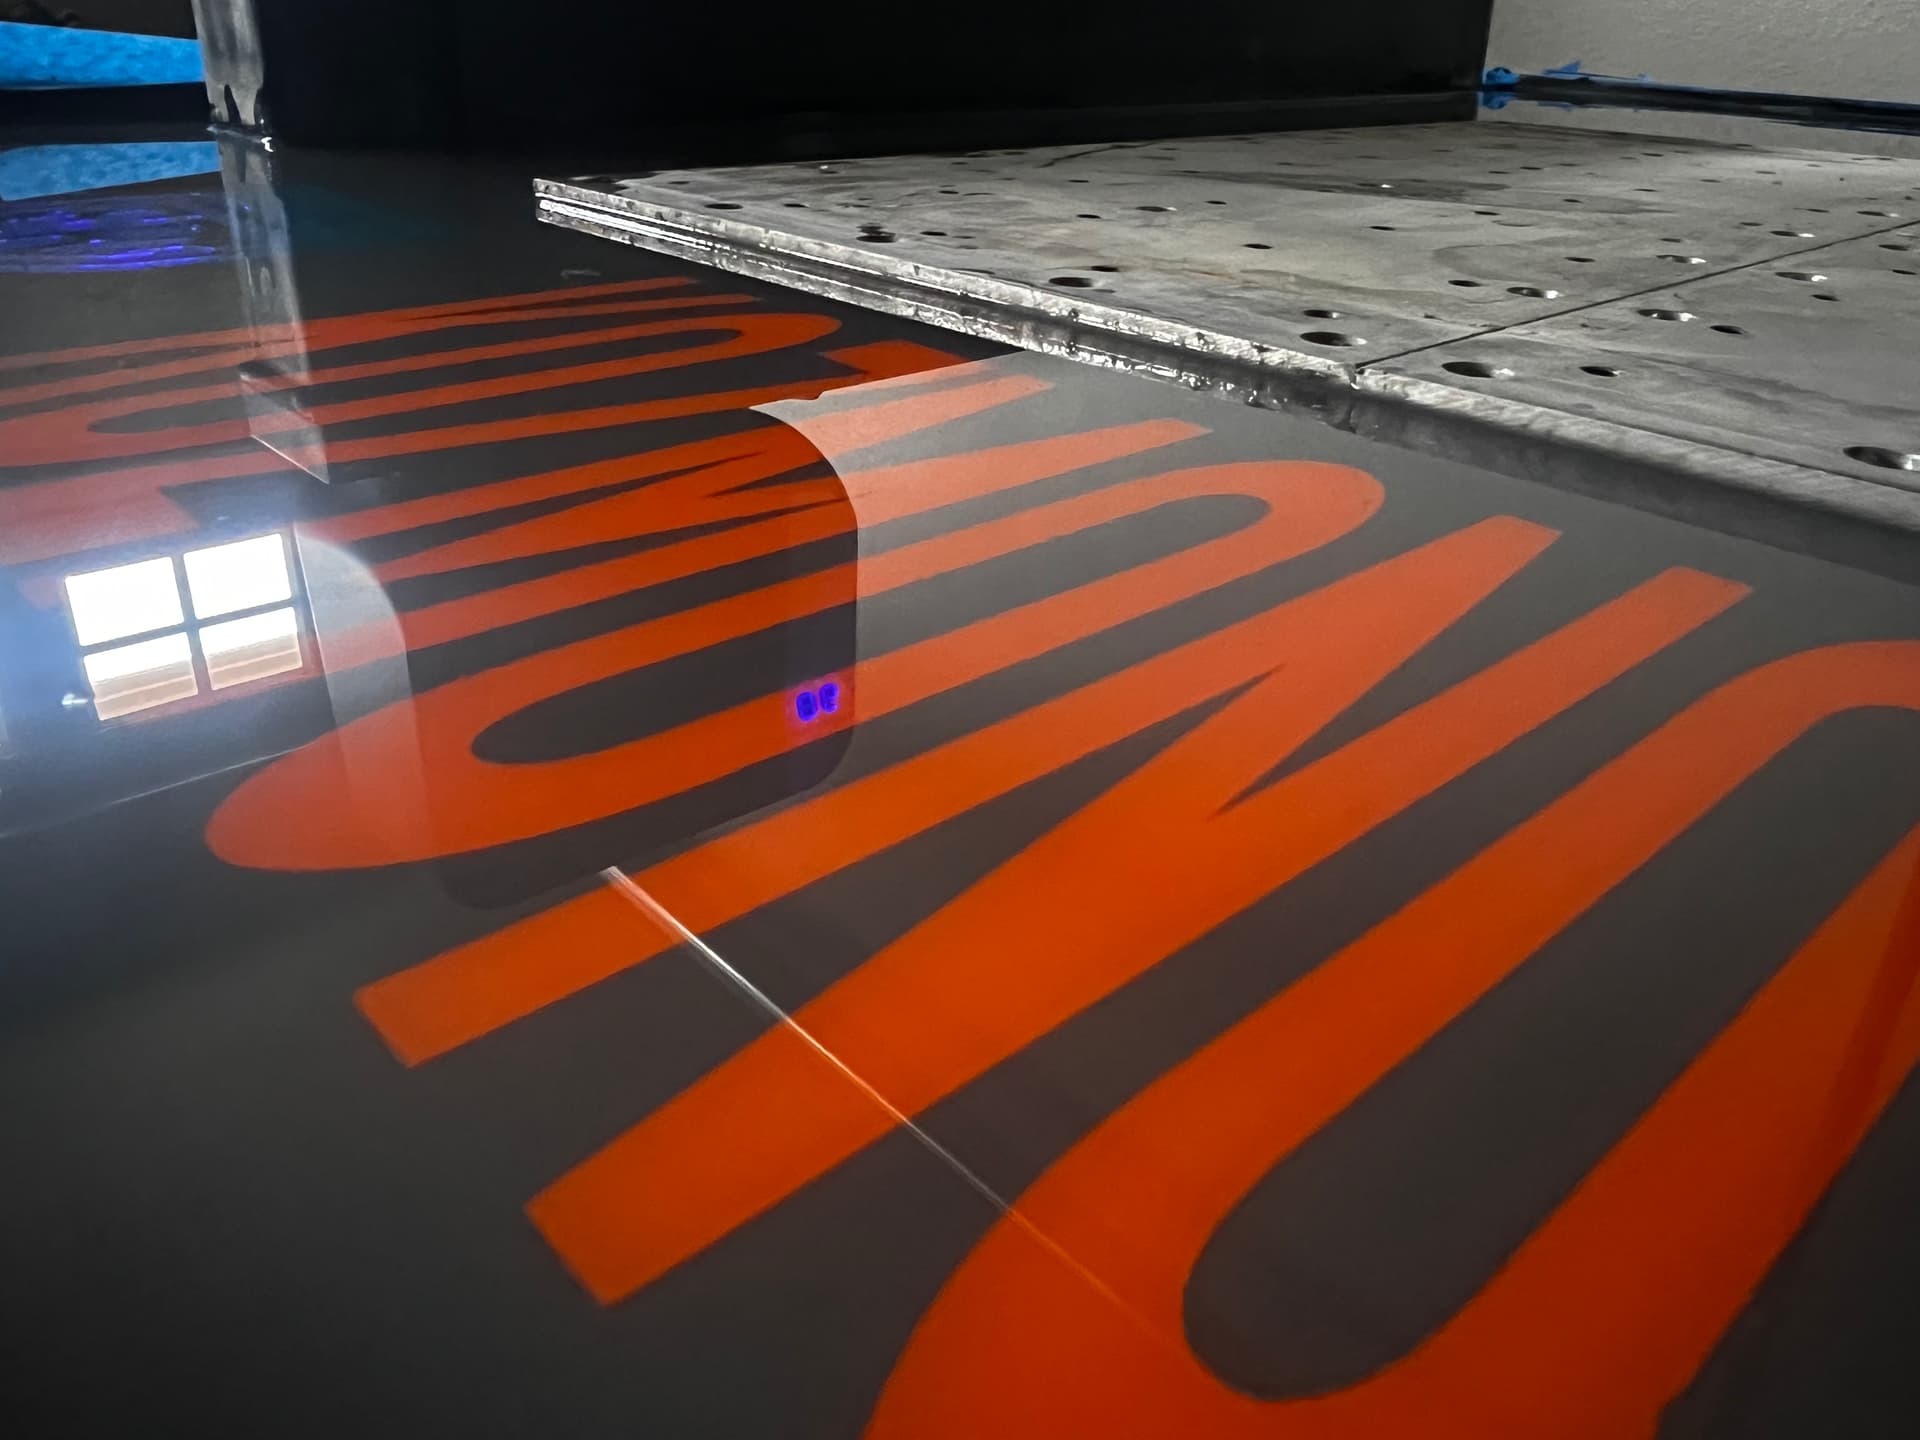
I really dig how the vinyls turned out. That metallic blue logo still kept some of its metallic effect which was a pleasant surprise. Usually clear costing metallics kills off a lot of the metallic luster
Went to run the spindle break in, nothing happened. No spindle movement.
I unplugged, re plugged a few times. Same thing. I could hear the spindle get power when I switched it on, but no movement.
Unplugged everything again, got frustrated and went to bed. Woke up this morning, plugged it all back on and tried again. Spindle break in just finished. No idea what the hold up was. Not sure if that’ll be an issue going forward or not?
I have to get some stuff from Walmart and the hardware store this afternoon for some tweaks. Gonna add plexi inside the doors (I’d seen some others do this) and add a silicone strip to seal the small gap between the doors. Then another shop light to set across the top.
About ready to face and start making stuff.
Didn’t realize the vices didn’t come with the mounting clamps. So I’m also waiting for some toe clamps and the vice mounts.
(╯°-°)╯︵ ┻━┻
Dumb question maybe: I noticed the facing paths were both for 2 flutes. I don’t think I have any 2 flutes, mostly 4 and a handful of 5s. Is that going to be a huge issue? The haas I learned on, we just faced manually with a facing mill
If they’re meant for milling aluminum you’ll be fine. If they’re just random 4/5 flute end mills, then they might gum up on you. If they’re AlTiN (grayish-purple) coated, the aluminum will stick to that like glue.
I can’t find the post, but someone had suggested that the -/+ punch on the card may have been reversed…
I second this. Off the markings on the cards and the calculator on the website, I needed 4 ships up top. After chasing it in, I need no shims up top and 5 shims on the lower side. Easy fix
Waiting on a couple more things then onto making parts.
Been out of town all last week, but back at it today. Finally.
For the flood coolant connection on the back of the enclosure, anyone know which side is +? Does it matter? I have the relay and connections and aim to solder them up today.