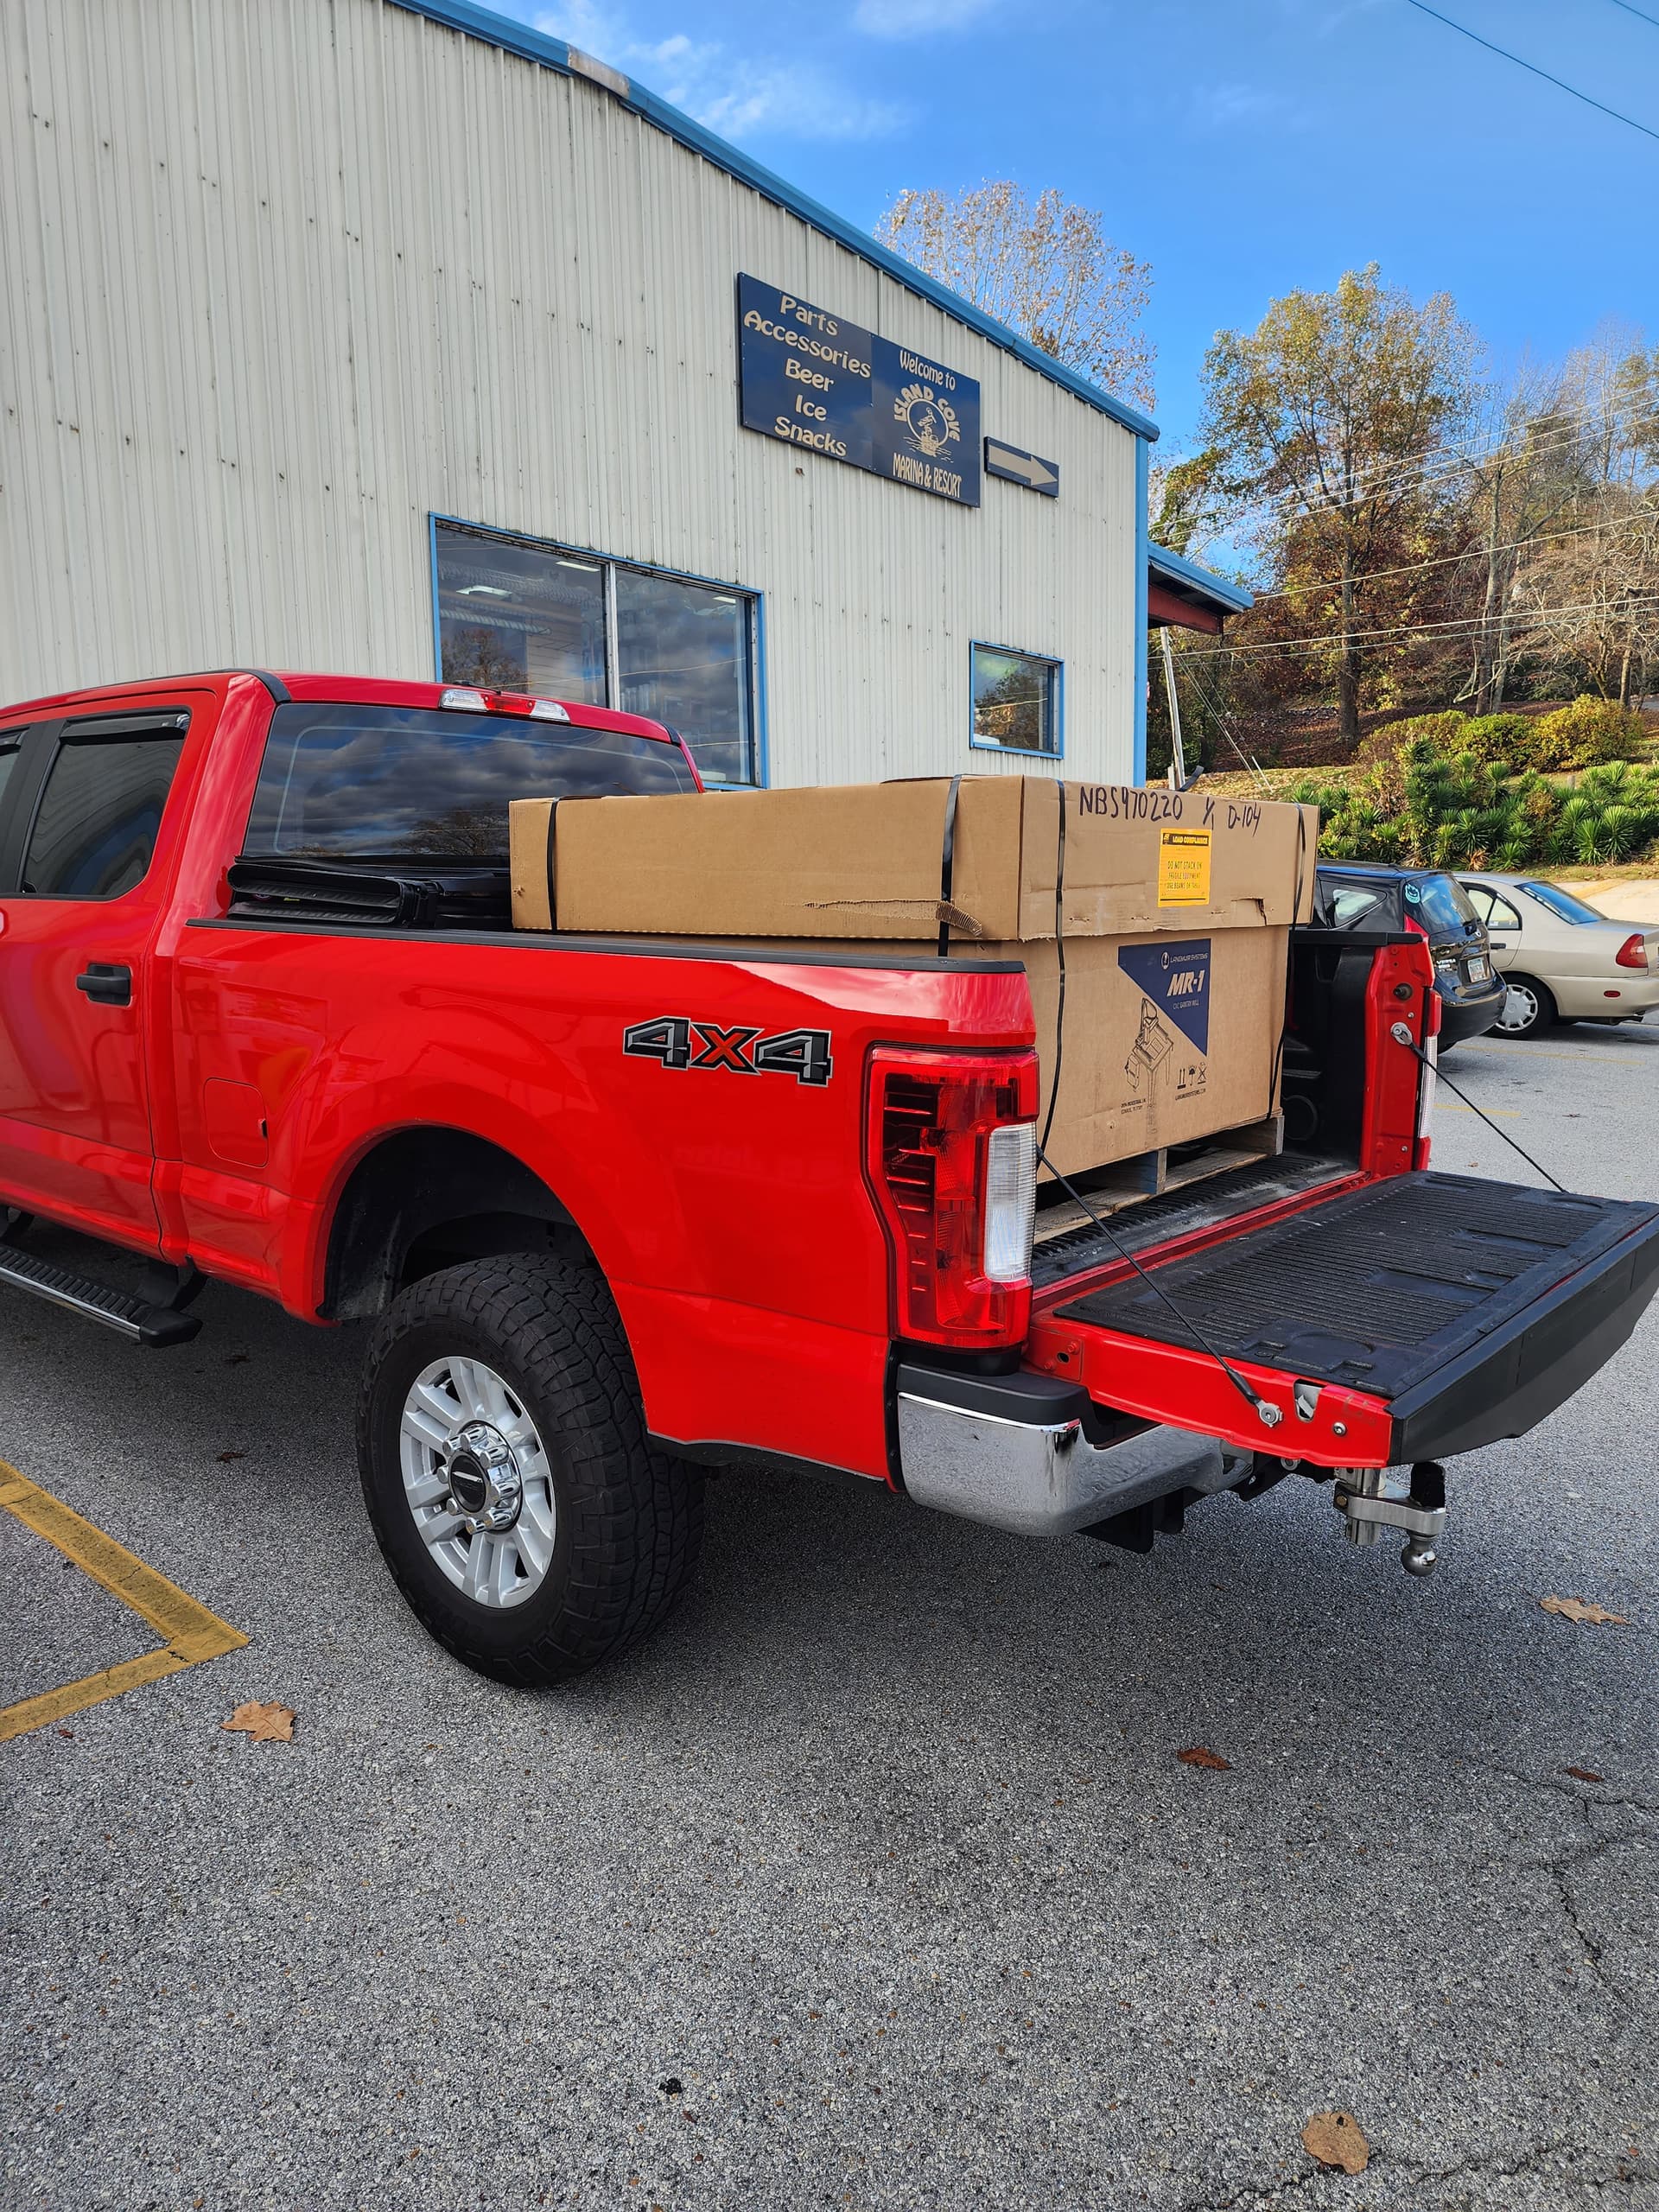
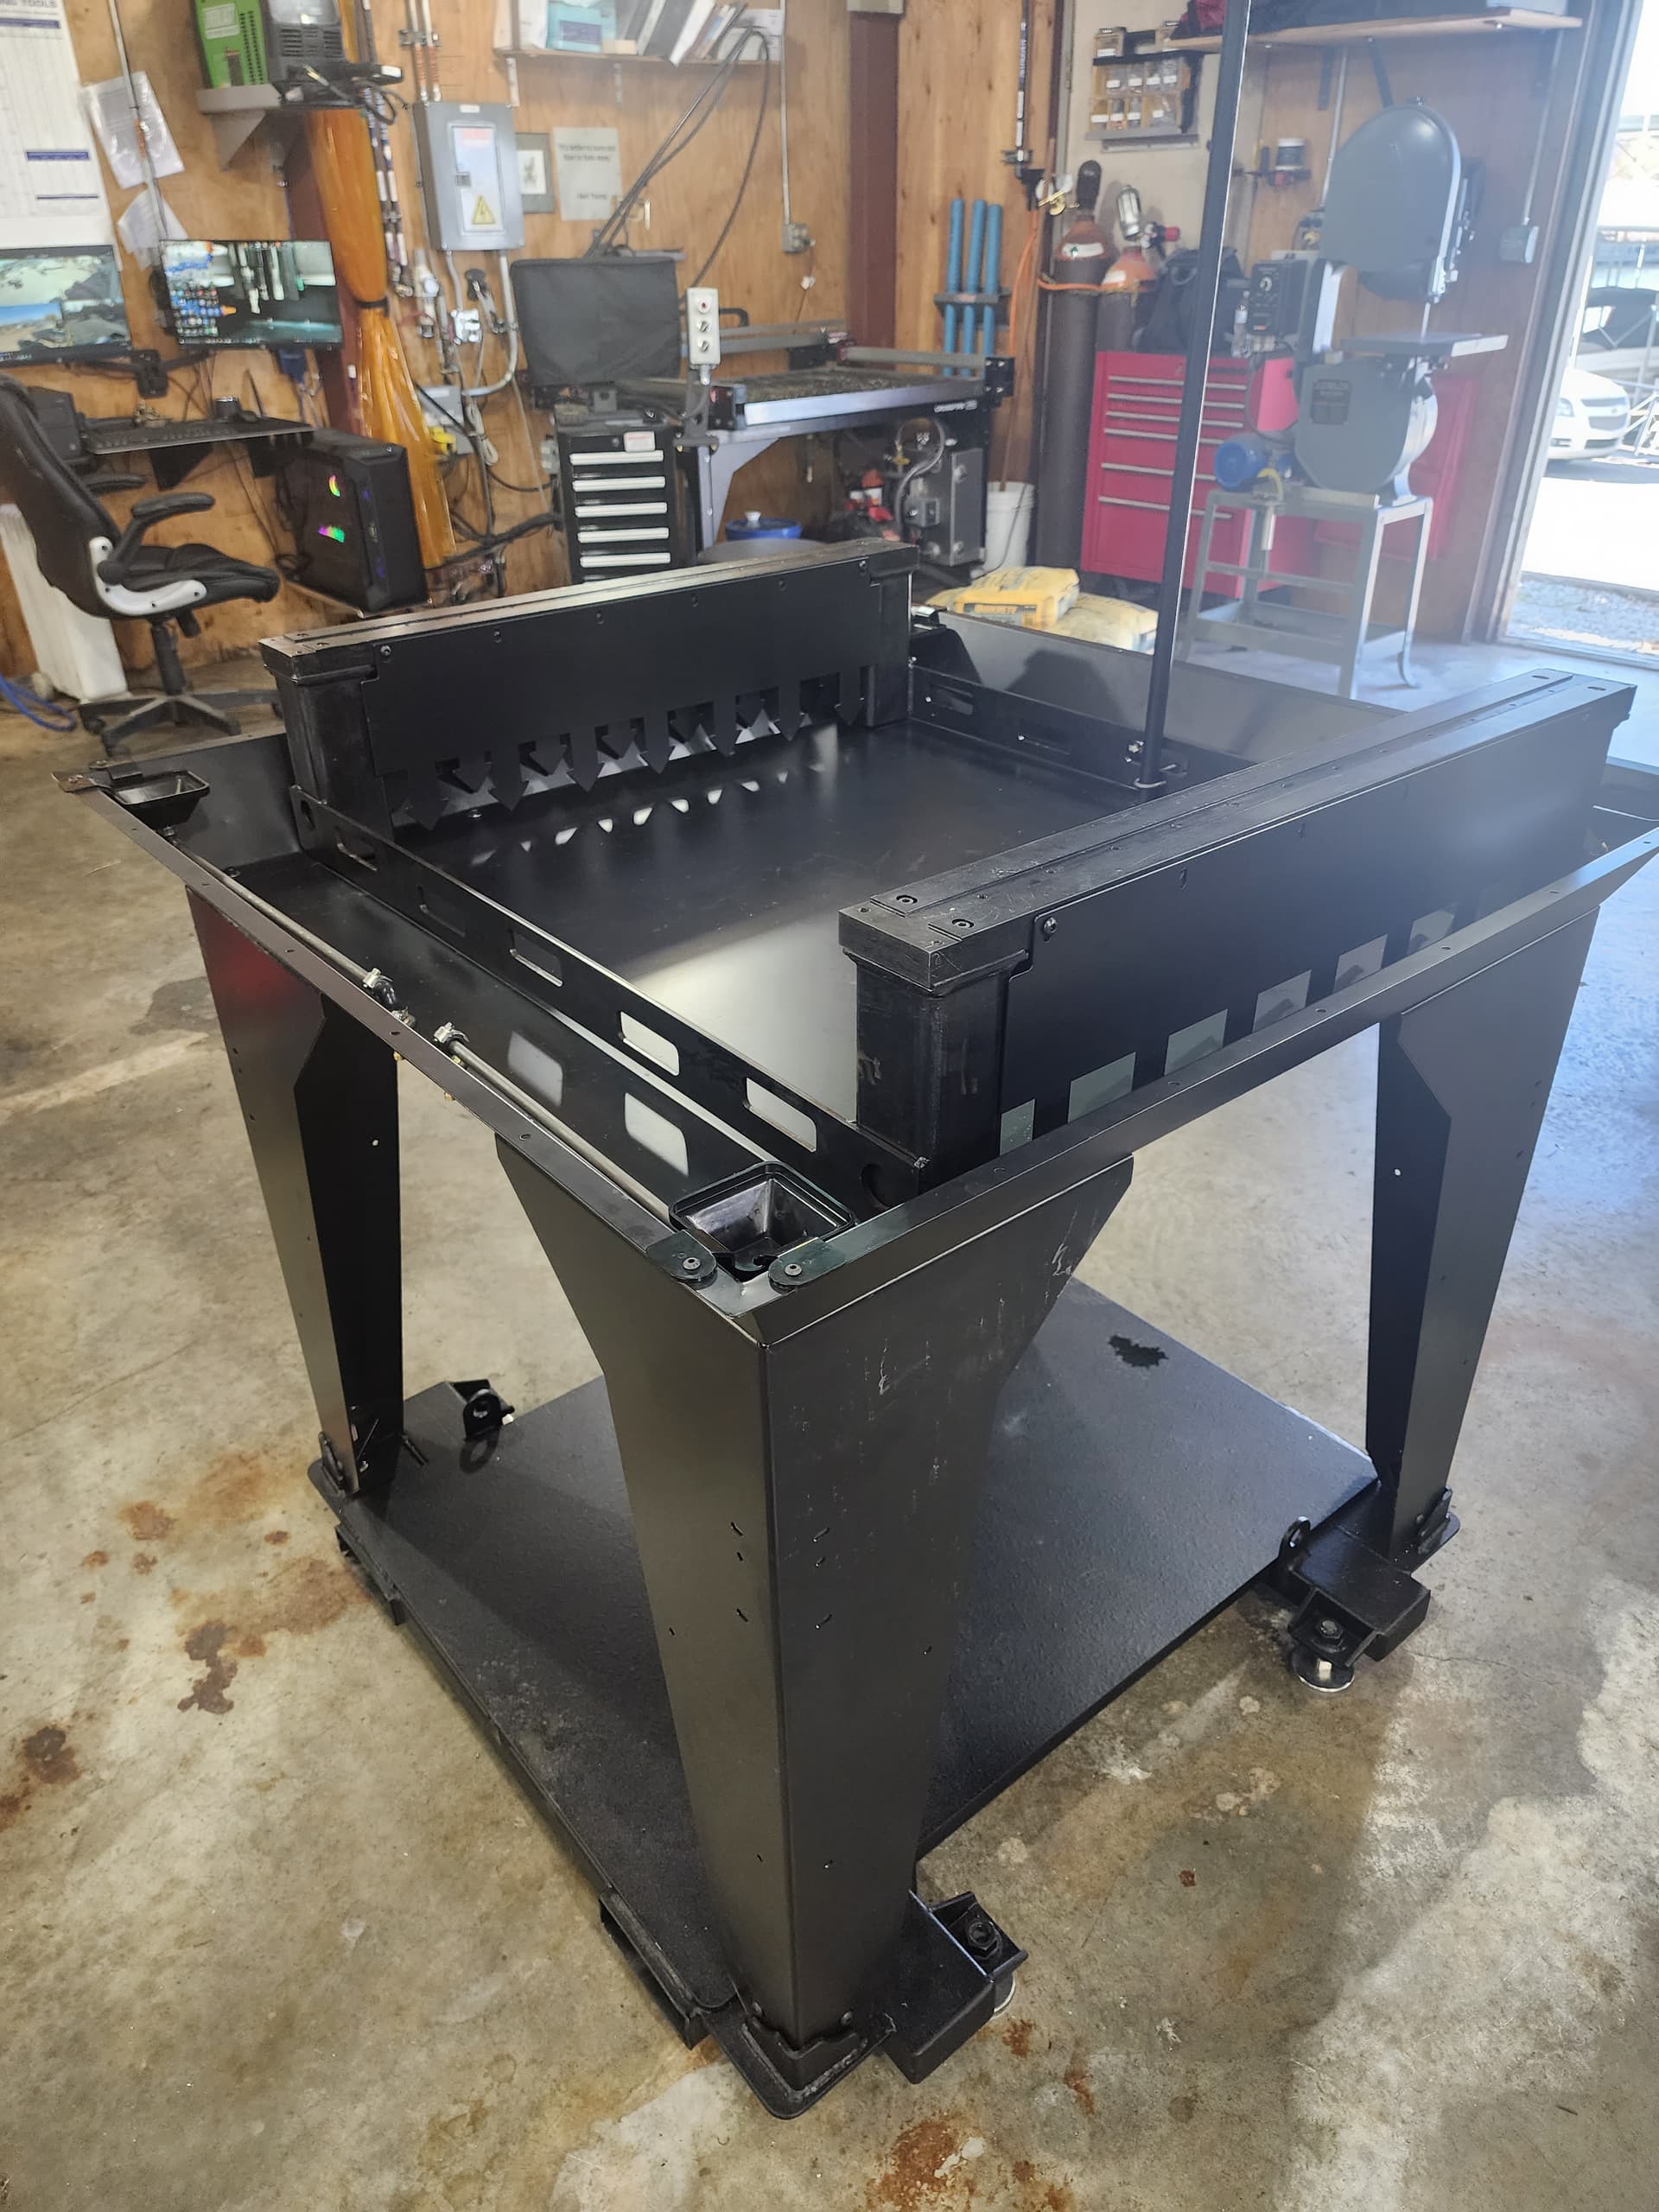
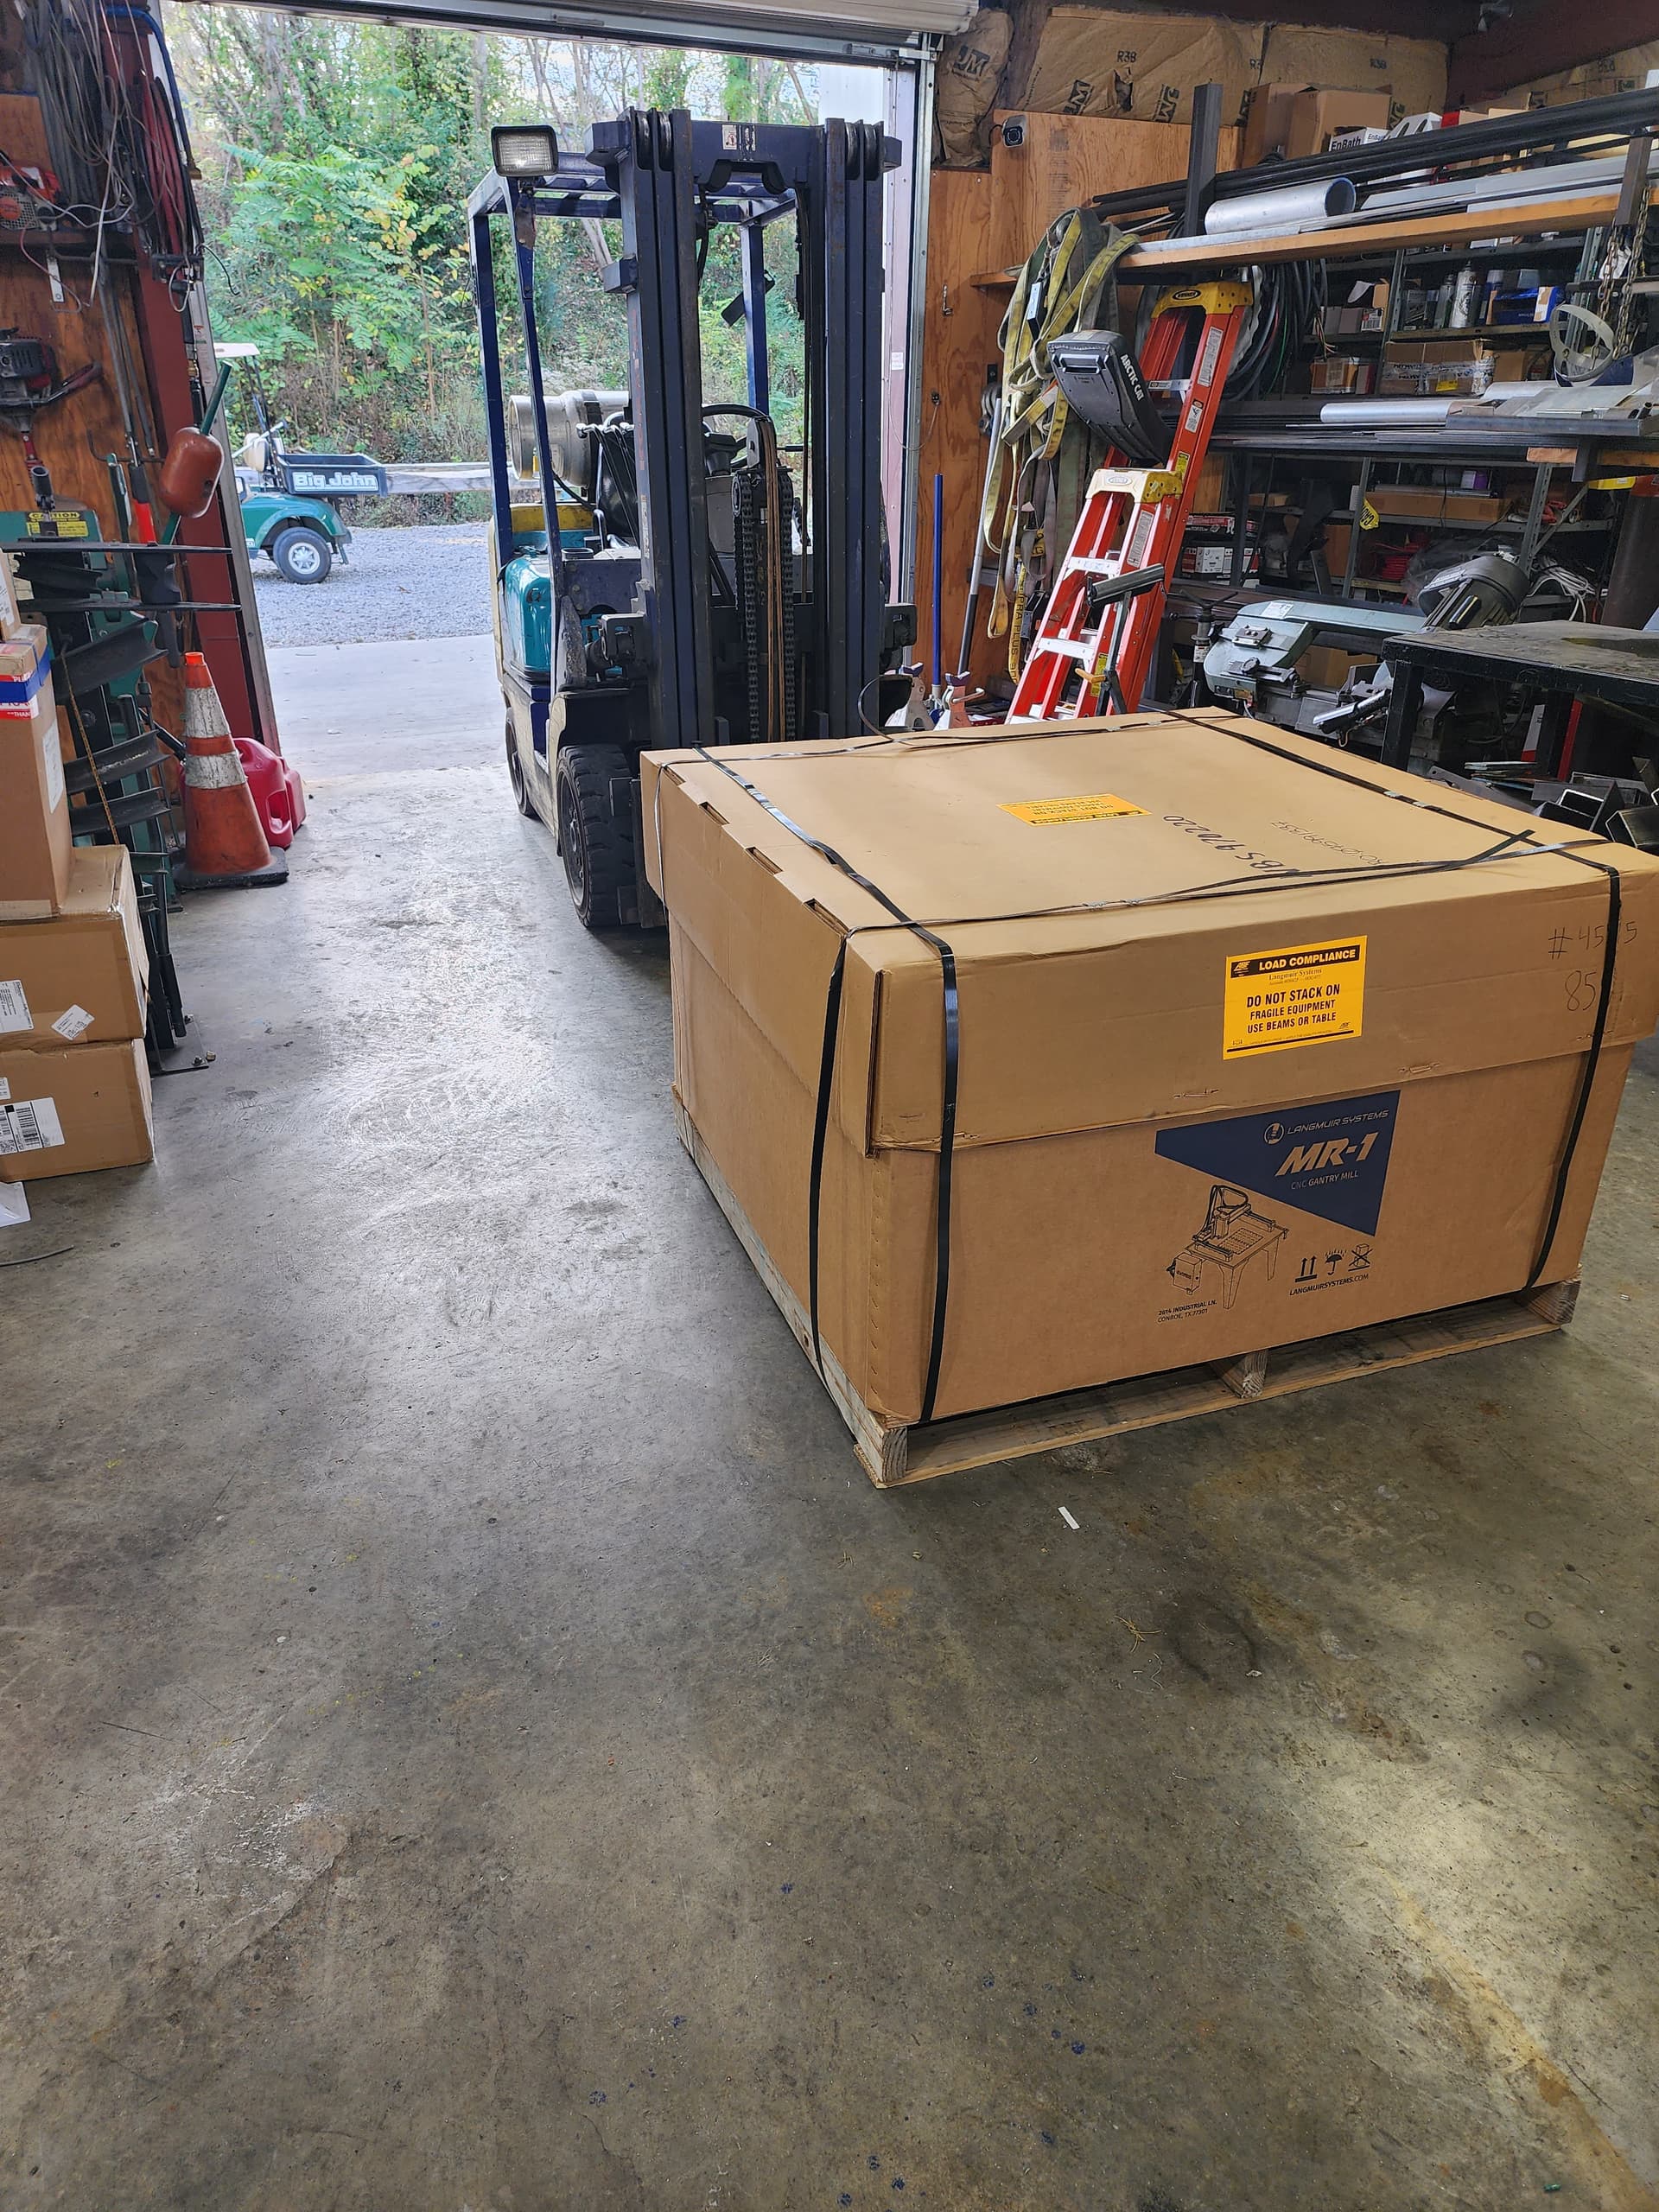
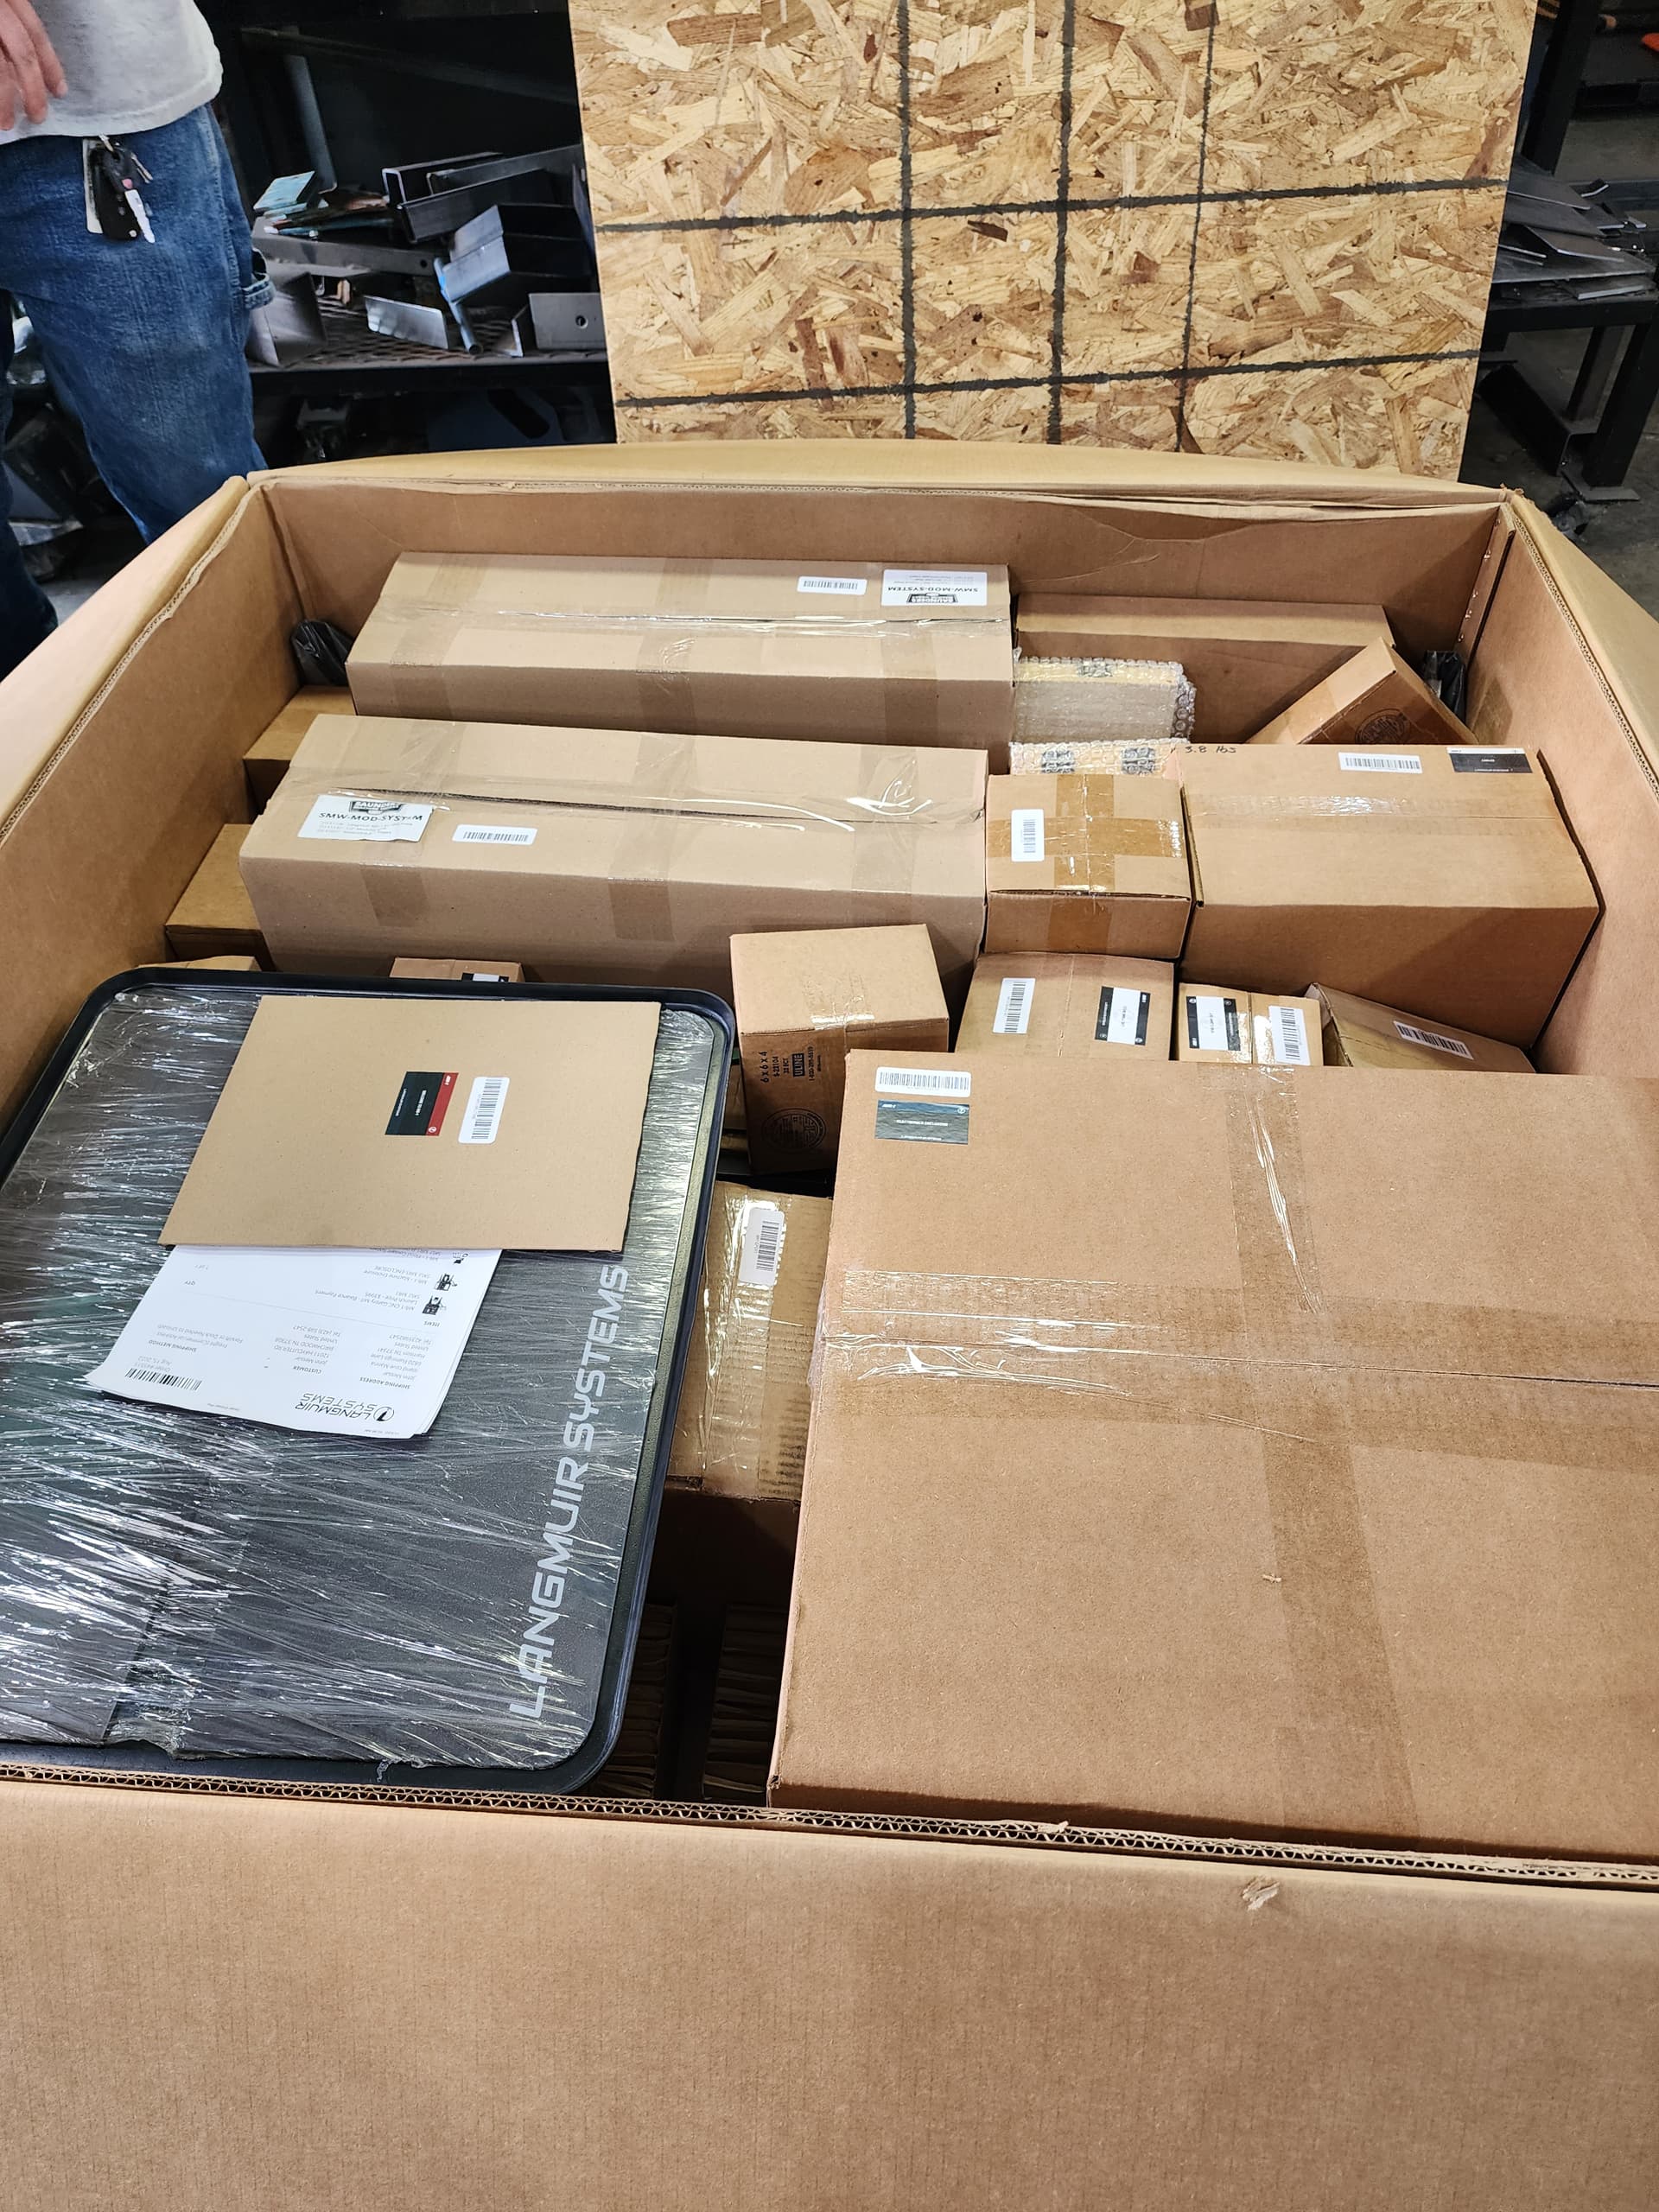
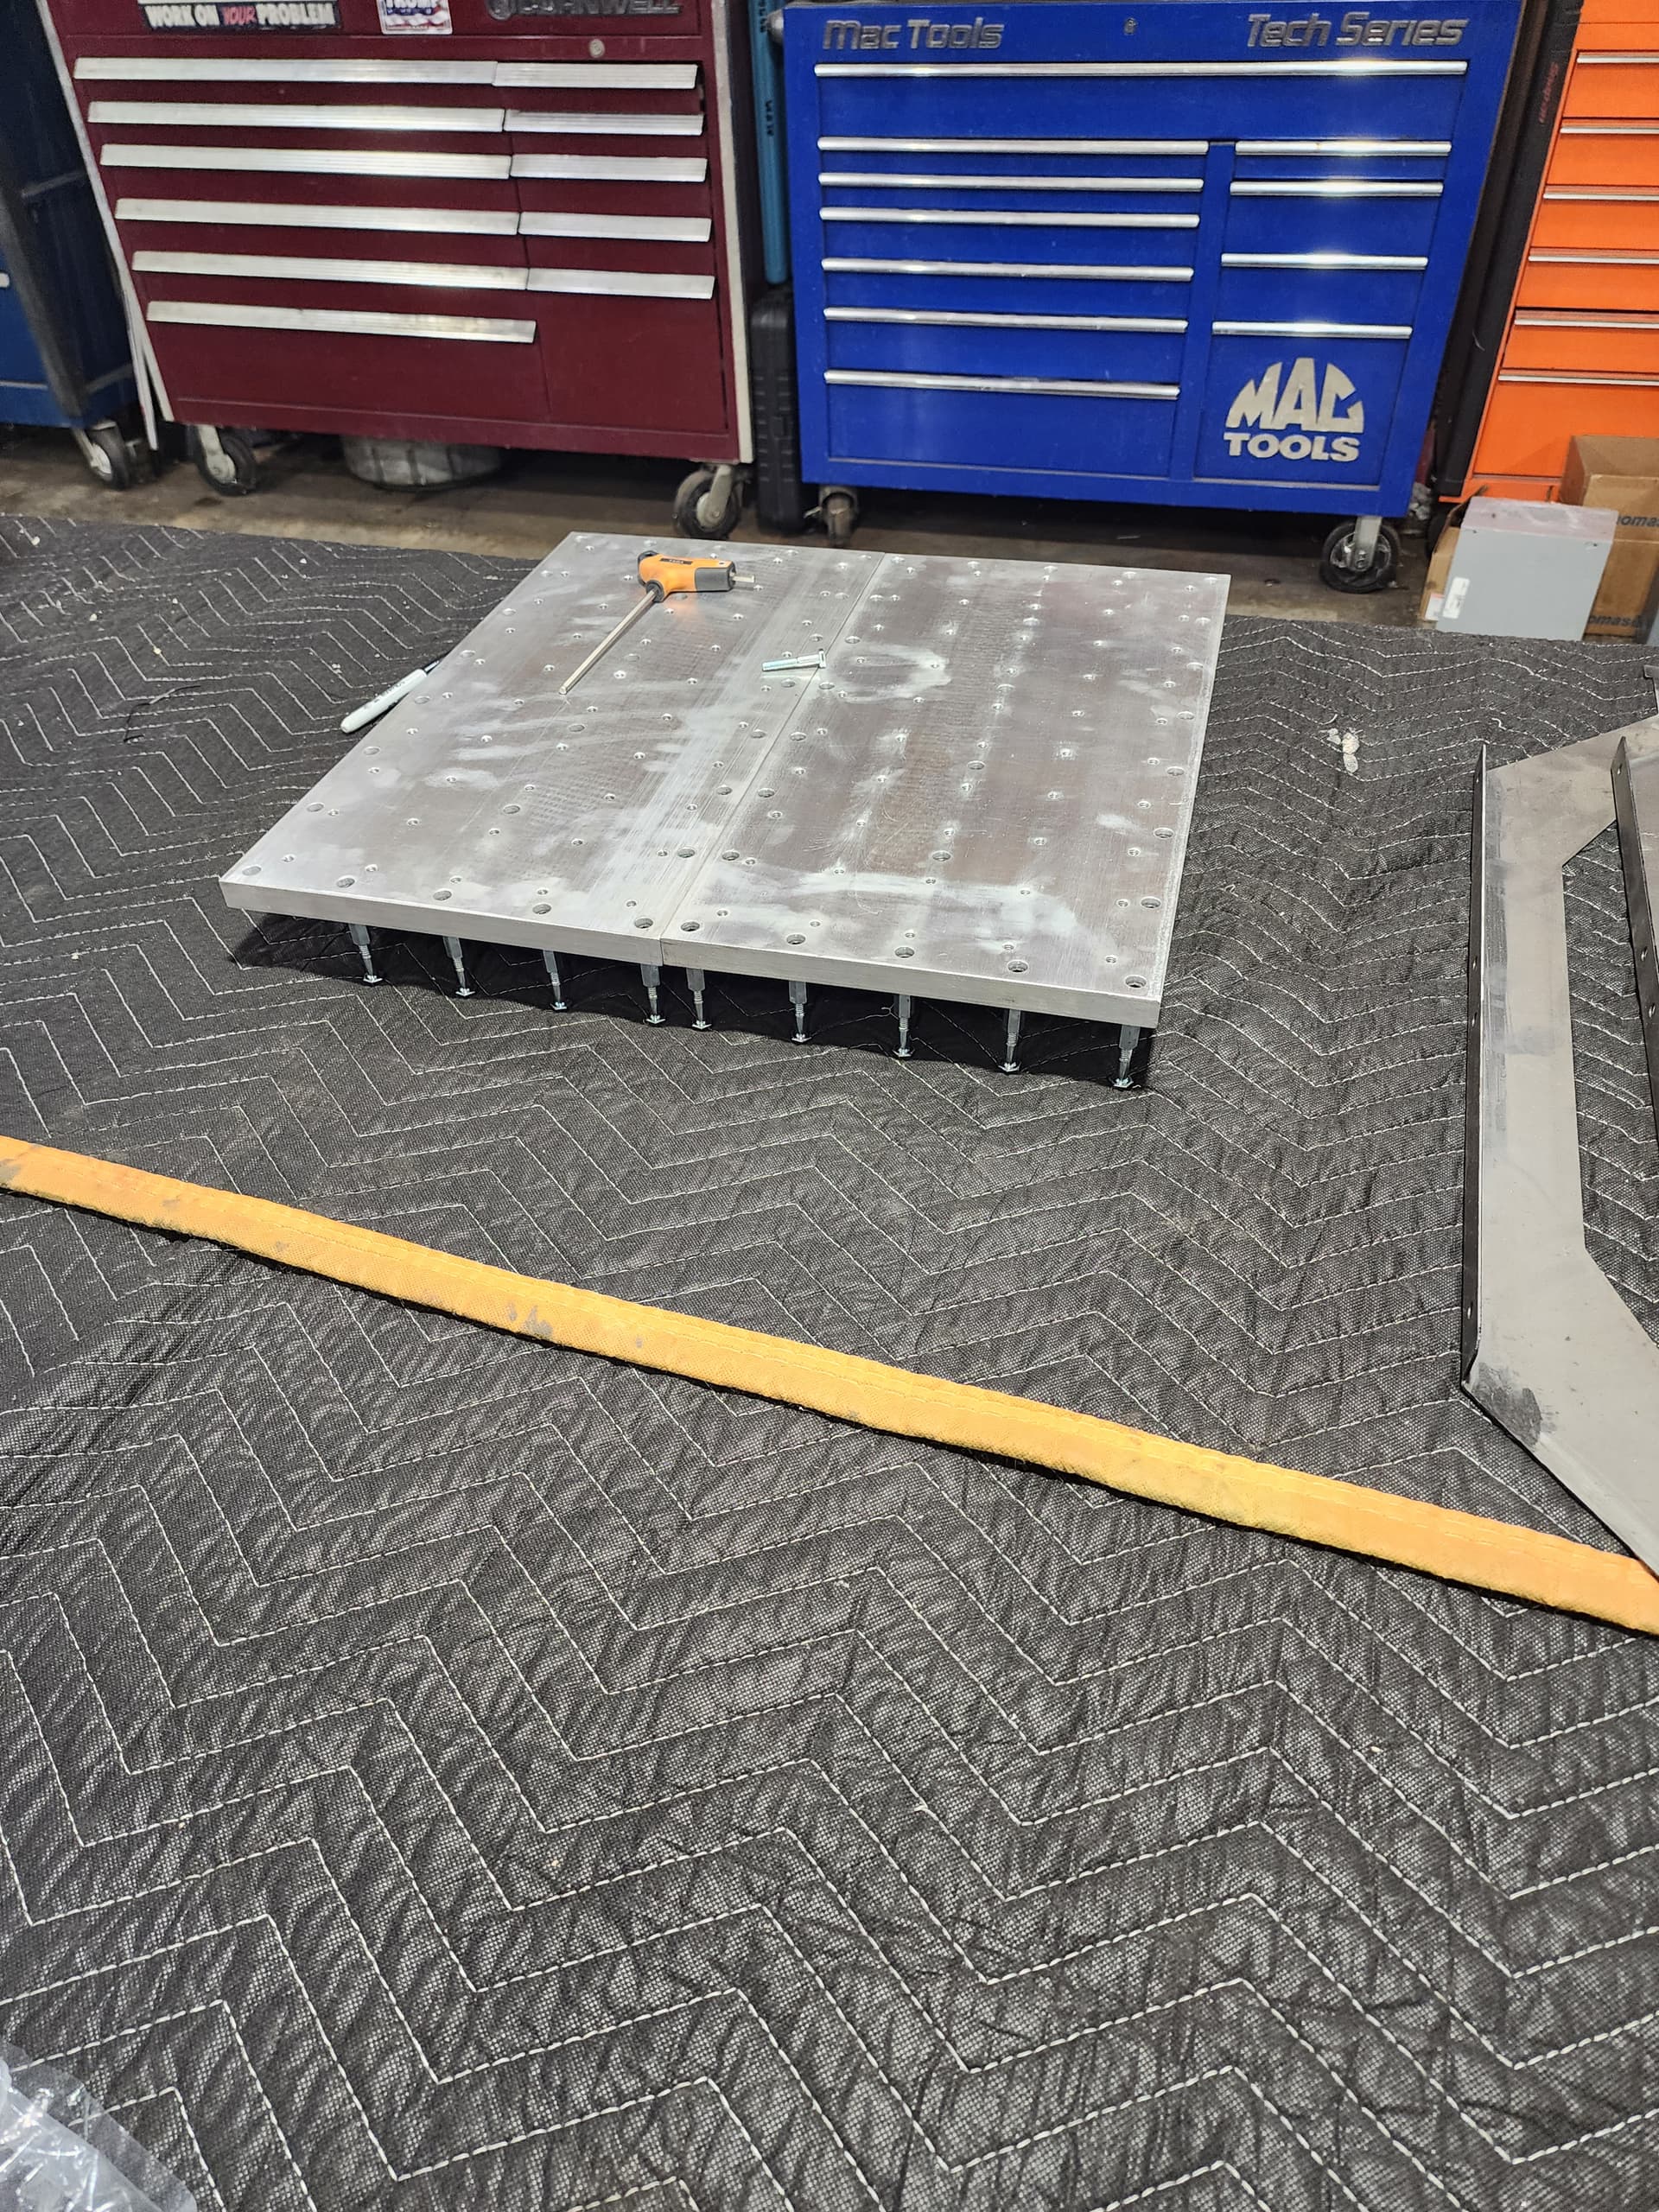
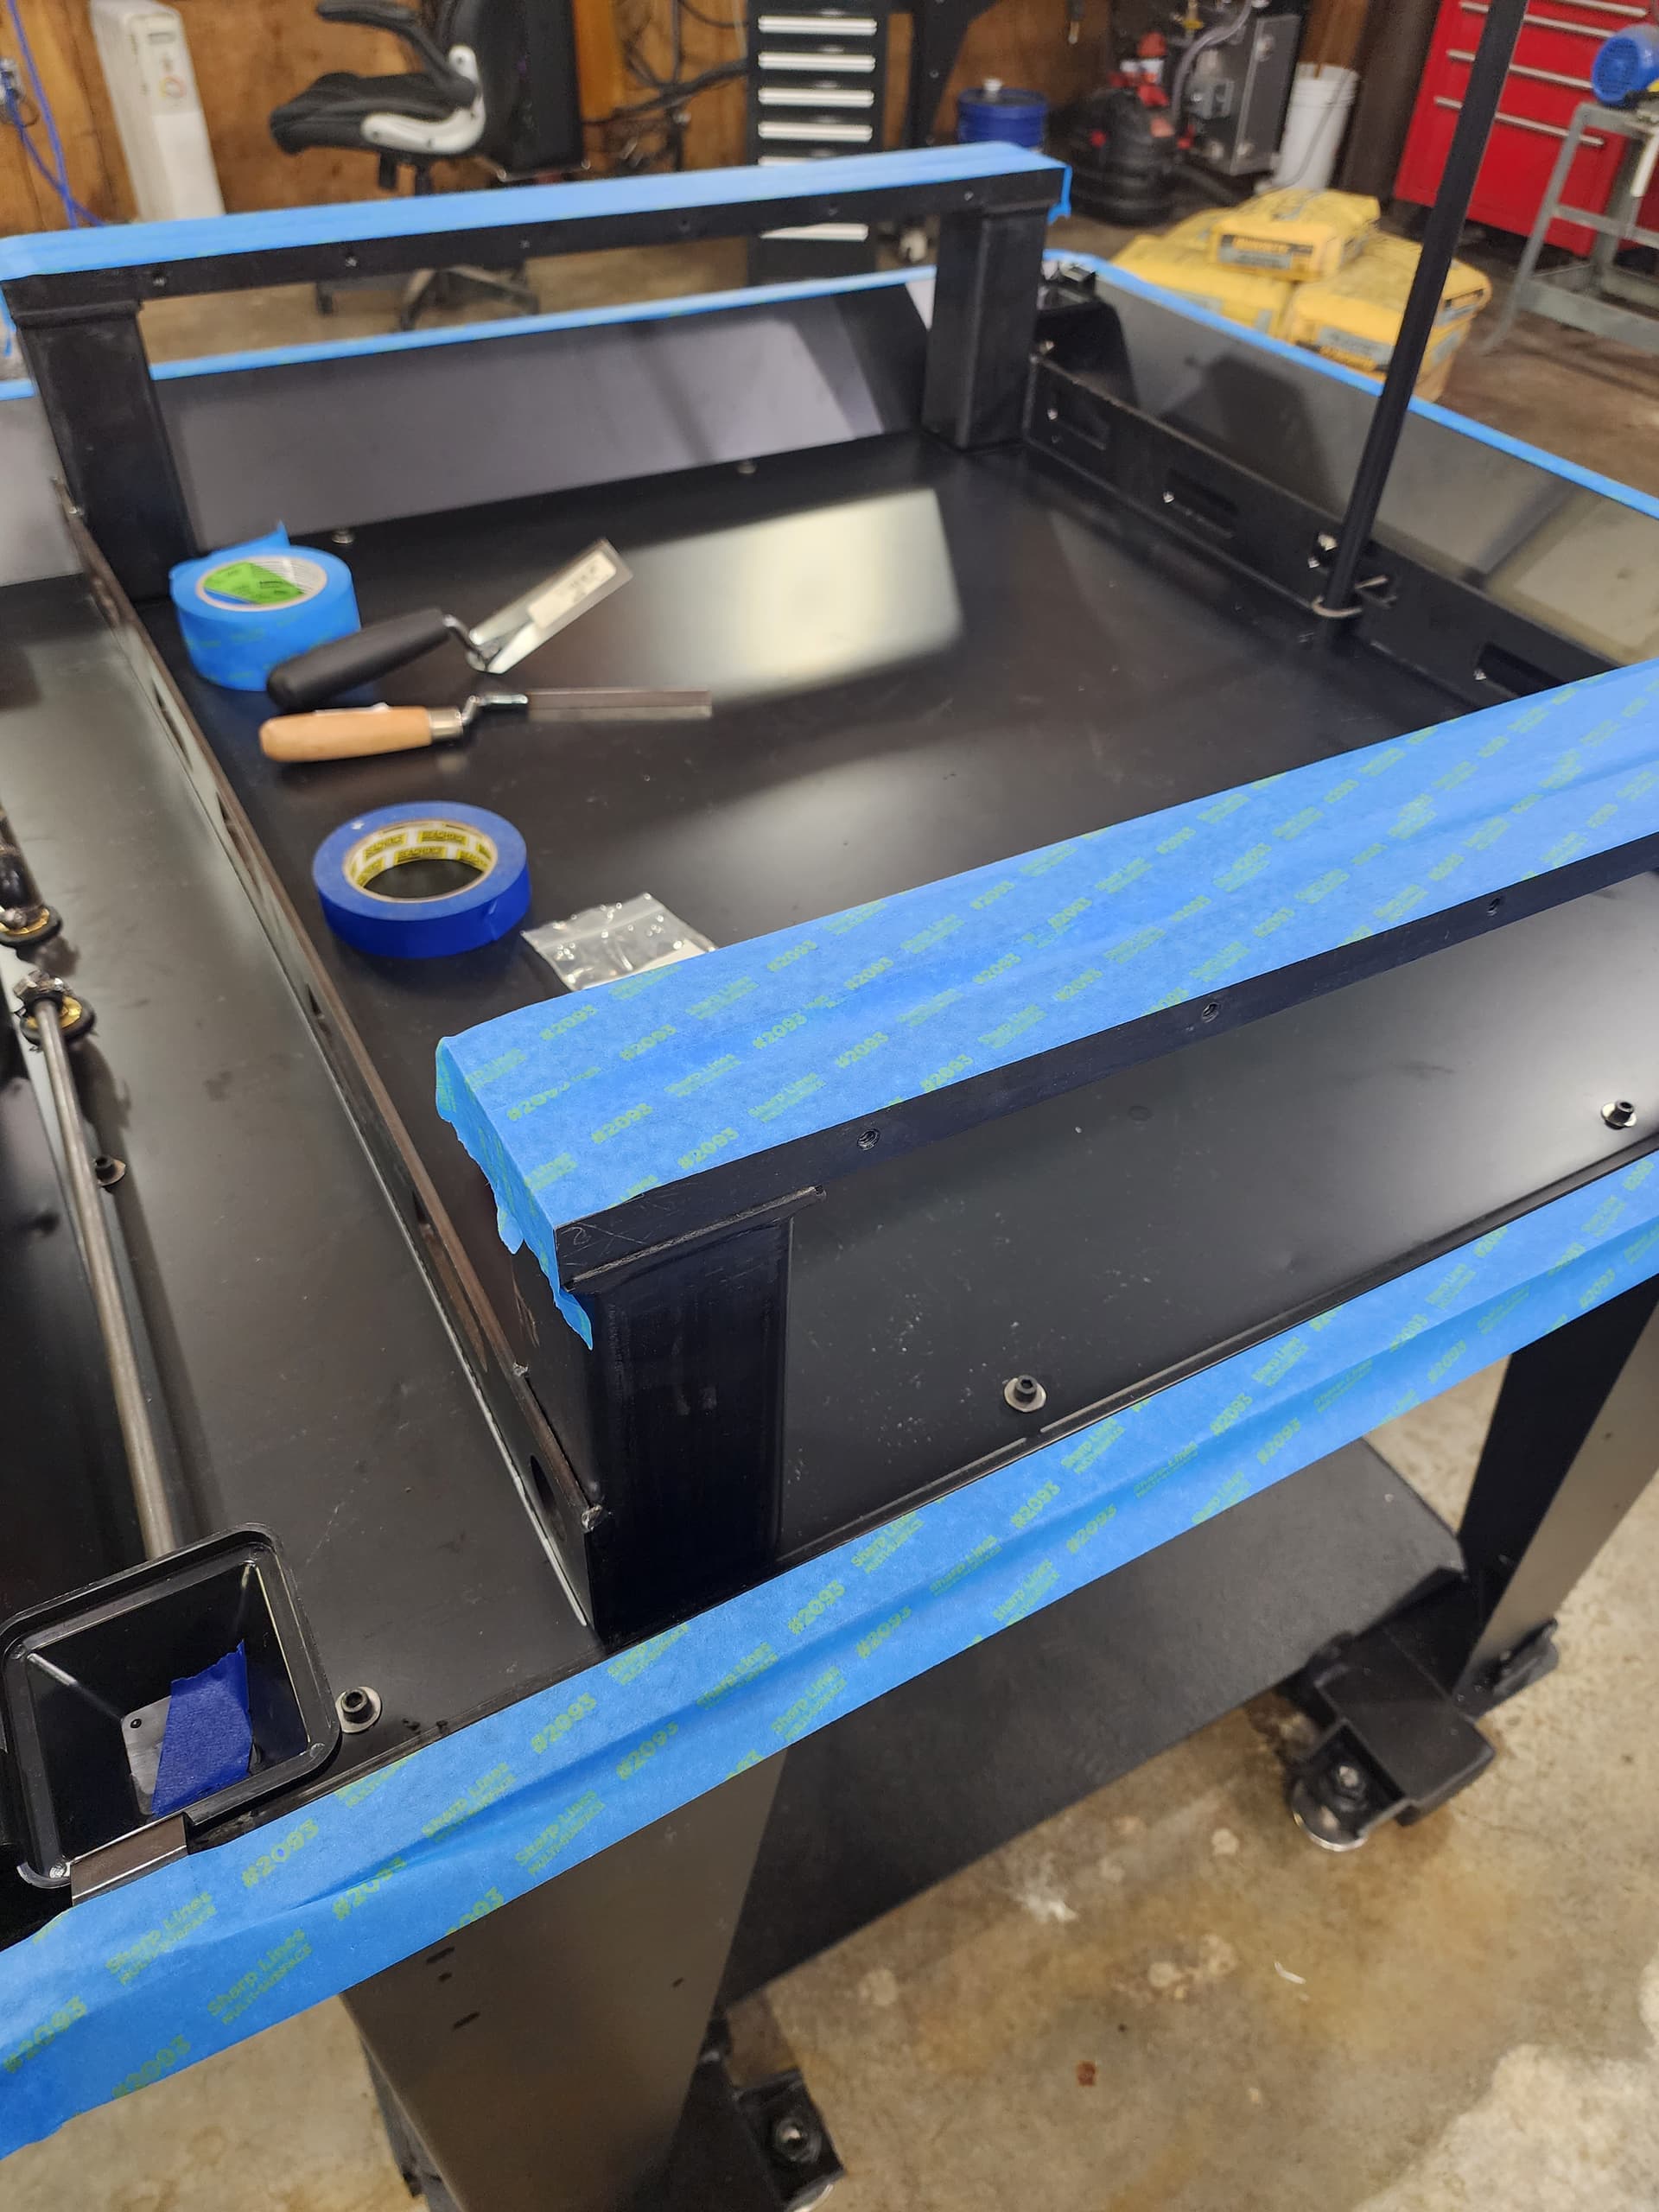
Got mine this morning… packaging was fantastic. Parts are laid under 1/2 plywood. Everything is labeled and bagged perfectly.
My internet is down at home so AT&T fiber
(Not recommended) so I will try and post pictures now if I can.
Pictures are not loading right now. I will download them later.
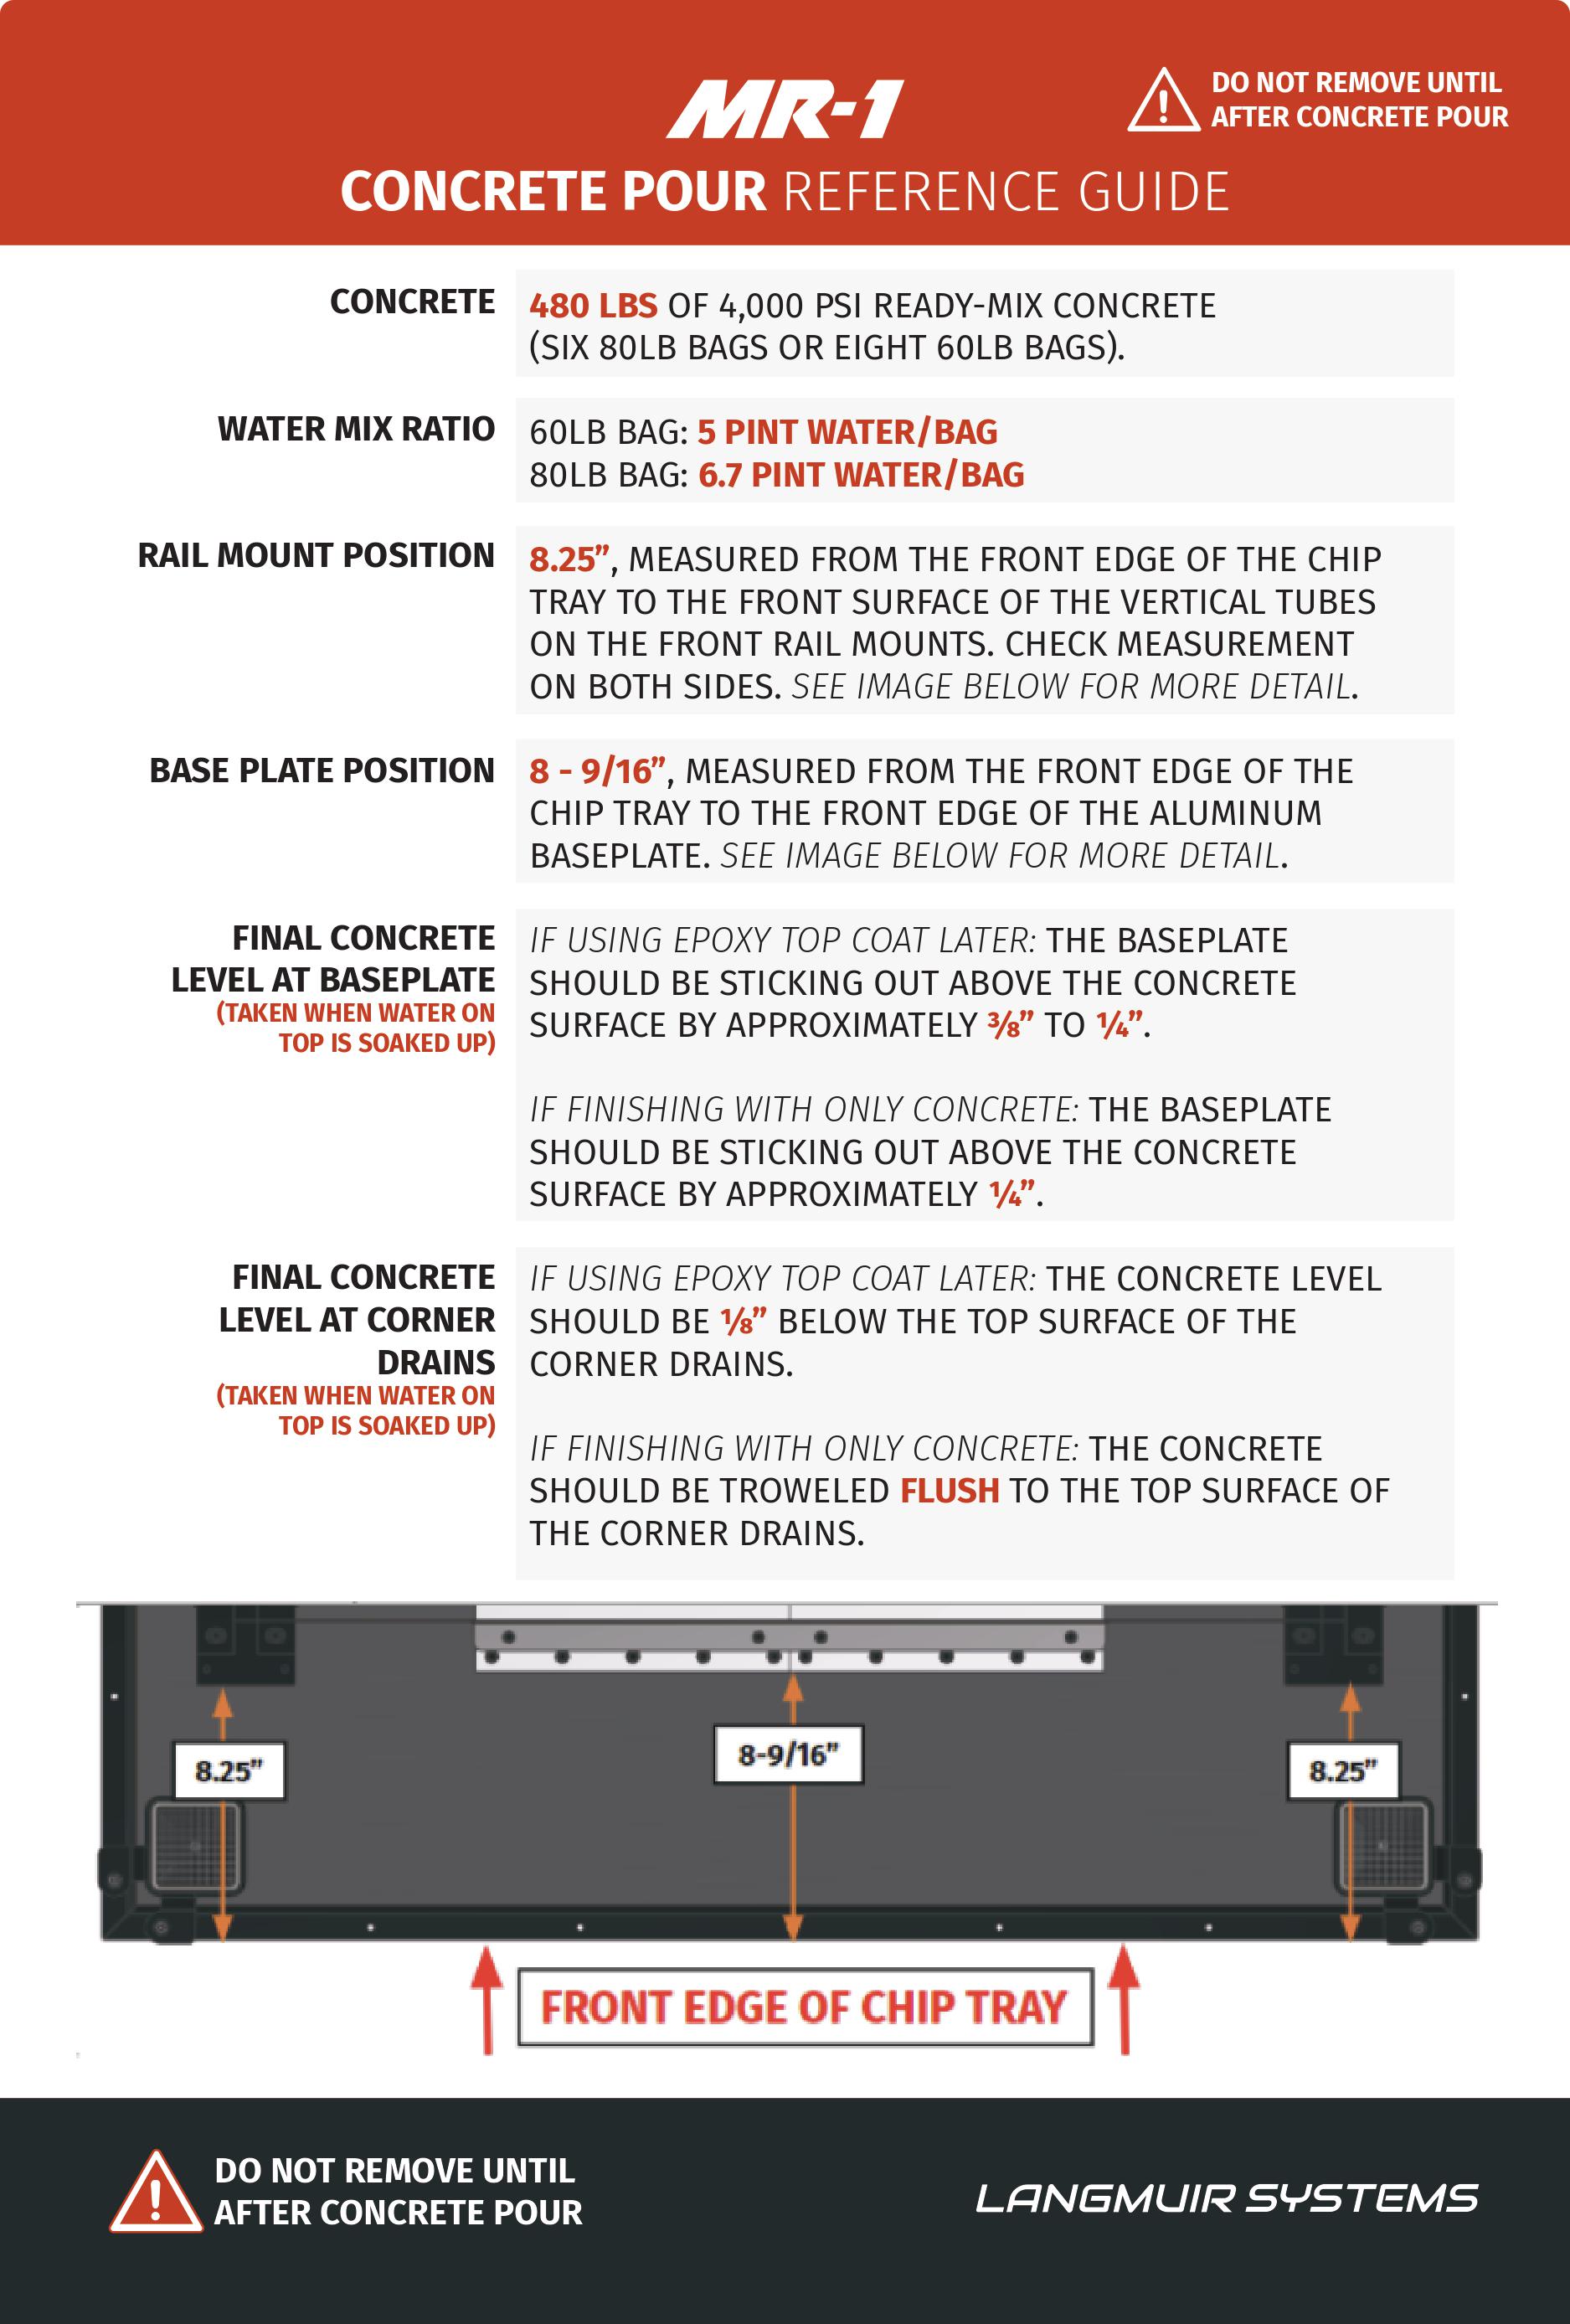
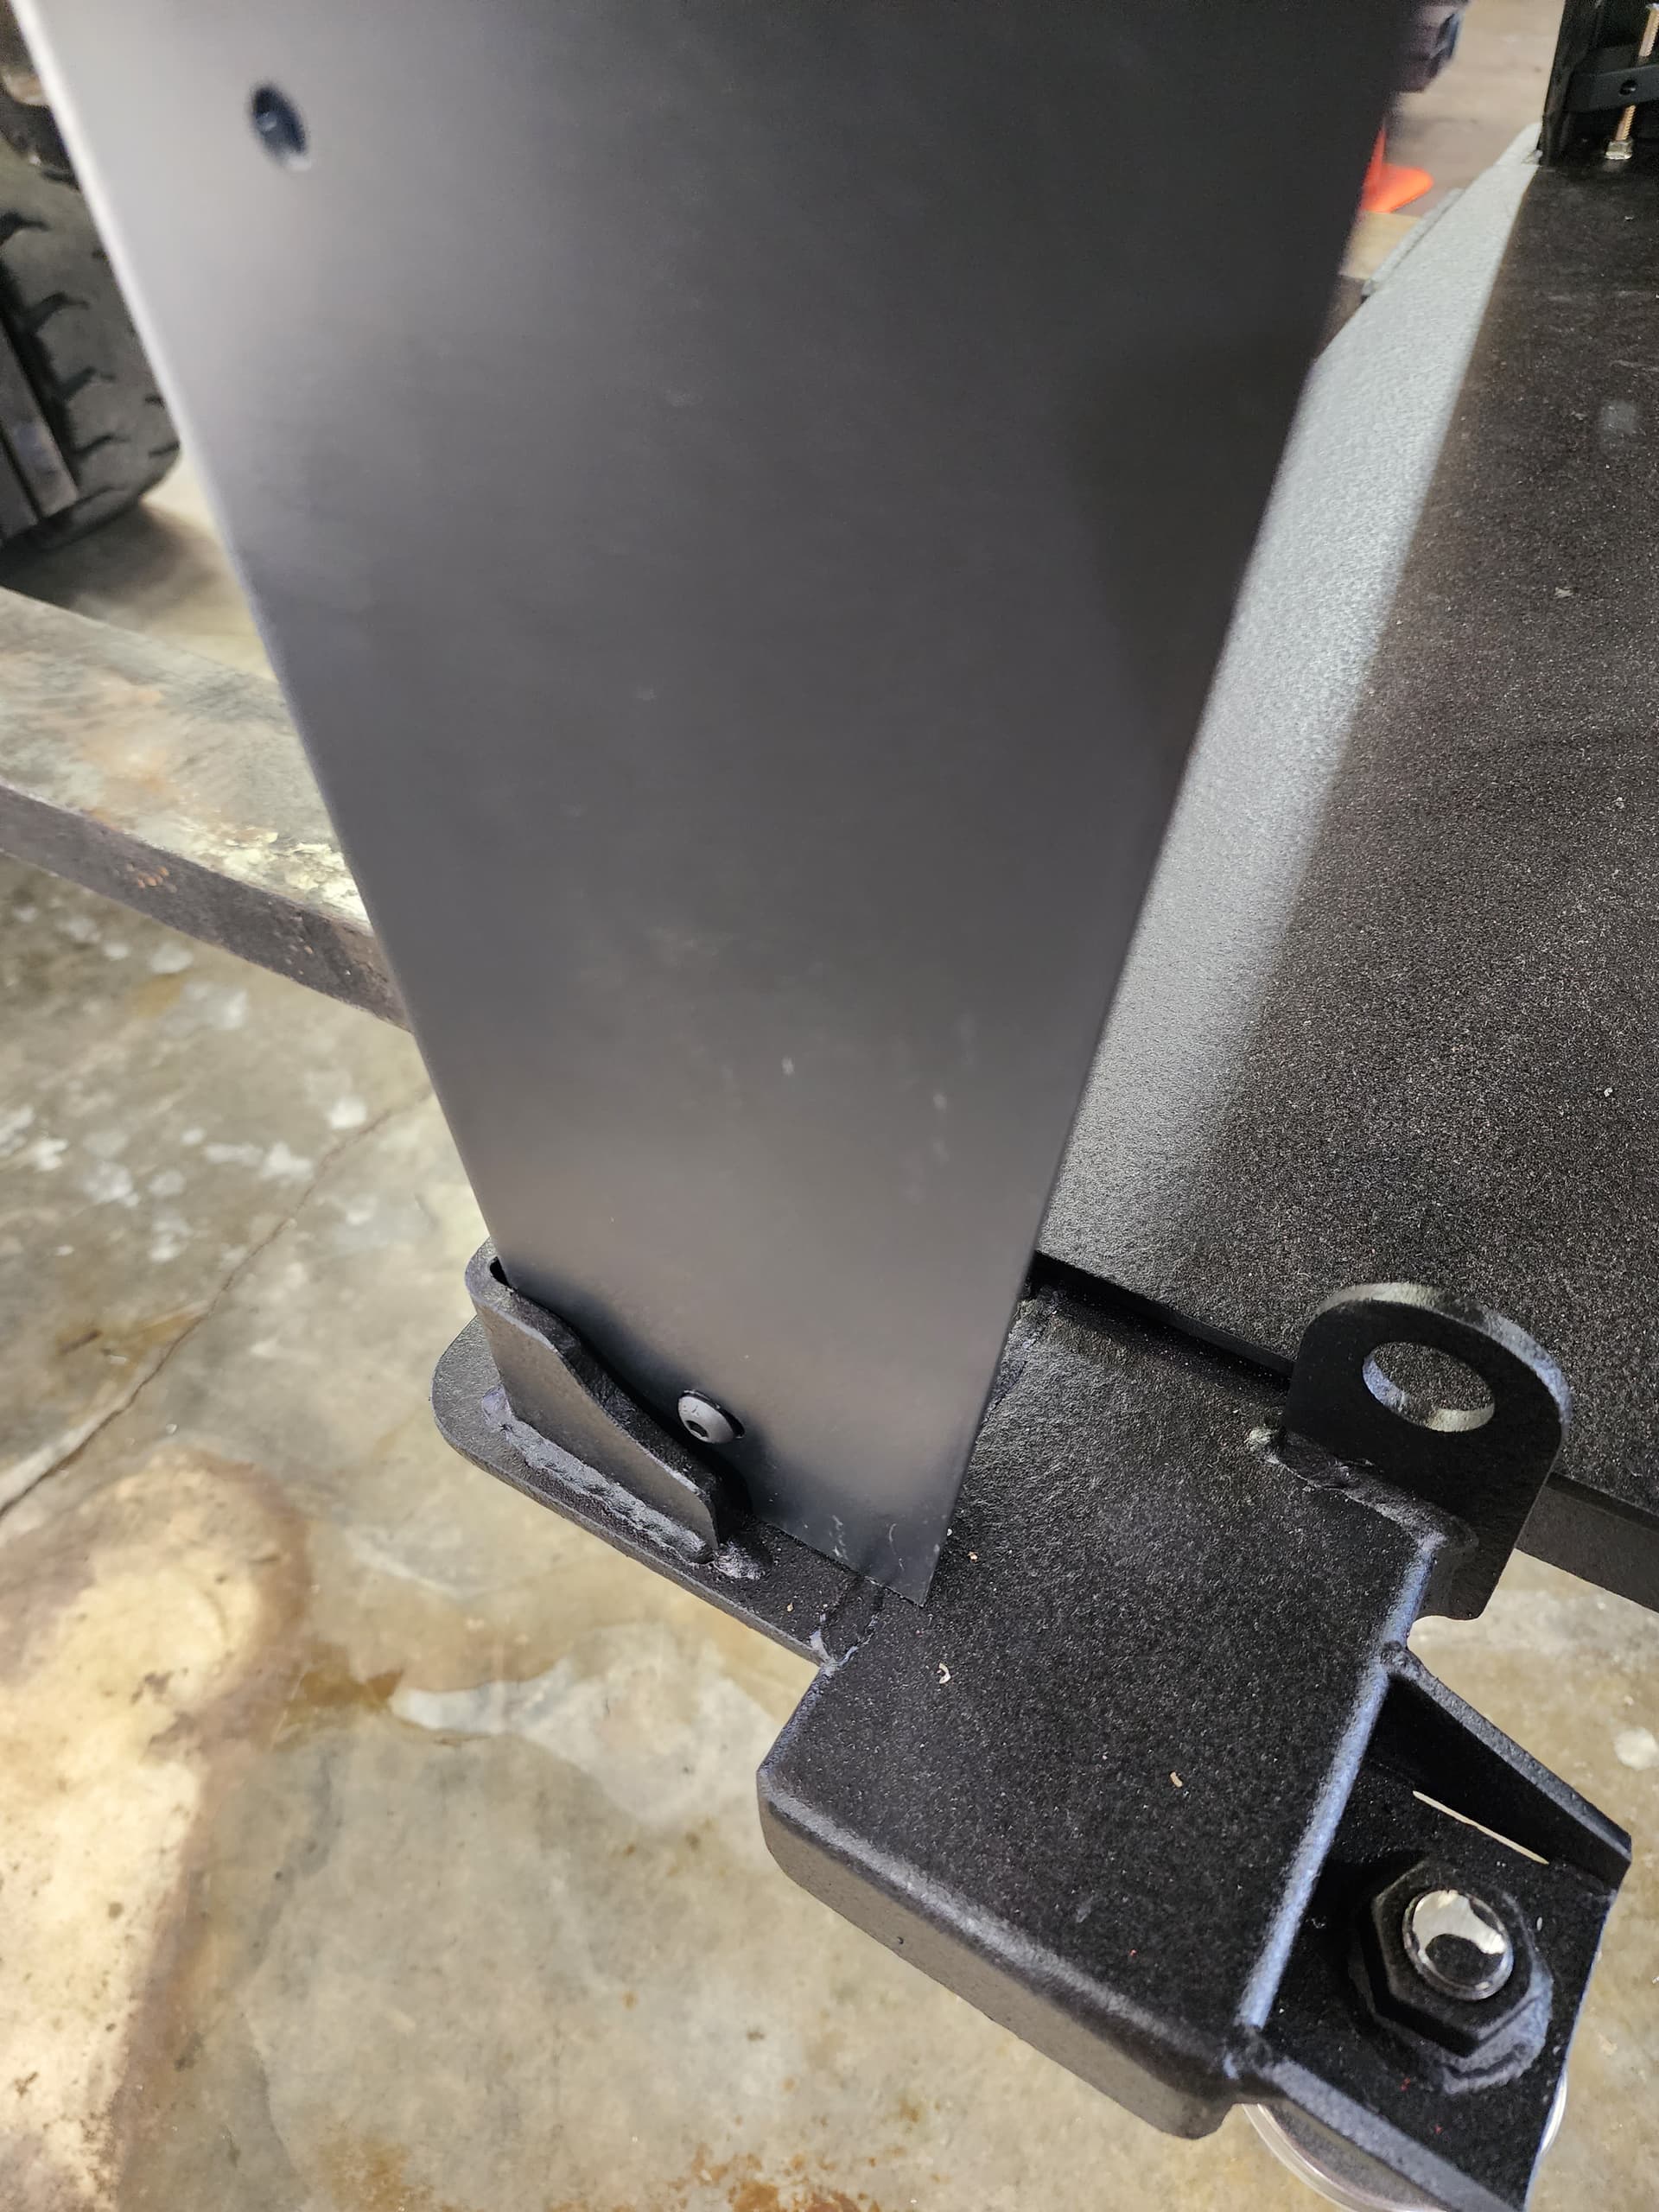
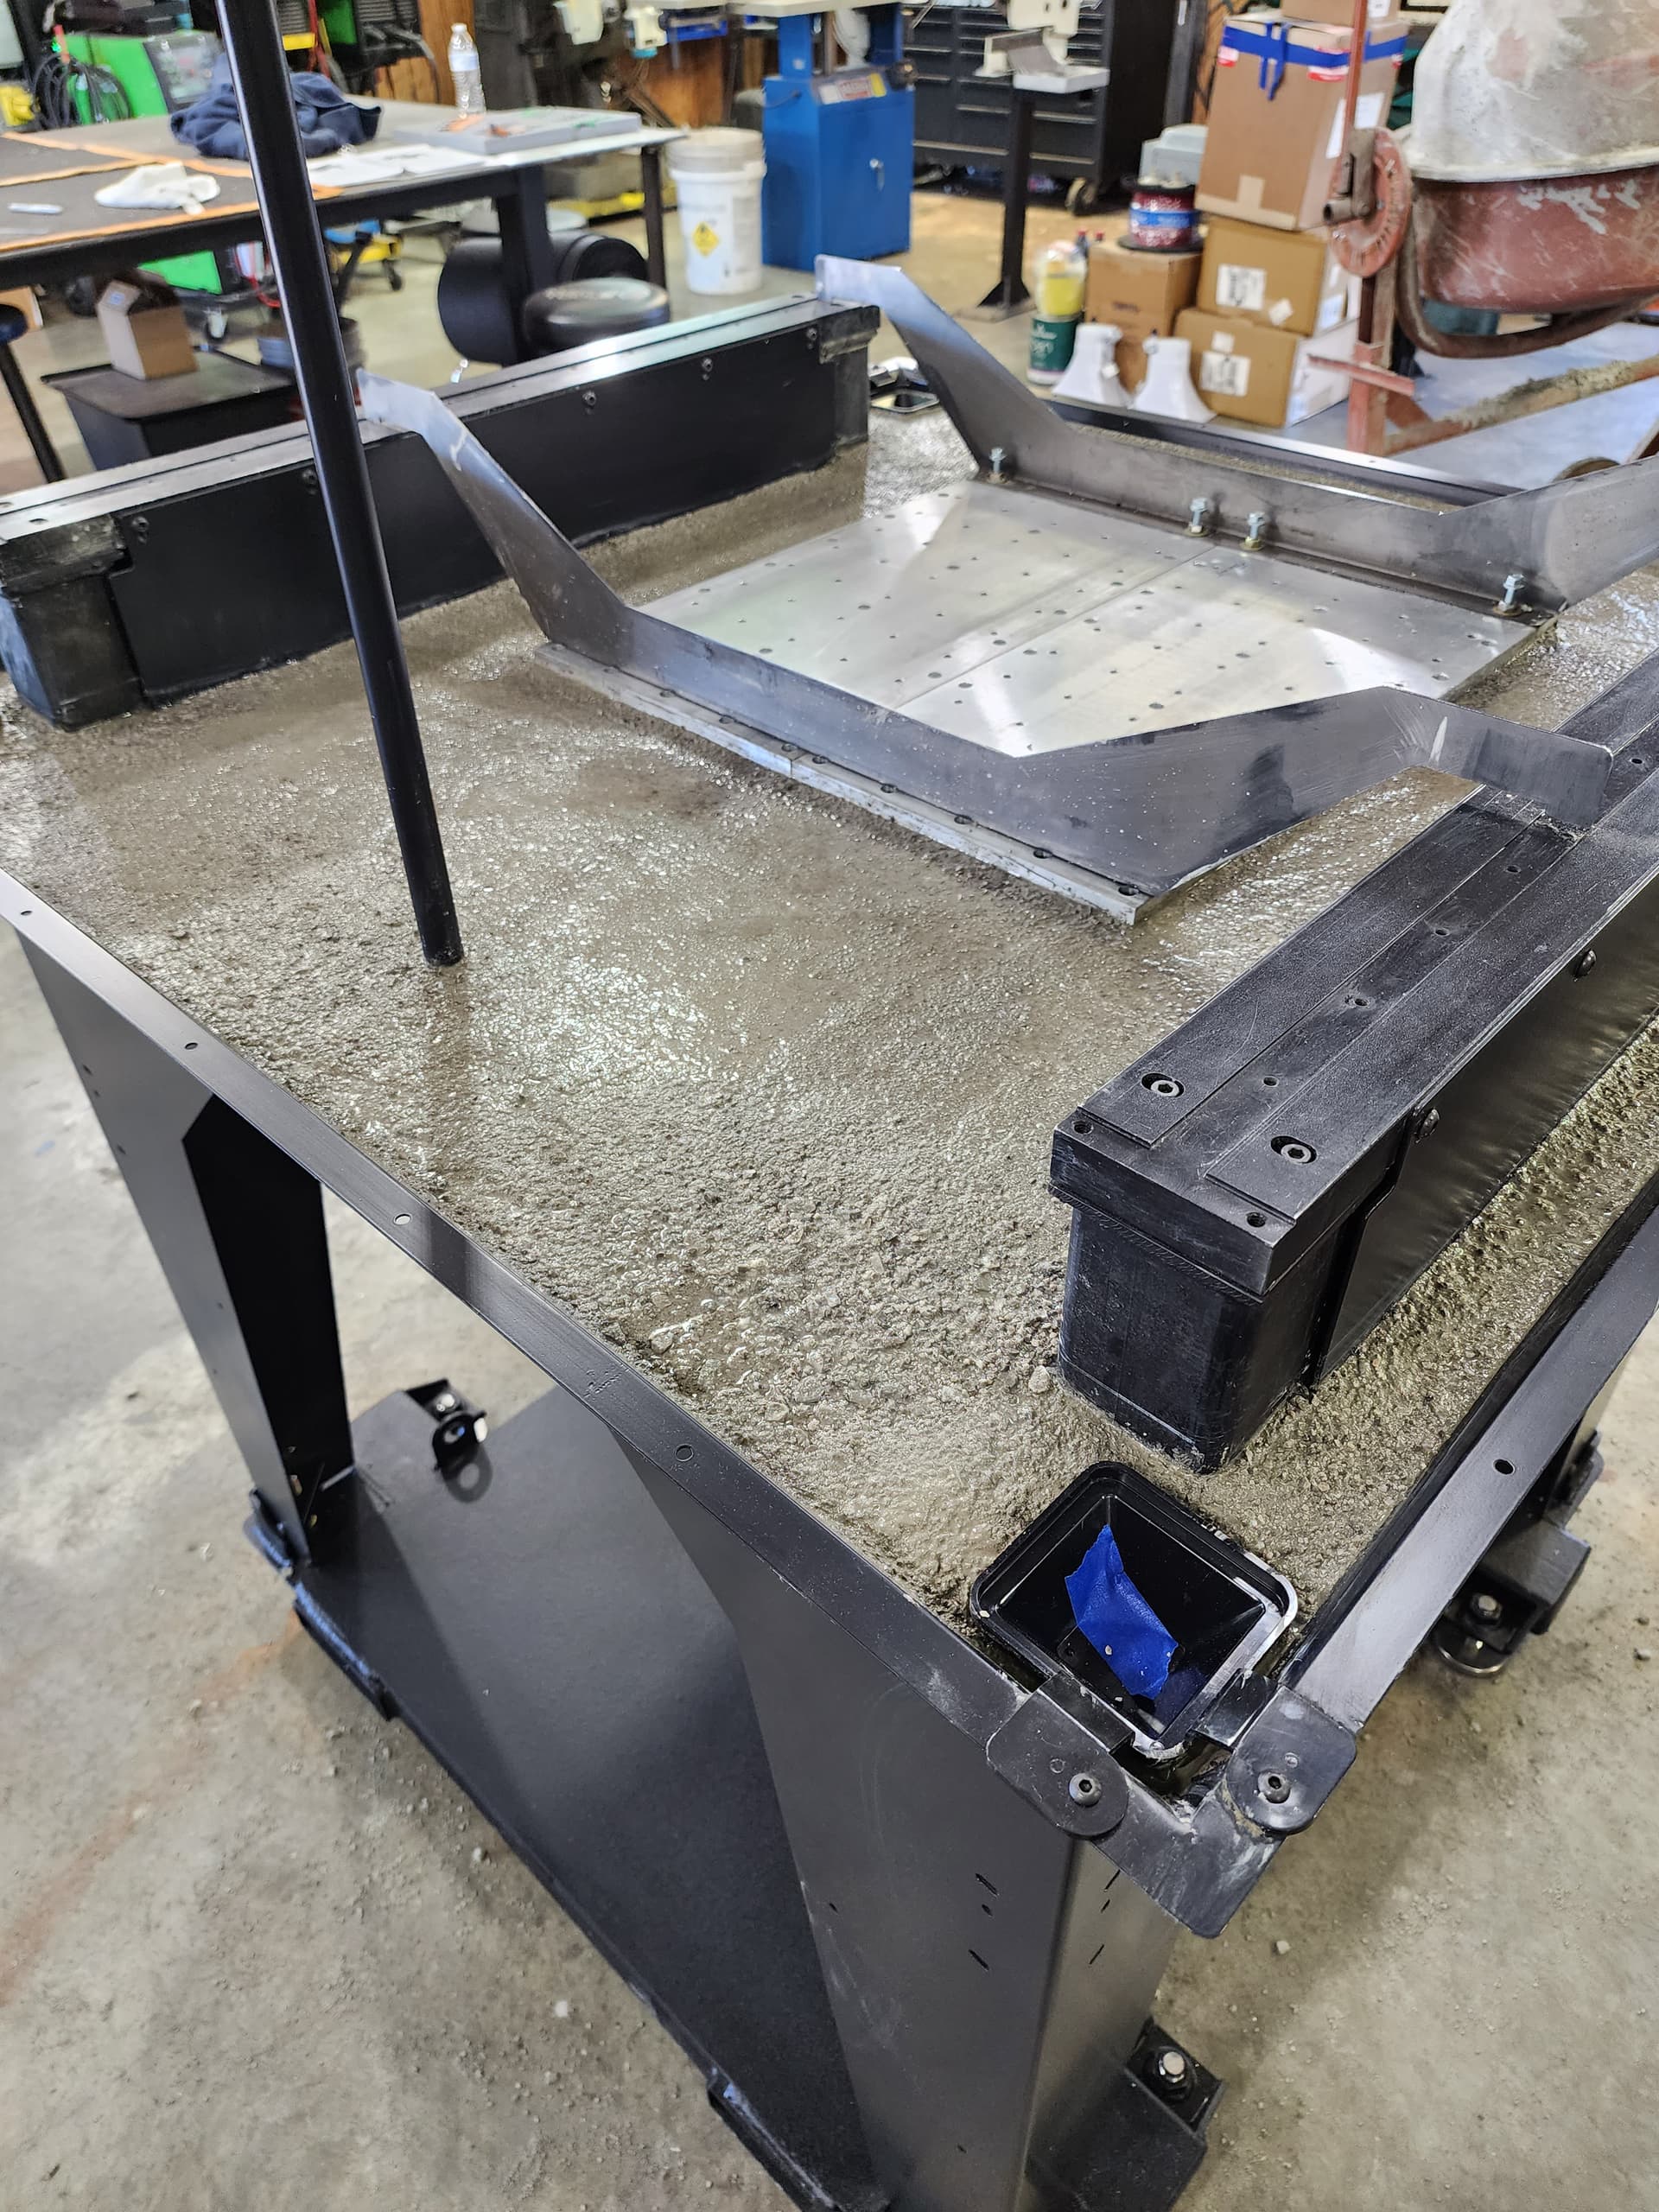
It was very easy except for the Co Plane setup. If you don’t have the exact type of magnetic dial indicator and stand you will pull your hair out. Spend the 50 and get it from Langmuir. Got my co plane to .003. I’m ready for concrete in the morning. Update coming soon.
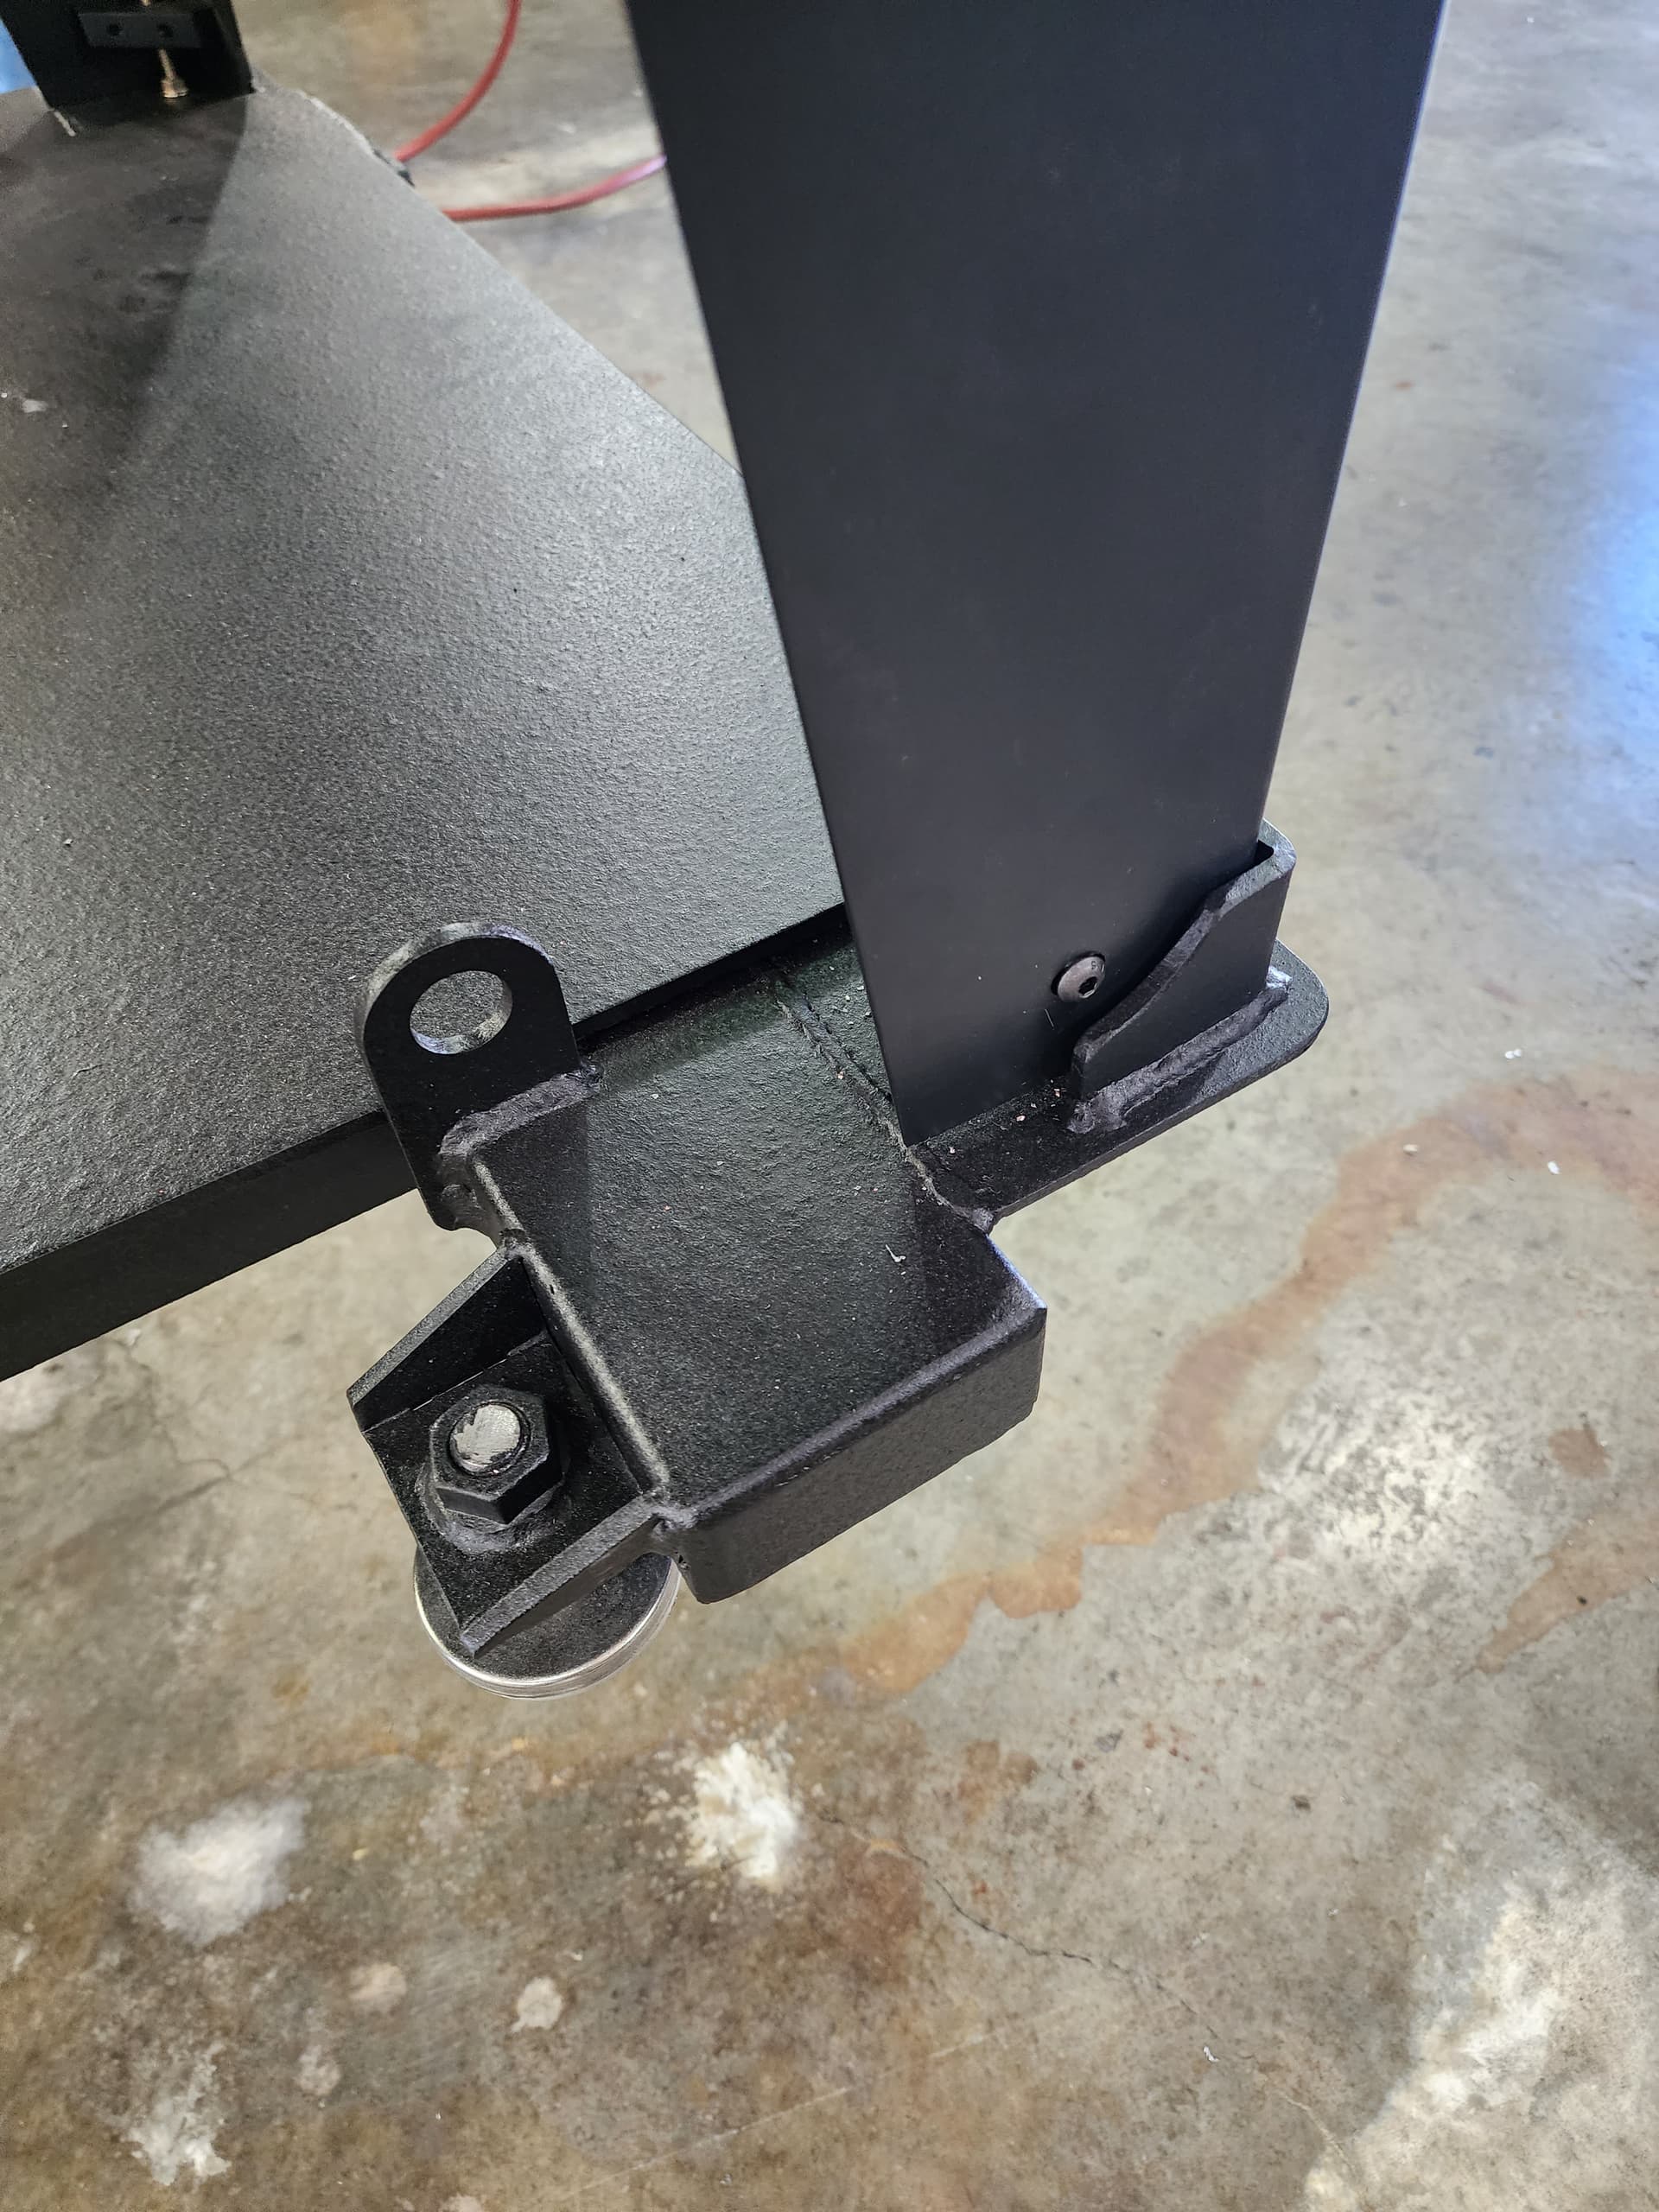
@Bigdaddy2166 Looks great nice work so far, you are fast! I think we need to offer that skid as an MR-1 add-on
Excited to see the concrete pour updates tomorrow. We started affixing a reference guide to each chip tray that highlights some of the key points during this process but yours went out before this was added so here you go!
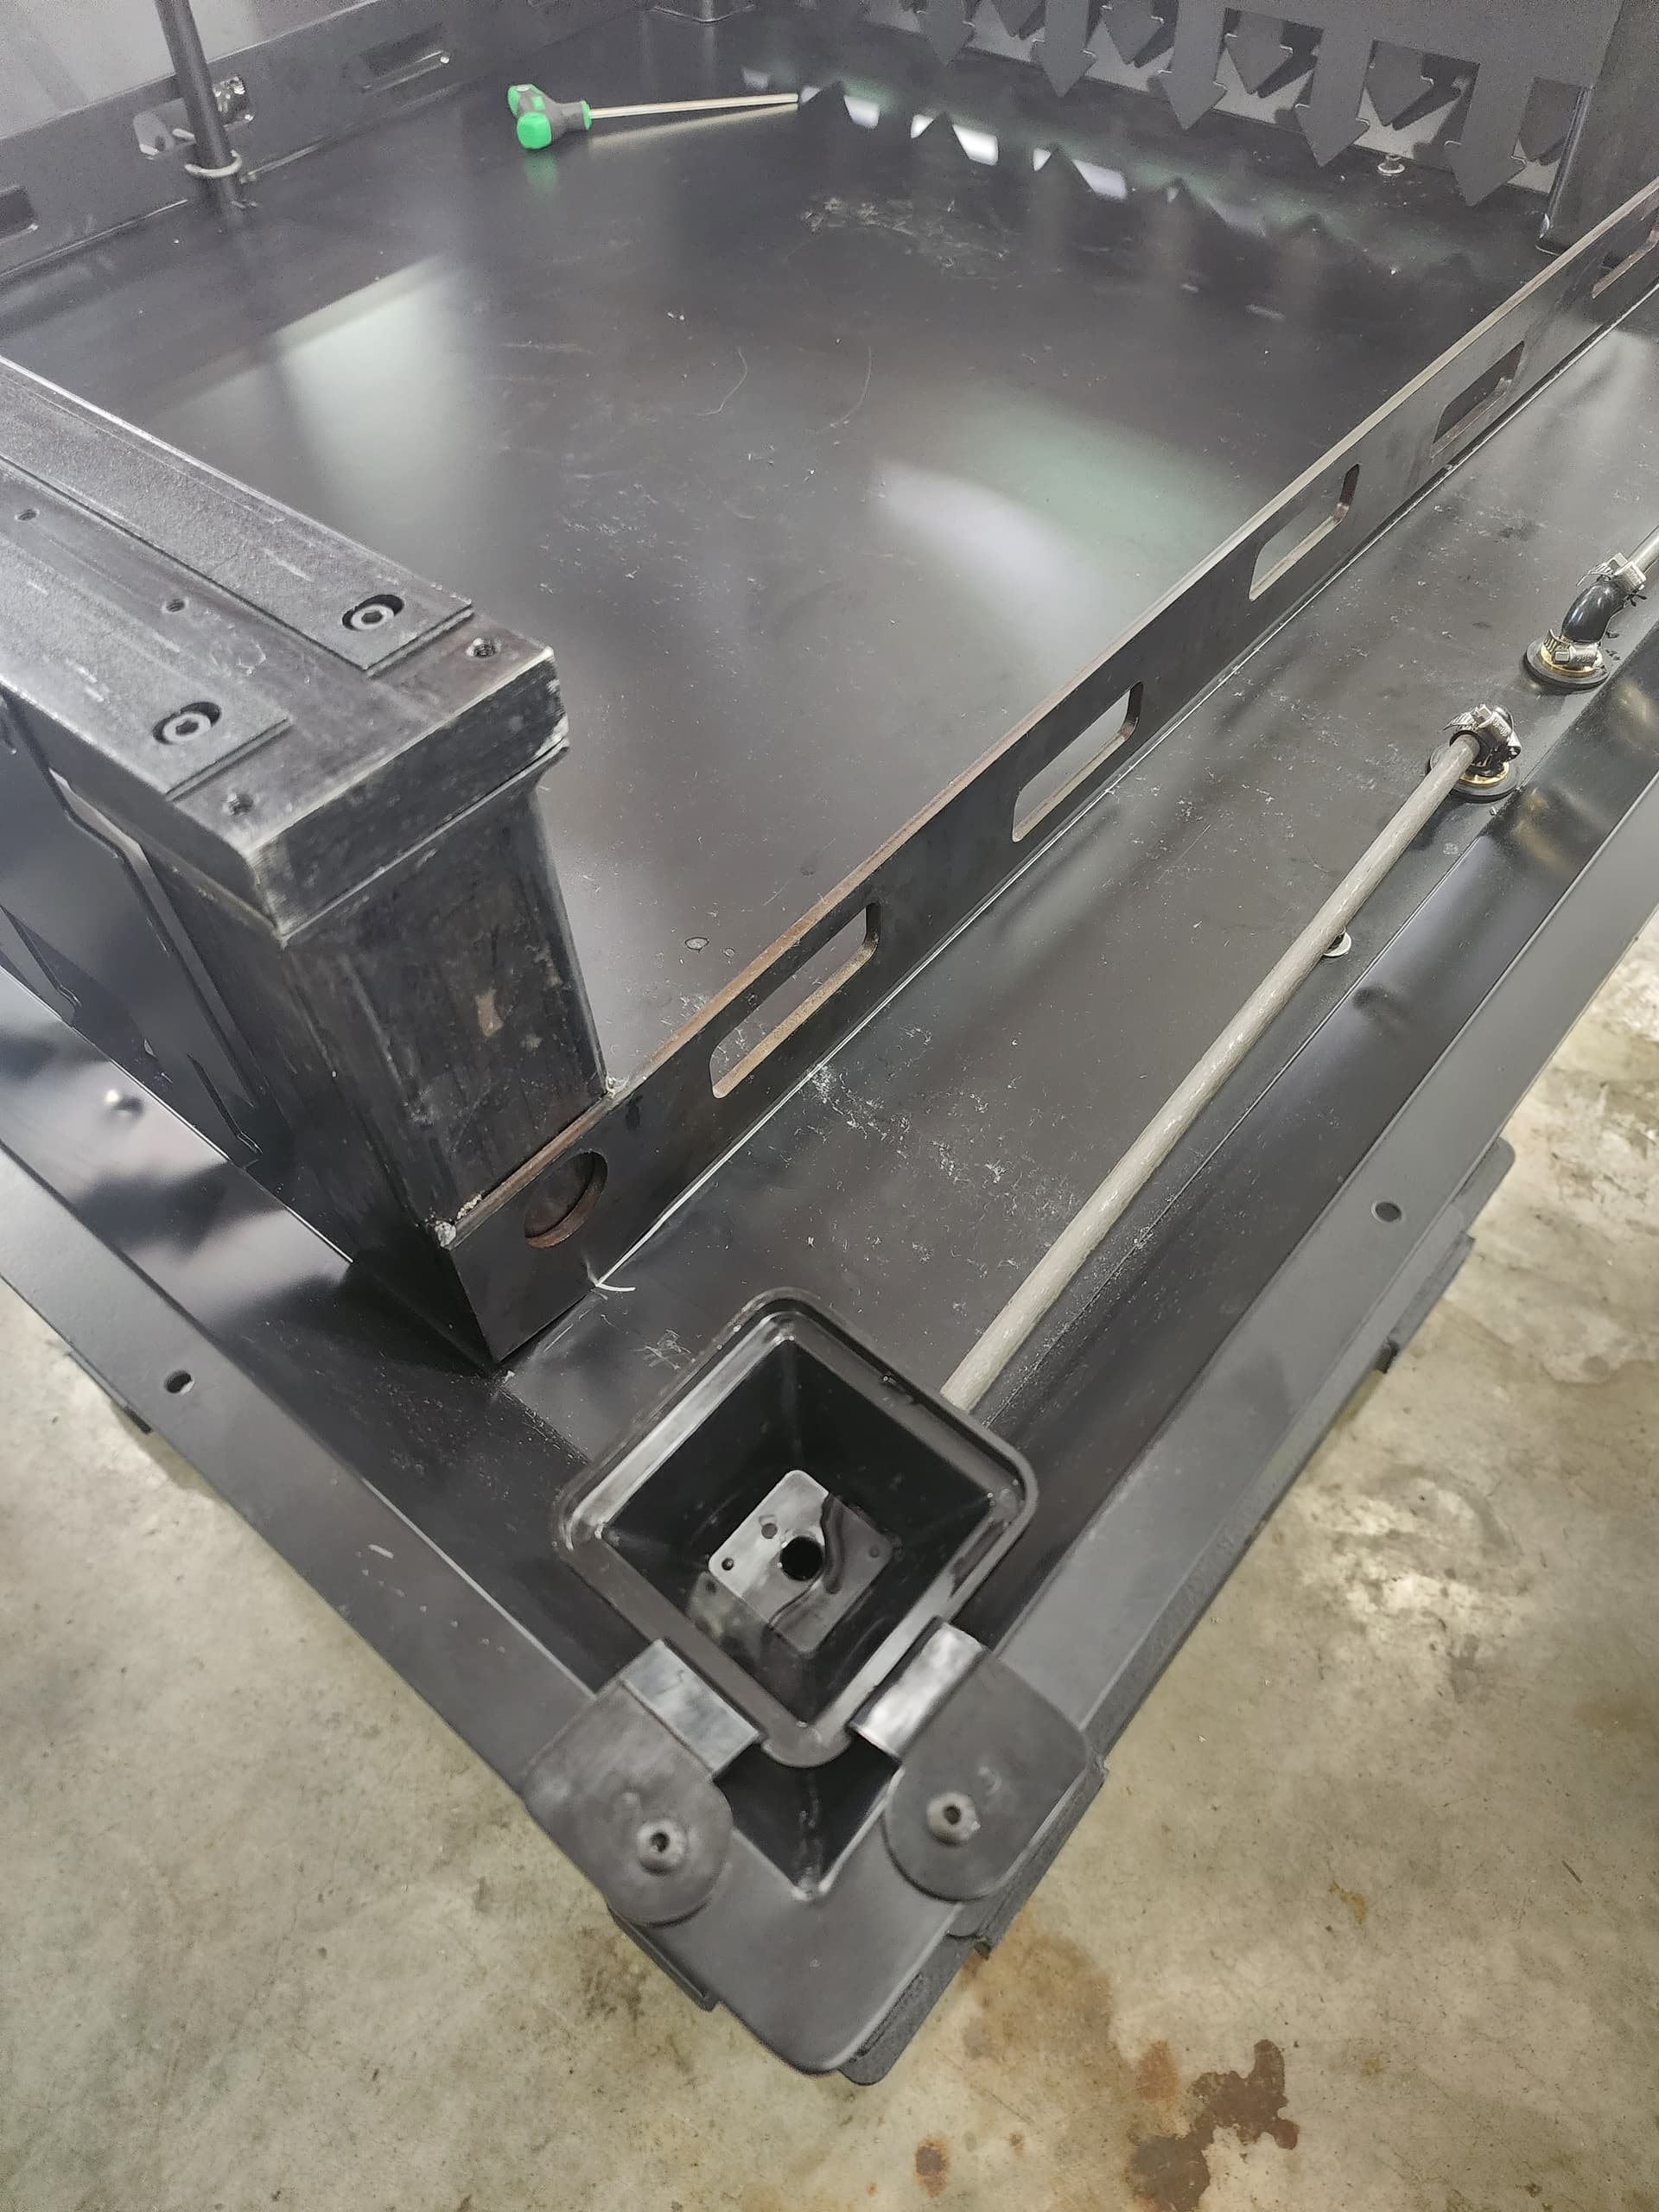
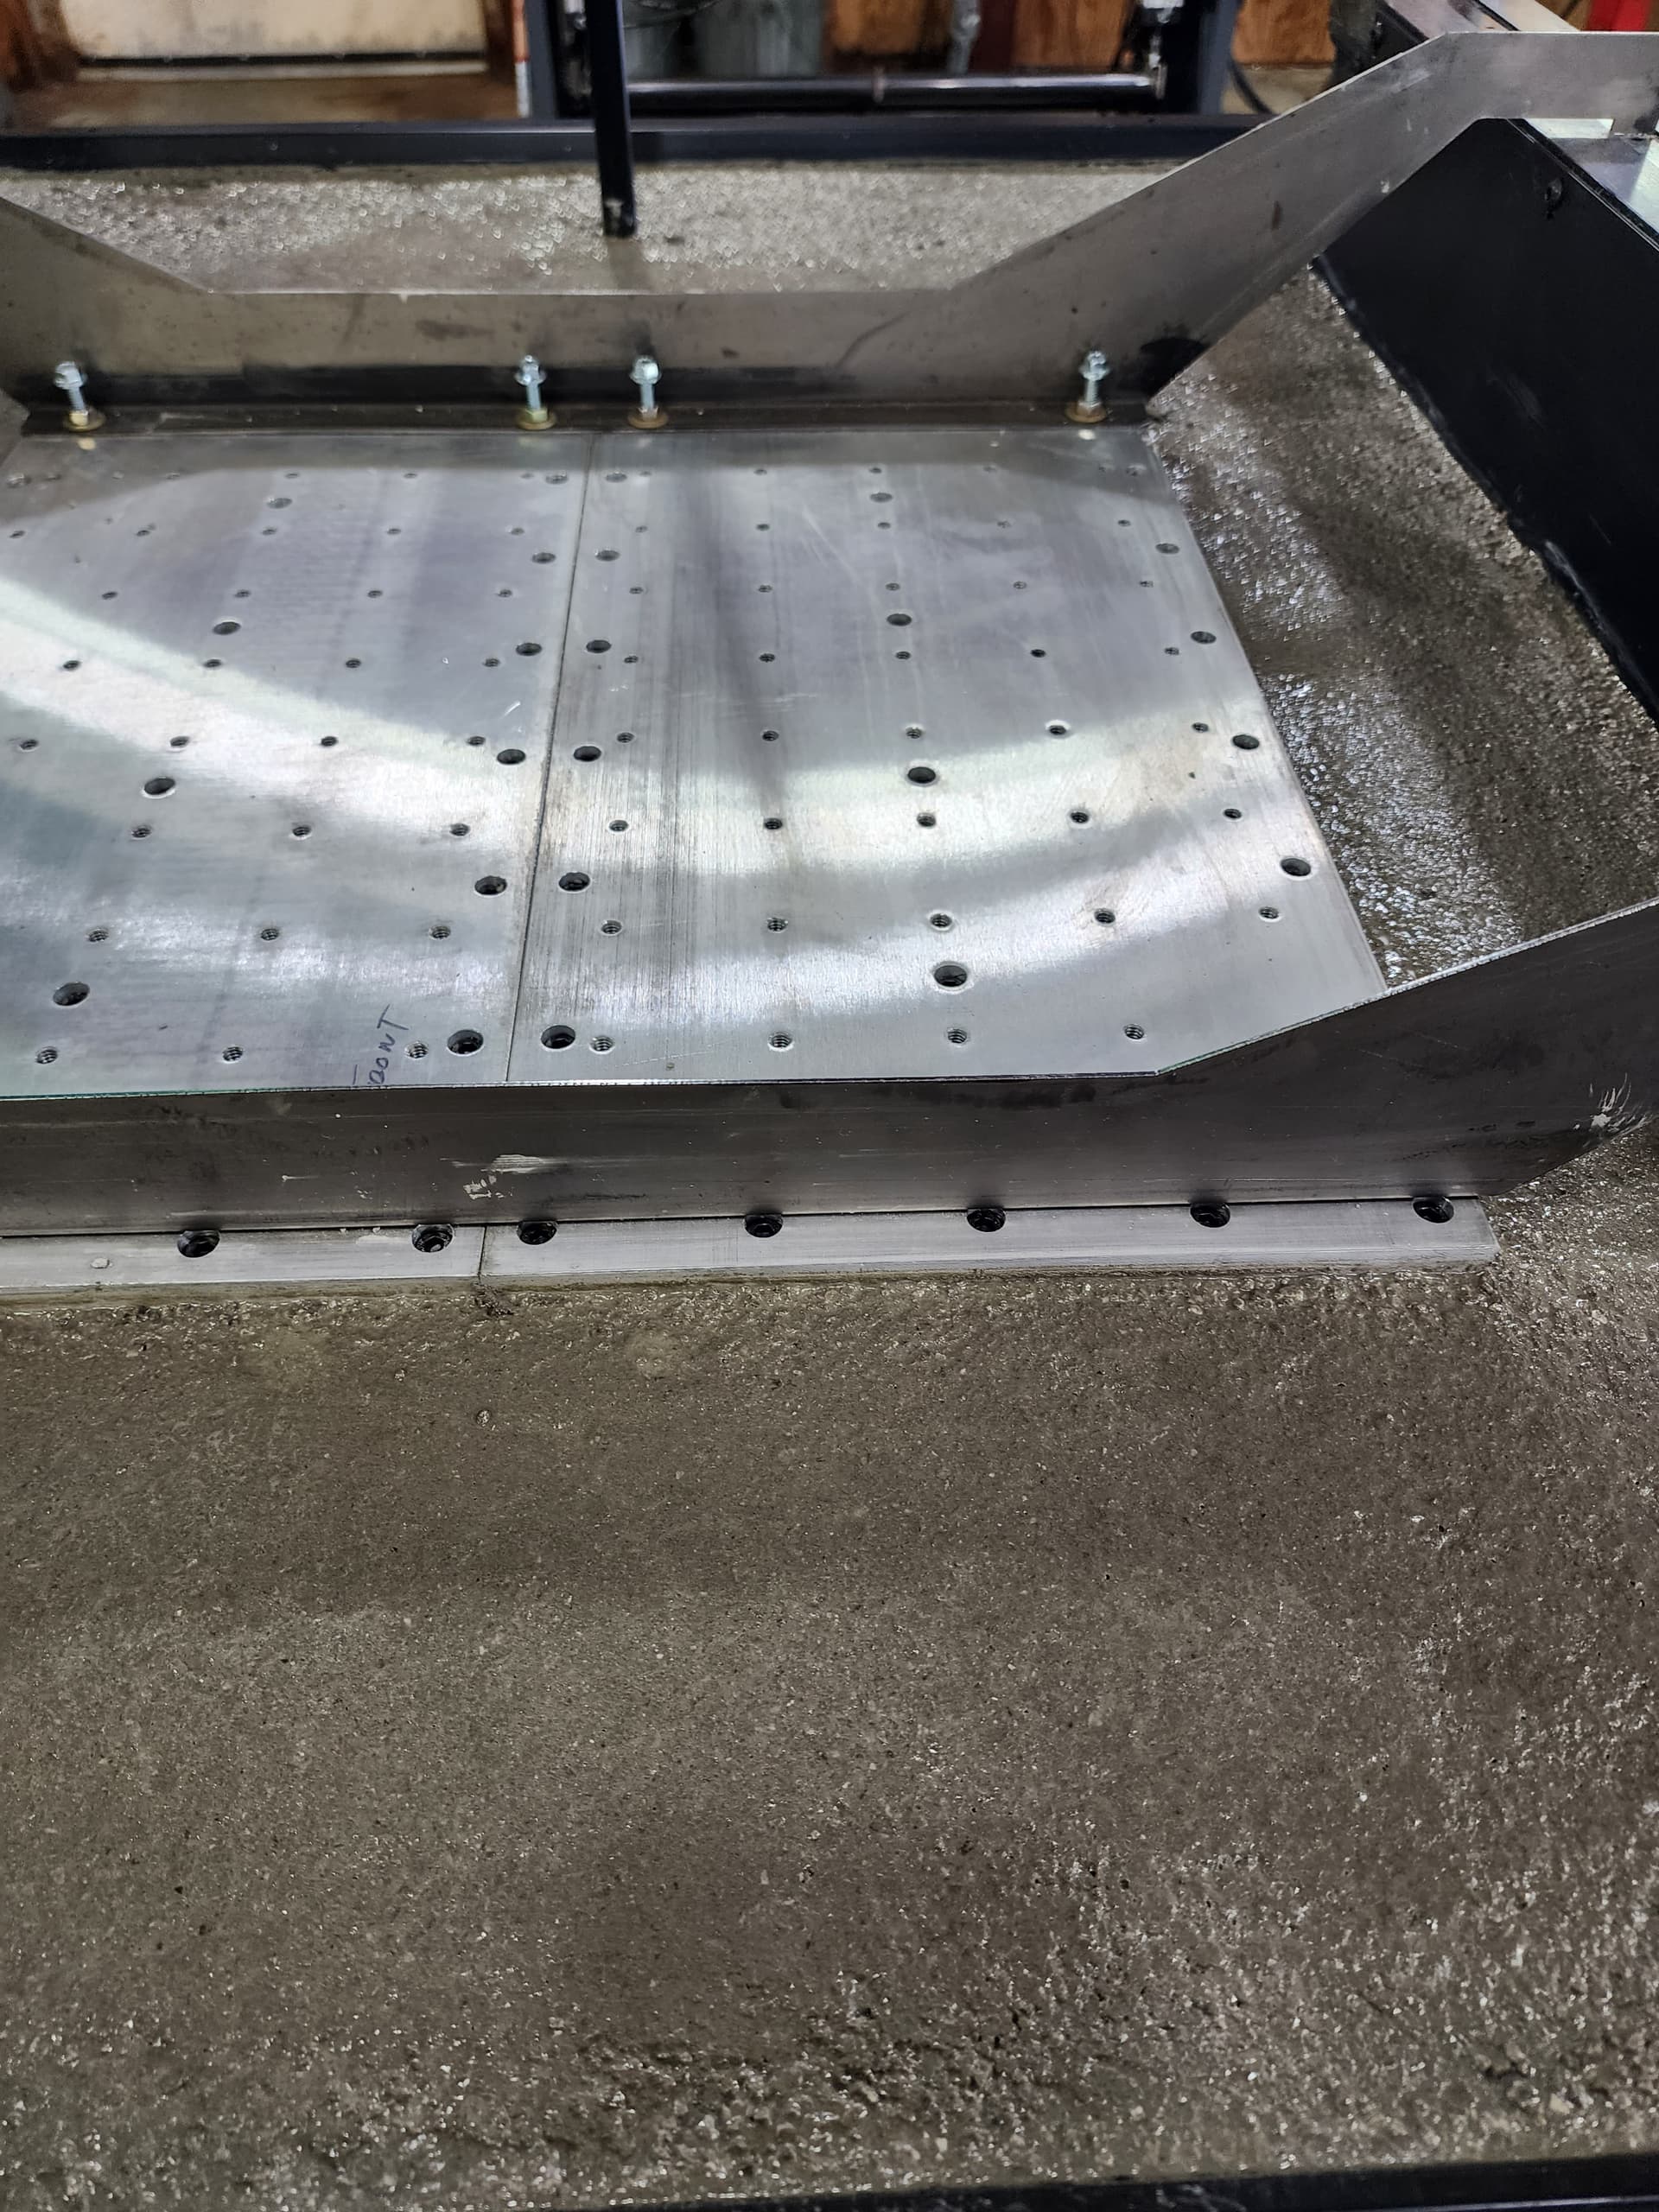
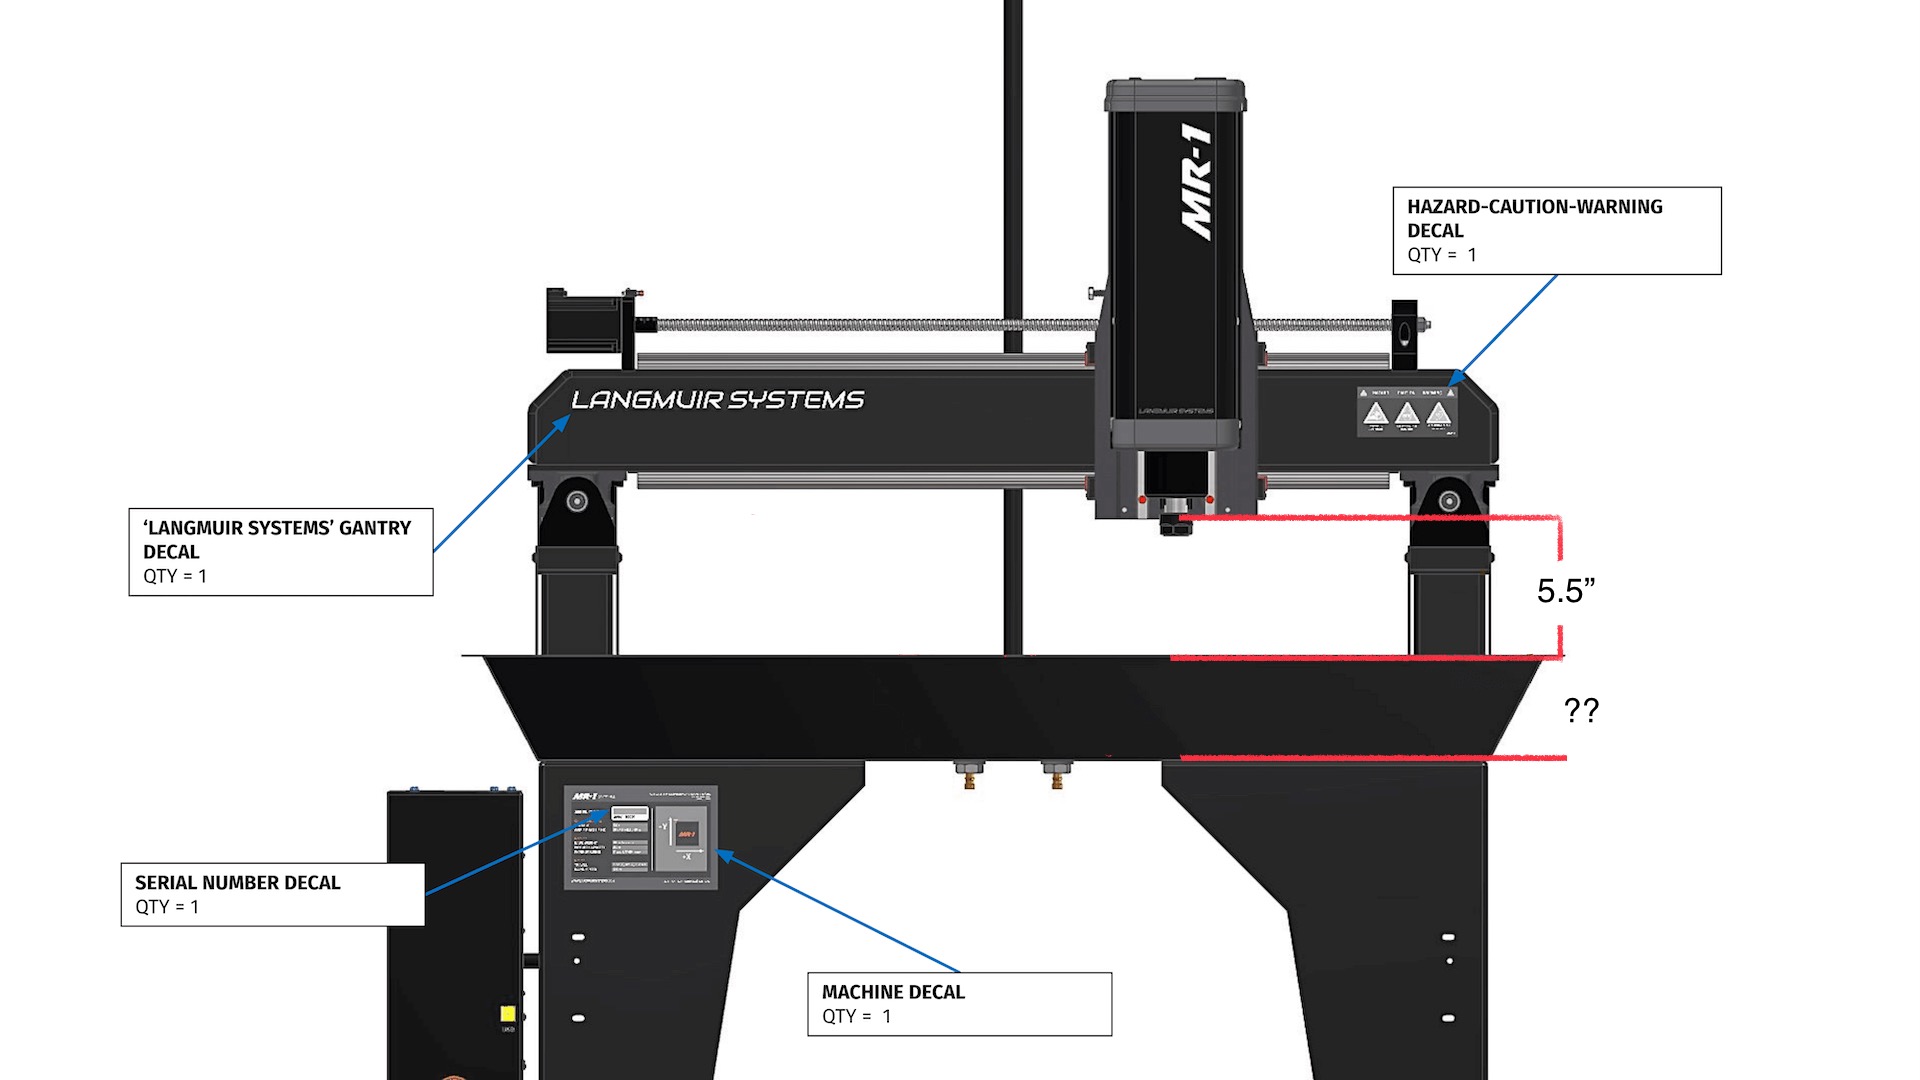
Just wondering if the illustrations are accurate. The table to carriage clearance is listed at 5-1/2” so I had estimated the chip tray depth to be around 5”. So concrete thickness should be close to 4-3/4” before epoxy top coat. I had read other estimates of 6” to 8” for concrete. Am I far off?
4"to 5 " is what mine worked out too.
Z travel is 6.1 or so in lower bolt holes.
Almost 9" in the upper mount holes. The measurement they are showing is to the top lip. Base plates are about 1" below that.
Haven’t seen a video yet on the upper bolt holes. I don’t think it affects carriage clearance though which I think is the bigger problem with the Z height.