Yes. I just swapped my Y/Z to high power steppers and did a recalibration and resquaring of my machine.
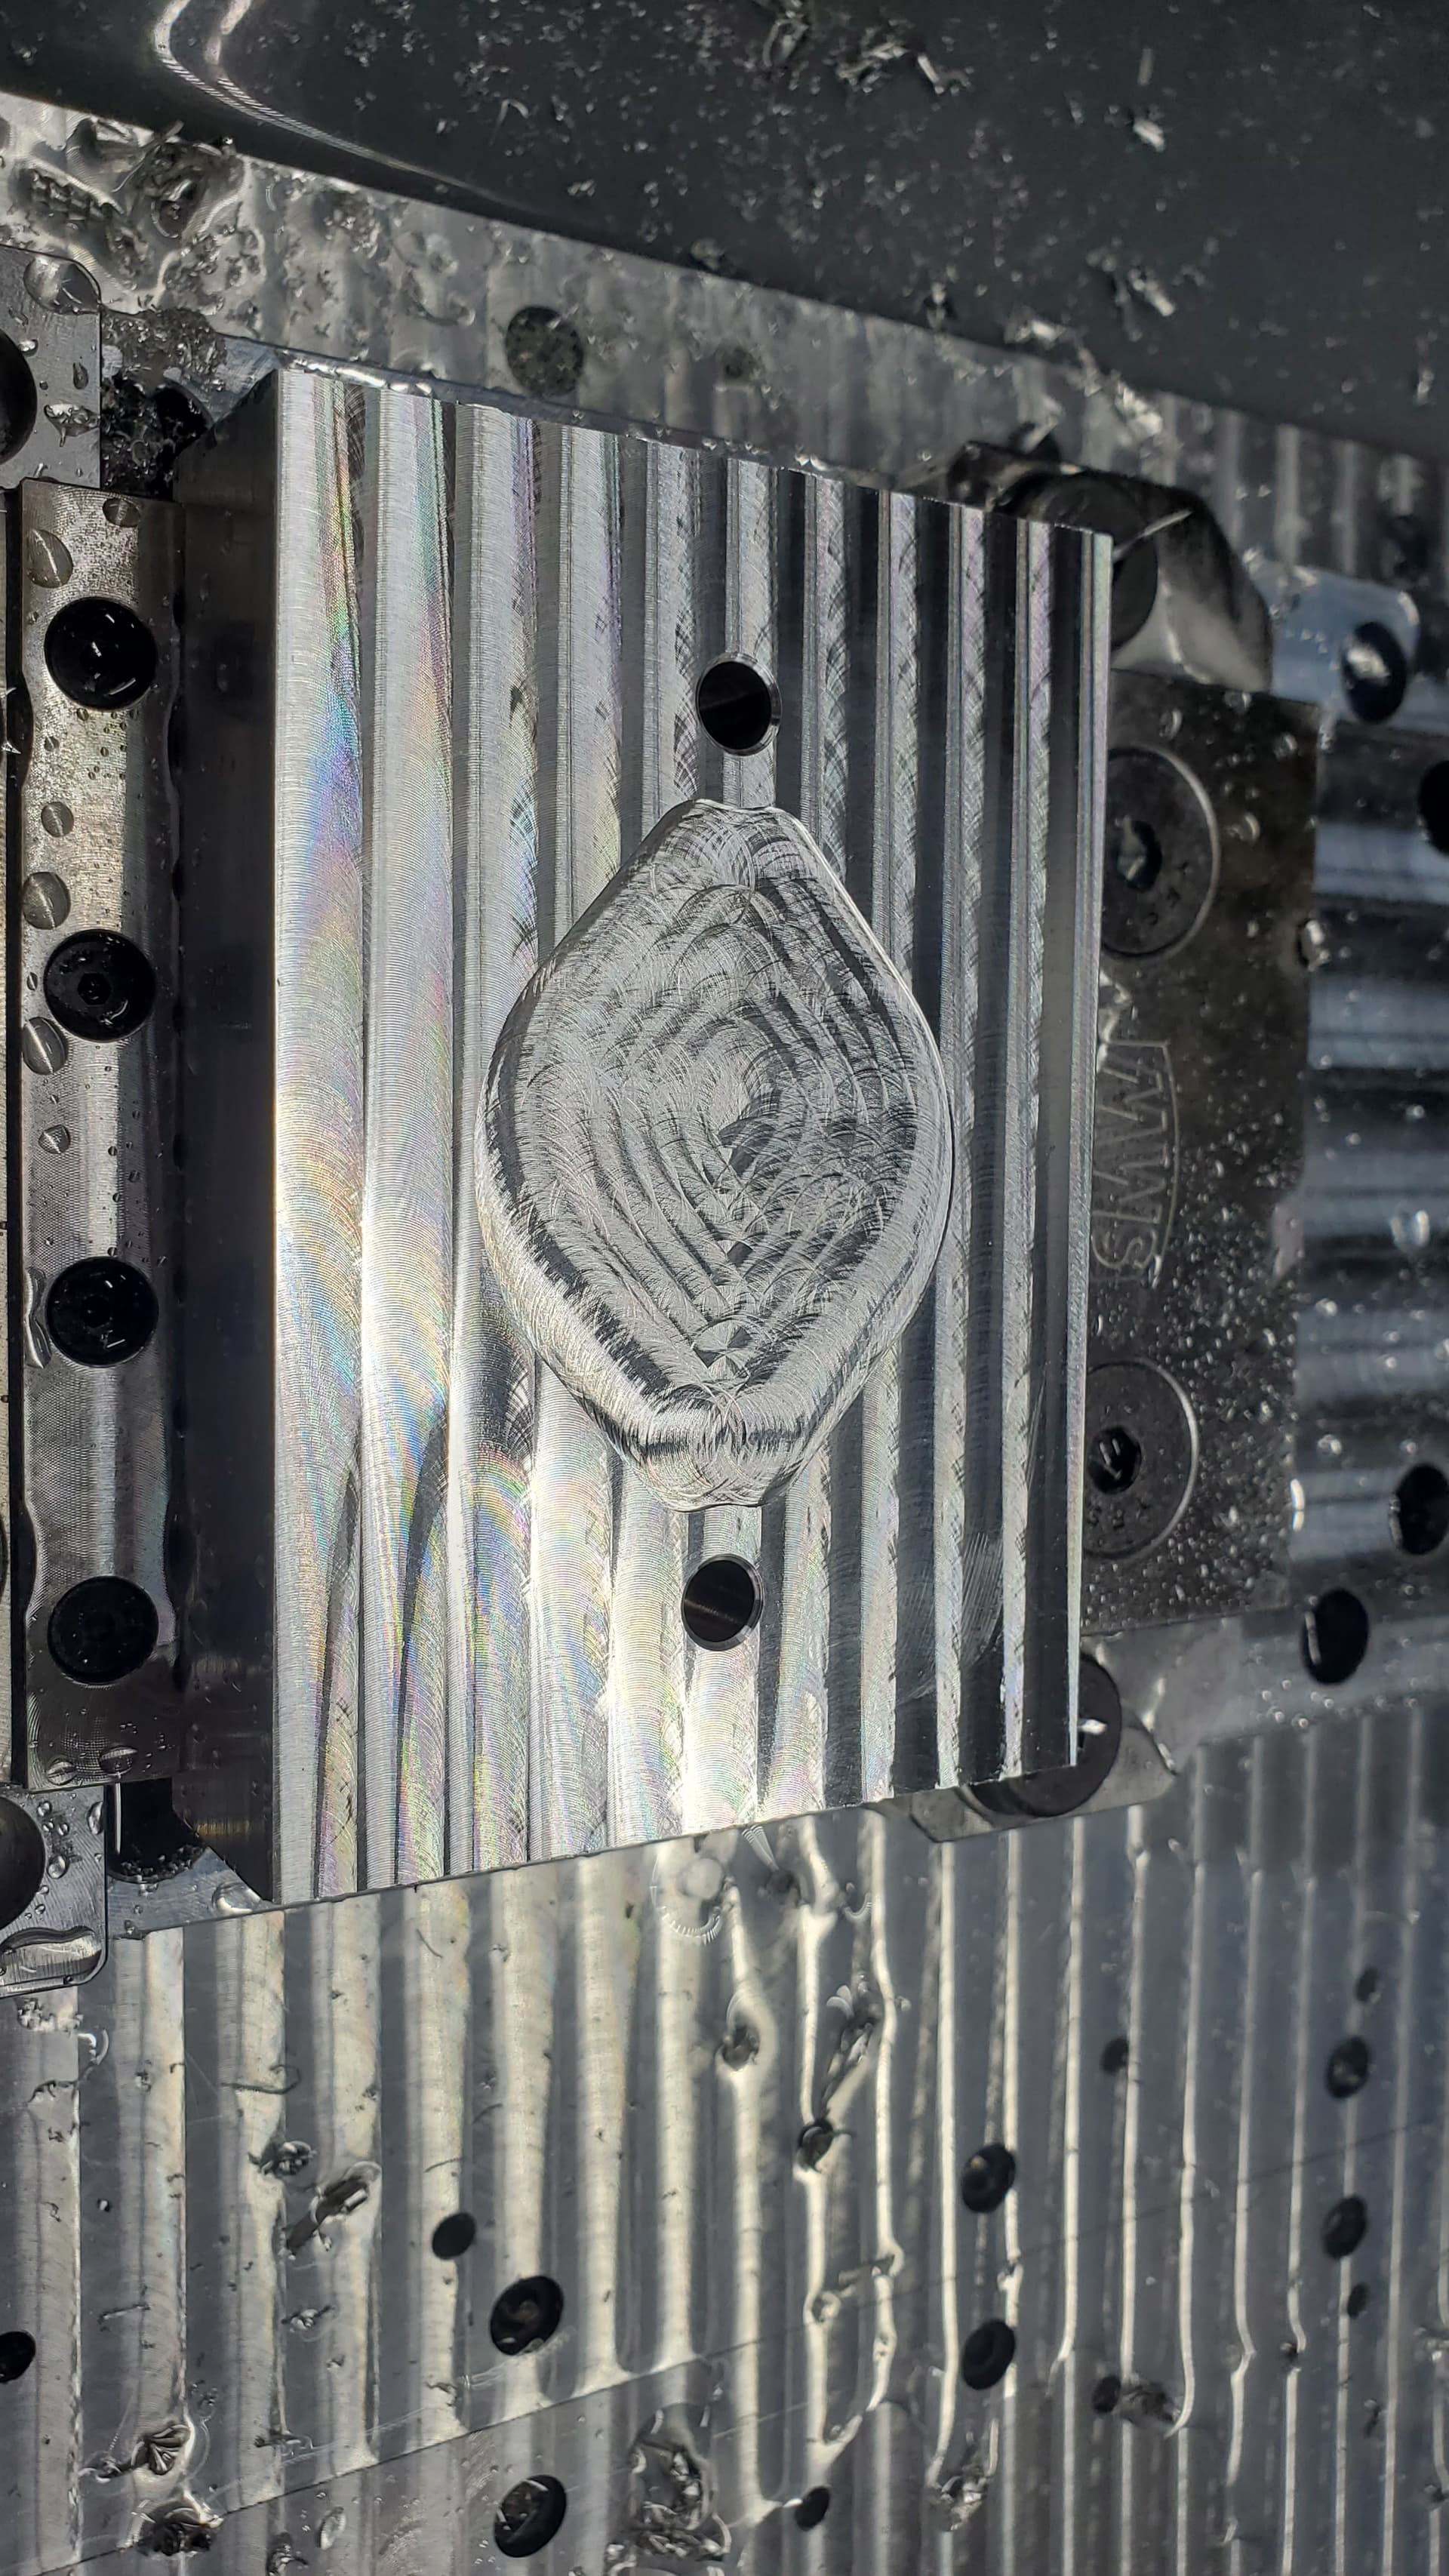
I had a test part to make for testing some engraving but figured I would play around a bit with a dikfer geometry test. The resulting dimensions of my part were all within .001 on all axis to include having a nice round bored hole for testing fitting a bearing.
I suggest getting some 2/4/6 blocks in addition to 1/2/3 blocks. For squaring gantry and calibration I like to use the larger blocks to help decrease error thanks to longer travels.
my first cut in the me1 - YouTube this is the first cut I made on the mr1 just a quick logo to get things started now I have a feel for this I will be moving on to bigger and more complex things
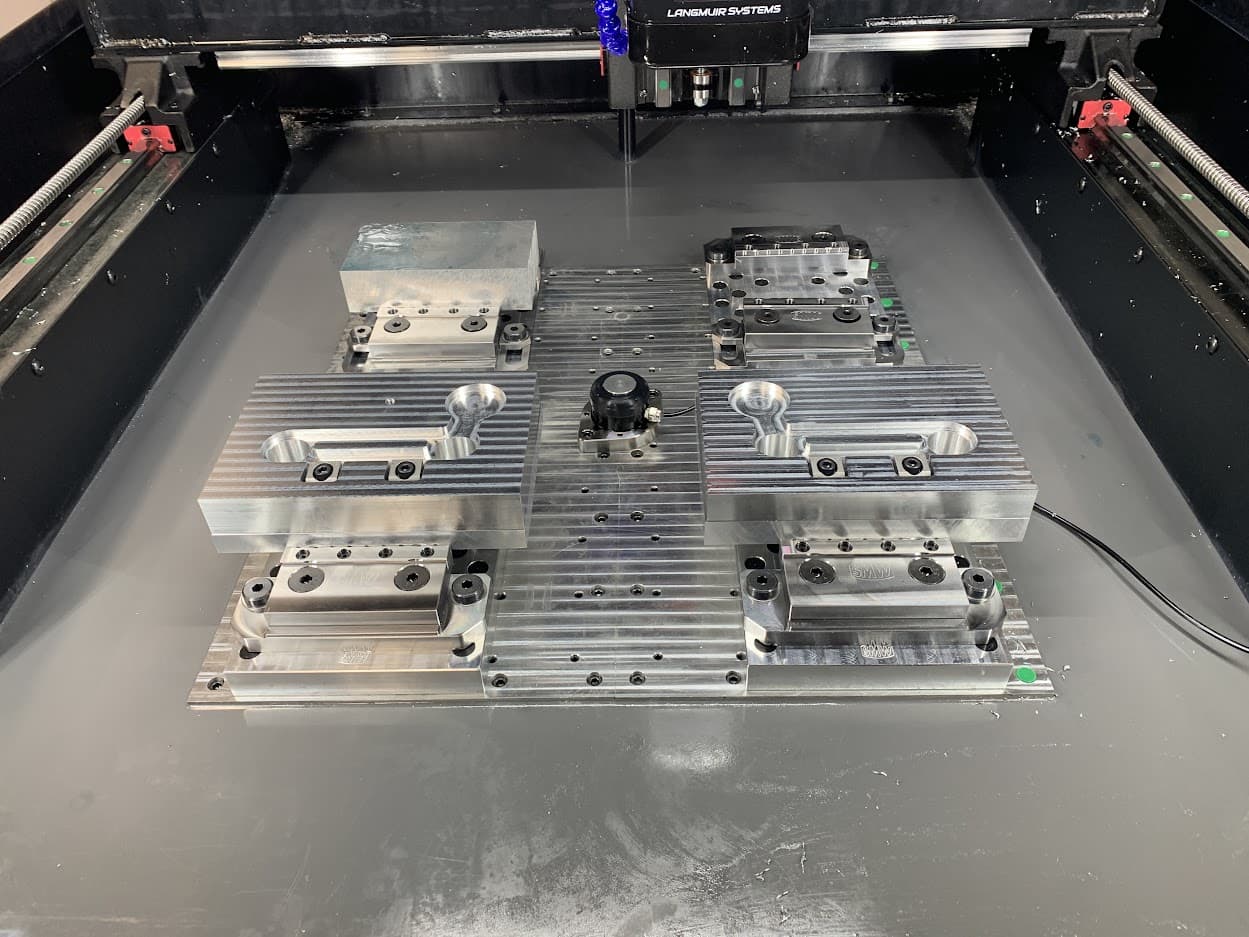
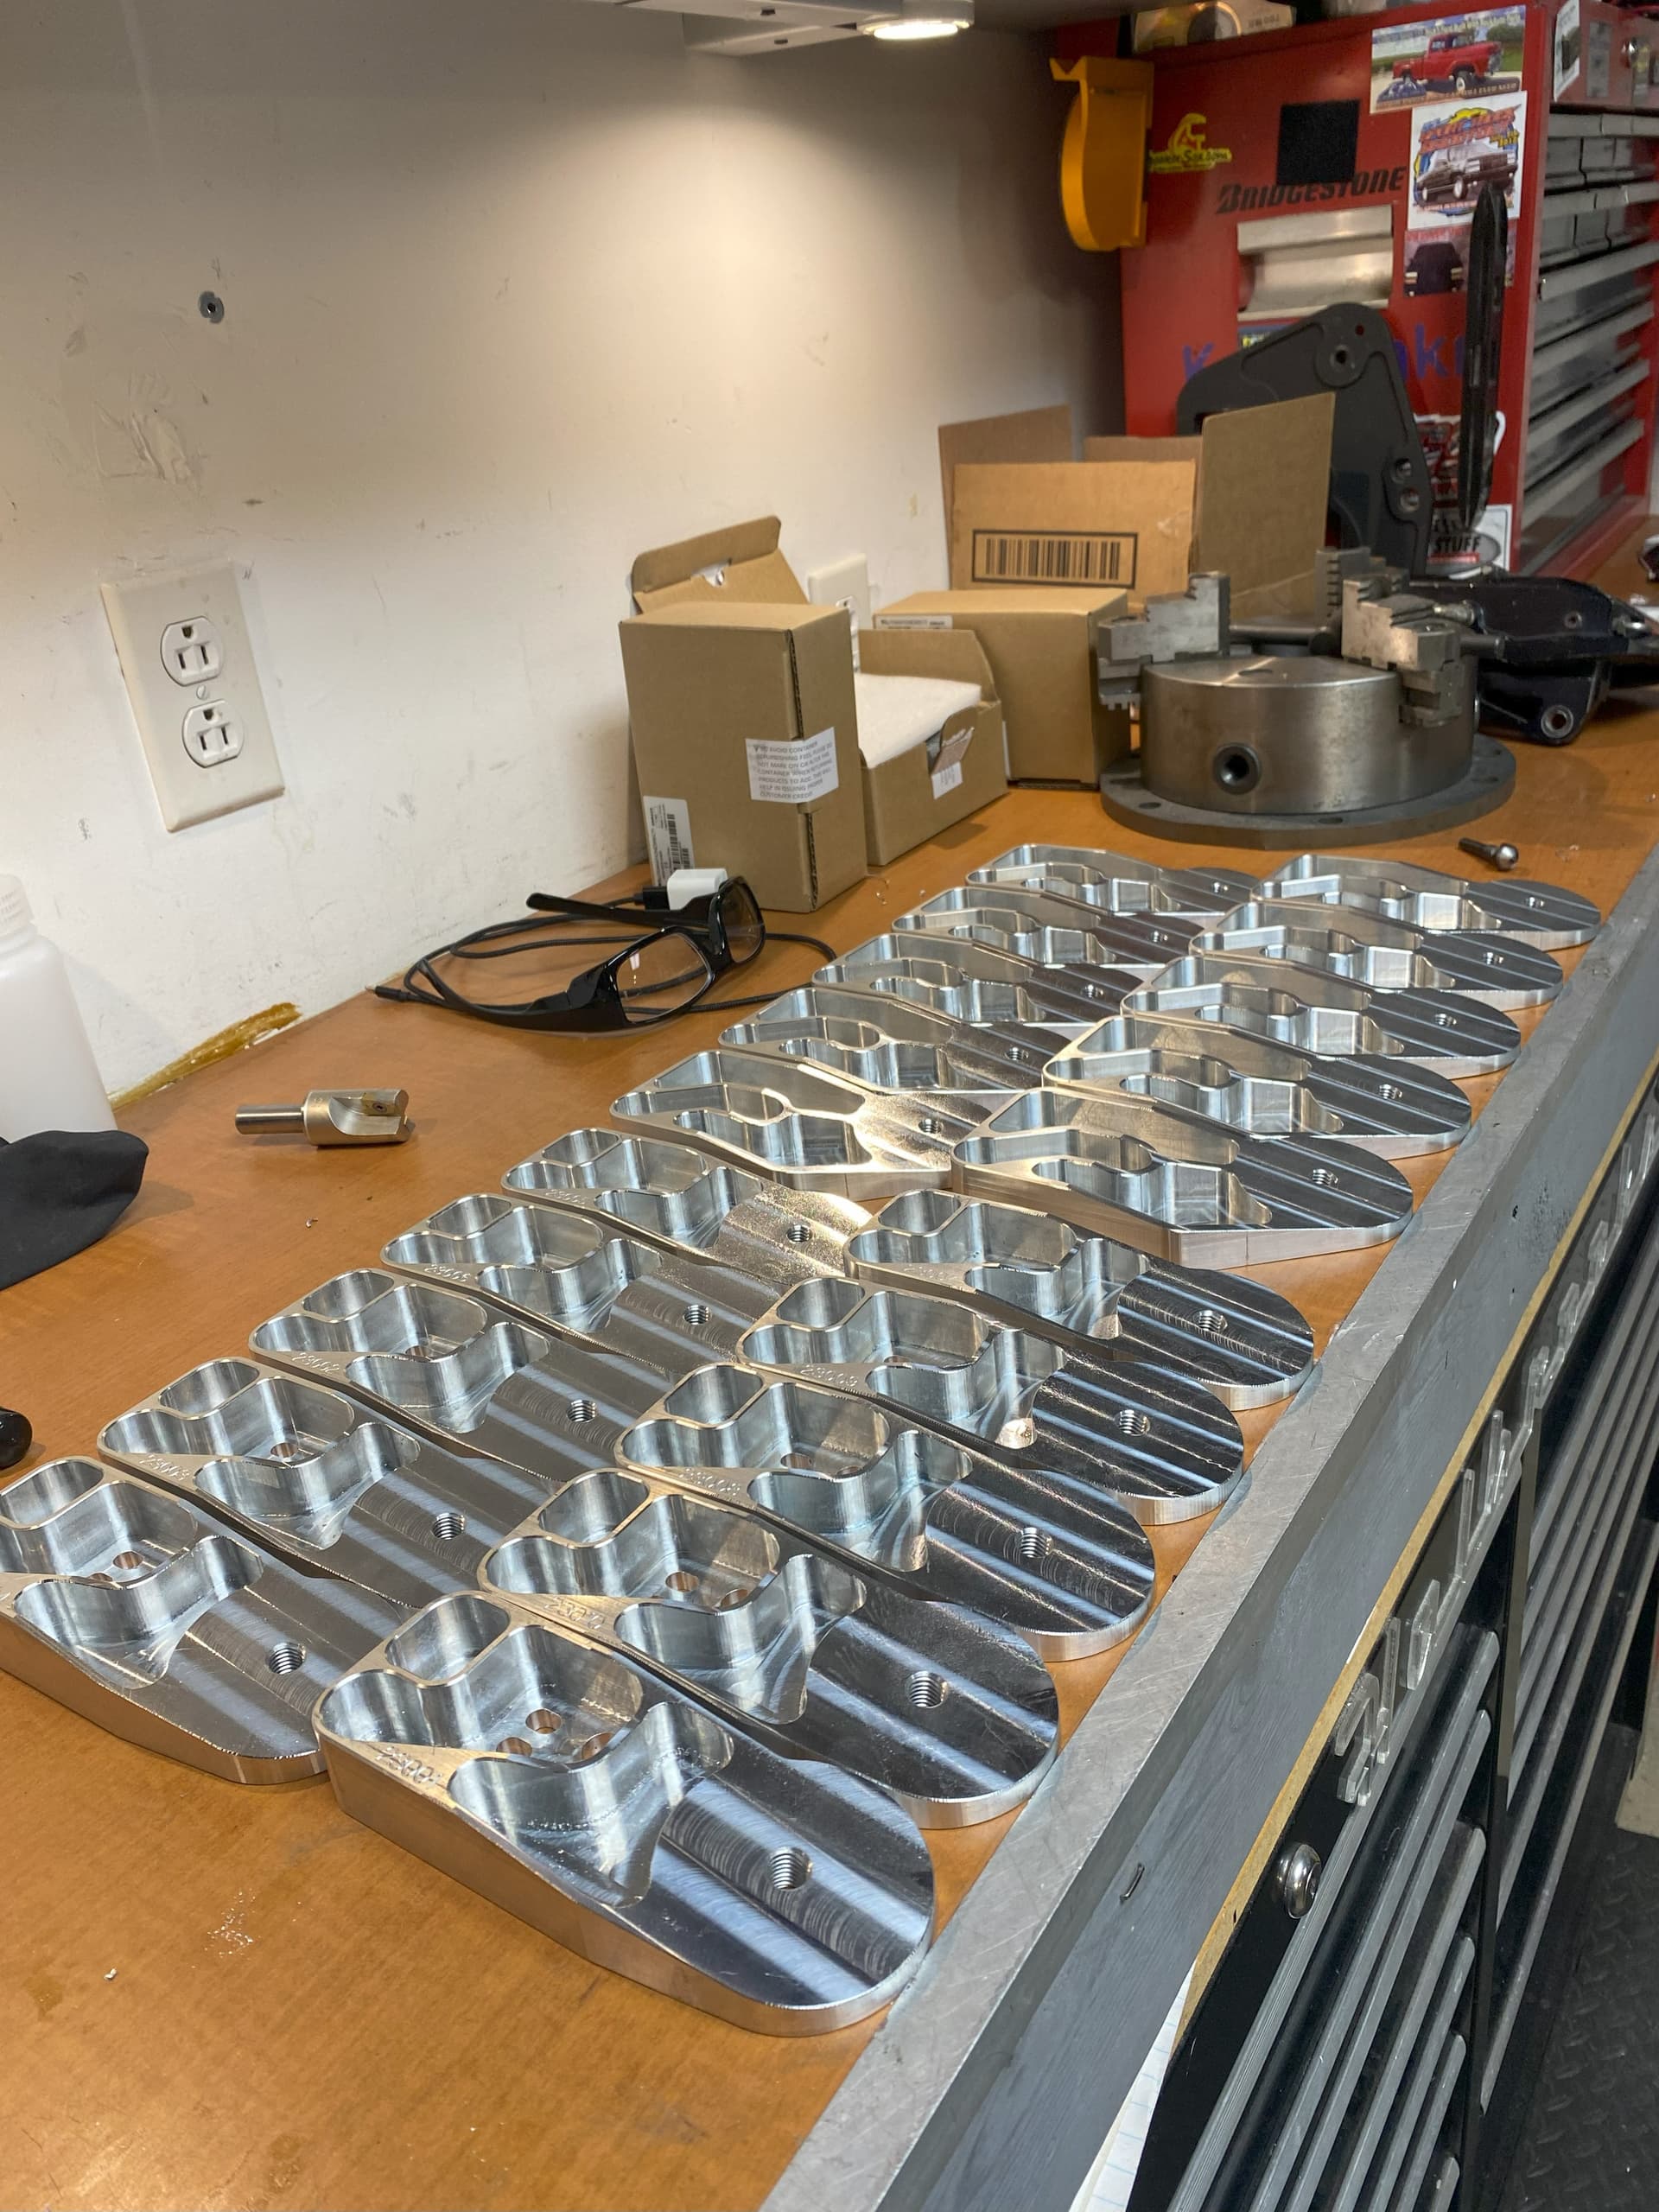
Well, Been gone a lot for my regular work, but finally got my jigs set up so now i can do opp 1 and opp 2 for both left and right parts. So far it has been working out really good.
Here is the file I made, only thing I took a shortcut on was putting the chamfer on the part. I wanted to get back to the job I was running and couldn’t be bothered to put a chamfer mill in. You will just need longer bolts for this to go in the machine, I had some laying around.
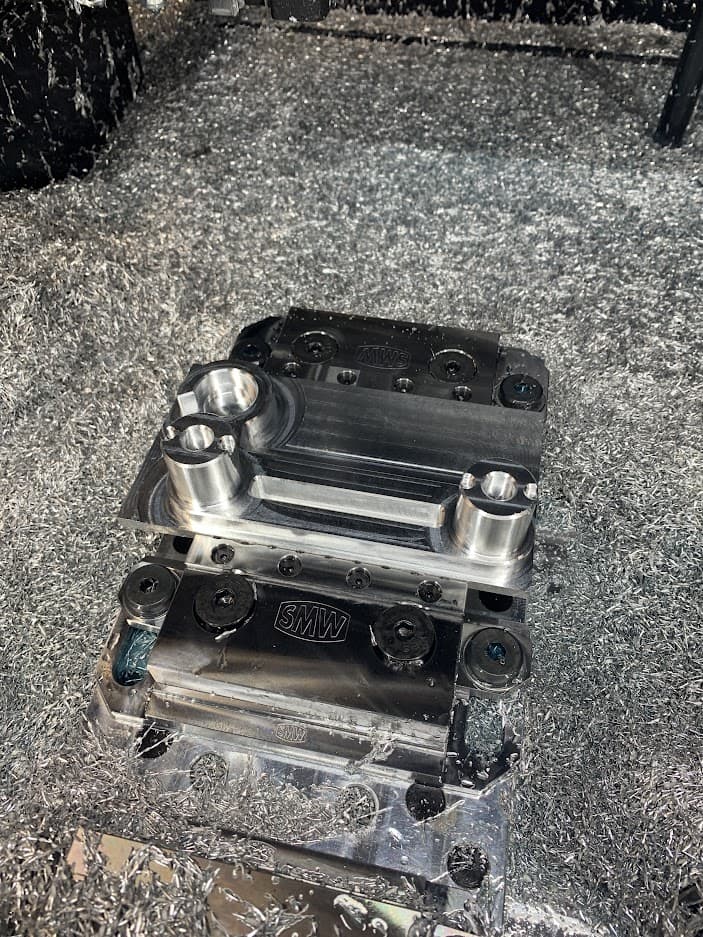
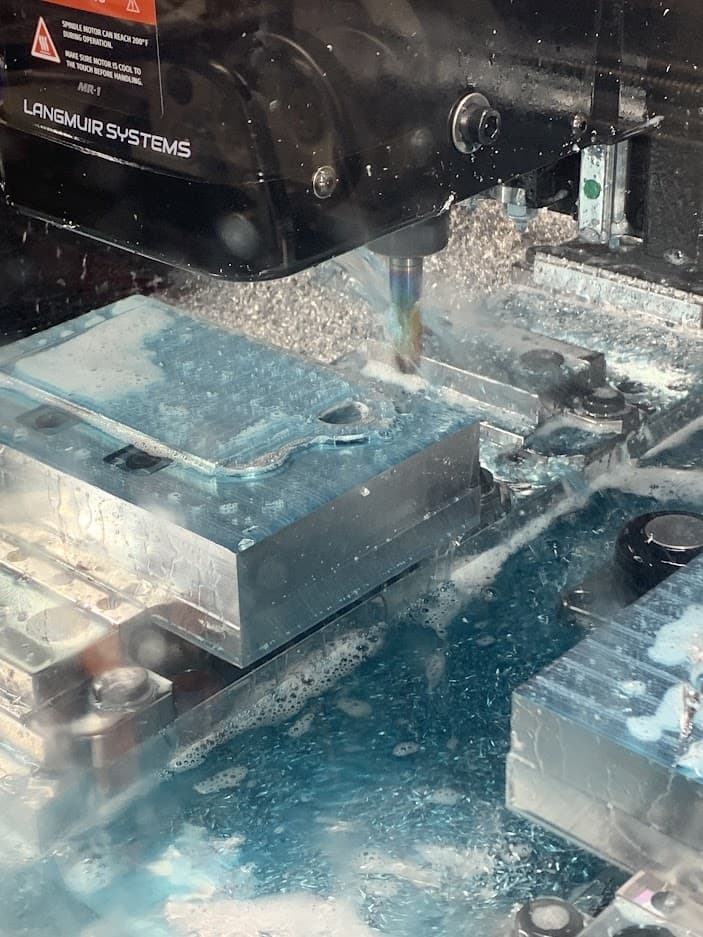
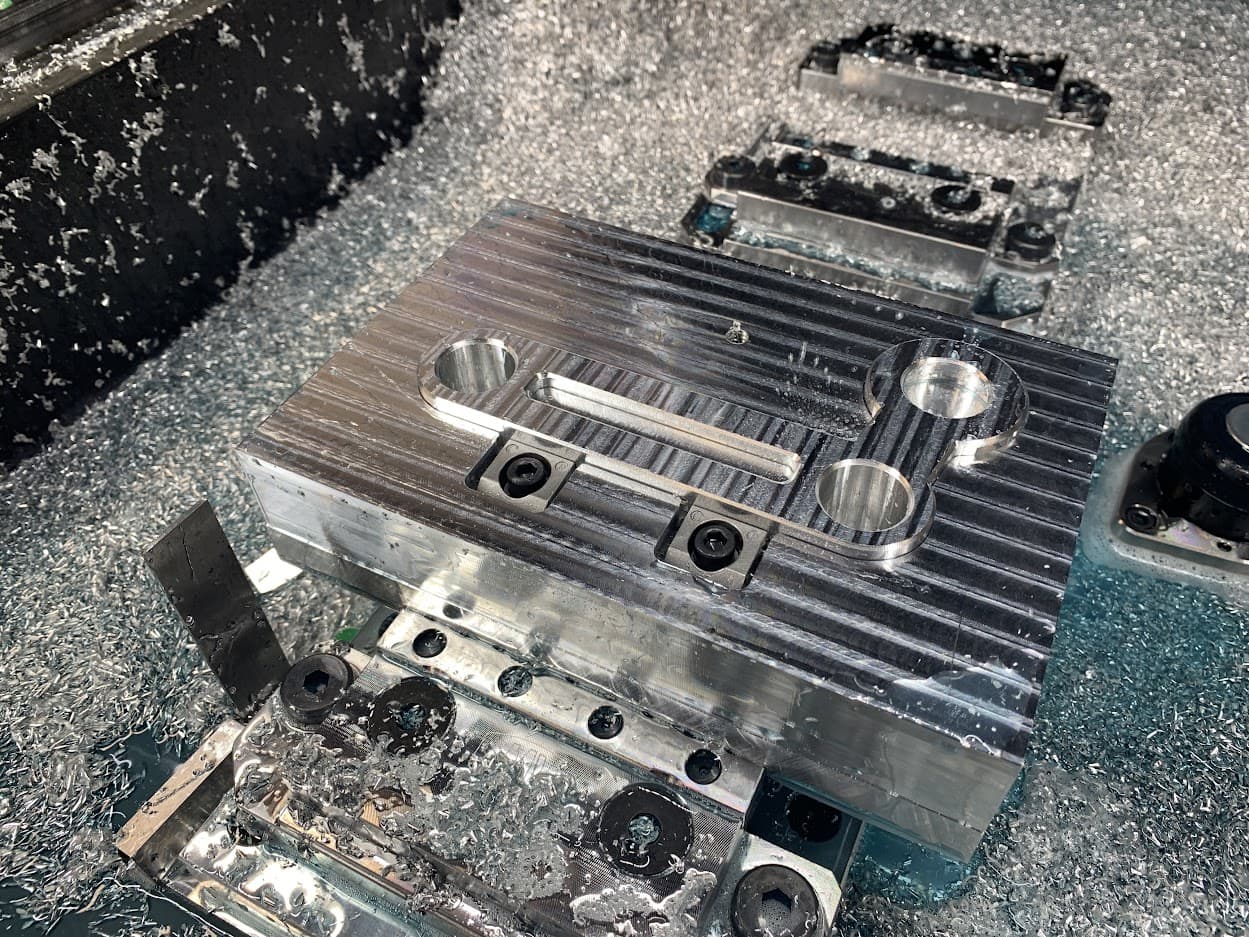
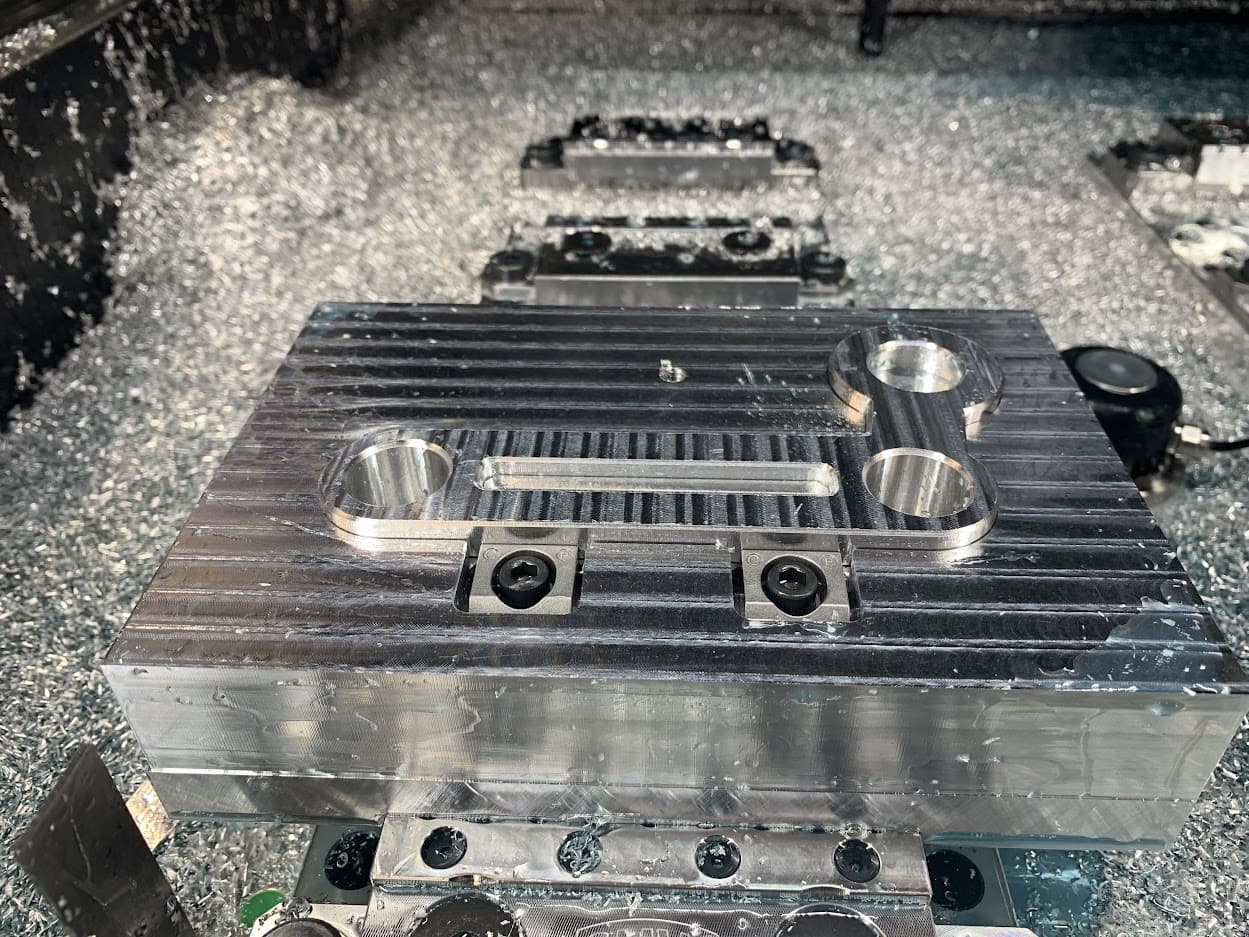
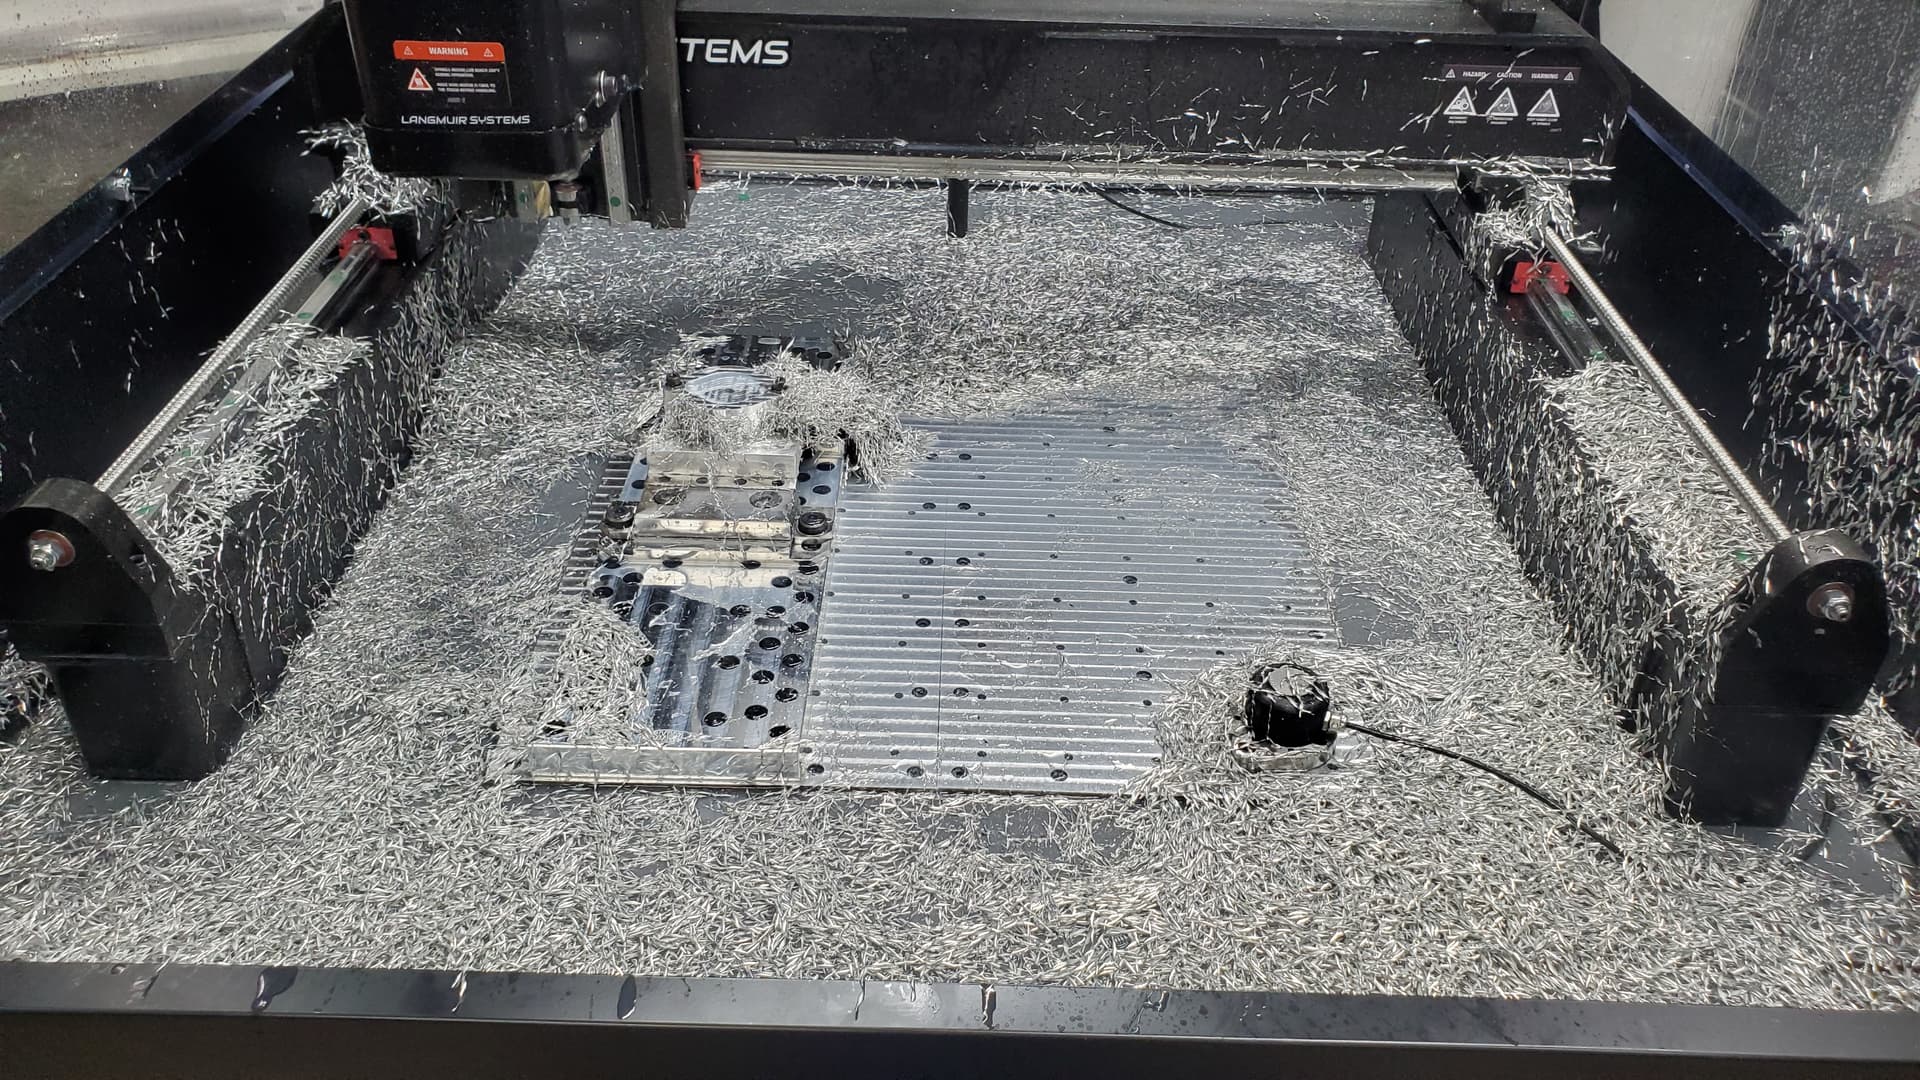
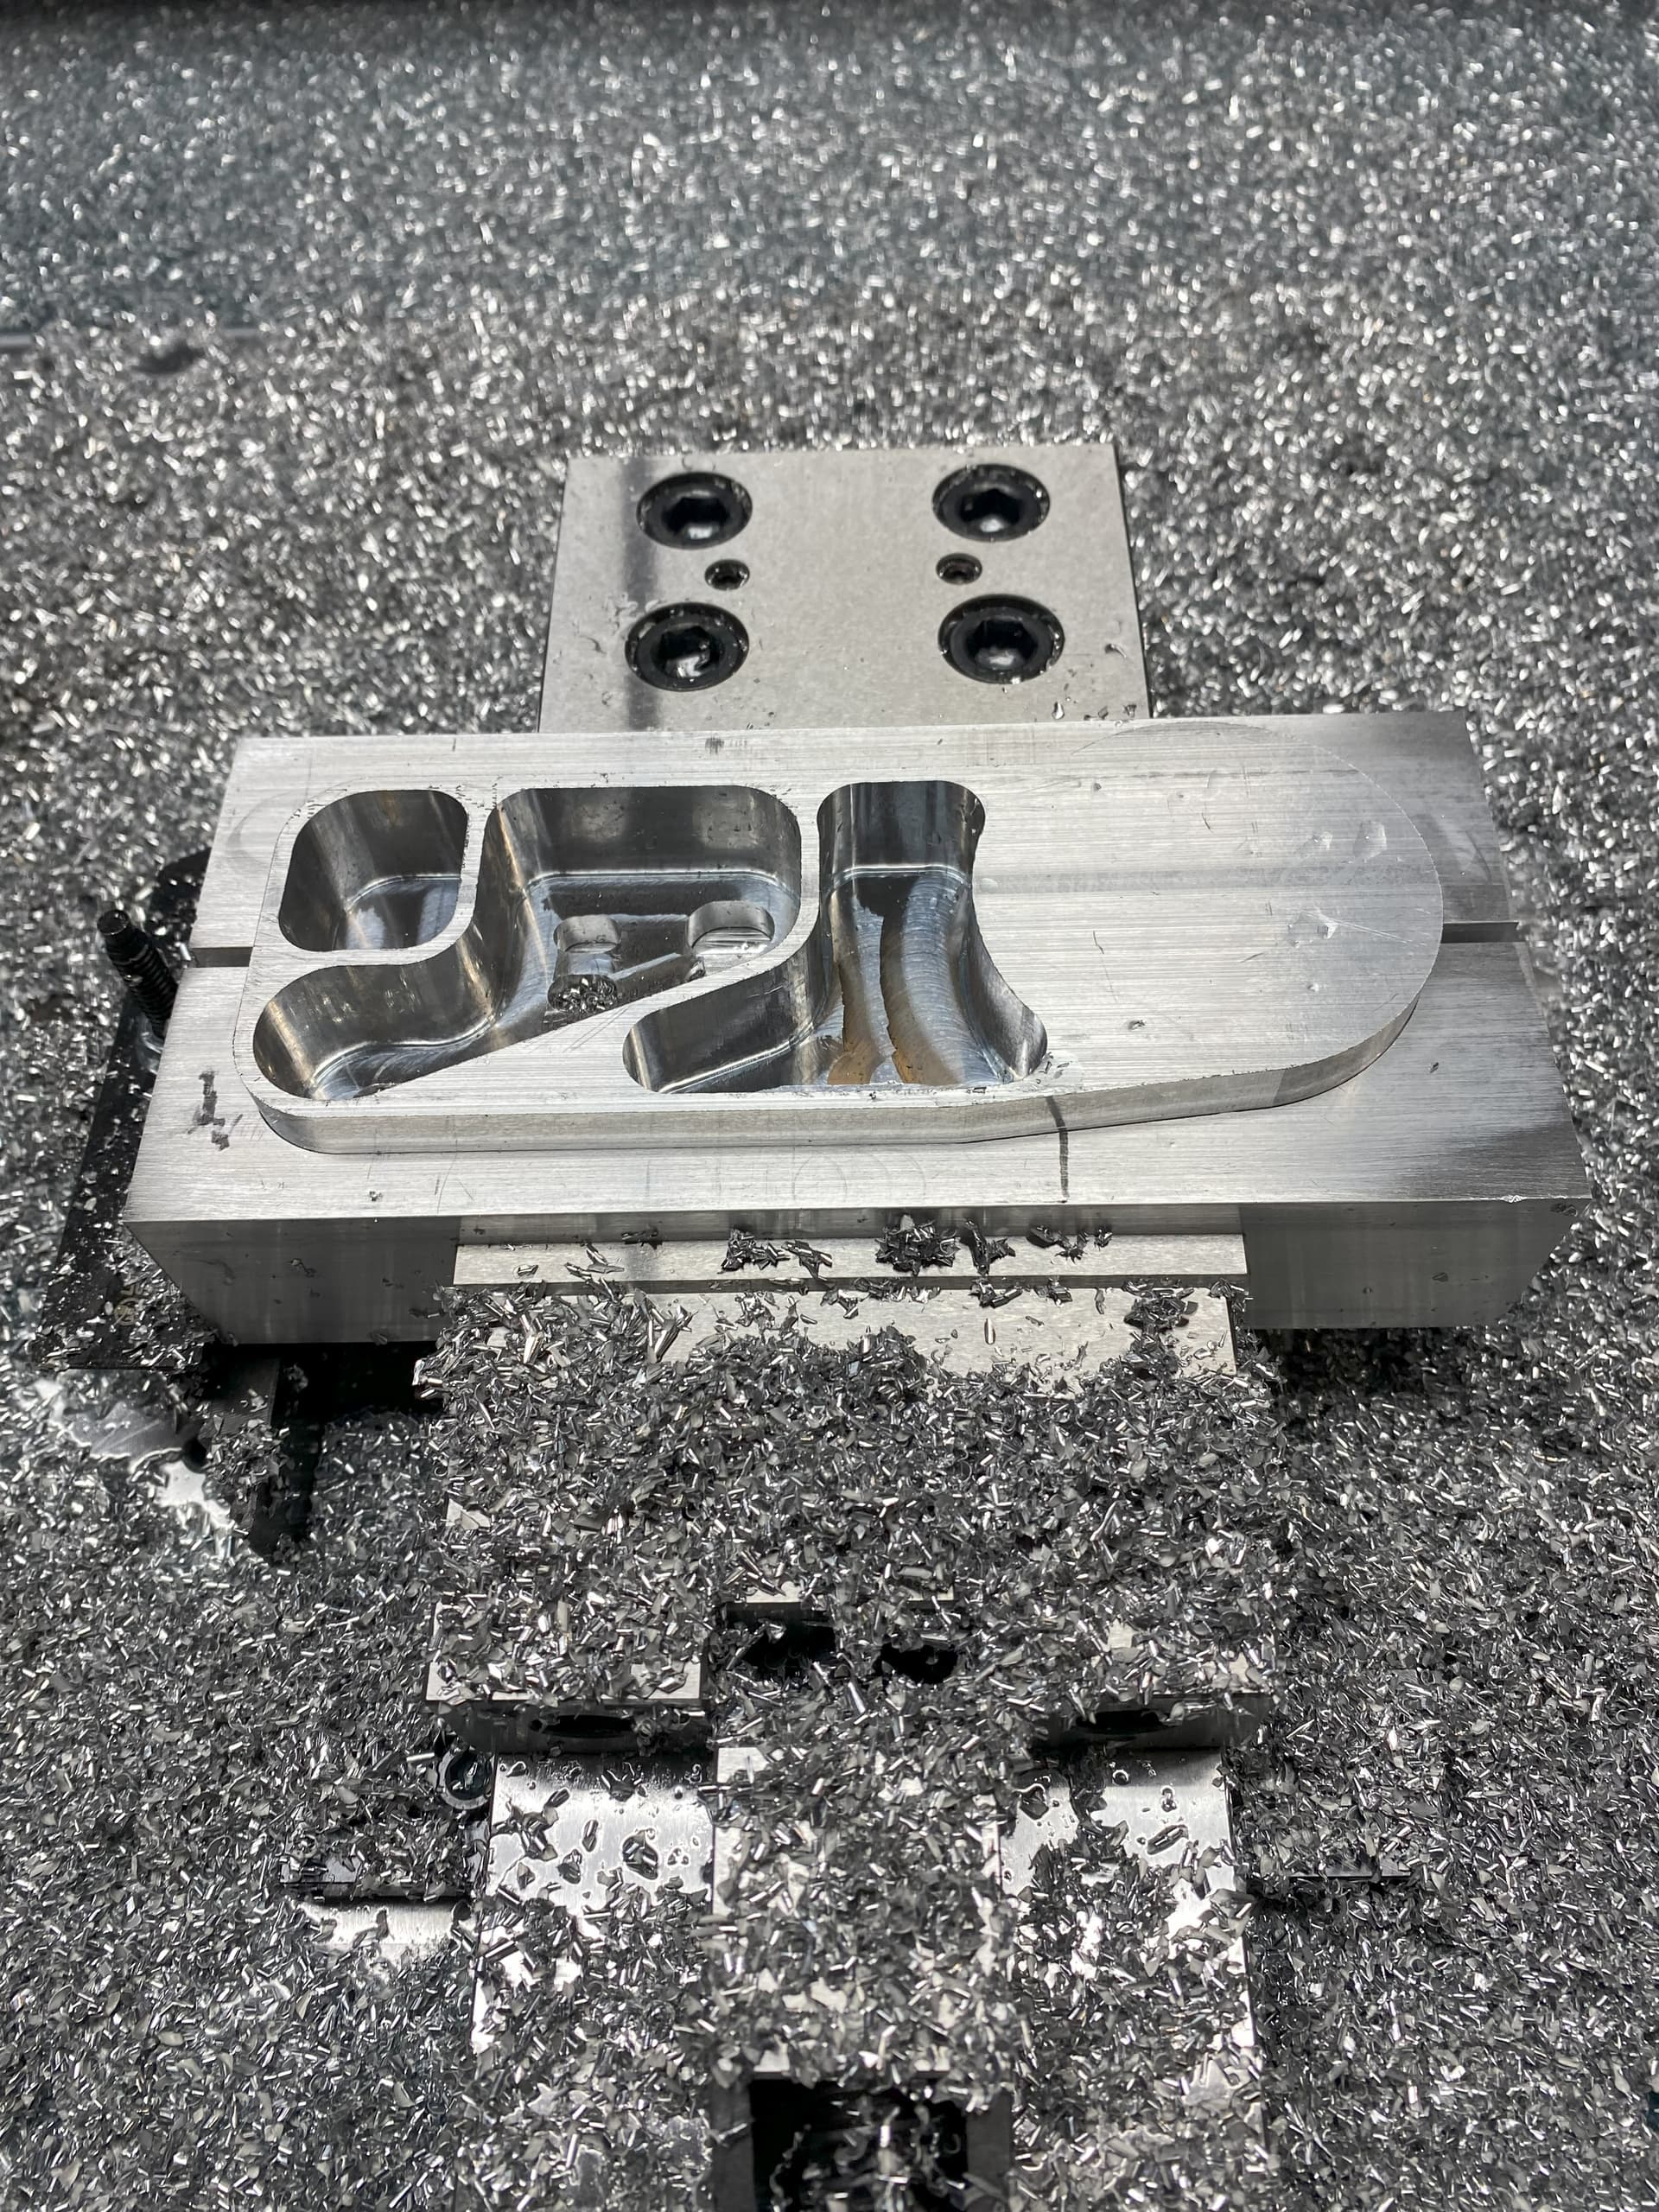
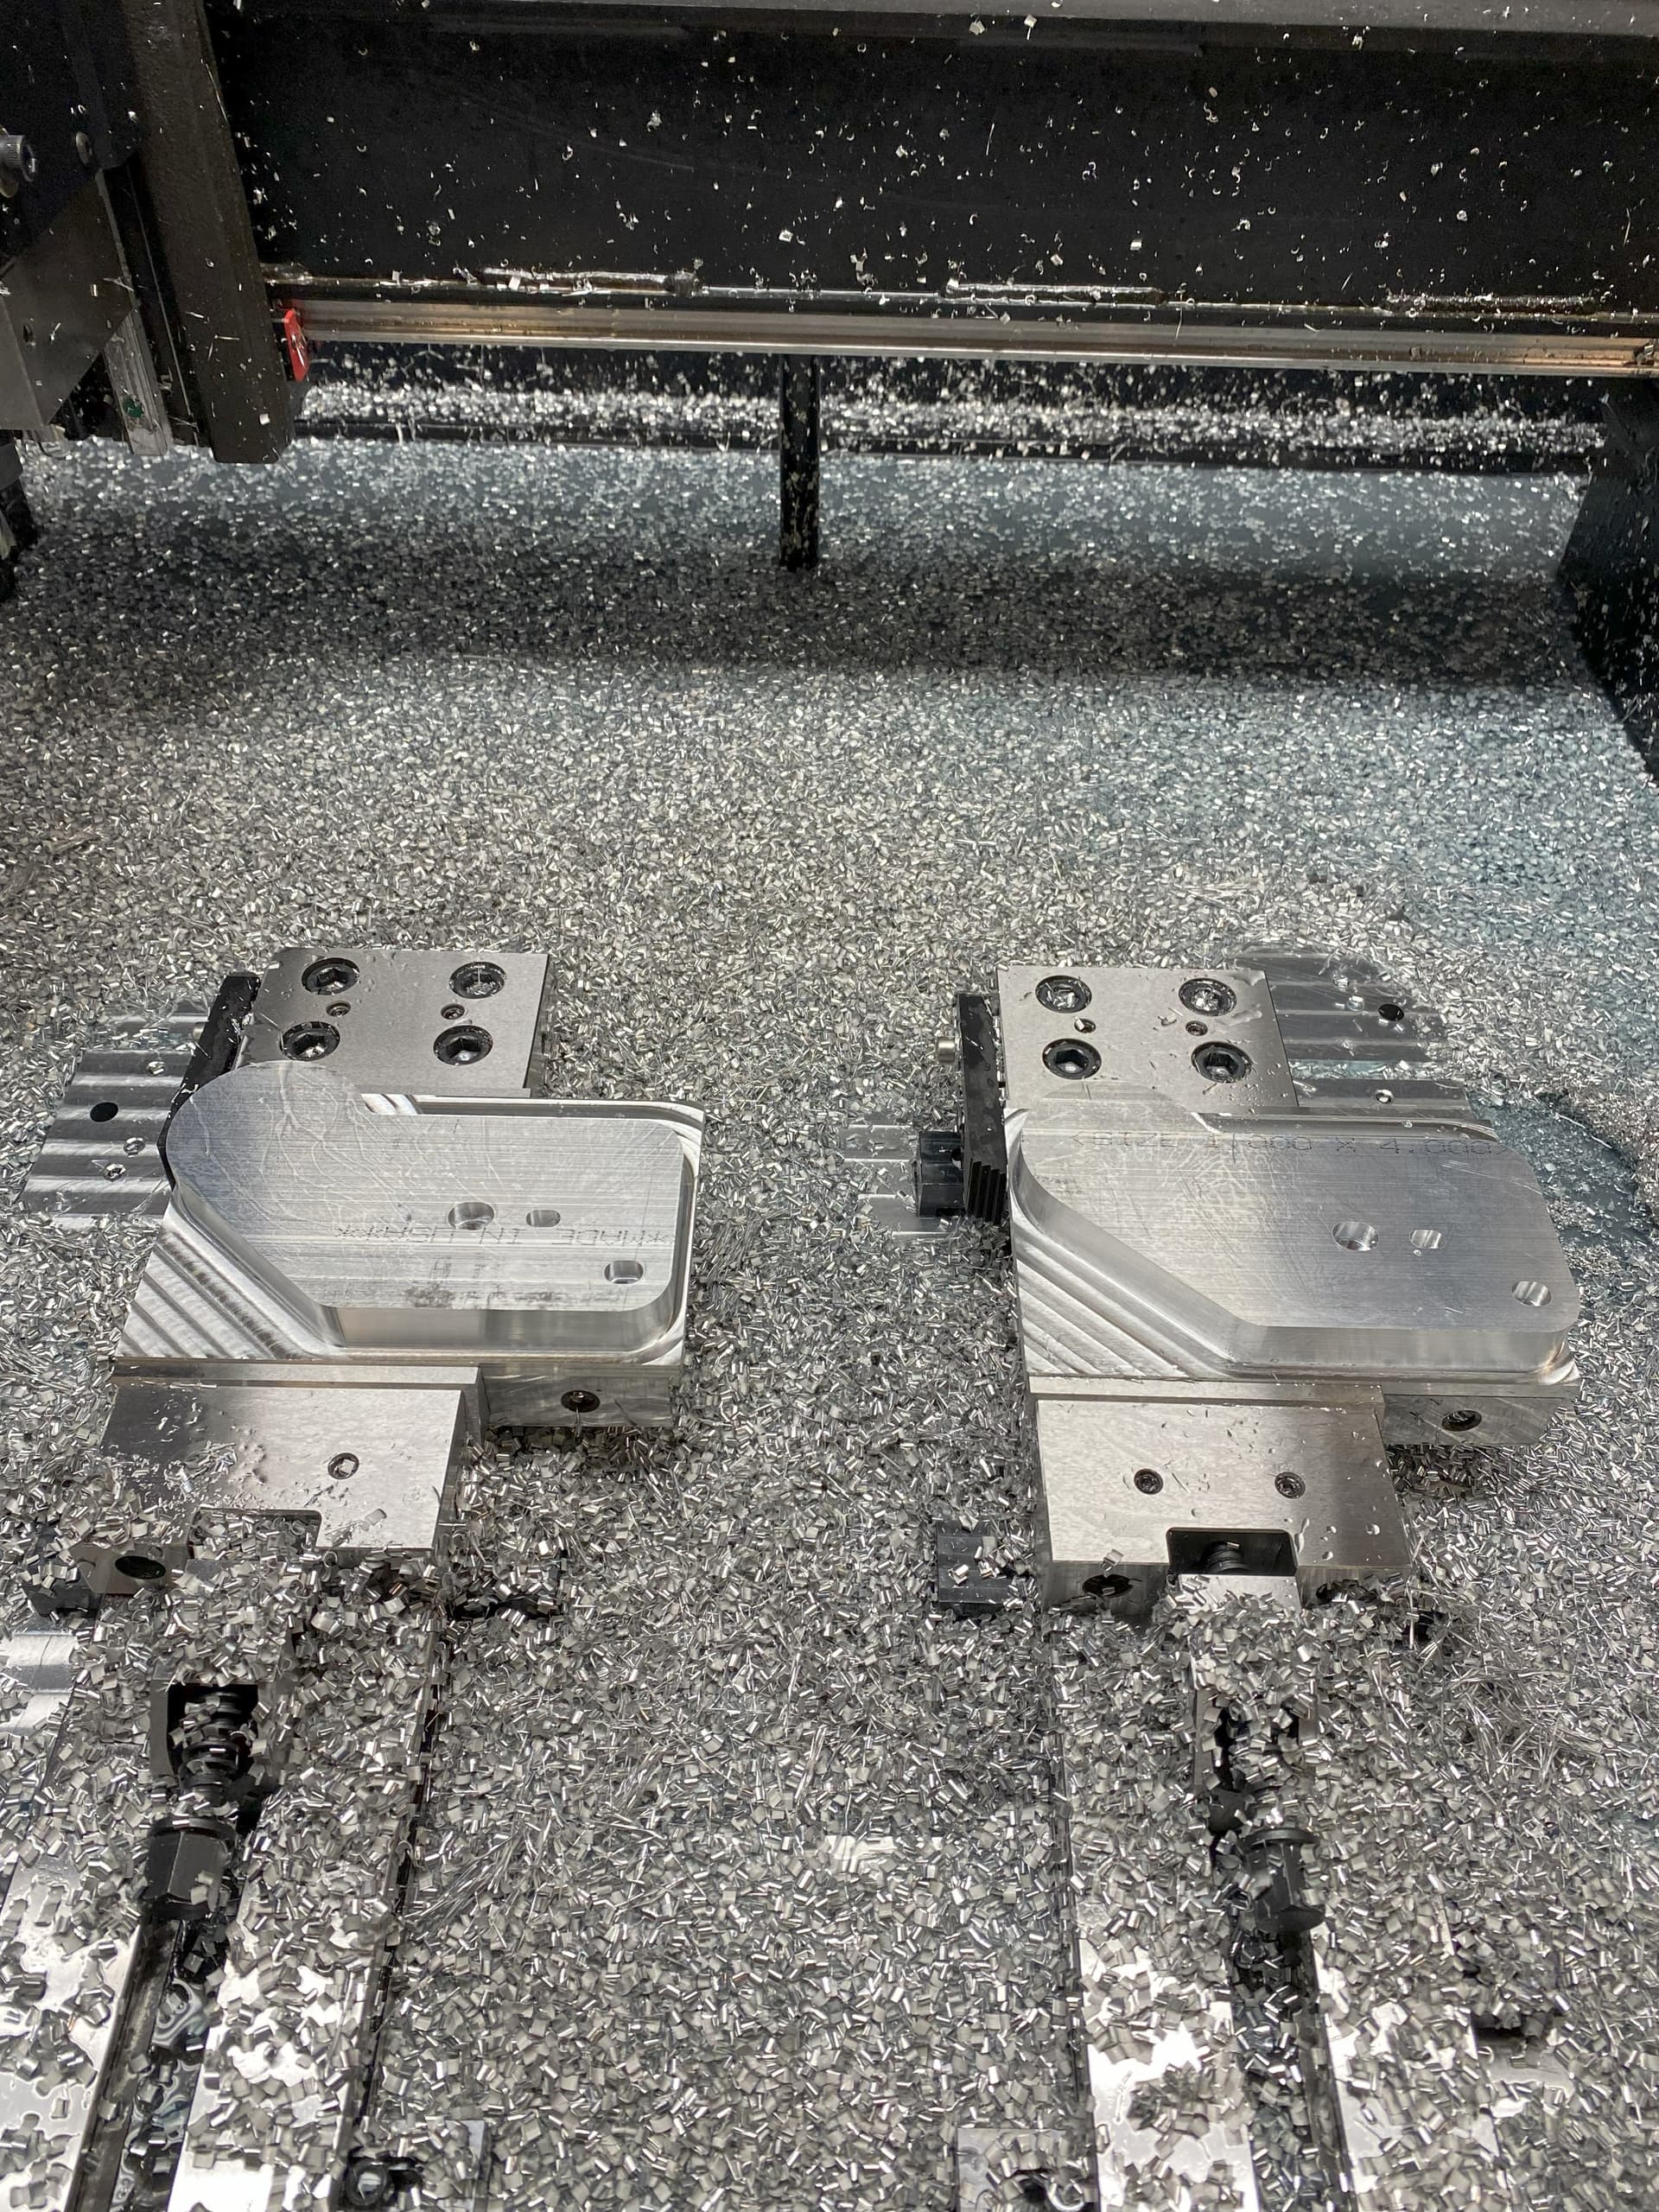
I only took video of the final op. running so I have no picture to upload here (can’t upload video directly to the forum) other than the one of the mess made. First op. was held in the vise and came out looking like the first picture. I faced the part and put the recess in followed by the two drilled holes. My second op. was flipping the part over and repeating the first op bringing in the 1" height and adding in the second recessed area. I then used a plate I had to go in the vise and bolted the part down and indicated it square to the two holes so the profile would be correct to the two holes. With one bolt torqued down I removed the second bolt and used that bore to pick up my zero then retorqued the second bolt. I was then able to finish the profile, that was done using a 2D adaptive tool path with a 1/2" 3FL 1.25" LOC carbide endmill. The part is 1" tall so I took 1" depth of cut at 8000 rpm and a .050 step over.
If people wanted to buy some of these as opposed to making it for themselves I would defiantly do this in two operations and make soft jaws for the second op.
Some nice work coming off the MR-1.
Anyone interested in giving me an estimate to make attached pic from mild steel as a leather branding iron? Needs to be 2"x2" if thats possible to make that small. Or as small as you think it could be made. It would need design raised up about 1/8". Machined from 1’2’ thick metal. all i have is a picture. Needs black areas as branding surface. Customer came to me to do it. All I have is a plasma table.
@ MechanicJon This isn’t really a great application for CNC milling, which is required to have internal radiuses on corners - especially for a part of that size. If I needed to make this, I’d probably get it cast out of bronze and then mill the surface flat if needed.
One of the jobs I just finished on the MR1. Machine has ran flawlessly with no issues. Programmed using Vectric VCarve Pro. I use it primarily for 2D and use Fusion 360 for 3d.