I’m sure they have it figured out, but I still didn’t see how the used nozzles get cleaned out and ready for their next use.
1 Like

1 Like
3 Likes
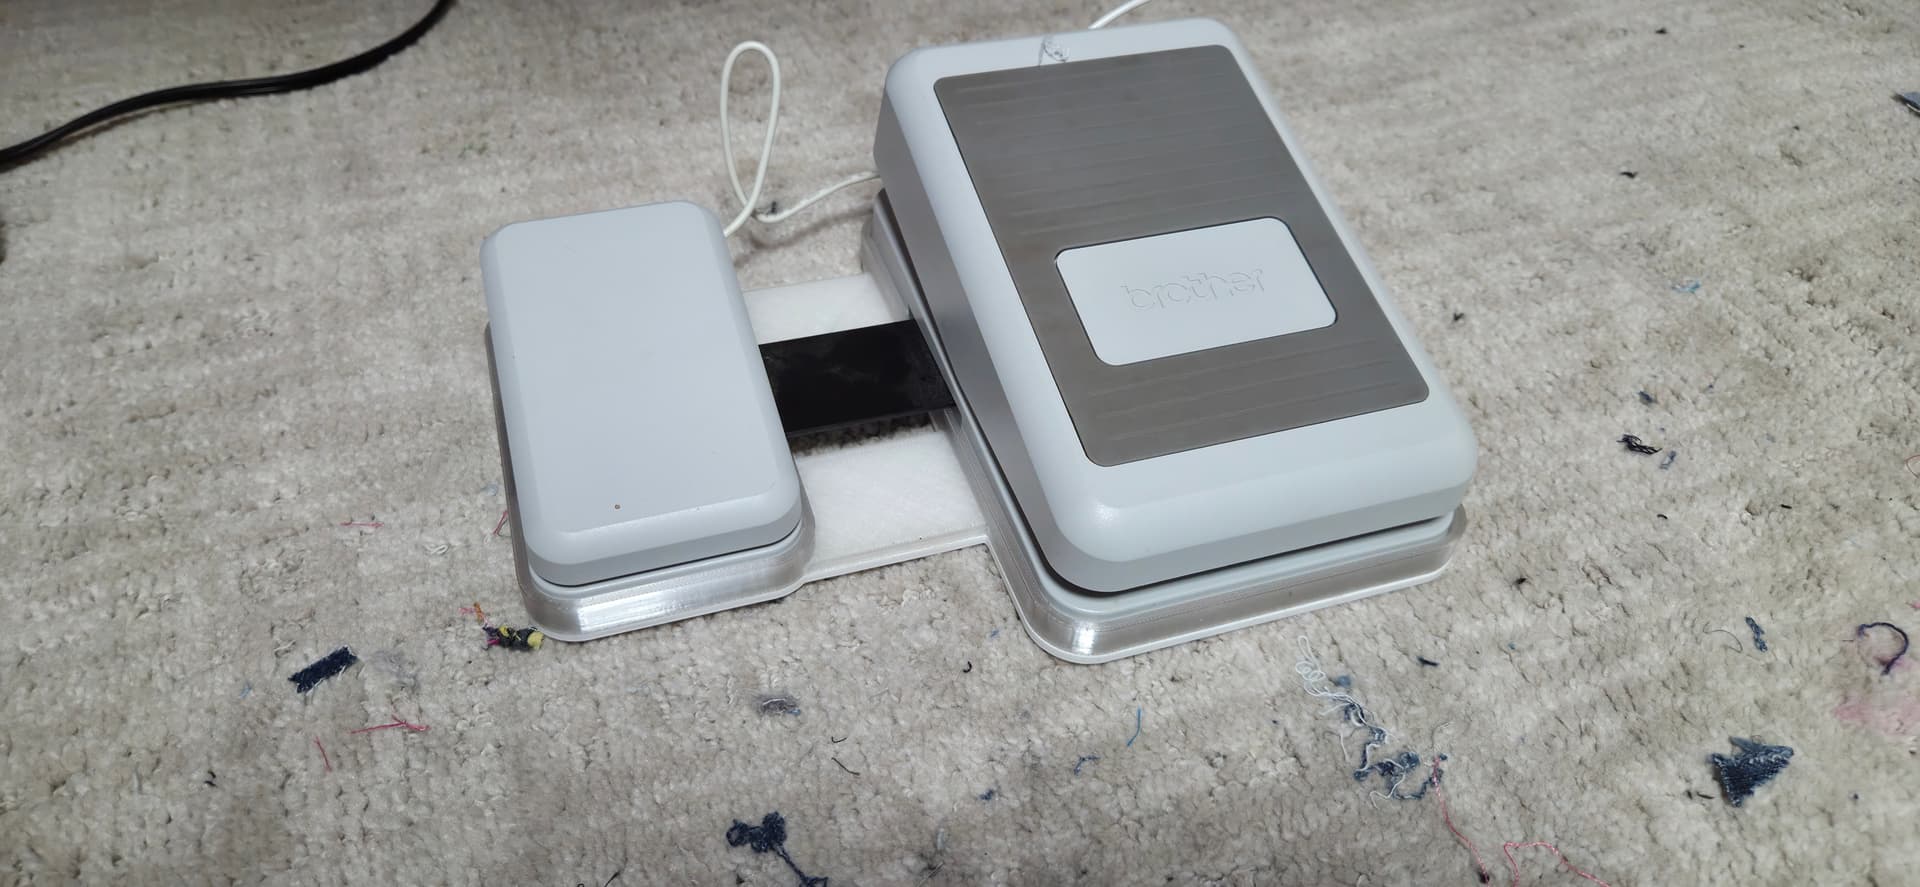
I love using my printer for solutions. This time it was for my wife: She said the foot pedal for her sewing machine kept sliding away from her. Enter “Solution S(c)entral.”
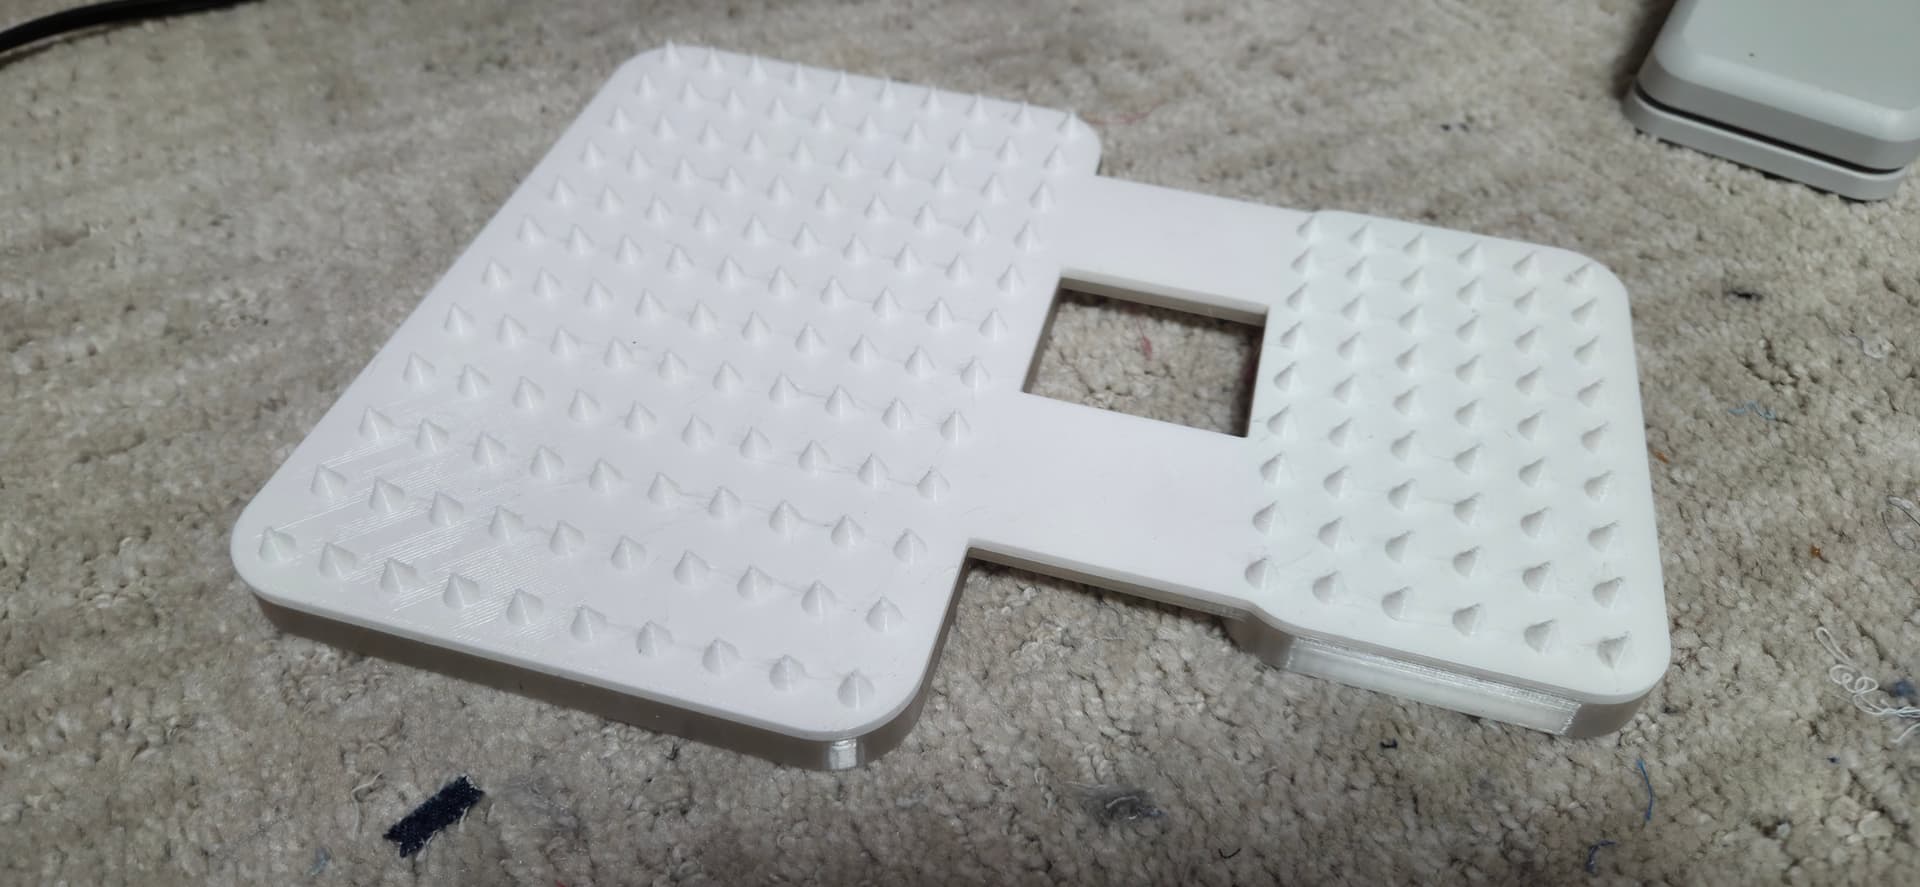
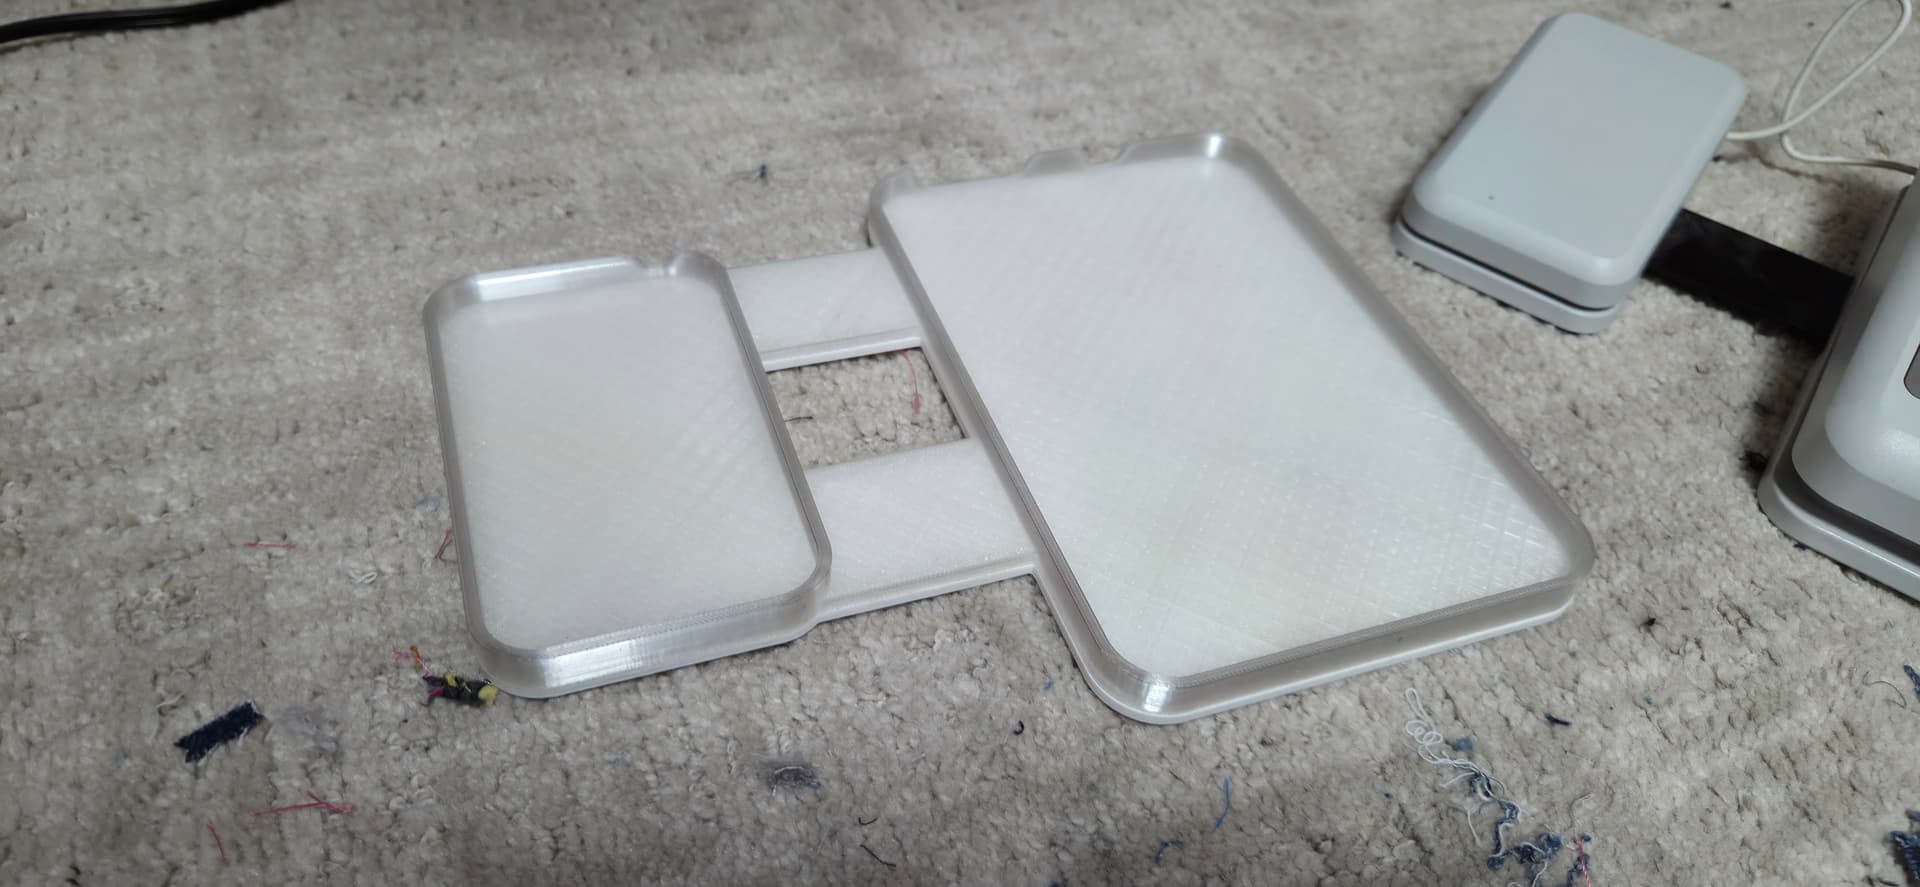
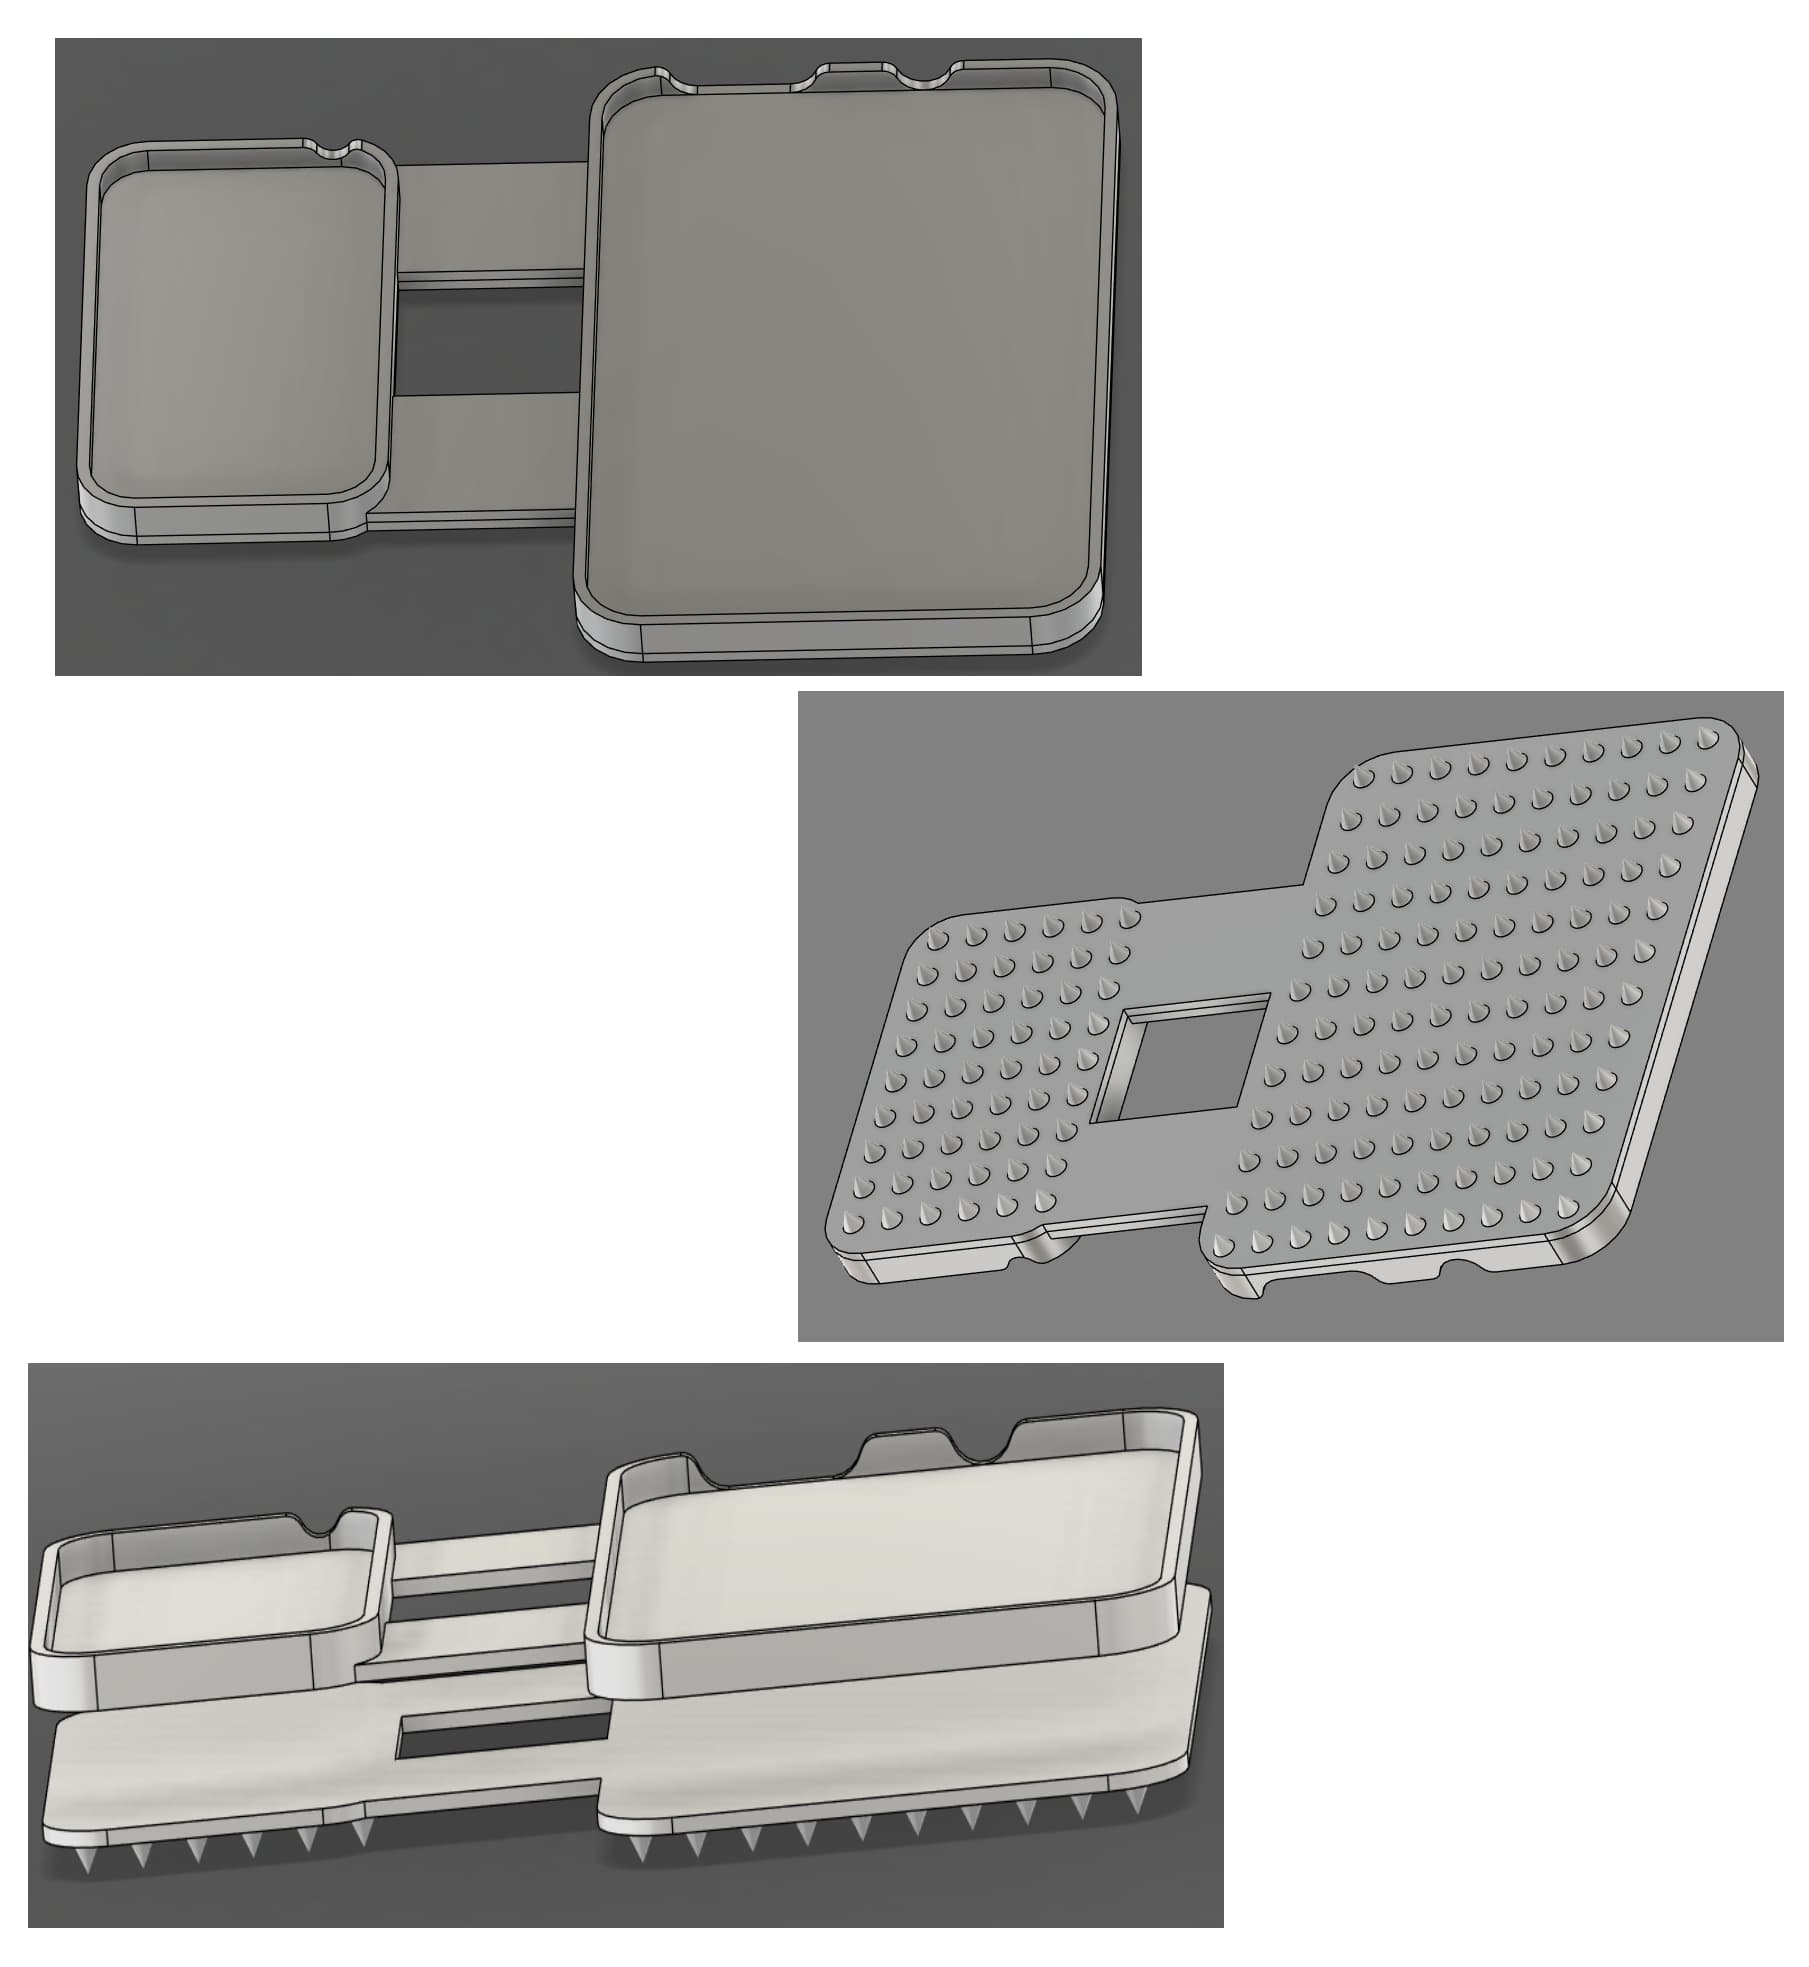
I had to make it in two parts because I didn’t want all the support structure that would be required if printed in one piece.
Here is the end result, first:
5 Likes
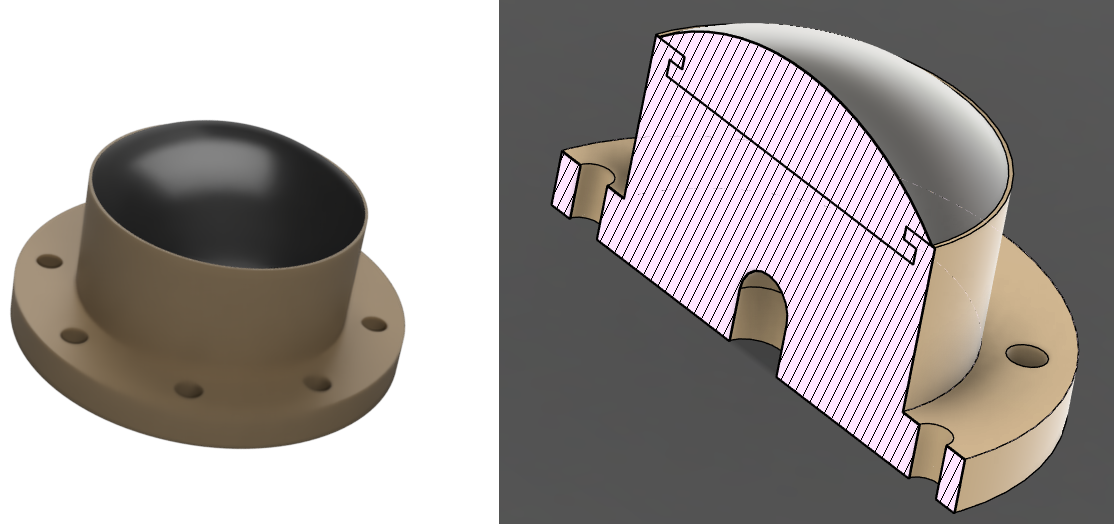
I finally have a project that justifies the H2D expense. This is the first time that I have actually printed with TPU or with the left print head. It is a “balance board” contraption that is often used for “chronic ankle sprain patients.” I have often made/used a simple rendition of this apparatus by simply installing a drawer pull with a rounded convex surface on the underneath side of a round piece of plywood.
Short history of it. People that sprain their ankles, often damage some of the proprioception (position sense) sensors. That is why they are susceptible for more frequent sprains than other folks (backed up by research). By simply sitting in a chair and put one foot or both feet on the board, you tilt the board to touch down on the floor and then move in a very smooth clockwise or counter-clockwise direction.
This helps to train the sensors of improved awareness of position sense. As a person becomes more healed and stronger, they might advance to standing on one foot and doing the same activity. (Caution: If you have knee problems, standing with full weight is not recommended as there will be some negative consequences in the knee.)
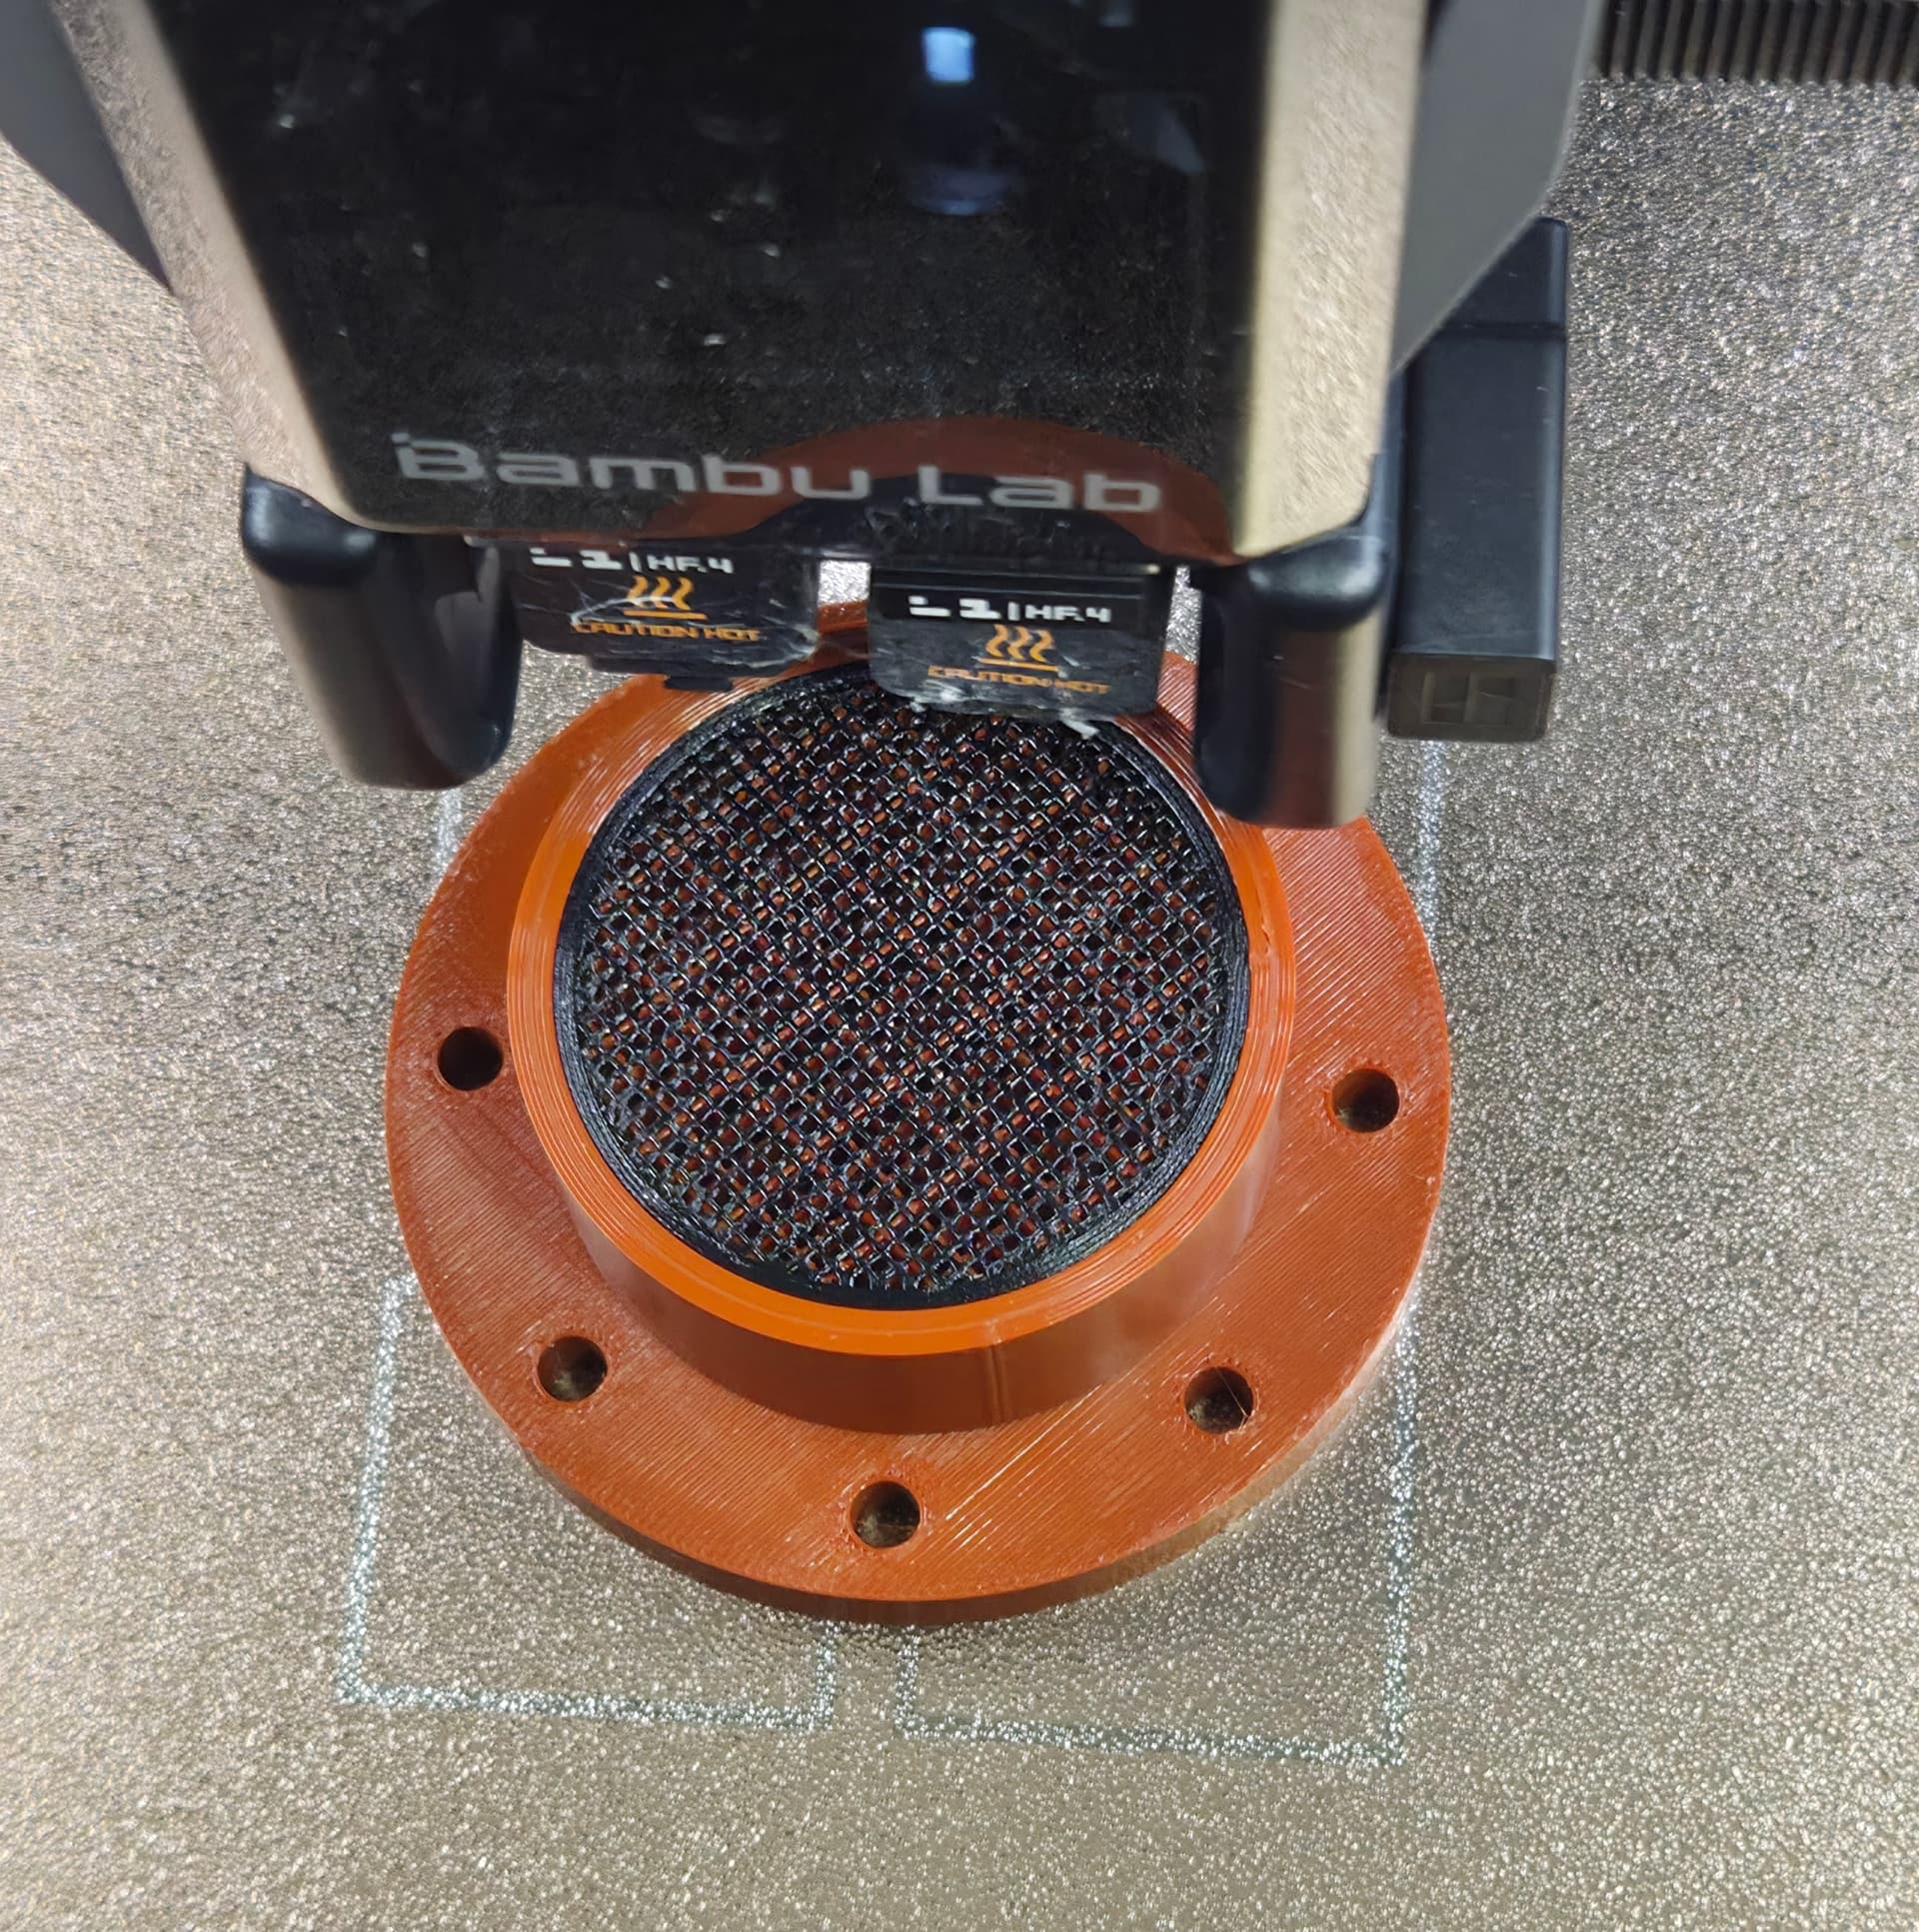
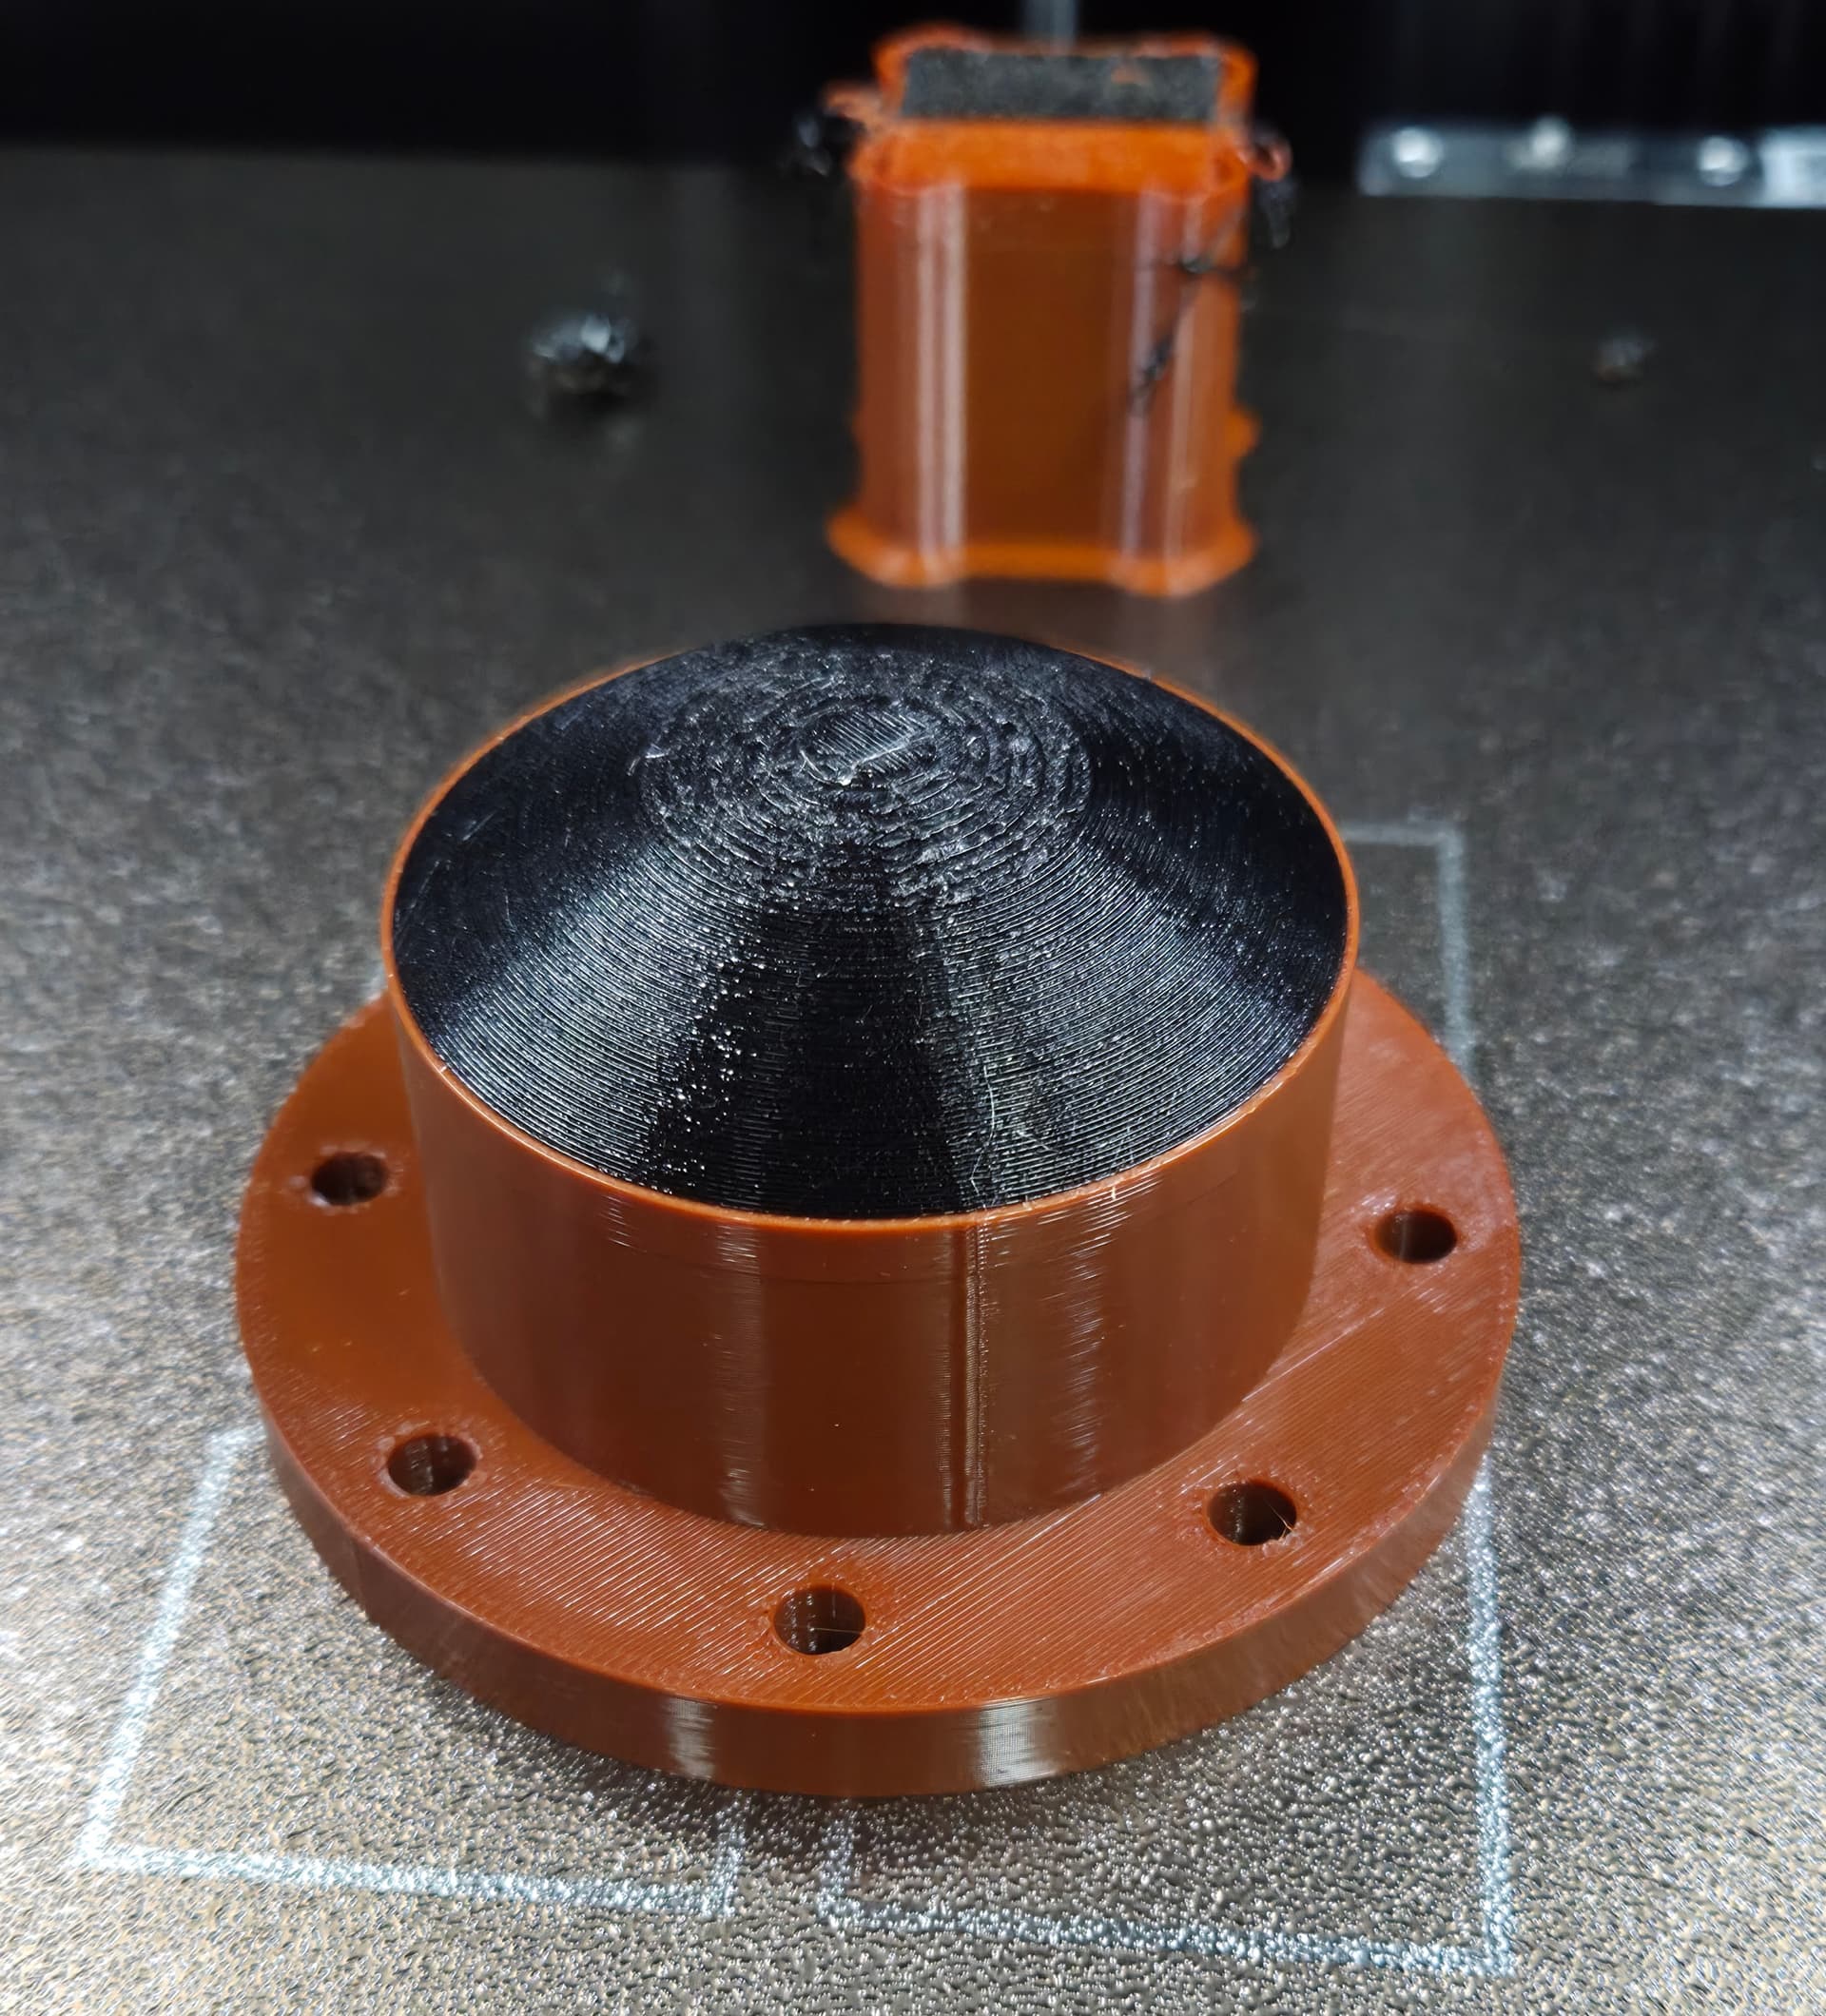
It is printing now. I will report back after the print is complete. The portion contacting the floor is the black section which I am using TPU. It is interlocking with the PETG mounting section. This image is showing the item upside down.
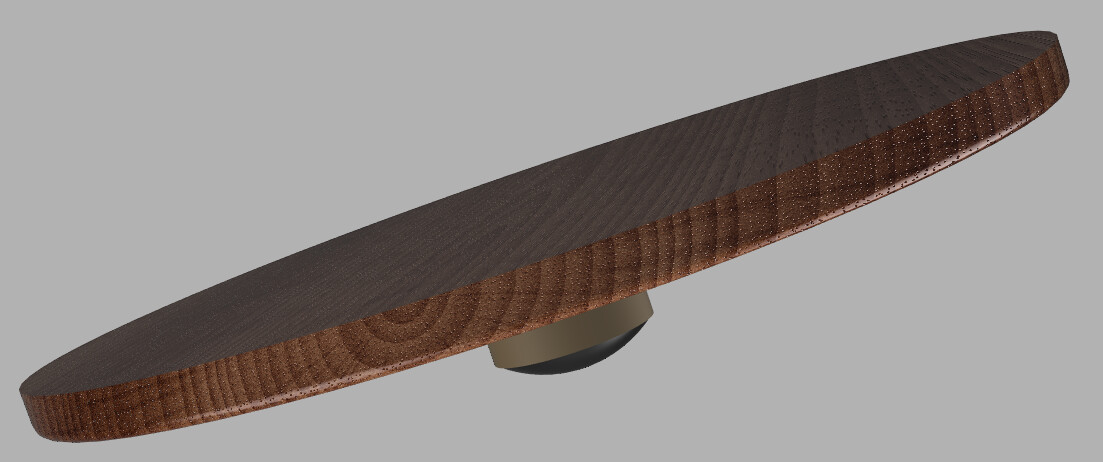
This is how the board would be positioned for use:
Update: So far, so good
It worked! In the immortal words from the movie “Babe,” “That’ll do pig.”
9 Likes
I like that!
2 Likes

2 Likes
That spring latch is really cool.
This is due to my naivety with 3D printing but…
…That spring latch depends on a 0.03 inch gap on the bottom of that mechanism.
Is that supported during printing?
Or is it just a gap that exists and when the part just starts printing it will be likely two layers away and even if it sags a bit, it won’t bond well with the layer below?
Then there is the roof of where this “spring lives.” How is that supported?
1 Like
I didn’t study the video in detail, but if the spring is flush with the top, you would print it upside down. That way, that 0.03” gap is now at the top and is under what is now the roof which is better able to support itself.
Edited to say ignore that, I went back and watched it properly and he doesn’t print it upside down so not sure how he maintains that gap.
Here is a good example.. https://makerworld.com/en/models/719725-fidget-click-clack-swoosh-print-in-place-32-min#profileId-656139
I have something similar on my desk at work that my friends son made for me.
that gap won’t adhere to well and will break free easily. Look at print in place hinges are a good example.
1 Like
No limit switches, and no 3D printers! ![]()
I think Stefan @ CNC Kitchen tested this and found conflicting results. Man, I really don’t remember, but I feel like Z-strength increased but overall strength decreased!? And thinking back that could have been just from the increase in part brittleness. I feel like a jerk for posting this comment without searching for the video link…
So this is the first multi-material project, Jim? Looks like it came out pretty clean.
I still really want an H2D. My evil genius plan to buy one with MakerWorld points is taking longer than anticipated. “Zip-Tie Buddy” is approaching 1,000 downloads, but that only equates to about 200 “Bambu Bucks” so far. ![]()
And now I’m super curious about the new hot-end changing system, so I might have to wait for that one to drop before I do any upgrading…
I was actually inspired by the H2D multi-material capability, and have been experimenting a little bit with trying to do it on the X1C by adding pauses and manually adding my printed support material. I thought I had posted about it here, but with everything going on, I guess I forgot.

Anyway, I can report that it does work (for supports anyway), though not quite as cleanly as the H2D could do it. And certainly not as painless a procedure, either. And obviously MUCH more limited to design constraints than it would be on a true multi-material system. The part you made probably couldn’t have been made this way…but it’s another way to think about this stuff.
Man I want that H2D! ![]()
3 Likes
No worries. I find lots of time that super glues are not all that “super.” For me, anything that has any potential to move or flex will crack the super glue unless it is the type that is meant to be flexible.
I got some flexible super glue: terribly short shelf life. Only got to use it once. Next time I reached for it, it had all set up.
2 Likes
Jimmy, did you tell him you have an HD2 printer? I am thinking about it, and since you have had no issues so far, it might be in my future. I don’t care about most of it, but I like the bigger area and the laser option. How about that Alabama beating Georgia..
ROLL TIDE Jimmy…

2 Likes
Here’s the link:
")
I’ve yet to rewatch it to revisit the results, but Stefan does pretty consistent testing.
1 Like
Another necessity print today. The cap on an almost new tube of Silicon Sealant busted so I printed a new one.
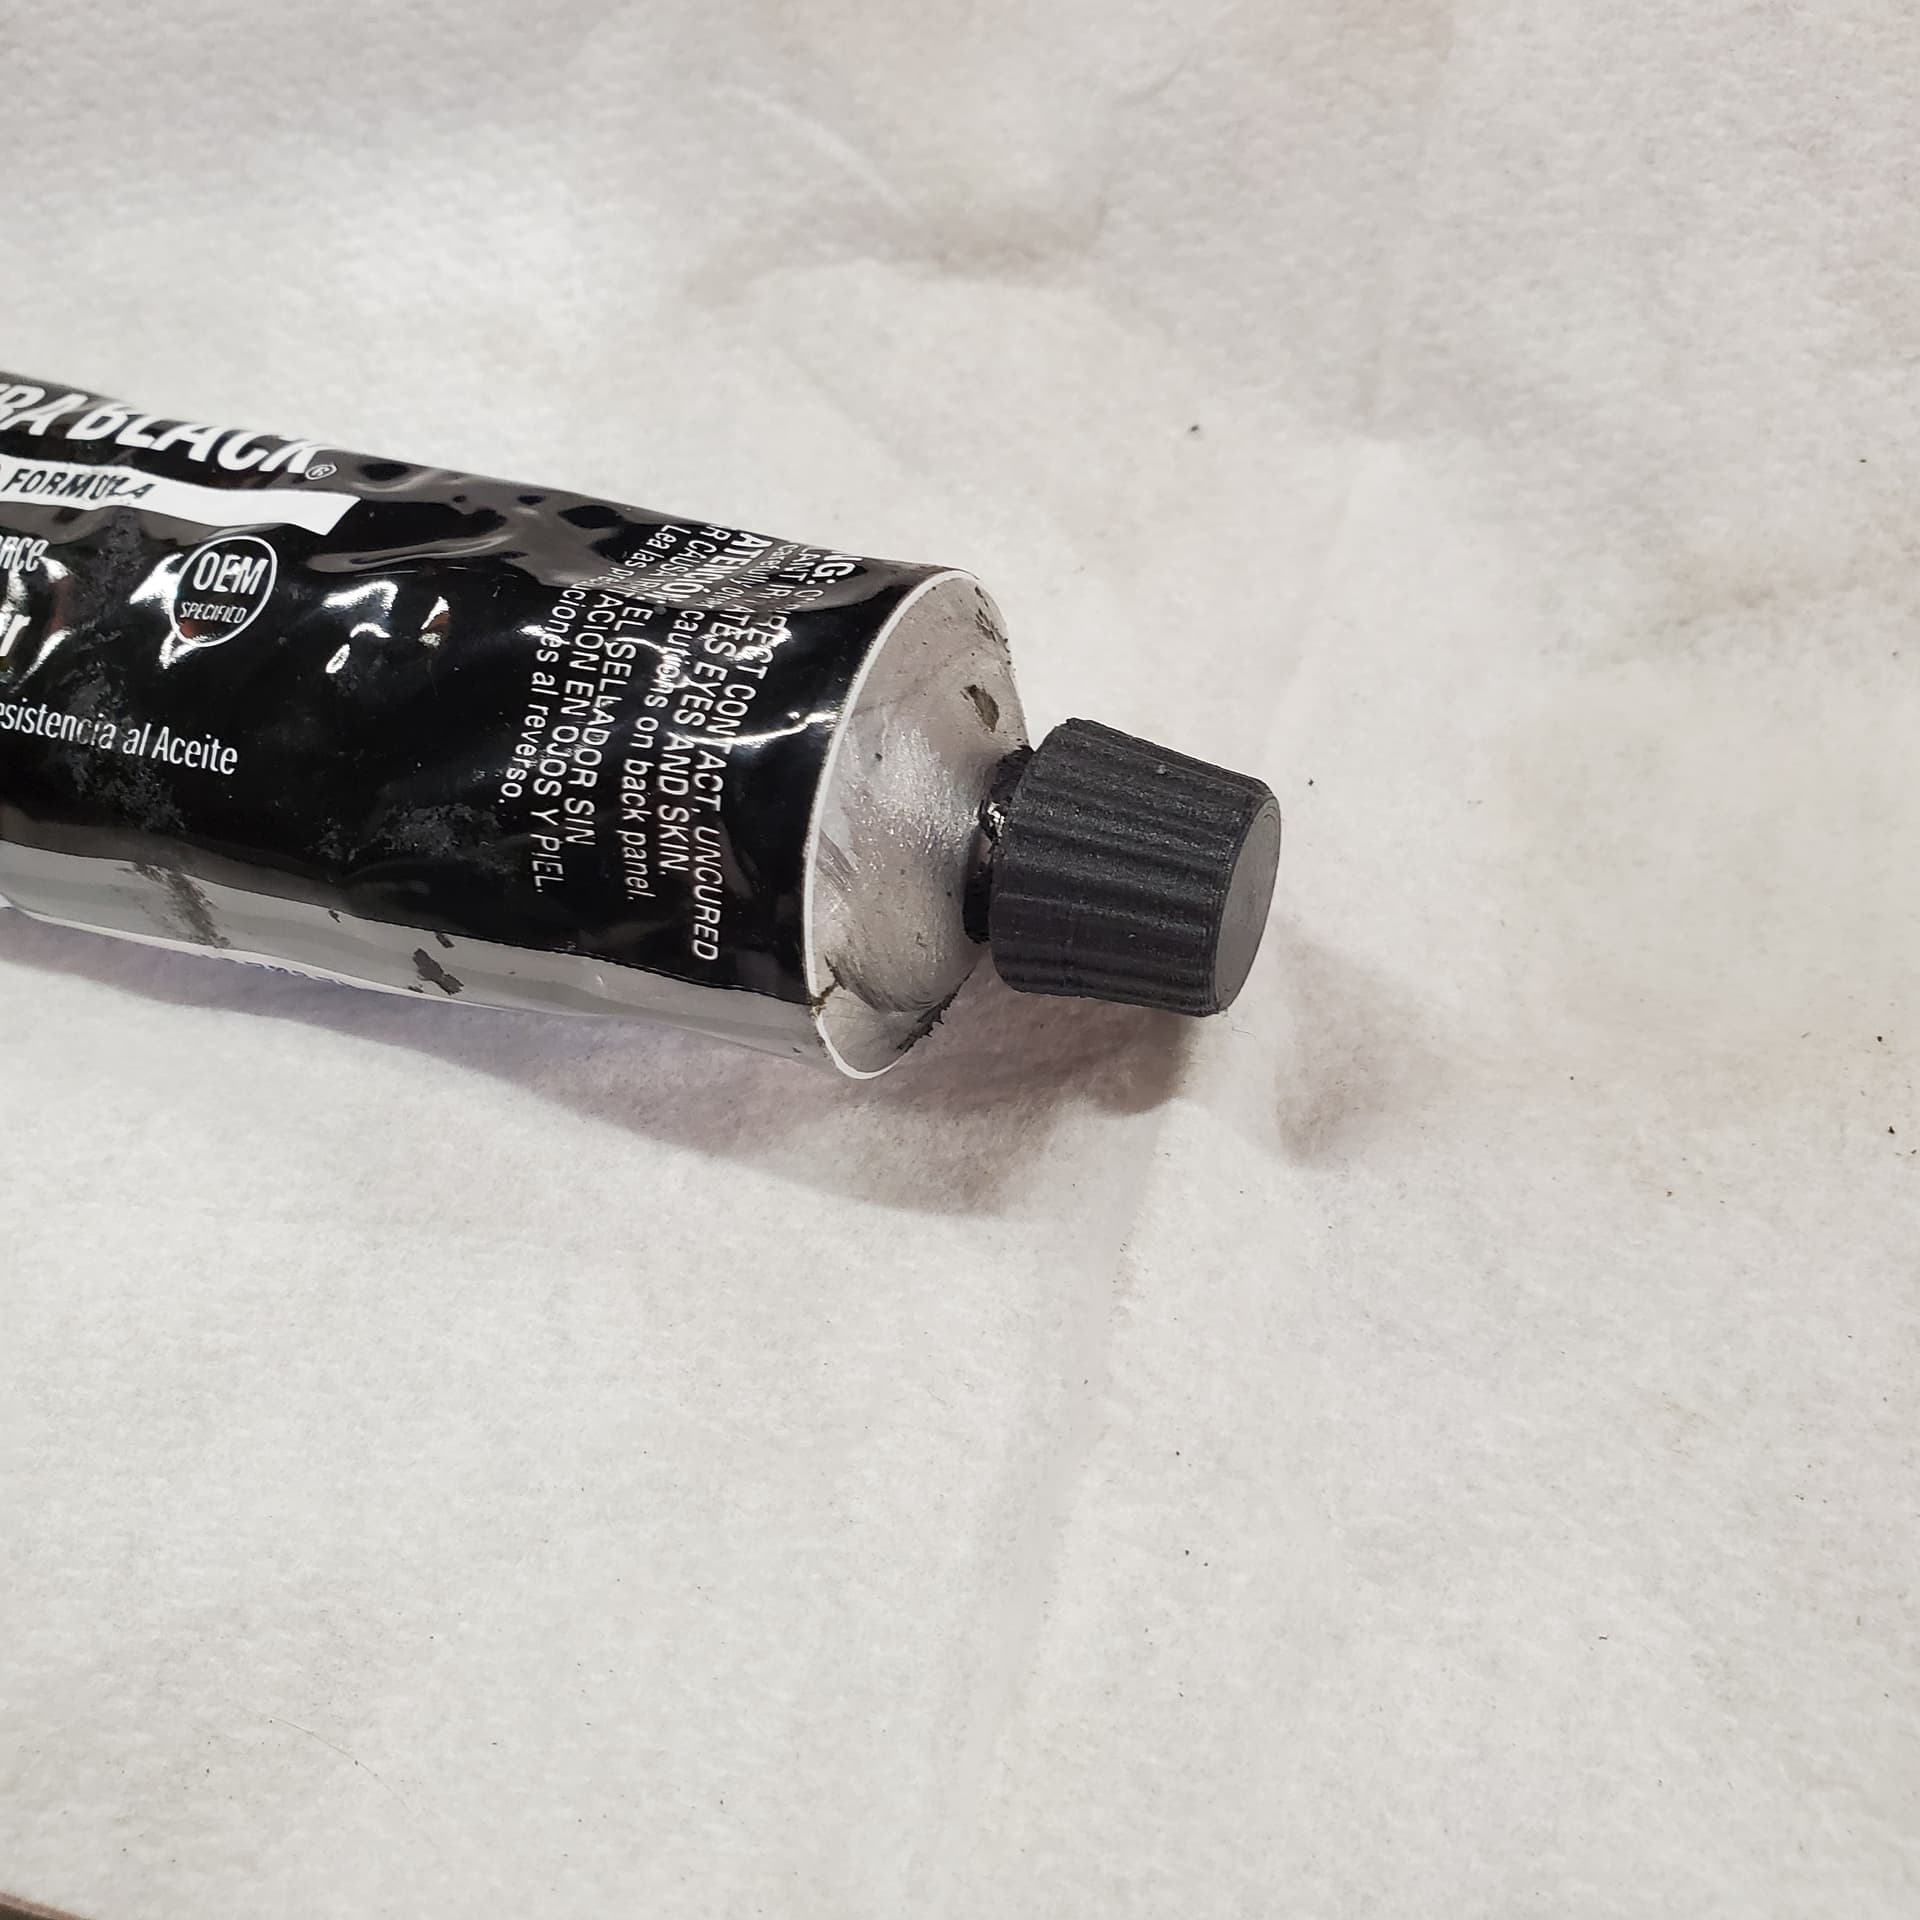
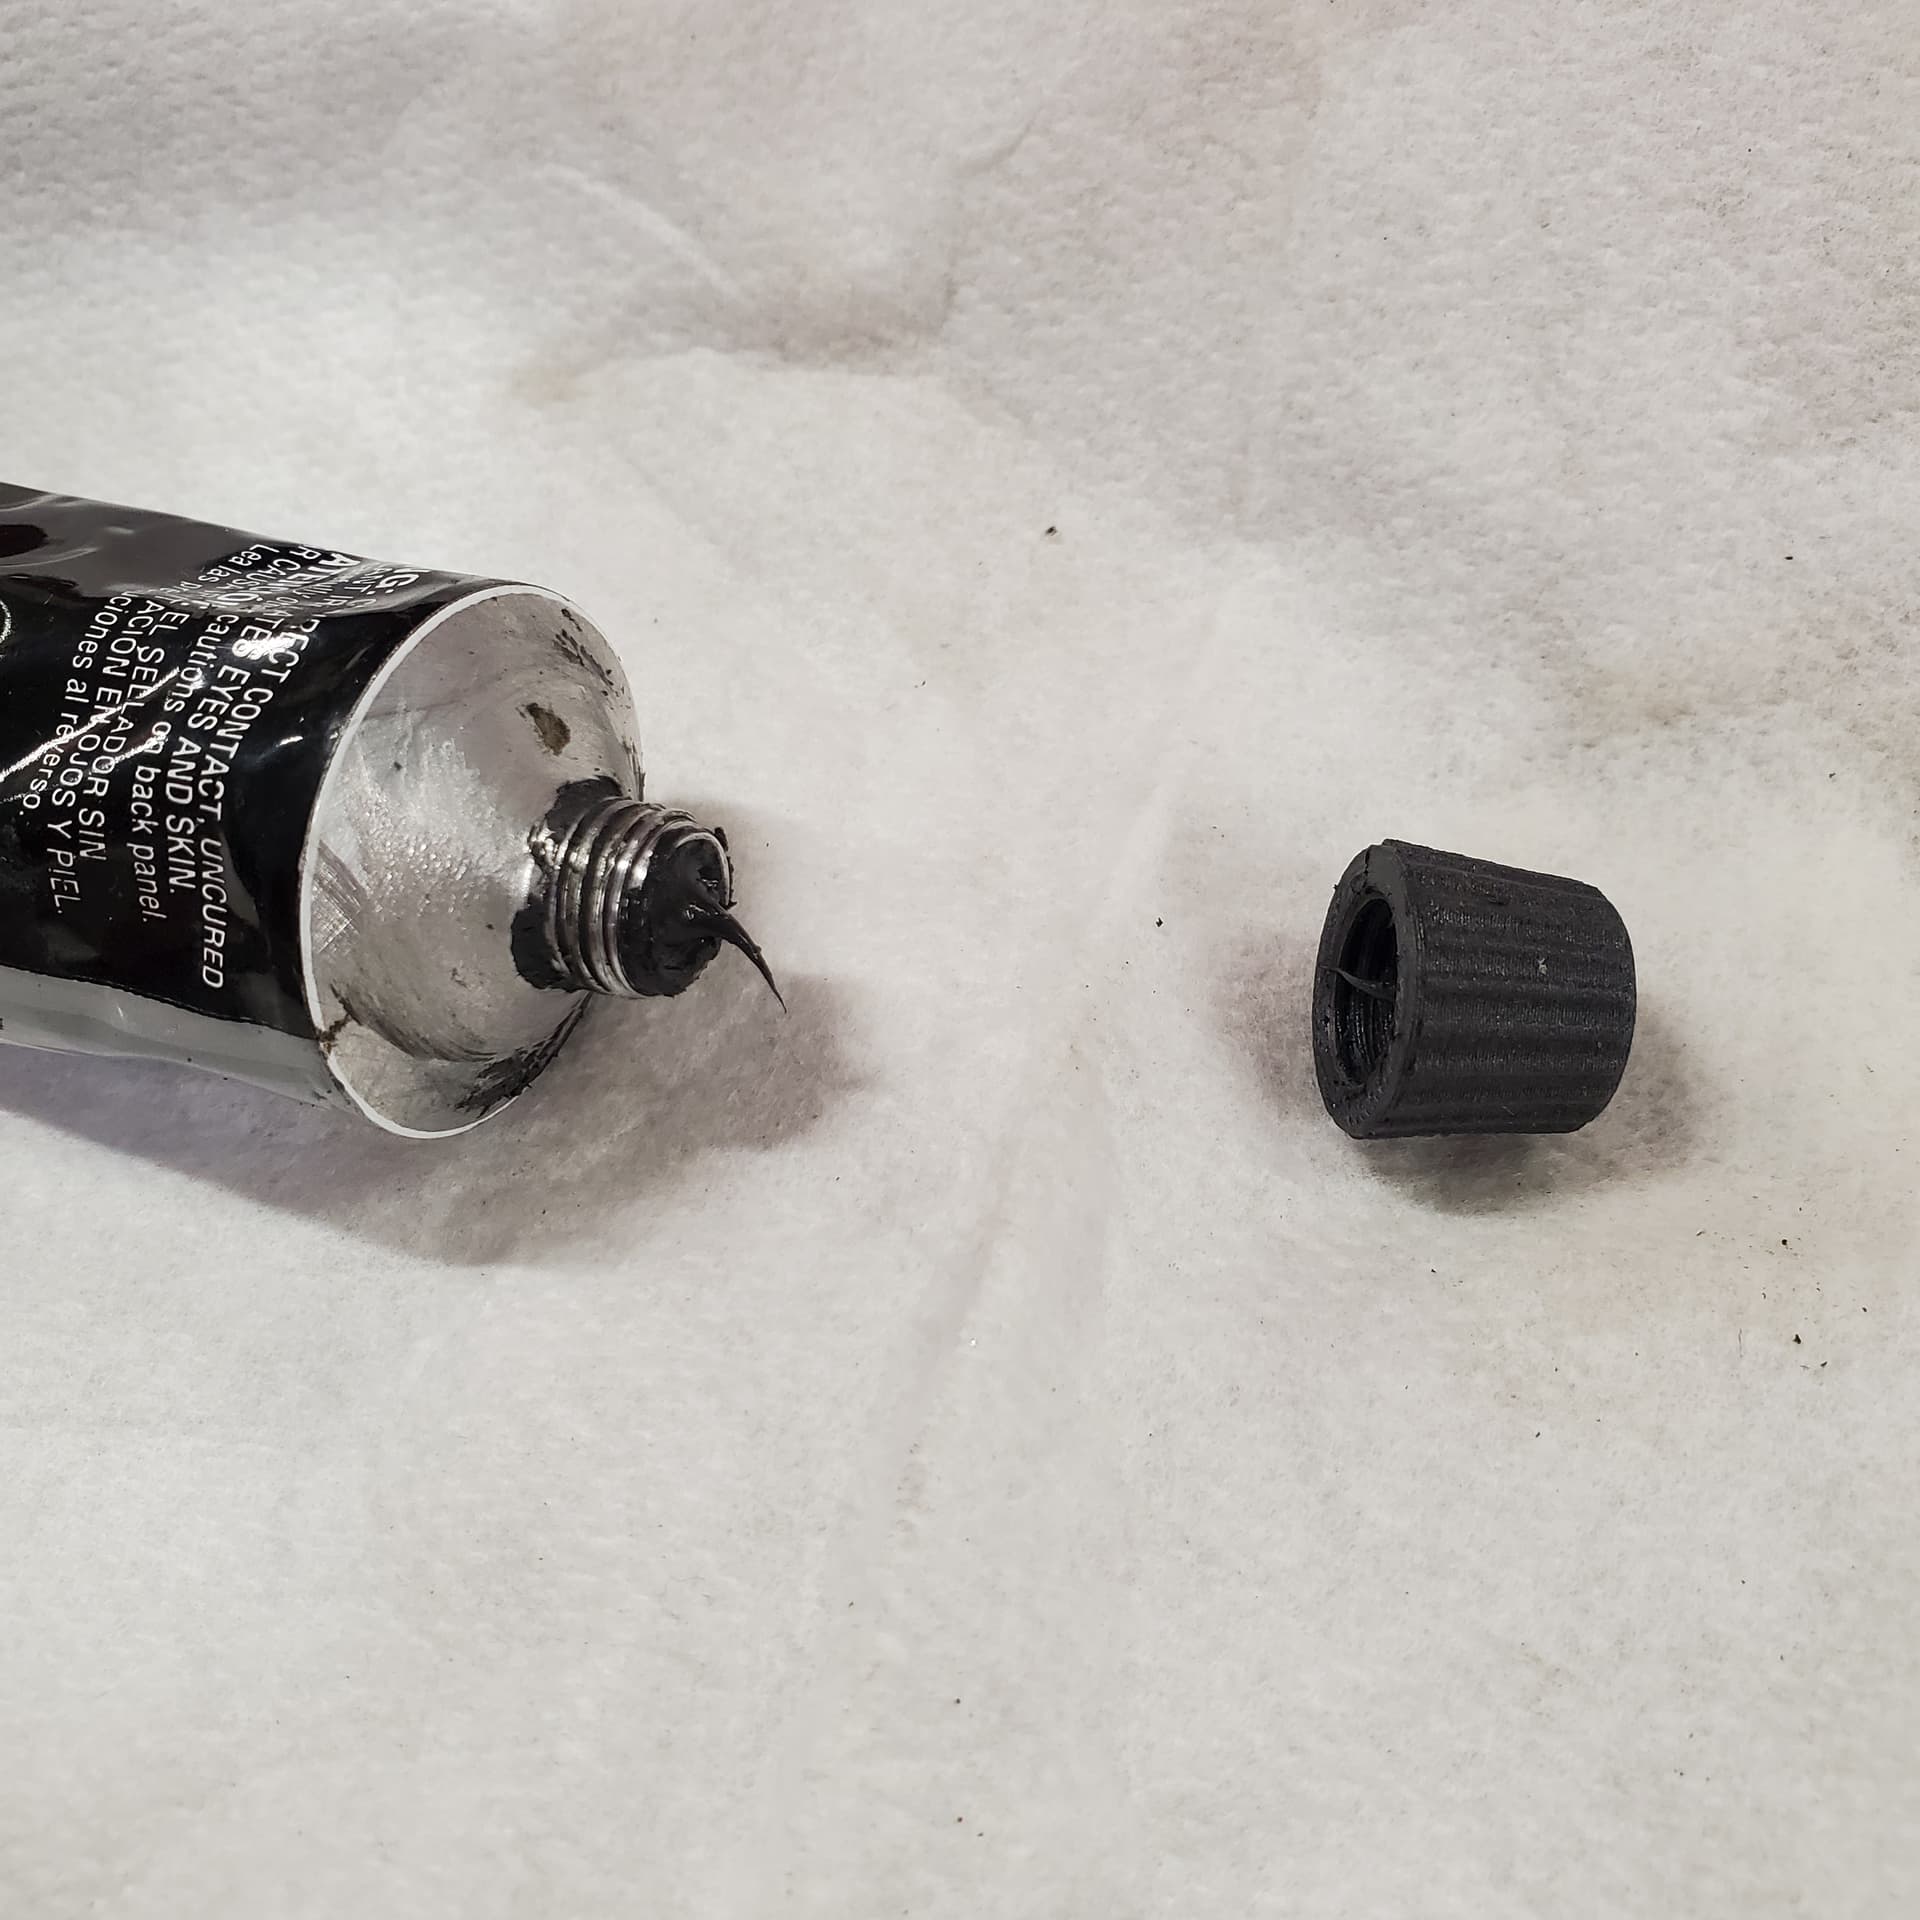
8 Likes
You should upload that to MakerWorld, @Just-For-Fun . I bet you’d get a fair amount of downloads…
File this under “Just because you Can, doesn’t mean you Should”
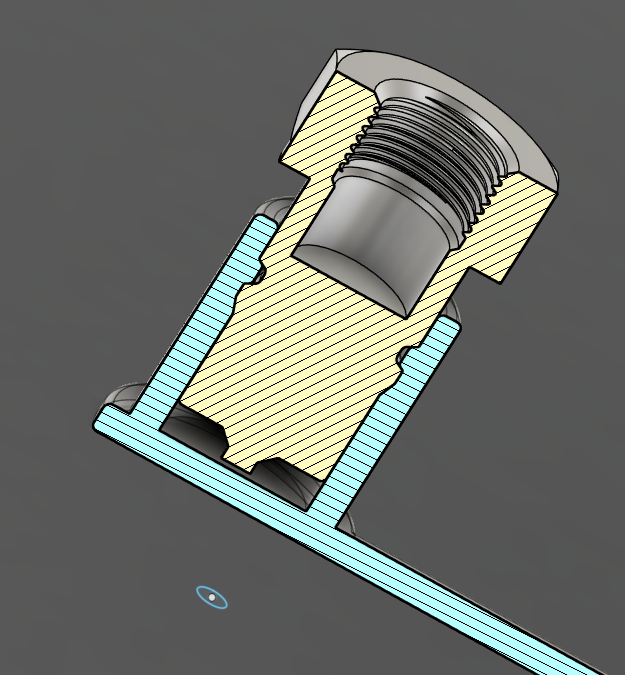
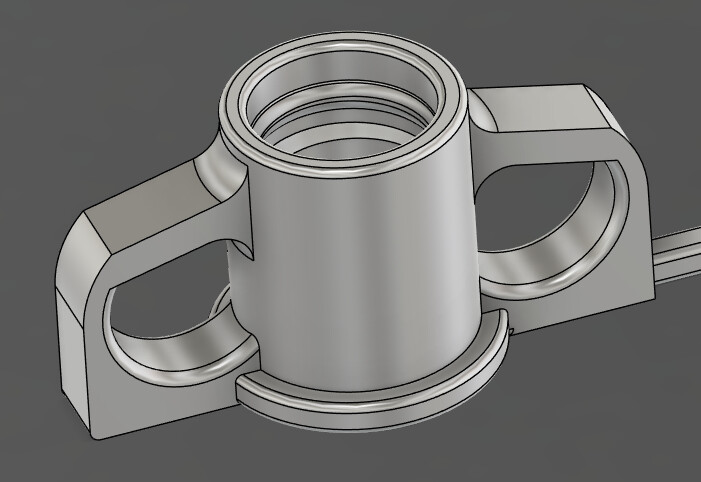
The dust cover on one of my hydraulic hoses has always been loose to the point that it falls off if you shake the hose. It is on my backhoe attachment.
I decided I would model up a great fitting dust cap and downloaded the fitting from McMasters.
I printed it out of TPU (4 walls) but it was a little sloppy so last night I decided to go all guns toward a form fitting piece:
I plugged that little puppy on the fitting and now I can’t get it off!!! (I can get it off but it is probably going to need pliers and is likely going to be ruined). $0.75 worth of filament wasted.![]()
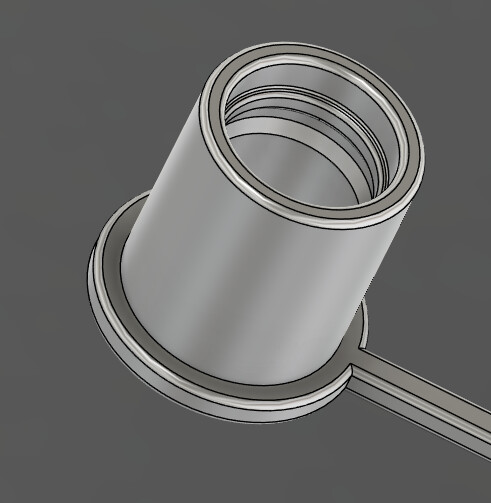
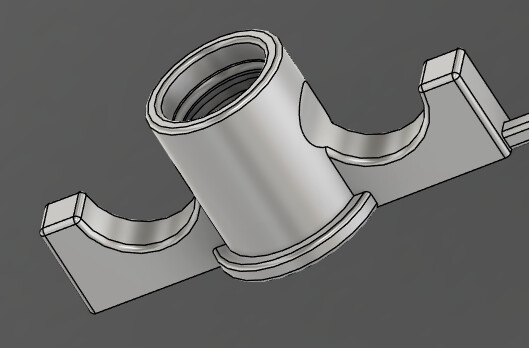
Here is a somewhat “relaxed” version that is printing now:
Edit:
The fit is perfect but those finger holes would only accommodate my little fingers. Here is the one that is printing now:
All in all, this is such a fun hobby tool
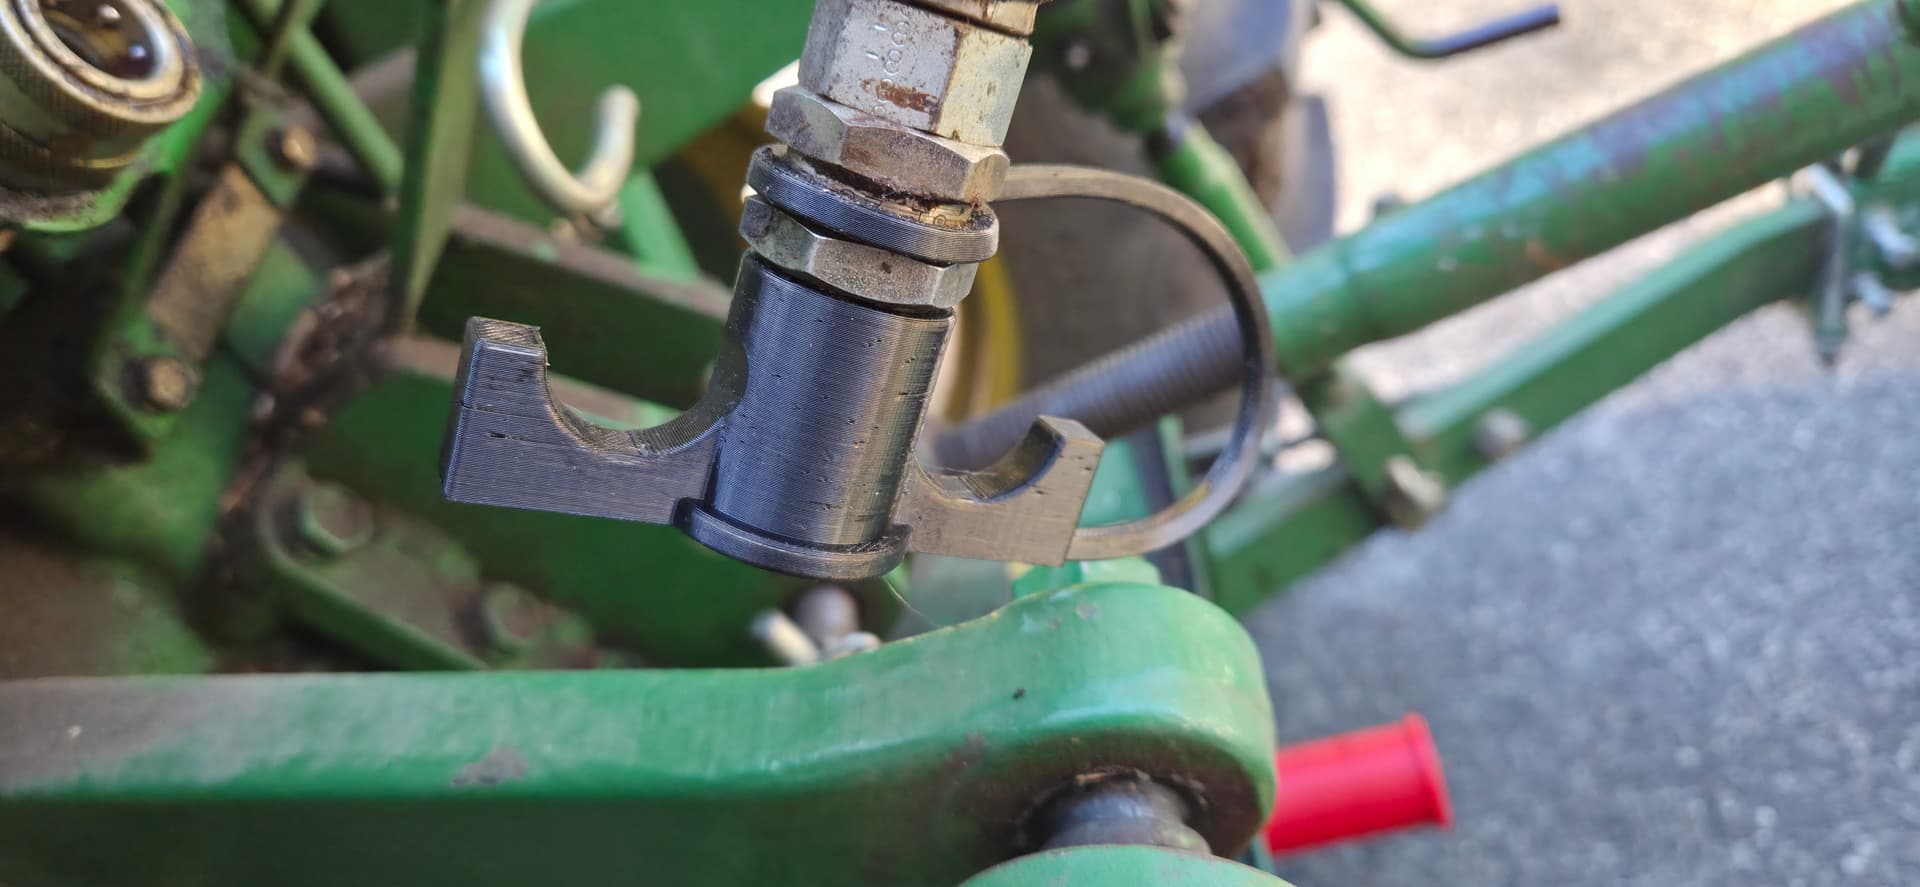
Perfect fit and function:
7 Likes
Looking good Jim, I made a couple for my tractor as well. I need to fine tune them a bit, as they are a little loose. But they are made out of PLA. The next ones will be made out of TPU.
2 Likes