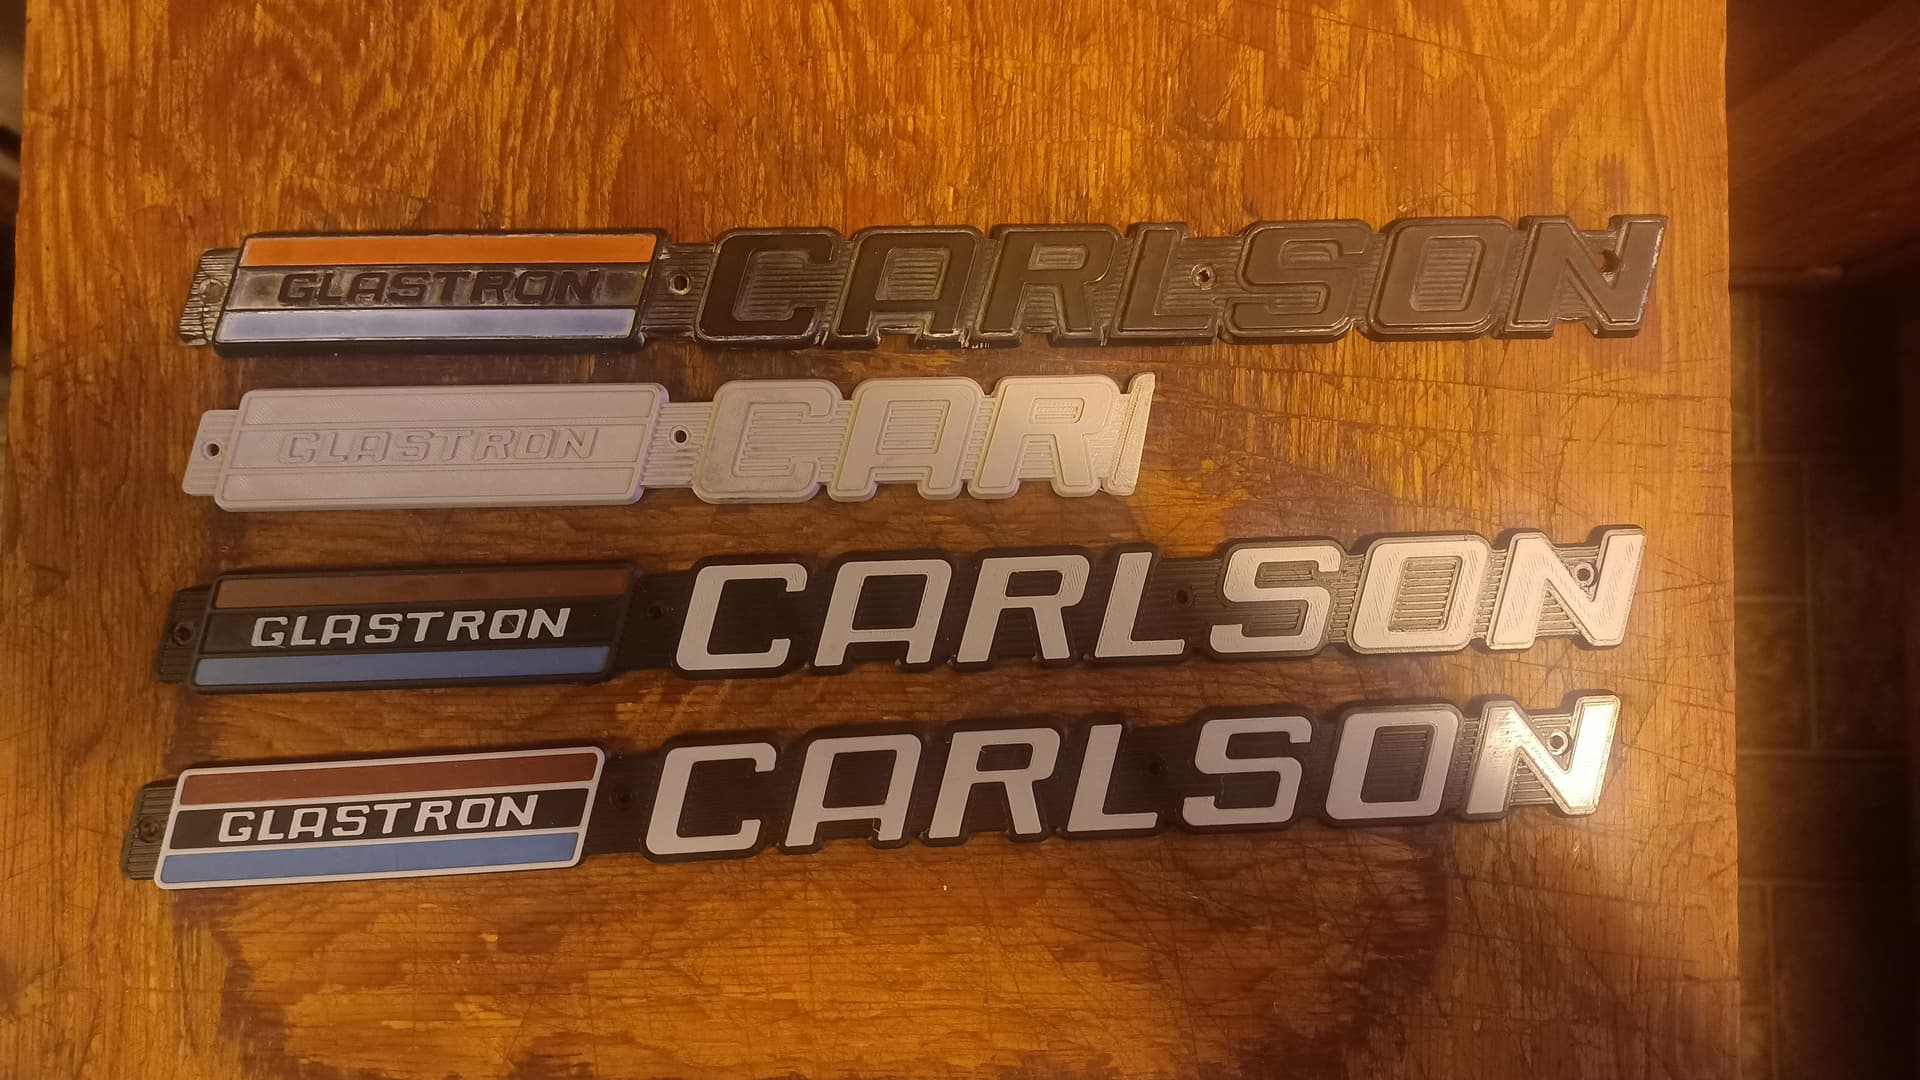
the test print went well now printing a colour version . 5 hrs 45 mins. i had to make it in 2 pieces

edit I had iron all surfaces enabled instead of iron top surfaces now I’m down to an hour and 45 minutes
the test print went well now printing a colour version . 5 hrs 45 mins. i had to make it in 2 pieces
edit I had iron all surfaces enabled instead of iron top surfaces now I’m down to an hour and 45 minutes
Getting closer to a respectable representation.
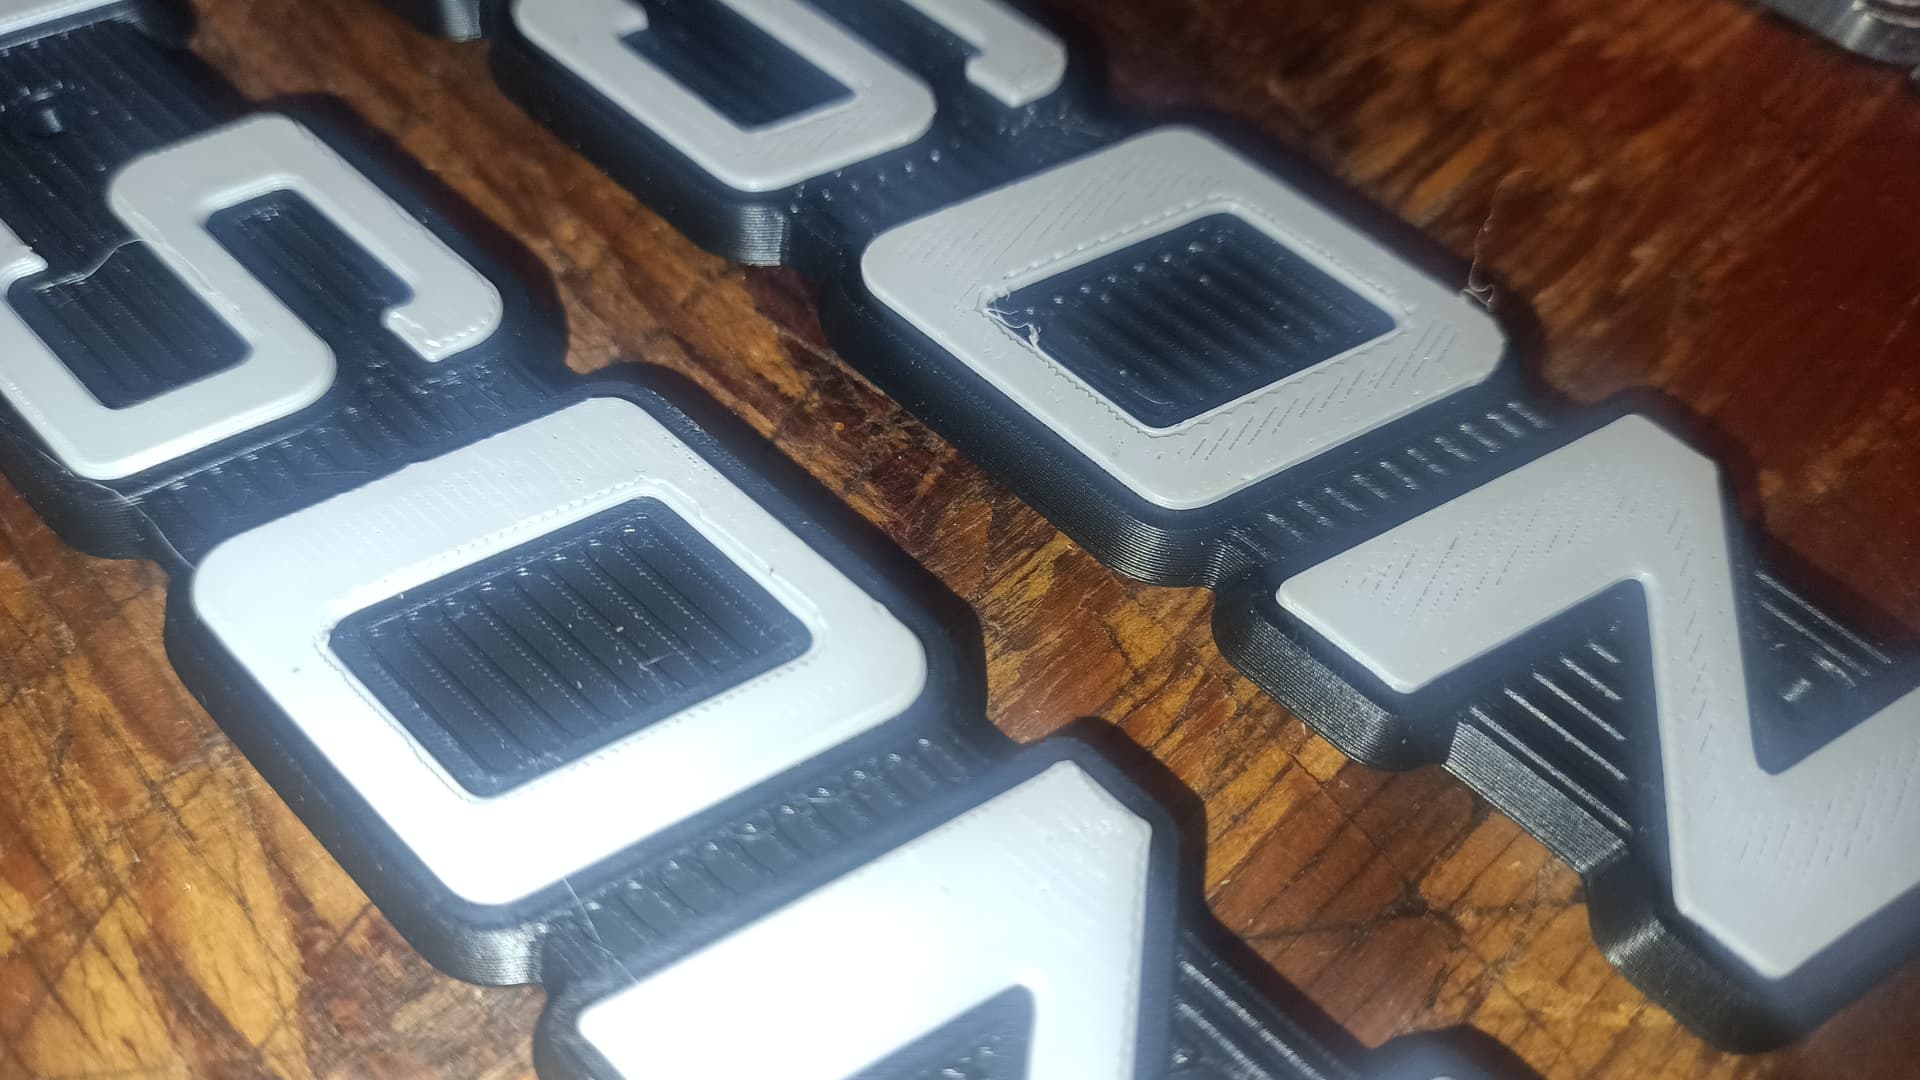
My gray filament must have had a little moisture in it it’s printing far better now that I put a fresh spool in.
It’s hard to tell but you can see there’s definitely some moisture related texture issues on that top surface. But with a fresh roll of filament it seems to be good.
Still considering printing the whole thing with a point 2 mm nozzle but it adds 4 hours to the print time and swapping the nozzles of big pain on the X1 carbon.
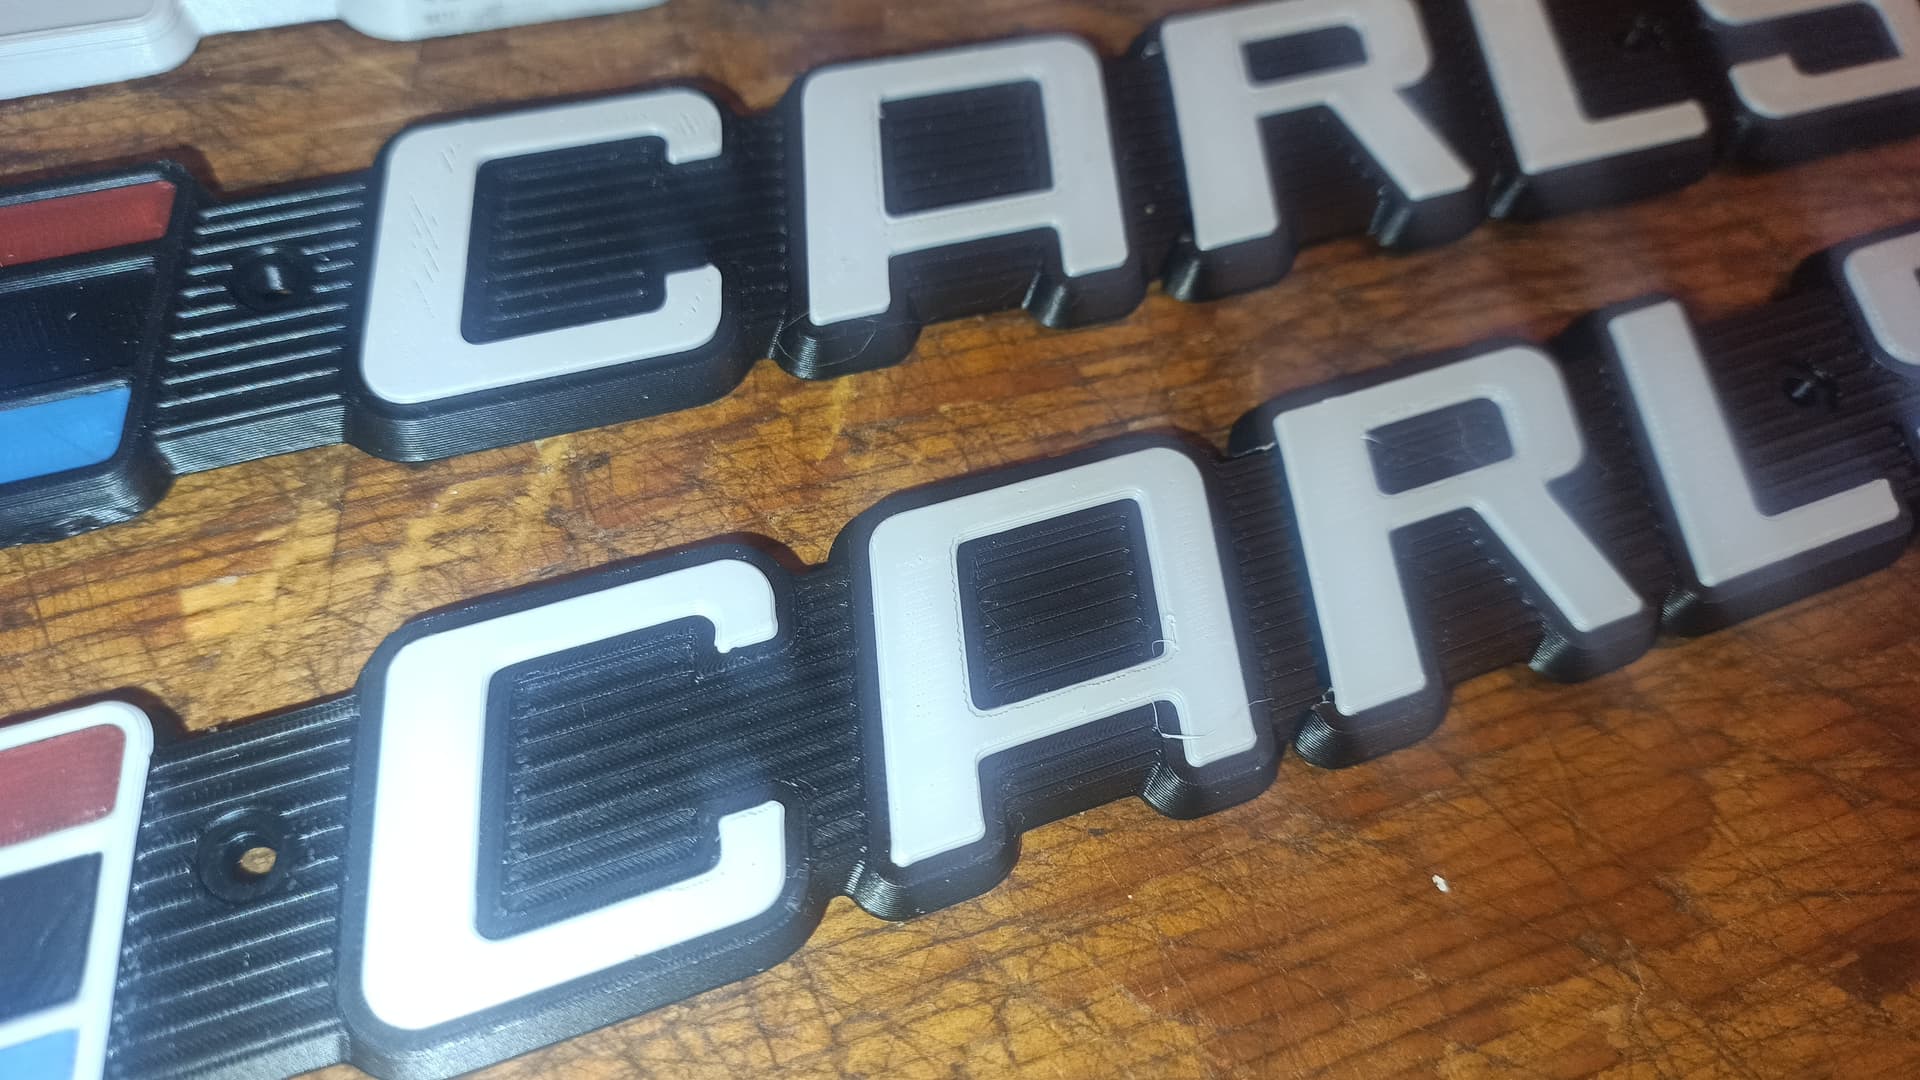
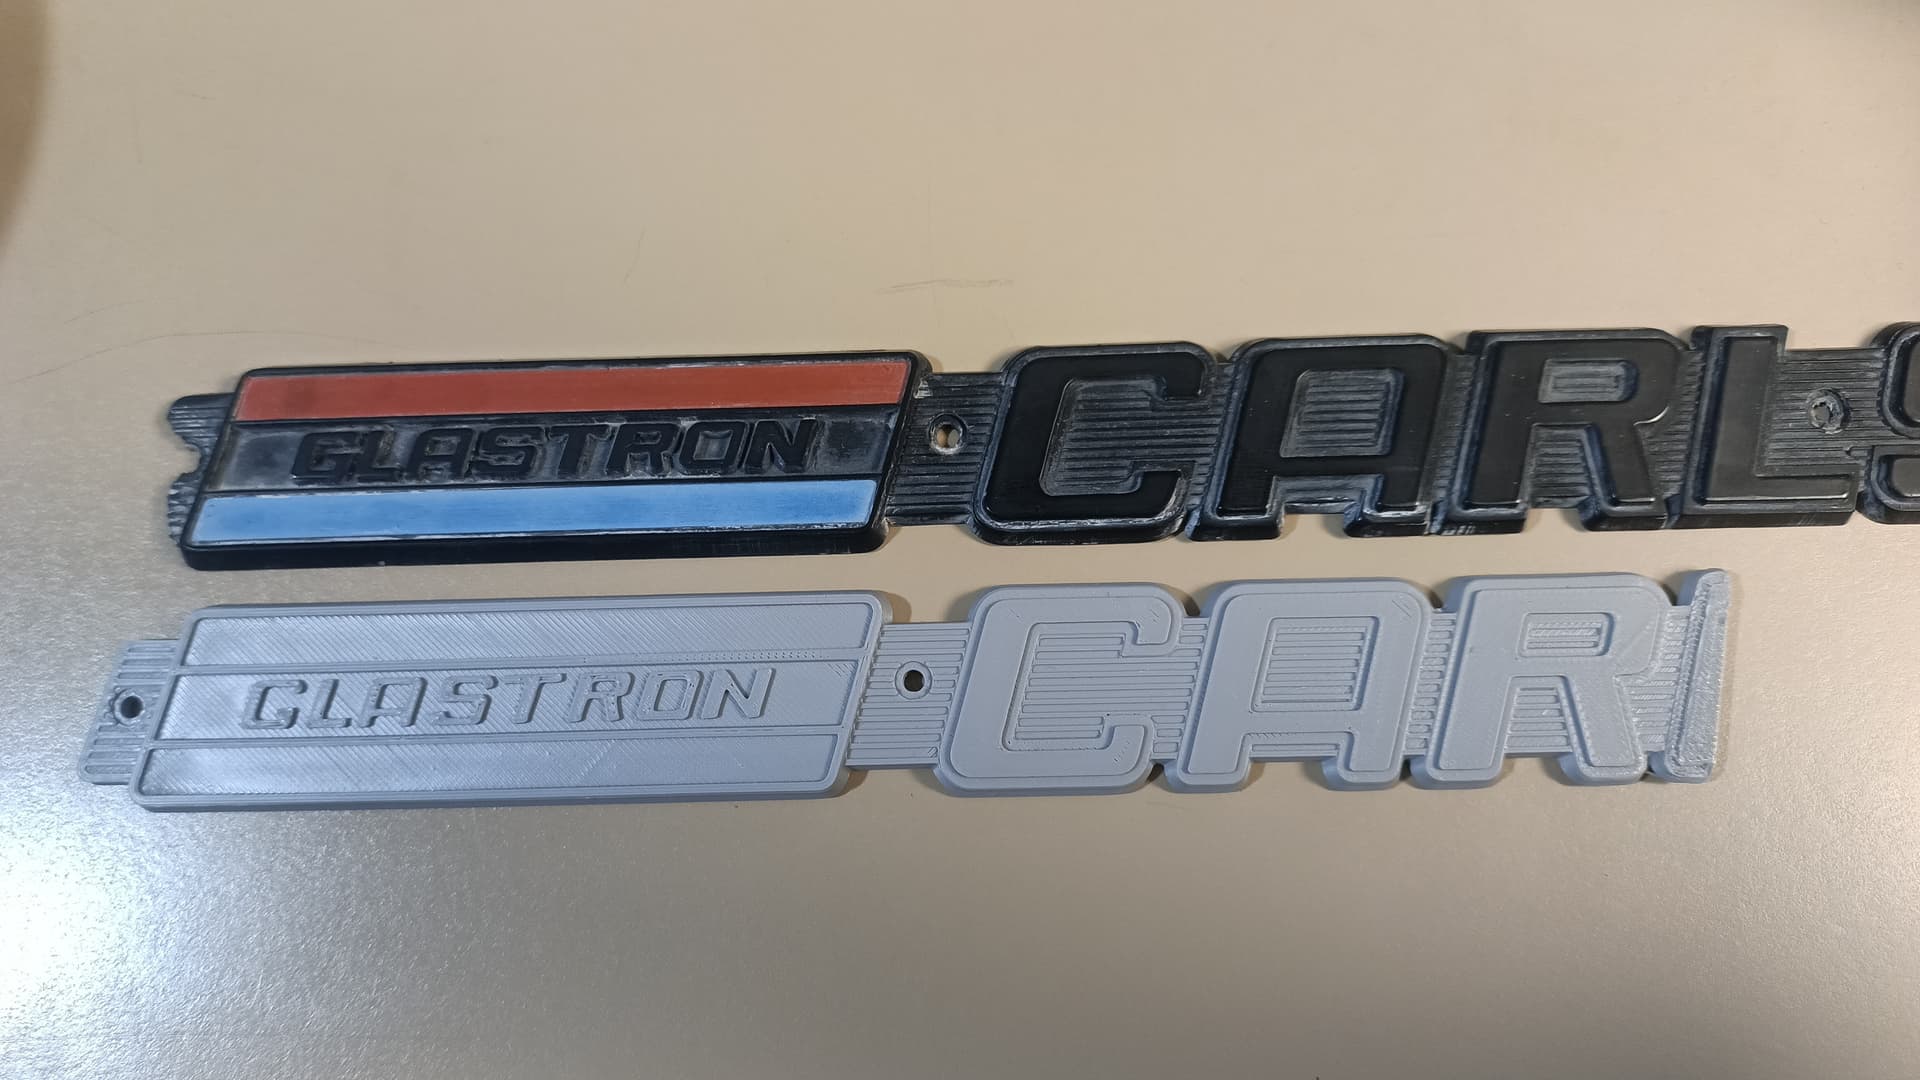
I’m happy with the way the joint worked out in and under the R
nice touch on the raised lines.
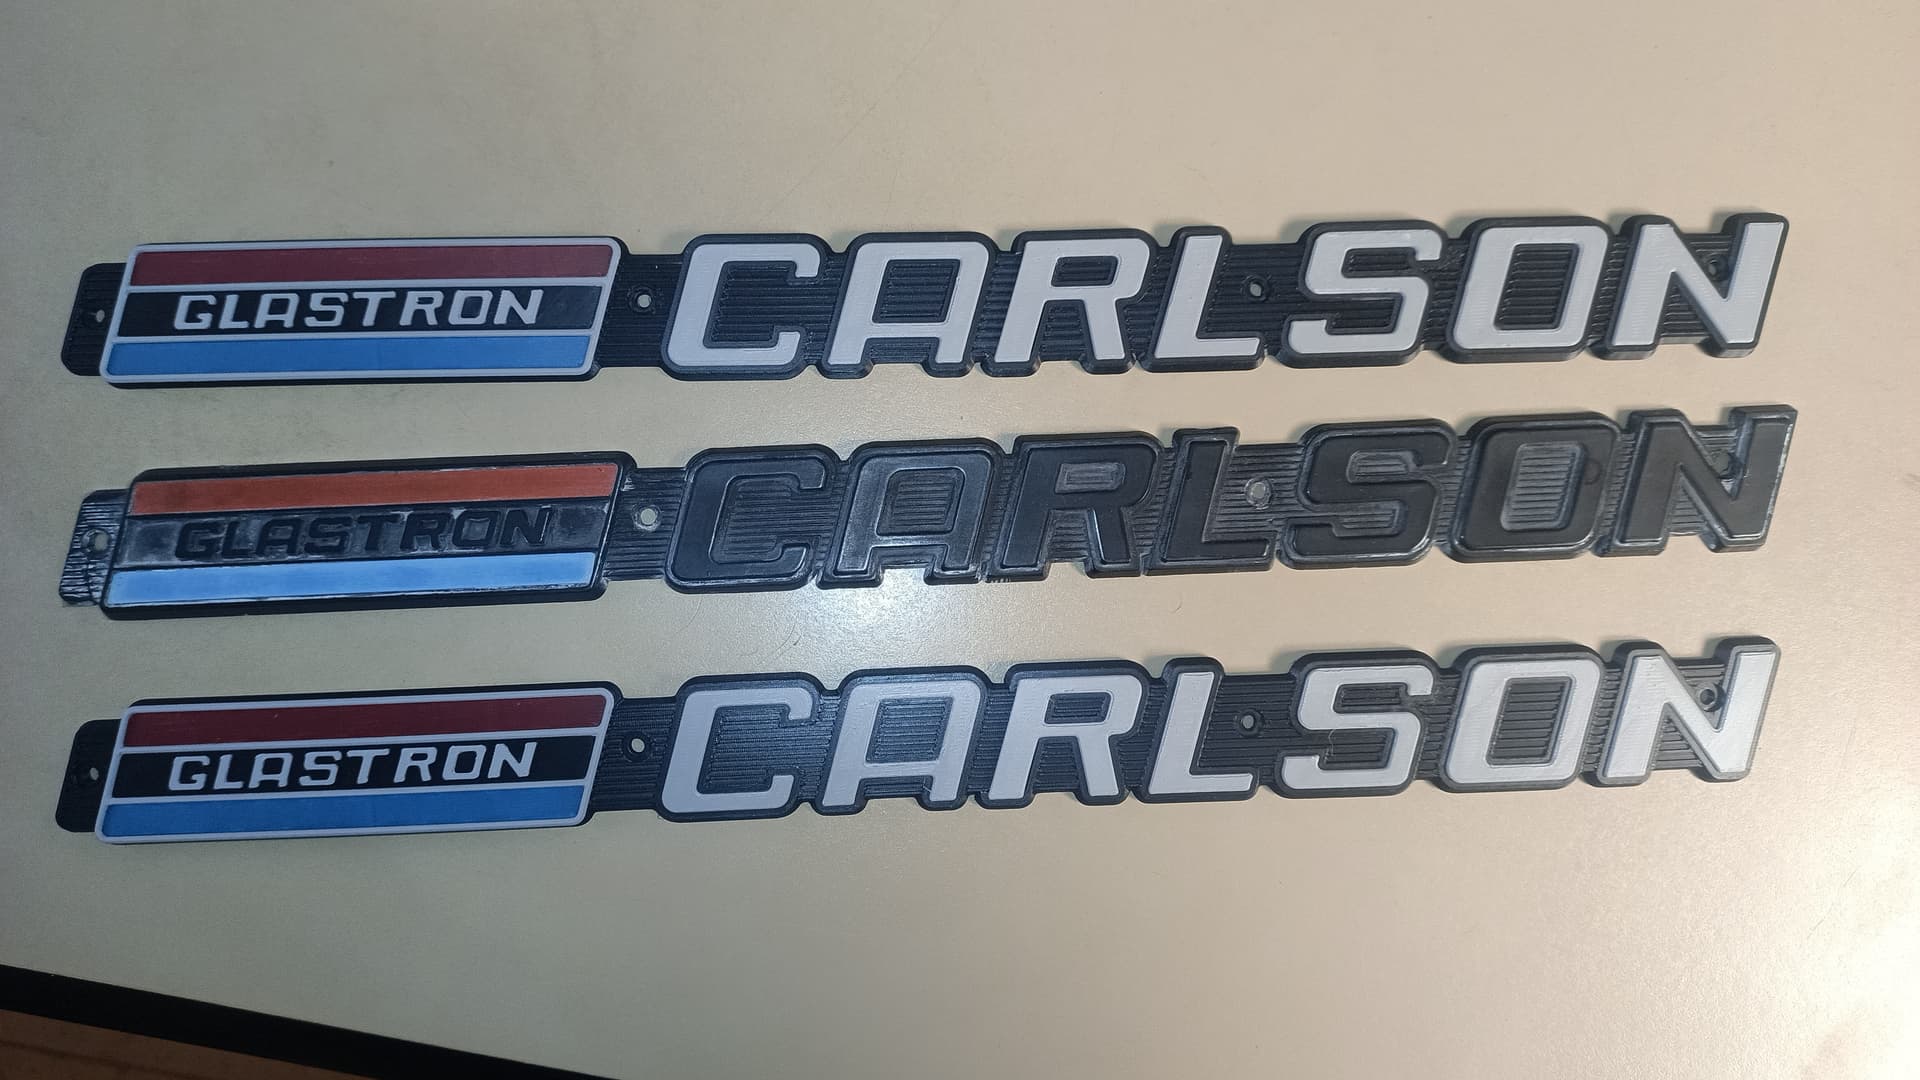
A matching pair done for the customer.
I think they’ll look good on his boat.
Thank you I tried hard to make this very close to the original with the chamfers, height differences and everything.
Jim, see, you and I operate on a very similar wavelength…I just don’t pop over here often enough.
I ordered up a roll of that BL ASA-CF right before Christmas, and I’ve been printing with it like crazy.
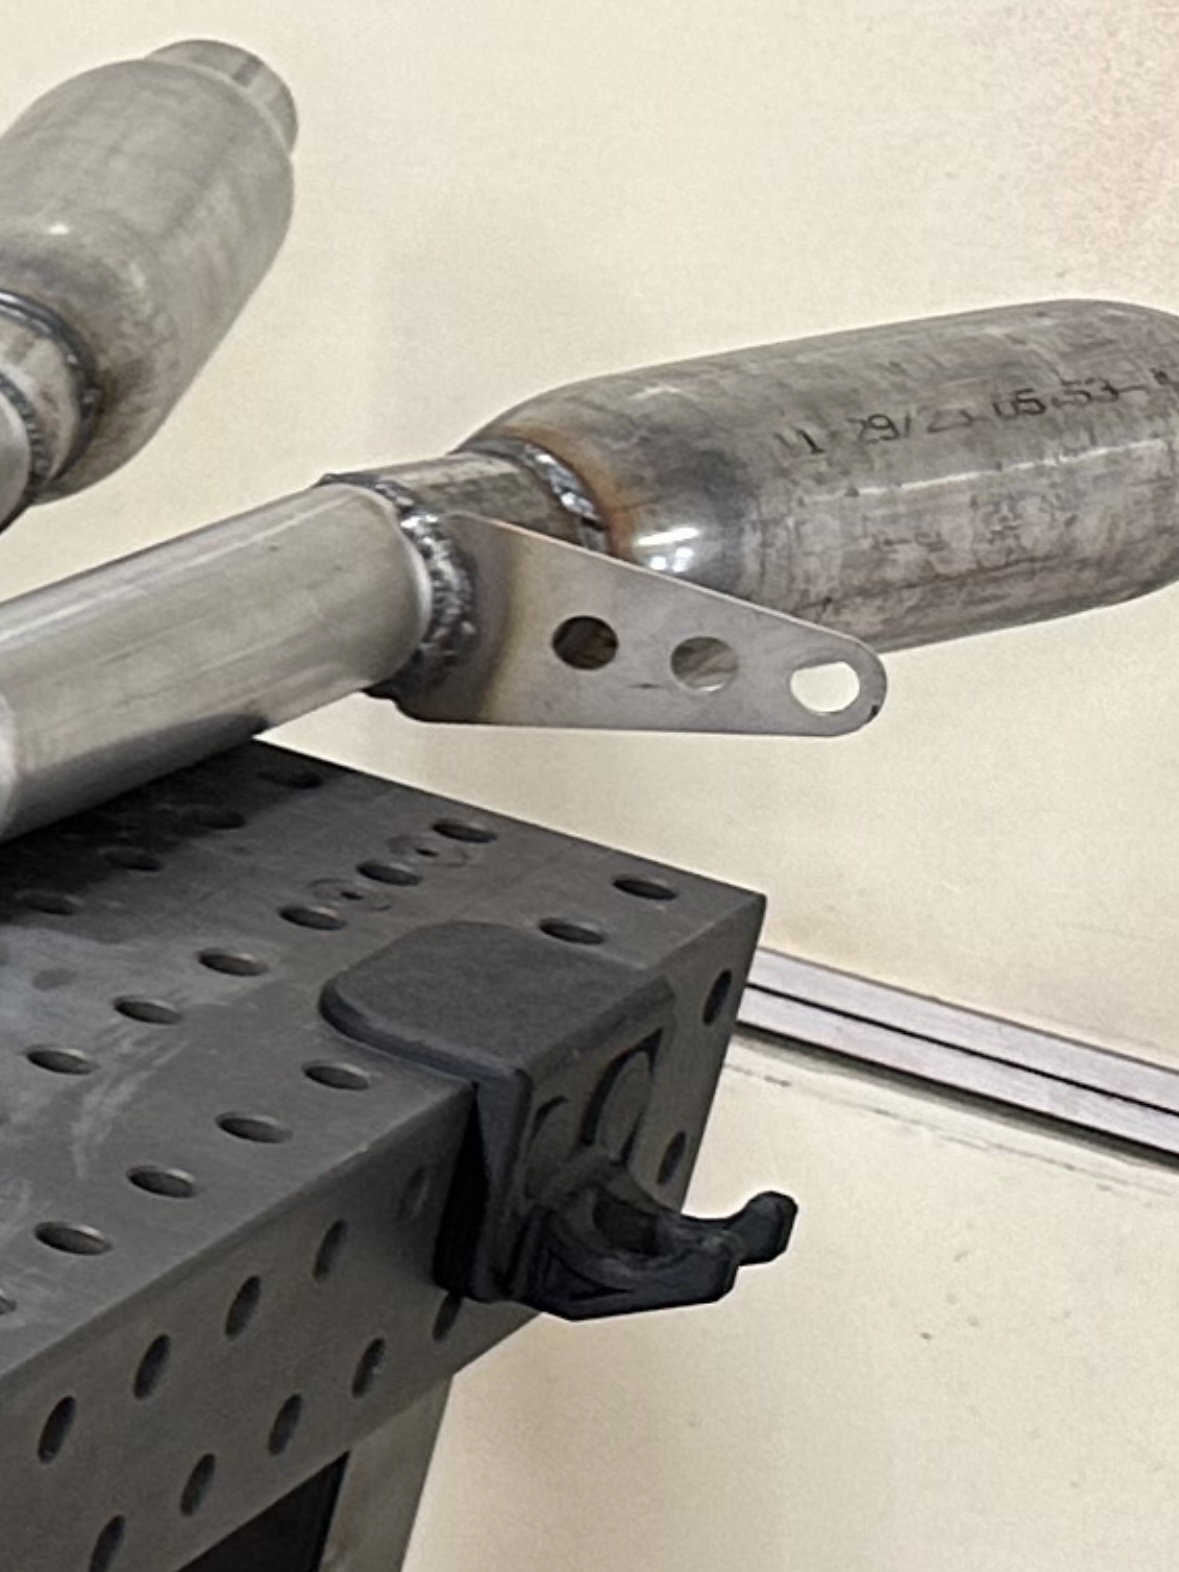
Those of you who watch my videos may have caught a glimpse of this TIG torch holder I made from it. It holds up just fine to a TIG torch that’s hot from AC welding at 210 amps.
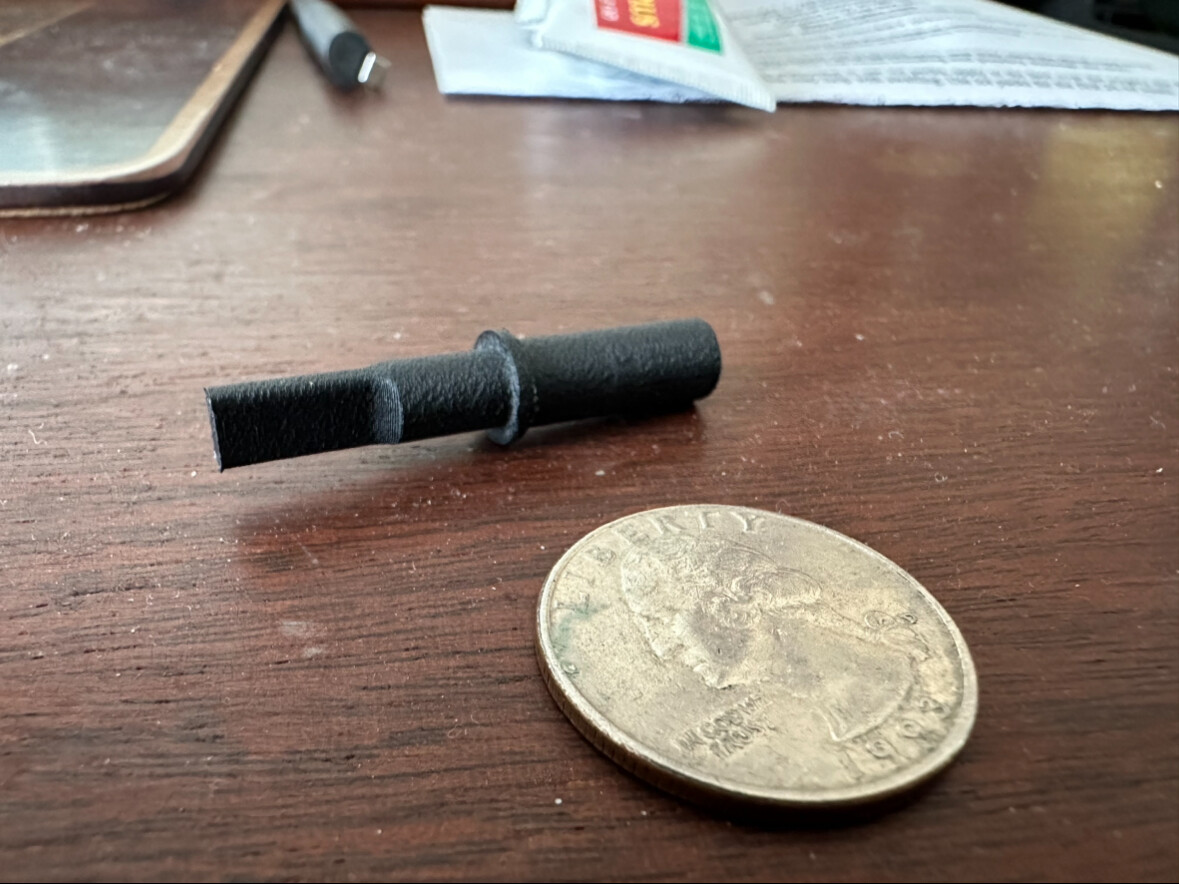
And believe it or not, I actually have it surviving inside the transmission of a 90’s Subaru as the speedometer drive coupling (which failed in the factory pot metal). I used the ASA-CF because I had no way to machine the required 0.100”x 0.400” blind square drive hole to correspond to the cable end. This is an example of the part, though I ultimately re-oriented it in the optimal direction.
That said, I am quite impressed with its Z-axis flexibility. These little tabs snapped instantly when printed from PLA+:
I’m VERY impressed with this material. It is extremely brittle (past a certain point), but I’ve printed 90% of the roll out of the AMS and haven’t had an issue yet…
What joint?

Layer lines 90* to direction of load applied.
Tricky with cylindrical parts that need to be dimensionally accurate, Sticks. Though, the speedo drive adapter I 3D printed as a long hexagon laid on it’s side, which allowed it to print in the optimal orientation and without supports, and then I chucked the hex up in my lathe and turned it down to my diameter spec. And like I said, that part is surviving inside a transmission, cost 10 cents, and took less than 15 minutes to machine.

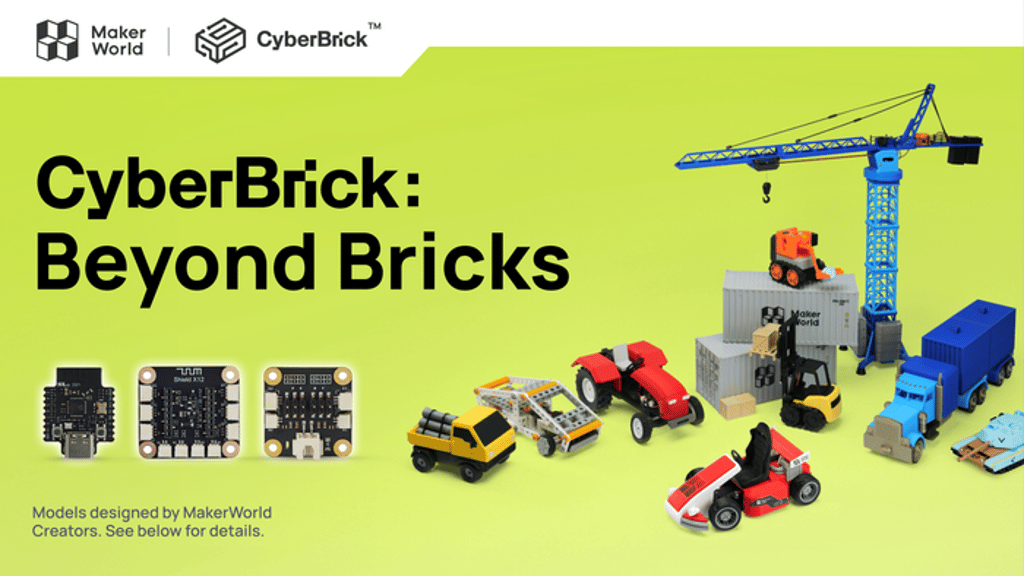
Another Kickstarter for some maker world branded electronics for 3D printing product.
Seems interesting

https://www.kickstarter.com/projects/makerworld/cyberbrick-beyond-bricks
That is a good idea!
If anyone wondered why is it important to dry filament before printing. : r/3Dprinting
Here’s a great video that shows why the need to dry filament. You can see the water vapor expanding and getting trapped within the plastic.
I recently purchased a new dryer, sadly I have not taken out-of-the-box yet. We’ve been a little busy with HVAC and metal work Lately.
I was very interested in this but it’s still in a pre-order state. So maybe this fall I will order one of these S2 with the annealing option.
Very cool video on a live flexible TPU hinge for 3D prints.

Pretty clever!
Some take-aways:
Nice! I have a couple Flashforges Creator Pro. They’re not as nice as yours. And much more limited. I have made some cool stuff though.
That’s really nice. How many extruders does it have? Mine’s a dual but I can’t put out anything like that.
That Tandy shows his age lol. Looks like my 286.
Only one extruder nozzle. It has a AMS automated material system so I can feed 16 different spools in my printer. It takes some time and there’s some filament waste with the exchange between one filament and another but I have been happy with the results.
Those are some nice chess pieces and board. Some kind of laser cutter engraver is one of the next maker toys I’m after.
Any suggestions anyone?
I have a really big chess set that actually has a couple broken pieces I could remake now that I have my printer. Thanks for the reminder.