I’ve never used ASA-CF, but I’ve used ASA-GF with very good results. I’m pretty sure it isn’t Bambu brand filament, though. I also didn’t use it in an AMS.
Make sure the filament path is as straight as possible into the machine.
I’ve never used ASA-CF, but I’ve used ASA-GF with very good results. I’m pretty sure it isn’t Bambu brand filament, though. I also didn’t use it in an AMS.
Make sure the filament path is as straight as possible into the machine.
I have not even tried to load it yet. As you might expect, I am concerned about having a piece break off and then trying to find and clear it.
Perhaps it is fine but there is no way that it can be secured on the rim of the reel with the typical weave in and out of the end of the filament.
Bambu doesn’t include the little filament clips with their filament? I usually don’t use them, but Sunlu includes a little plastic clip that clips onto the filament and onto the edge of the roll.
No, they don’t. I have a bunch of the Sunlu ones. I suppose I will use them. I sent a question to Bambu to see if this brittleness is typical with the ASA-CF filament.
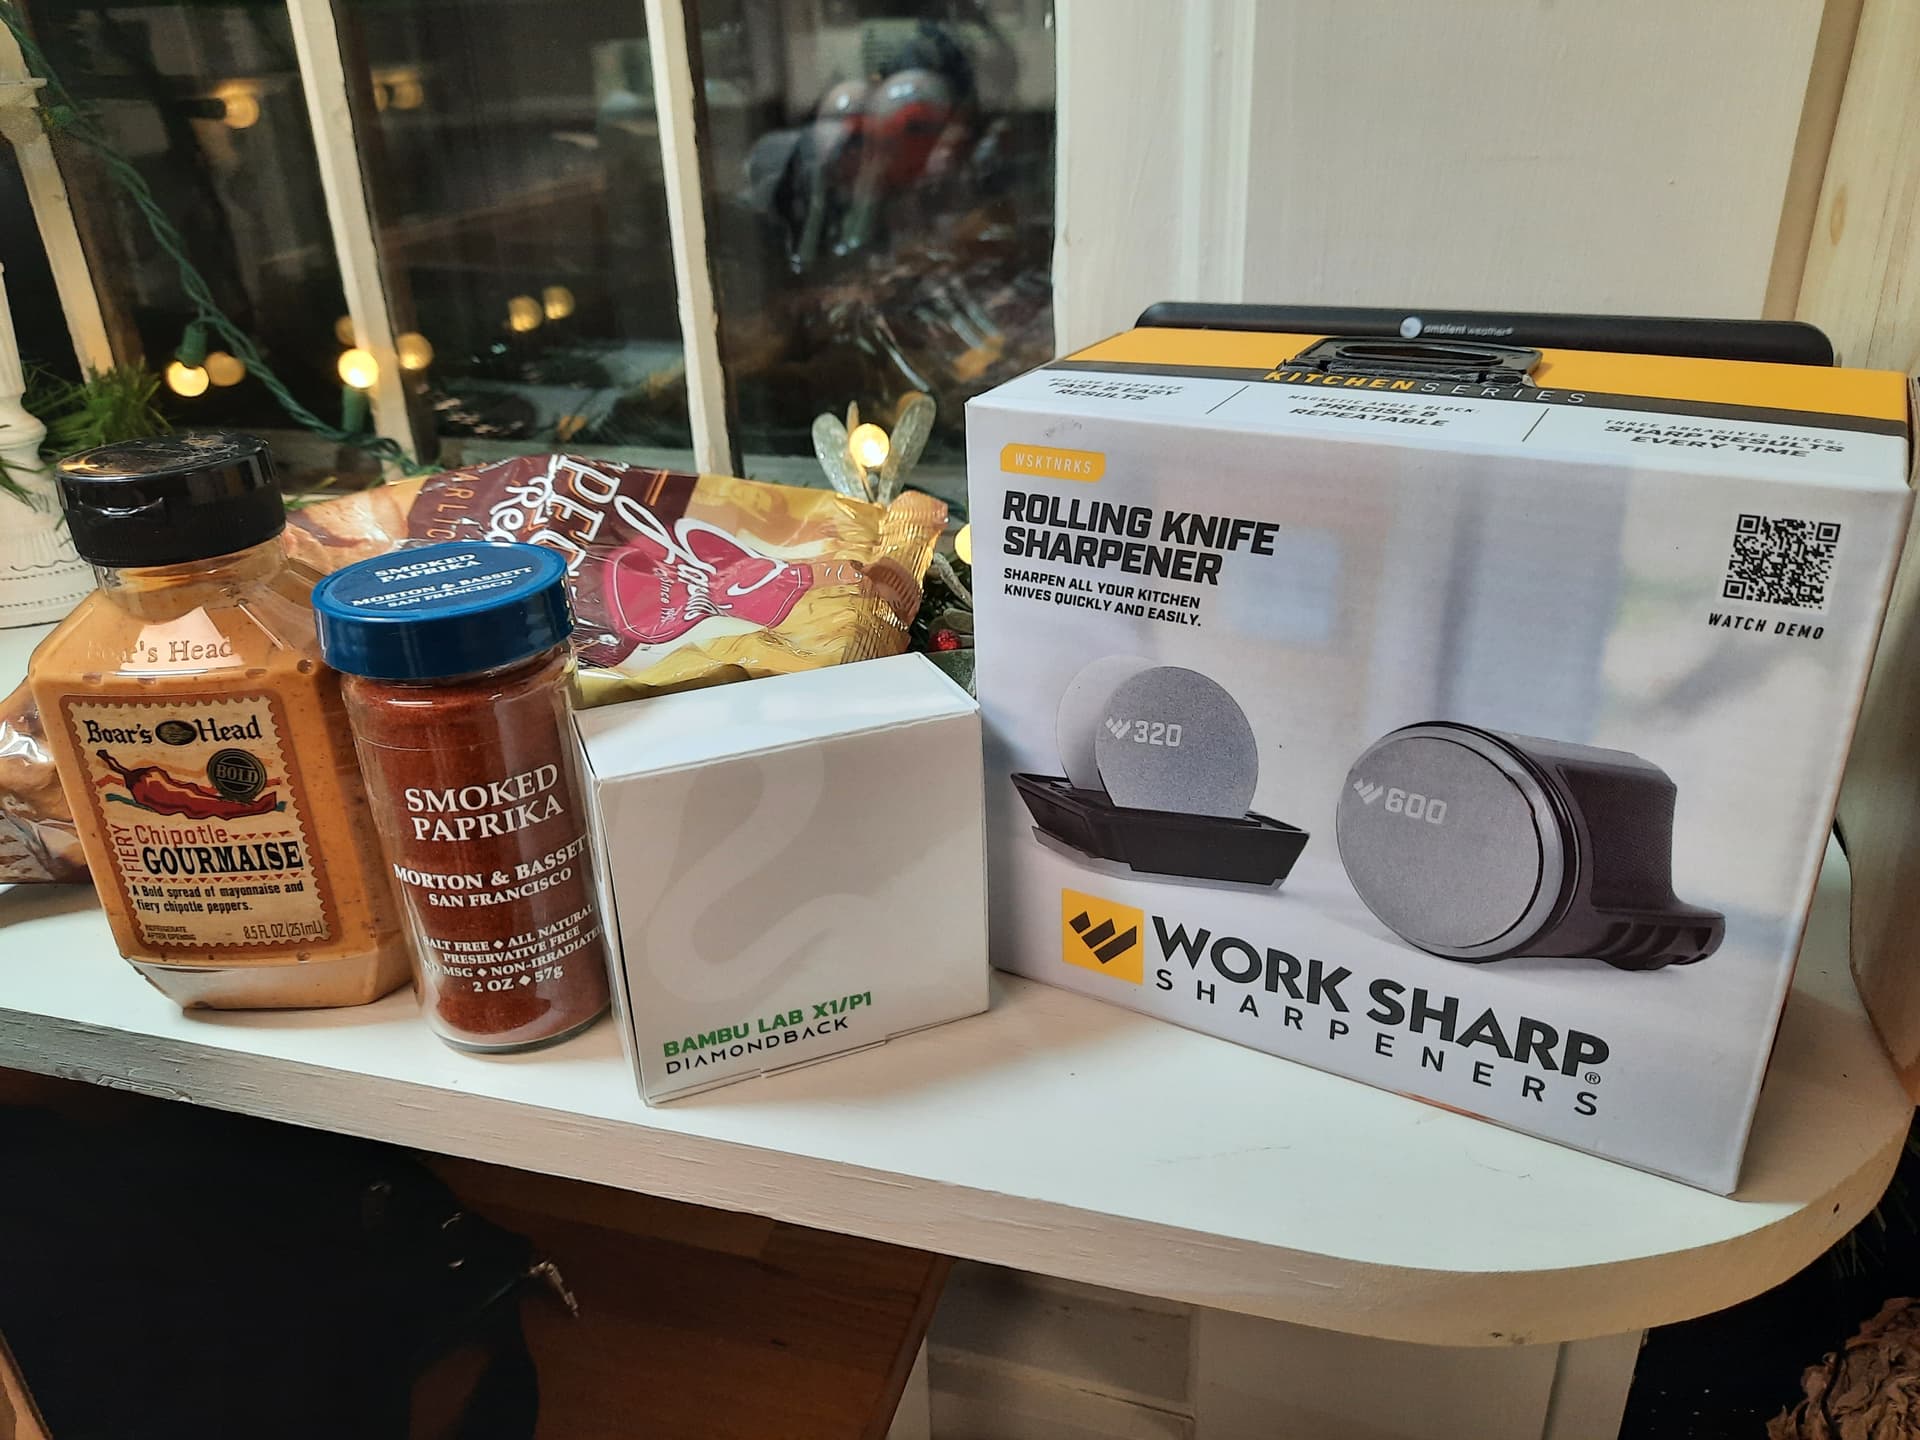
My step-son gave me a E3D Diamondback nozzle for my X1C for Christmas. I didn’t know about it but I’ll find a use for it in one our printers

This is a follow-up on my Bambu ASA-CF filament:
I have not heard back from Bambu yet but it has only been a few days. I have a project that would be perfect for this filament so I decided to try it out.
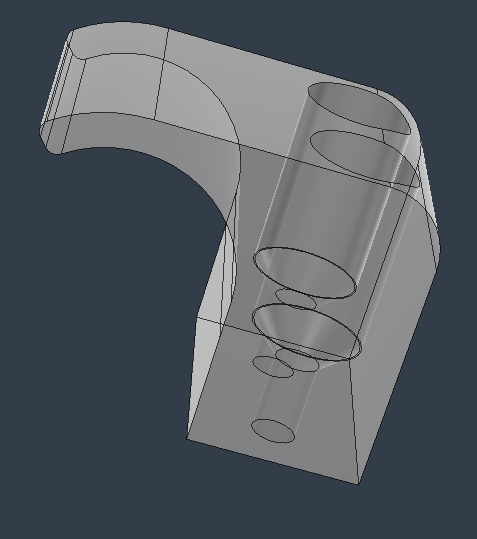
These will be clips adding to some folding tables that I made years ago. They are very robust and the legs never stayed folded tight to the table. Hopefully this will help.
Note that this is the description on their website:
So I proceeded to load in the AMS and identify it to the printer since I have turned off the automatic sensing. (In retrospect I am glad it was not allowed to auto-indentify since it would have loaded the filament further thru the tubing).
After identifying, the printer gave me and alert:
ASA-CF filament is extremely brittle and is likely to break in the AMS system. Proceed with caution. (paraphrased)
So, I guess it is normal to be so brittle. I took it out of the AMS and loaded in the auxillary tube. It seems to be printing exceptionally well.
It will give that warning with all carbon fiber reinforced filaments. At least it does with the petg CF and the pla CF. Or it use to.
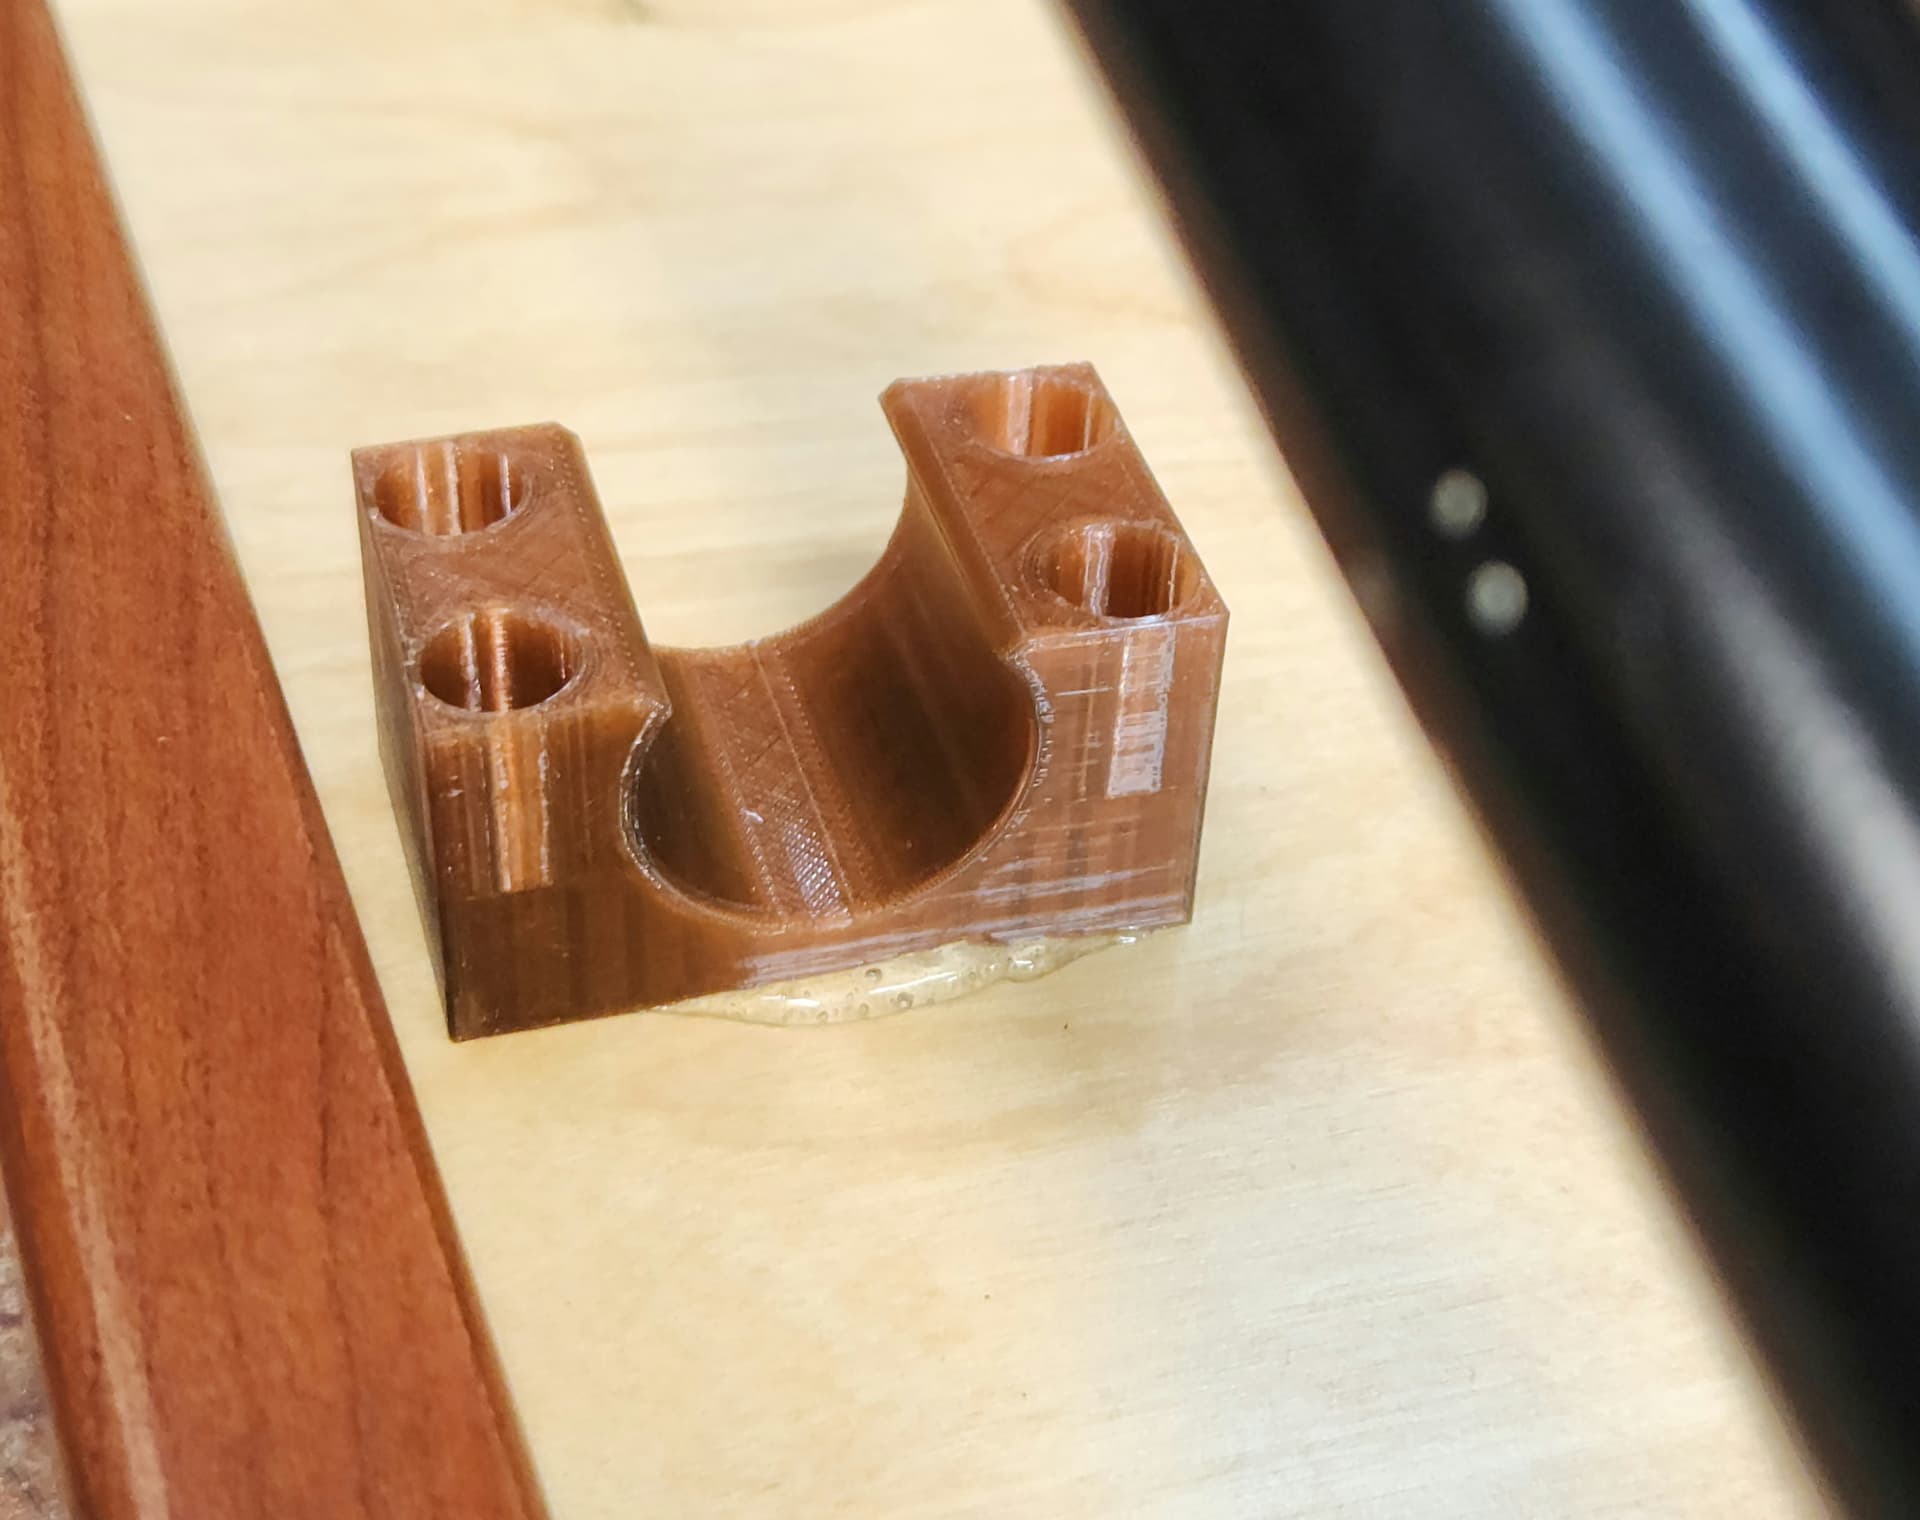
So the clip printed most excellently with the ASA-CF in the side spool location and there was no issues with it breaking even though it continues to be very brittle.
The clip was exceptionally strong but the legs on the table lack any sideways motion to engage with the clip. I printed these clips out of TPU and they are perfect but it took 2 hours for each clip. They have just enough resistance both engaging and disengaging that gives them the strength to hold the legs closed.
They are screwed and glued (Gorilla clear construction glue - 24 hour curing time).
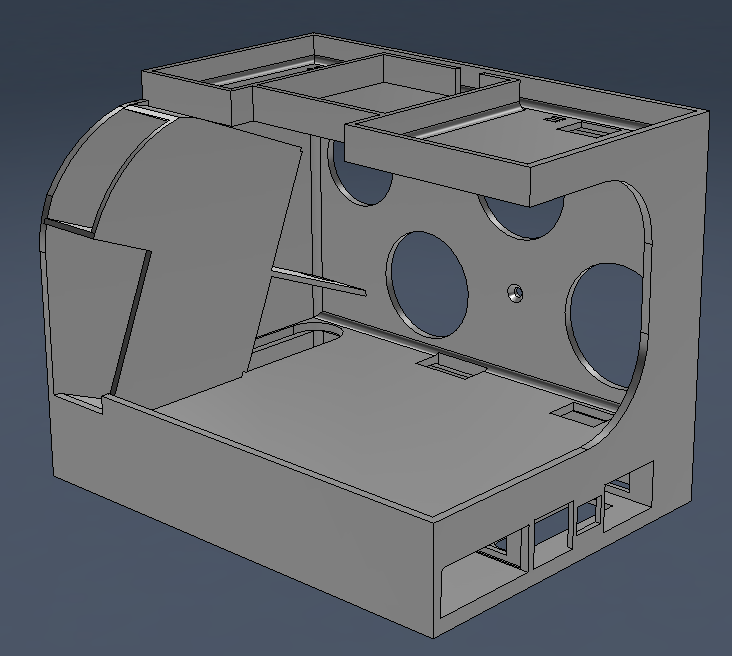
Now I am printing a bedside table monstrosity that clears up all the wires and devices at my bedside. It is a 24 hour print and makes me want to have another printer!
I decided to explore the in-fill types. For those of you that are familiar this might not be helpful but I just tried Hilbert Curve, just to see what would happen. That was a big mistake. Beware, it will add considerable time without a lot of value to your project. For this reason I decided I should enrich my understanding.
Here are my three sources:

Here is my summary page. I put an asterisk after the names that are worth considering. The print times and filament use were from the video in which a 70mm cube was printed. The force measurements were from a table in a chat session but a reference was not given by poster, so understand it might not be accurate. ![]()
Table (delete .dxf from the name):
Filament InFill.doc.dxf (31 KB)
")
Although that video was very analytical and proved strength of some of the same infills, the concentric was not in agreement. My thought is that the test pulled against the concentric walls that were placed in the vertical position (as they would logically print). Had they tested the concentric in the horizontal orientation, I believe it would have suffered.
Results from “This 3D Printer infill is the strongest” for weight to strength ratio:
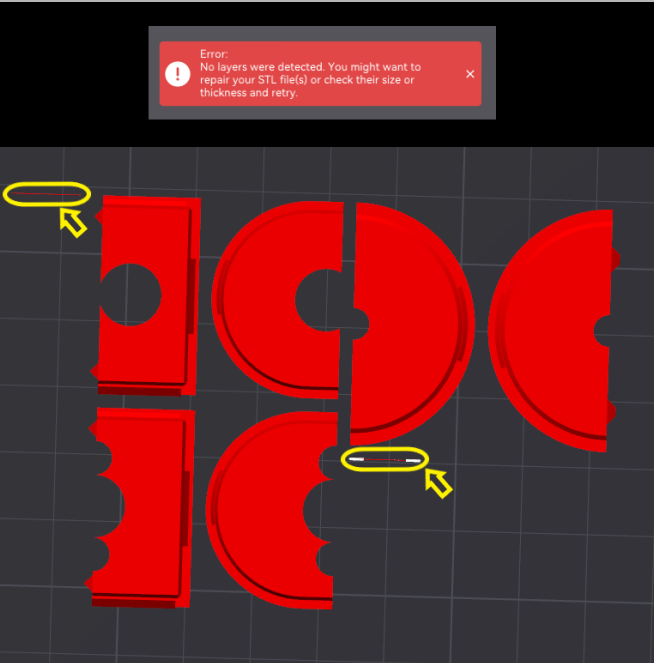
I recently encountered a new error with Bambu Studios using a STEP file generated from Fusion 360: “No layers were detected.” The same body was converted to STL and worked fine so it only seems to happen with STEP files.
On further examination, there were some fragments/artifacts that are present in the STEP file.
Solutions:
Im attempting to print a tool for my shop. It is for the EPS recall from Honda. Im using Fusion360 for the design portion. Just wondering if its possible to make a part with a variable extrusion? Like a 8 inch long bar that is. 5 inch thick on one side and .1 inch thick on the other. Any help is appreciated.
Who here, can offer to do a 1 on 1 to help construct what would be “super simple” for 3D print experts? I use Fusion 360 and I’ve got Zoom.
I have an idea for an item, but can’t figure out the proper commands for working with solids. I did look up videos but found instructions for CAM for milling.
I’m pretty sure I’m doing this incorrectly because the interior bottom is one extruded body, the sides are another extruded body, and the square hole is an extruded cut that took me a bit to figure out which was created with a sketch on that plane.
Sketch it from the side(Y/Z or X/Z) and draw it as a rectangle with those dimensions then extrude it.
Alternately, you could sketch it on the X/Y and extrude it. Then do a sketch on the side of it to cut away what you don’t want.
I take it that you finally made the plunge and got a printer?!
I don’t have Zoom but would be happy to help.
I also could help. The langmuir discord Channel also makes it easy to share the screen
Export it as a step or stl. Should print just fine. Might have to do a combine objects. Might.
Thanks Tin!
I actually got Jim on Zoom for a bit ![]()
He confirmed that the method I was using to design the above item was indeed correct. I don’t deal with solid objects but once he explained to me that as long as all my sketches/extruded items are on the same body, it is indeed recognized as one entity.
That was the real question behind the madness.
It was regarding design.
Not shown is the “slot” I needed to incorporate underneath the part that spans between the two notches.
I learned how to add such a slot by simply drawing and extruding as I have been doing for the other items.
I had been questioning myself whether or not that was correct.