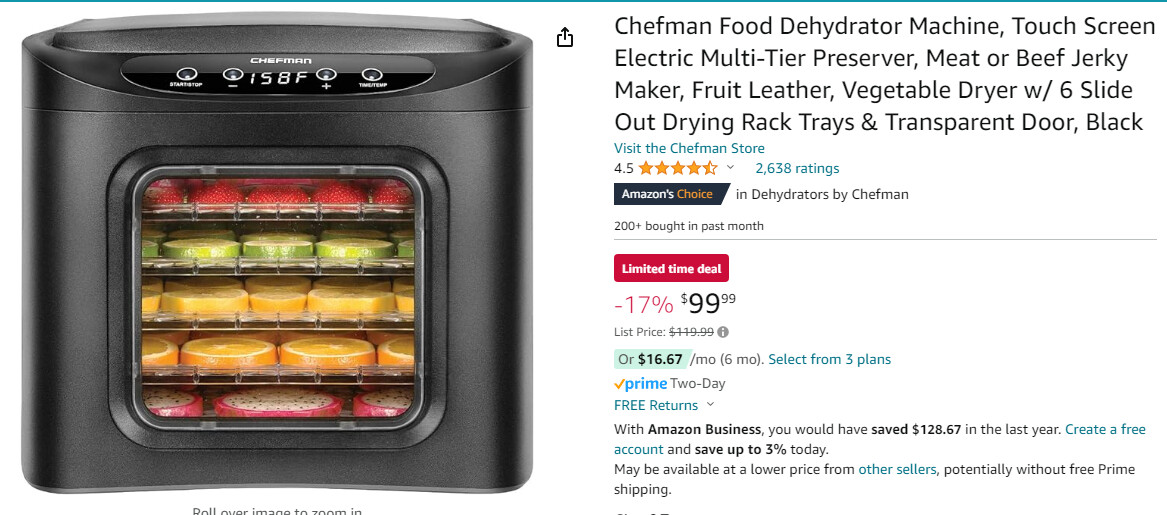
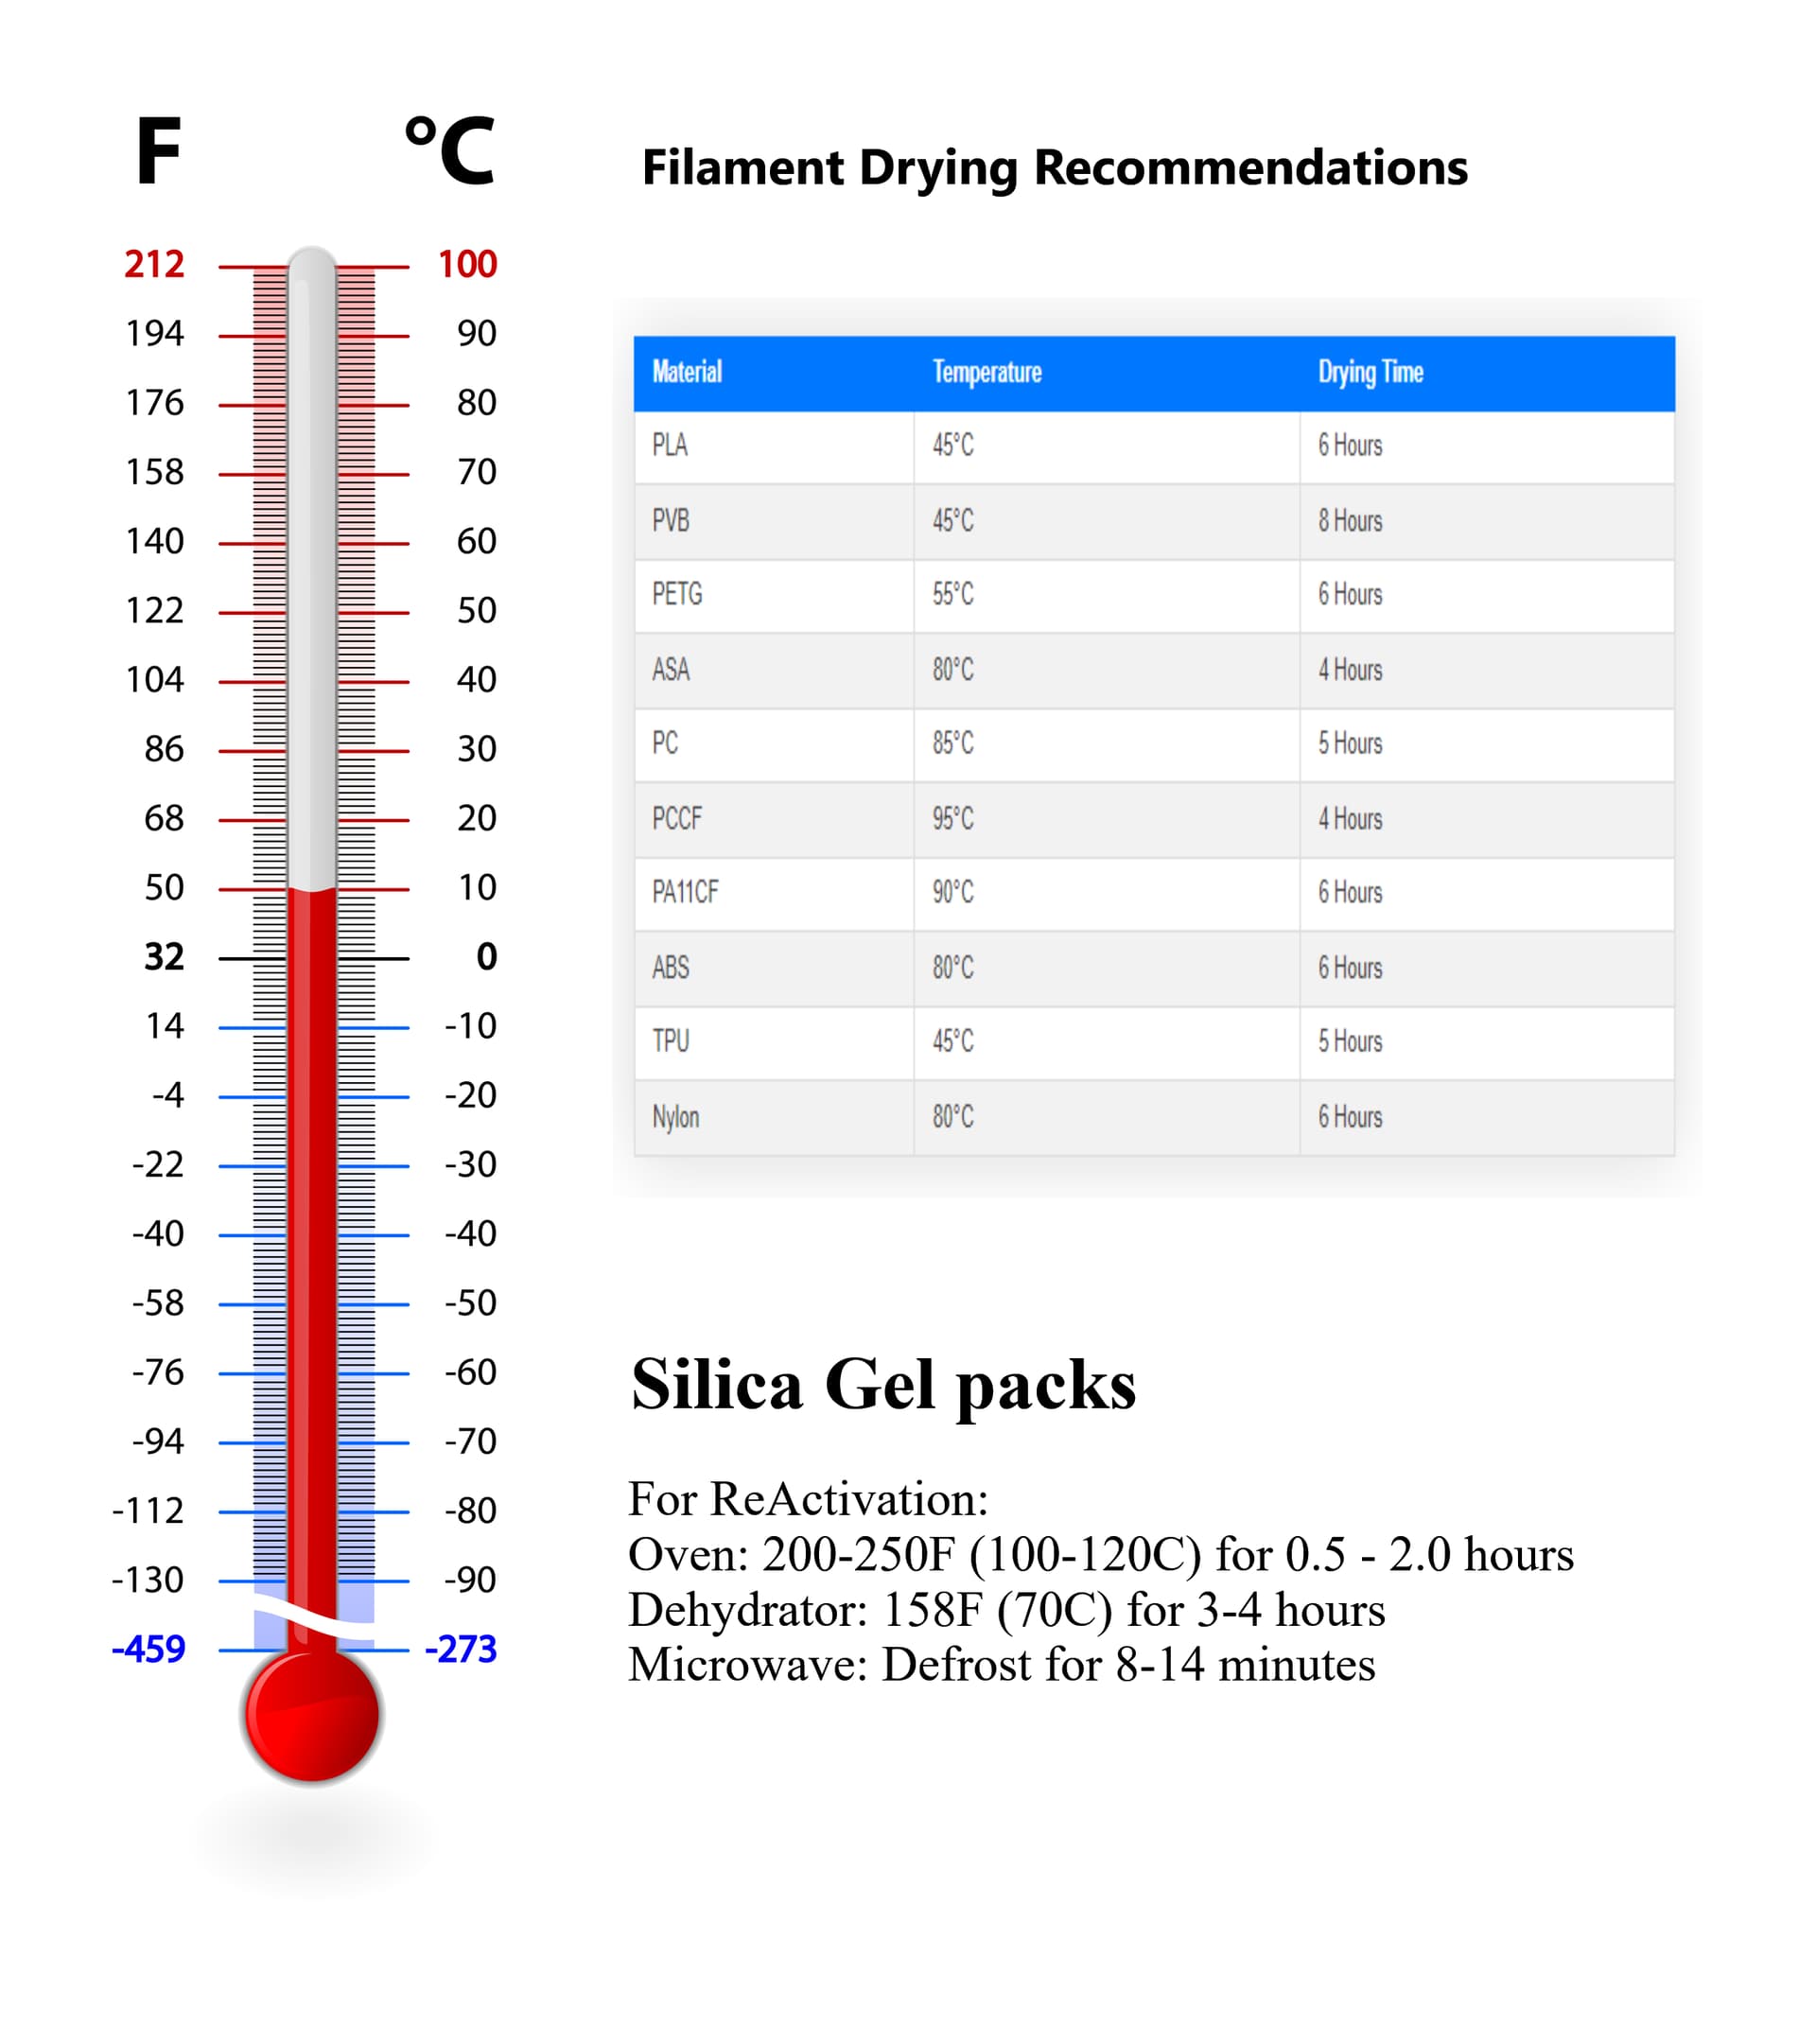
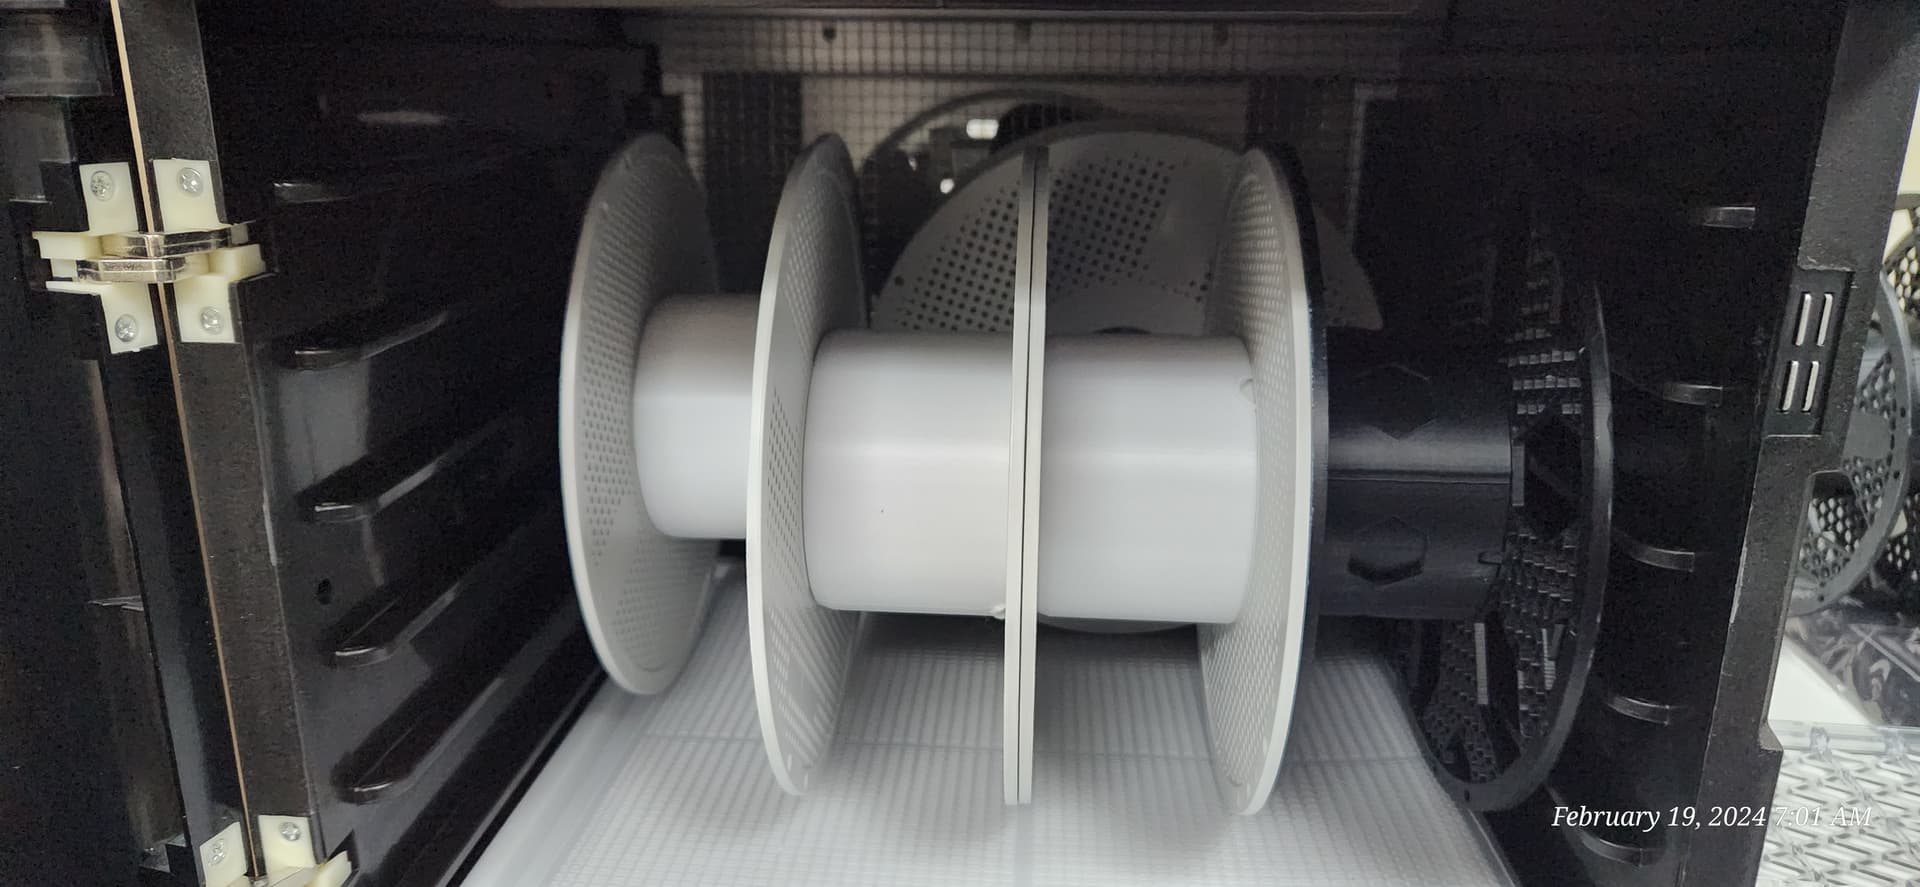
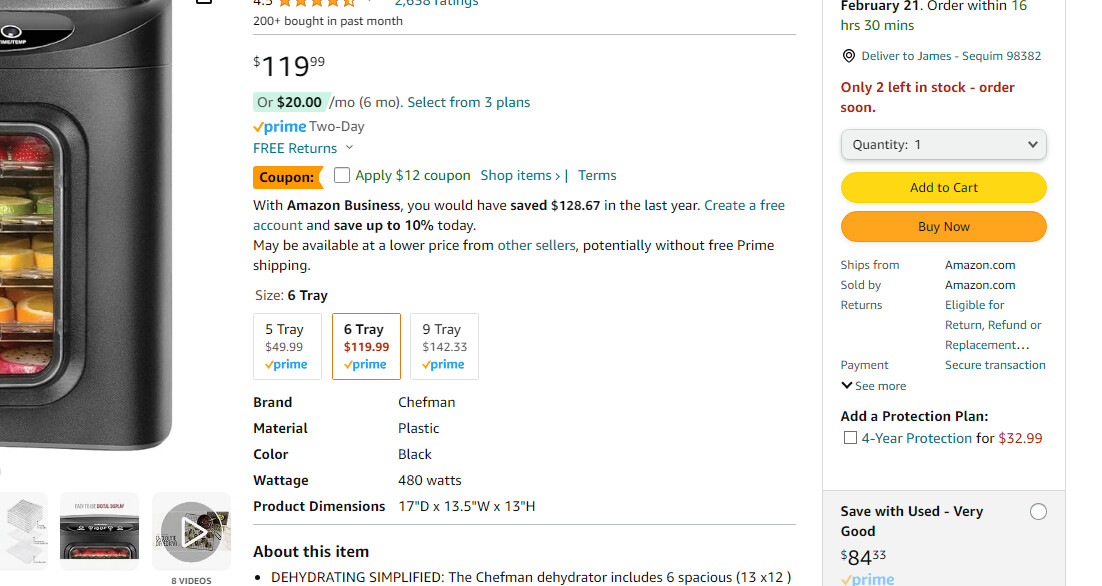
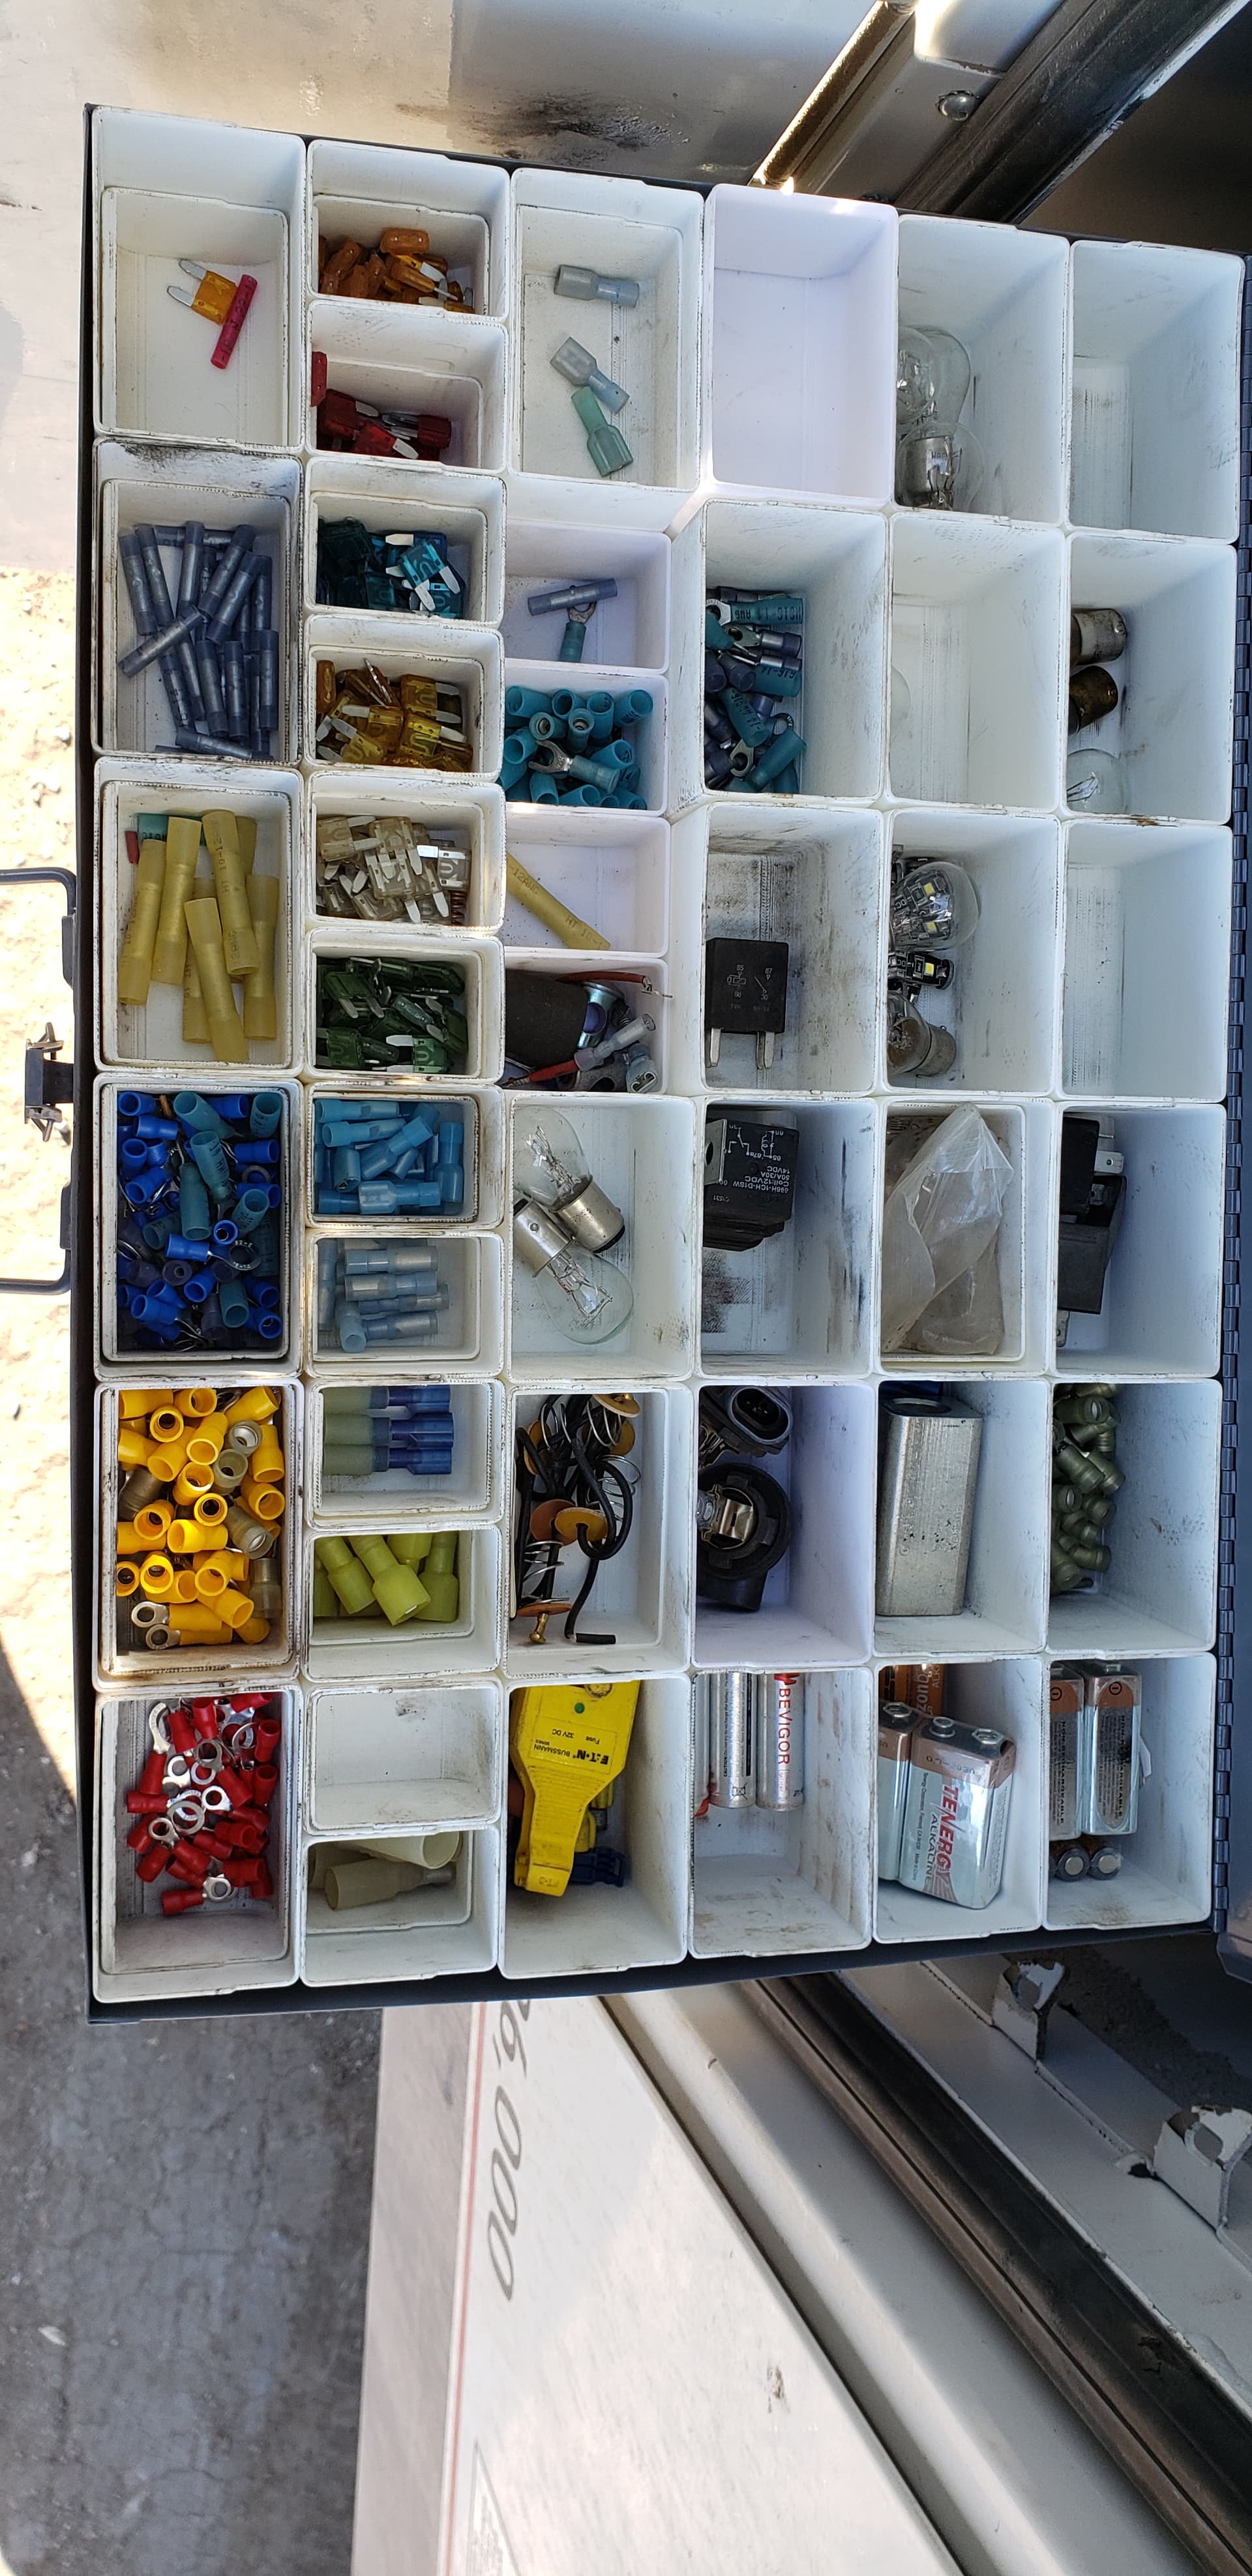
I just bought and used this dehydrator for filament and silica packs. It is FANTASTIC! And it is currently on sale @ Amazon. It will hold 5 rolls of filament at one time. I also have one of the actual filament dryers but it only gets up to 50C.
clipped from the download notes for this project .
" Printing
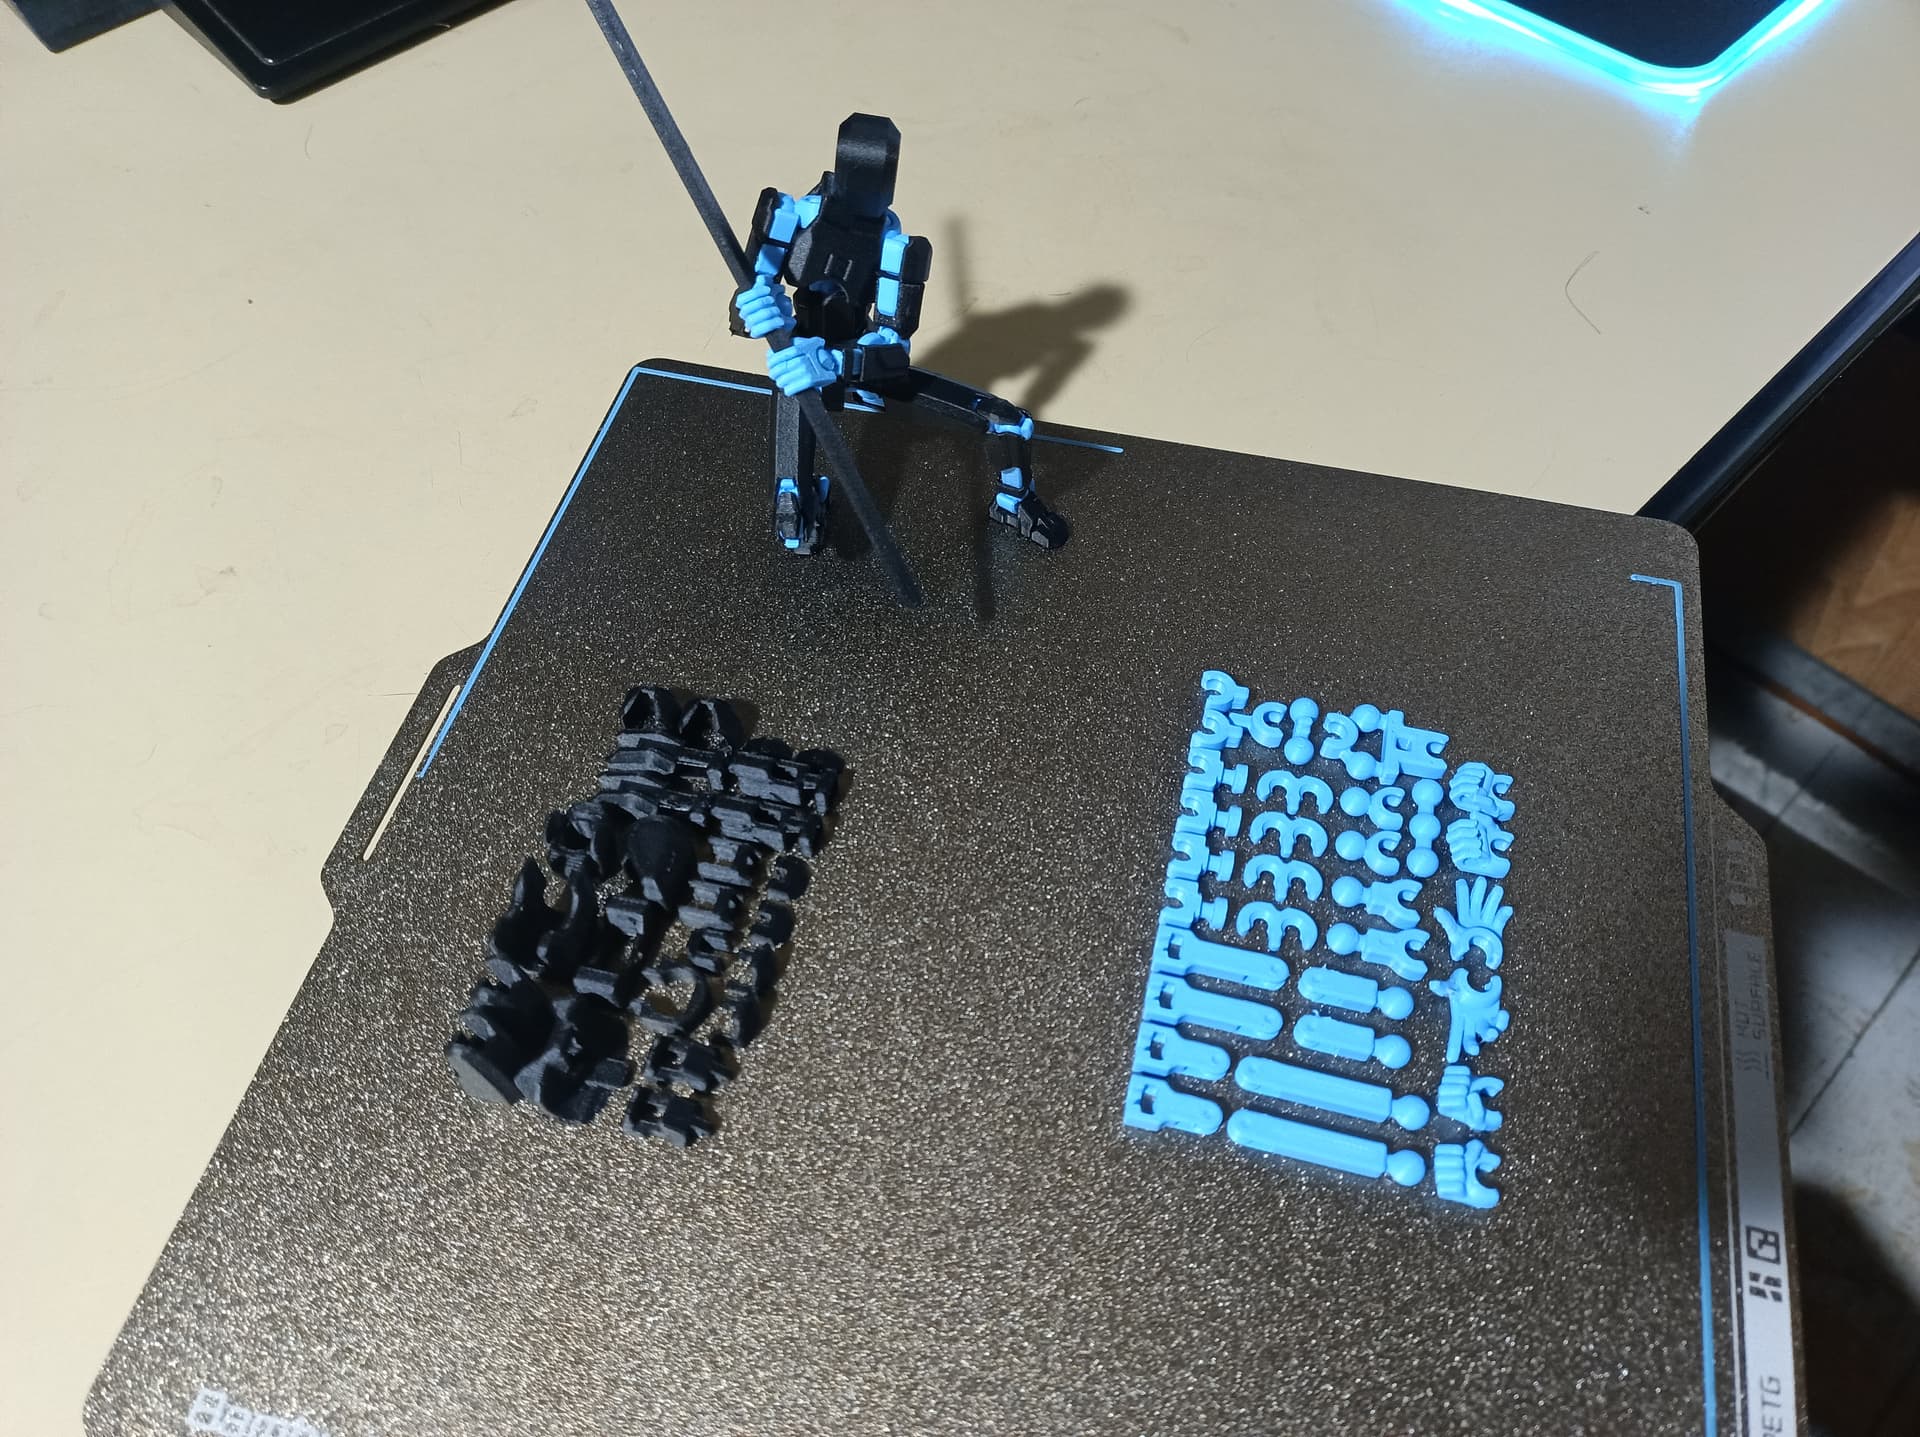
As with the original, Dummy 13 is made up of an inner “frame” with a layer of “armor” over top. You can use the material of your choice for the armor, but you should print the frame with a strong and sturdy material like ABS, ASA, or PETG. I mostly use ASA."
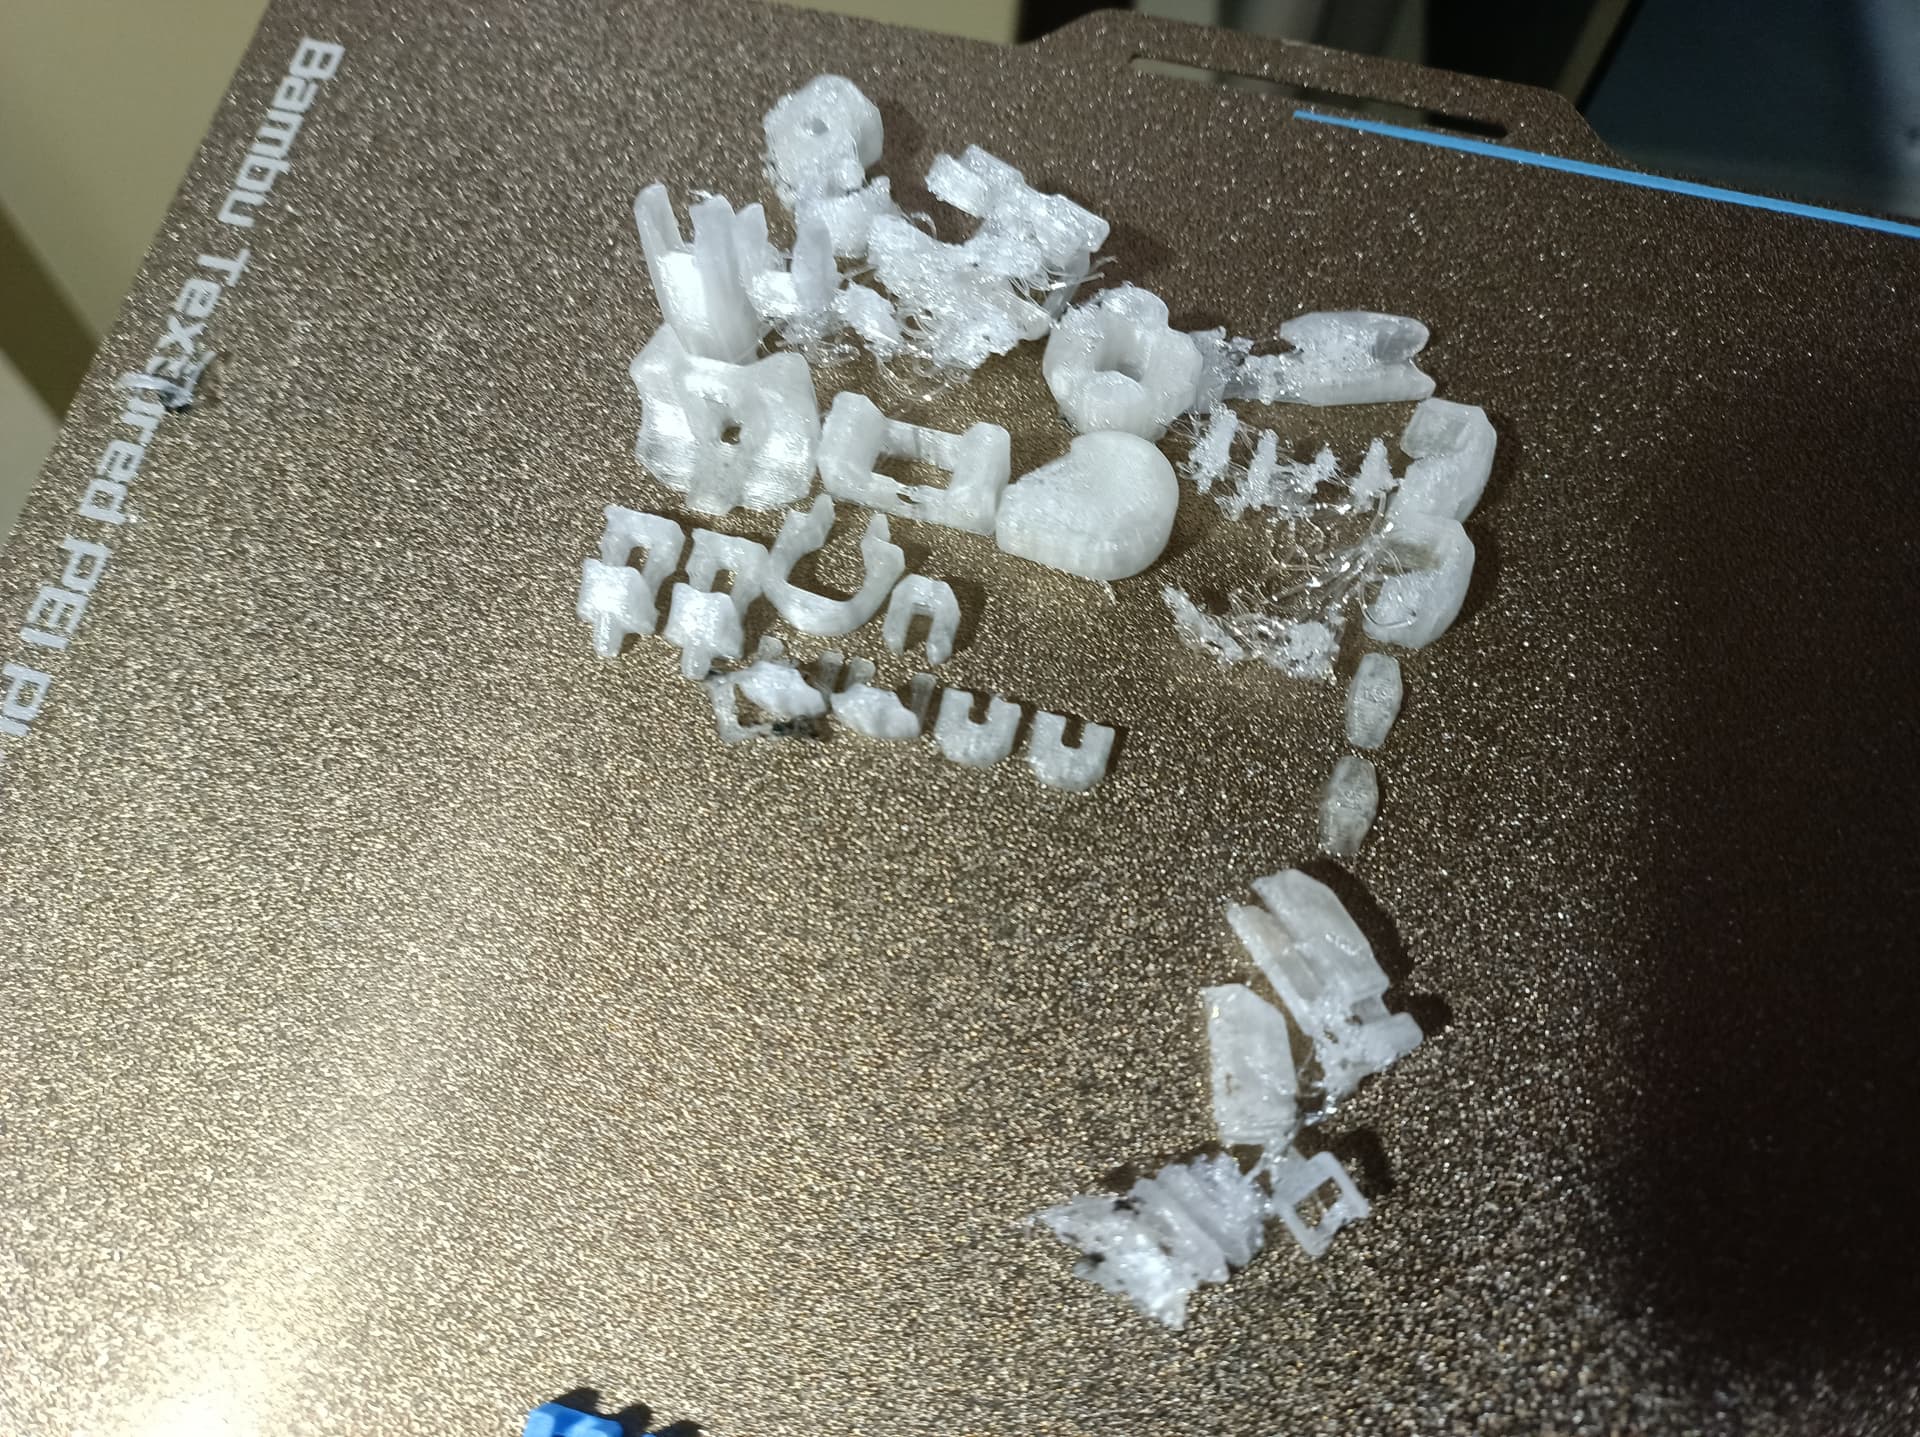
He said he mostly uses ASA but ABS or PETG are also “strong and sturdy” filaments. I went with Blue ABS for the frame and transparent PETG for the armour. I keep having bed adhesion issues with the PETG armour parts hope I can get it to be more reliable.
I have not bought any ASA yet , hopefully take order. I do have some PETG-CF i am going to try for the armour.
Thanks for your reply: I guess I didn’t see all of those other words/letters . I did not look at the Original.
As for bed adhesion, I was having a terrible time with some of those tall pieces for the Pastamatic whether I used Sunlu ABS or Sunlu PETG. Starting increasing bed temps to the point that the ABS stuck too well. I am now using bushels of Elegoo Rapid PETG ($40 for 4 kg of white or black) and it sticks very solid to the Textured PEI Bed to the point that I am now well below their recommended bed temp of 70 to 90C. I am at 56C and it is working great.
I had some issues with some stray globs so I dropped the Max Volumetric speed from 24 mm3/s to 20 (no testing on my part, just read online two people said their tests stated it could display 27 so they picked 24 to be safe). After dropping to 20, the lines do not seem as smooth. I have changed it up to 22 now and see if that is the sweet spot.
I do have some ASA. Have not tried any yet. But after buying 20 rolls of that cheap Elegoo Rapid PETG, I don’t dare let it go bad!
Might try raising your bed temp to 75deg for PETG. That’s what I found works for me but our machines are completely different as you know. We do have same PEI plate.
5x 1kg (edit) spools? It really doesn’t look that large…??!
My Sovol spool dryer’s power supply let out the magic smoke sometime after the first year (of course), and yea, it only goes to 50C, with no room for extra desiccant. I might have to upgrade…
Yes! Stacked flat you can put in 3 rolls. Stacked on edge, 5 rolls. One of the reviewers said 5 rolls and I couldn’t believe it but it really does have the room.
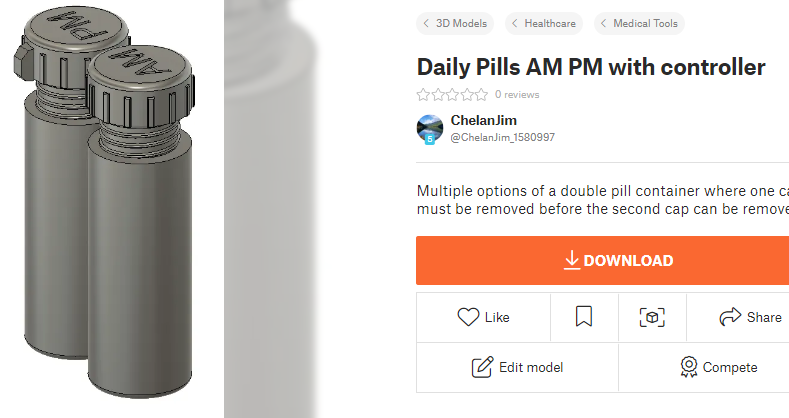
Two nights ago, I could not sleep. I was trying to figure out a travel medication bottle that would prevent me from taking my evening meds in the morning. It turned out to be a simple challenge and I designed it about 1:30 am and had a working model by 5:30 am. I have now shared all the files on Printables.com.
So I tried some more of those dummy 13s with PETG-CF and it works perfect. I did bump the initial layer temperature from 70 to 73 c. But the transparent PETG keeps causing me issues.
I am having issues with multiple filament types on the same build plate. Different bed temps recommended for the different filaments so: My bad. I am working thru this with that same model. So far, having good success with if it is one filament and focus on the best temp for that filament: plus adding a higher temp than usual. Currently setting this Elegoo Black Rapid PETG to a bed temp of 70C when I am usually safe with 56C. Their recommended was 70 to 90C.
But I have had failure with Sunlu PETG Green and Blue as well as Overture PLA pink. So lots of failures on this end. Again, me pushing my luck had all 3 of those on the same build plate. The only one that was 100% success was Sunlu PETG Red and it was the first “Object”. I might have set the temp to decrease after the first layer in the filament configuration…have to check that out. But also plan to increase temp at least 8 degrees.
That is cute how you have your Dummy 13 looking over your plate build!
I had even tried a small brim on that build with all of the colors, since my first build failed. The brim would actually be a real nuisance trying to remove it from such tiny pieces.
If worried about them leaving marks and not pulling off easy you can try 2 raft layers and do opposite filament interface. So if running PETG you use PLA. This works really good when I used it.
I normally go to machine and load the filament I plan to start with. I do this just for extra purge even though it does it when you send print. Just my thing I guess
I then heat my bed up to 80C if running PETG and use a paper towel ripped in half and wipe the bed off with 91% IPA. Then I go send my print to start and always run the flow calibration.
I bump my temp to 75C when it lets me right before the first layer starts.
I believe I can tell it all PETG to raise temp to 75 but just haven’t did it.
I’m successful with 95% of my prints 1st layer. I do swap nozzle sizes these days from 04 to 0.6 depending on what i’m printing. My machine runs almost every night and every morning i start something.
these are just things i do so you can try but i don’t have enclosure so might be a little different. I run a nozzle for a month or so and throw it away. only $10 and not worth having issue. It’s like 30 second change on my A1.
I don’t think that is related to the bed adhesion issue. Changing the nozzle that often might be a bit excessive based on what is being reported for the X1C. Many forum members are reporting upwards of 1000 or more hours on the hardened steel nozzles. Some of those members have even been using abrasive filament like the CF stuff.
And as you are aware, it is not such a simple matter to swap out our nozzles. If we replace just the nozzle and hot end it is $15 and comes with the risk of damage to silicone sock and the tiny wire connections. The entire hot end is closer to $30.
I’m using stainless steel nozzles and since Xmas I’m on 3rd one so why I said they last about a month. I only recently started playing with 0.6 nozzle and it’s big time saver.
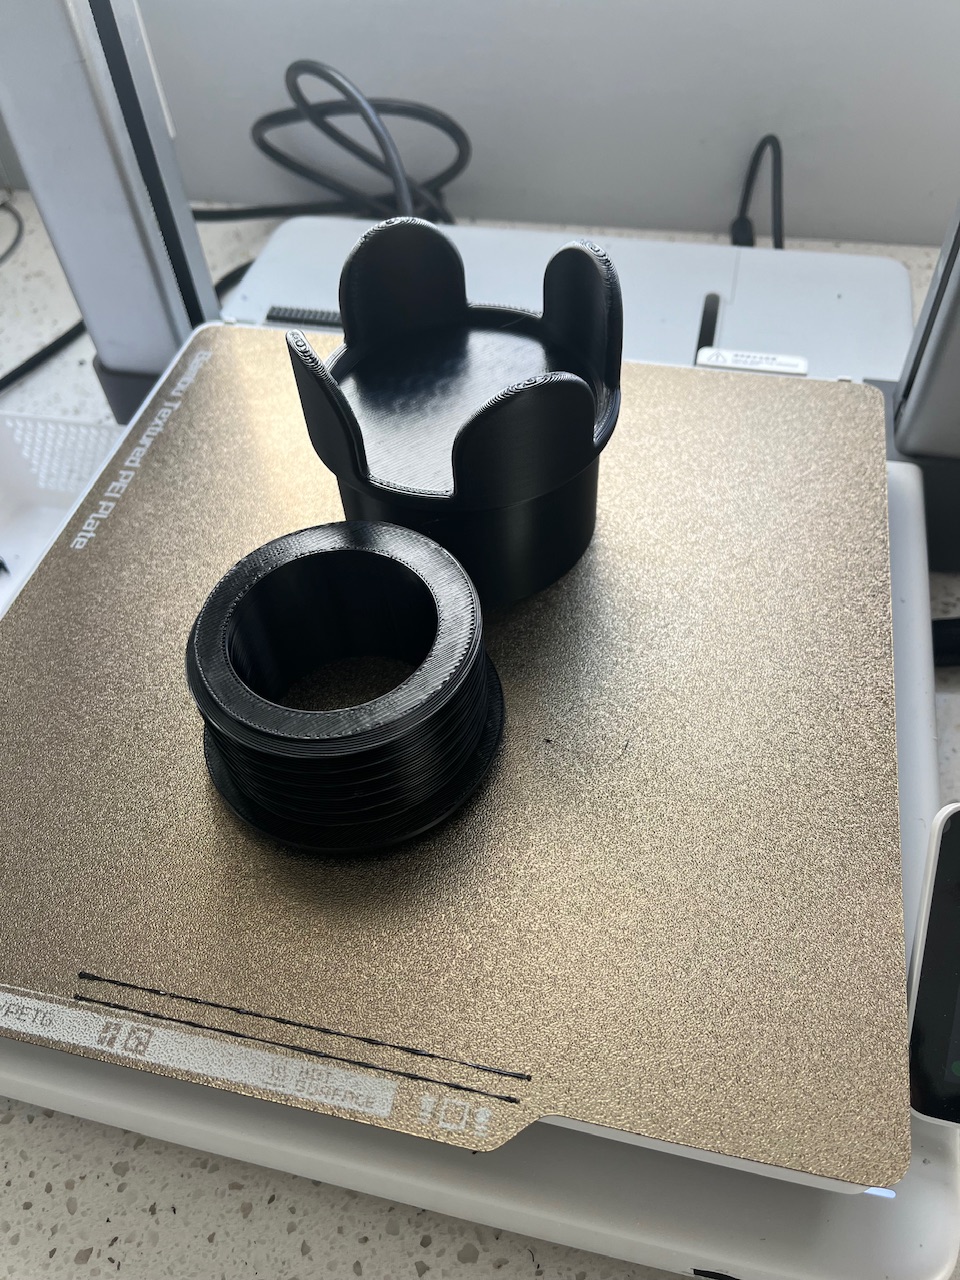
This is movie chair adjustable cup/phone holder I used 0.6 nozzle on. This was Saturday morning project because I was sick of not having a spot for my coffee cup in theater chair area.