Thanks for the input. Totally see what your talking about. customer is thrilled with it but I completely overlooked Resilience wasn’t totally centered. Which is aggravating coming from a machining background. This was a mix of customer supplied file and some modifications.
1 Like
As makers/designers we see things that regular people never do. They’d only notice it if you did another version and often they wouldn’t see the detail changes, just think it looks “better” ![]()
You’ll never look at it again without seeing the Resilience issue ![]()
2 Likes
Every time I scroll my photos on my phone ![]()
1 Like
Winner winner. Fair enough. They were also Rock climbing (she is on her college team) and she was helping him with some class work so not a totally shallow meeting.
2 Likes
I think the design and cuts worked out well. Jim’s input was very good (as always).
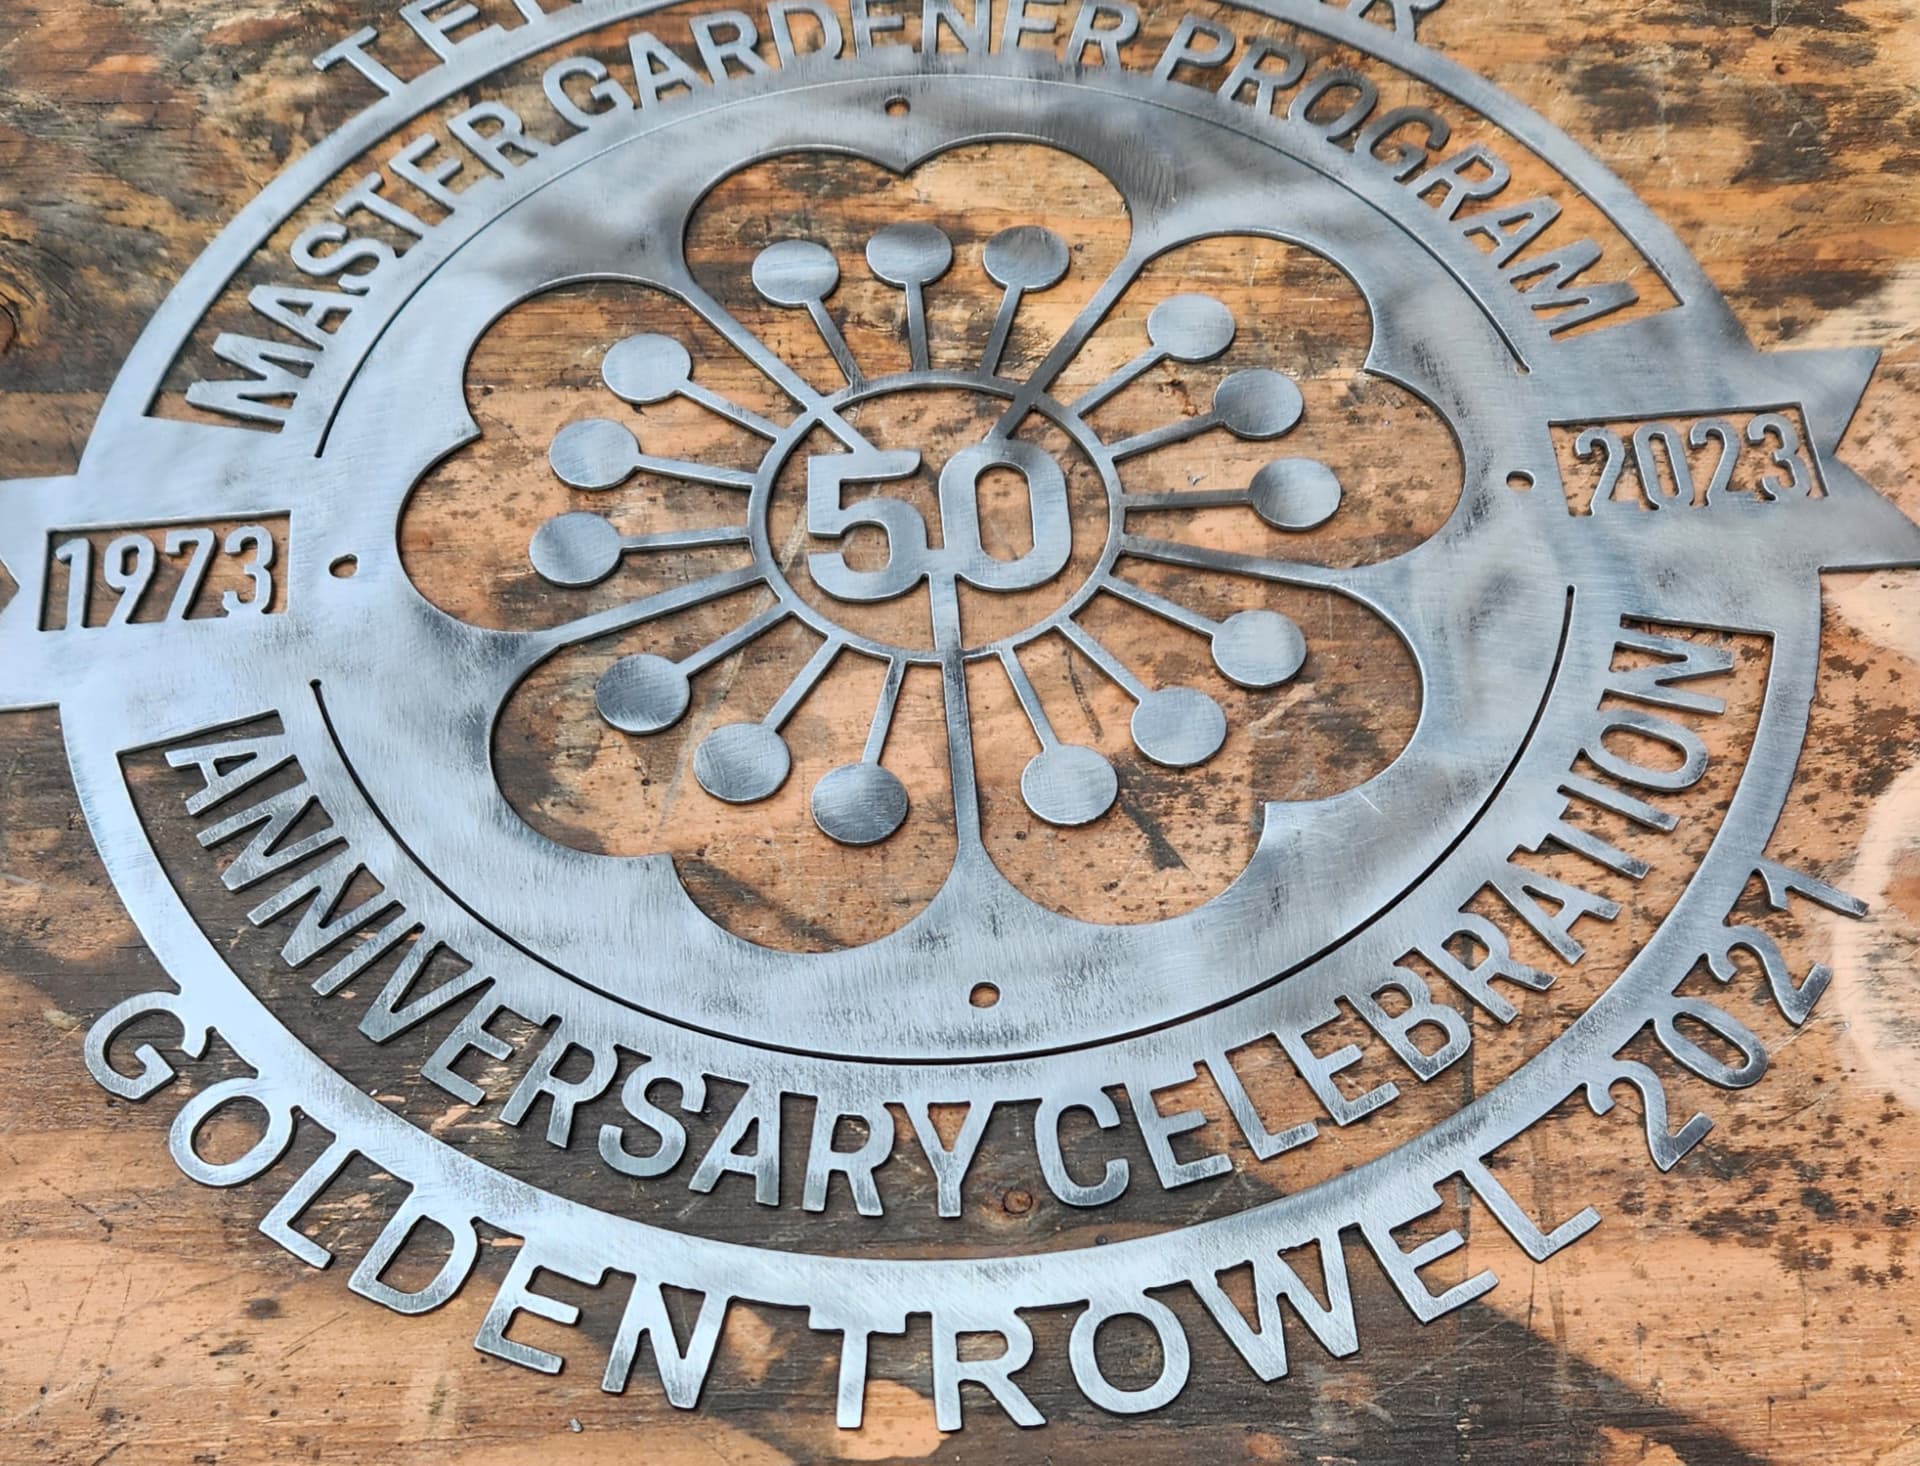
I like to see a backing plate as it makes the image stand out better. It all depends on where or how it is displayed. This is an example of what I think is a complete fail of a sign:

In a controlled environment, the image is quite readable:
But if a back plate is added, the image jumps out:
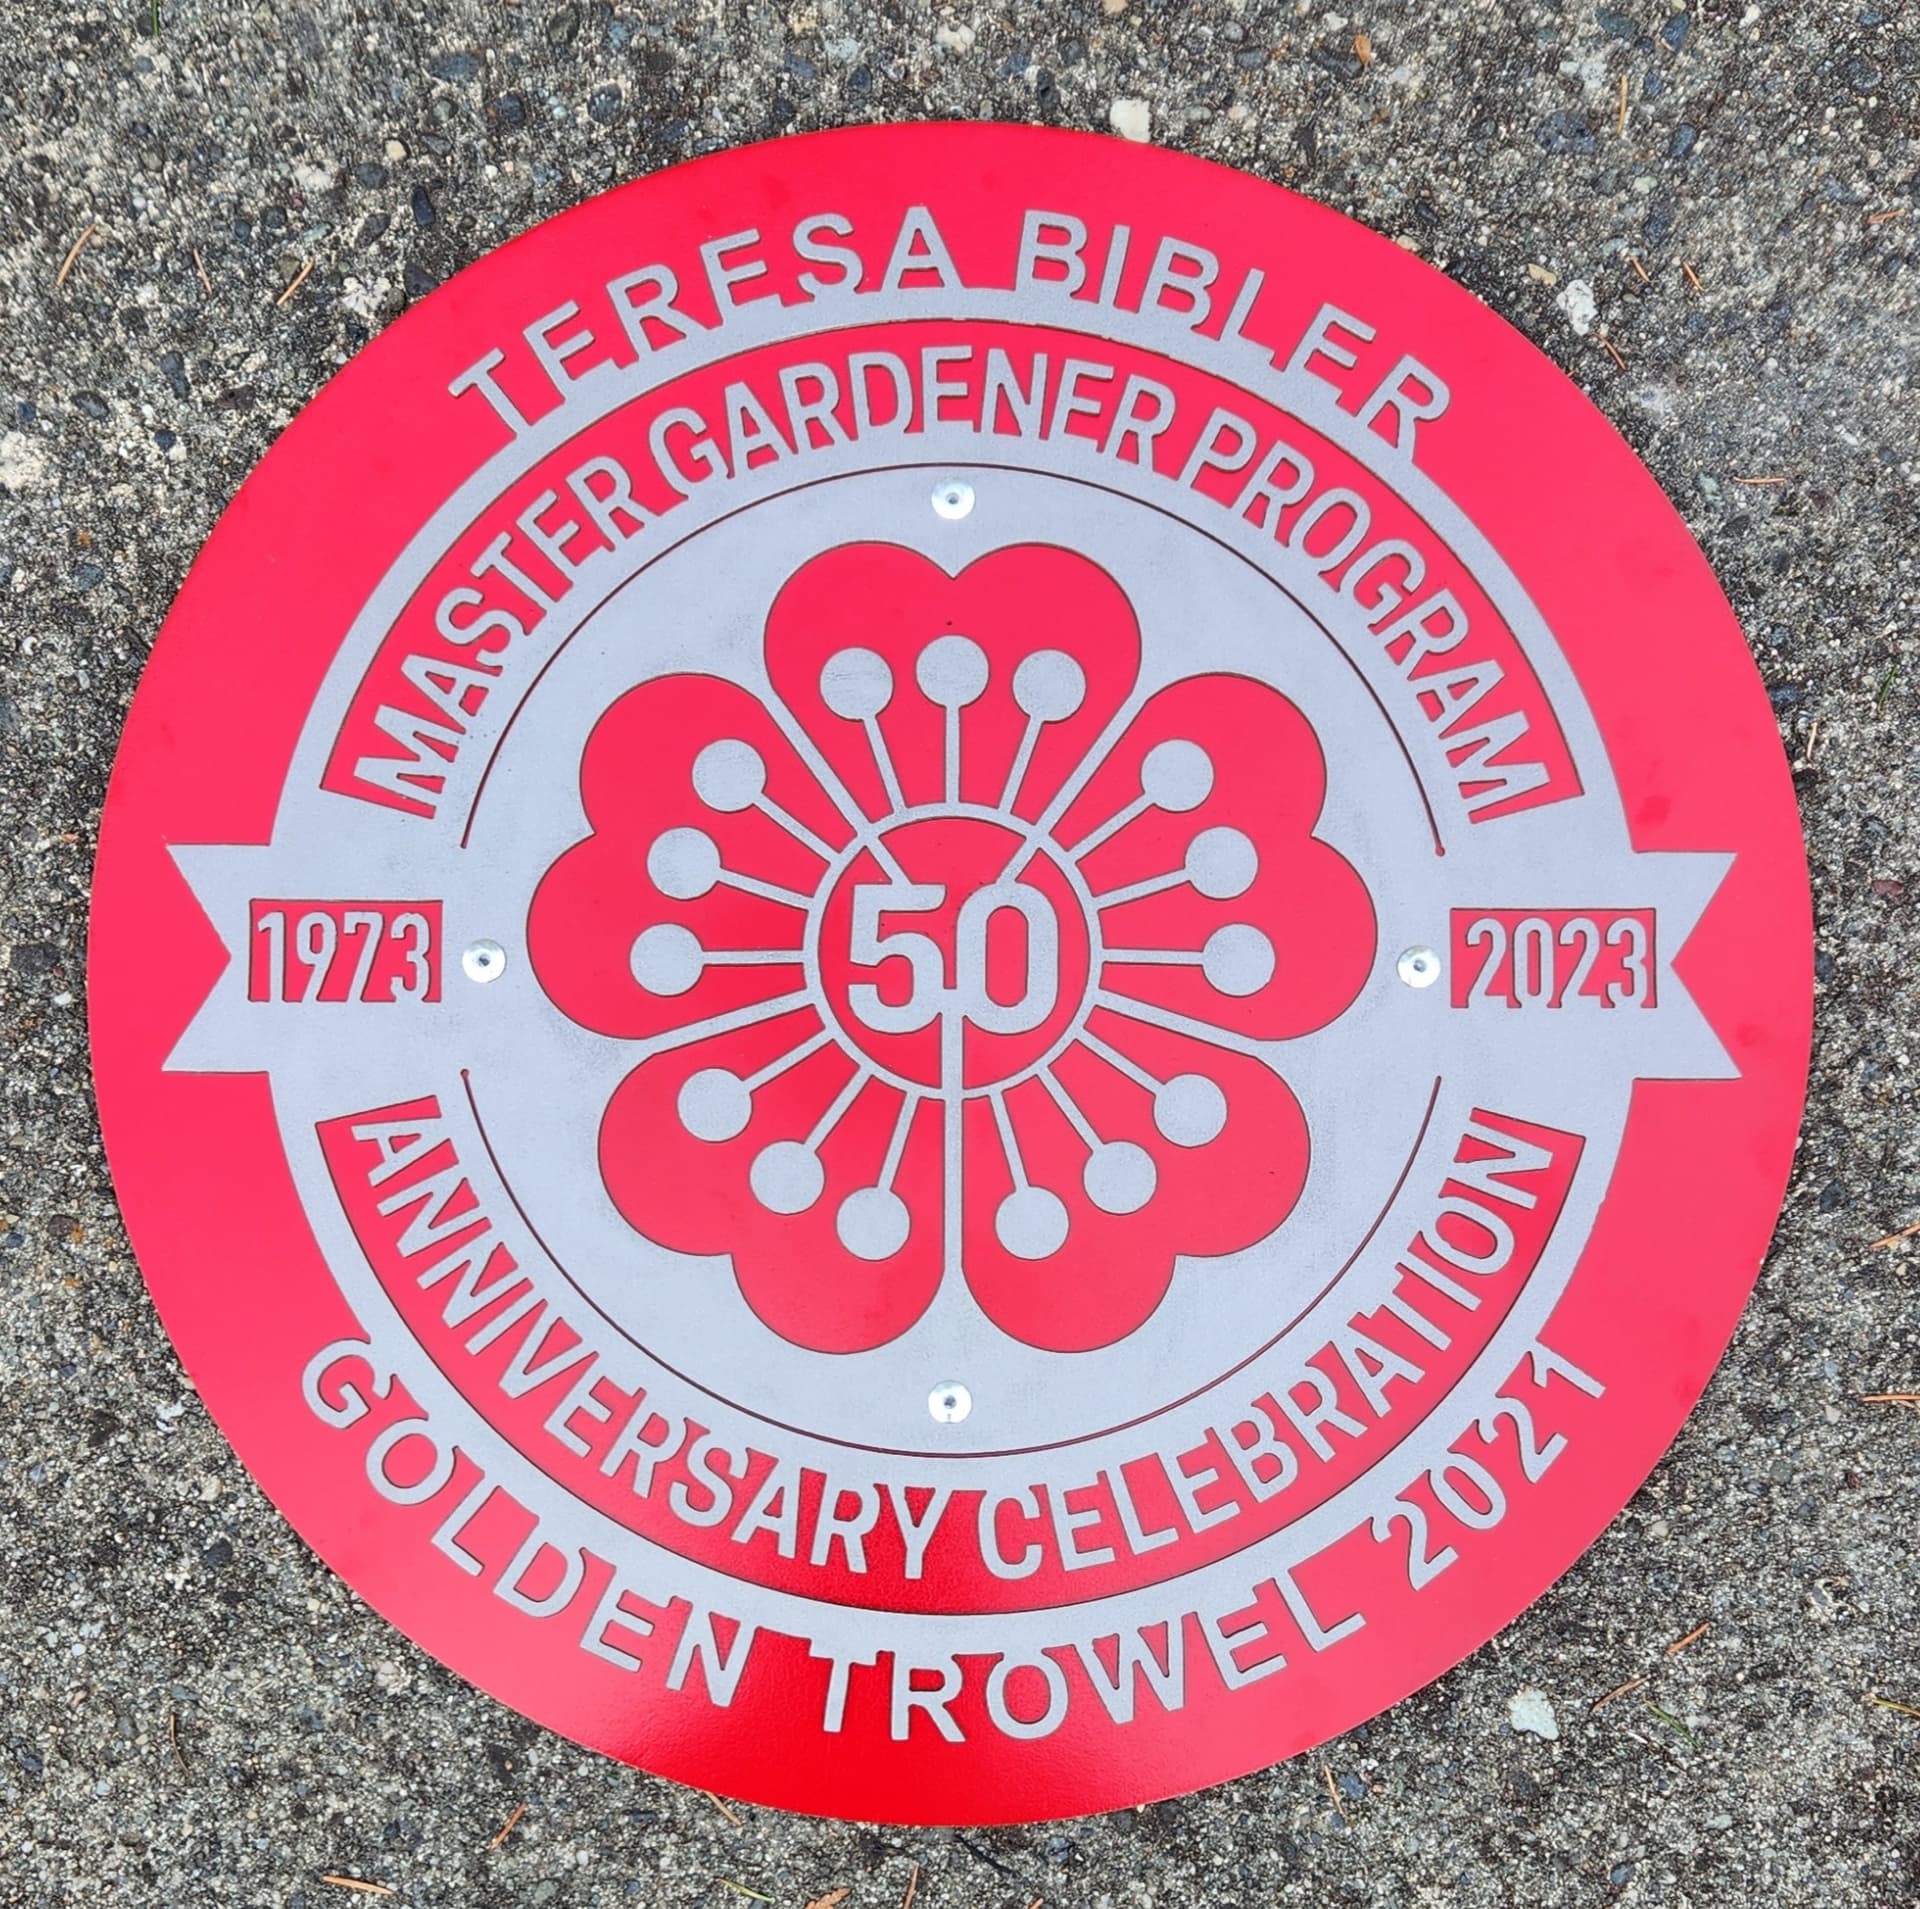
9 Likes
That backing plate made a big difference. look nice and clean
1 Like
Totally agree on the backing plate. I like to put small spacers between the backer and the sign to prevent water from getting trapped between the layers. I have used washers, 3-d printed spacers, off the shelf nylon spacers, etc. I dream of getting a stud welder for this same purpose, but they are kinda spendy.
3 Likes
I have a friend that use to be on here, he sold all his metal working stuff. He had a stud welder he was going to sell. If you want I can find out more info about it, just let me know
2 Likes
How is he doing these days. Tell him hello from “the family” ![]()
![]()
2 Likes
He just texted me tonight I will tell him. Hes doing good, very busy with his laser and 3d printing. He even started a business.
3 Likes
I would be interested in more information for sure
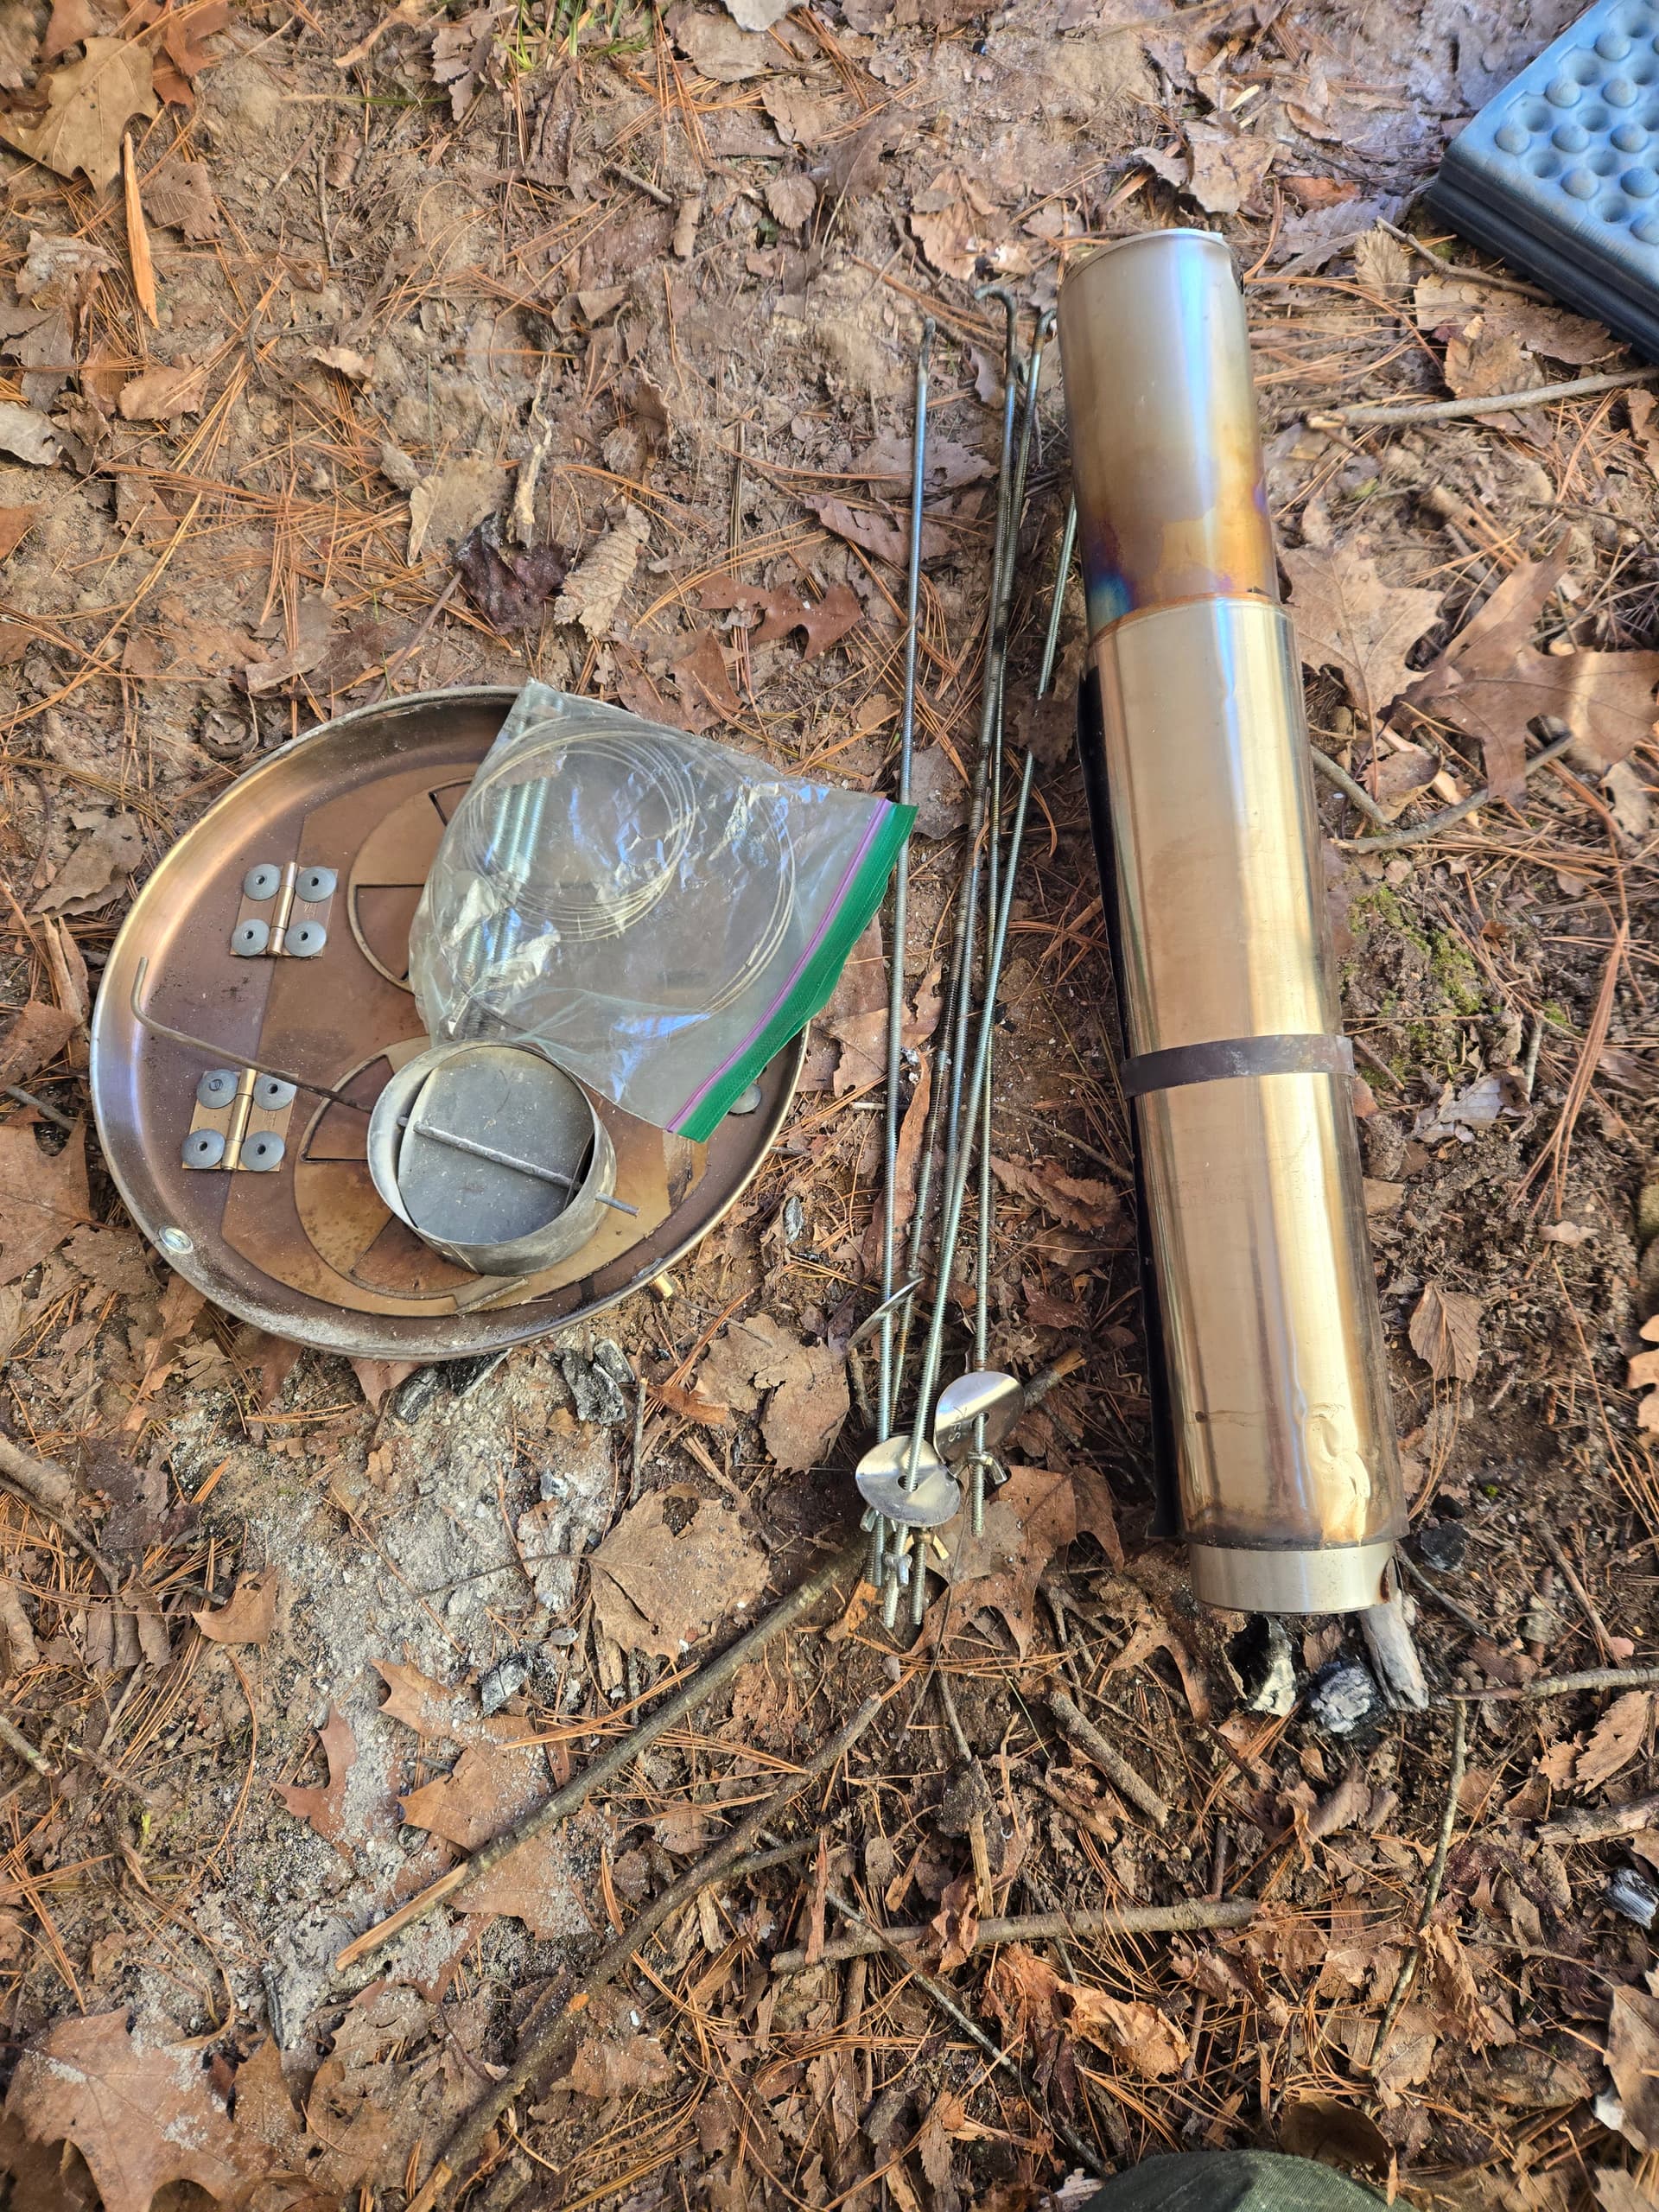
First time cutting stainless this thin. 20g SS. Used fine cuts on the 45xp. Book specs for slow speed since full speed calls for 325 ipm. Really happy how it turned out. Exterior dimensions were within .002. ID was a touch oversized but no enough to worry about playing with the kerf. Ran 71v on the thc and it seemed just perfect. A tiny bit of dross in the corners but basically no cleanup.


Its a copy of a lite outdoors backpacking stove. Made a smaller one years ago before I had the table. Used a dremel on the old one, this is much improved. Old one was an 8.5 diameter 12" long. This one is 10.5 diameter 18 long. Can fit a full 6x16 piece of firewood through the door. This is for a hot tent for winter camping. The little stove I used a roll of .005 ss shim stock for the body and stove pipe. 6’stove pipe and the stove weighed 2.7 lbs. For this one I discovered you can order the replacement stove body from lite outdoors. 50 bucks for the 10.5 body in titanium, I cant justify buying a roll for that price. He sells these stoves for 300+, think I have about 80 wrapped up in mine. The end plates are sourced from the same as his… they’re stainless stove burner covers. You can buy a pack of 4 for about 15 bucks ![]() gonna head out this weekend with the buddies for a winter camp. Should be around 0 at night, I’m hoping for 60 in the tent!
gonna head out this weekend with the buddies for a winter camp. Should be around 0 at night, I’m hoping for 60 in the tent!
12 Likes
Well now, would you look at that! Nice work.
3 Likes
Took the stove out backpacking last night. Worked great! Got down to -6 at night but the tent never got below 40. Evening time I had it hanging around 60-70. Would set the CO detector off if you left the door open very long but it would clear out in a minute once it was shut. Most of the time the CO showed zero ppm. Think the highest it got was around 70ppm with the door open. Definitely wouldn’t want to be hot tent camping without a co detector.


6 Likes
Very clever stove!
1 Like
He was hungry.
Not overly complicated but a very high pucker factor.
Some large panels out of quarter inch aluminum.
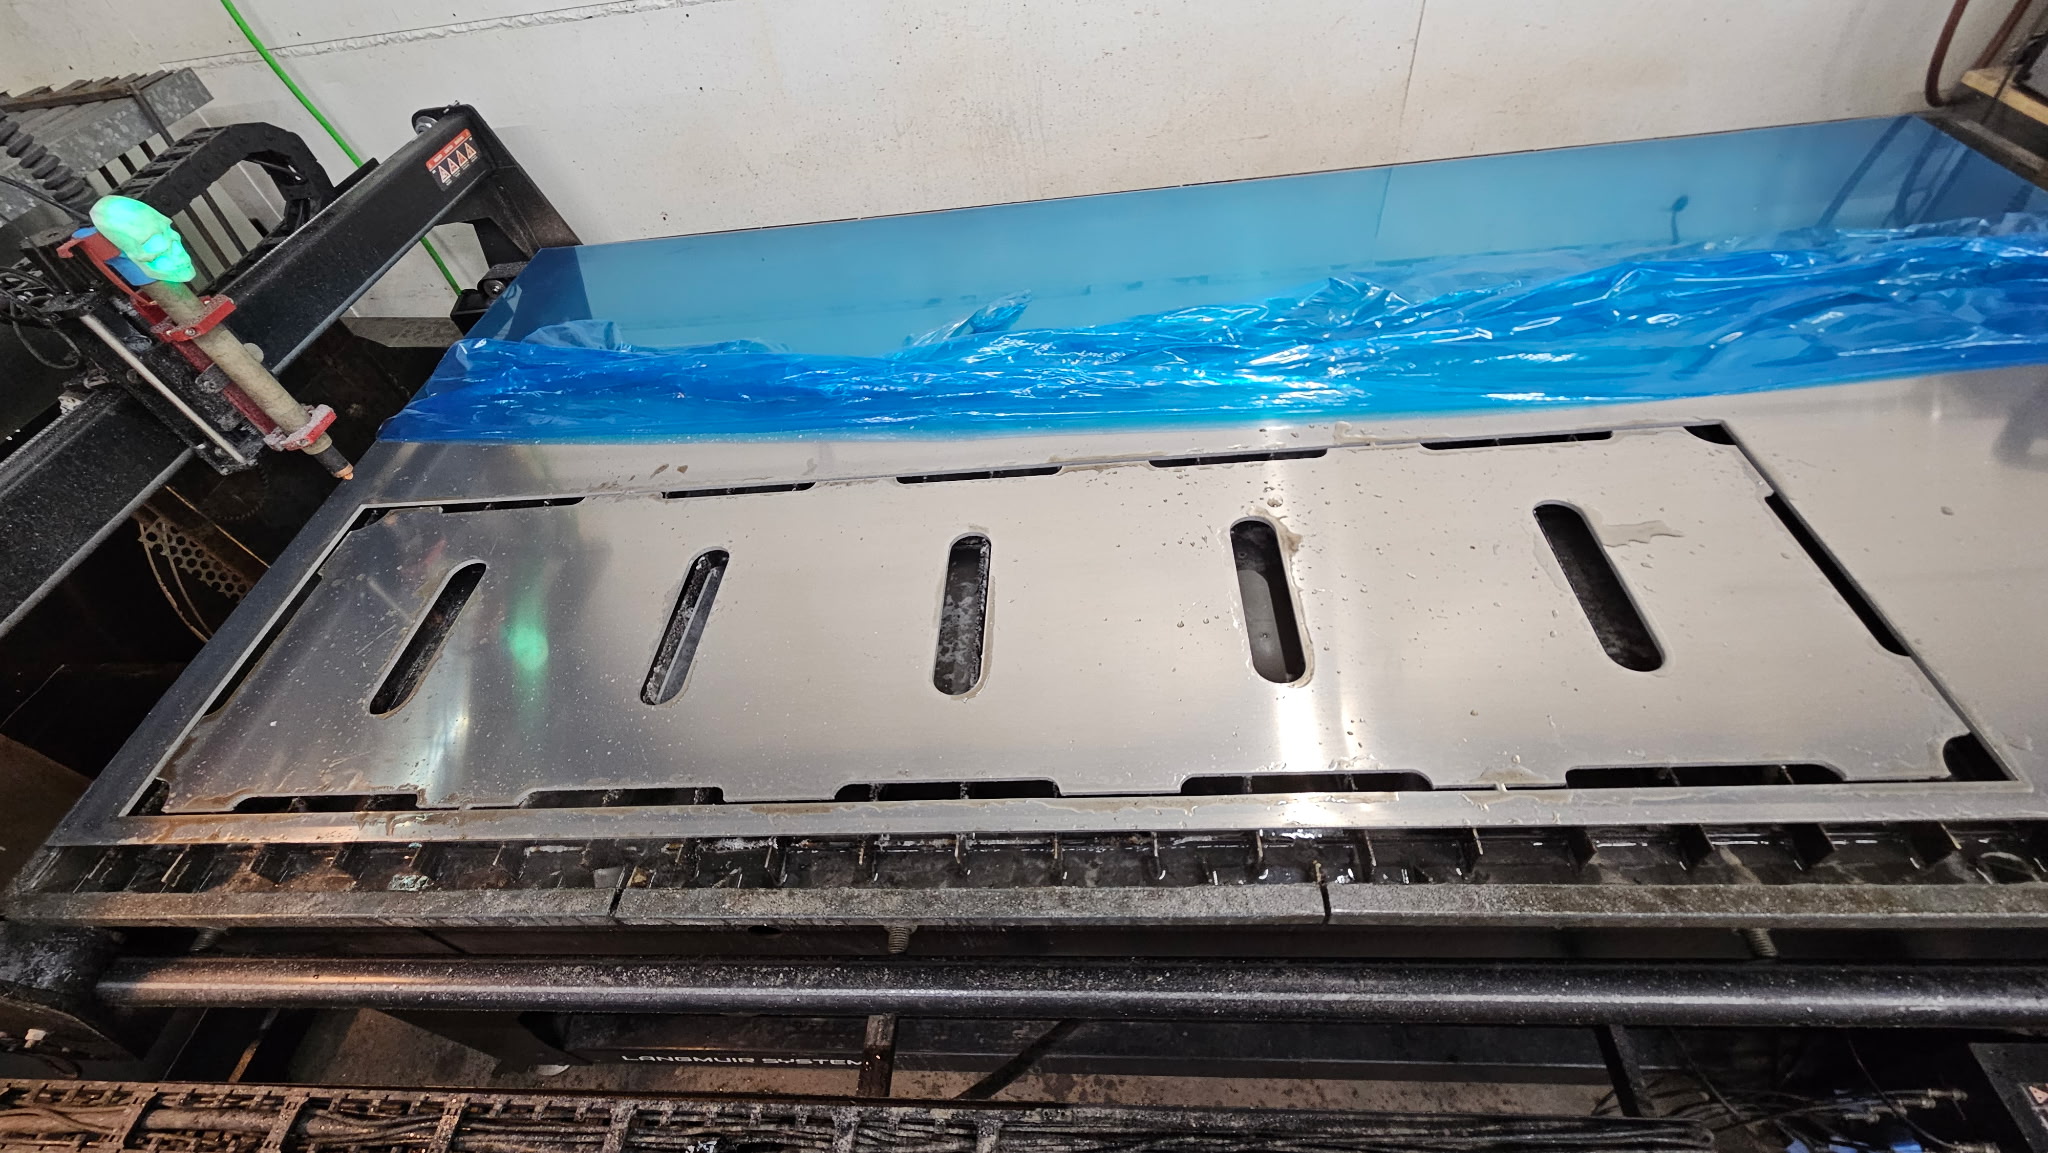

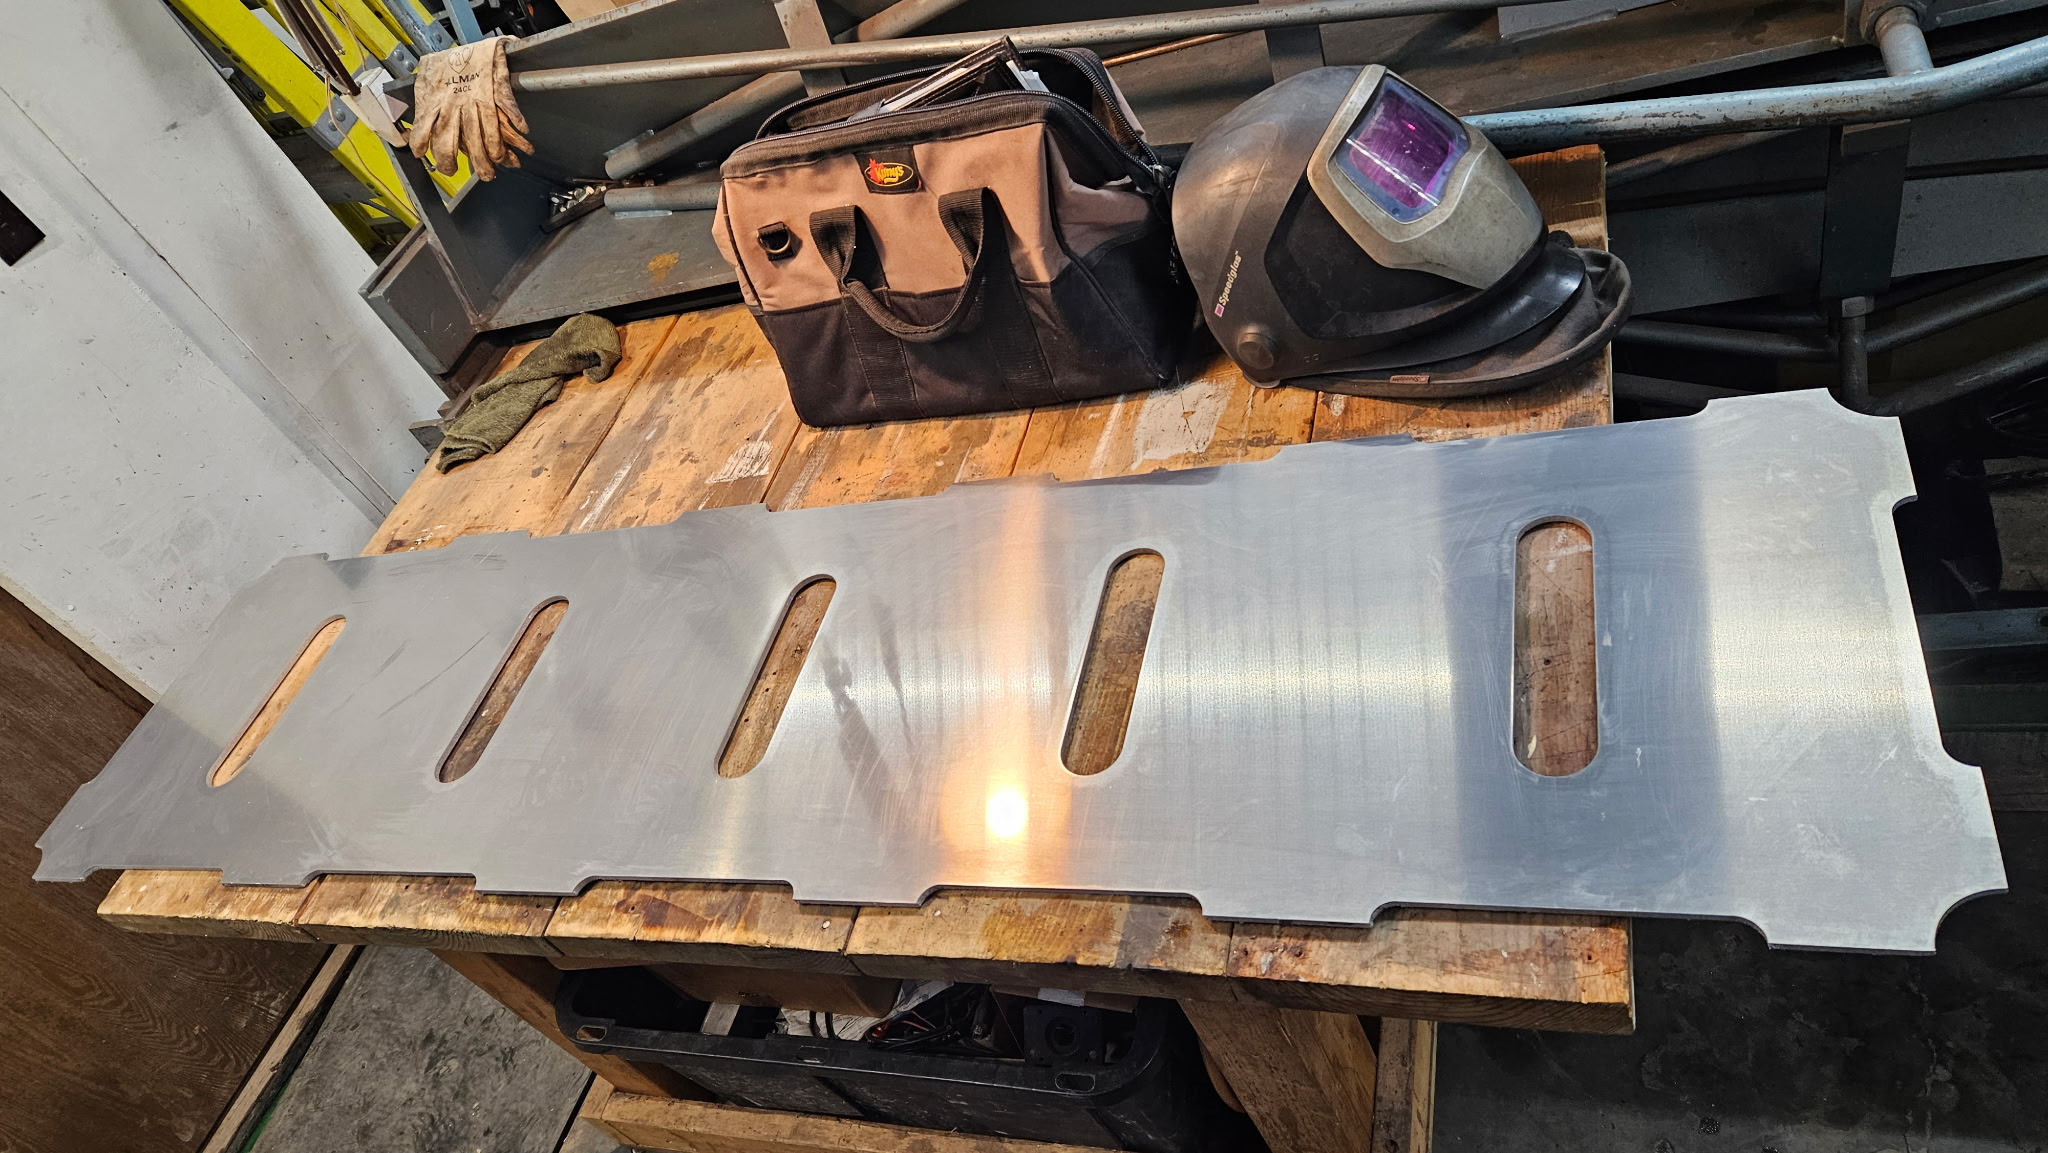
I added tabs so all the cuts would end up as closed contours. Find this helps with thermal distortion.

Going to get a hot tea because my shop is freezing and then come cut a few more
6 Likes
What is the cost on 1/4 aluminum? Here the 1/8 tread is unbearably high.
We were paying between 17 and $21 a square (quarter inch aluminum) but we recently got some better pricing which I believe is more about $14 Canadian a square
2 Likes