Post those projects you’ve been working on!
2 Likes
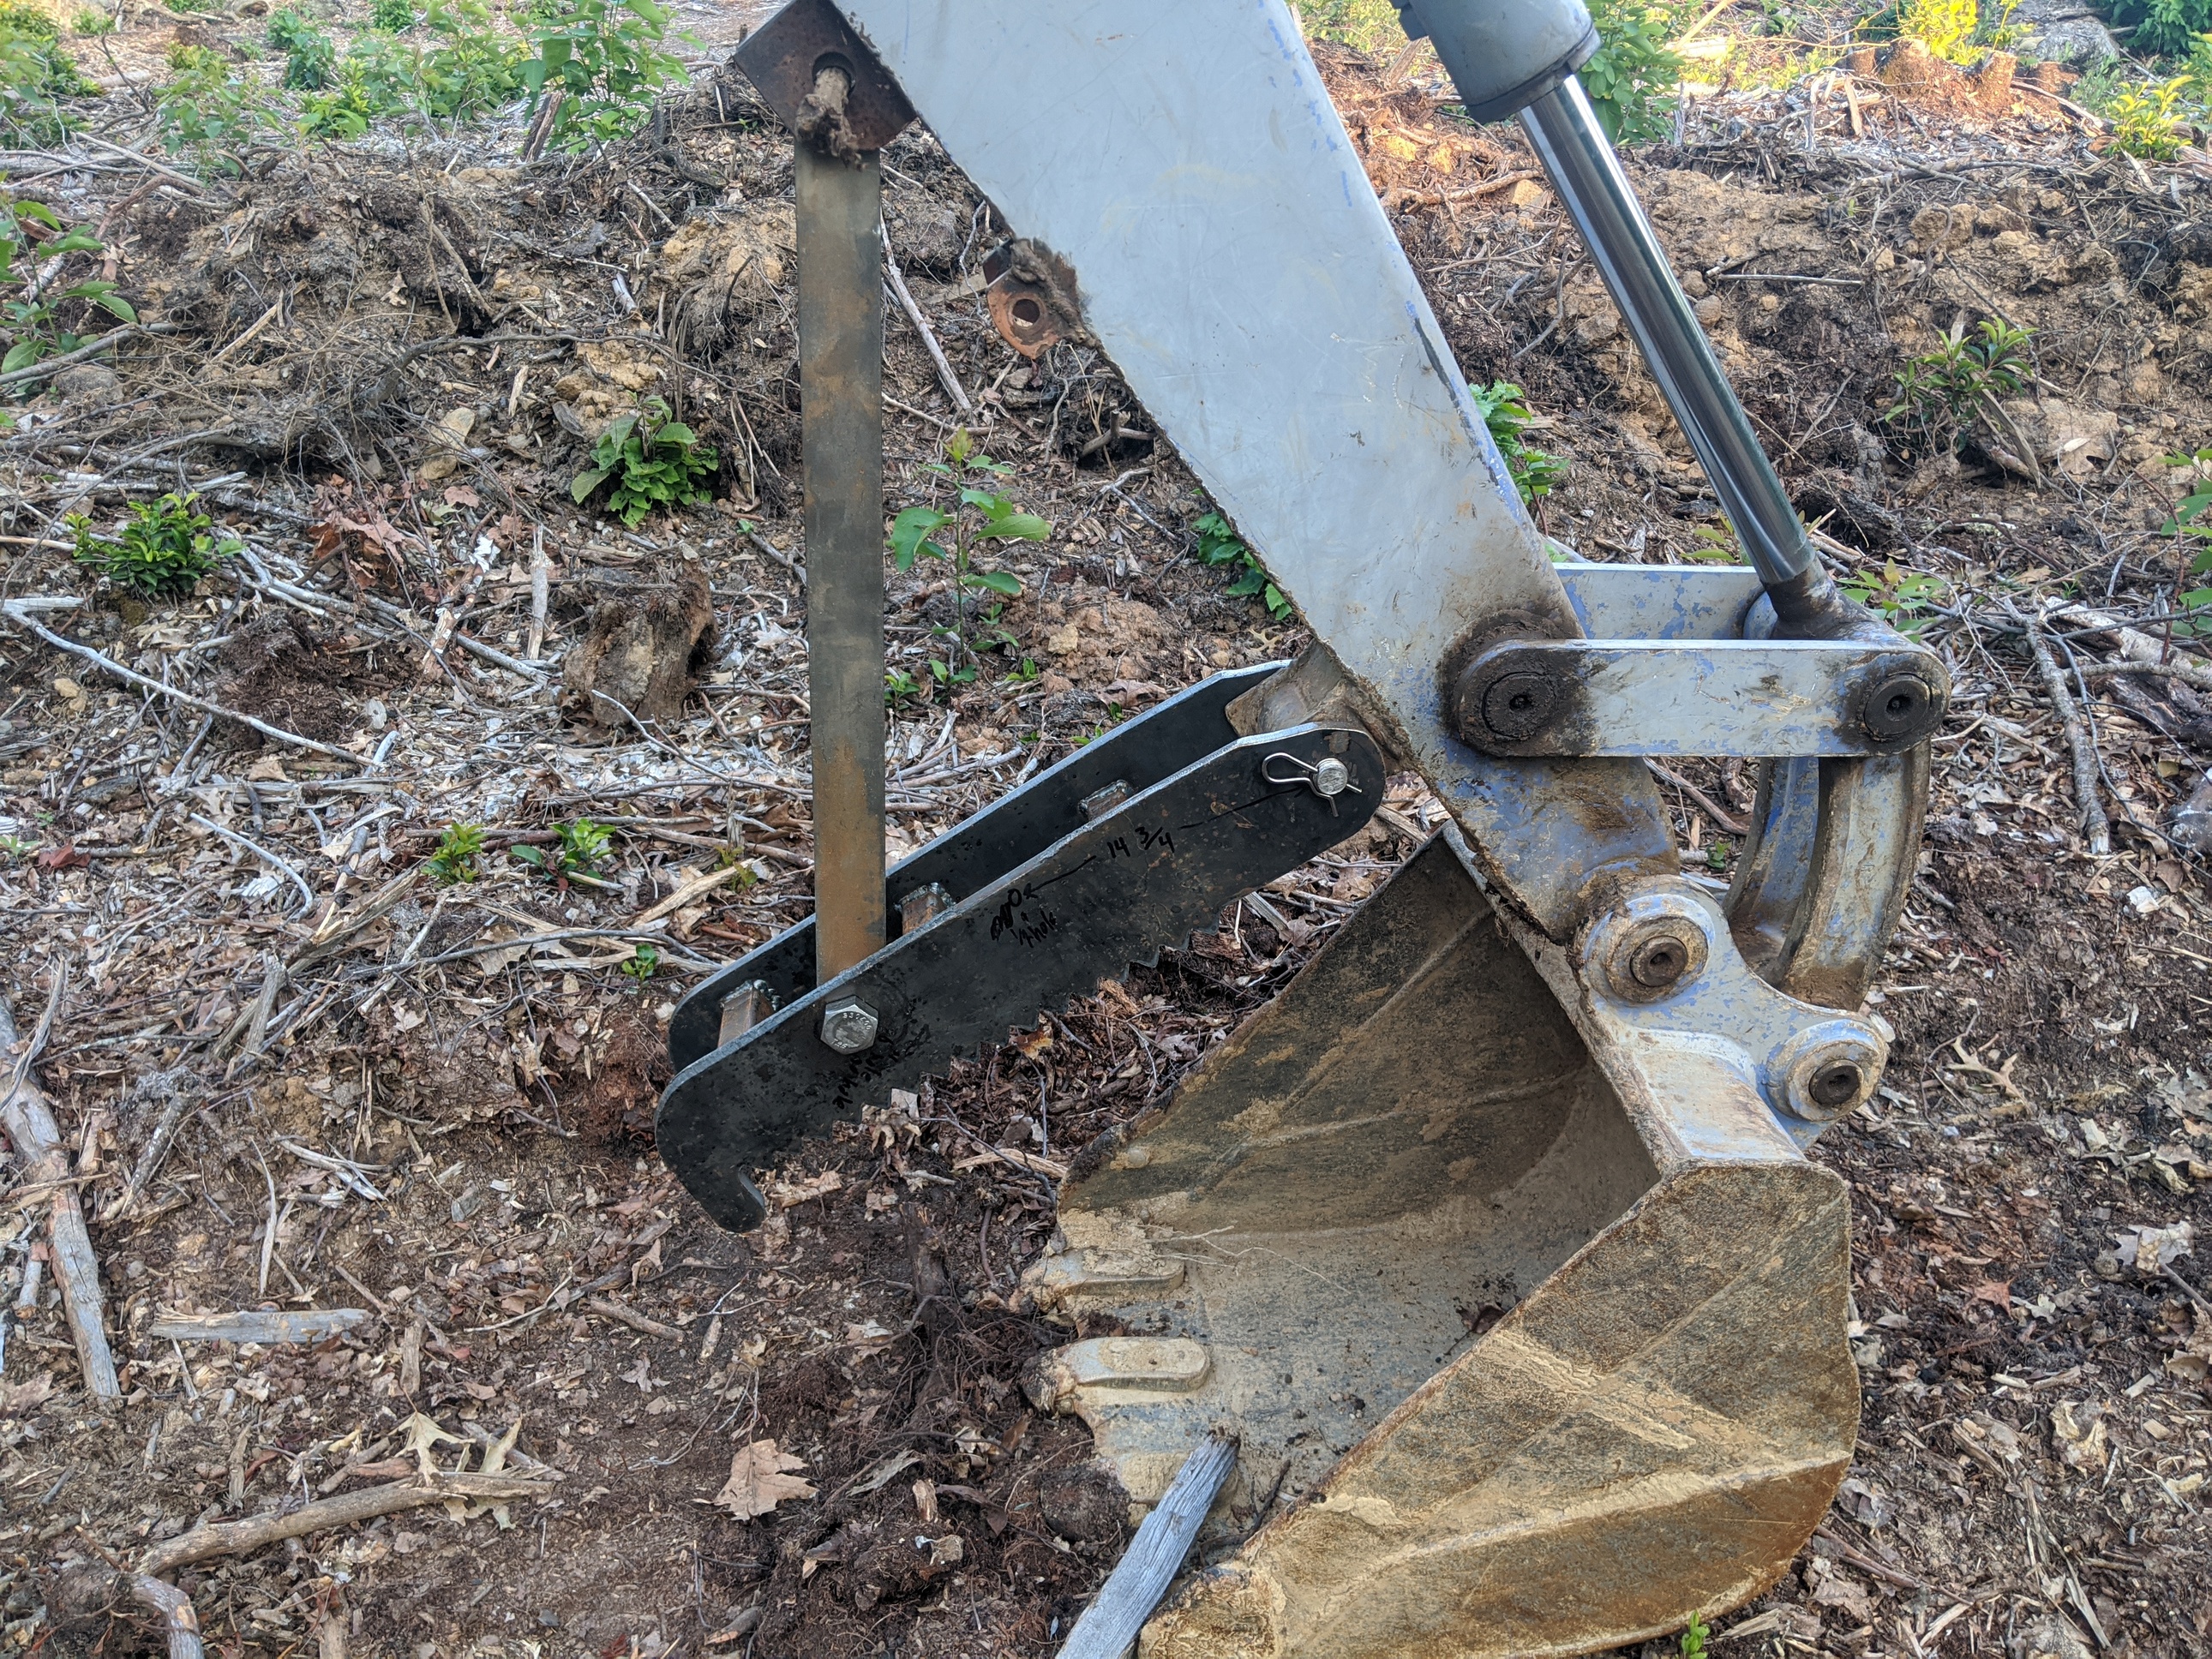
I made a mechanical thumb for my excavator the other weekend. I just need to make a few more holes to make the angle it’s locked at more adjustable. Works great so far!
16 Likes
Nice! Looks good!
@langmuirsystems, This really is the wrong place for this thread. It should be in Projects category.
Moved. Thumb looks great!

I was just thinking it would be good to have an ongoing projects thread or two. A place to drop a picture or two of stuff we’ve been working on. Went searching on the forums and found this thread. Perhaps make a new thread once a 100 or posts is reached. Let’s fill this thing up! Here’s mine for the weekend…
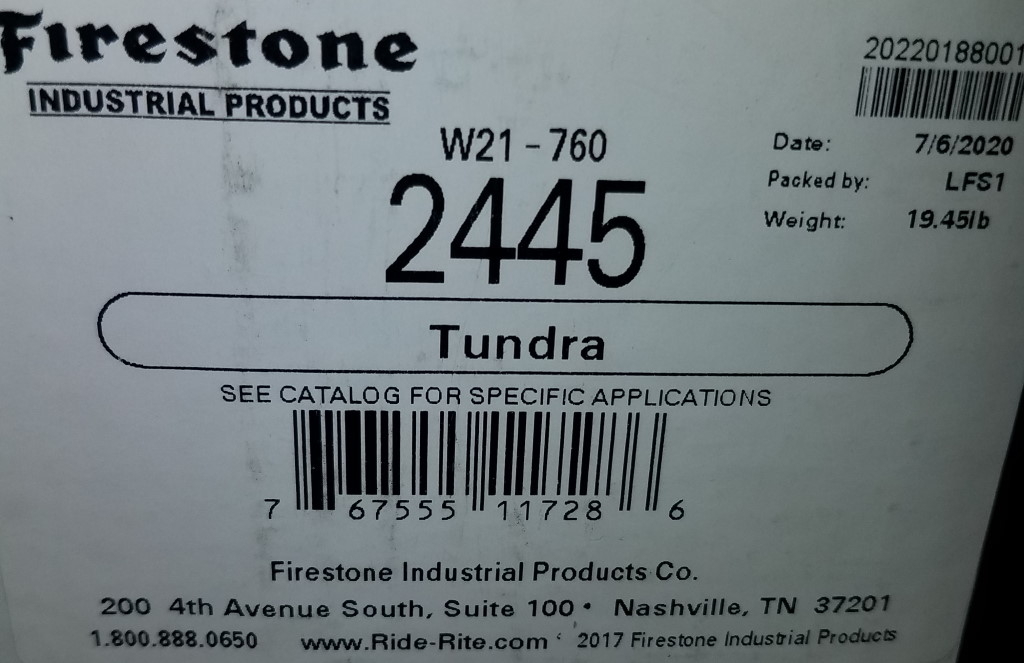
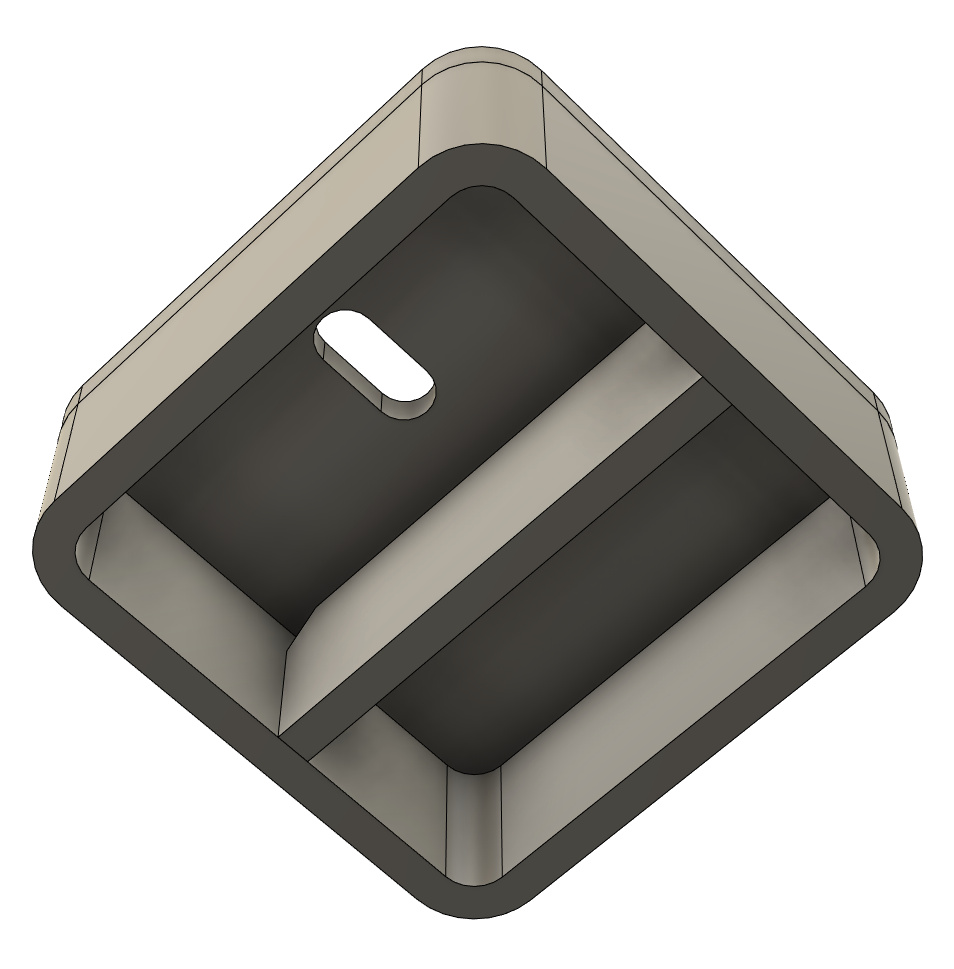
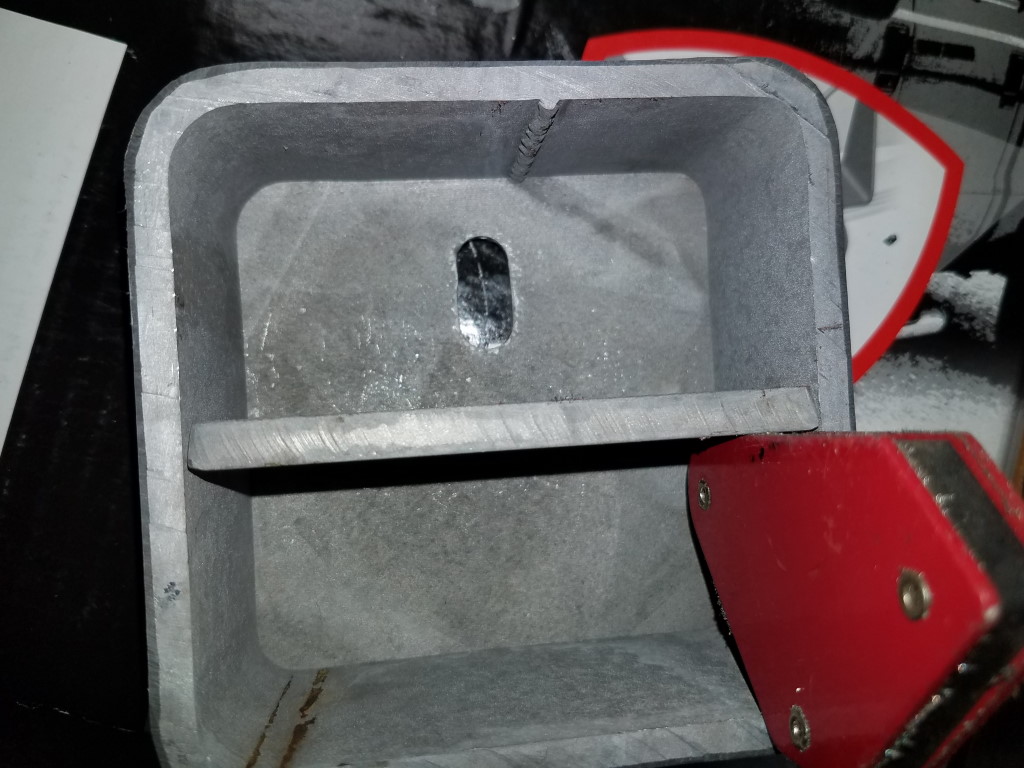
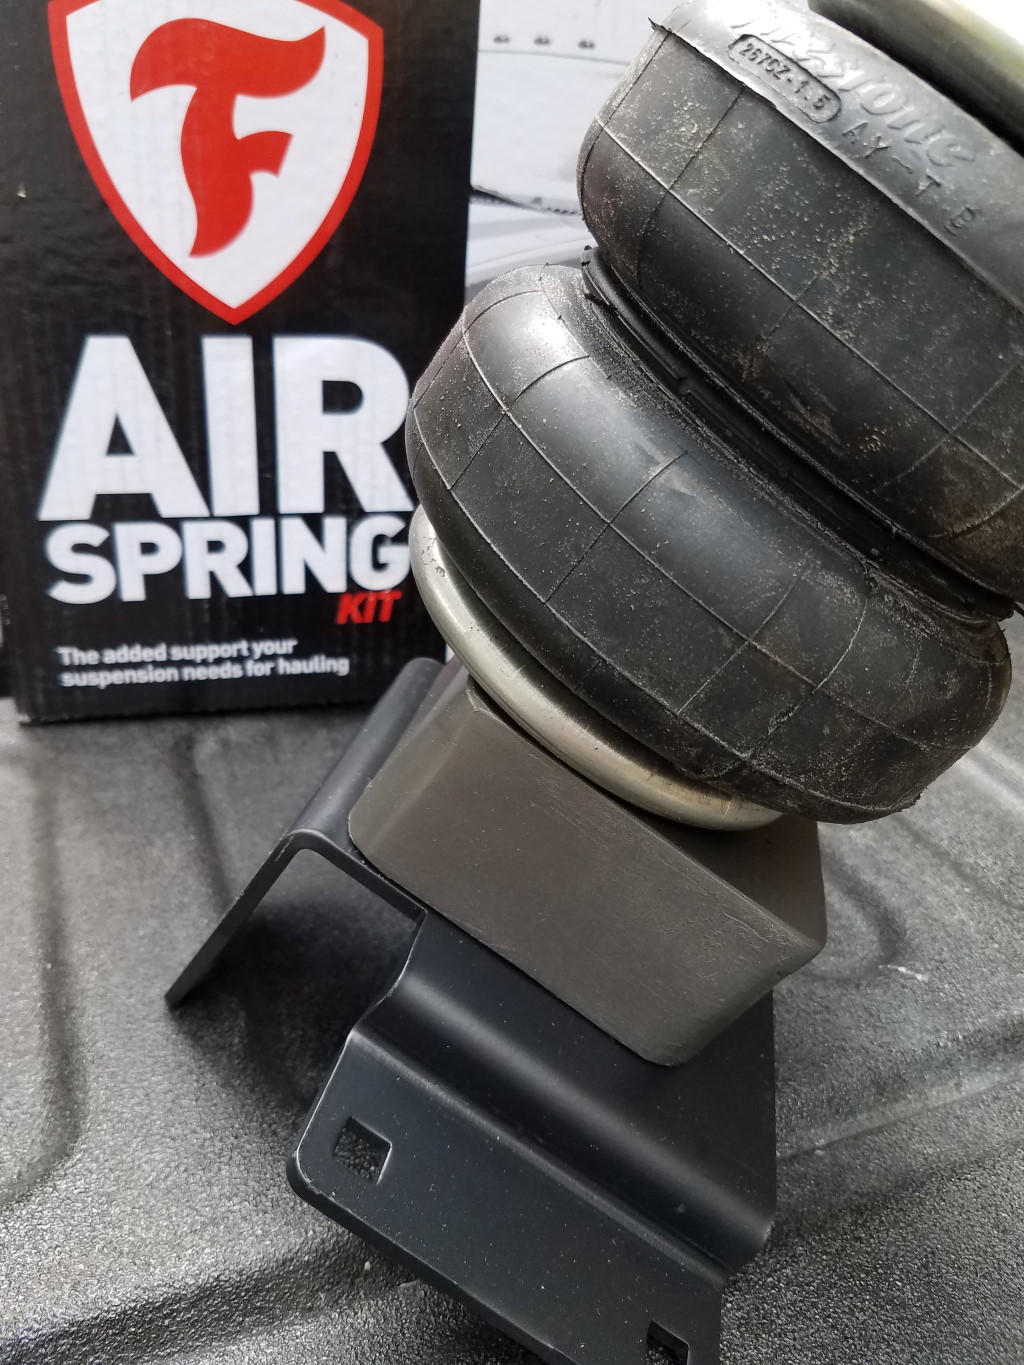
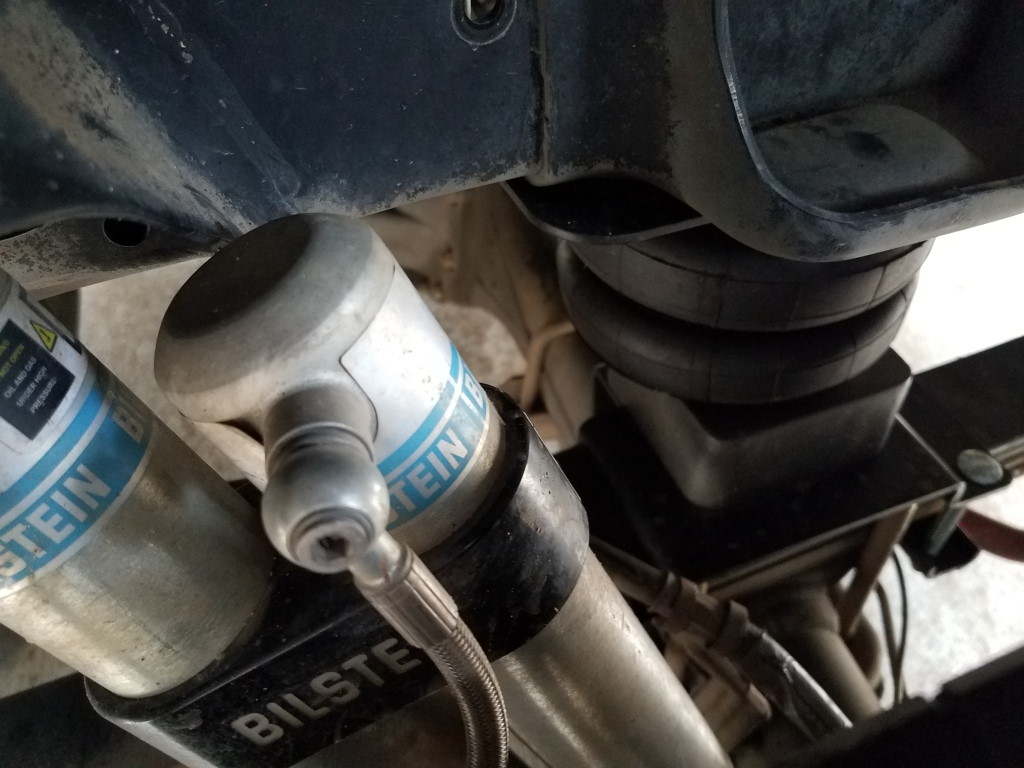
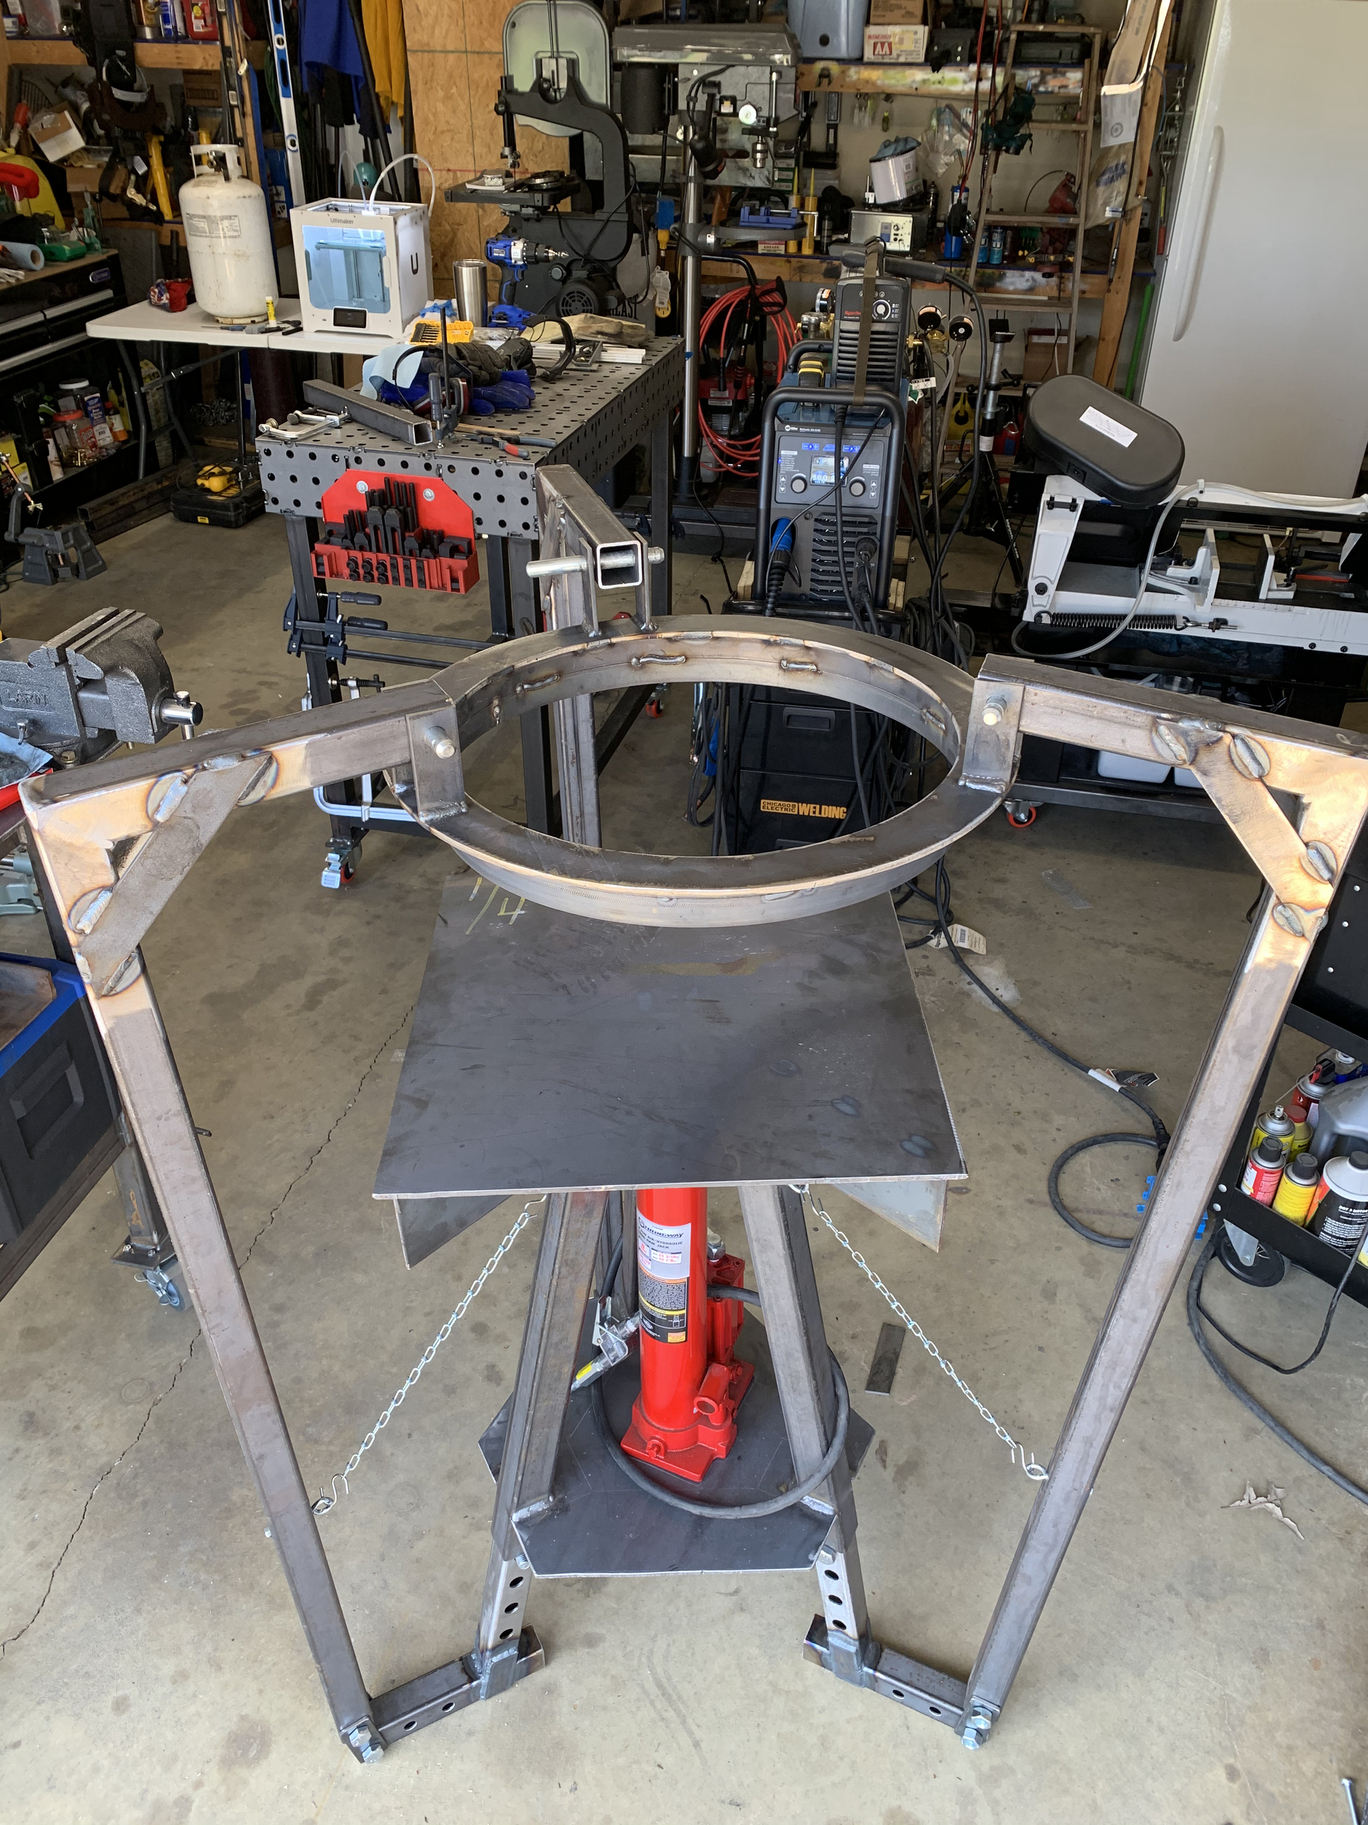
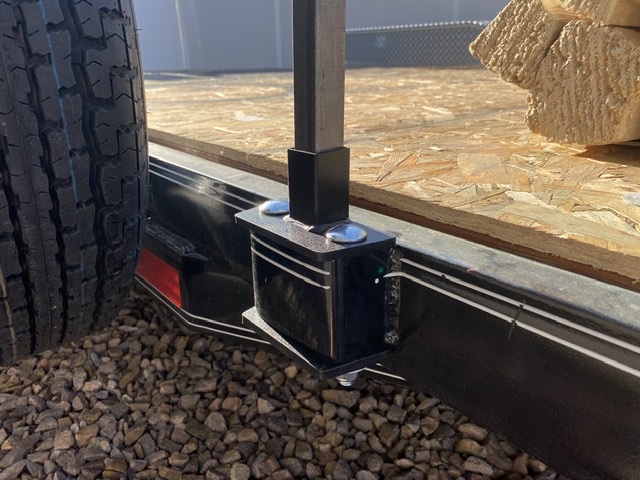
I’m installing some Firestone Ride Rite air springs on my Tundra to help level out when towing. I bought the kit off Amazon, and realized that I needed some spacers because I have some extended shackles that provide about 2" of rear lift. They make spacers, but they are about $100, so I jumped into fusion360 and designed a simple spacer. It’s a 1.75" piece of 4" 0.25 wall tubing with a 0.25" cover plate with bolt hole and a cross brace. Simple, but fun to fab on the Crossfire Pro…
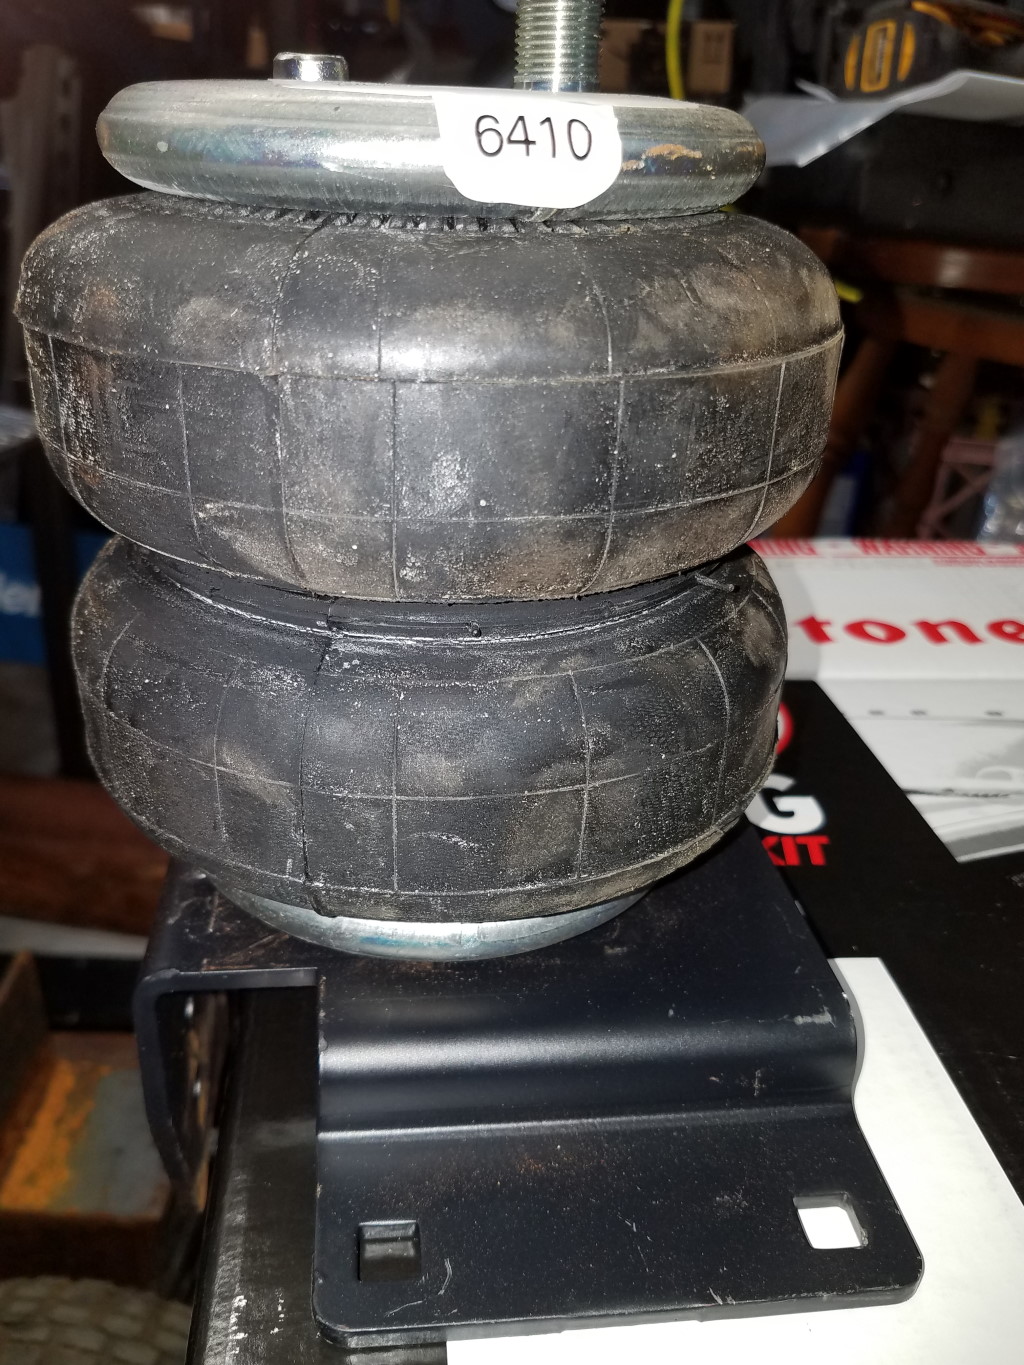
Airbags I’m installing:
Normal install without spacers - bag sits on mounting bracket directly.
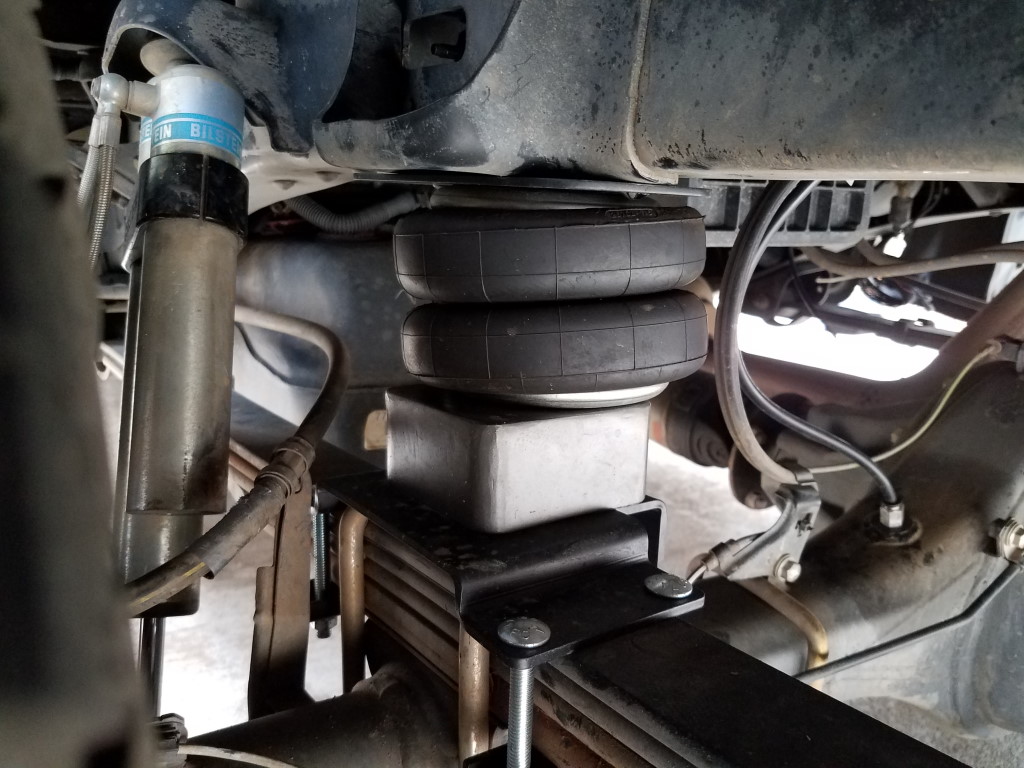
To avoid overextending the air bags due to lift, a spacer is needed. Here’s what I fabricated with some scrap laying around the shop.
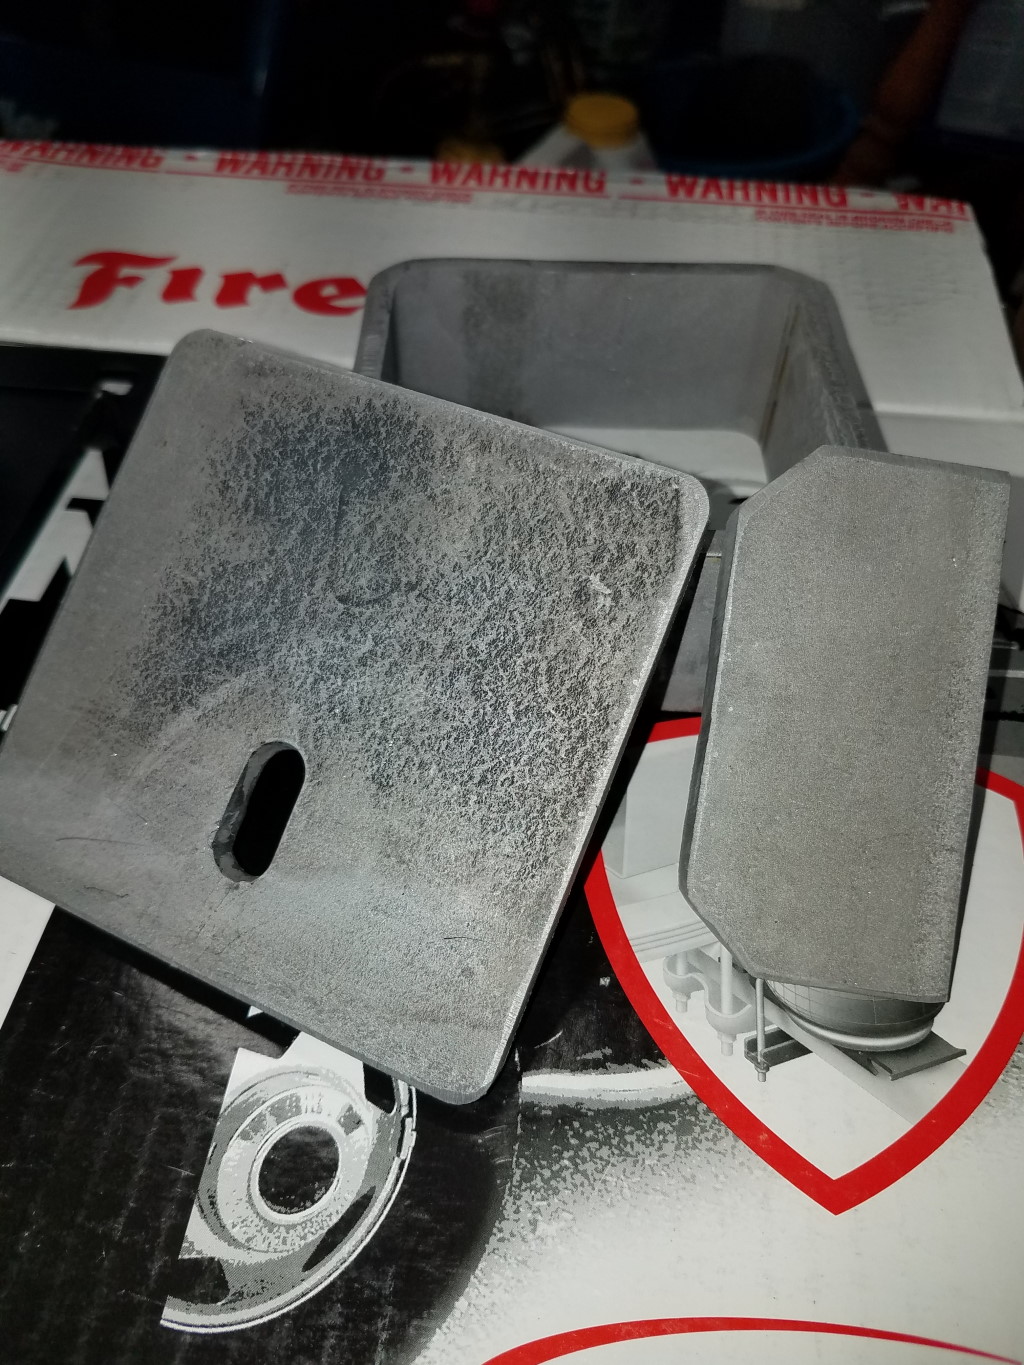
I let the metal sit in muratic acid for about 10 minutes to strip rust and mill scale.
Install with the 2" spacer:

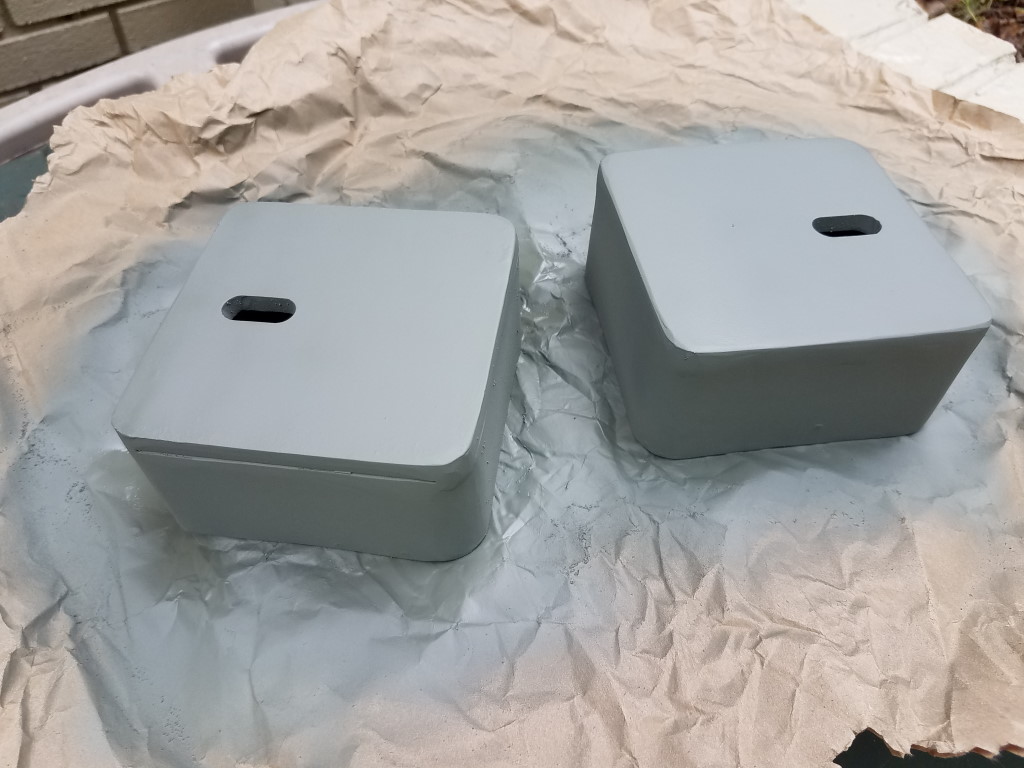
It’s ready for welding and paint and installation on truck. The Ride Rite brackets are 3/16, so these 2" 1/4" thick spacers won’t fail before the truck does - they are nice and beefy.
6 Likes
Got this done a while back, but forgot to post some update pics. Overall the spacer brackets worked out great - truck rides nicely and when under pressure these really correct for heavy loads on the back. Should have done this years ago…

Welded and painted
Installed
4 Likes

4 Likes
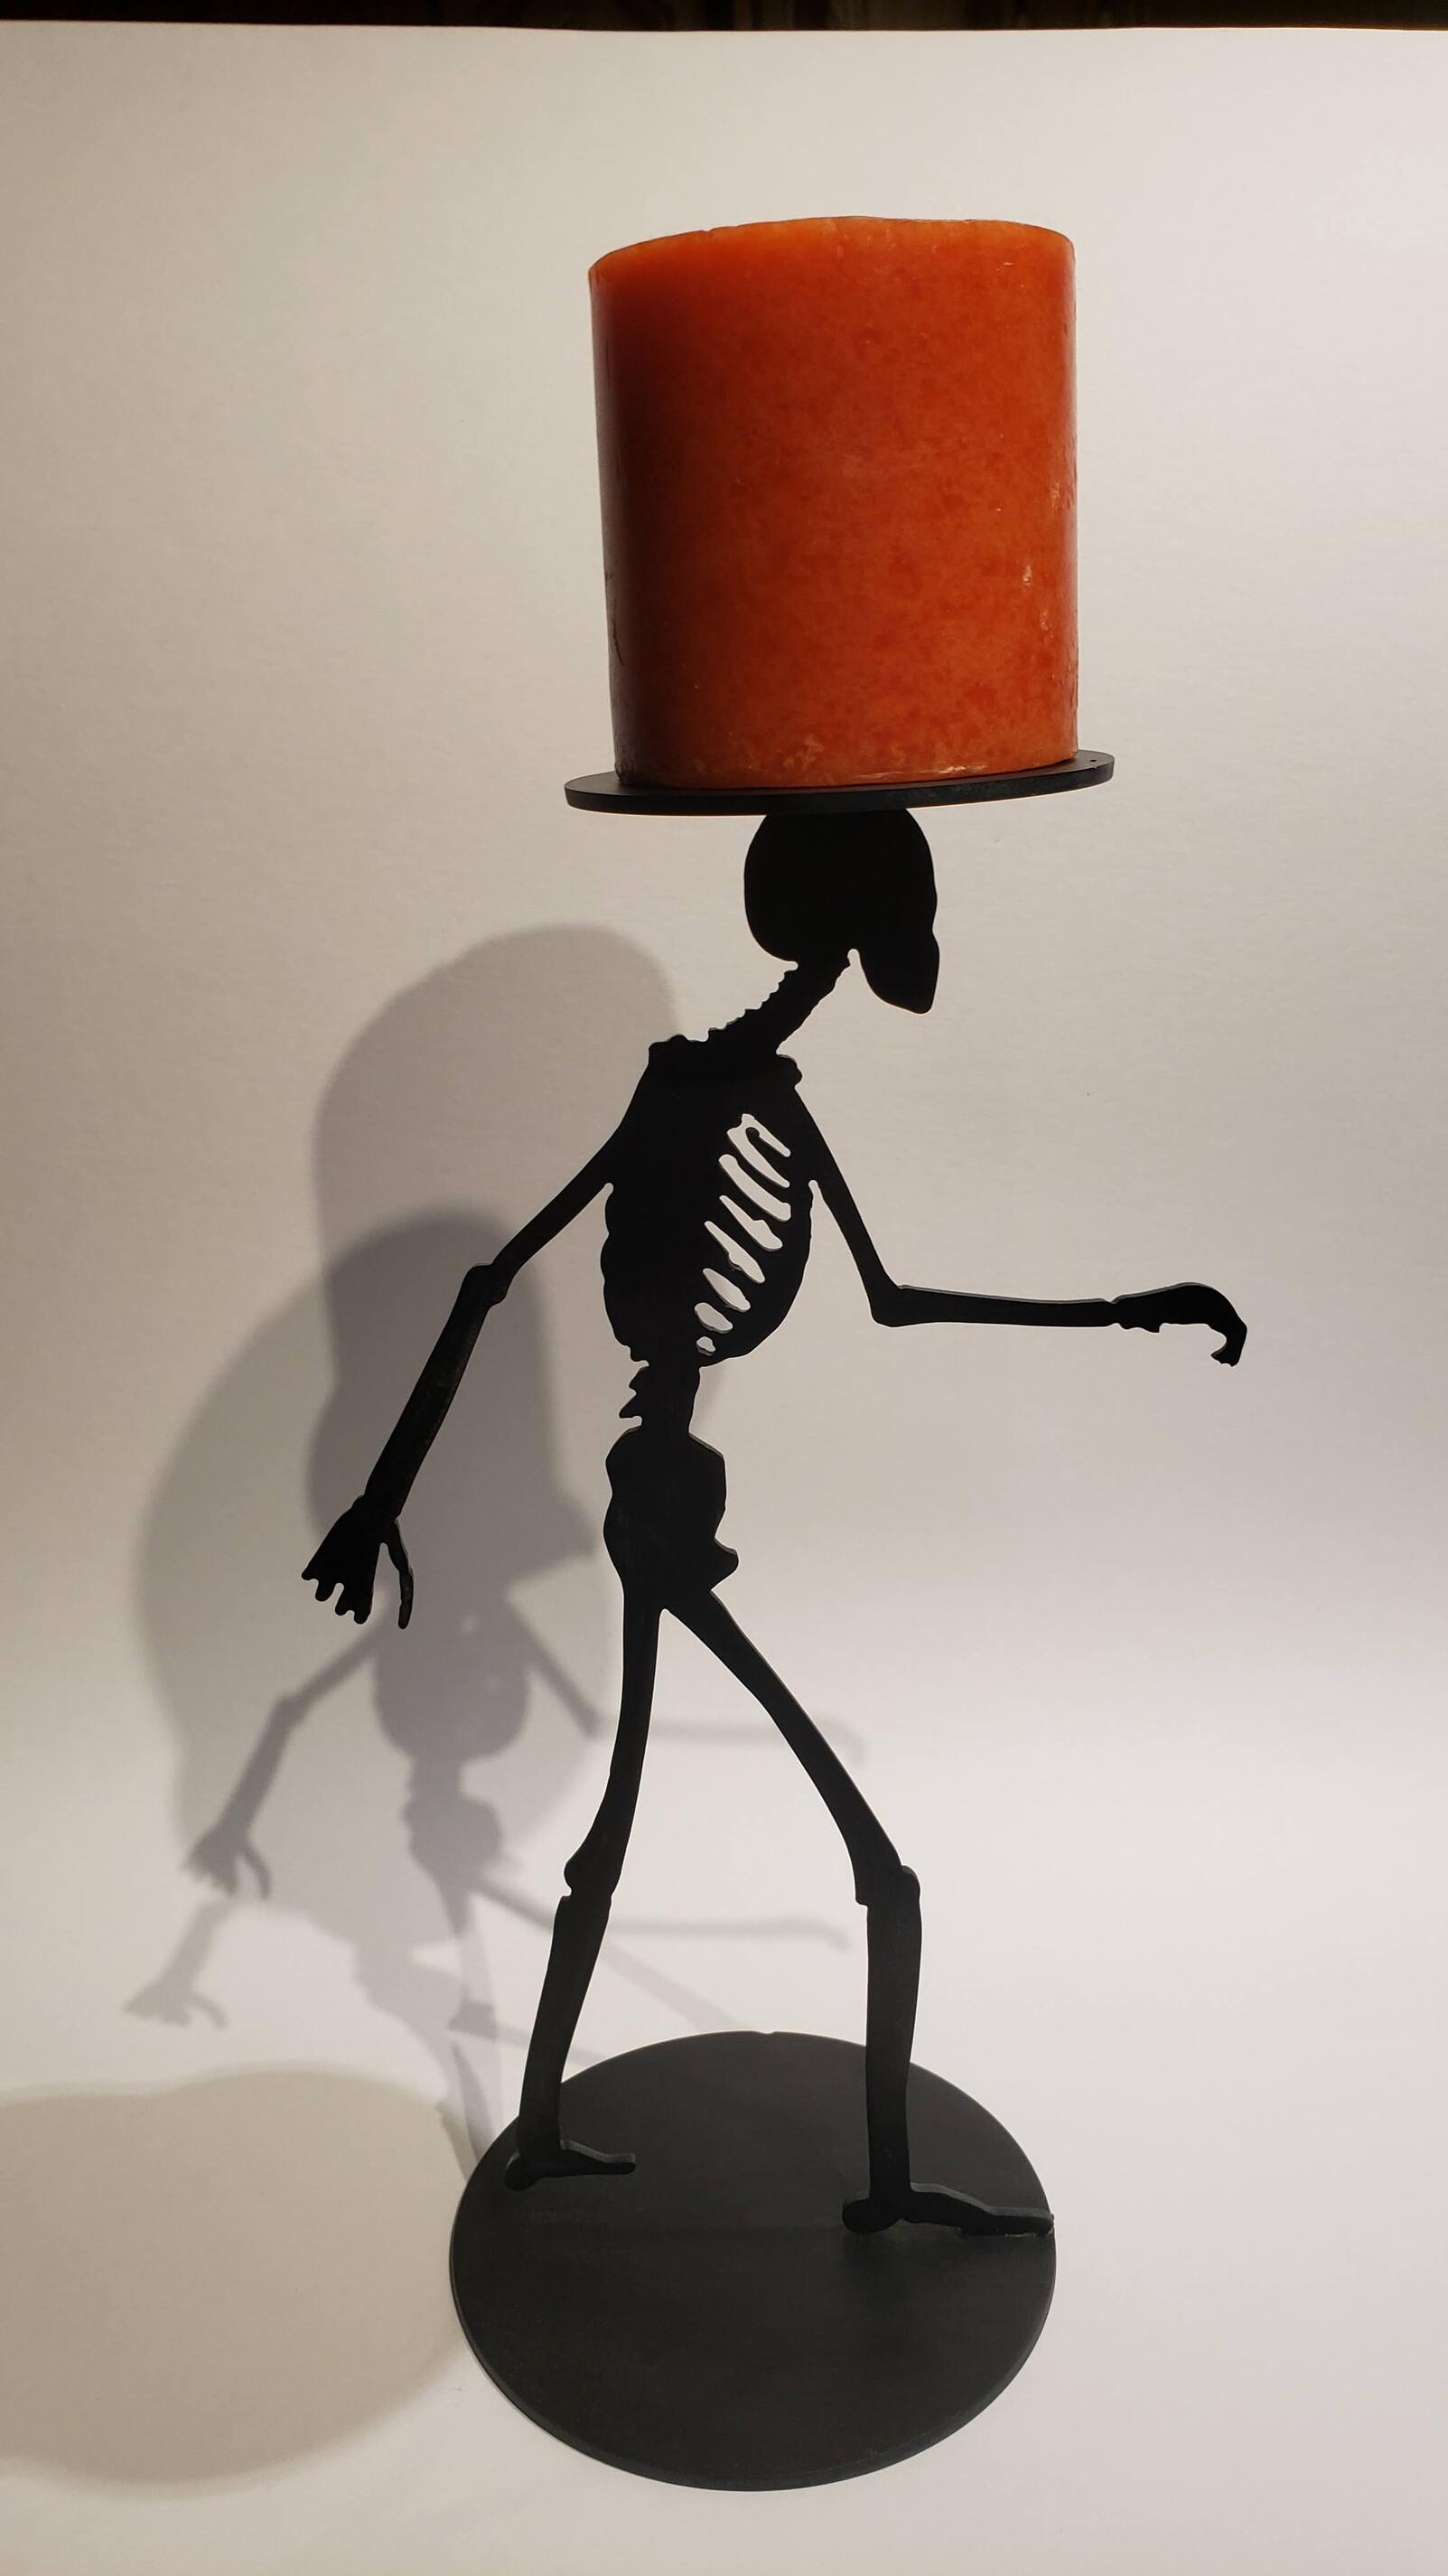
Really nice detail for the ribs and fingers. Cool candle holder.
1 Like
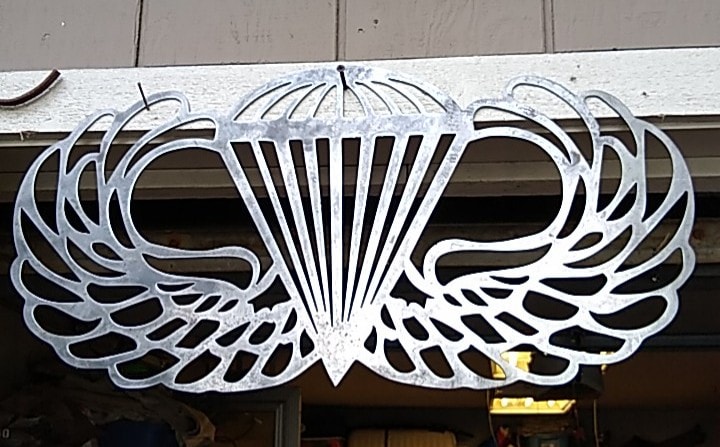
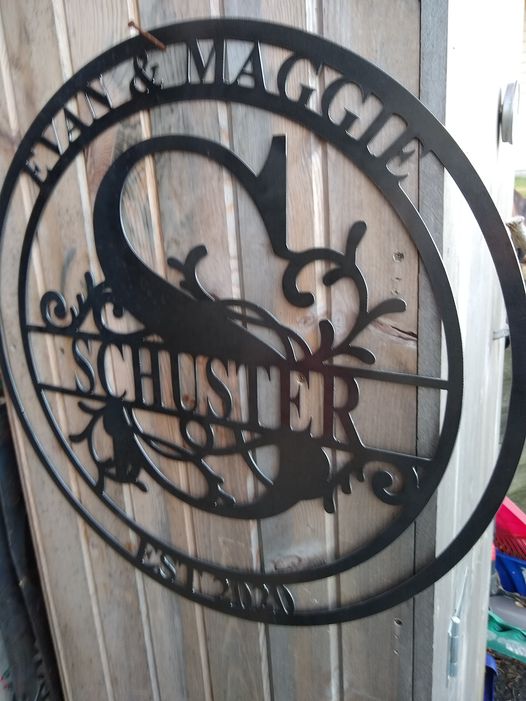
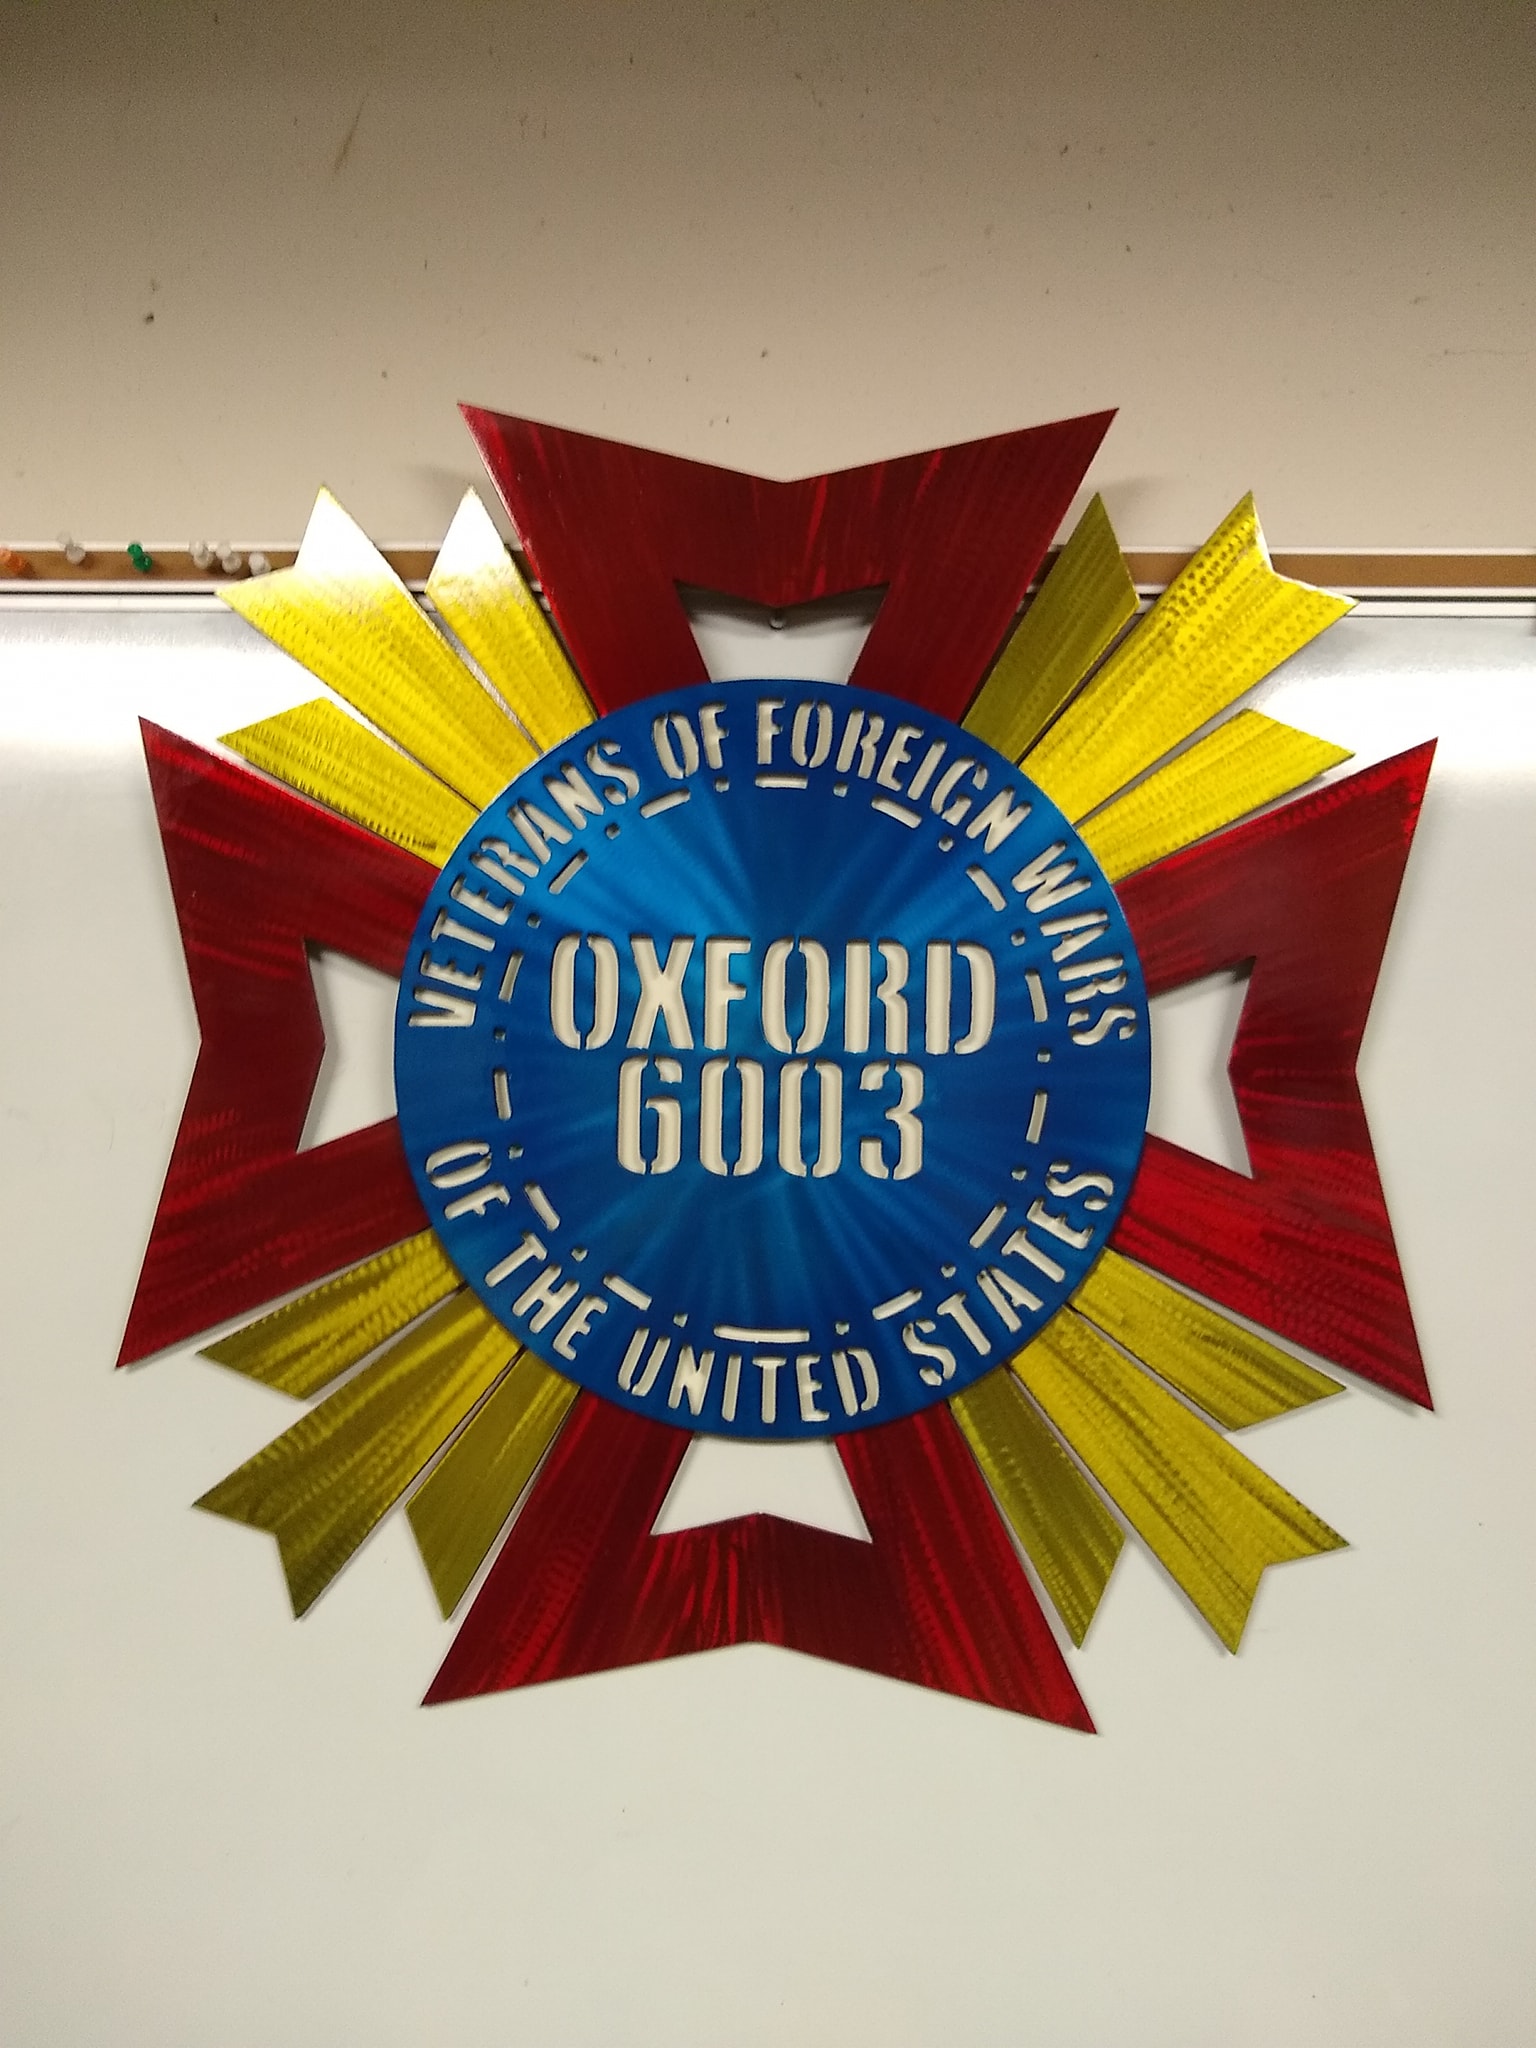
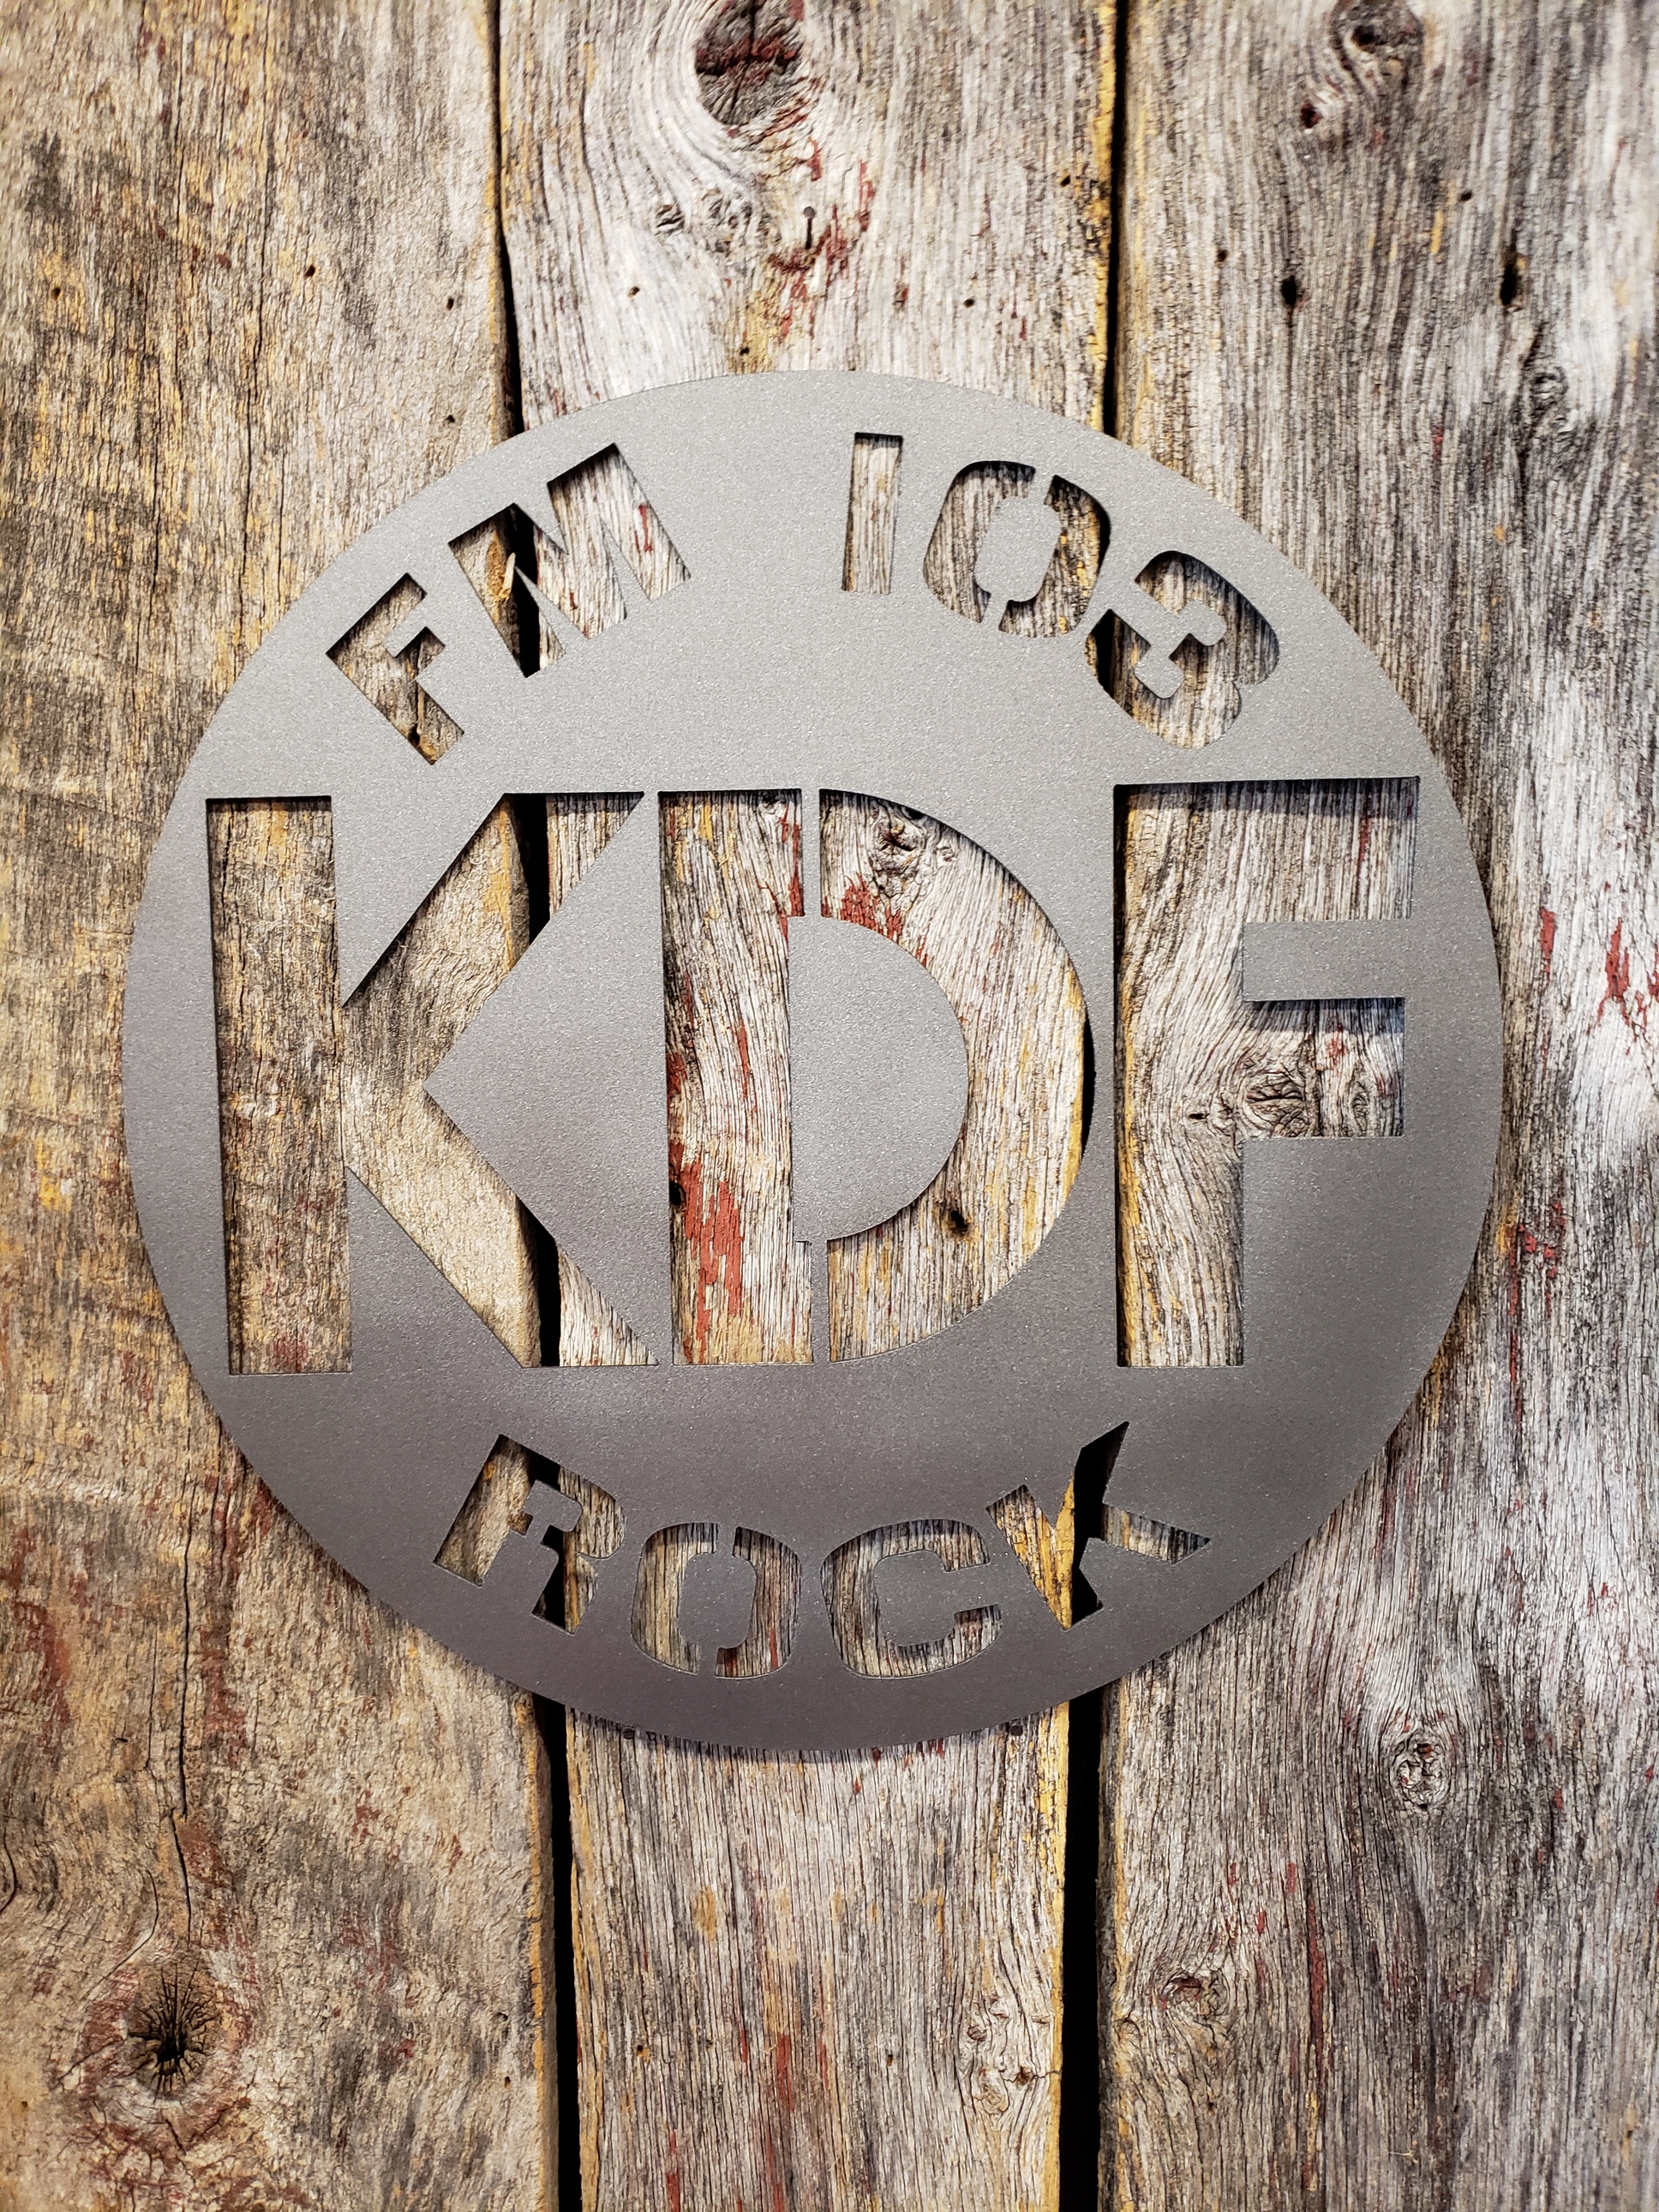
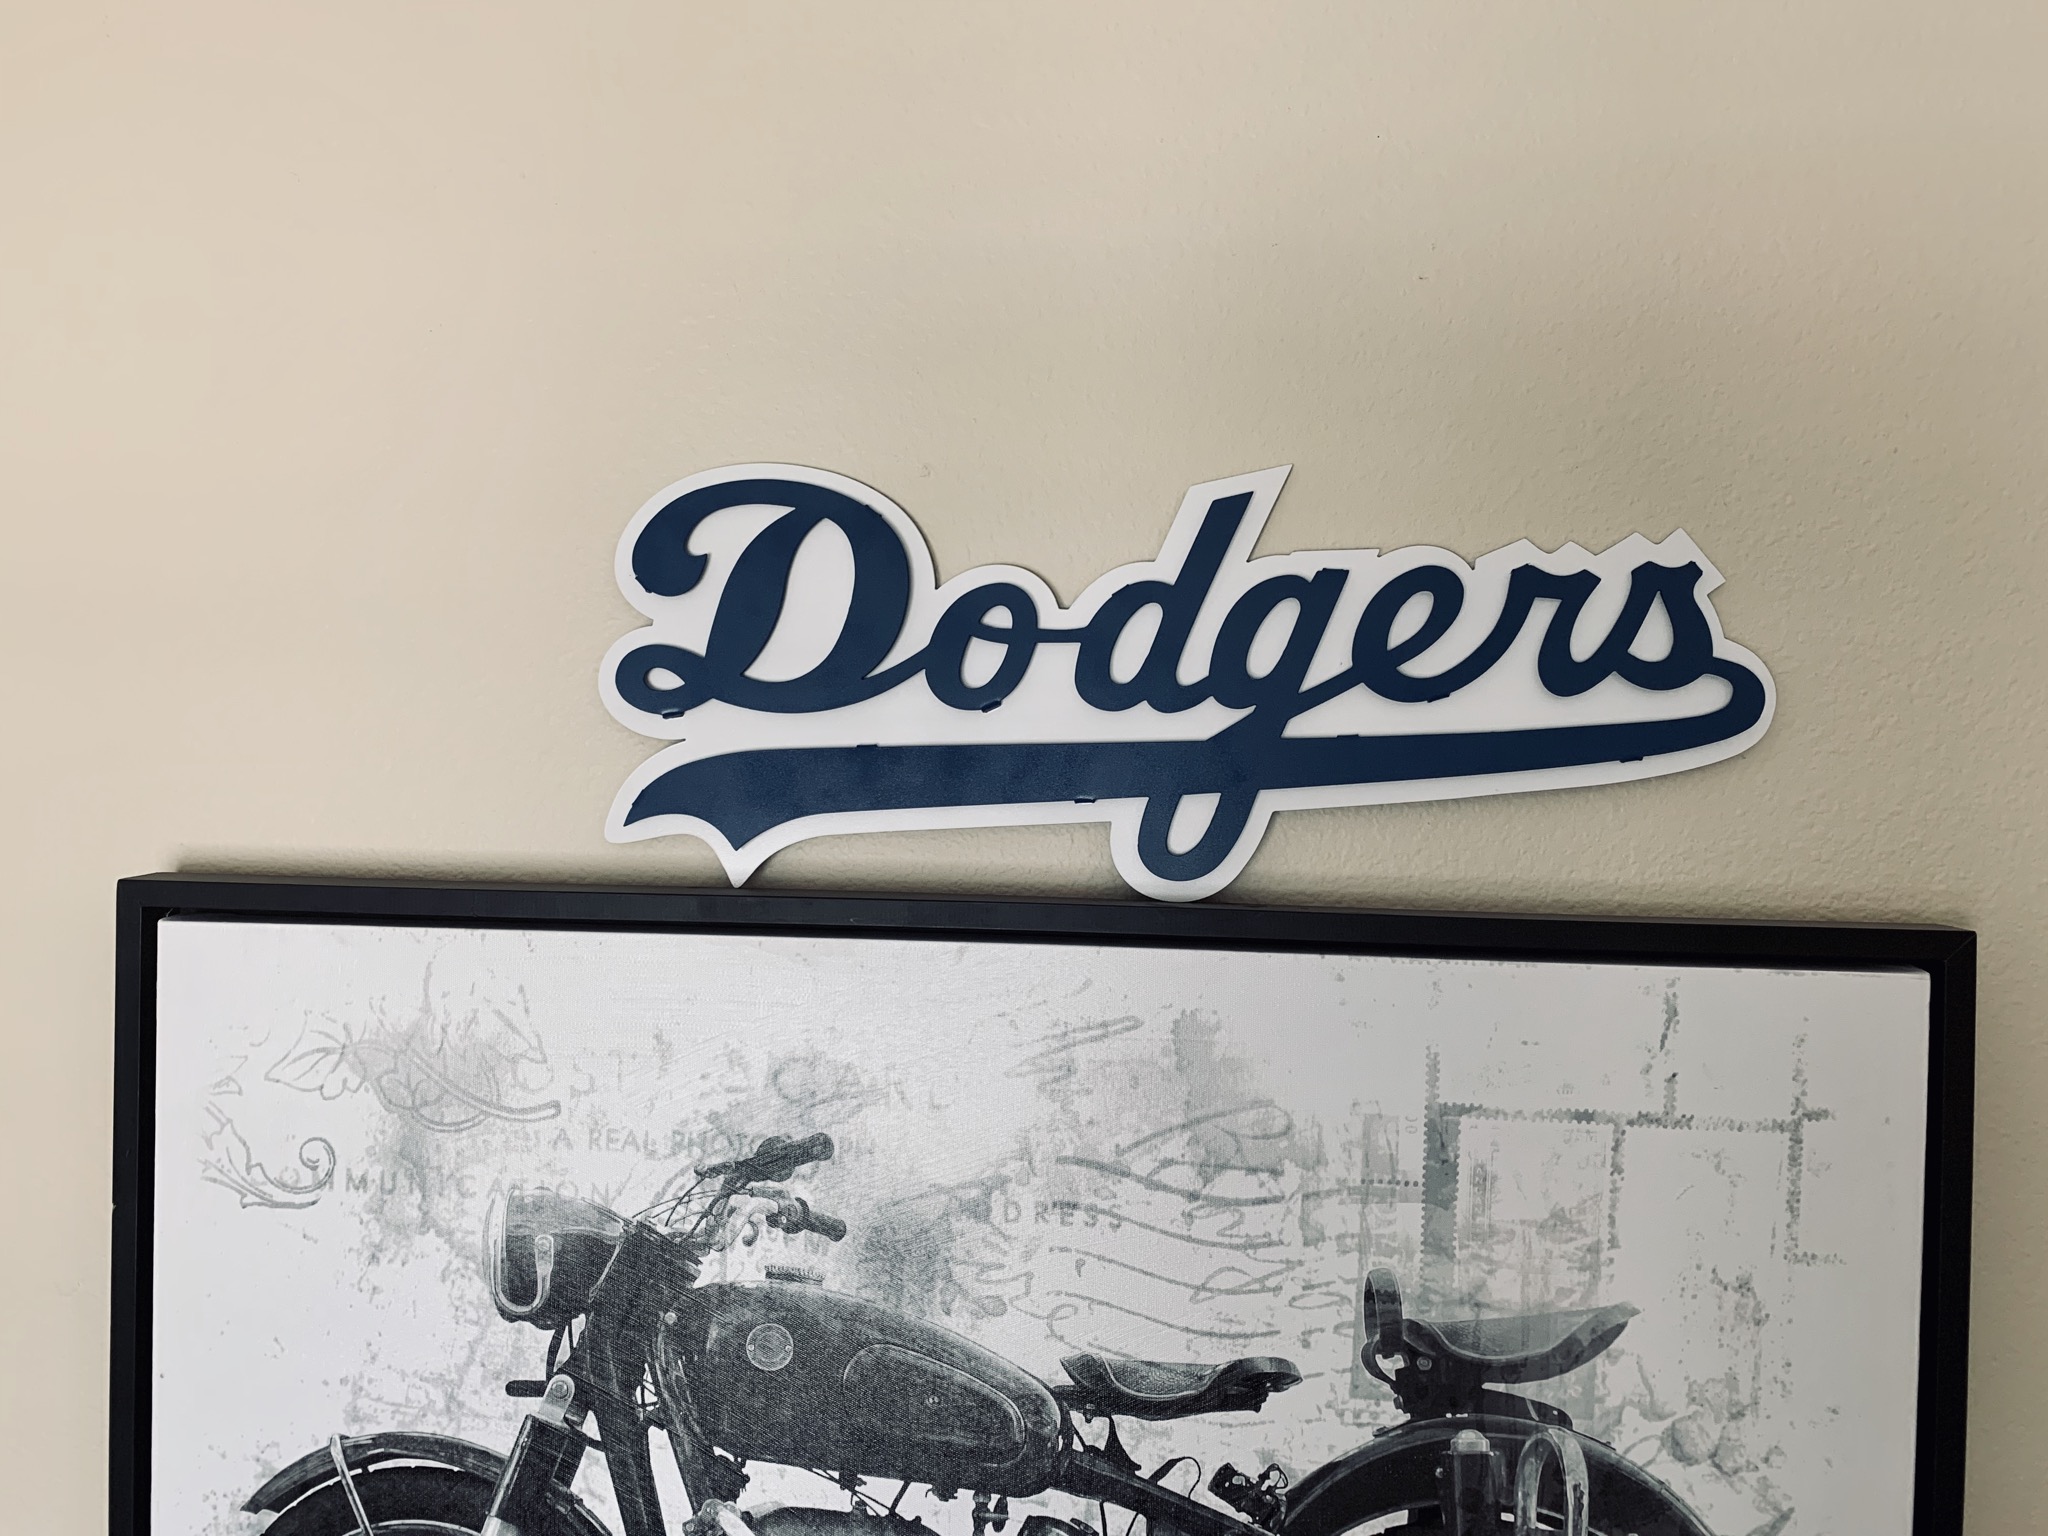
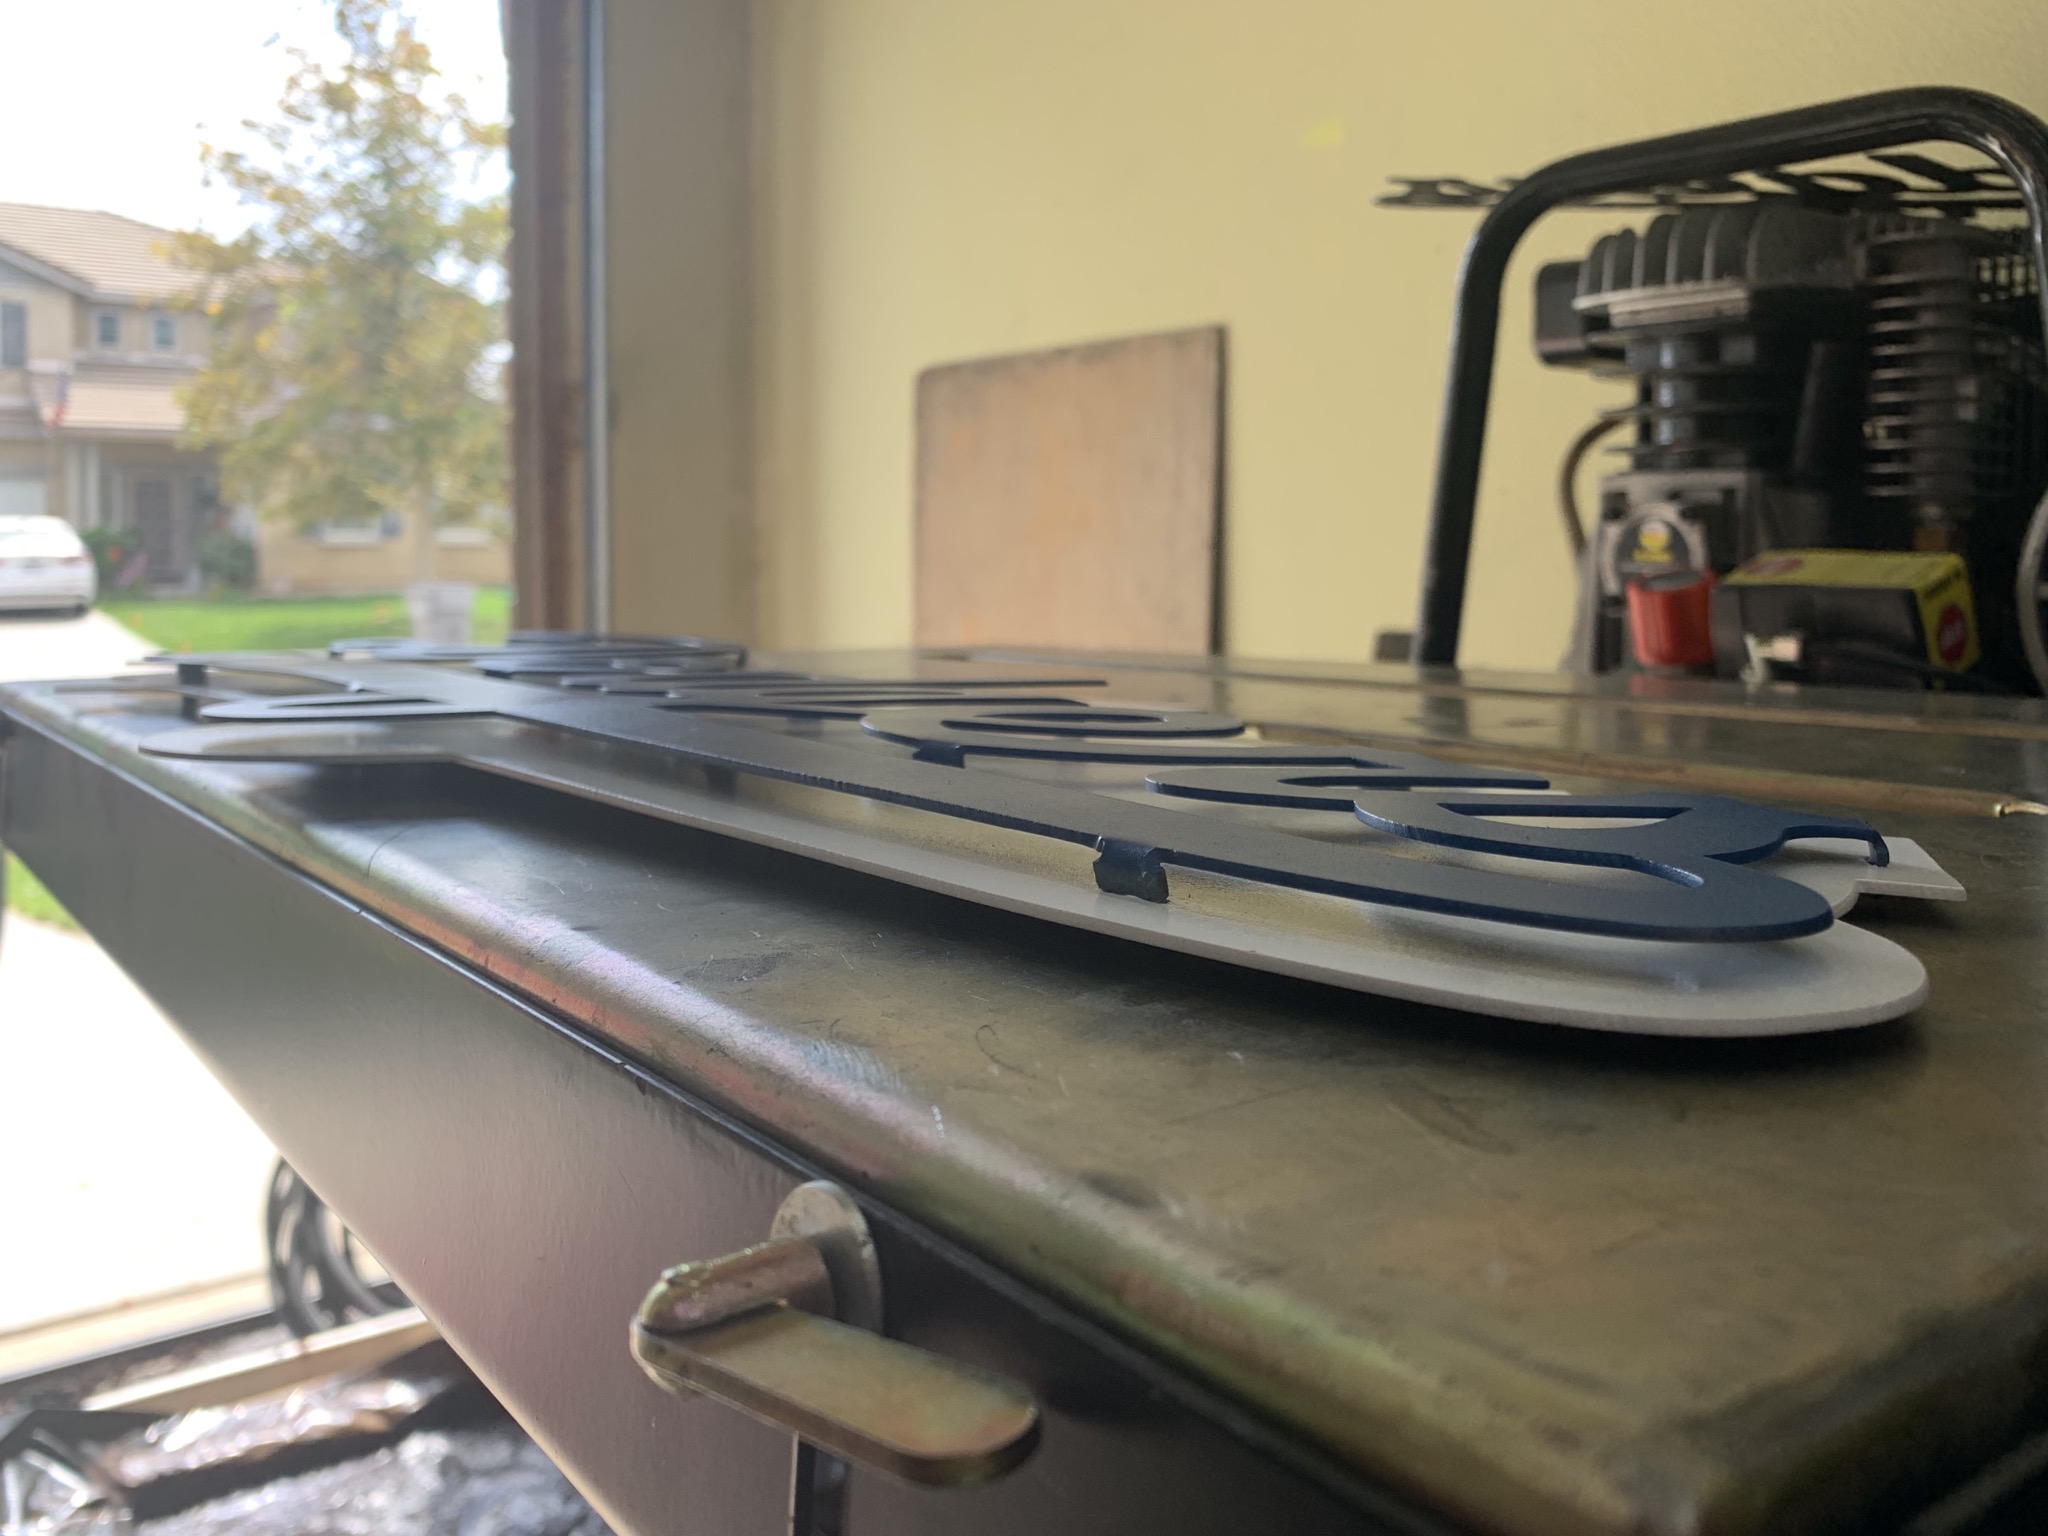
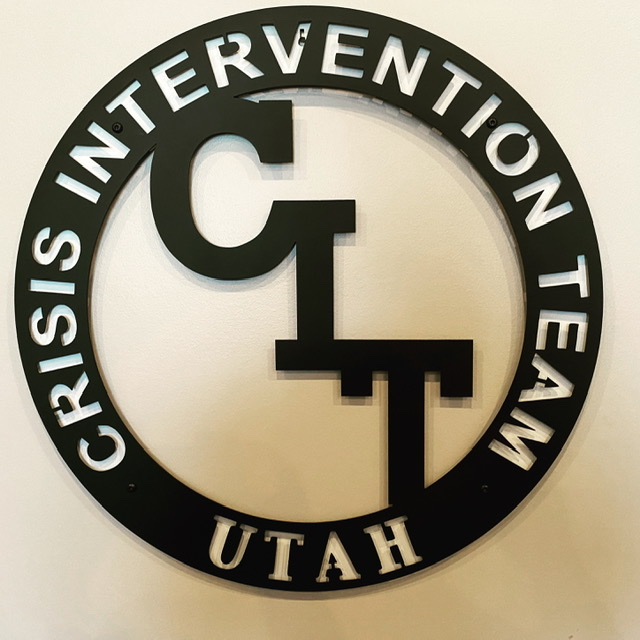
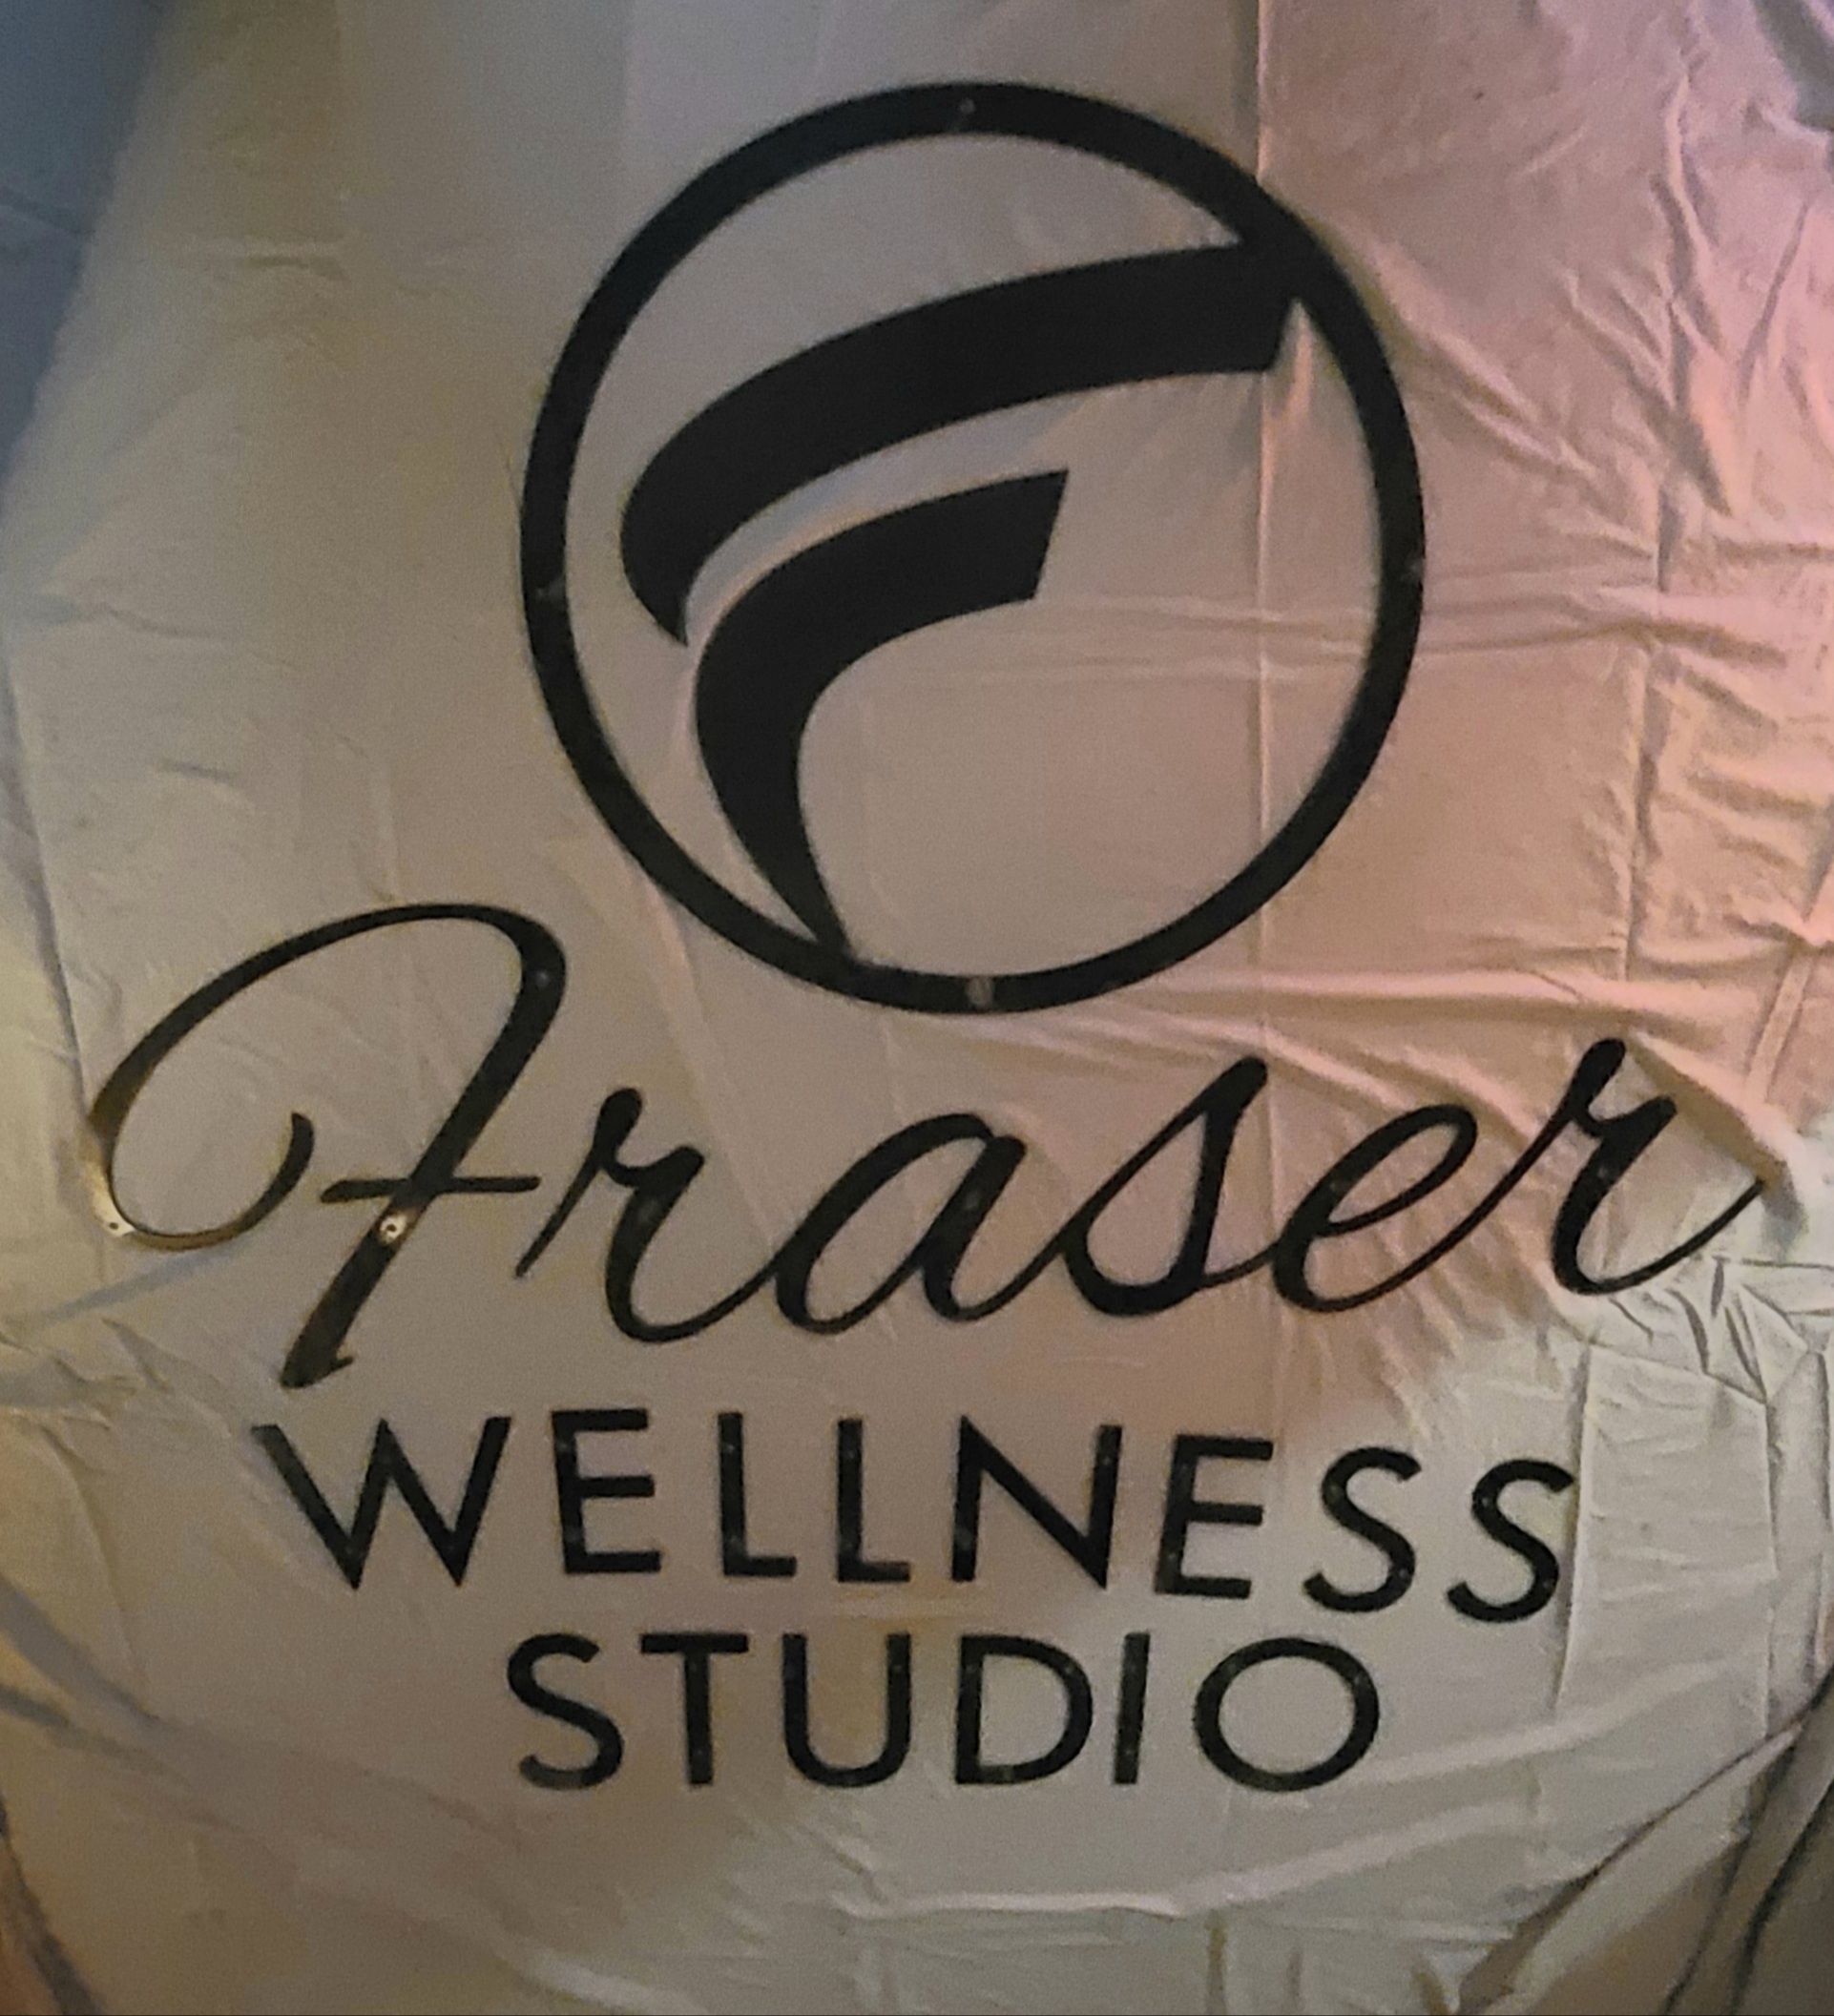
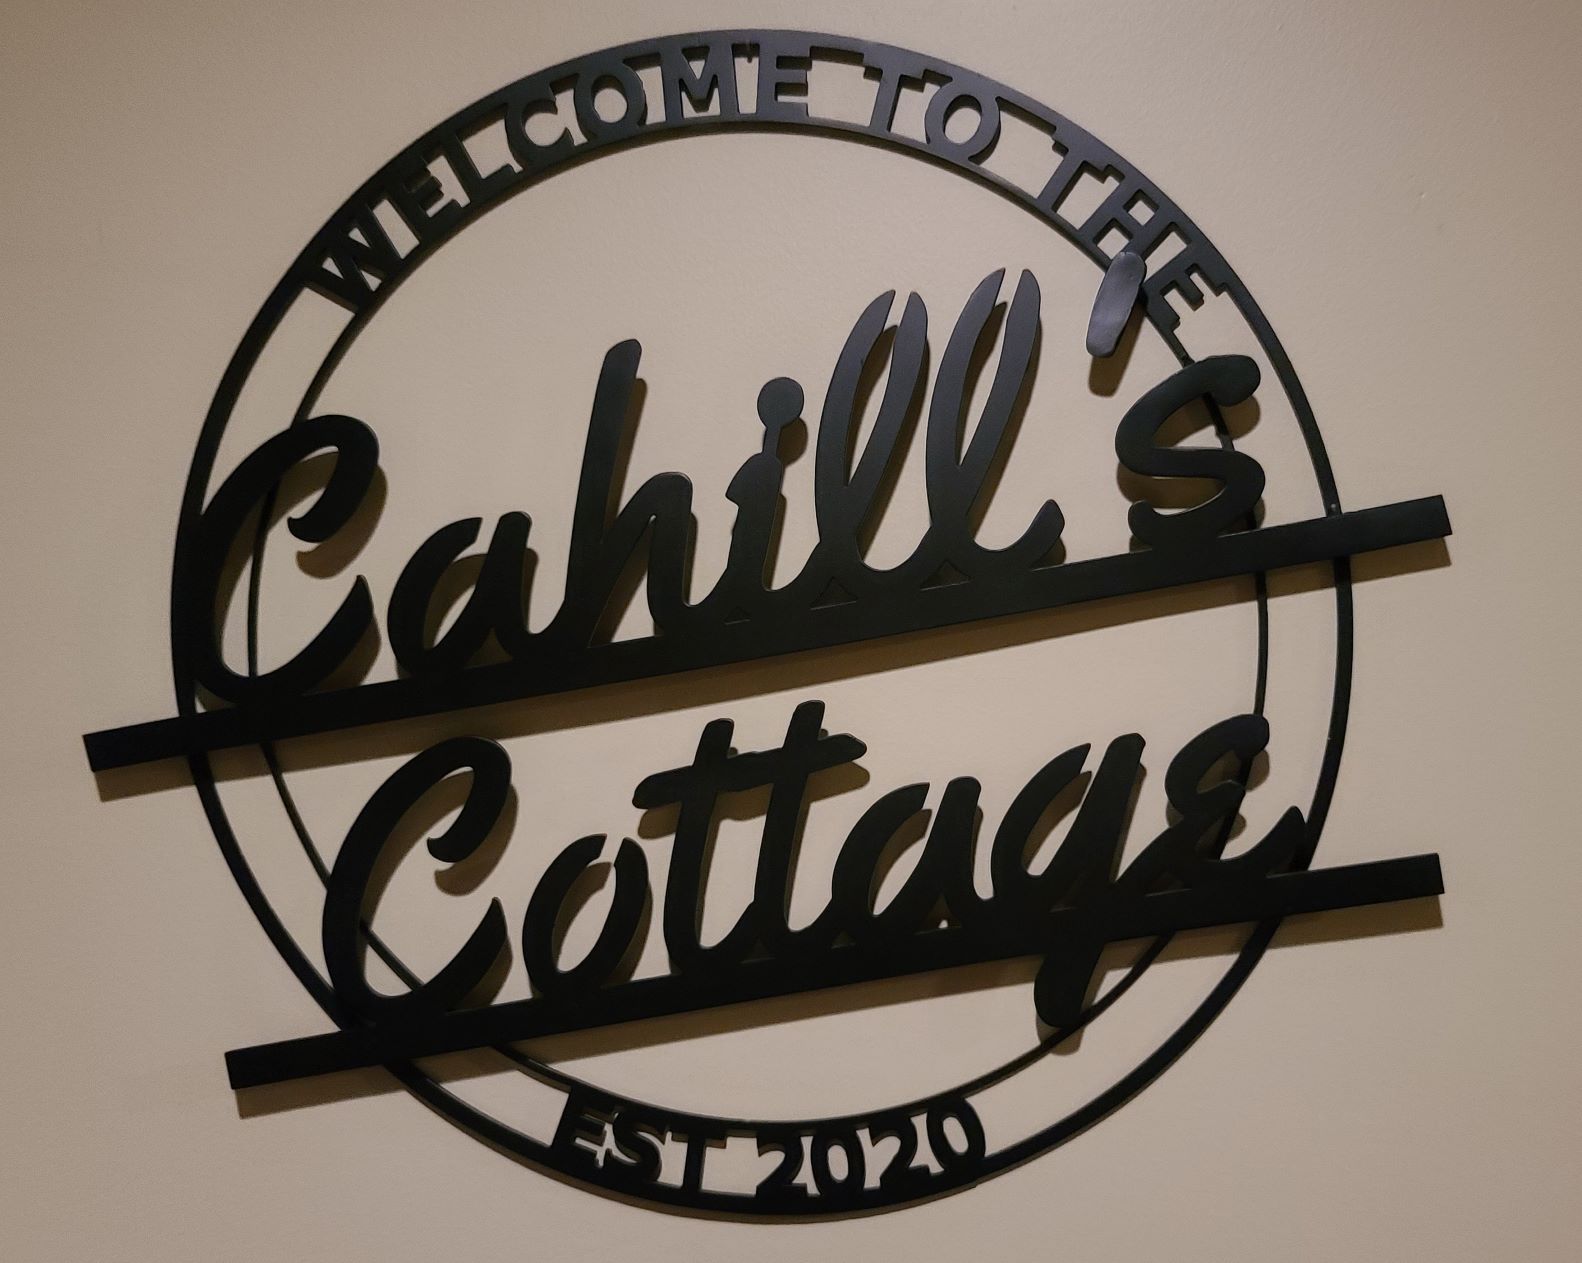
A few from the toolboy
the round logo is 27" across…all made with 11ga metal
The “Cahill’s Cottage” is actually raised off the backing by about 3/4" to give a cool look…18" across
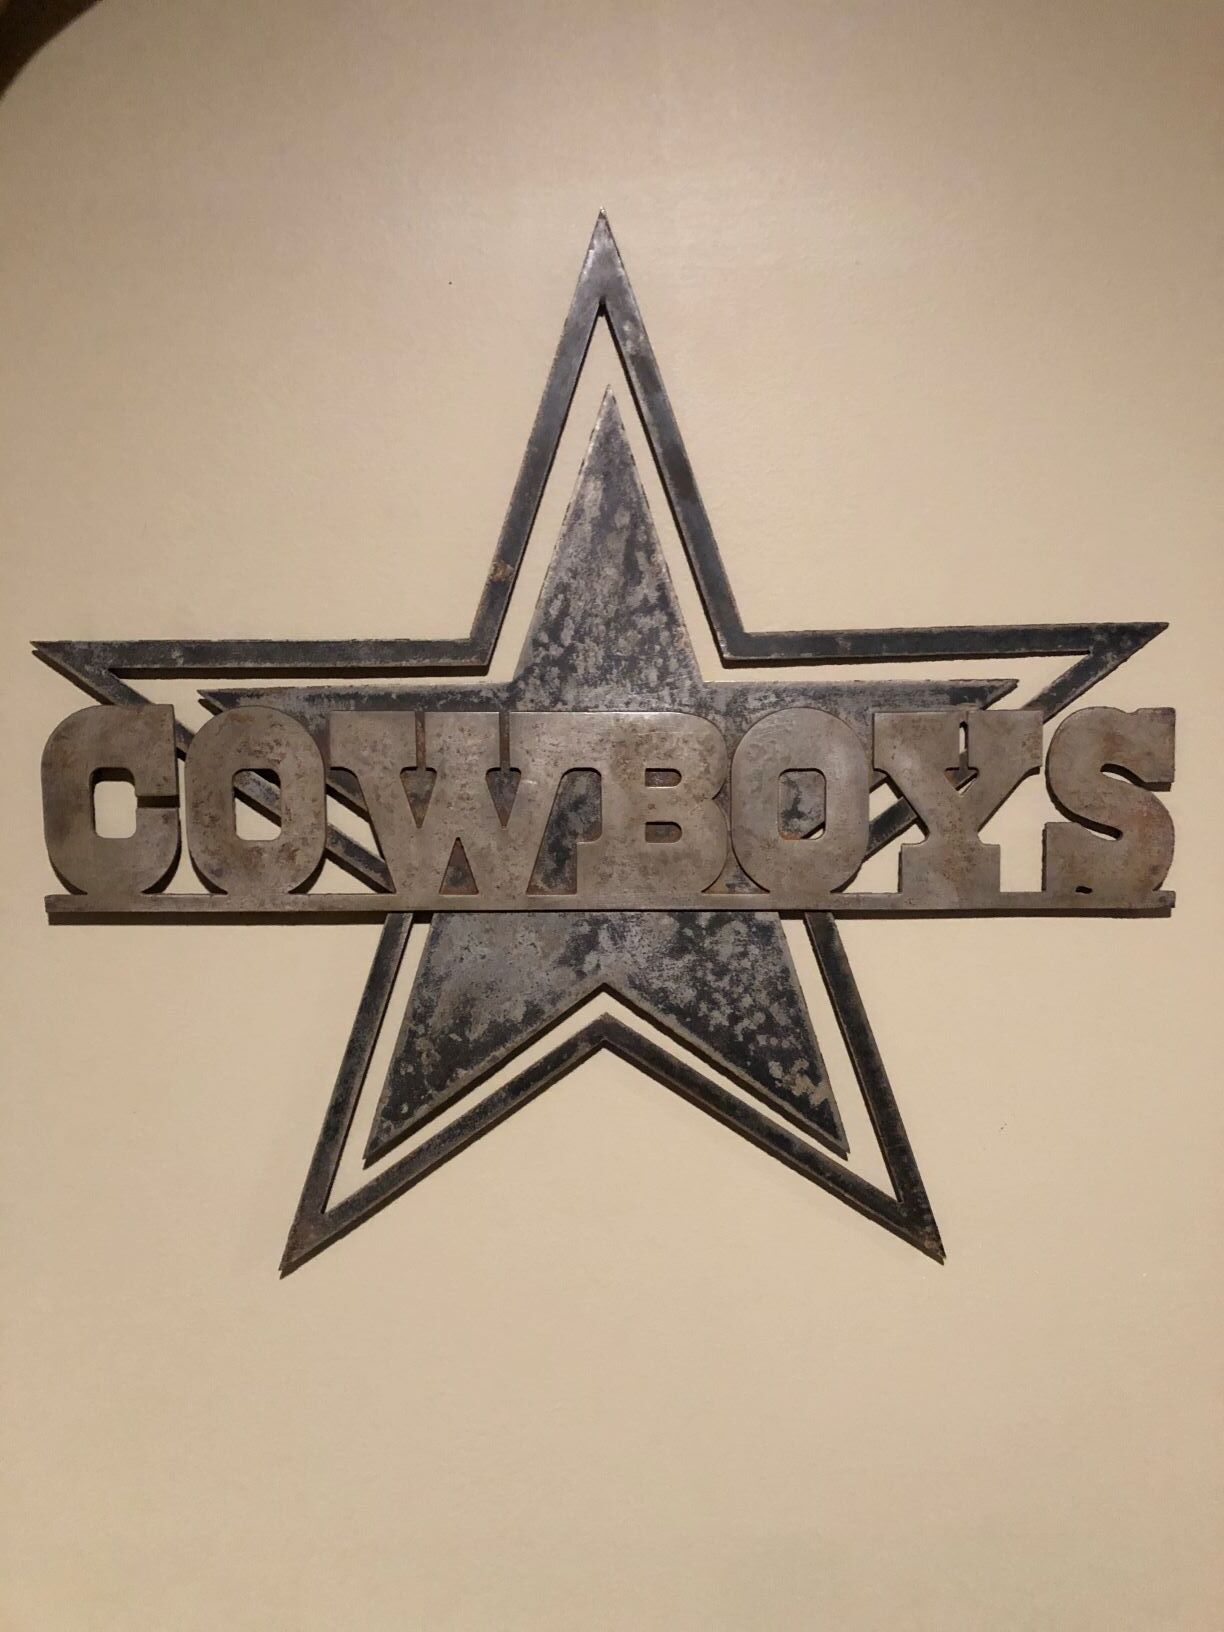
Did this for a friend who is a diehard Cowboy’s fan 18" width
I welded the star pieces on the back of the Cowboys name…poliche doff the mill scale off the Cowboys and then rusted it…
5 Likes
@toolboy Those are great! What is the finish on the Cahill piece?
flat black Tremclad rattle can
1 Like
Awesome seeing all the projects. Making me wish I got the Pro…