Thanks, that makes sense. I never thought of that.
2 Likes
nicely put!..great explination…
1 Like
@72Pony
I like what you have done there with the seat feet. I was an Aggie way back in 2003. ![]()
1 Like
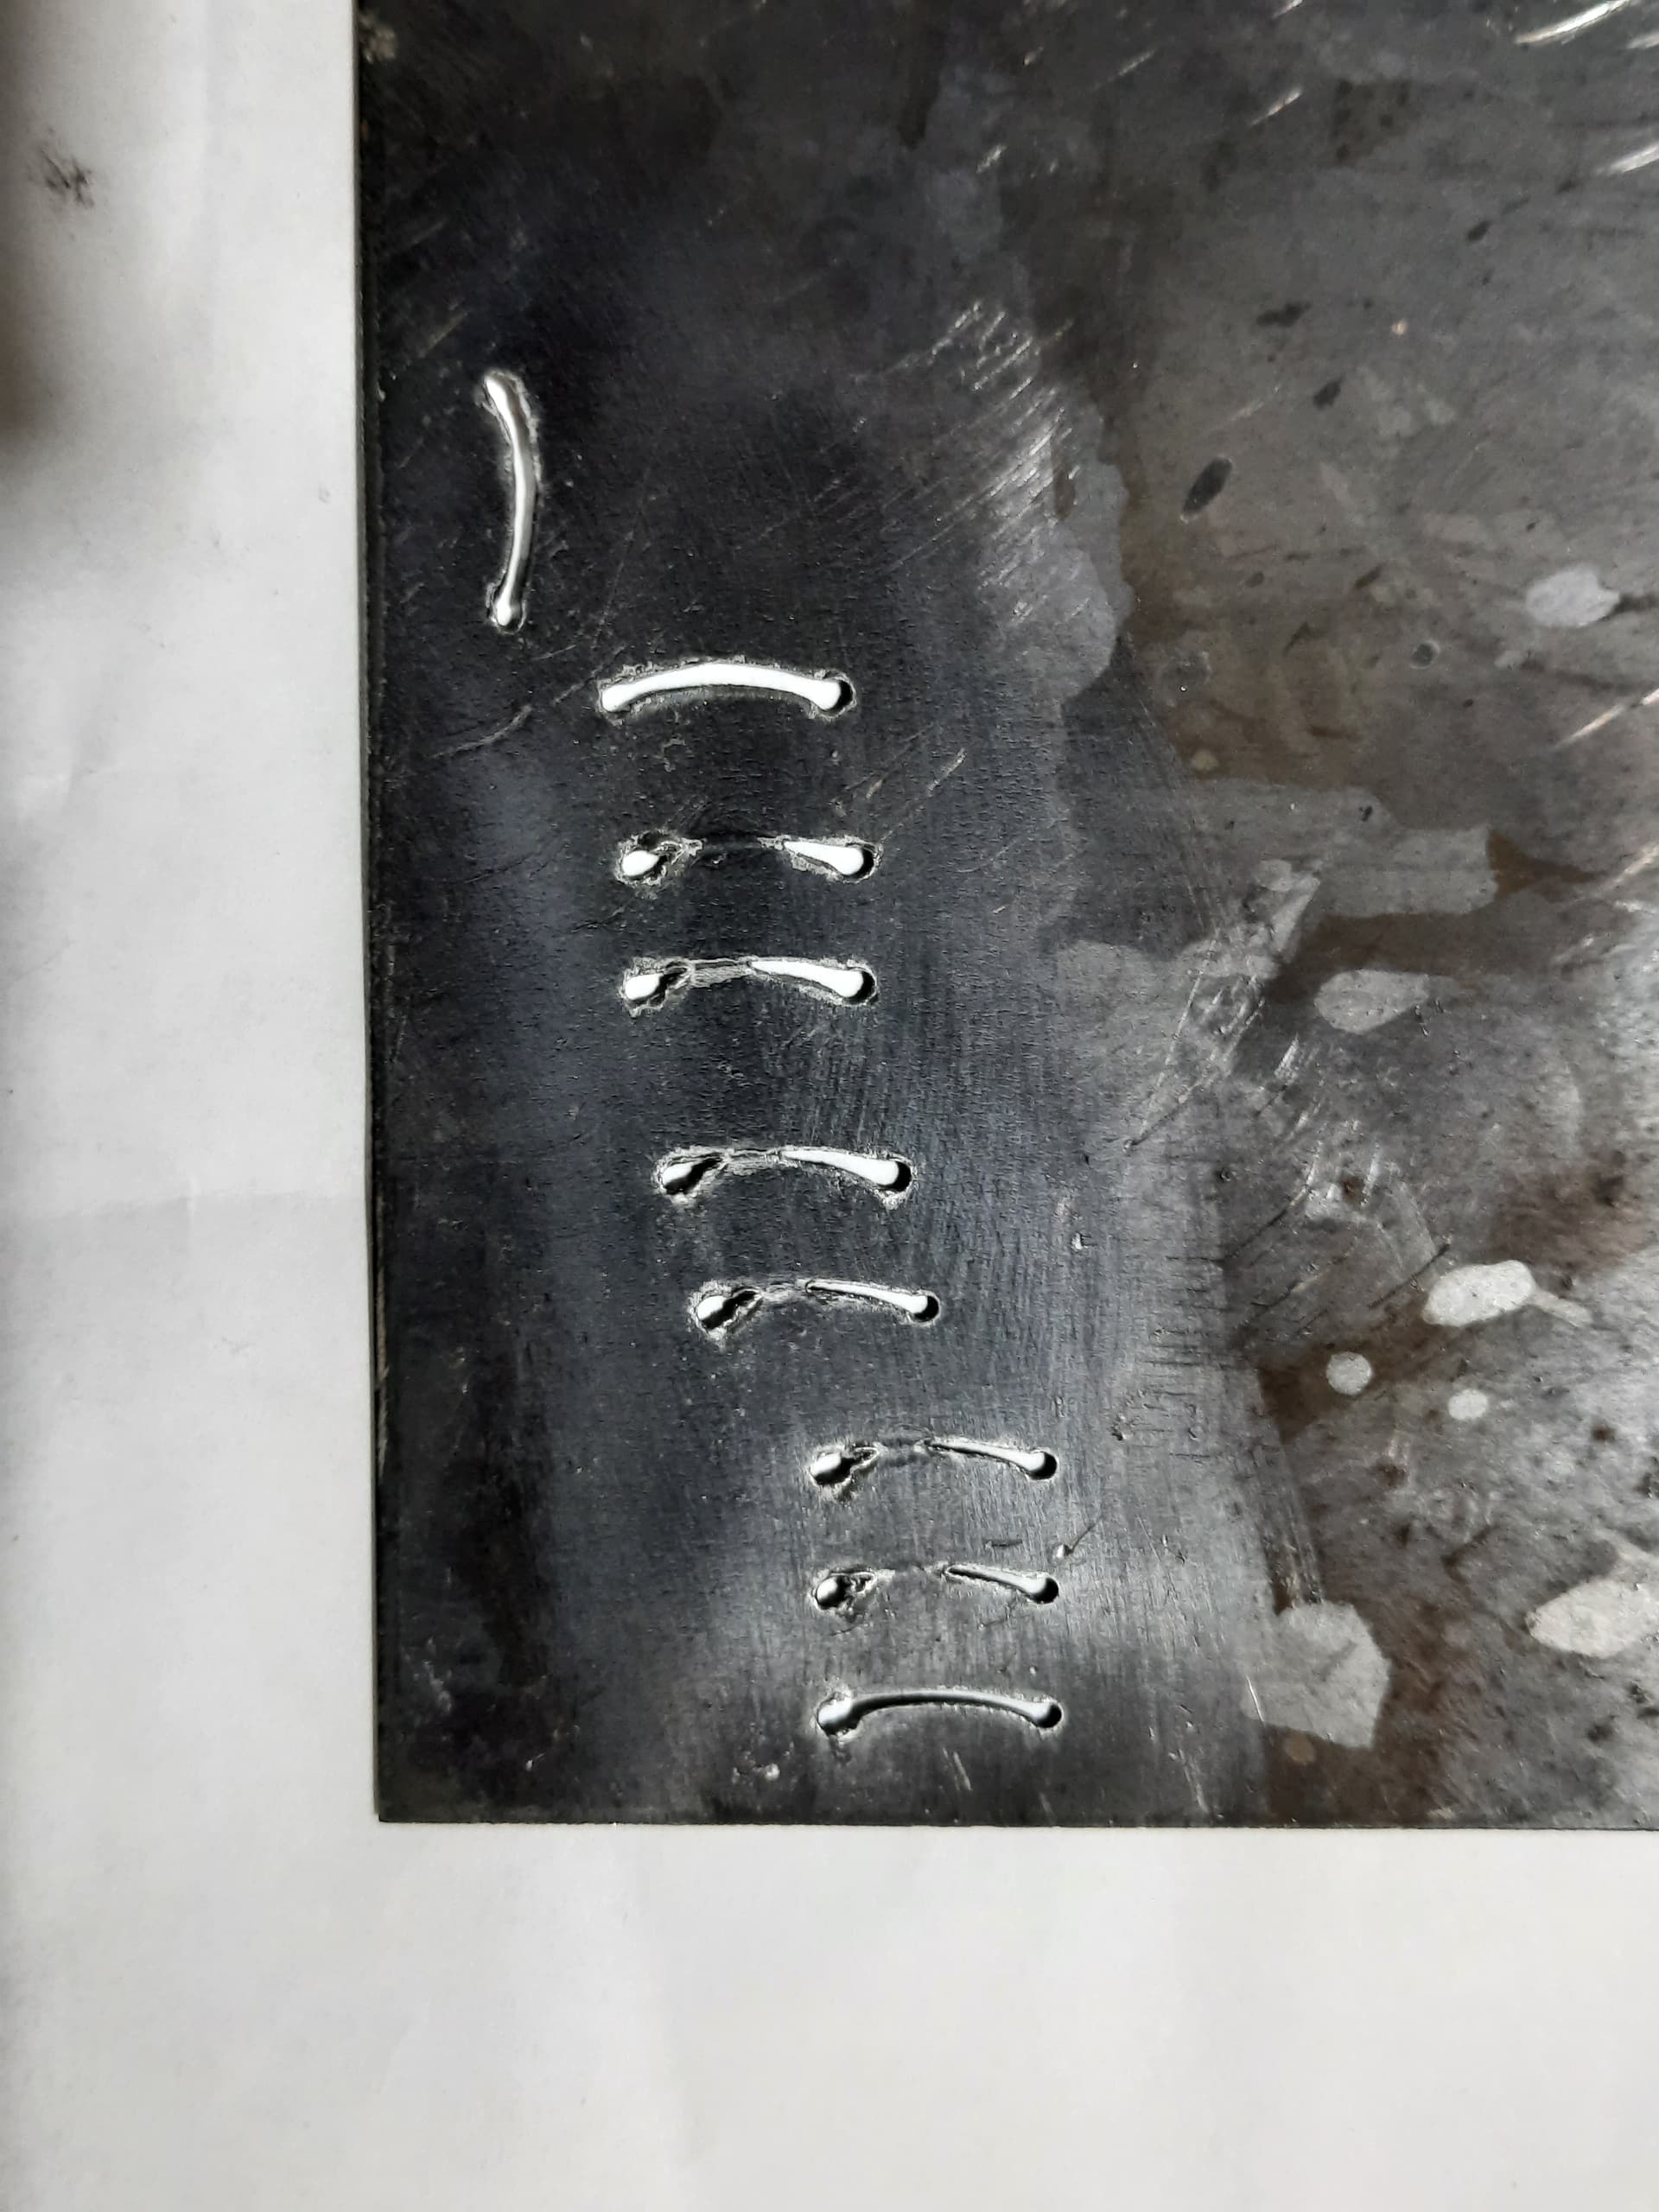
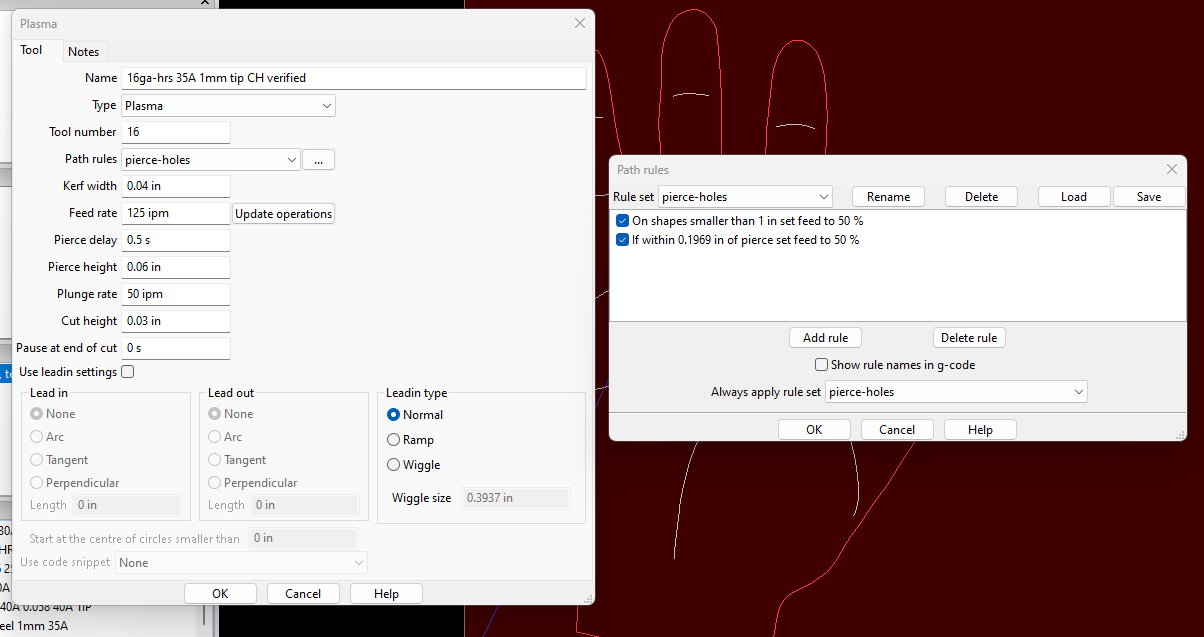
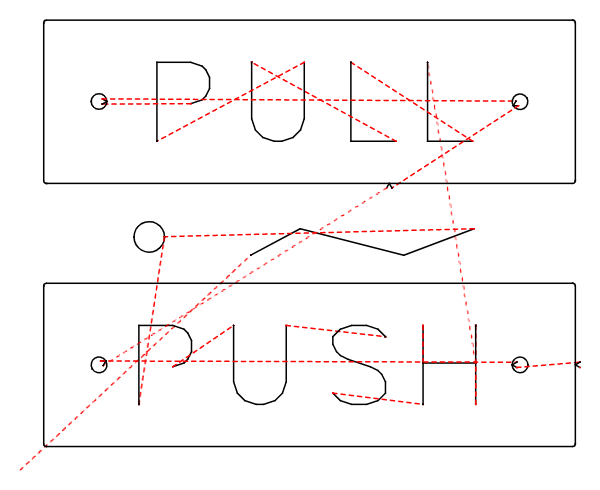
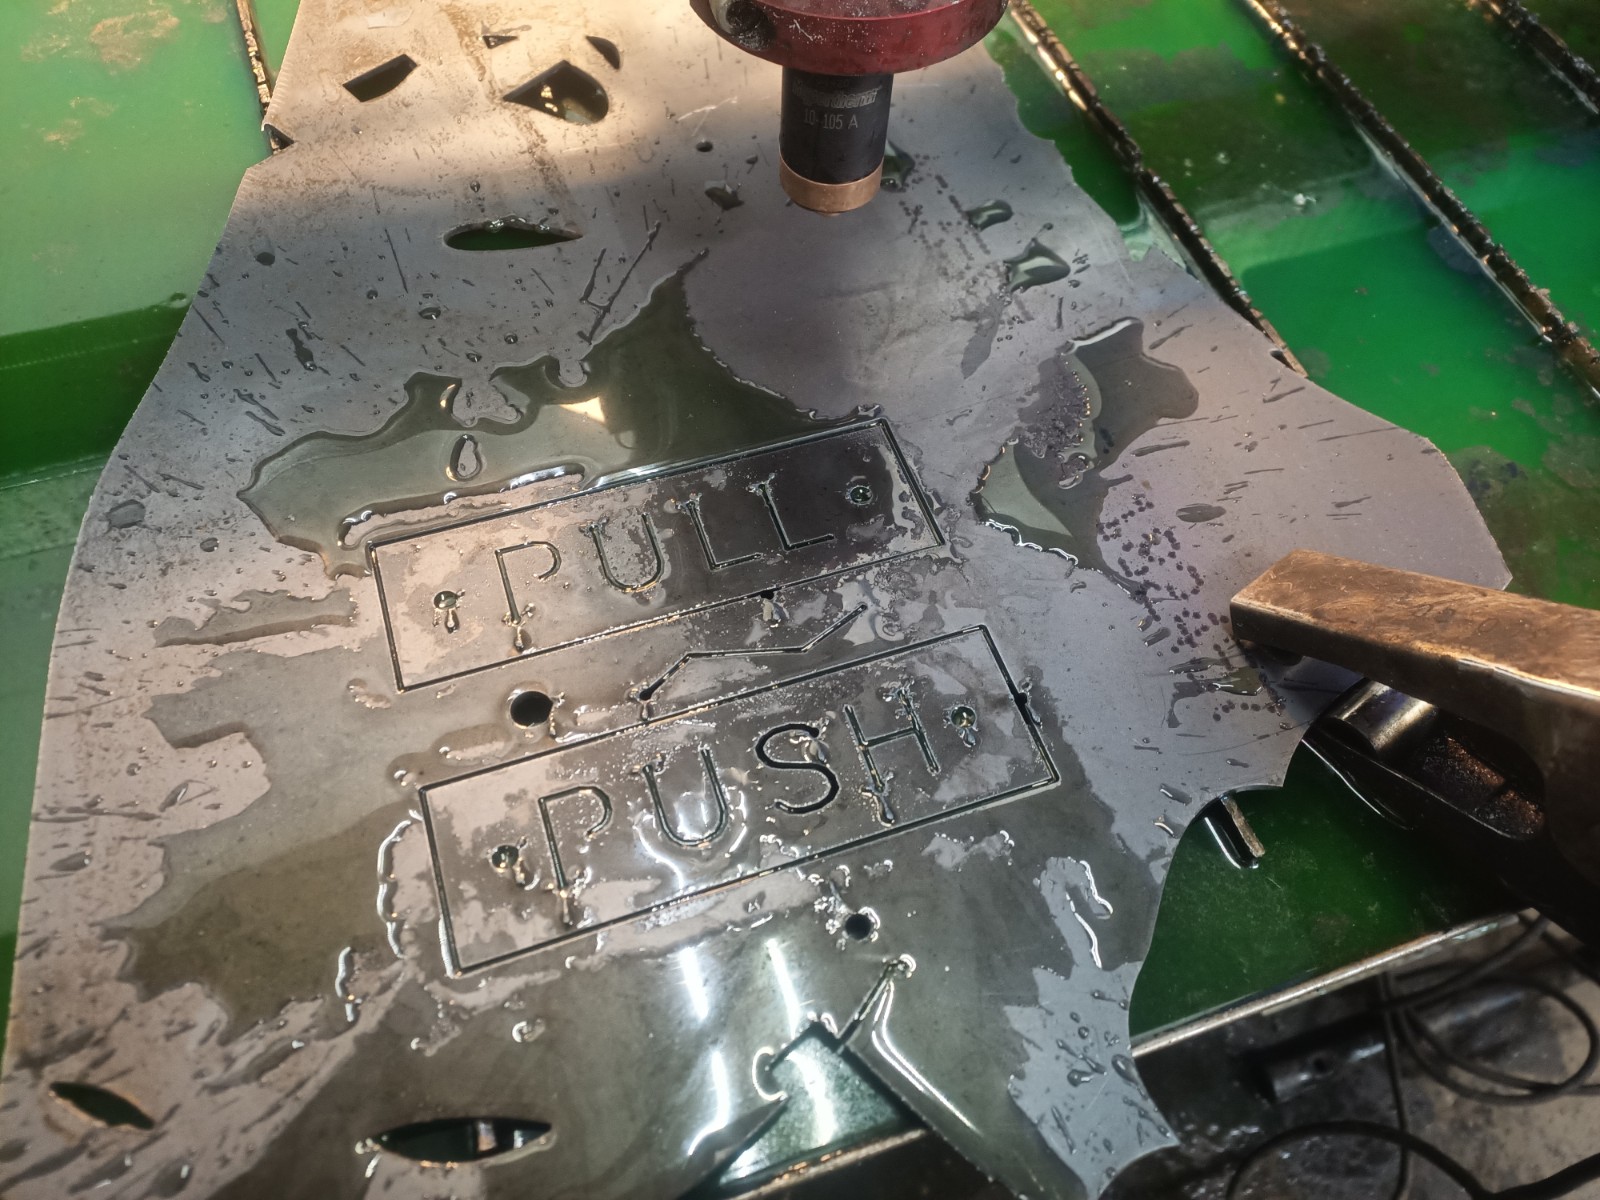
Worked on 16ga pierce performance today for no offset cutting. I tweaked plunge rate, pierce height, pierce delay and cut height. I think this looks pretty good. I had good piercing but the first part of the cut didn’t make it through. Added a 50% speed for post pierce cut within 0.2", cleaned it up nicely. Hope you can understand my images, submitting from phone. Comments welcomed.
Top - see bottom 2
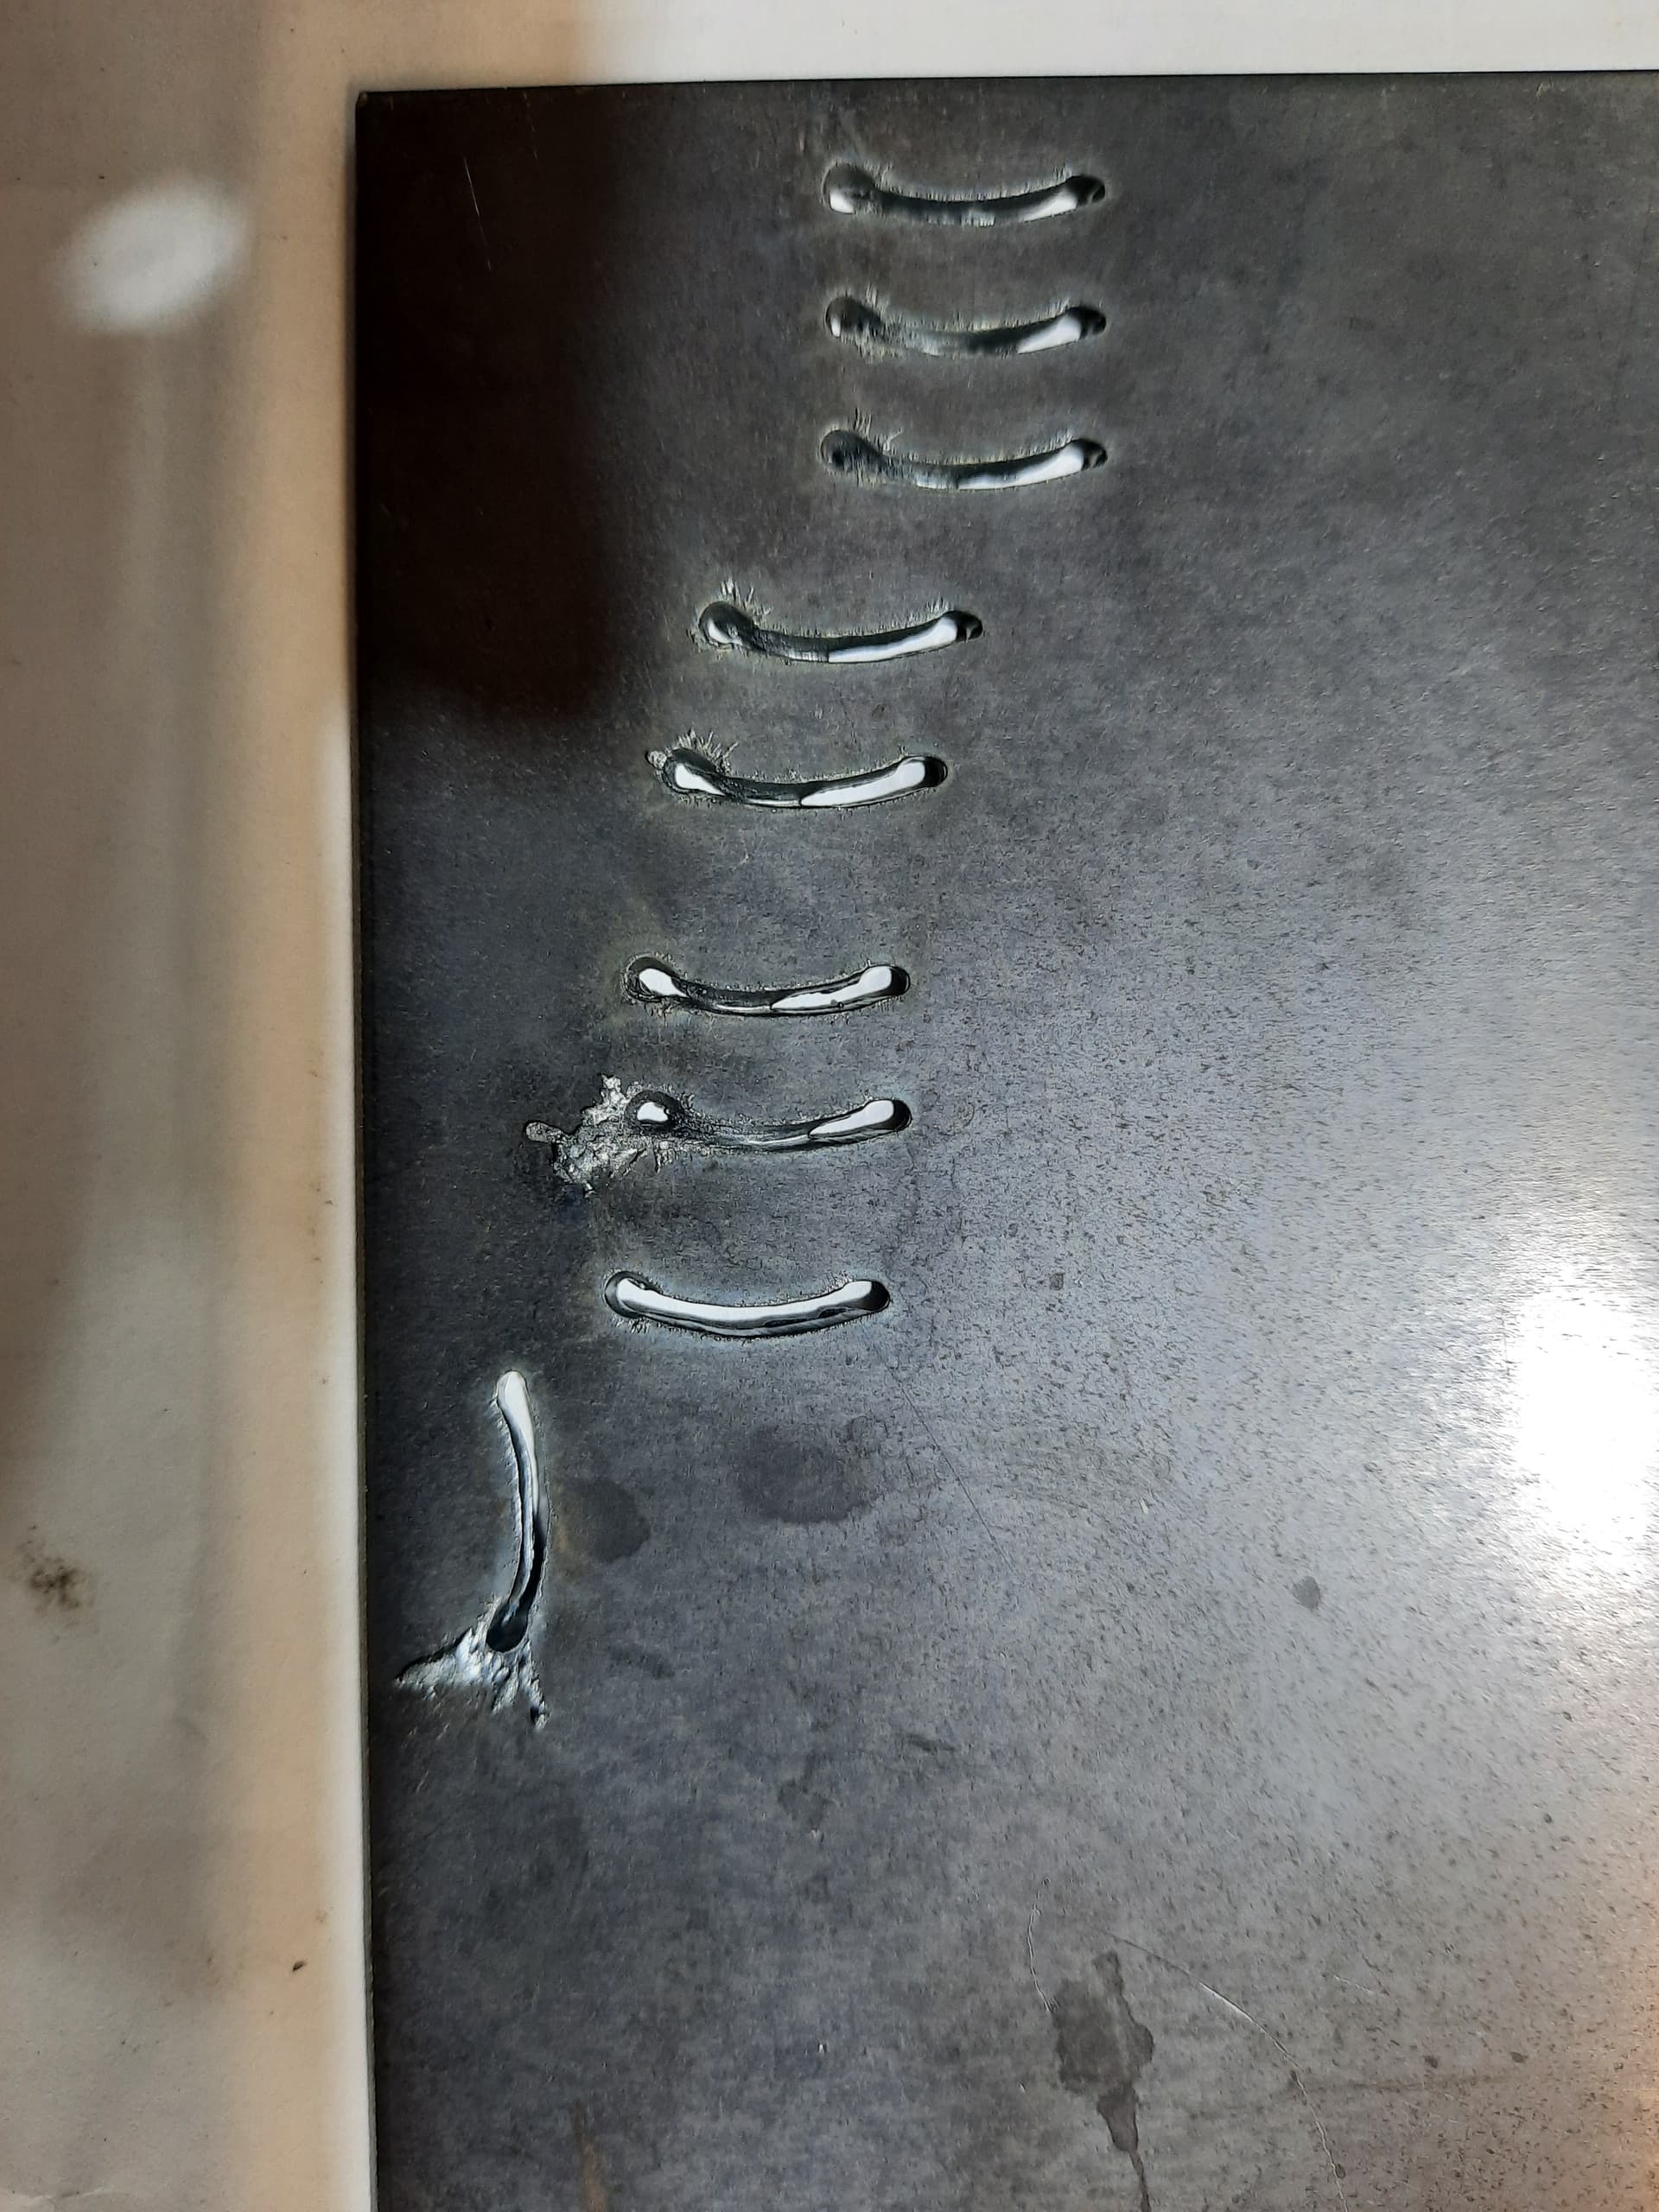
Back - see top 2

Dross removed
3 Likes
looking good…I like this one…pretty even all around…
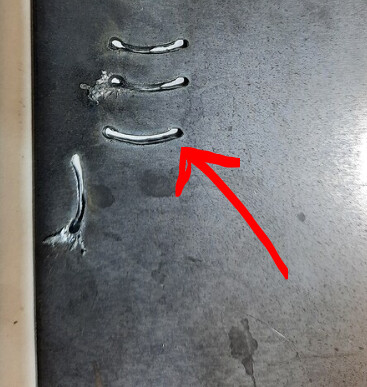
3 Likes
agree, that’s the one. The vertical one is the same settings.
@holla2040 Remember that the first Pierce in a program or the first Pierce after your regenerate in Fire control will be longer then all the other pierces in a program. When I am doing fine single line cutting I design my program to have a Profile to cut first before starting the cuts on the actual piece to get that first long Pierce out of the way.
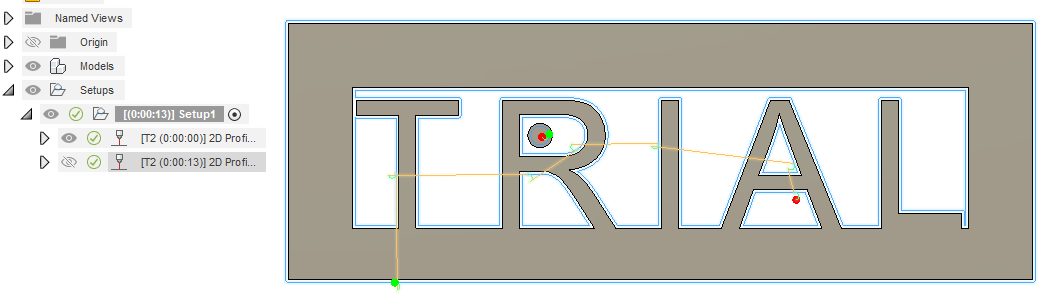
This is a practice single line cutting project for one of my practical Fusion 360 videos. You can see in the middle there’s two artifacts, a circle and a squiggly line that the program cuts first before entering the actual final cut pieces.

https://www.langmuirsystems.com/fireshare/pull-push-sign-set-tin-whisperer-video-6
5 Likes
Thank you for sharing that. I know you have talked about it, a number of times, but I really need to start planning for things like:
- plan for the first pierce being more destructive
- use voltage vs THC when you expect minimal fluctuations and have good consumables
- clamping things down as “all things” are variables when it comes to plasma cutting (I know I wrongly credited BrownFox for that when I think it was really you).
- keep the kids out of the sandbox turtle: it is full of vinegar!
- spray down the lead screws with silicone spray at the end of each cutting day
- Fusion 360 will be King (someday)


Do you ever use a drop out piece, like in a hole or part of a letter, to place your first pierce? At first I could not grasp how you would get Fusion to pick those sacrificial cuts but then I realized you just do a separate toolpath. Right?
2 Likes
Watched your video, it all make sense.
I looked at my tap file and the G4 dwells at the same. Is Fire Control changing the first pierce time? If so, why? I’m searching for your comments about this in other posts right now.
Yes. It is FireControl doing it. That is why Tin said it does it on the first pierce of a program and when you generate a cut with FireControl: such as a straight cut that you type into the “straight cut” generation area.
Why? I heard one theory that it’s a throw-back to milling operations where the tooling bit needs extra time to get up to operational speed before it makes contact with the material. Same theory of why there is a pierce clearance that many (if not most) set at 0.0 because it was only needed to keep the bit away from the material while waiting for the tool to spin up to speed before contact.
Don’t mean to jump in: All things learned from Tin and others have taught me.
2 Likes
Interesting, my cuts shown above are a single curved line in the job file. Each cut was regenerated in sheetcam then reloaded into fire control. Piece time was very short. I’ll continue to characterize my settings and we’ll see where this goes.
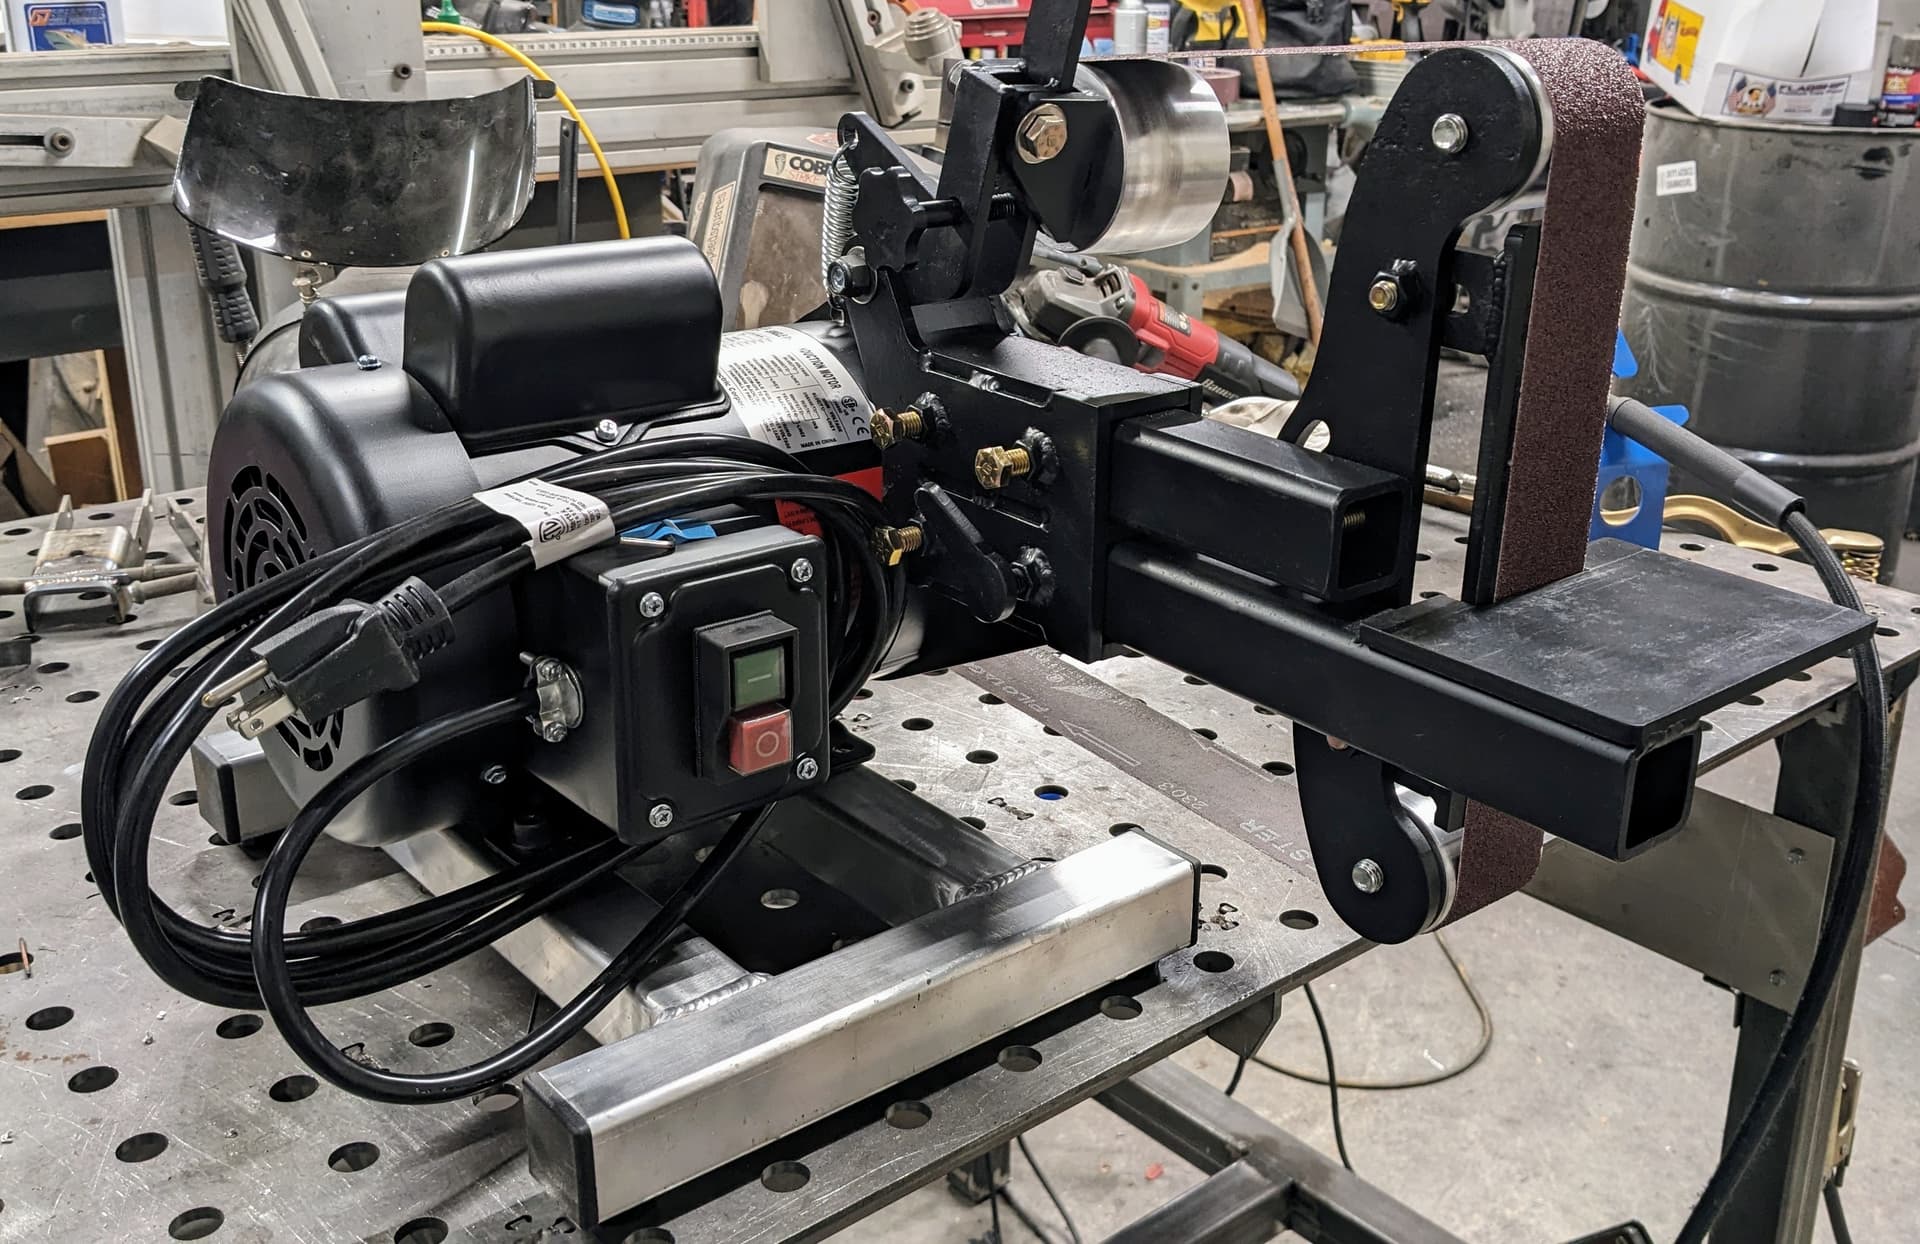
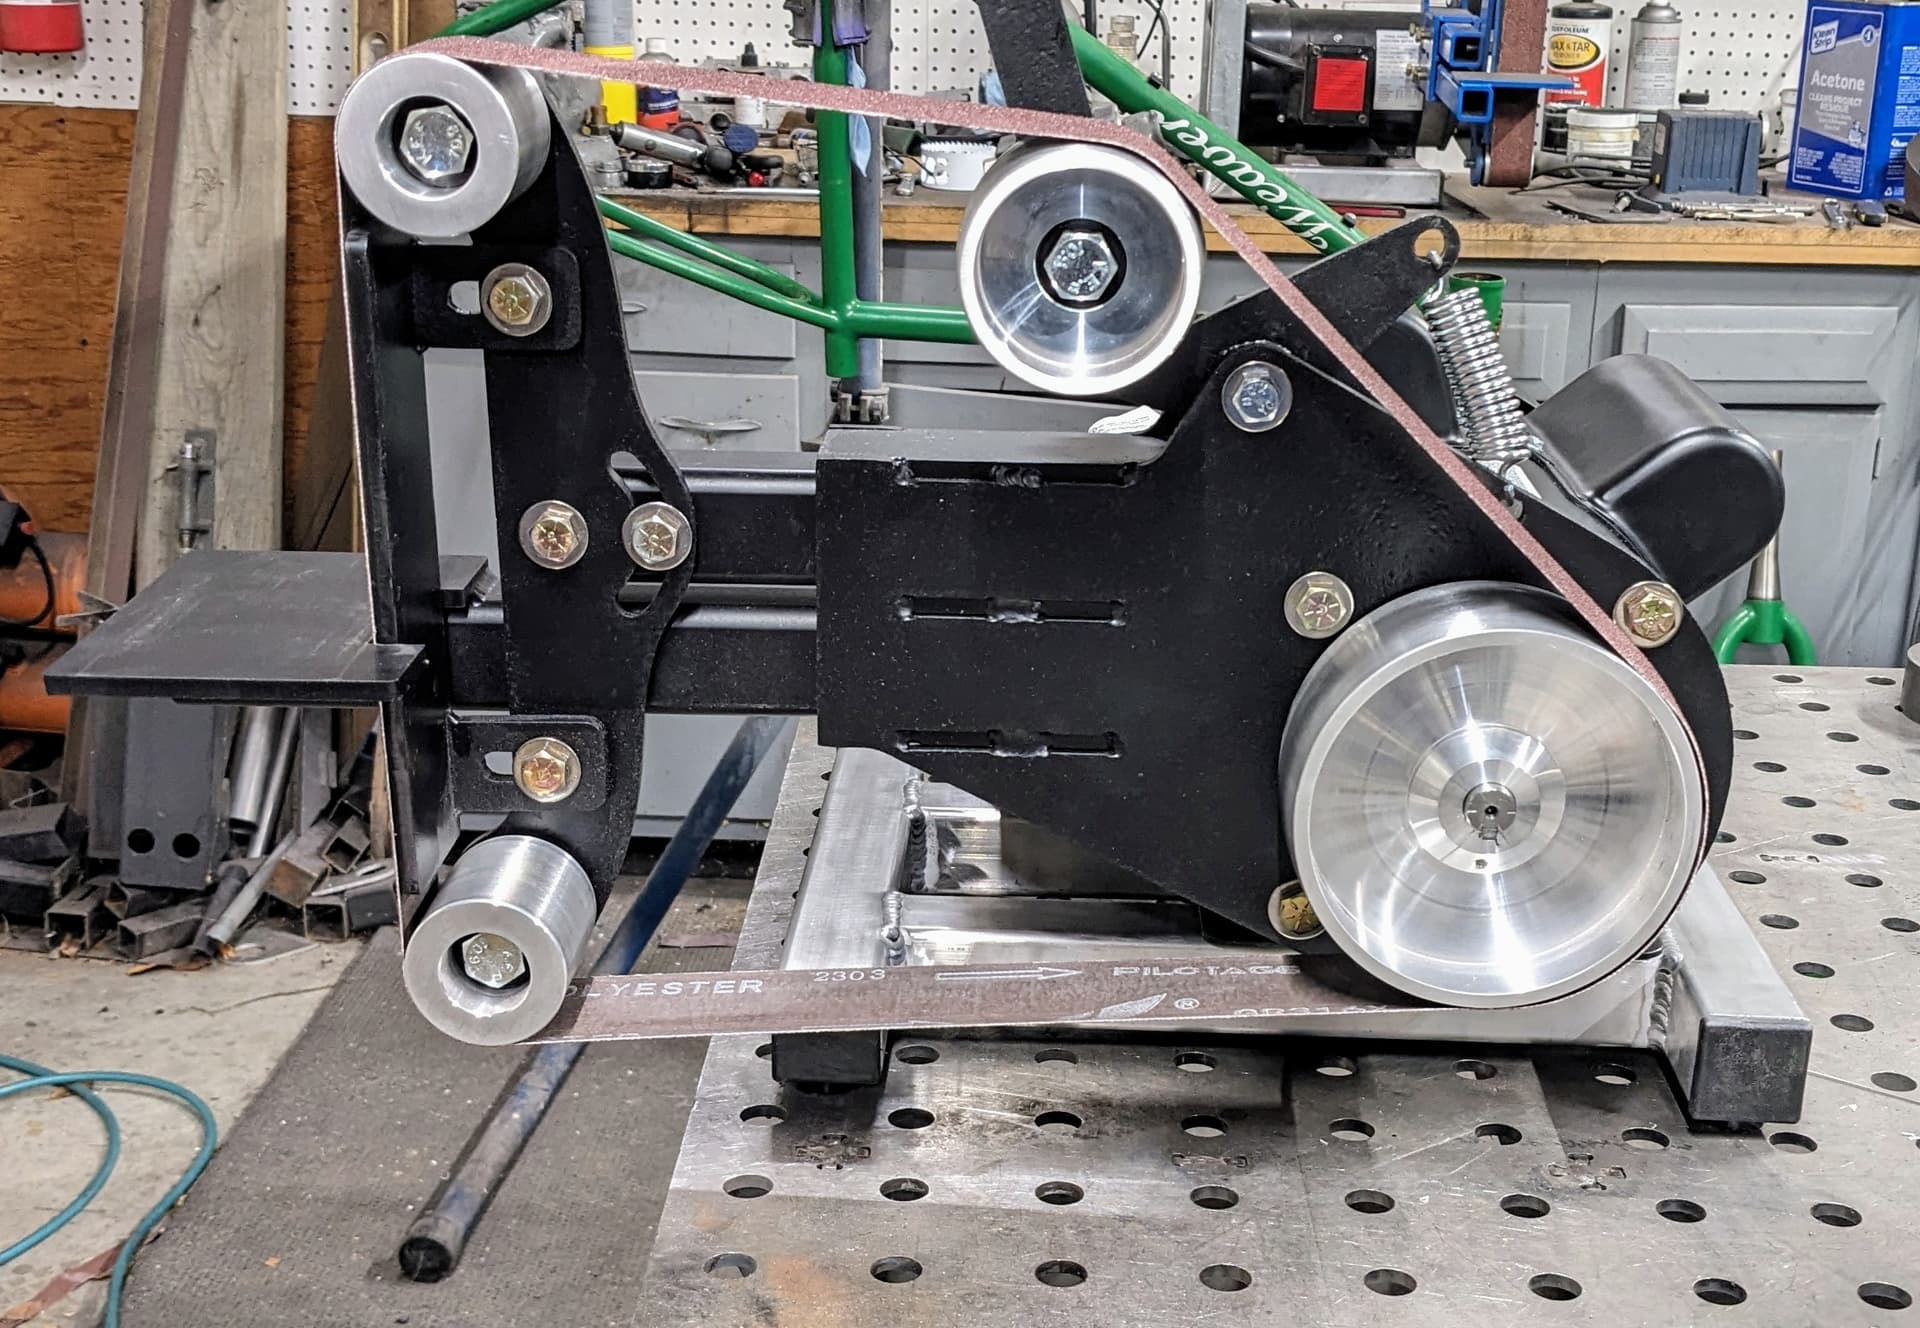
I made another 2x48 belt grinder for my neighbor. I went with a single phase 120v motor on this one to keep the cost down and keep it simple. The lack of speed control makes initial belt tracking adjustment a challenge. I got it close by turning the belt by hand and then fine tuned it while running.
12 Likes
David, that is incredibly impressive. I see you have a robust backer plate behind the belt. This was lacking in both of the 42 inch belt sanders that I had (Grizzly). Your work table has very good support and is adjustable.
The spring provides tensioning on the belt and the adjustable tracking wheel is superb. Did you make that wheel?
The plans came from a YouTuber (Timwelds,I think). The wheels came from an Amazon seller. I think they were about $80 and they fit on an M12 bolt.
I did change the work table from the original. I’ve been using mine for a while and didn’t like that the original didn’t have any support on the sides of the belt.
The magnetic switch wouldn’t fit in the original box that came on the motor, so I used my plasma table and bender to make a deeper box.
6 Likes
Wow…Thats all I can say!!!
couple of questions
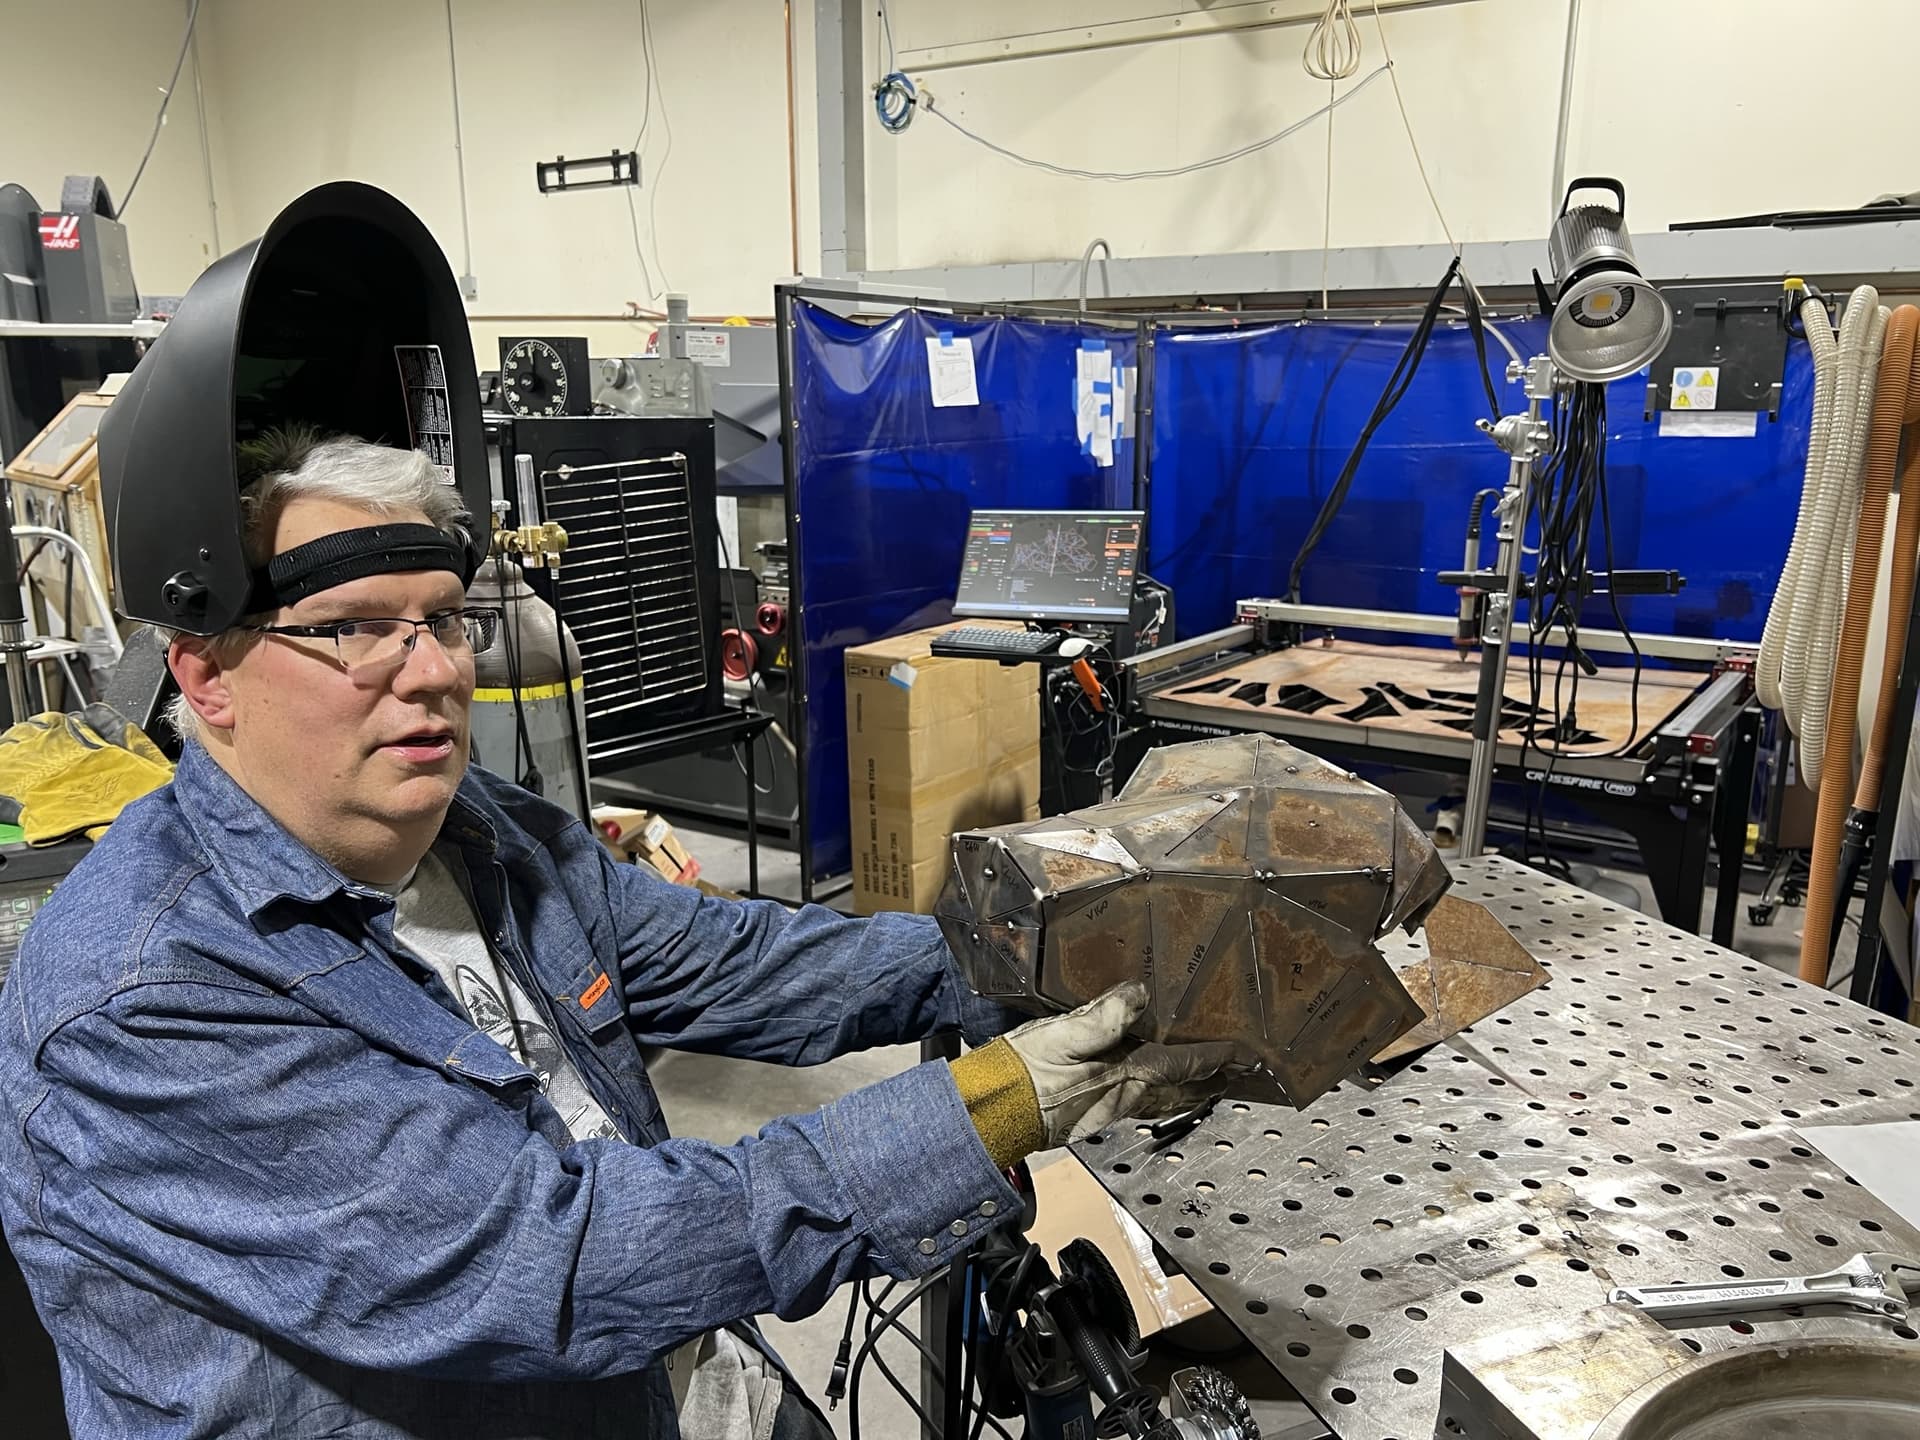
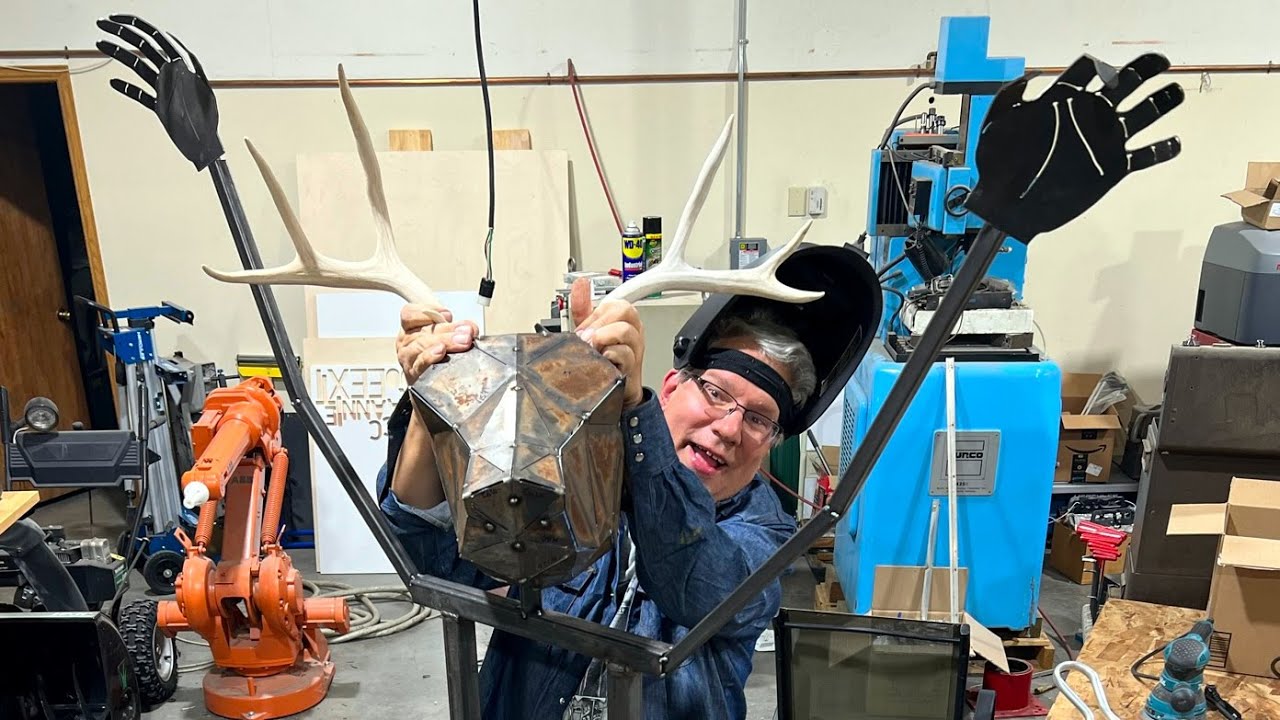
What does low poly mean?
Do you always run your water table level that low?
Do you use all those design programs regularly?
1 Like
That’s curious, I thought I filled the water table yesterday. So the answer is no, I normally fill to 75% up the slats.
Low poly modeling is a technique that uses the lowest possible number of polygons to create a 3D model. The objects created have few faces and few vertices. There are many programs that can create low poly models, Fusion 360, blender, meshmixer, etc. Some of them even can do the unfolding, I used pepakura (a paper craft unfolder) for this because it was easy.
I normally just use Fusion 360. This garden sculpture required learning new skills and techniques. I spent about 3 weeks fooling around to figure all this out. So many pieces had to be just so, inkscape scaling a line while keeping its center position intact was the find that made it all work.
Hope you learned something new for your creativity.
5 Likes
You guys are at another level by far. I struggle to just to maintain what little knowledge I have.
Thanks for posting, and I always like being able to sneak a peek at more of your shop equipment!
2 Likes
Nice work holla
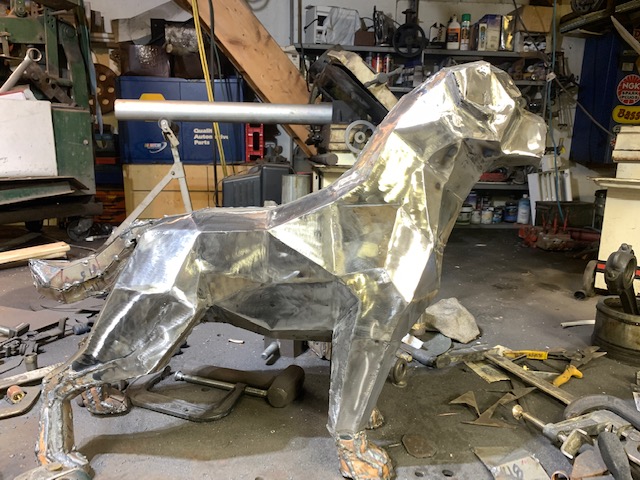
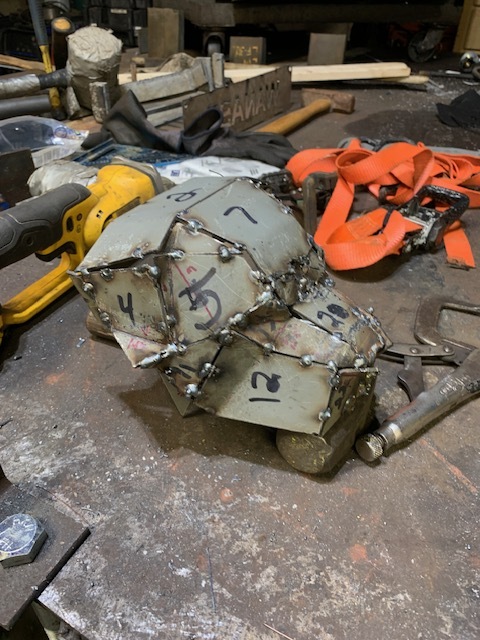
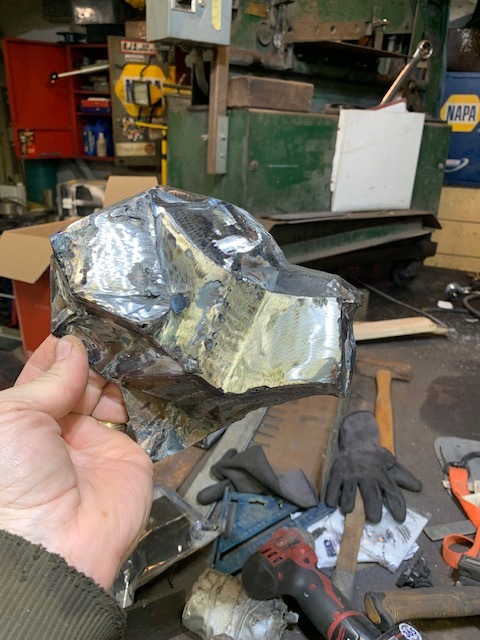
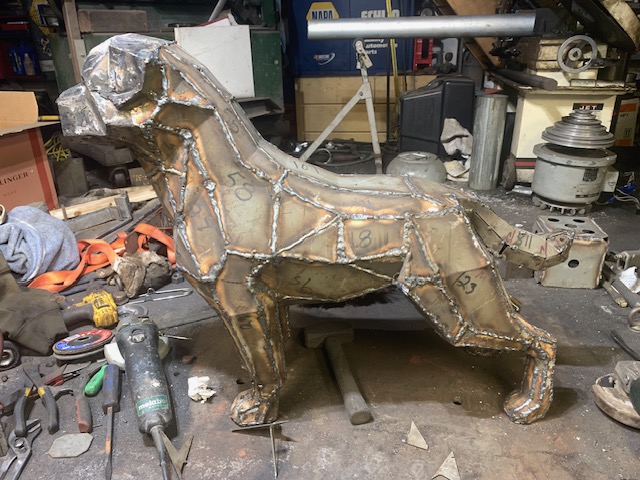
I have been working on this Rot for quite some time. 130 ish pieces cut on my pro. I think if I do another one I will Mig weld as much from the inside as I can then Tig on the outside. The grinding and filling is overwhelming. Also if the pieces are not exactly spot on the sharp edges are very hard to fix. I did cut the tail off and make a stubby. (Requested by my daughter) I may end up using a little body filler to make it look perfect and paint it mat black.
7 Likes
Why weld it on both sides?
That does look like a ton of grinding!!!