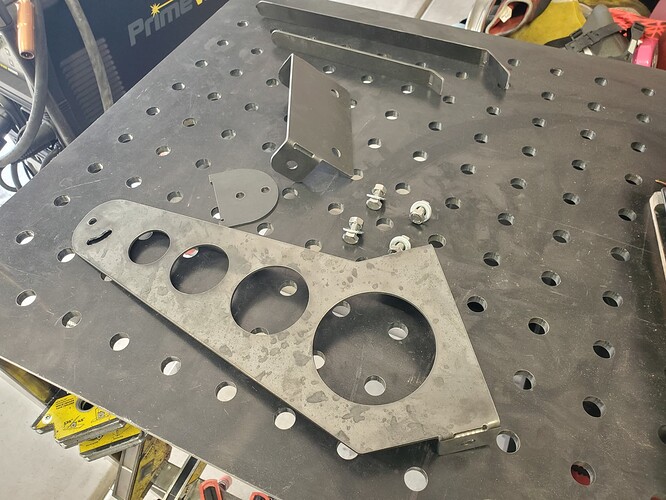
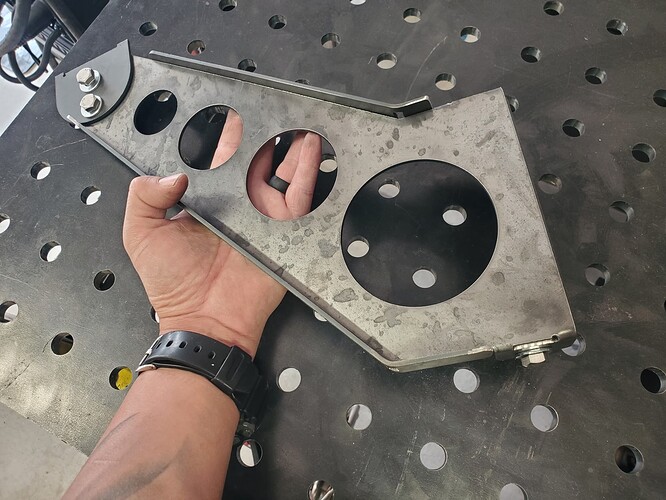
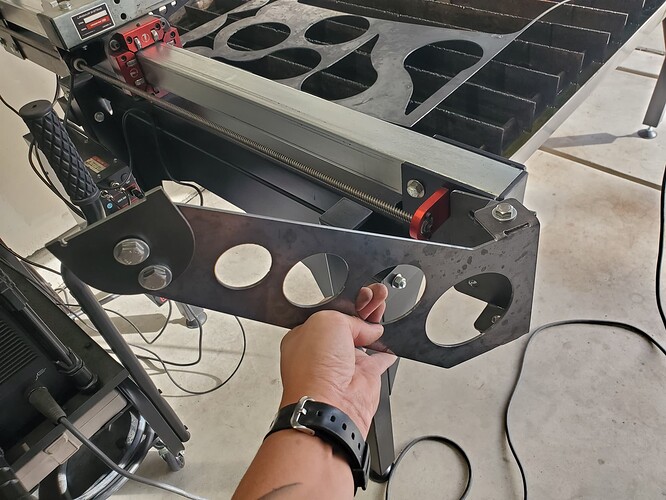
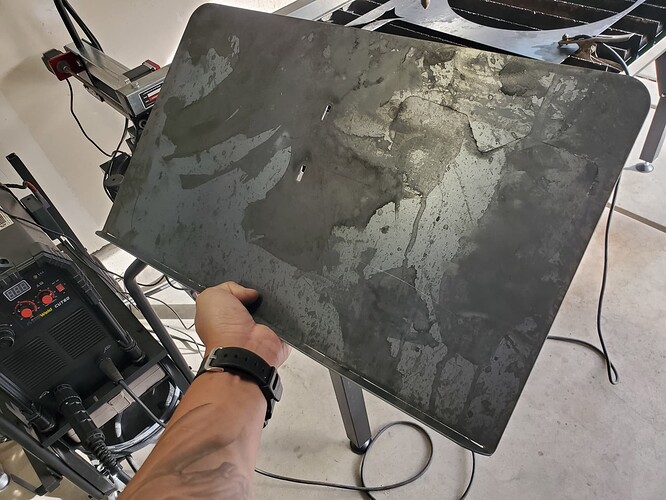
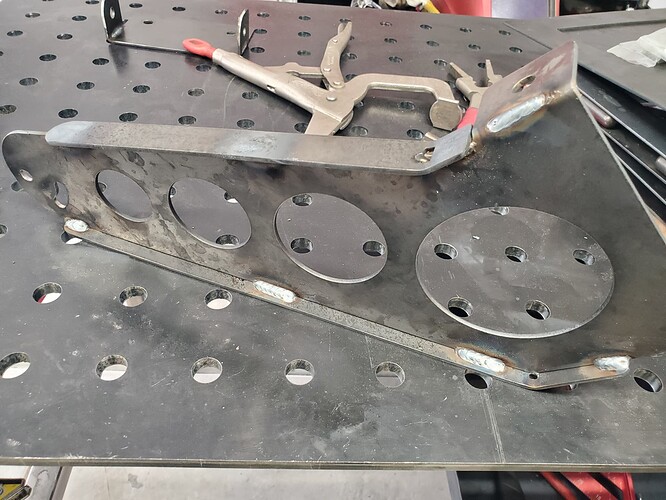
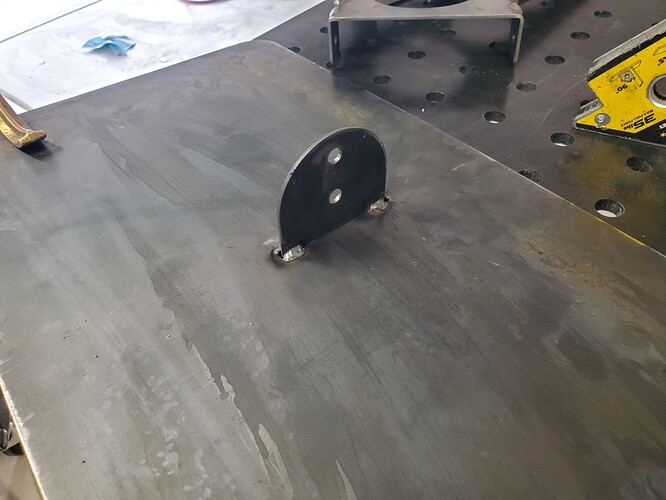
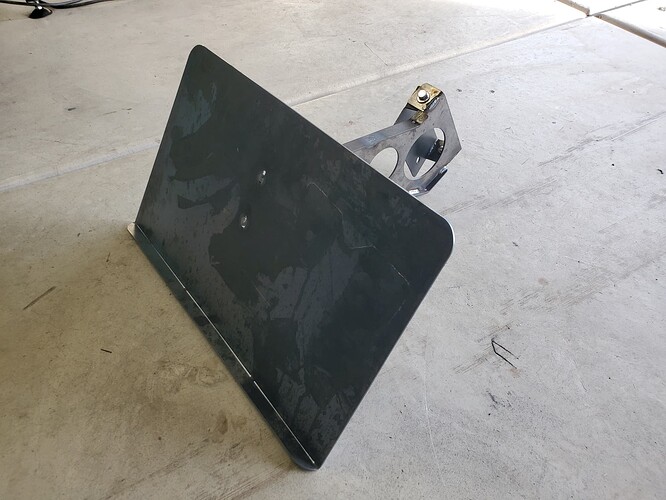
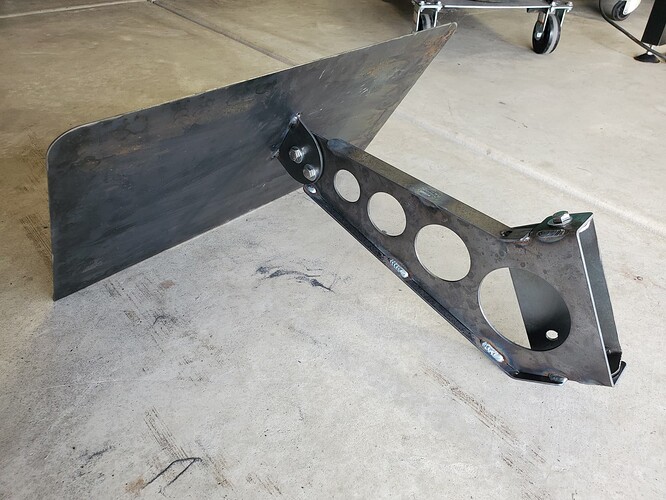
At first glance though it was more bad ass with a spring loaded roller at work area and removable backer so it could be used as a tube sander . It’s still nice
Lets get that FireControl revised. They seem to be releasing new versions did they miss this?
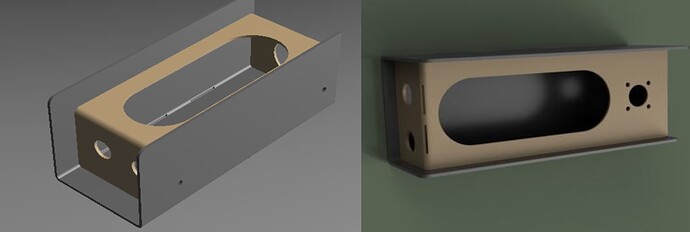
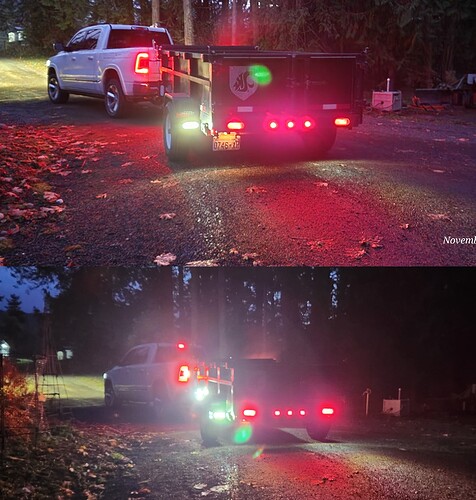
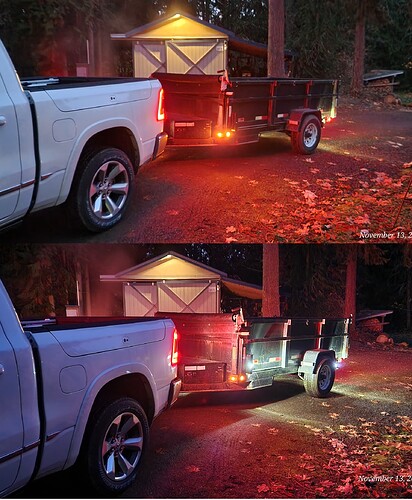
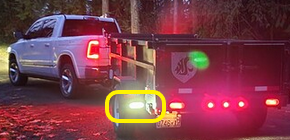
I now installed lights on the dump trailer. I redesigned them from what I did on the utility trailer. These are made with a larger top flap of metal to shield from all of the debris that is likely to fall on them.
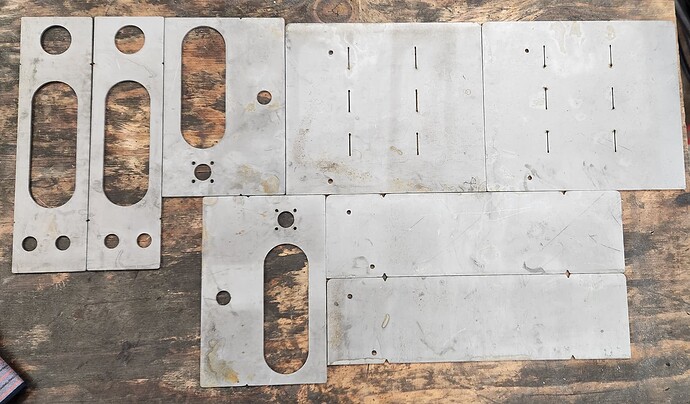
They are made out of 12 gauge mild steel. I had to do zero dross removal. I tried @DS690 method of forgetting the pieces in the vinegar for 5 days. All I did was use a stiff nylon/plastic kitchen brush and rinsed. It is amazing what new nozzle and electrode will do.
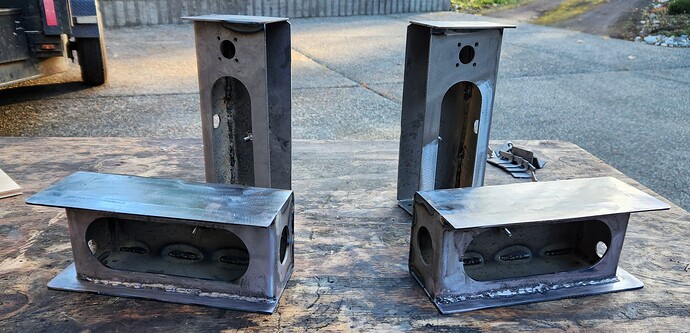
After some bending and welding: They are shown in the manner in which they will be oriented on the trailer.
Attached:
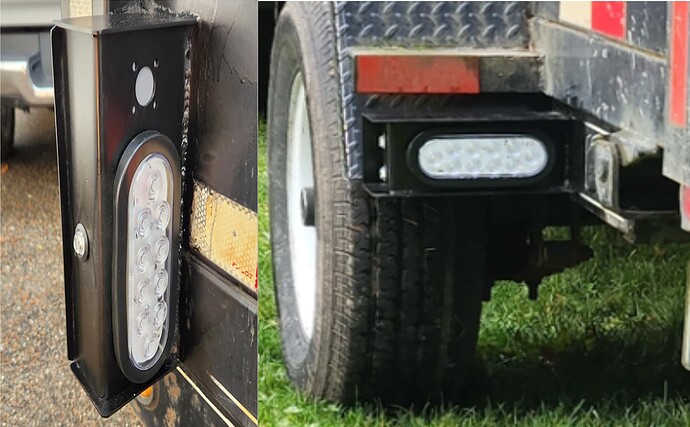
Lights from behind. I realize that it is not very impressive when the brake lights are glaring but you will notice the front vertical lights are only set to light during the “back-up” light scenario and they make a big difference. The rear back-up lights have a lower setting and are acting as tail-lights as well.
From this direction, looking back, you can see how the front lights really make a difference to illuminate the trailer and path. Yesterday, I finished with just the rear back-up lights and had decided not to install the front back-up lights. After testing, I was dissatisfied. Today, I installed and wired the front lights and I am glad I did: it make a substantial improvement. Seeing the trailer really helps you anticipate where the trailer is headed.
I might need to revisit the utility trailer with additional front lights but I will spare you of the details.
Just a footnote for Erik. I had this really strange weld today. I think my welder is acting up. Never had one look like this. I thought about grinding it out and starting over but decided it would probably hold. ![]()
Edit (Nov 2024): Incidentally, I got stopped by a cop. Just gave a verbal warning and told me that I could not have this white light visible unless I was in reverse. He was real nice about and it turned out that I had used plug in connectors and could remedy on the spot without cutting any wires. He smiled. ![]()
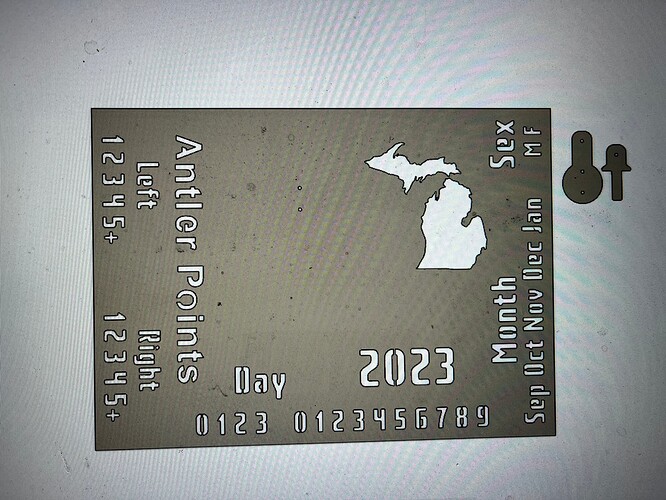
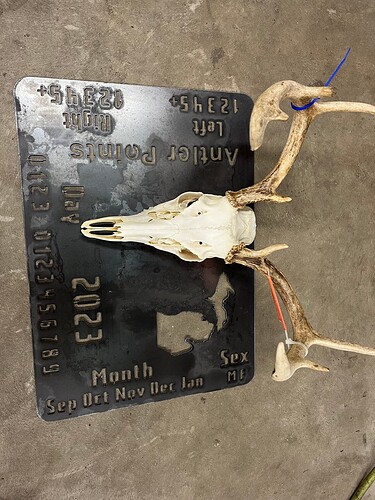
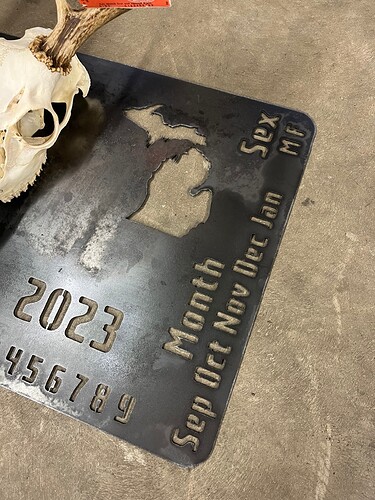
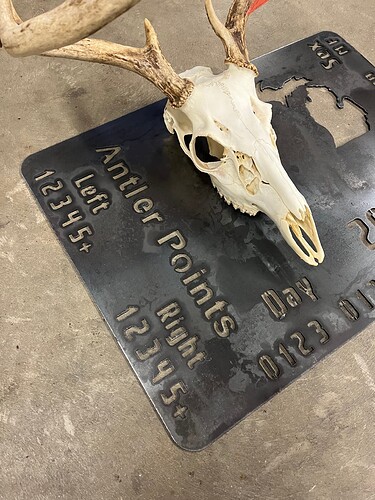
Opening day is tomorrow here in Michigan so I figured I better cut one. Deer skull on it is from last year. My plan is to V-notch it and rust out. I used my swivel deer mount I posted on the fileshare. I’ll post once I finish it.
When I got rid of my Crossfire XL, I got rid of the laptop mount with it; oops.
Something that’s been done many times before already; only thing is I don’t like that all the Fireshare freebies use hinges or DOM to mount to the table.
So I modified my own drawing to utilize the same setup Langmuir sells
Mock up
Looks like she’ll fit
Slightly larger top to allow for a mouse
Gotta glue it together of course
All done
Just have to clean off some welds then put some paint on it and it’ll get mounted up
That weld sure does look different from then the photos above lol. Good looking weld on that last pic. Do you run flux core wire? Or solid with shielding gas?
Welder setup and material prep is a big part of getting good welds and obviously some skill in there too.
I’m a AWS certified welder but don’t do it much anymore, hopefully that changes soon since I got my table up and running but learning TIG in the mean time to up my game a little.
I am a notoriously poor welder. It is always flux core (I weld outside in the breeze so gas won’t help), I shake and my vision fluctuates minute by minute. Saw the eye doctor today. She says my optic nerves have only marginal good tissue and my right eye has a cataract and I have low pressure glaucoma (which means the medication used for glaucoma will not help me). Usually floaters and astigmatism are my biggest issues.
So…all of the above.
Erik and I tease back and forth: we aren’t “welders” we are “grinders.” I suspect he is a much better welder than he lets on but I am just as bad as I say! But, the 250 Amp Yeswelder, (dedicated 220 volt) that I got this summer is heaps better with the flux core than the 110 v Century that I have been babying for the last 20 years.
Enough practice you will get better. As far as the welders I like the old stuff. I have a union carbide with copper winding. 100 percent duty cycle. The longer you weld the better she like it. For real it welds better when it gets hot. I use it to build my steps with.
One day I’ll become a welder…
That is a strange looking grind Jim… how did you grind it like that? Almost looks like a natural good weld. I’m interested to lean more about this technique!! ![]()
![]()
Any more like that and you are going to have to turn in your grinder club card. ![]()
If only this were true. ![]()
You wish! I’m not sharing my tricks with you. Besides, don’t expect it to happen again.
It was like making free throws. Sure the first three went in, then a fourth and a fifth. By the middle of that weld, I was thinking “this is really looking nice… Can I continue without going all ‘GrinderJim’ on it?”
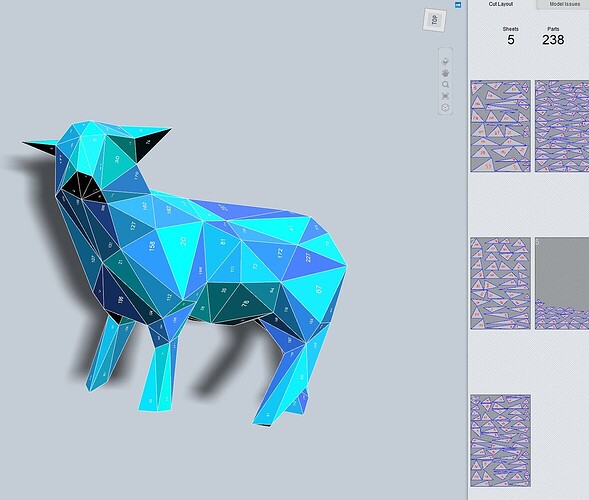
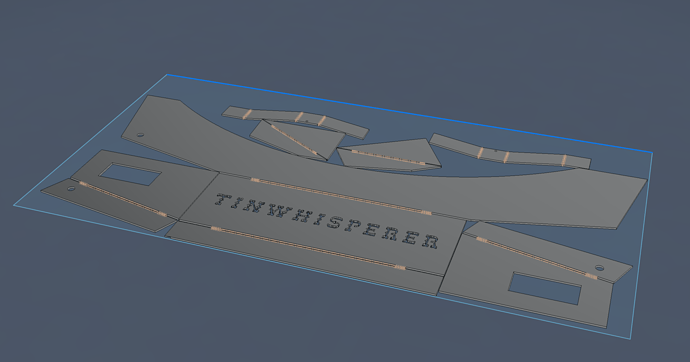
How did you convert your low-poly model to a flat? Just curious because I just went through this.
@holla2040 that raw Rottweiler low poly is a very widely used low poly sculpture. There’s many Etsy sellers that sell it. Truthfully all the good low poly models that I’ve seen in the past seem to all come from Russian designers and I think a lot of them use SolidWorks. I used to have a really great copy of SketchUp 8 a with a bunch of plugins that could do this. It can be done in Fusion 360 if you’re very confident in the sheet metal environment. There’s also plugins for Fusion 360 but a lot of them are for paper models which don’t allow for material thicknesses.
Here’s a workflow I did a little while ago of taking a 3D scan and then making it into a low poly model.
Well that last weld looks really good. I have some vision issues as well but I find that the diopter in 200 or 250 makes a huge difference for me. Just grab some scrap and just run bead after bead after bead and you will get it.
I failed my welding test twice and the third time I failed the visual because as I got to the outer layers I got rushing it so in a last ditch effort I cracked up the welder and used it to cut the face off my mess and then it passed visual and the whole etching and bending. I wash shocked lol. I’m no perfect welder by any means.
With paid subscription of fusion they have thing called Arrange. Free version which I have only has align. I only seen this done with multiple piece models and I found out I didn’t have that ability. I guess you can research.
It’s a nice feature it’s one of the many reasons to support Fusion 360 by buying a subscription.
Free users could likely form workflows using derive, align or deepest.io that would give them similar results.
I often use the arrange command when I’m doing any kind of 3D development it has more than one part that’s going to be cut on the plasma table. Most of my live stream videos featuring more complex parts would have this command being used.
I use the arrange command in this Halloween scene light box video in this post
This post showcases sheet metal flat patterns being used in conjunction with the arrange command
Low polygon forms to flats can be quite the rabbit hole. I love to see all the different approaches,anything to make the process easier.
A lot of ways to skin this cat.
Best welds are the ones you can’t see. Creating tabs to spot weld is an option with fusion.
You know sheet cam is only cam right? No heat just saying. you can only compare to the cam side of fusion.
F 360 is a great program just as sheet cam.
So what is everyone else using besides fusion?
Inkscape…95% of the time…then to sheetcam…
I do mostly signs and 2D stuff…
I will probably get into Fusion when I have some spare time…
