body filler will take care of any welding scares. if you powder coat jb weld is supposed to do the trick there.
2 Likes
yeah drilling the holes is not optimal. im still learning so sometimes i go with the safe bet. so the part with the holes is the background for the lettering. ill try that next time, sometimes i forget i have a cnc plasma even when i am operating my cnc plasma haha! thanks!
1 Like
what you do is put all your holes on main front design…copy it and remove holes from the main front and then remove all the design stuff on your backer. i hope this makes sense. I shoot my threaded studs right through the backer into the front. simple and easy. you can mark them and weld your bolt which is much easier then marking them and drilling hoping you have them all lined up.
1 Like
I had the same problem. I cut this out today. Finally got my air dryer and PEX tube menagerie all sorted out and my focus turned to finally cutting some metal. This is 16 gauge and I was only planning to support at four points. You can see how it droops. I might just sandwich it together. I plan to use red in the center background, black of the rest of the background and a medium to light gray for the front piece.
8 Likes
yeah sneak something back there to hold it solid and the color should hide it. i think that would work well. cool sign!
1 Like
Thanks. Nothing like your work.
once it is hanging vertical i bet you see no droop at all.
2 Likes
Workshop sign | FireShare | Langmuir Systems
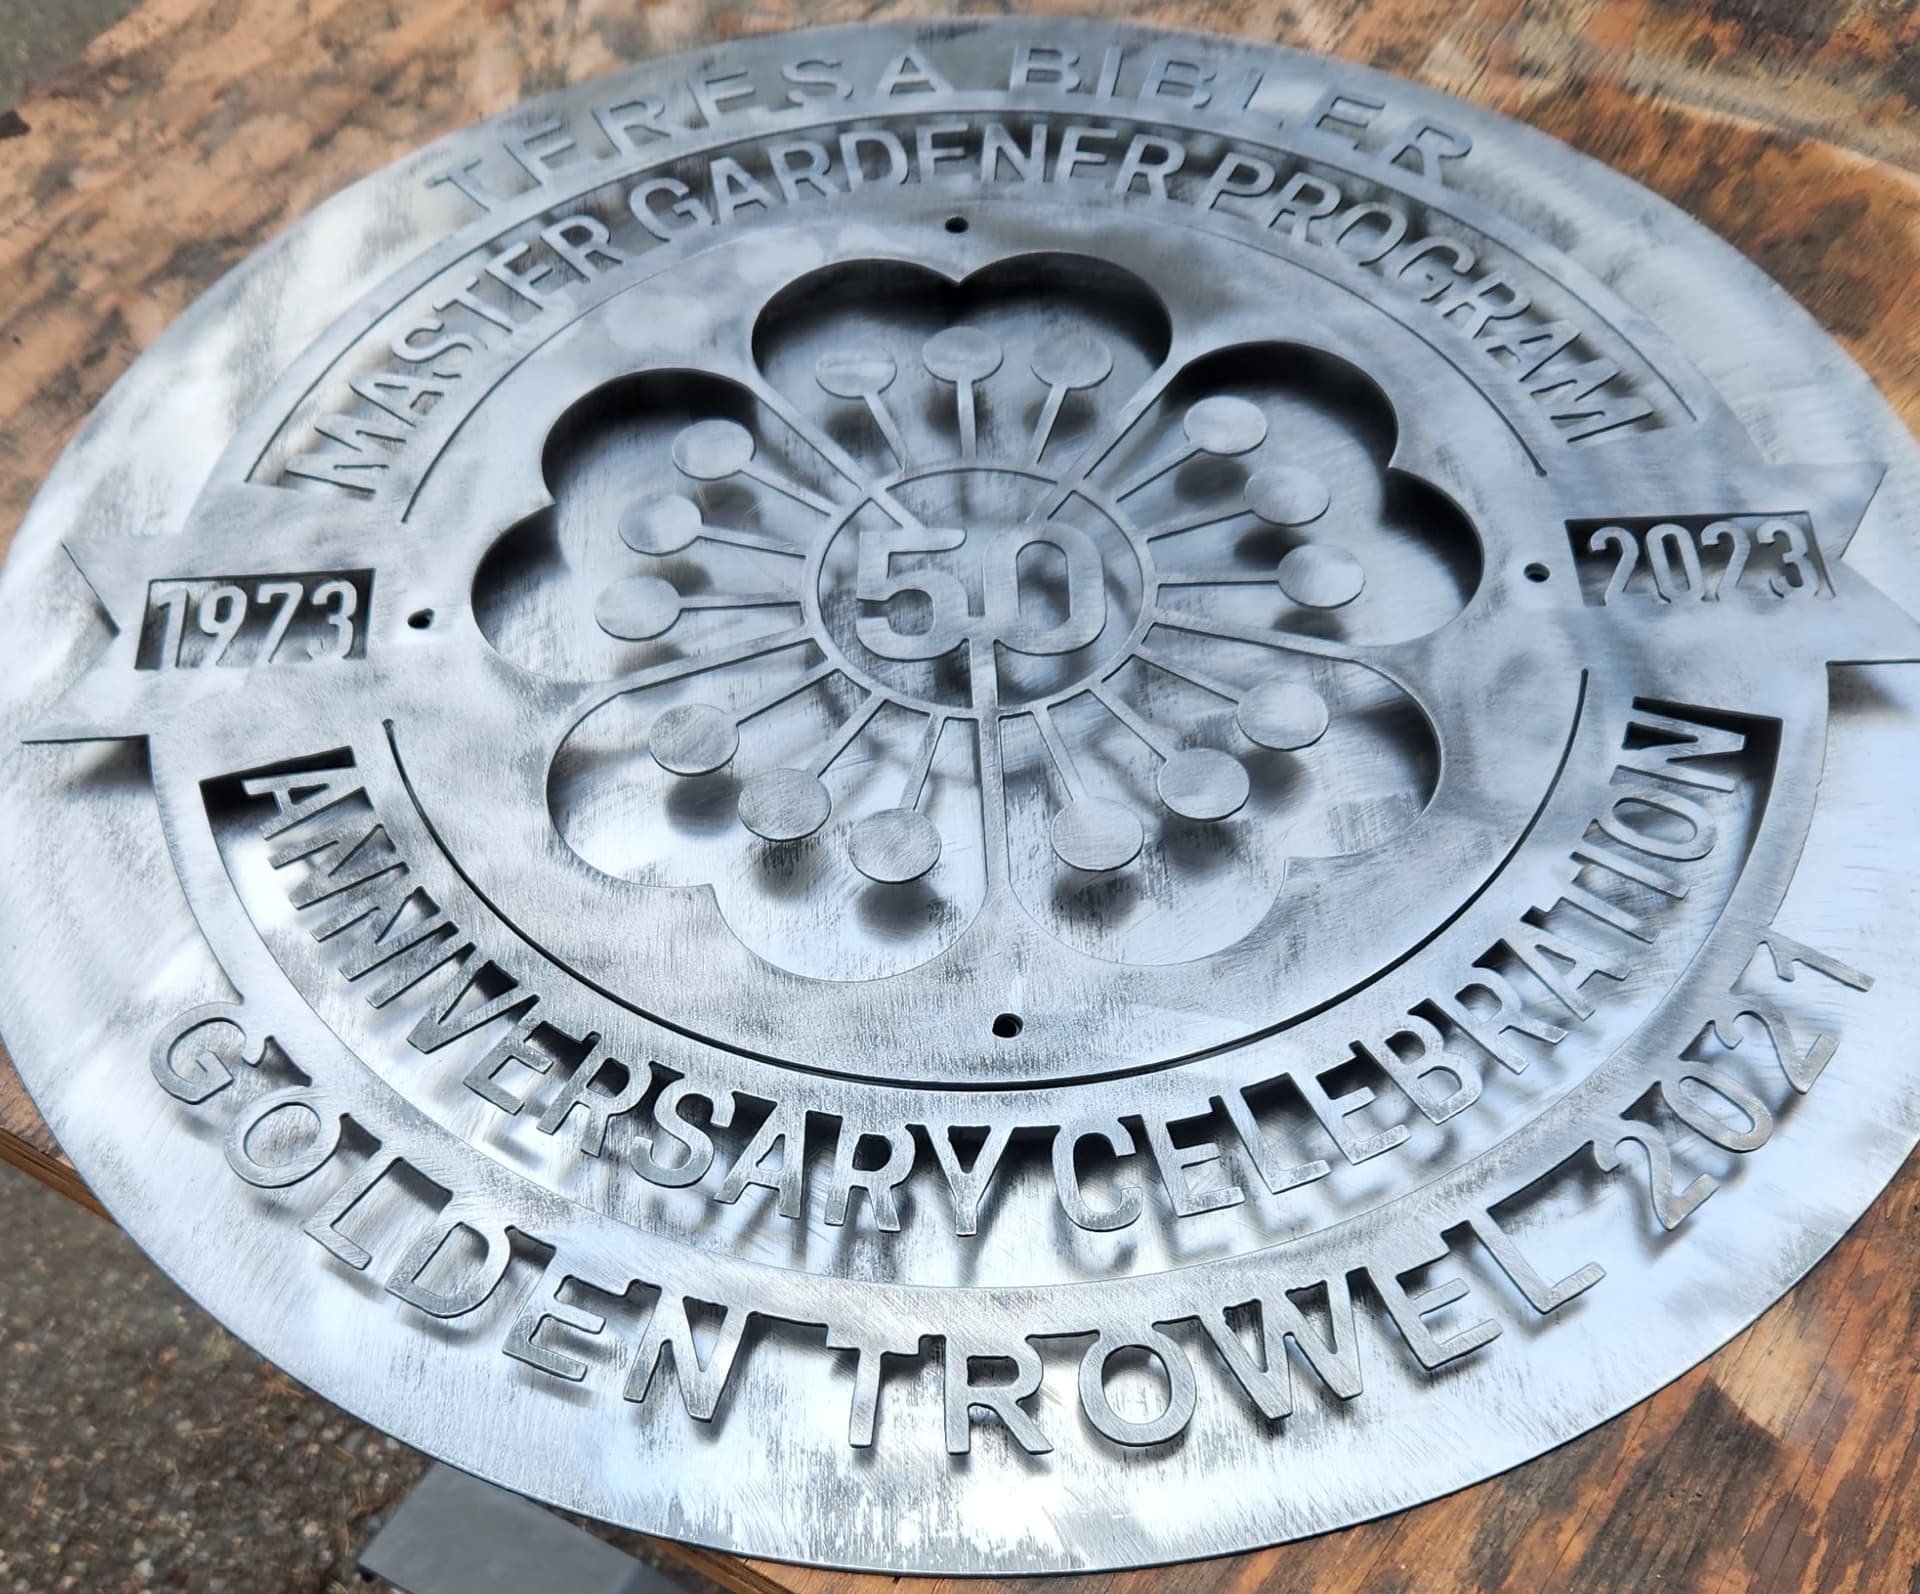
Another cool trick i have found about backers is adding tabs so no welding is needed for hanging. I just did a sign for my buddy’s shop and he likes the rivet look. If you never seen this before you can add to your toolbox of tricks for your business. What he didn’t want was screws in each corner of the sign so added the tabs. Even adding holes for rivets during the design just makes it easy when you assembly. Time is money!
3 Likes
yess. that was on my mind. i took the easy road only to hit a perlin in an akward way when laying out. it is attatching to shop corrigated. im thinking run some fab loks and tabs would make my life easier. the wall im attatching to is between two roll up doors and theres about 3.5’ of vertical space. its a mess behind the wall from all the framing and perlins. i will definatly be drawing up some mounting solutions soon.
nice sign! I had this similar thing happen on my cousin’s bar sign before i got my stud welder. When the metal gets thin it seems to bend and flex as your showing. What i did was drill holes on the backer around the sign and tack weld bolt nuts in the hole and threaded a bolt to push out on the face of the sign. this gives it the support to stay even. With your sign you might see the threaded bolts so you could slide a cover over bolt and color match it to face of the sign. Hopefully this gives an idea. I grew up watching Red green show. Handyman Corner "Oil Change" - YouTube
1 Like
Let me go draw something up to give you an idea for big sign that you can directly to stud if you know that dimension.
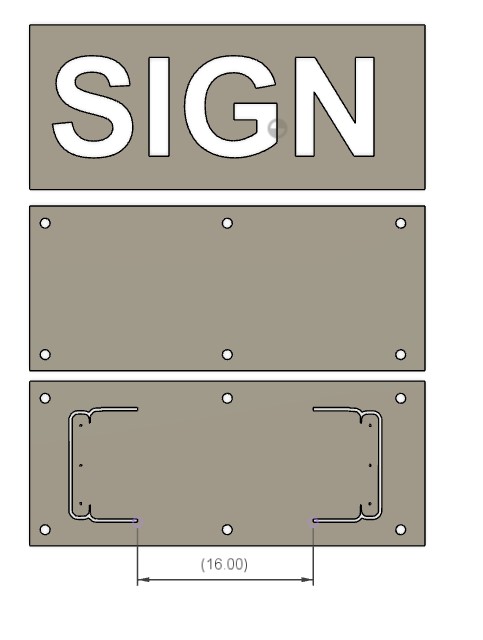
so this is 3 layers to make this work for this sign. Guessing your welding bolts to face so you just put middle sign on to mark your bolt locations. top one is face of sign, middle is backer for letters, bottom has the bend out tabs that you screw to studs in wall. i made this in under 5 mins so not amazing but concept to consider. make sure you let enough space from bend out tabs to put your bolts into wall. This also shows how you copy and paste to give you next layer. i made the tabs in my drawing 16" for normal stud distance. if doing a long sign, the concept is the same but just adding another wall mount to help support. Play around with this idea. Sounds fun
4 Likes
Love his comment: “Not sure whether or not they did a bad job so when you do it yourself…you know.” ![]()
1 Like
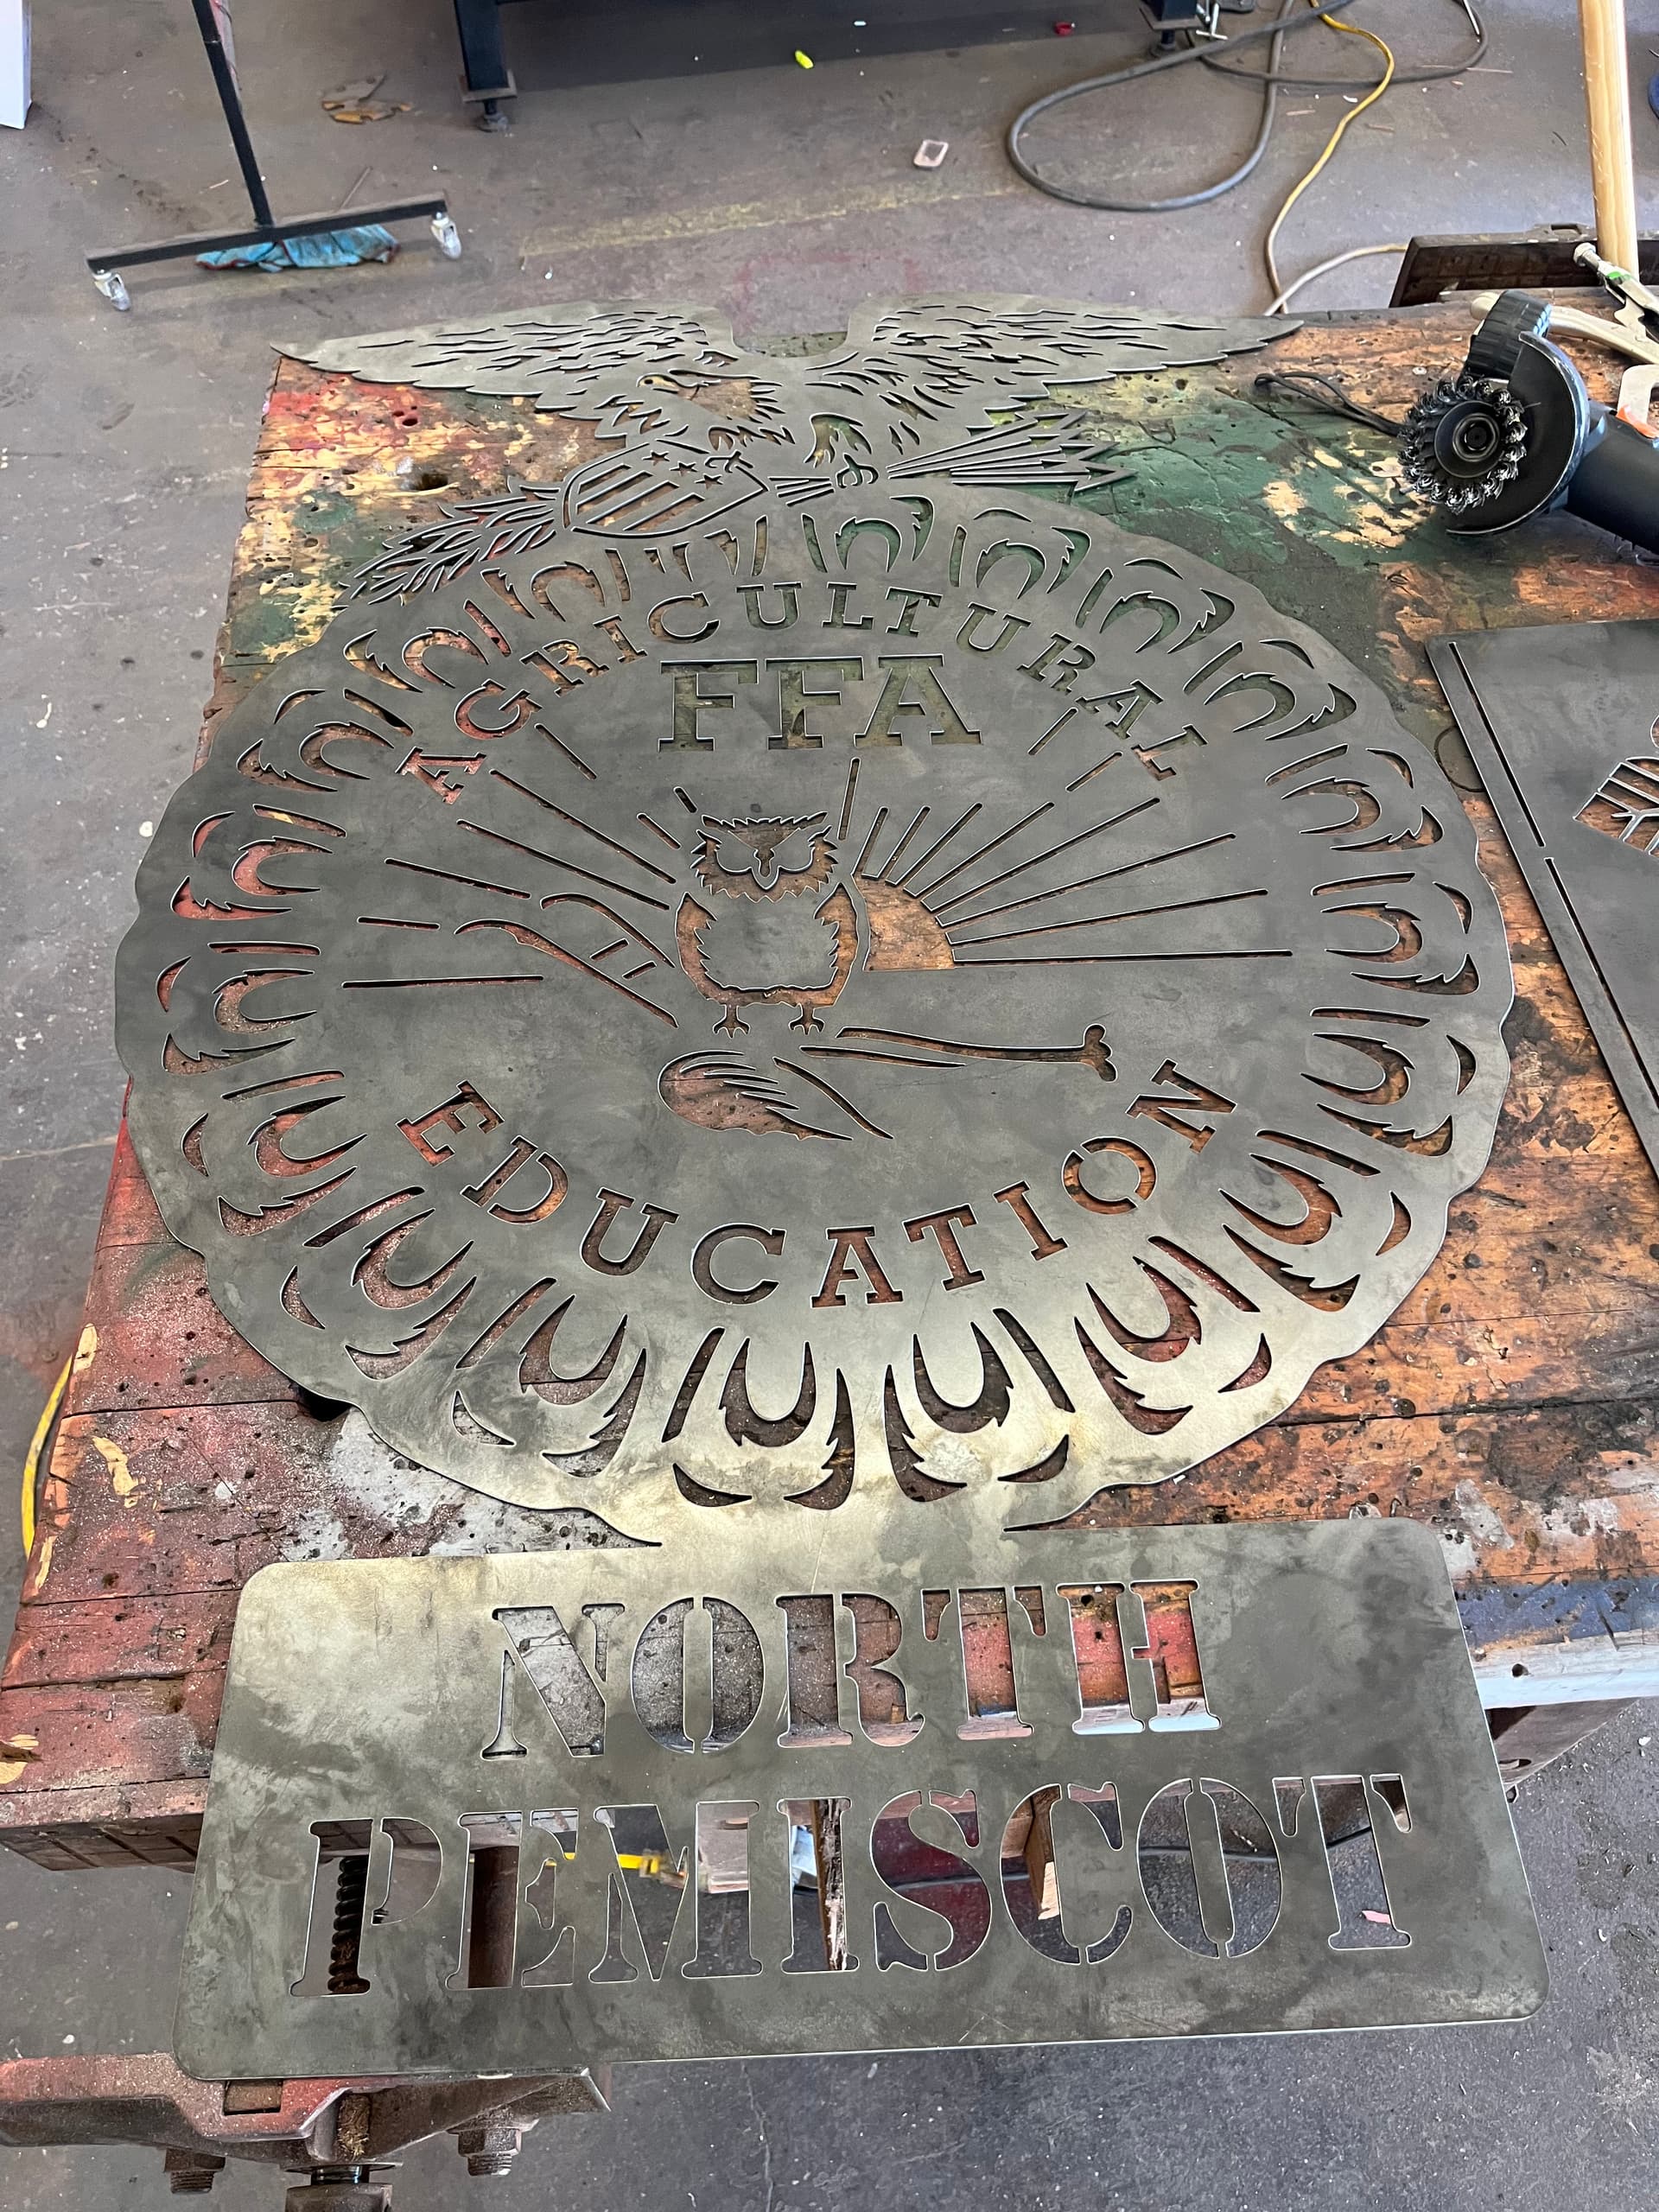
Here is a new FFA logo I cut for our chapter. I posted a bit of video on the Facebook forum. This is by far the cleanest file I have found/modified for FFA. It has zero straight line cuts and can be made off of a simple extrusion on Fusion 360. No 2 part setup.
7 Likes
It looks great!
1 Like
Ben - yes, it is a large RV. I am building a “super c” on a Peterbilt 379. The table has made the project much more precise, such as making the brackets for the compartment doors, gussets for securing framework, the rear bumper, etc. etc. Unfortunately, I do not have this project shared online anywhere. My friends are kicking me for not starting a youtube channel.
2 Likes
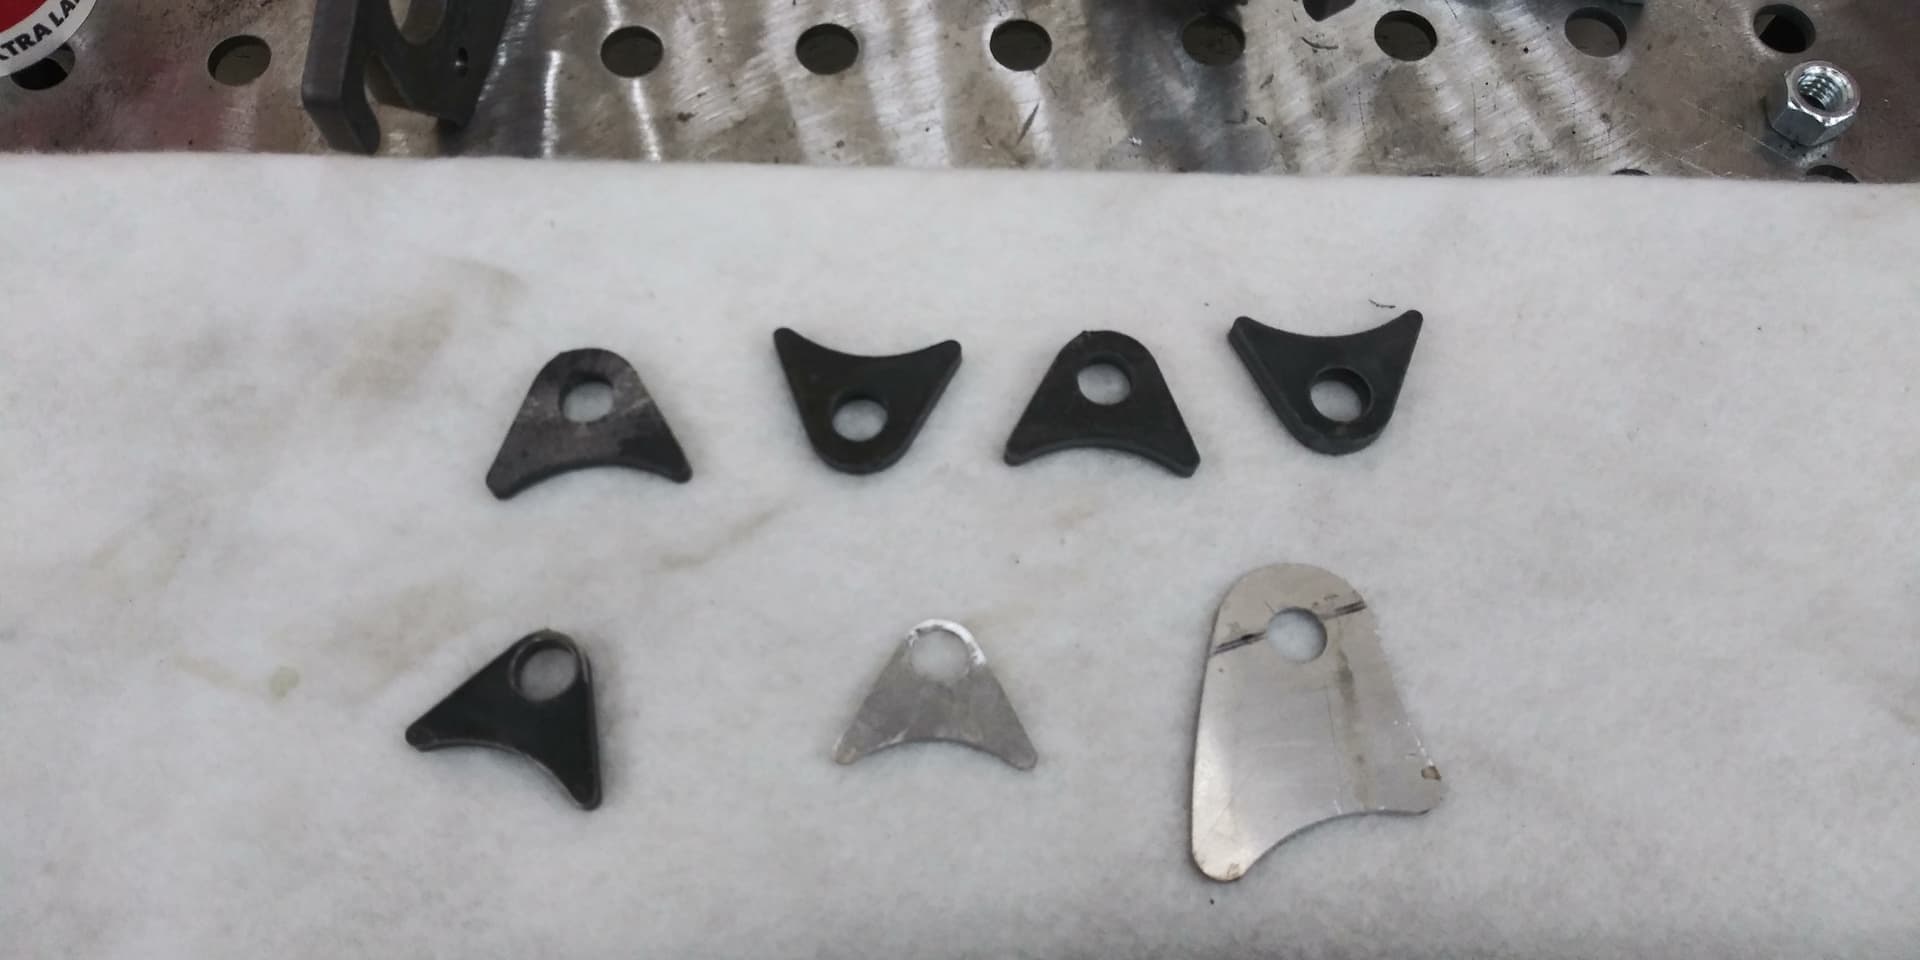
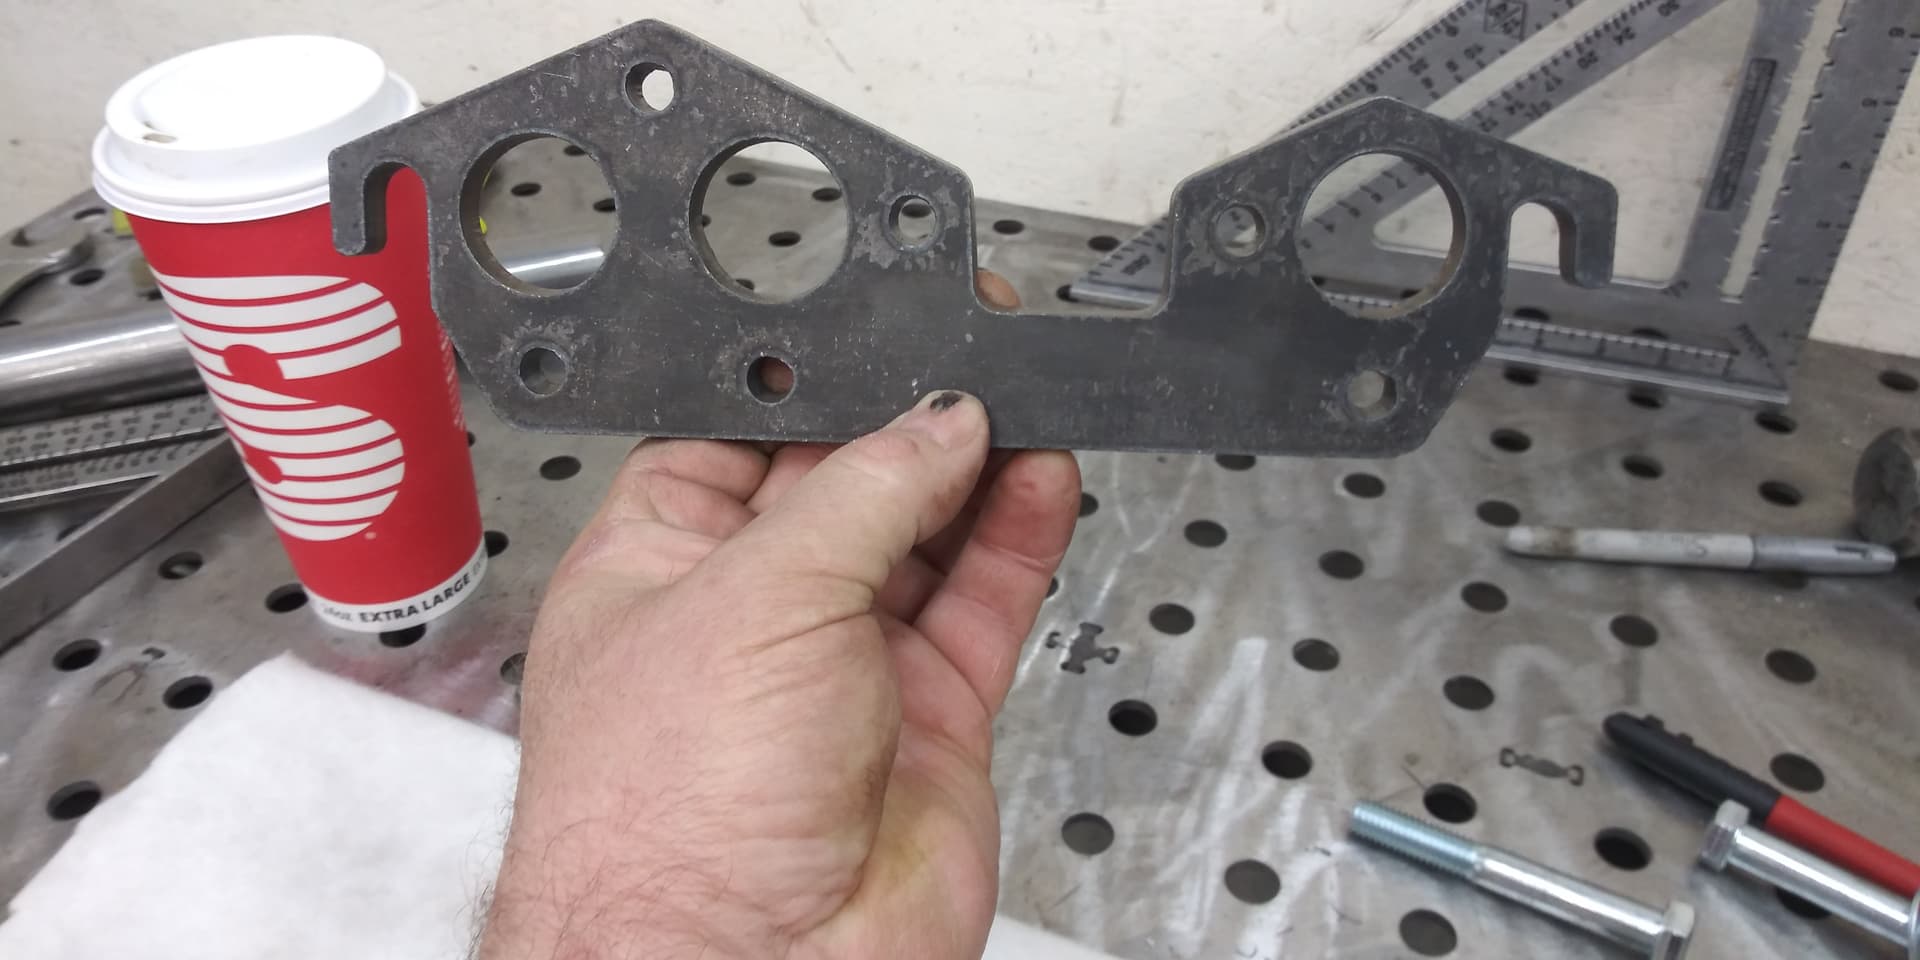
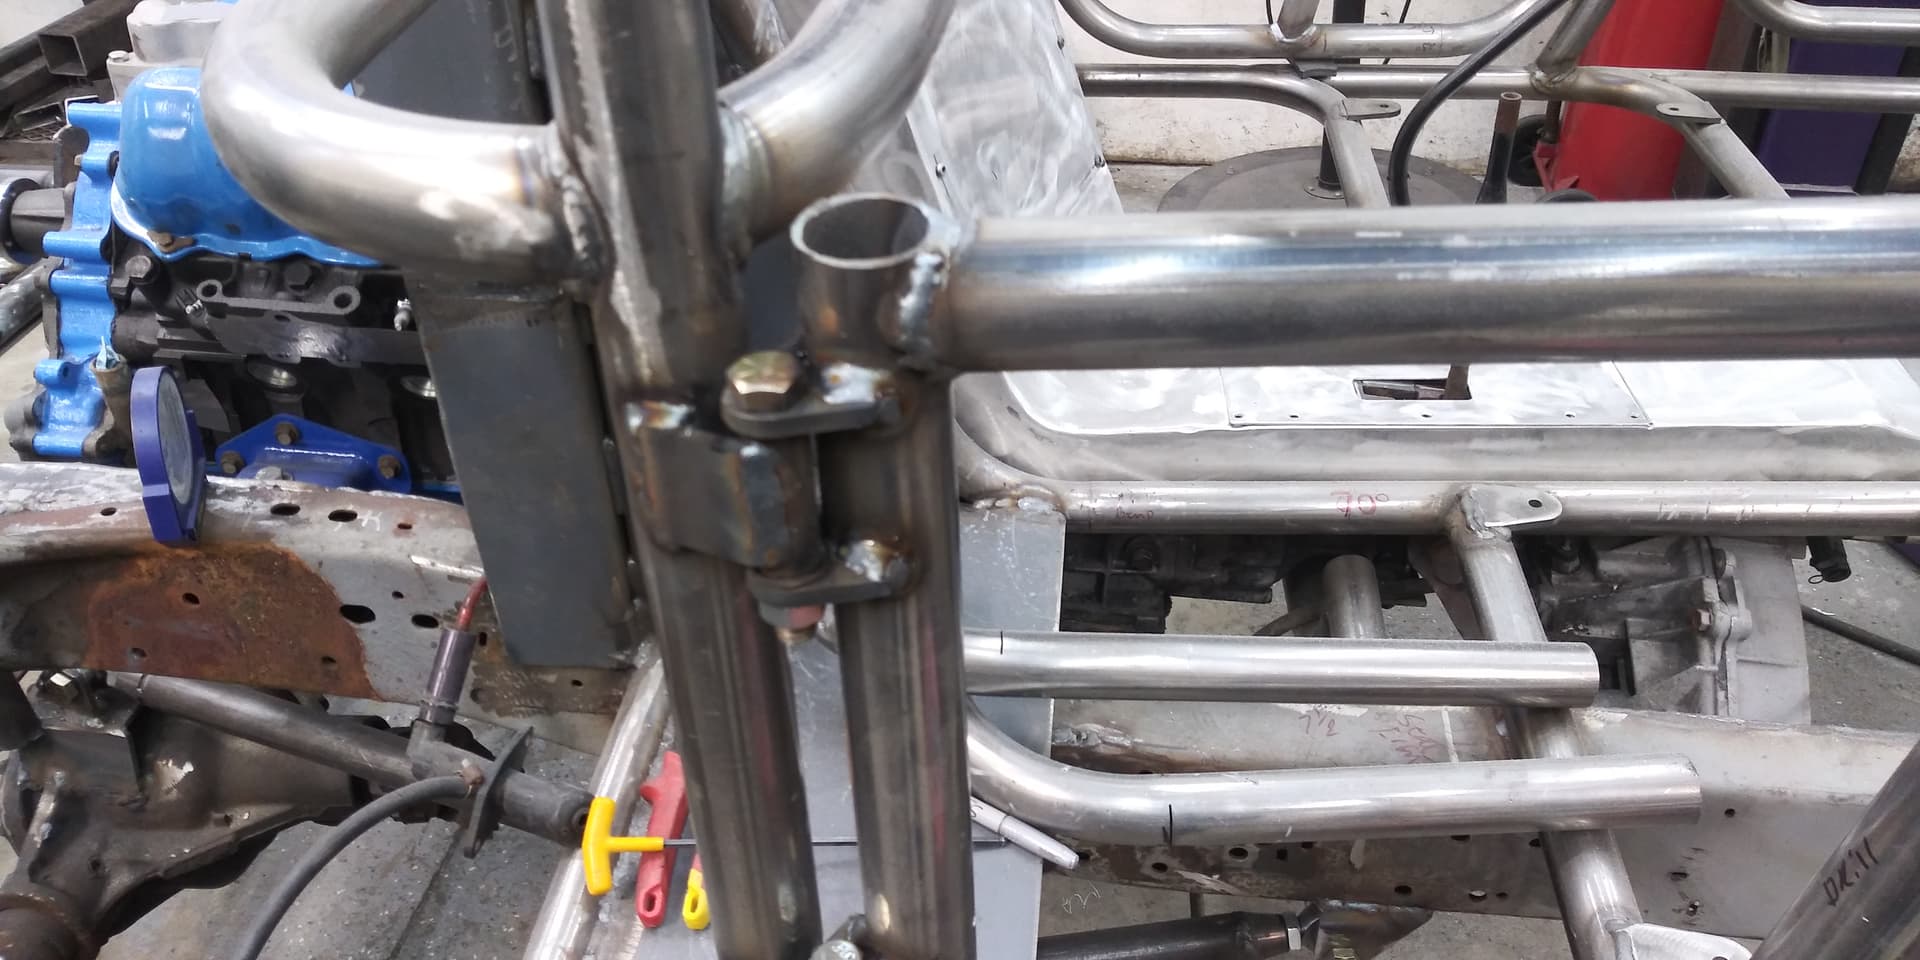
More parts cut on XR table with Hypertherm powermax 45 xp ,3/8 steel header flanges, tabs for door hinges and test cuts for customer out of 16-gauge aluminum.
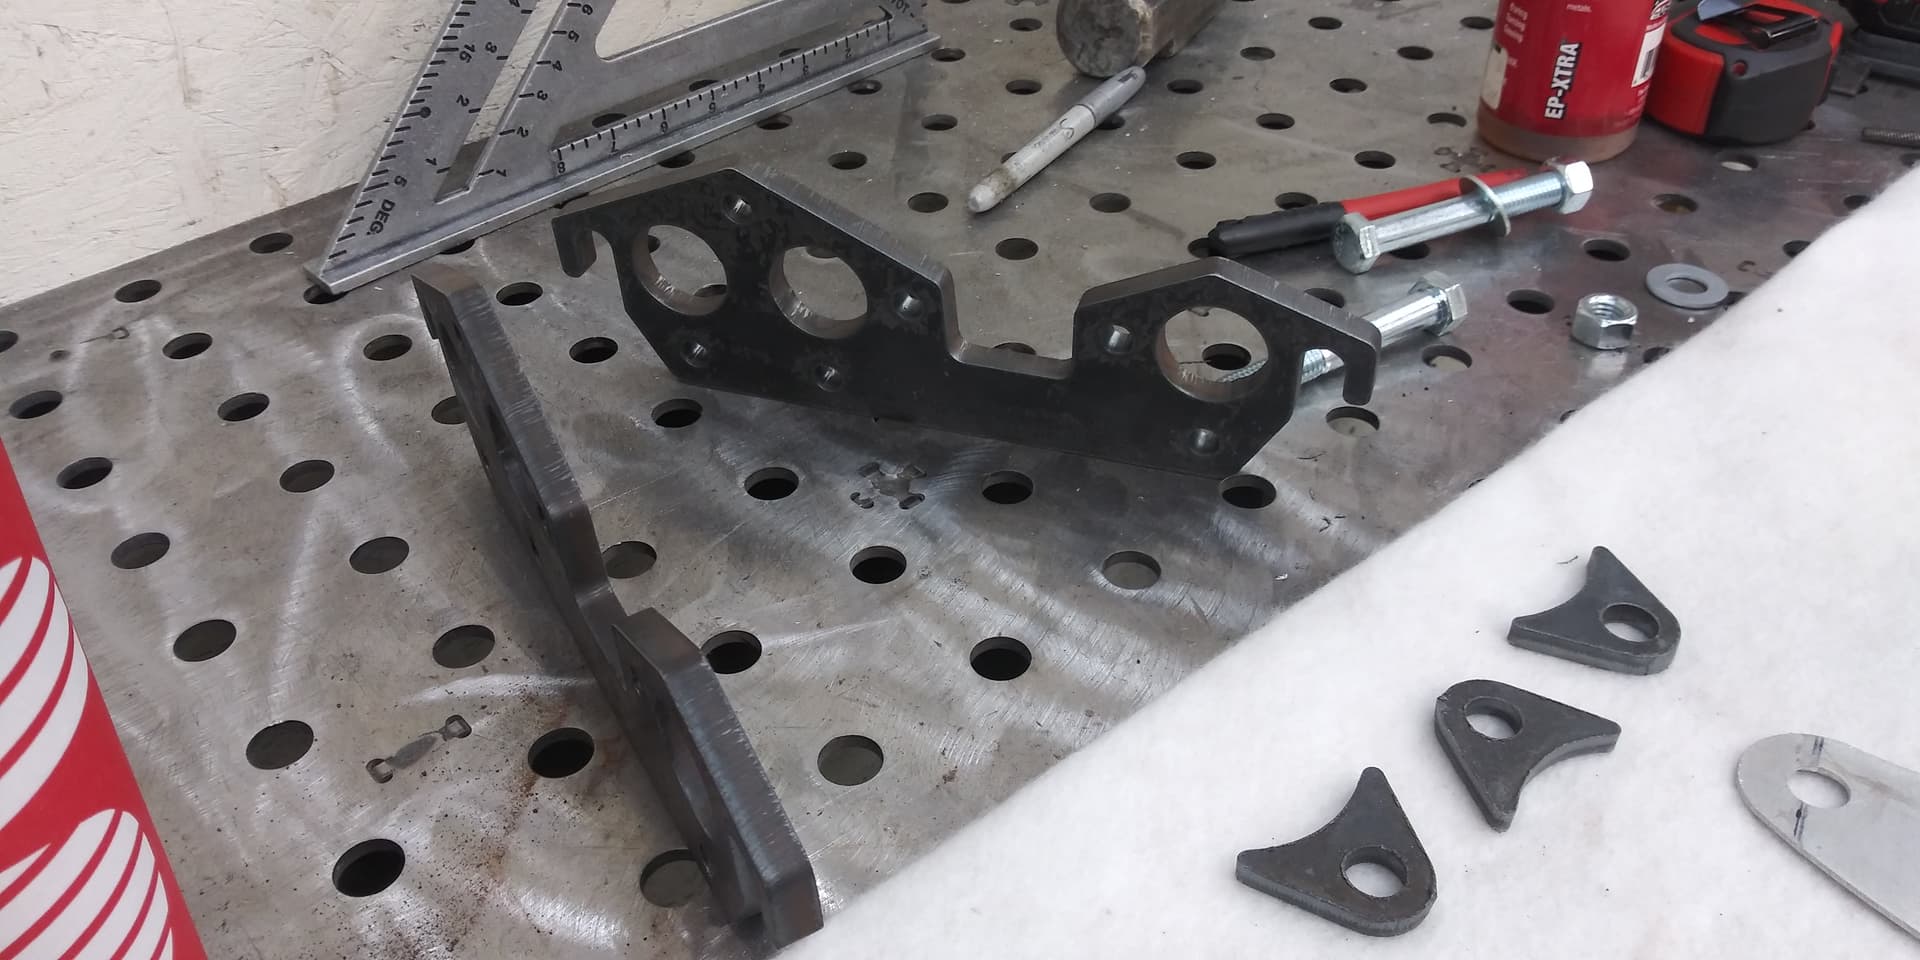
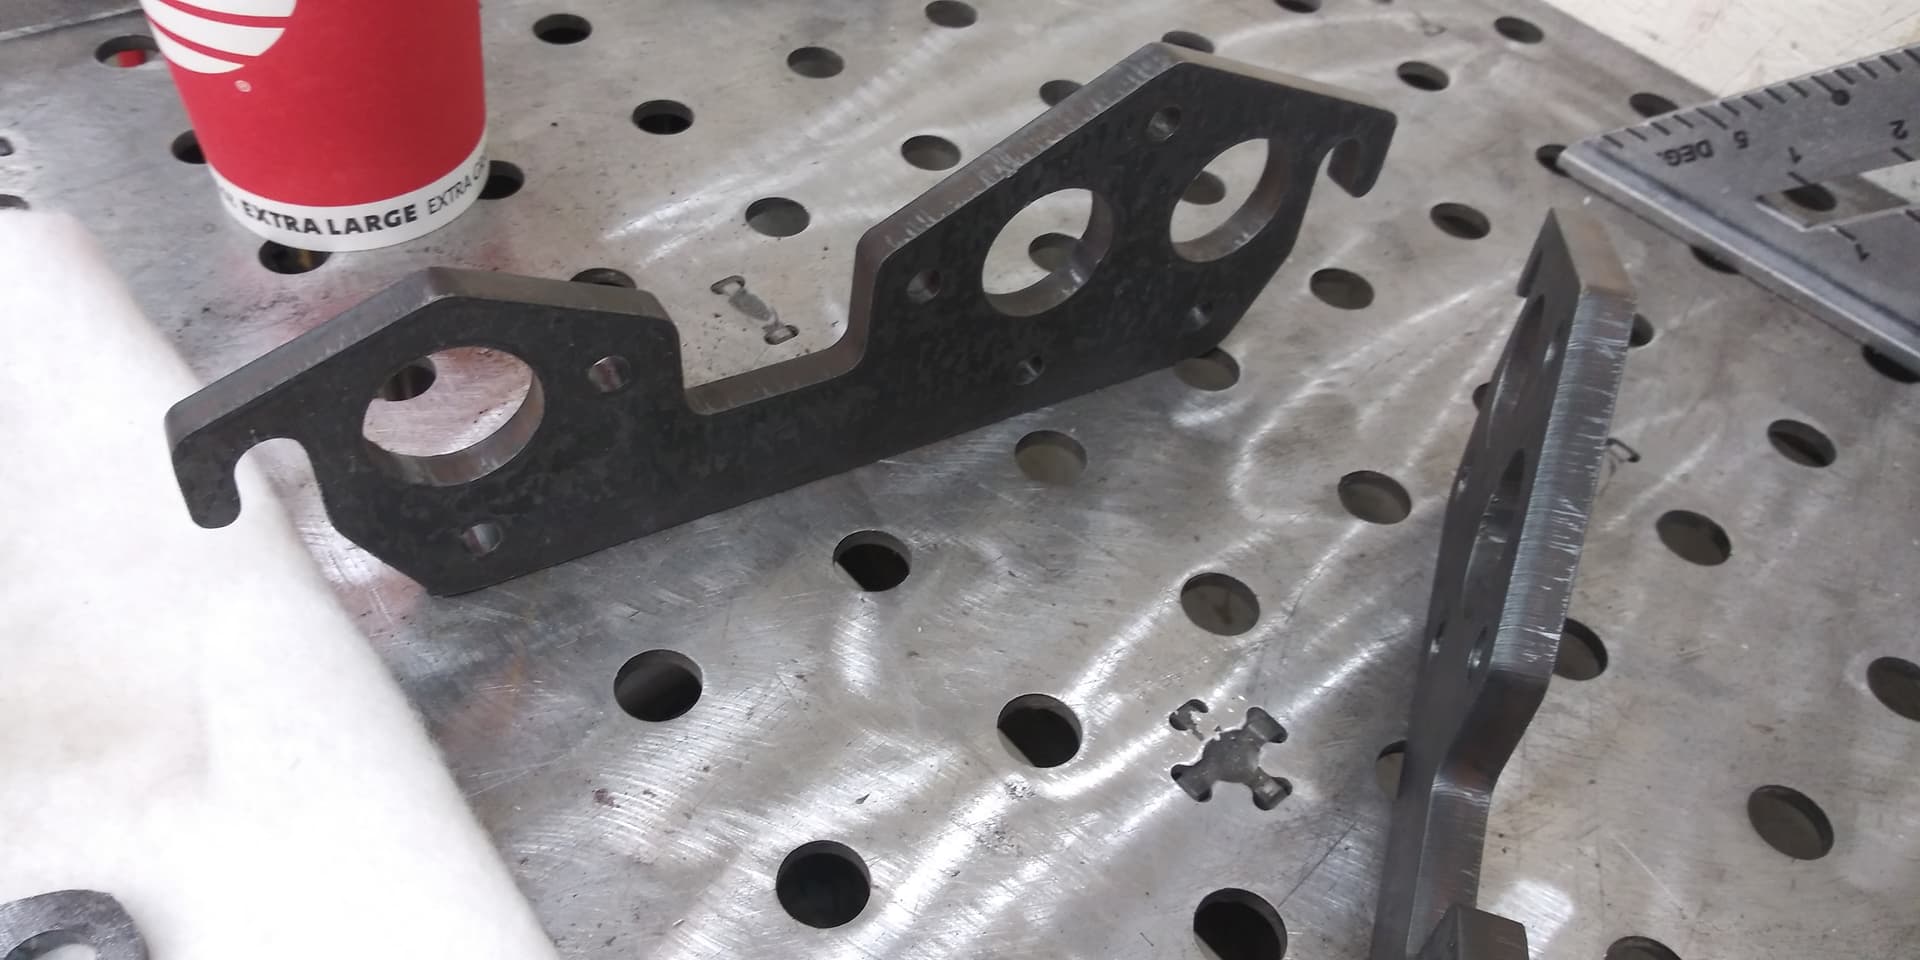
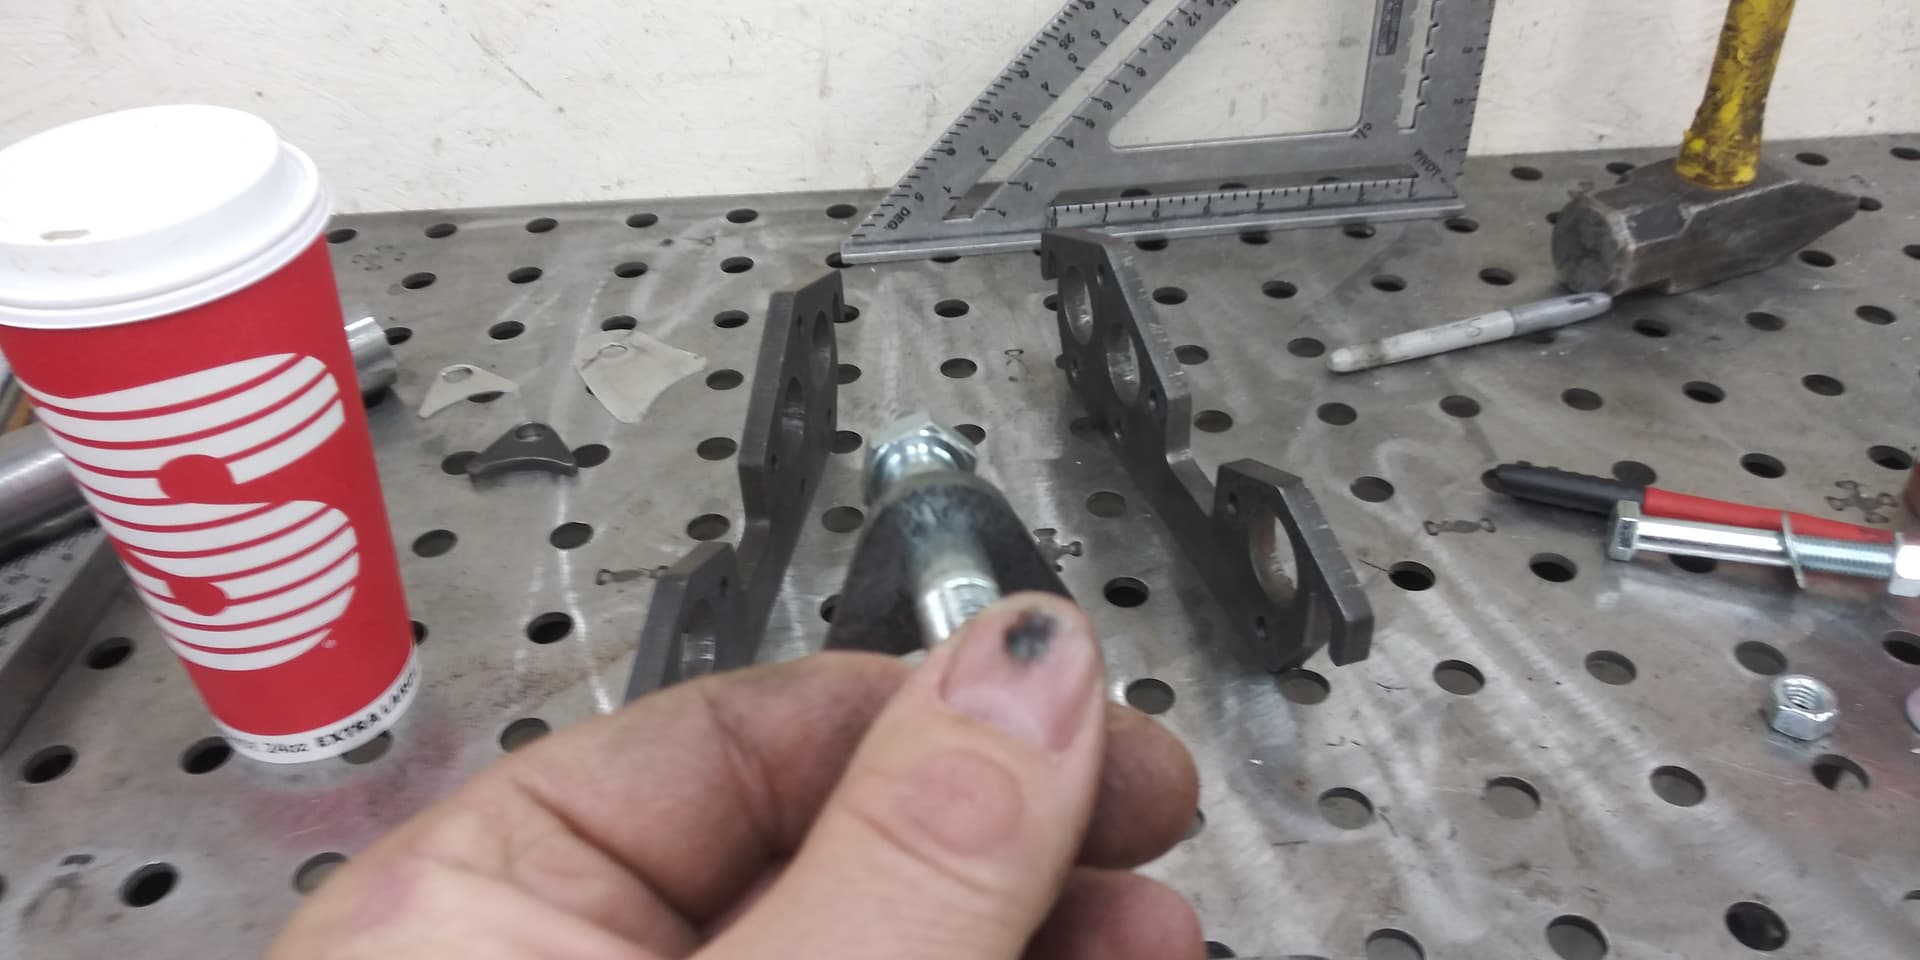
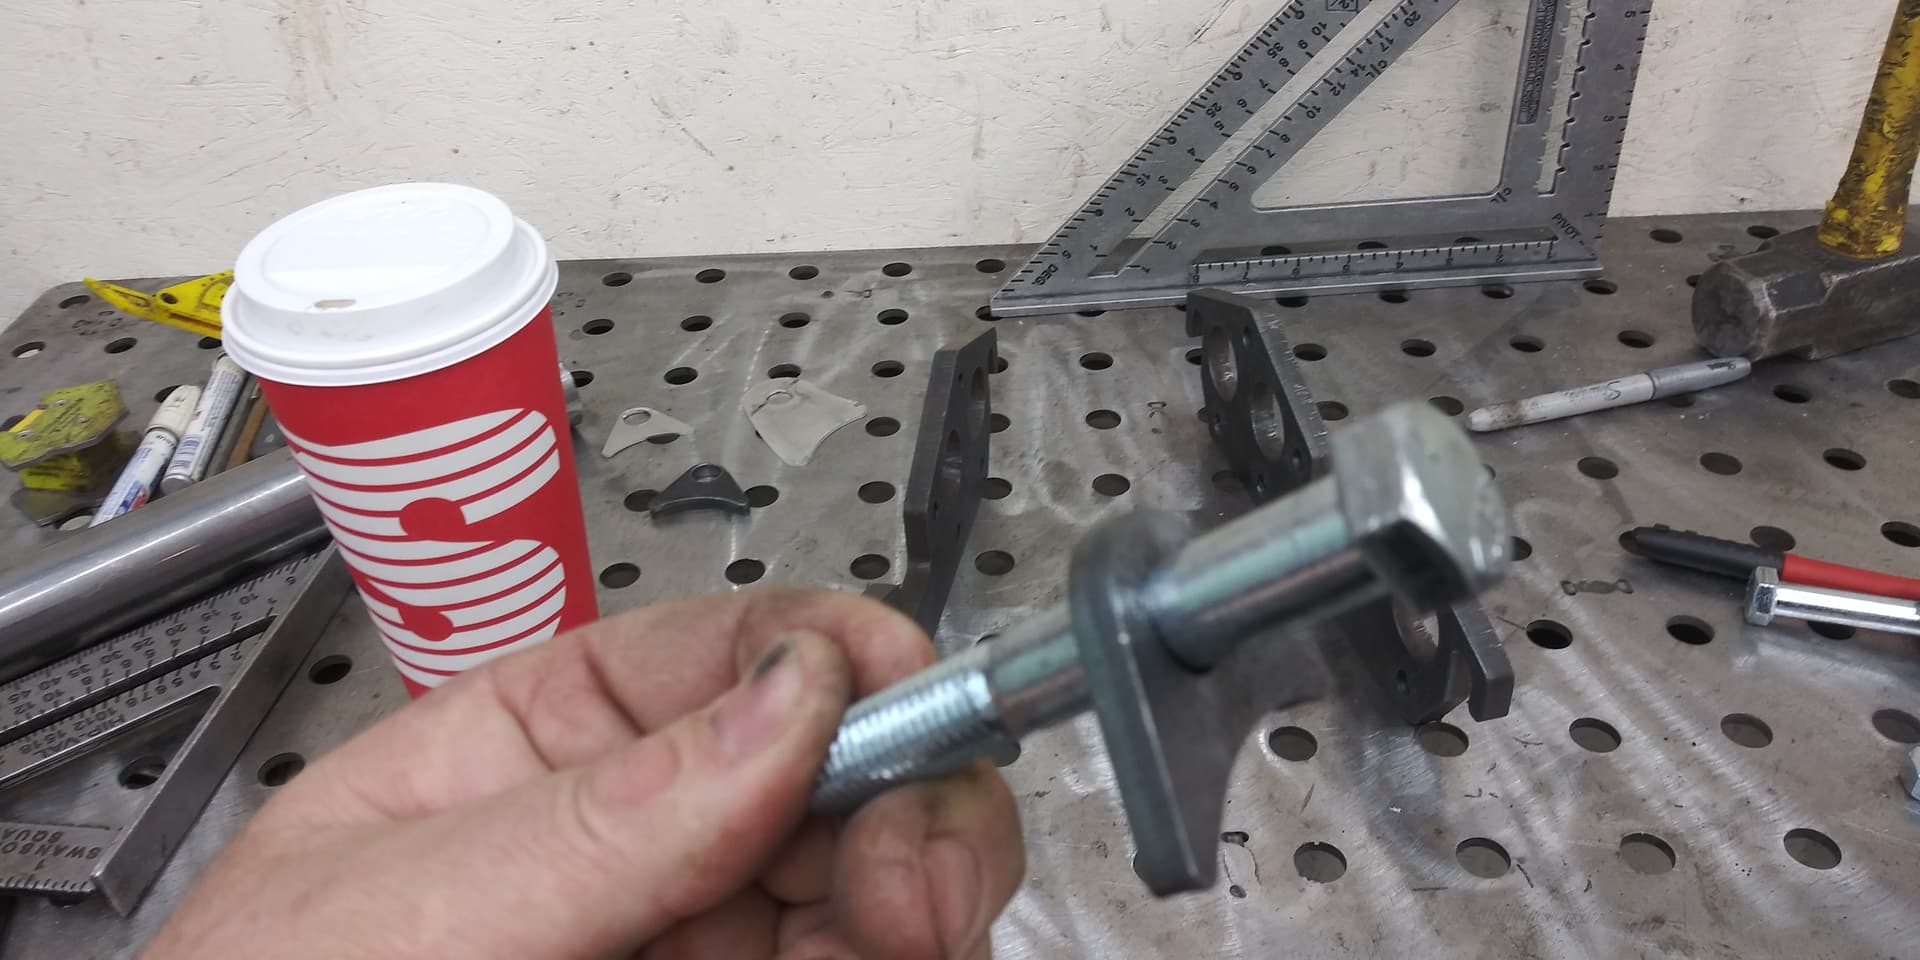


11 Likes
Boy! If ever there was a sale pitch for Hypertherm, this would be it!
2 Likes
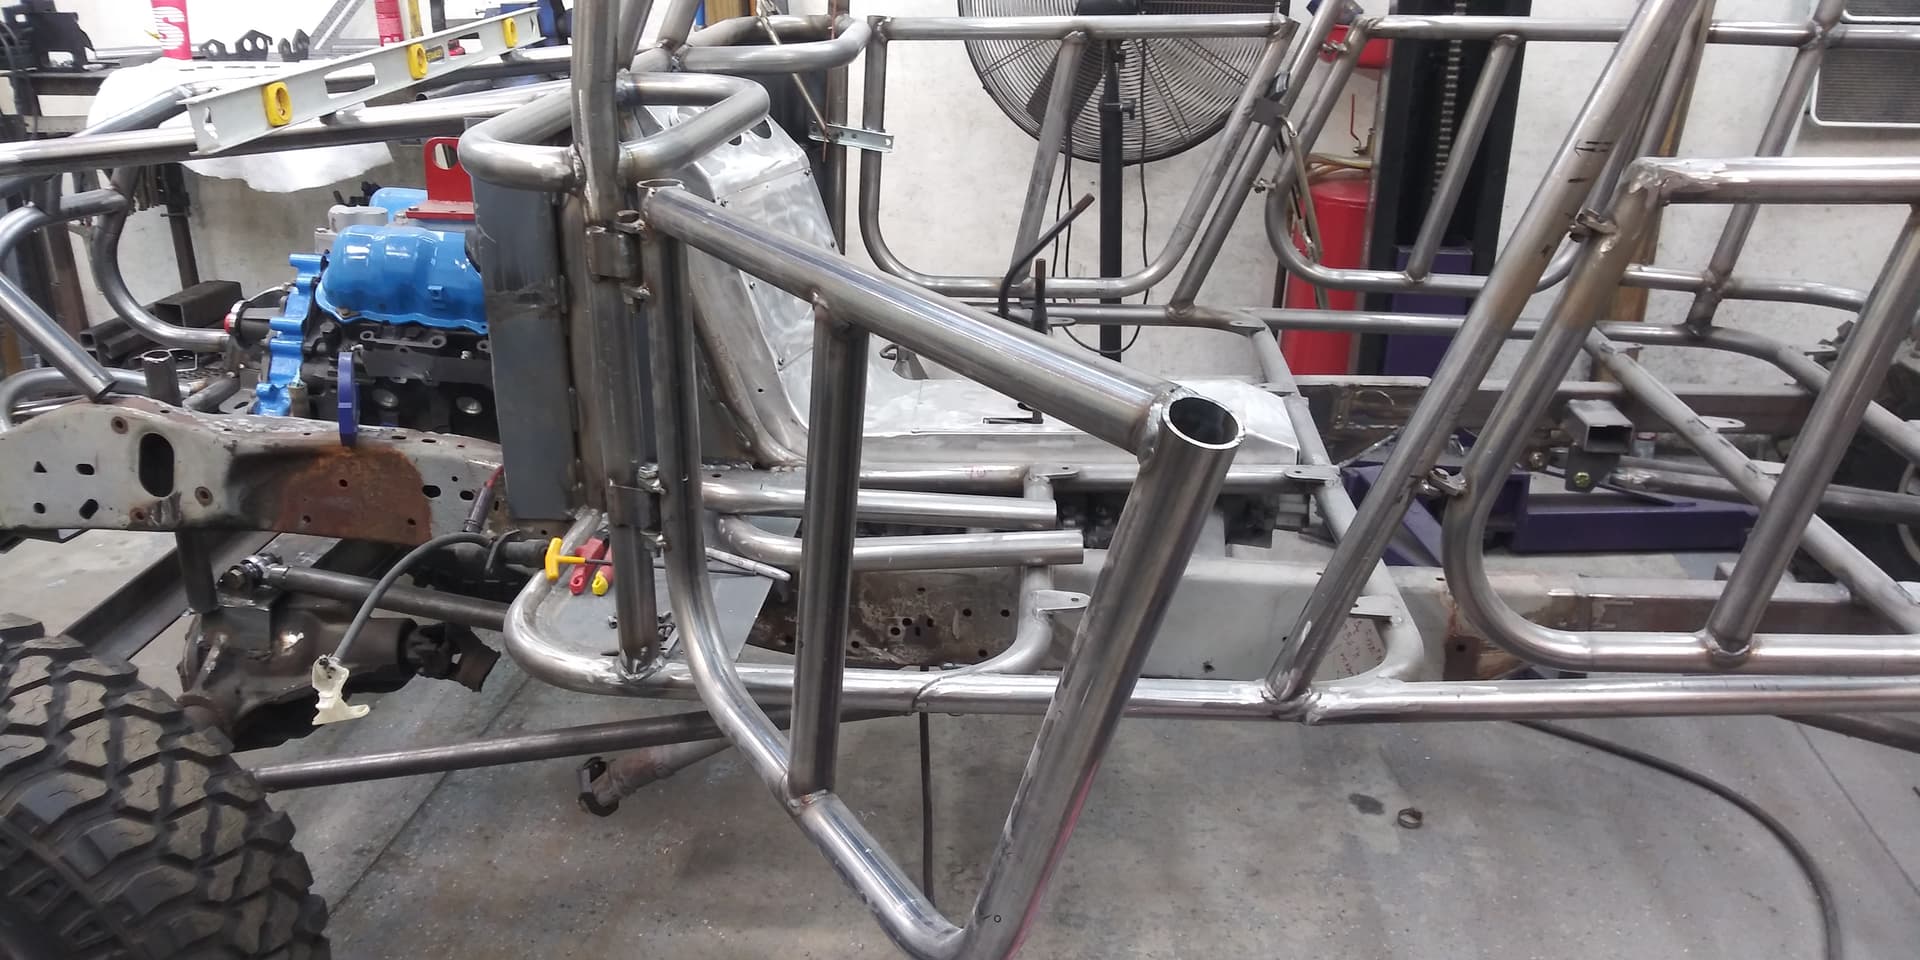
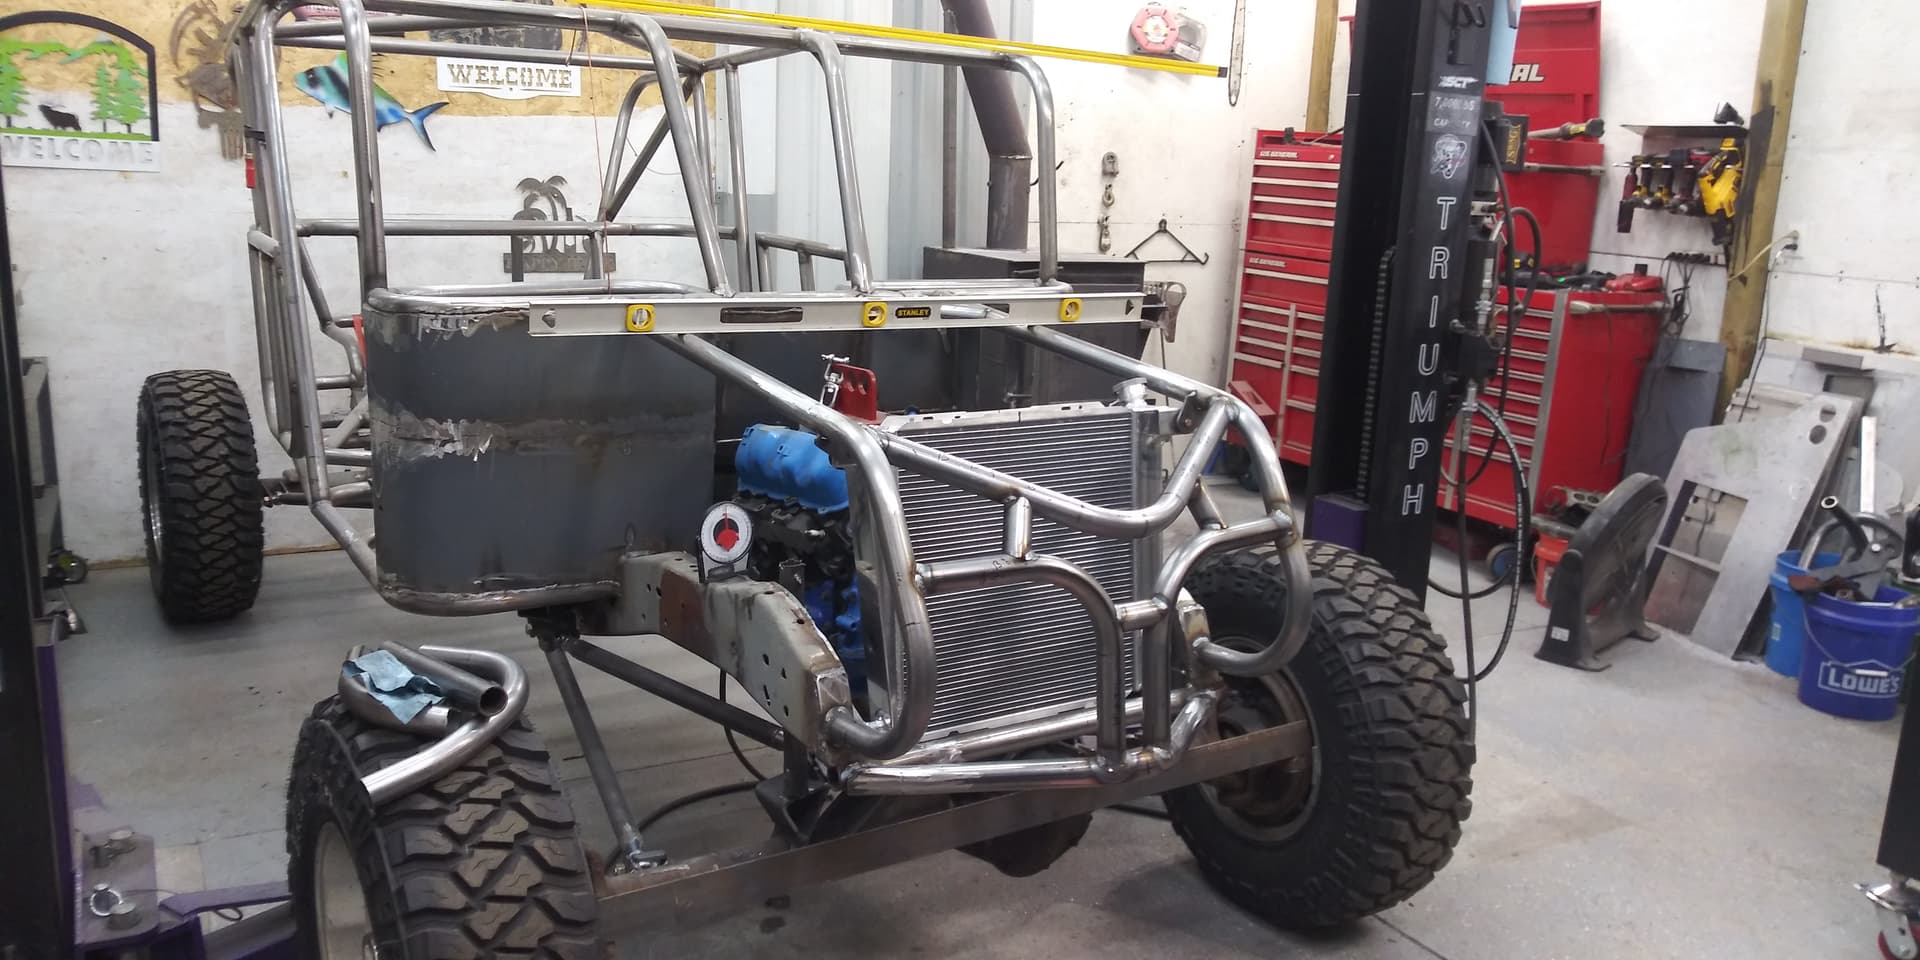
Why is the body offset? You need more space Mister
Not offset, pic makes it look offset. haven’t finished driver foot well yet. Customer I’m building for hasn’t decided if he wants swing pedal or floor mount pedals.
Ok now i see thanks