Looks really good! Thanks for sharing
1 Like
So you think you can come here and show that and then only post a couple of pics?
Tell us more about it (or a link) and please post more pics (or a link)
God I forgot how big those trunks were!
What will that be when done? Drag and drive, RestoMod ?
Very cool!
5 Likes
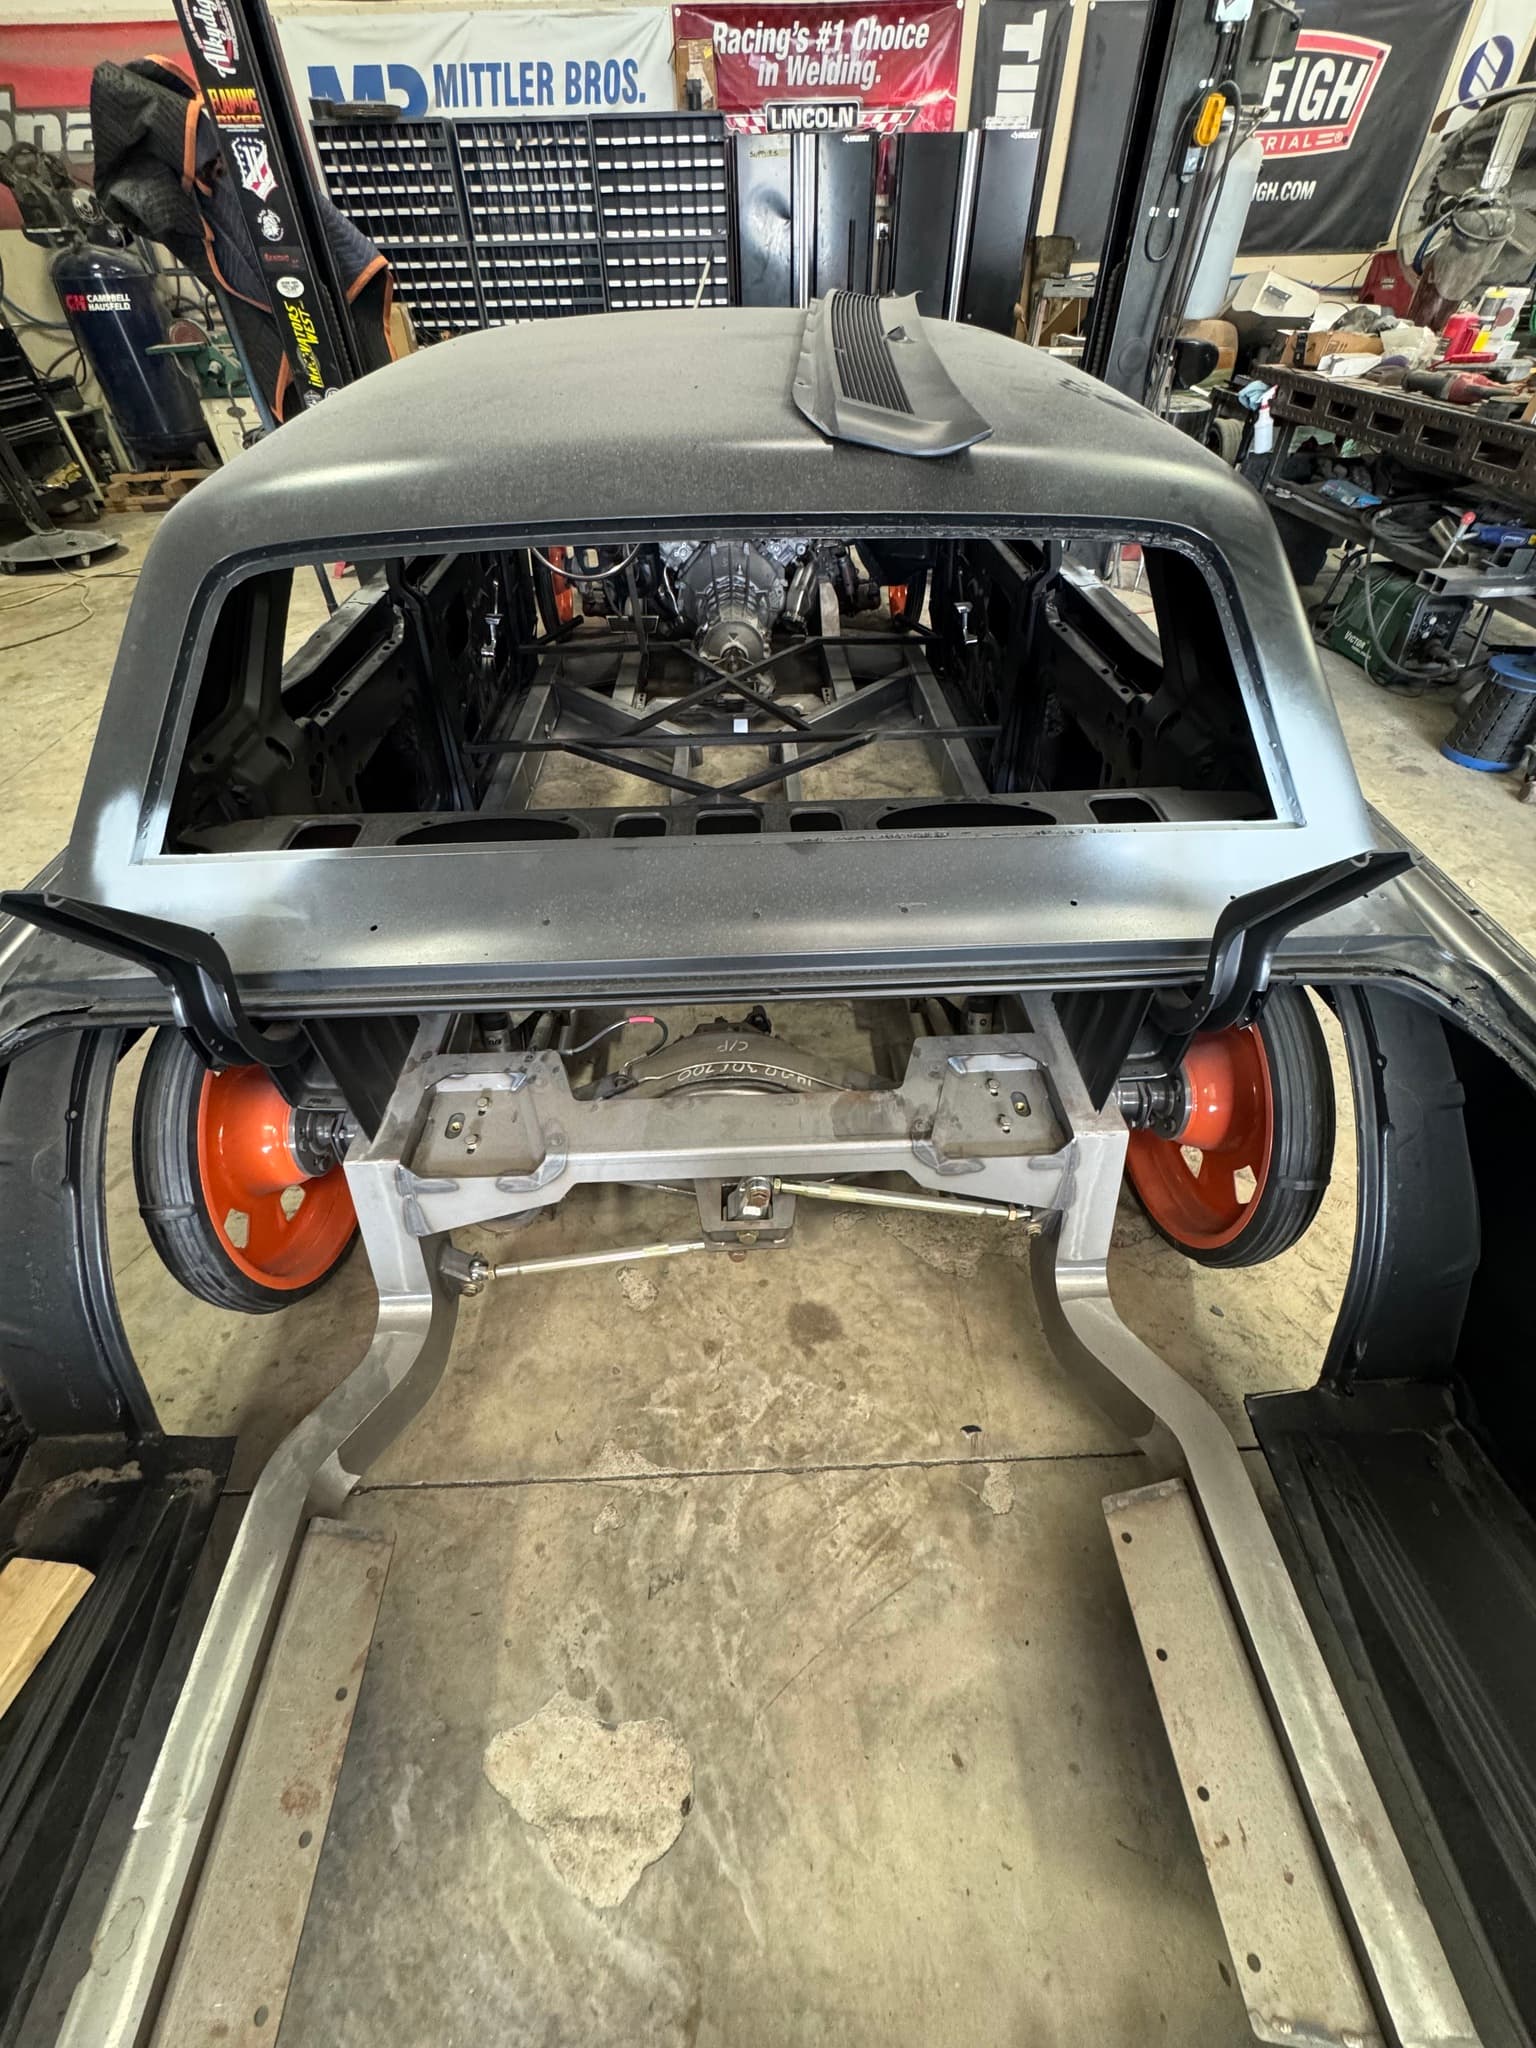
Ill Start a whole thread just for the lincoln. I wouldnt call it a restoration. When we received the car it was honestly in great shape for something that old. Very little rust. Its a custom pro street inspired build. We ditched the big block it had in favor for a twin turbo Coyote swap. We ditched the UniBody setup and chopped out the entire floor for a Roadster Shop Chassis.

5 Likes
I take it you already have this build posted somewhere you could just post a link.
And if you’re not documenting this build somewhere on social media, you need to. That thing will be bad ass.
Kind of reminds me of Finnegan‘s Cadillac he is building that thing is bad ass too. Haven’t seen much about it lately though.
Anyways, very impressive guys
3 Likes
We have to Document everything for work purposes aka Paper Work lol But as far as online goes its mainly on my personal Facebook page & our fab shop instagram page
4 Likes
did you create the artwork?
2 Likes
Great looking welds!
4 Likes
3 Likes
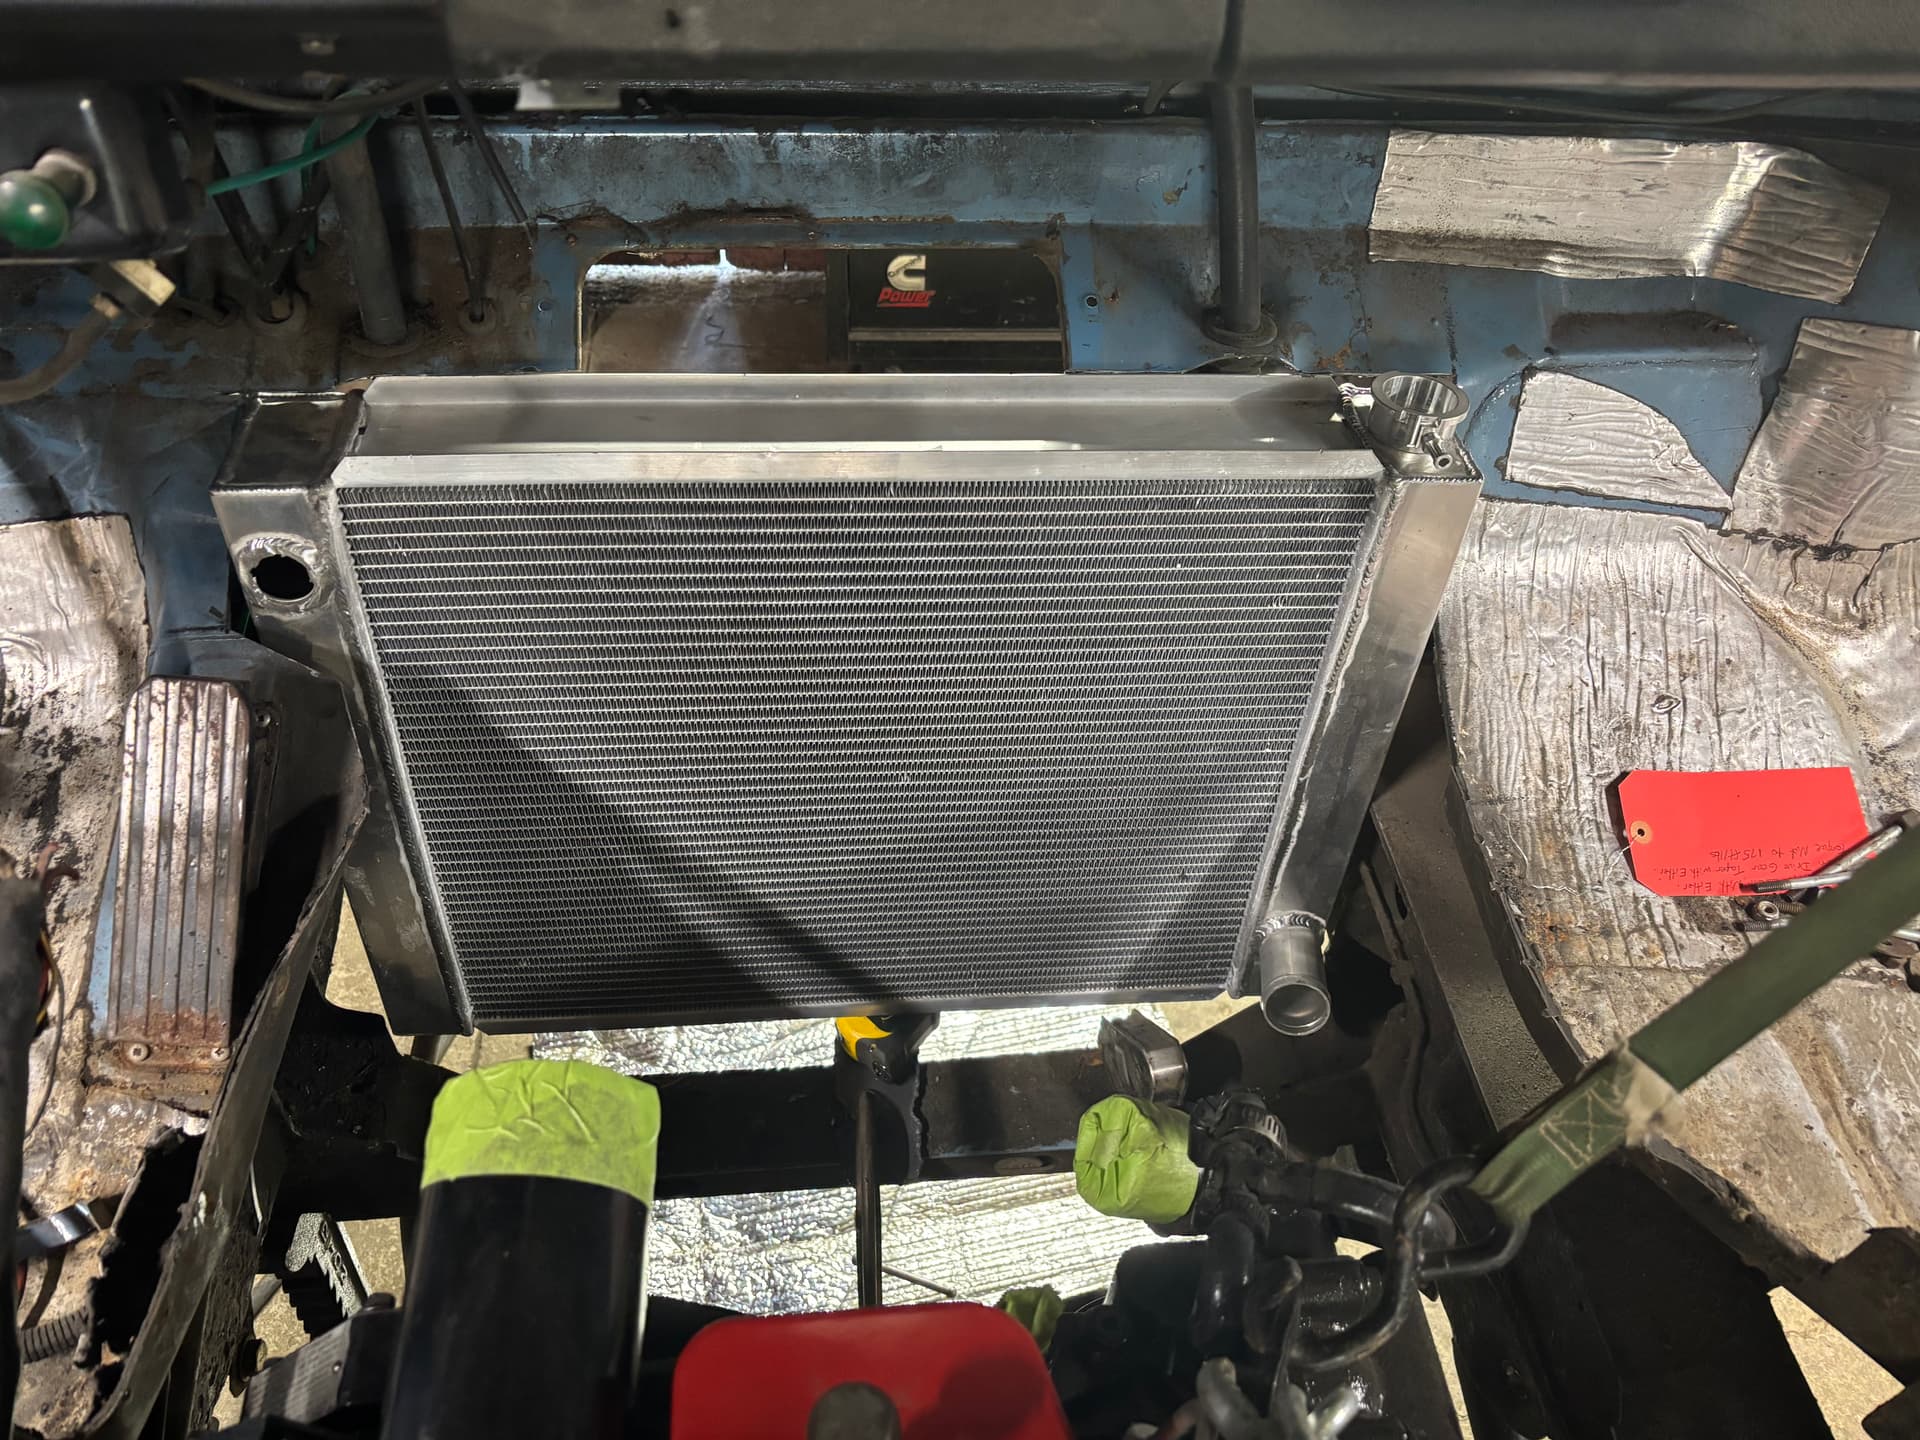
are you going to cover the slots in your fan shroud with flappy bits like a VW radiator shroud? if you dont youre going to short cycle more air than you will pull through the rad at low speeds.
1 Like
Yes that is exactly what is intended. And ironically enough this rad is going into a Volkswagen but with a 6bt engine instead.
3 Likes

10 charactors
2 Likes
how the hell does a Cummins 6BT fit in a VW? the engine will weigh more than the complete chassis and body?
3 Likes
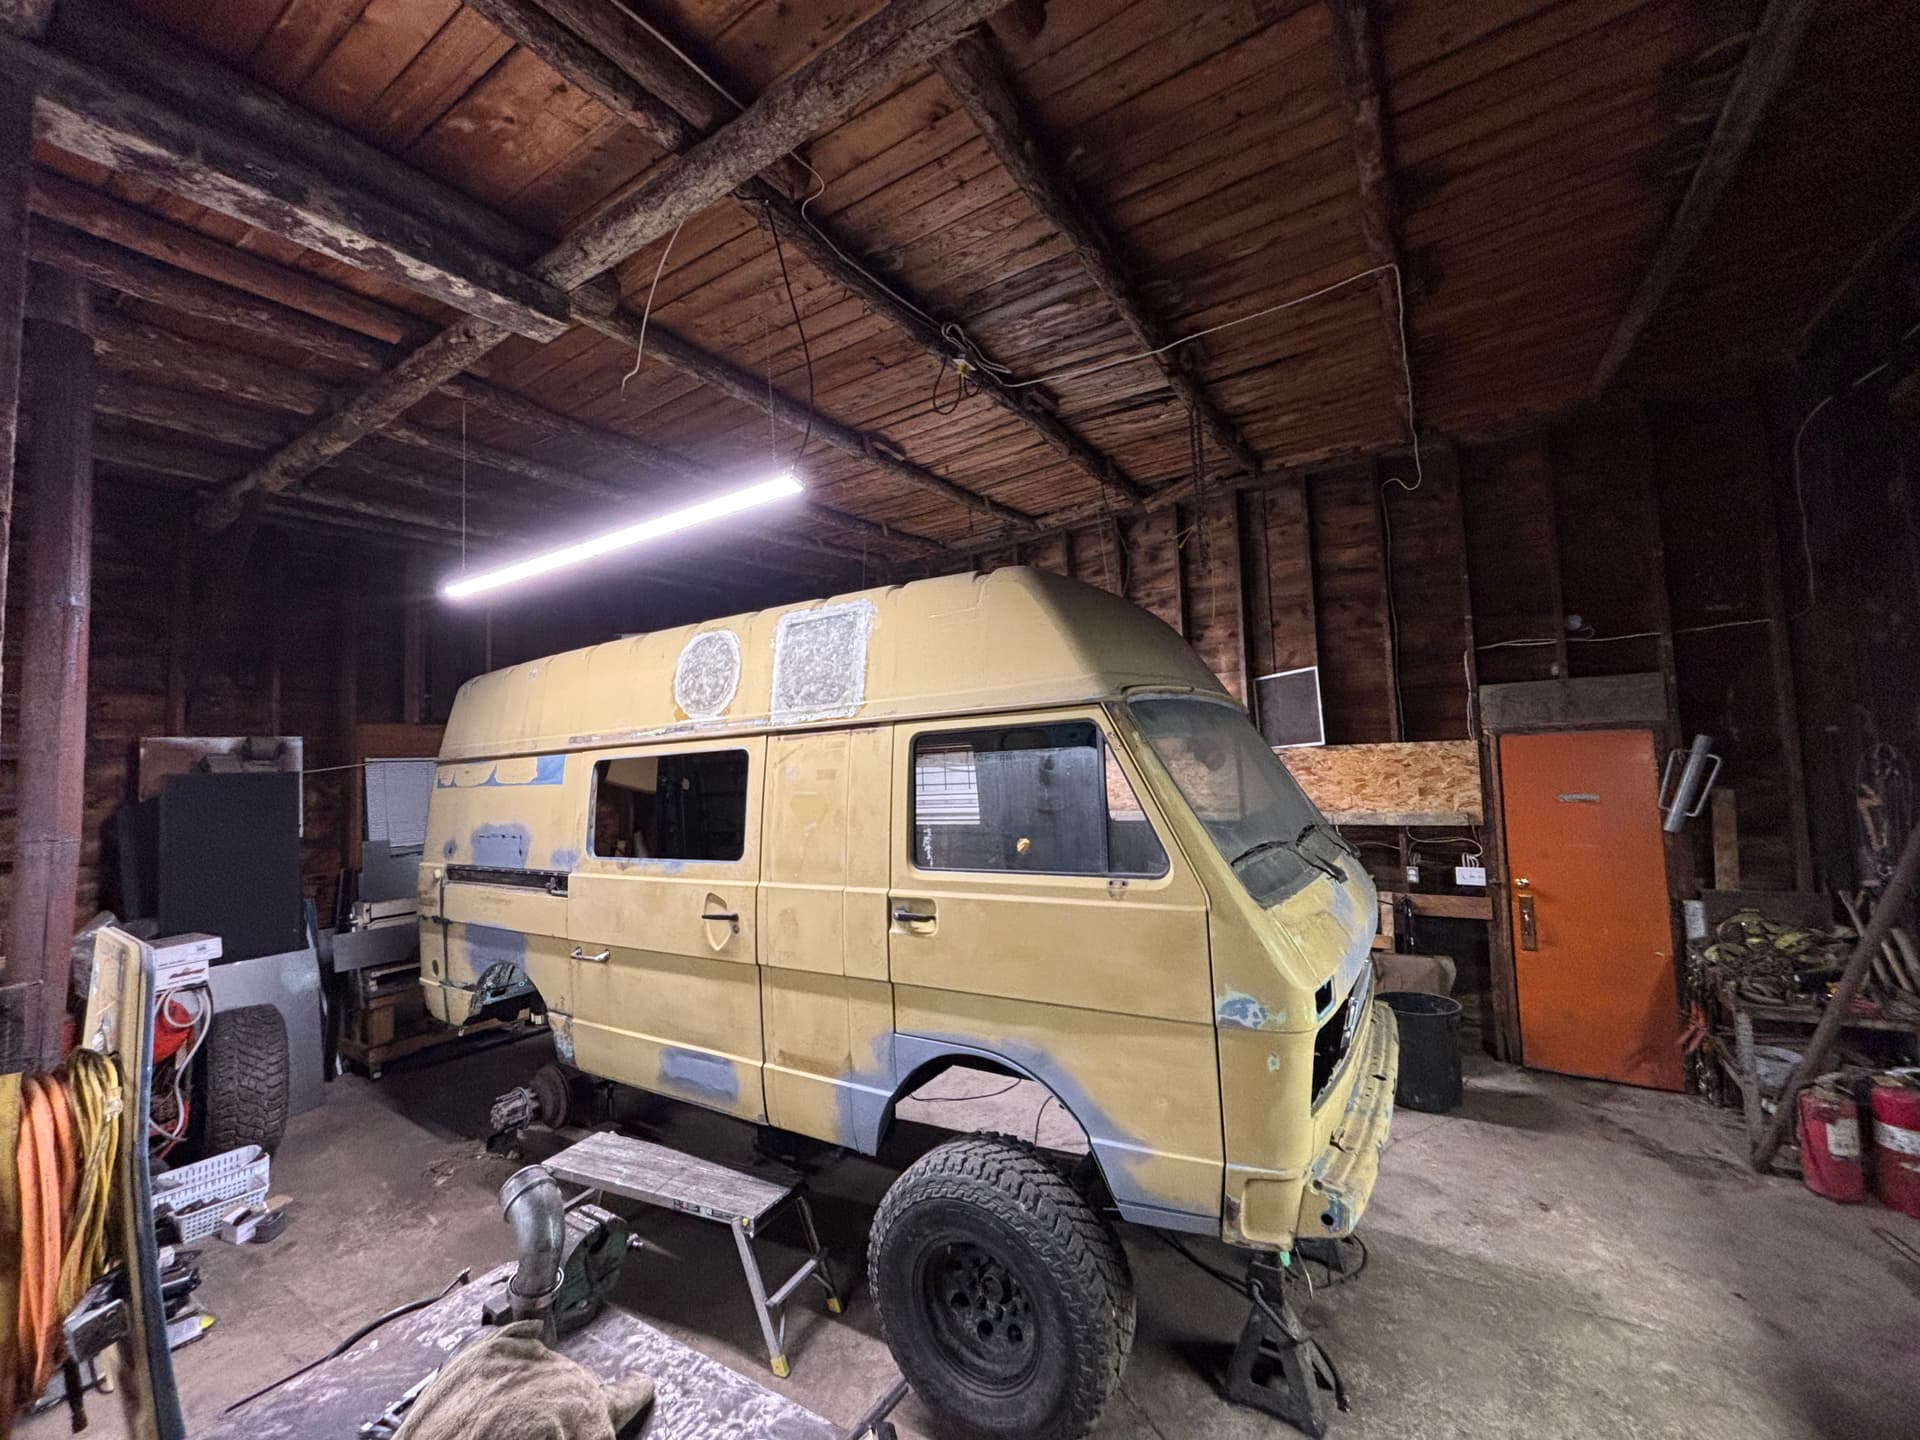
i was picturing a bug, or a MKII wassergekühlter, or even a Caddy… not a Westy.
what chassis is that?
I’m really not 100% sure what the exact specs are. it’s from Europe.
1 Like
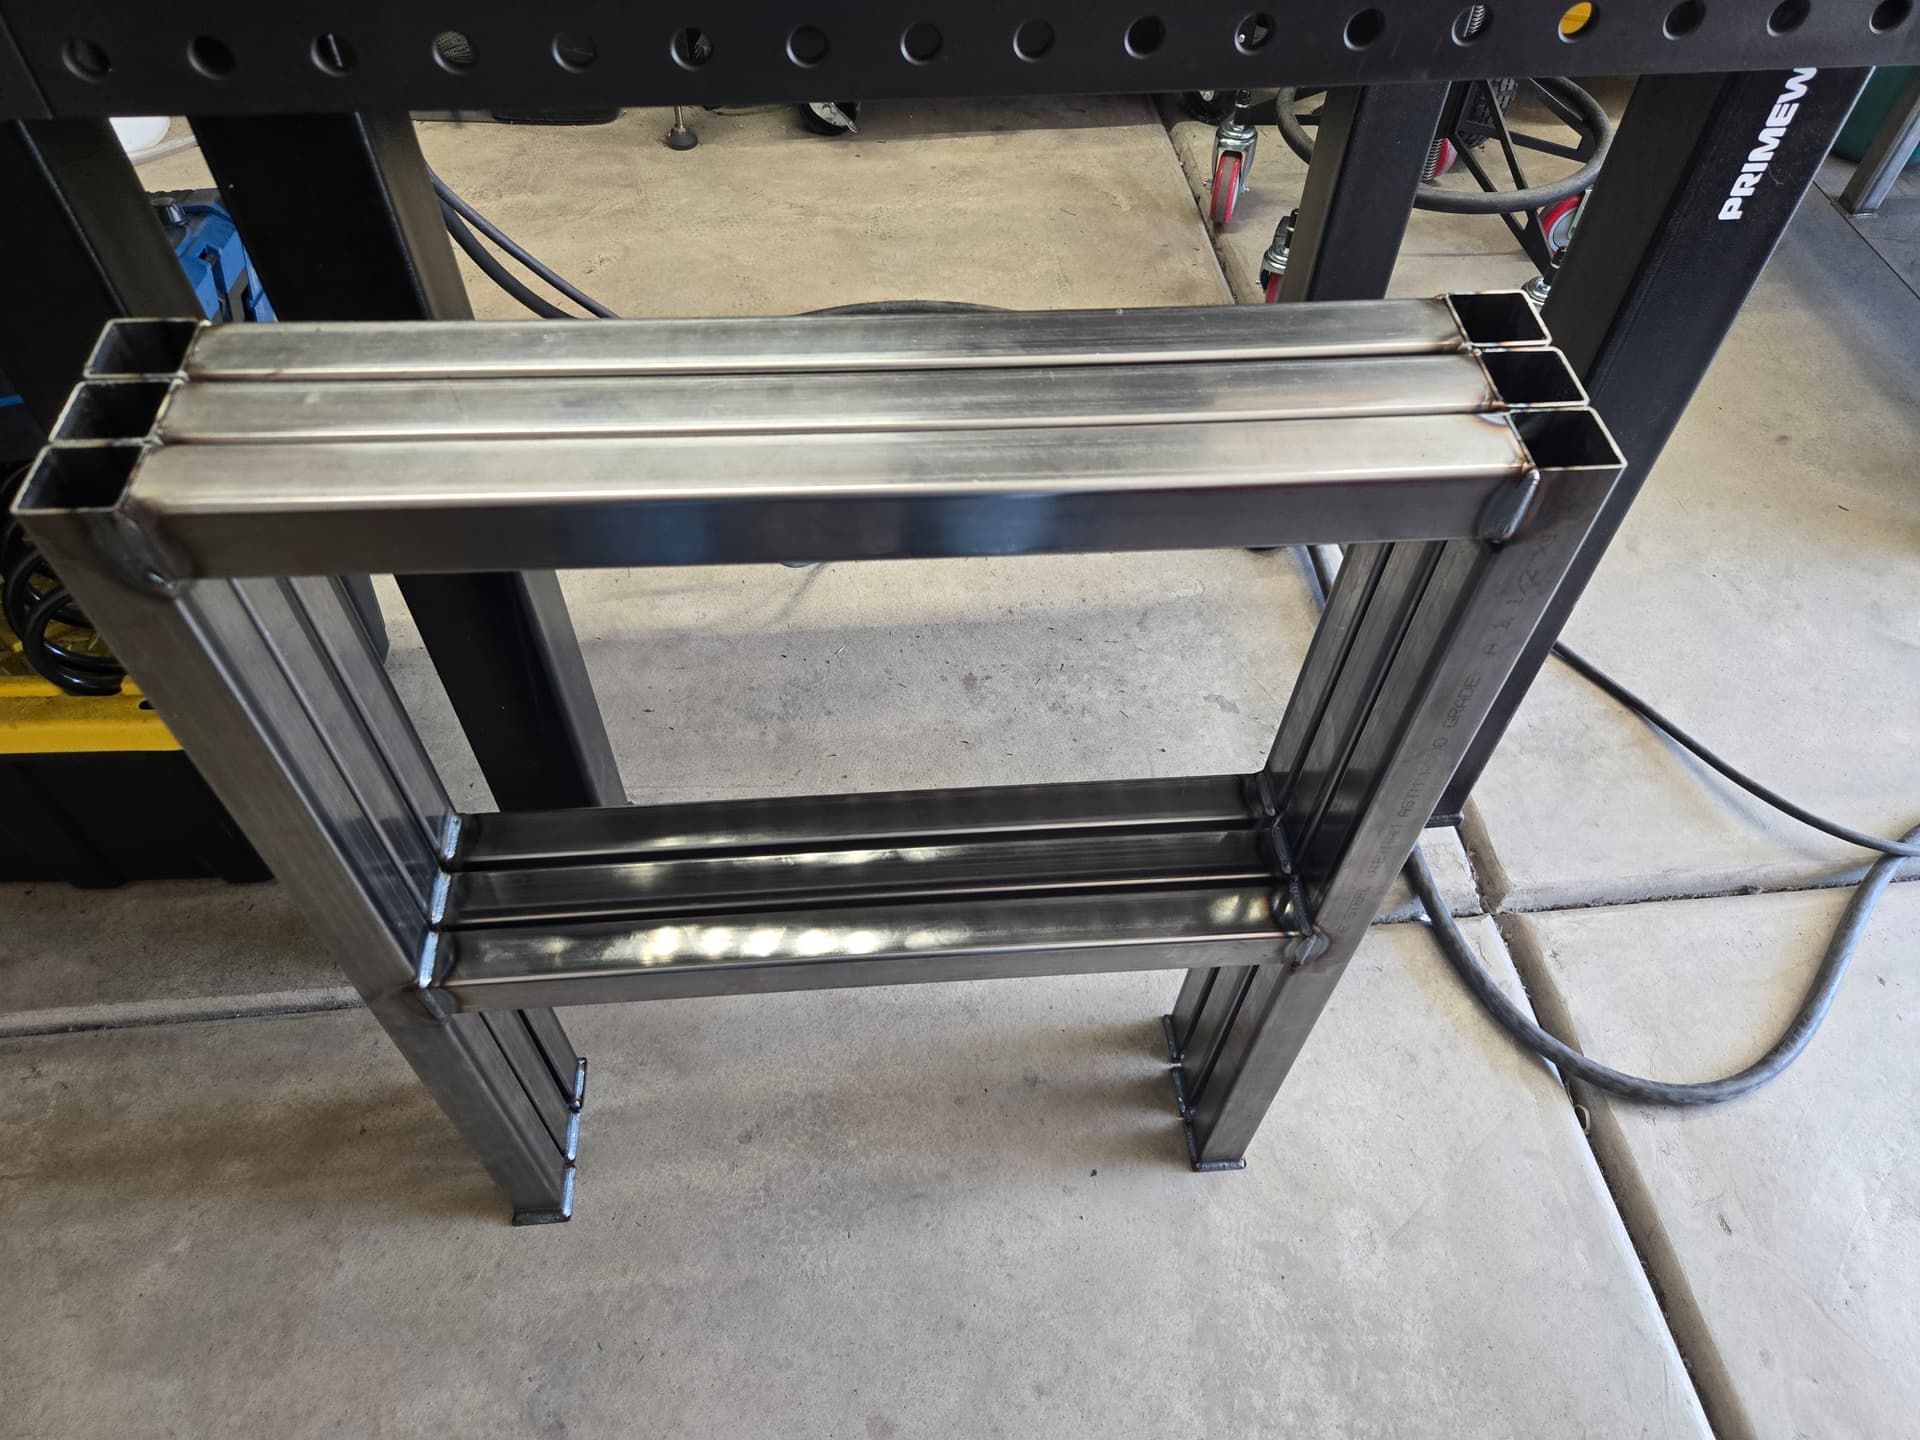
Having a small shop means small fixture table setup.
I’m building a 12’ wide, 2’ deep, 33” tall shelf for my sister in law. While welding up sub-assemblies doesn’t require much space, it’ll help to have a bit of assistance once I’m handling the 12’ long sections.
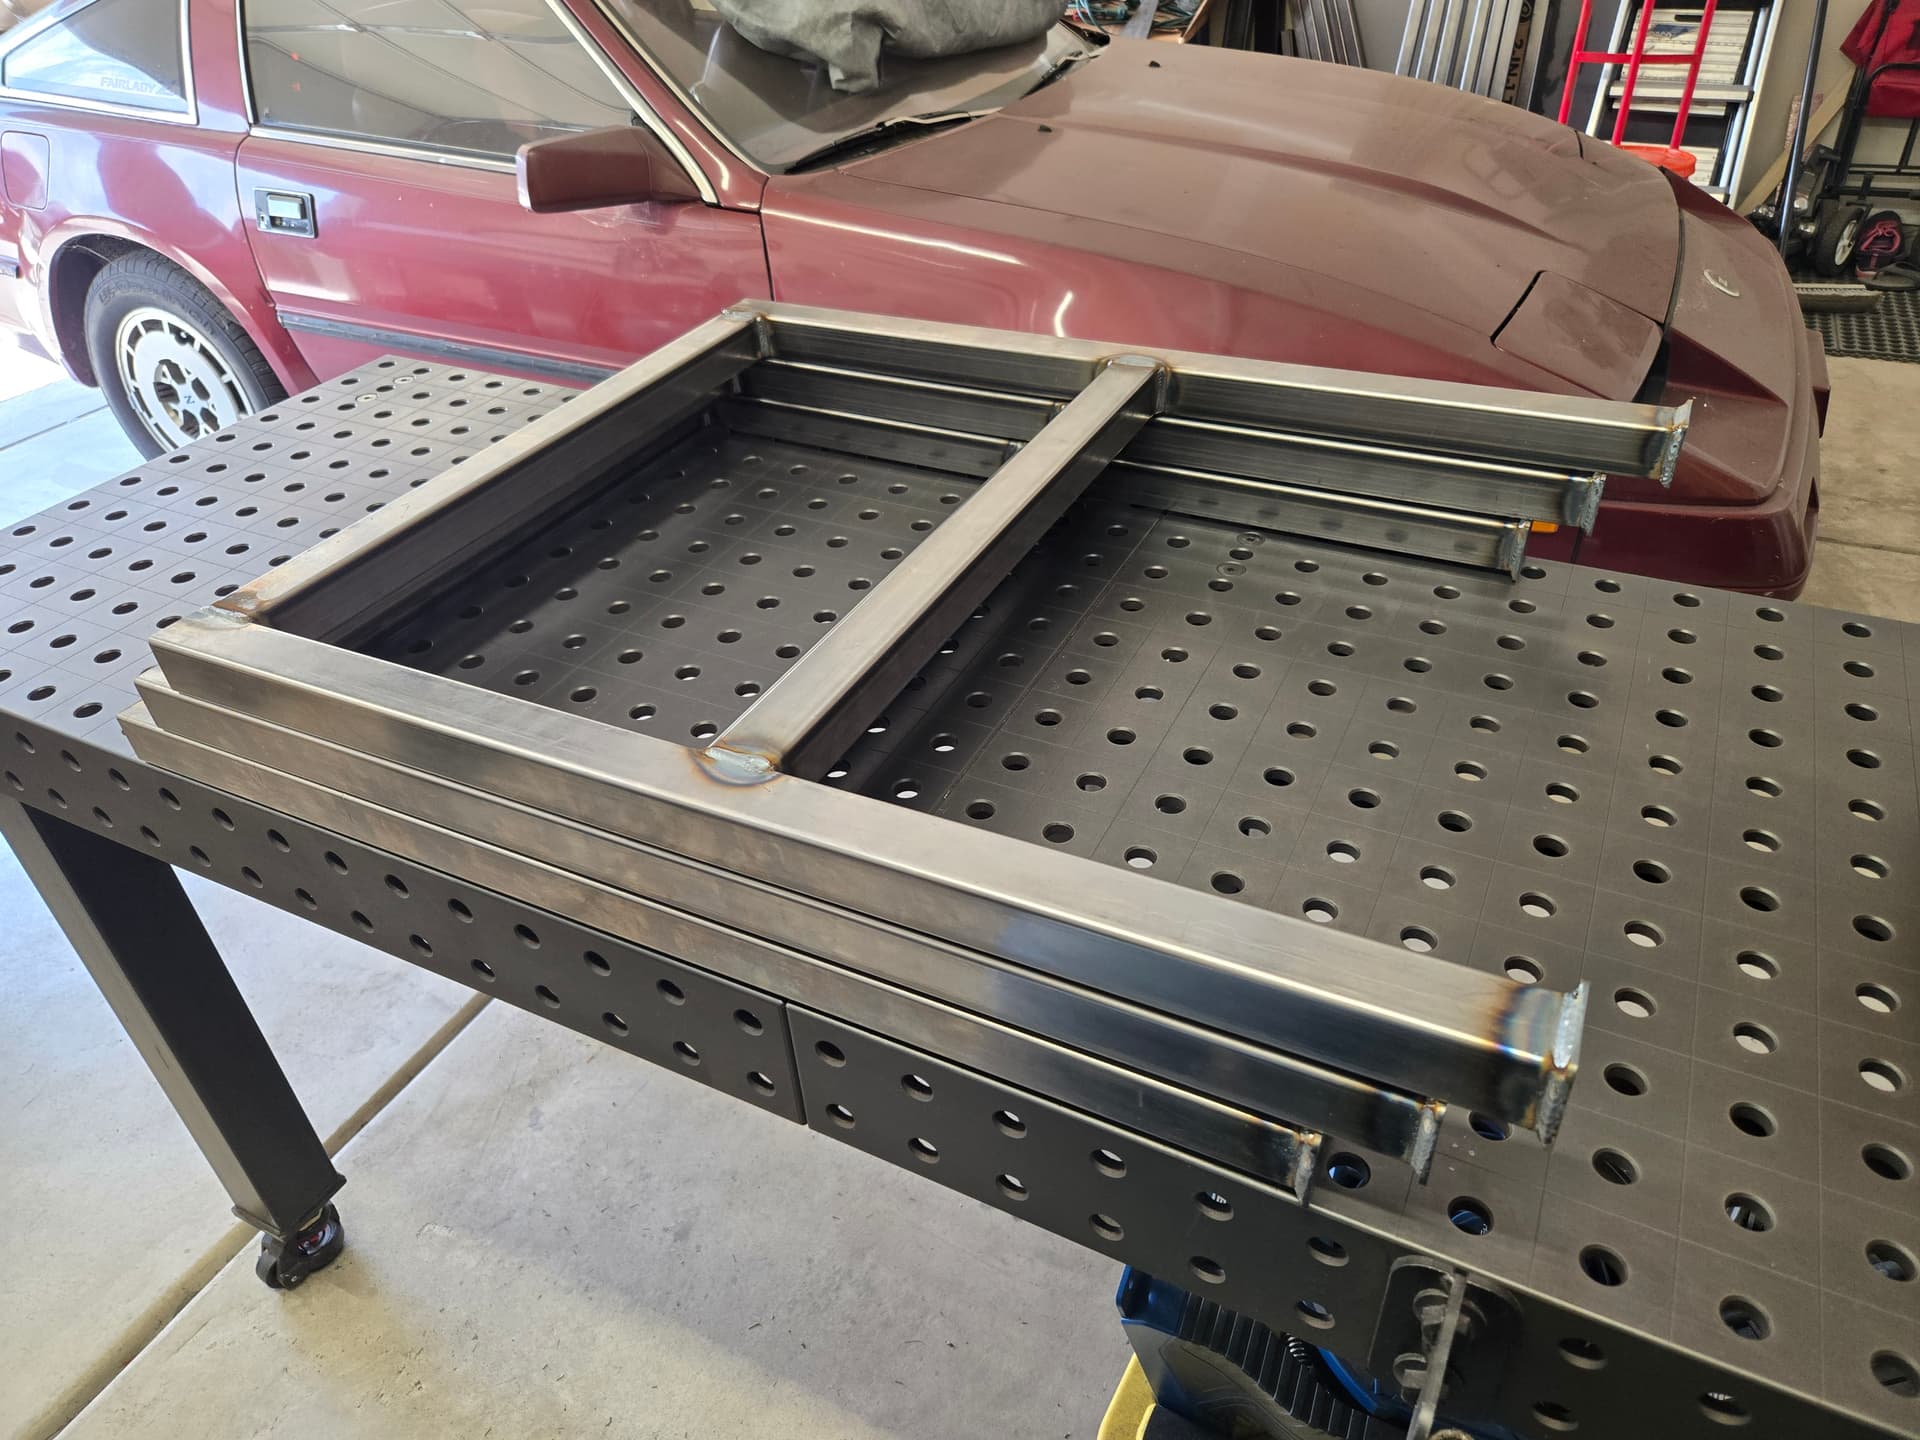
Normally I use pipe jacks for any overhang but I thought it’d be cool to also make myself some table extensions finally.
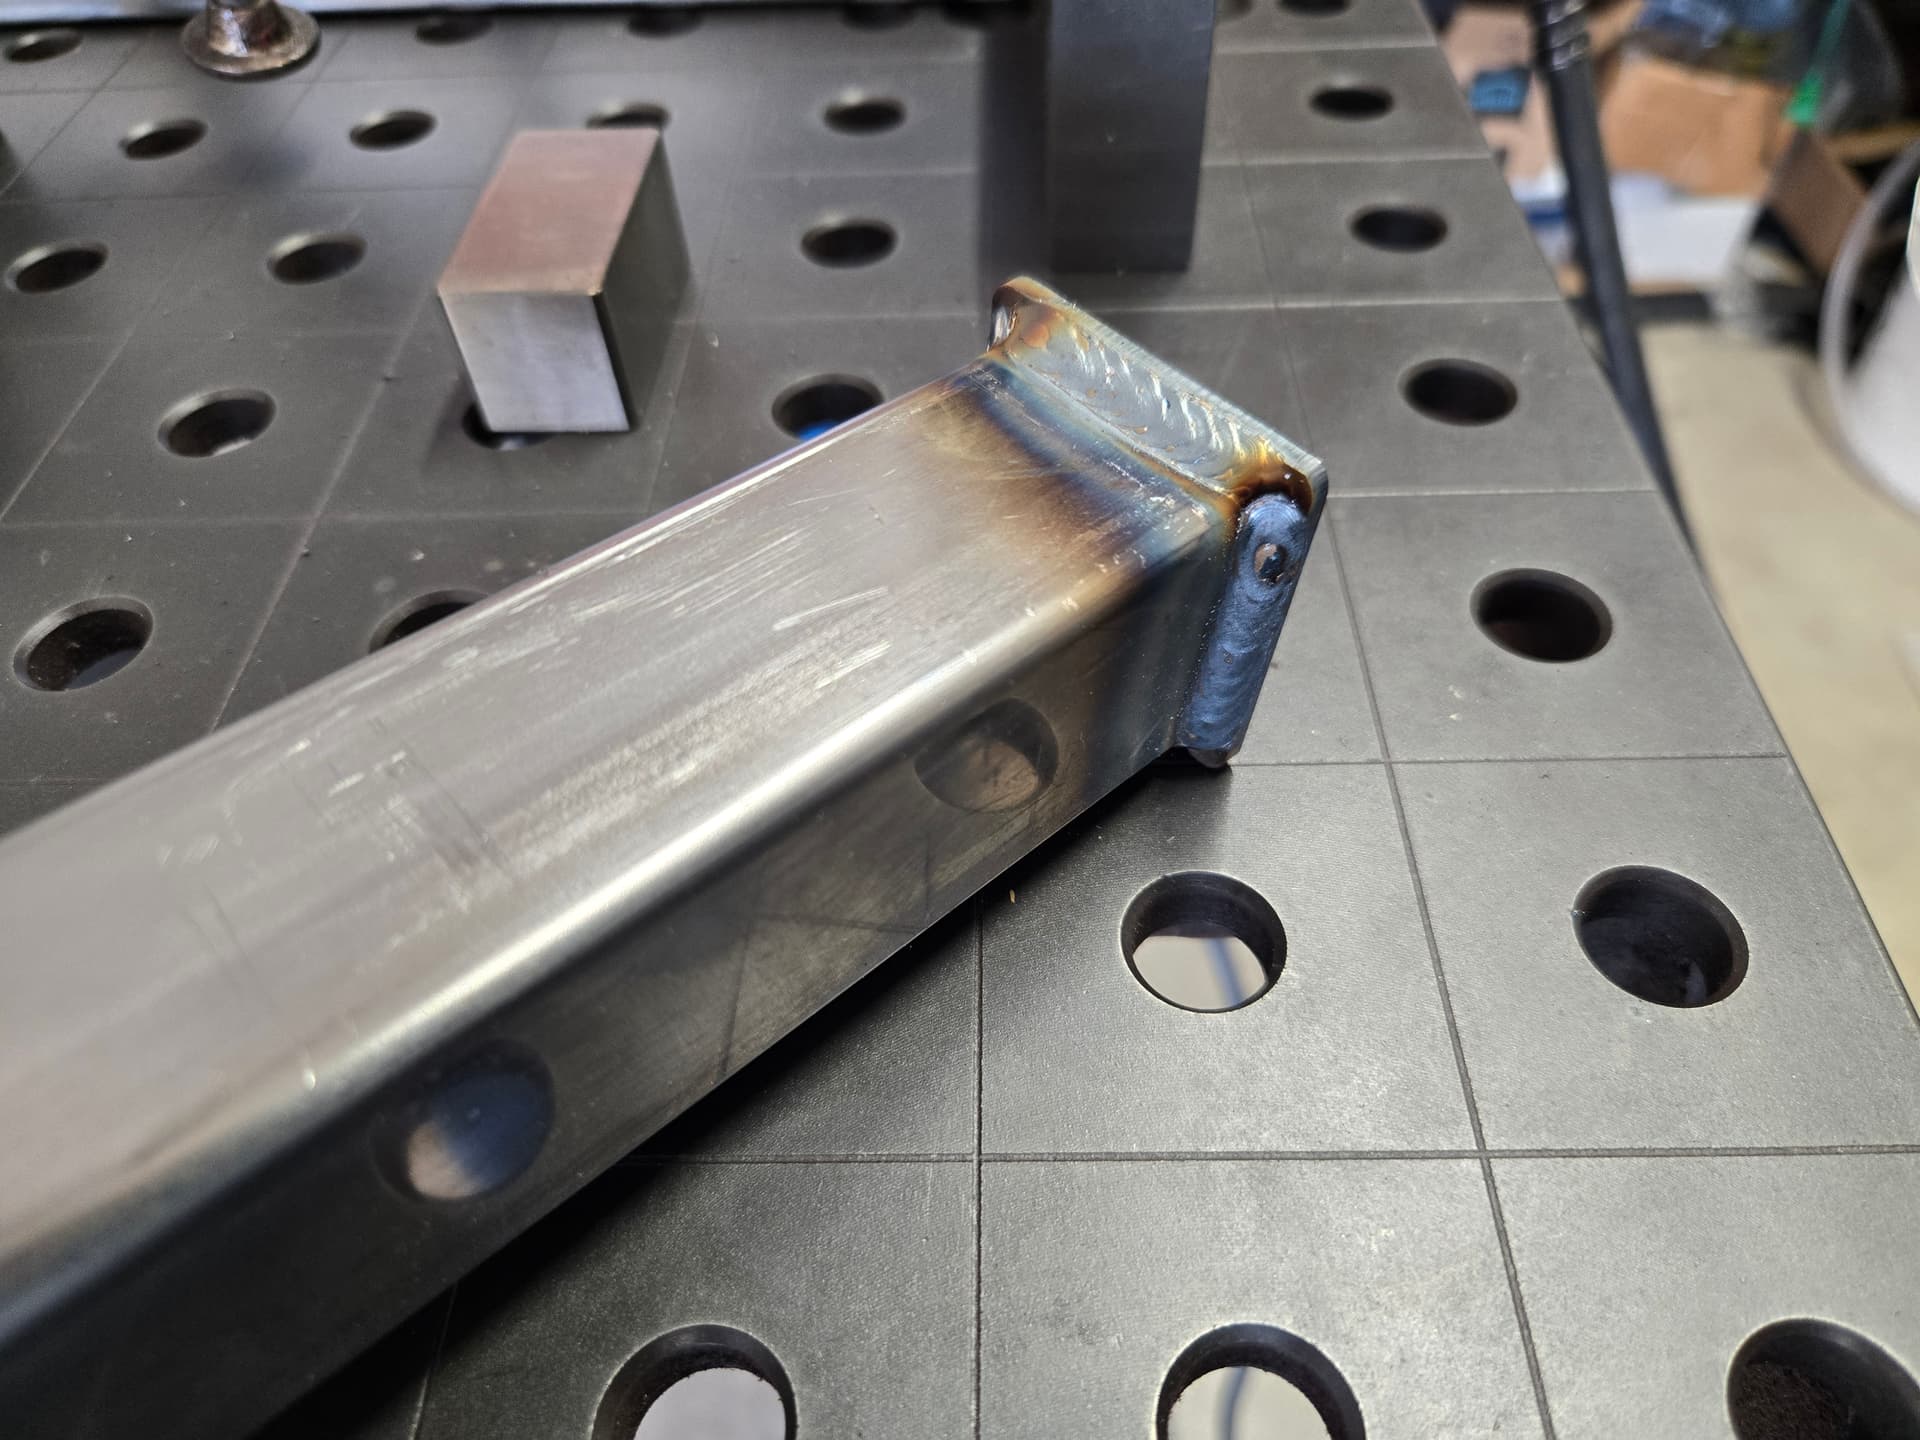
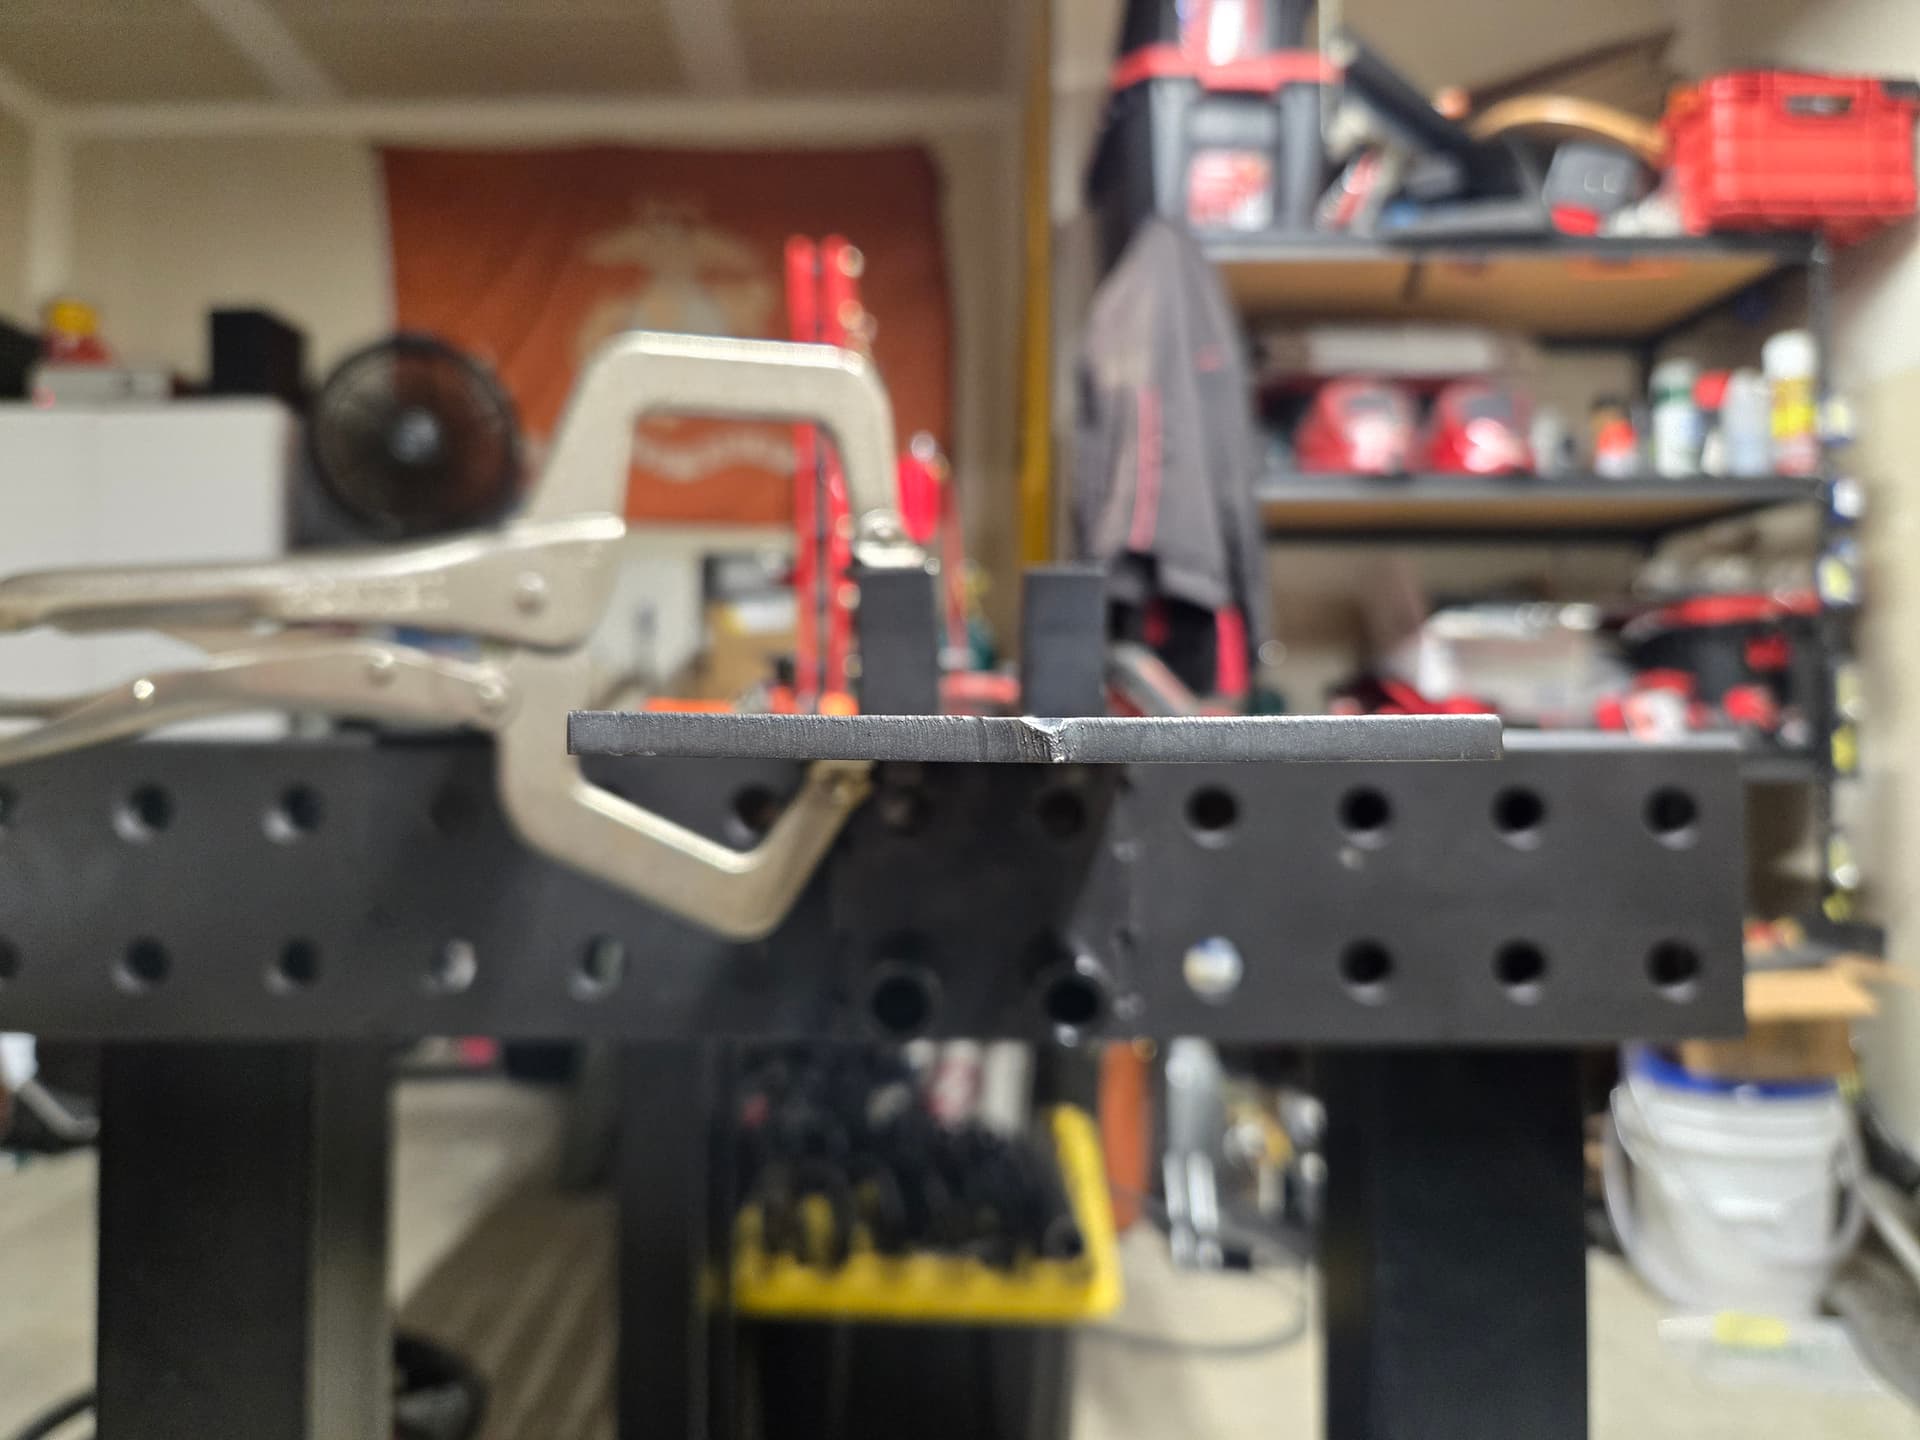
As expected, parts fit right onto my fixture table without any clean-up.
A few tacks, and some beads underneath, and she’s done.

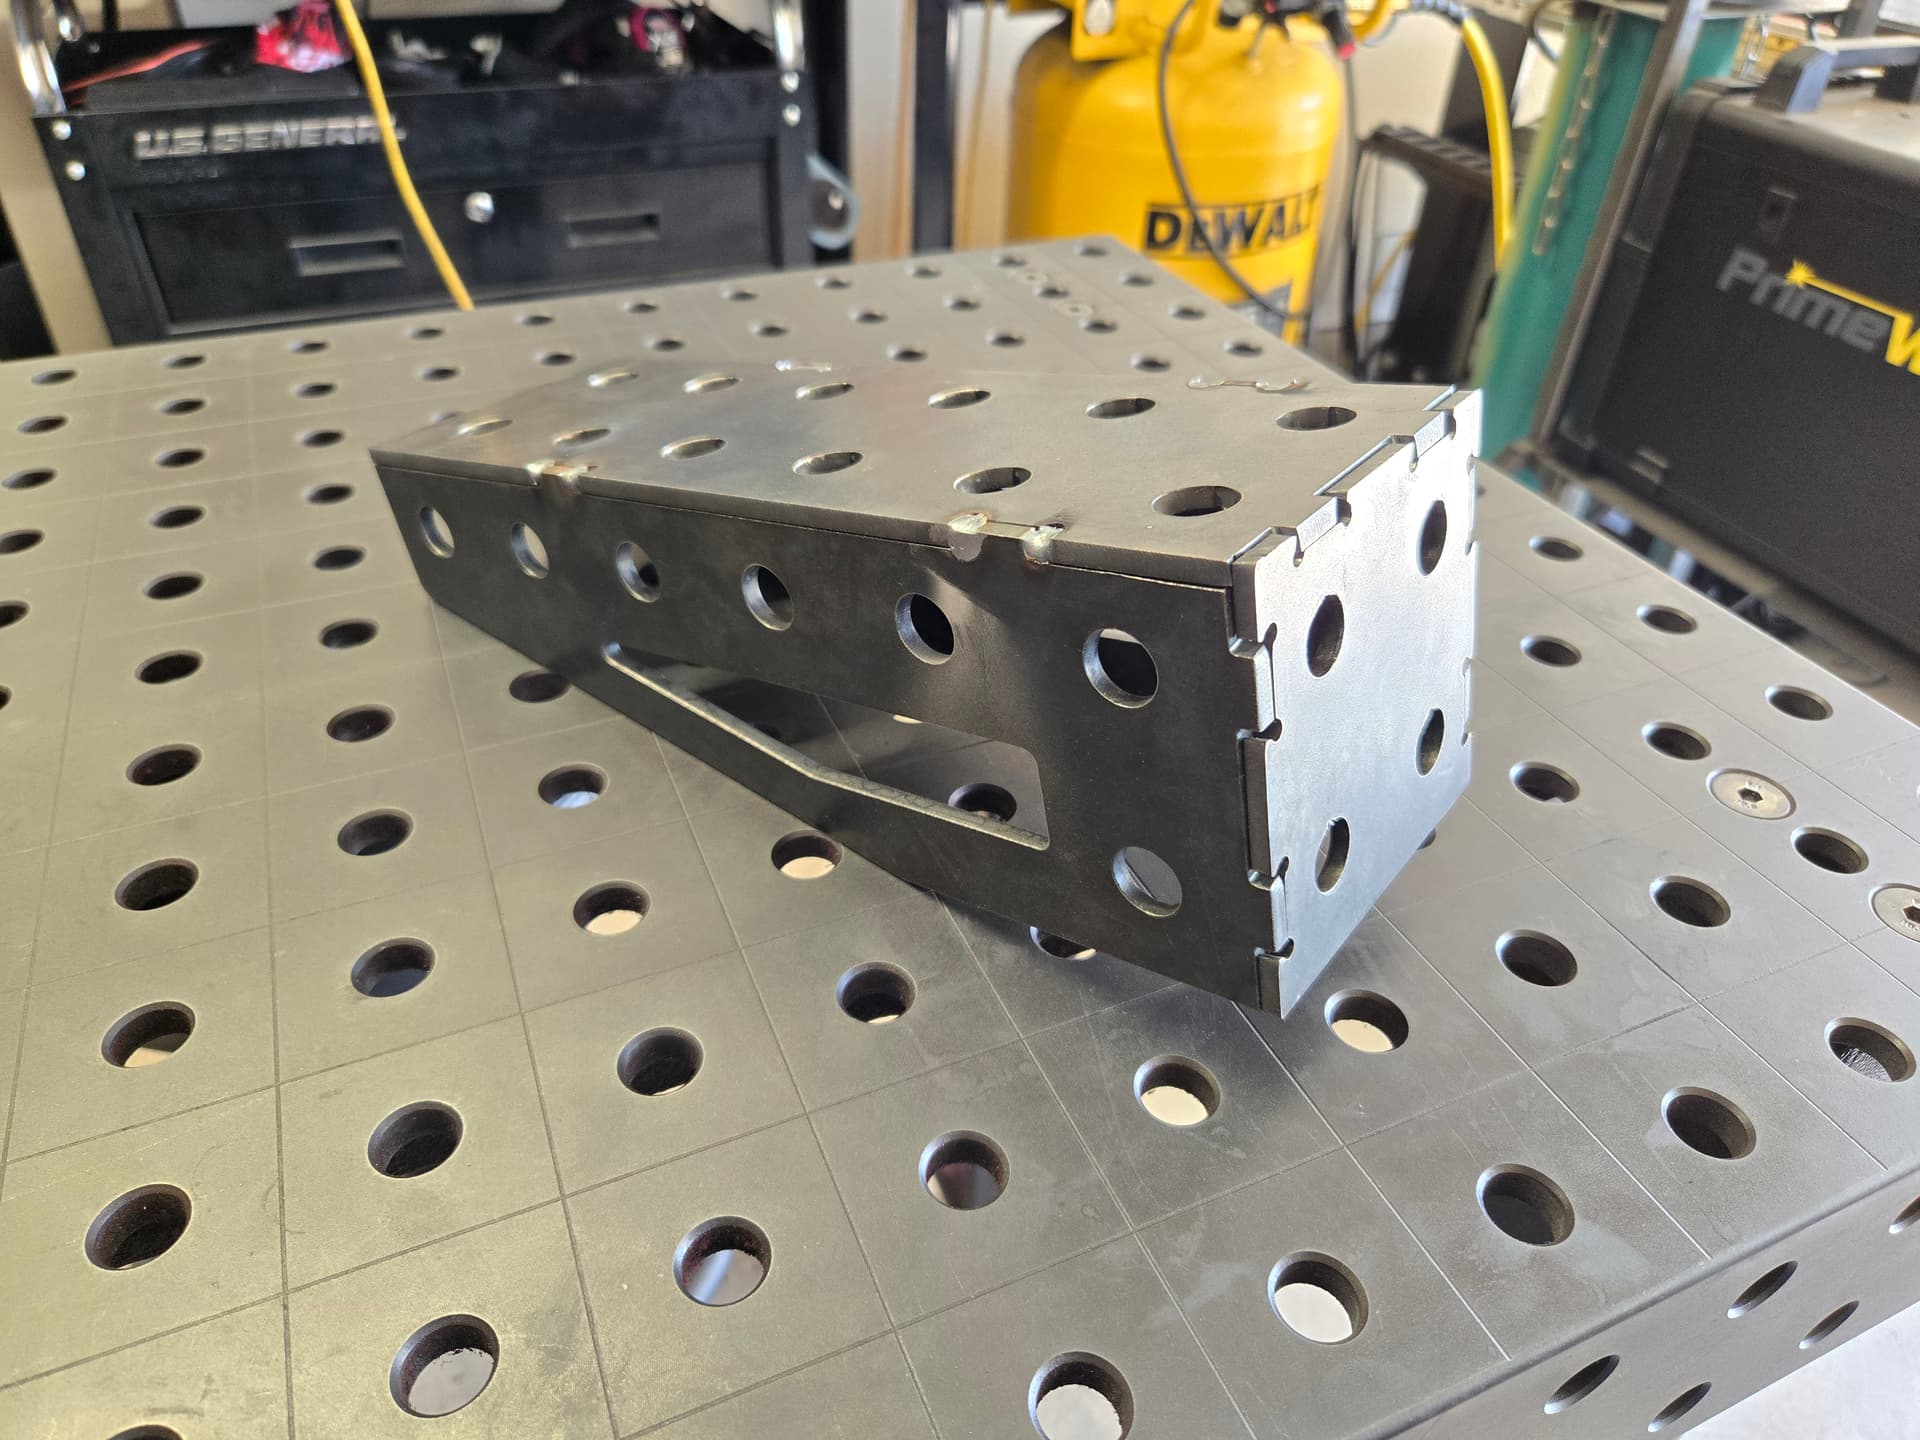
Don’t care much for the sides as I really just need the face to be perfectly perpendicular to the top (and it is).
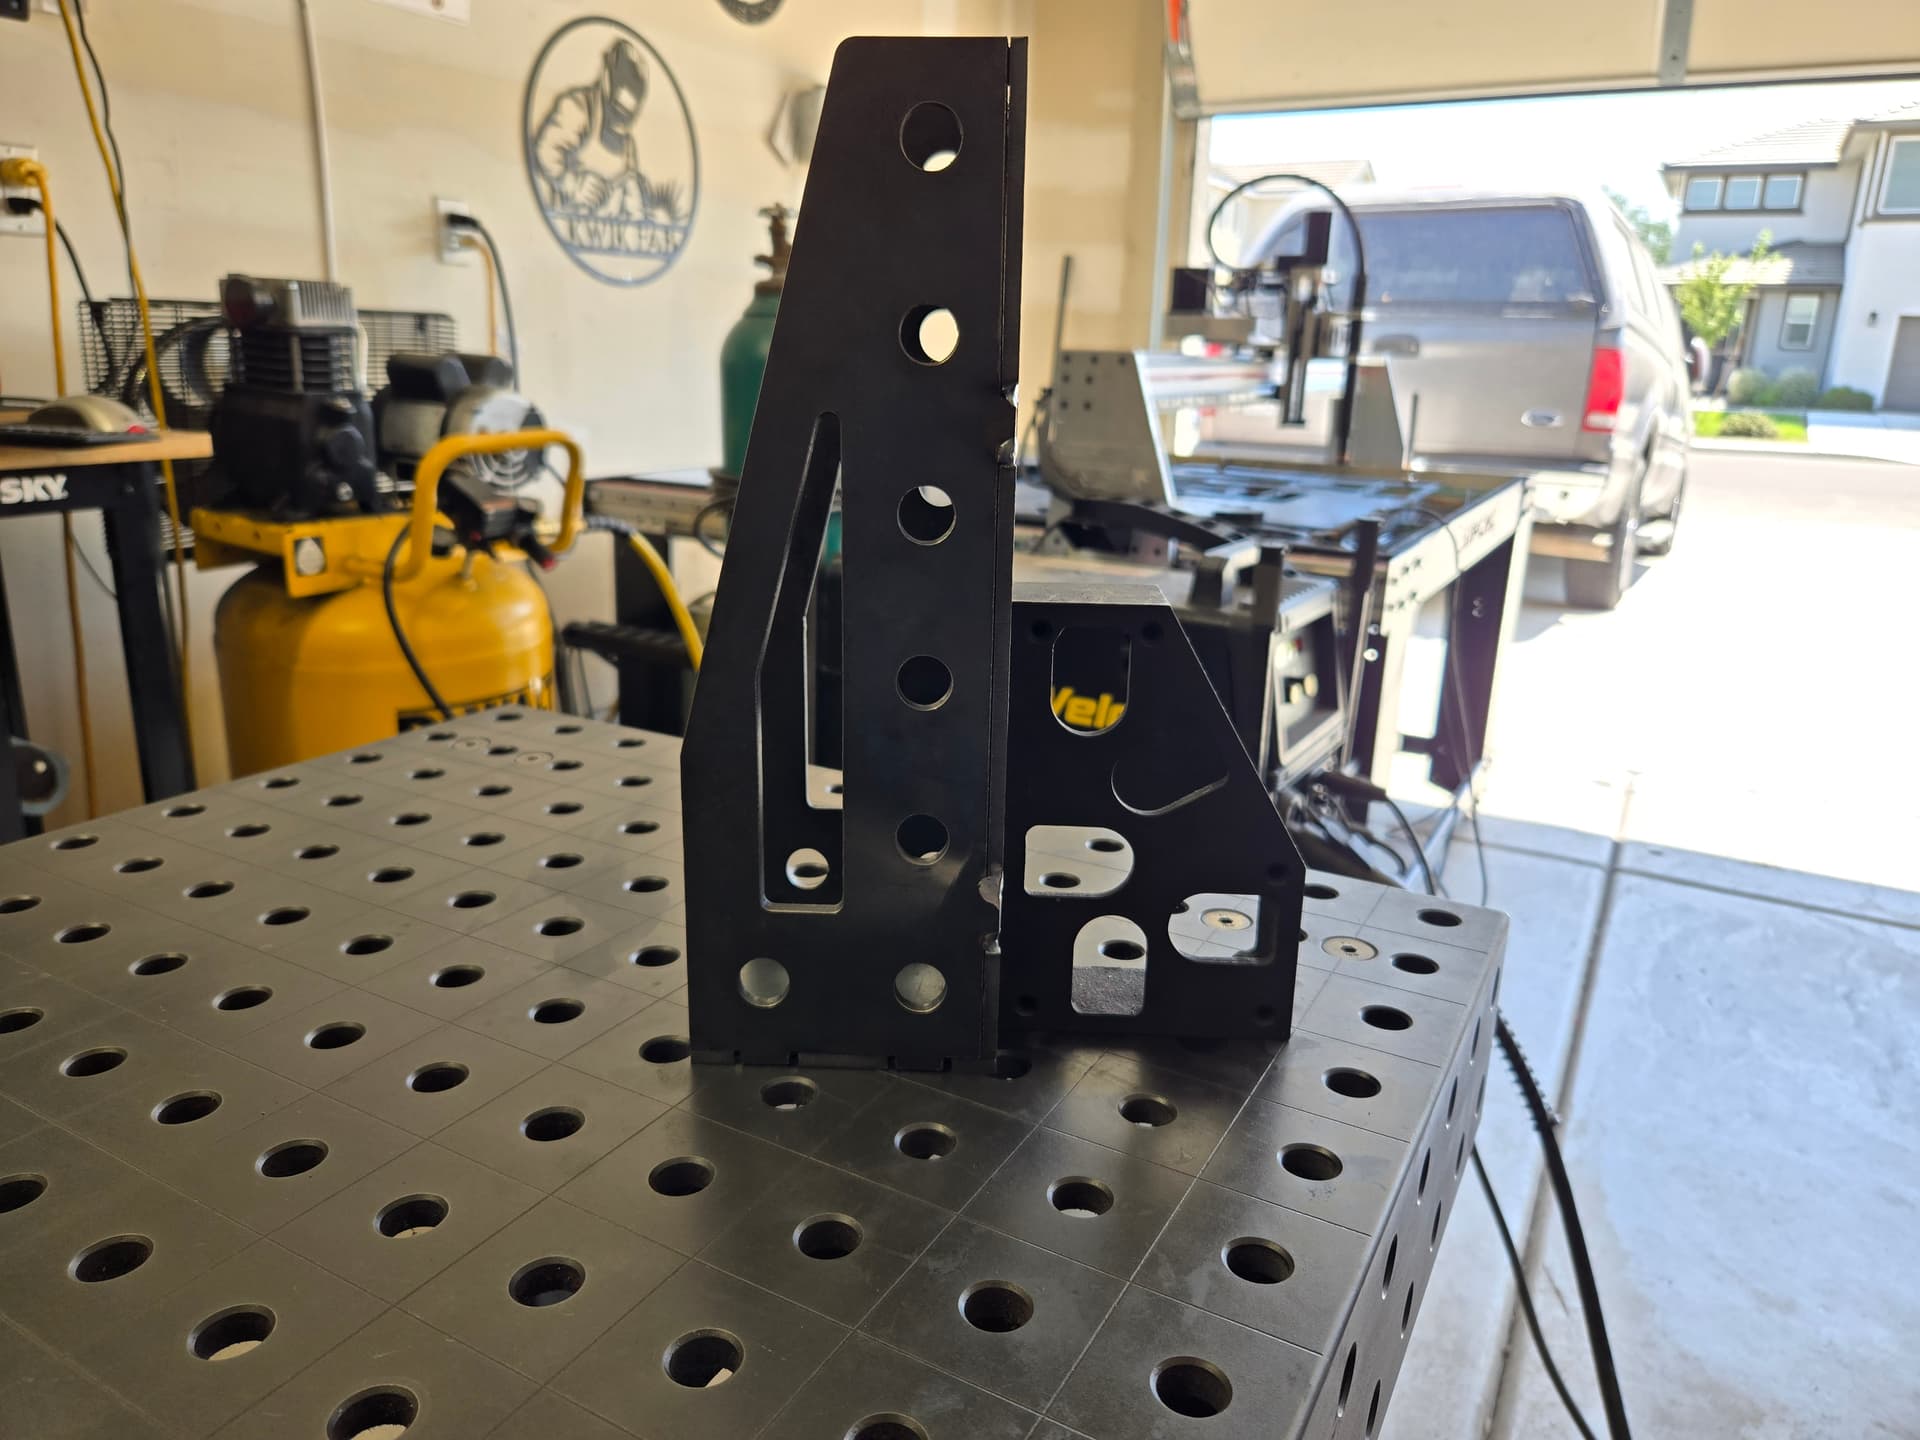
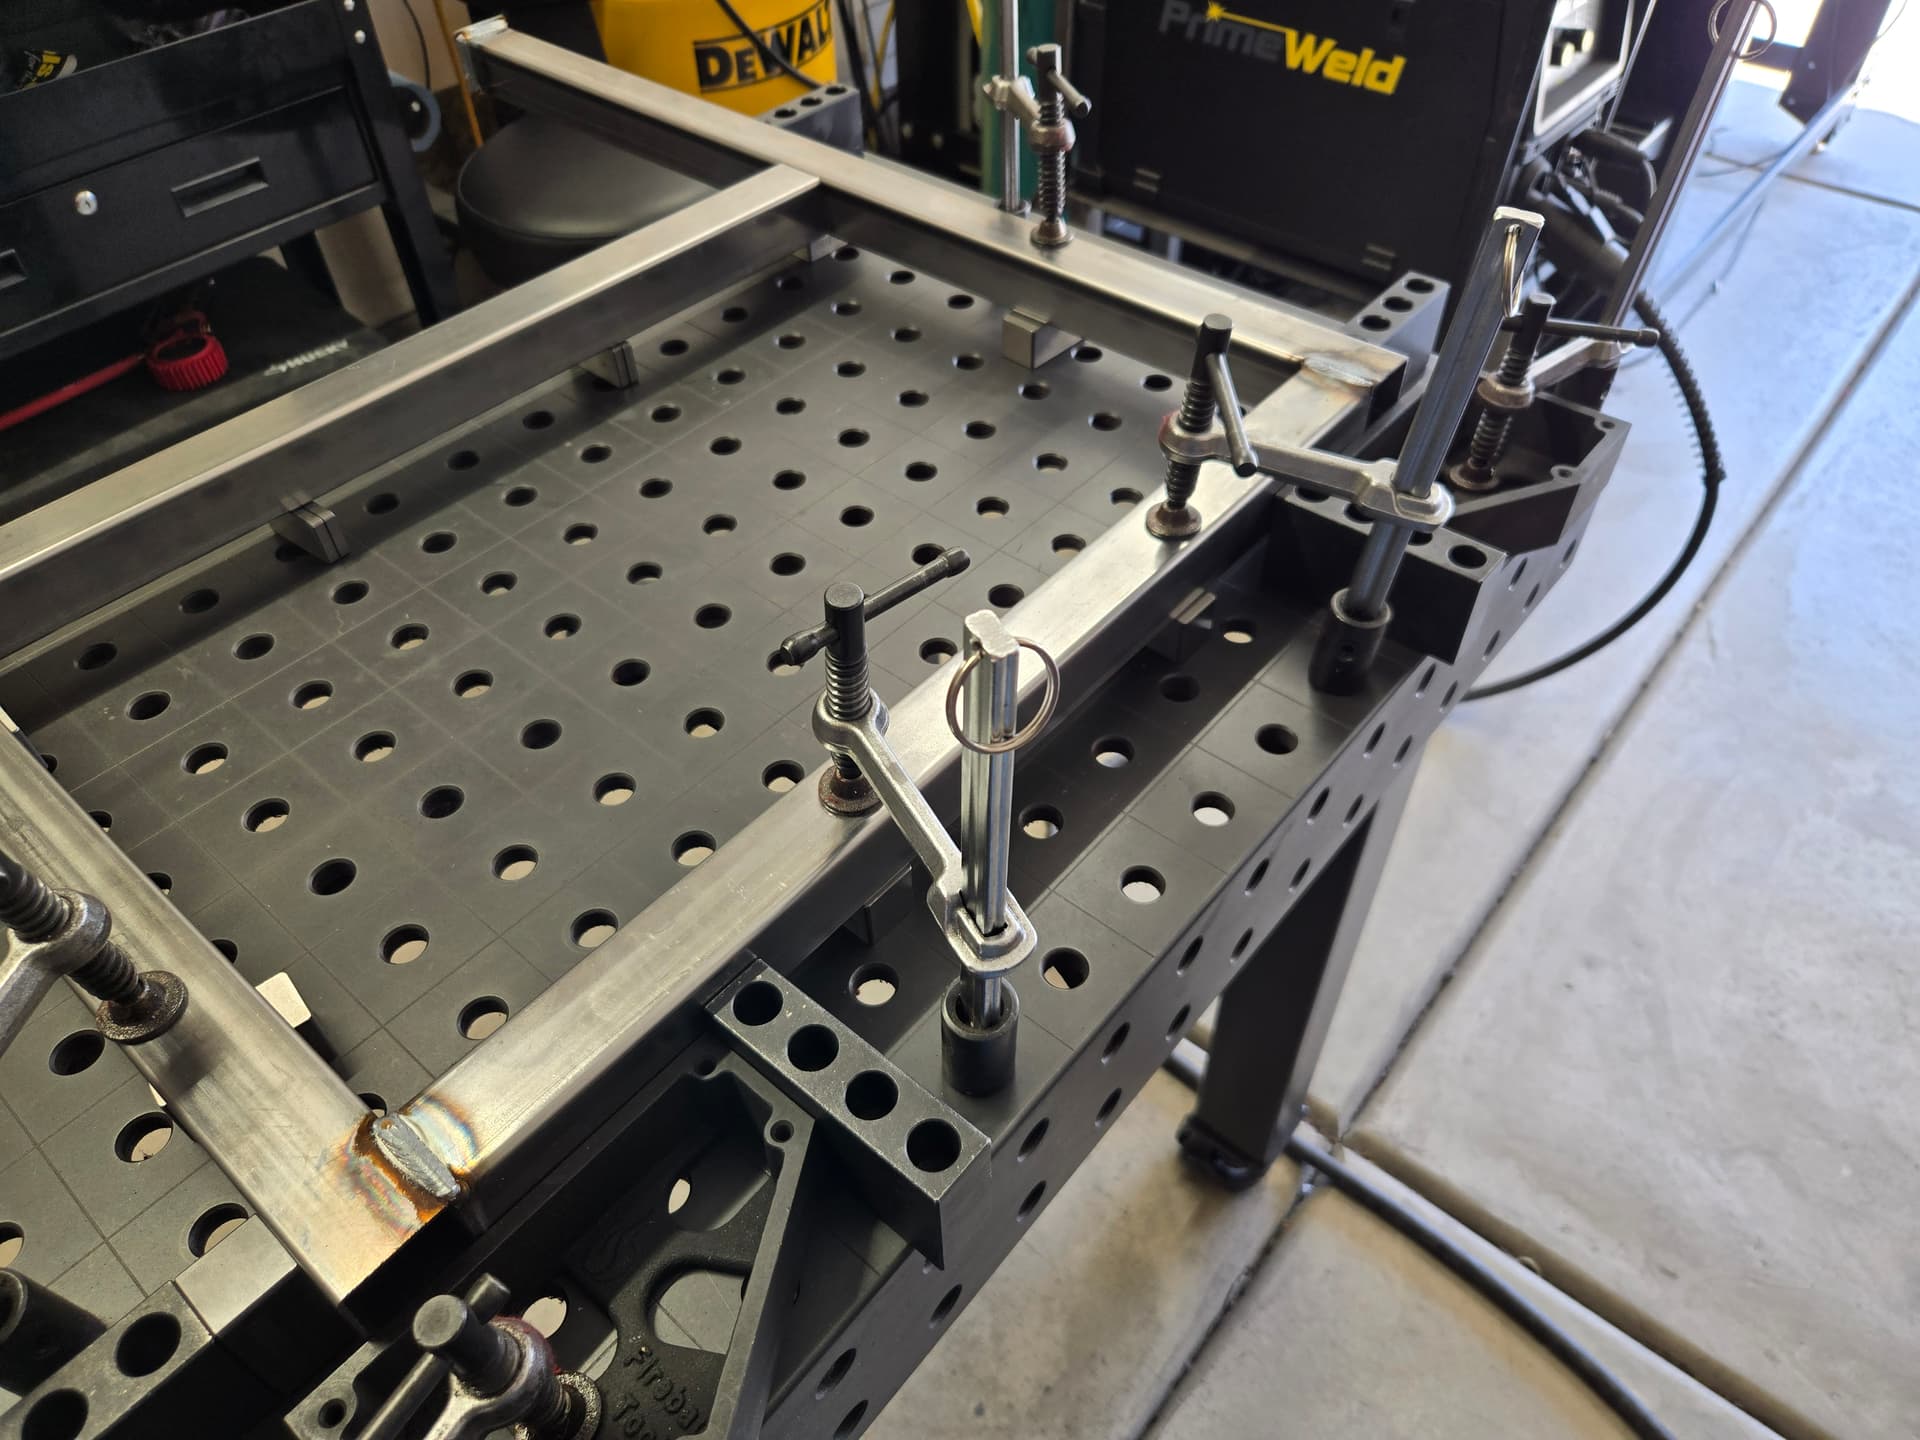
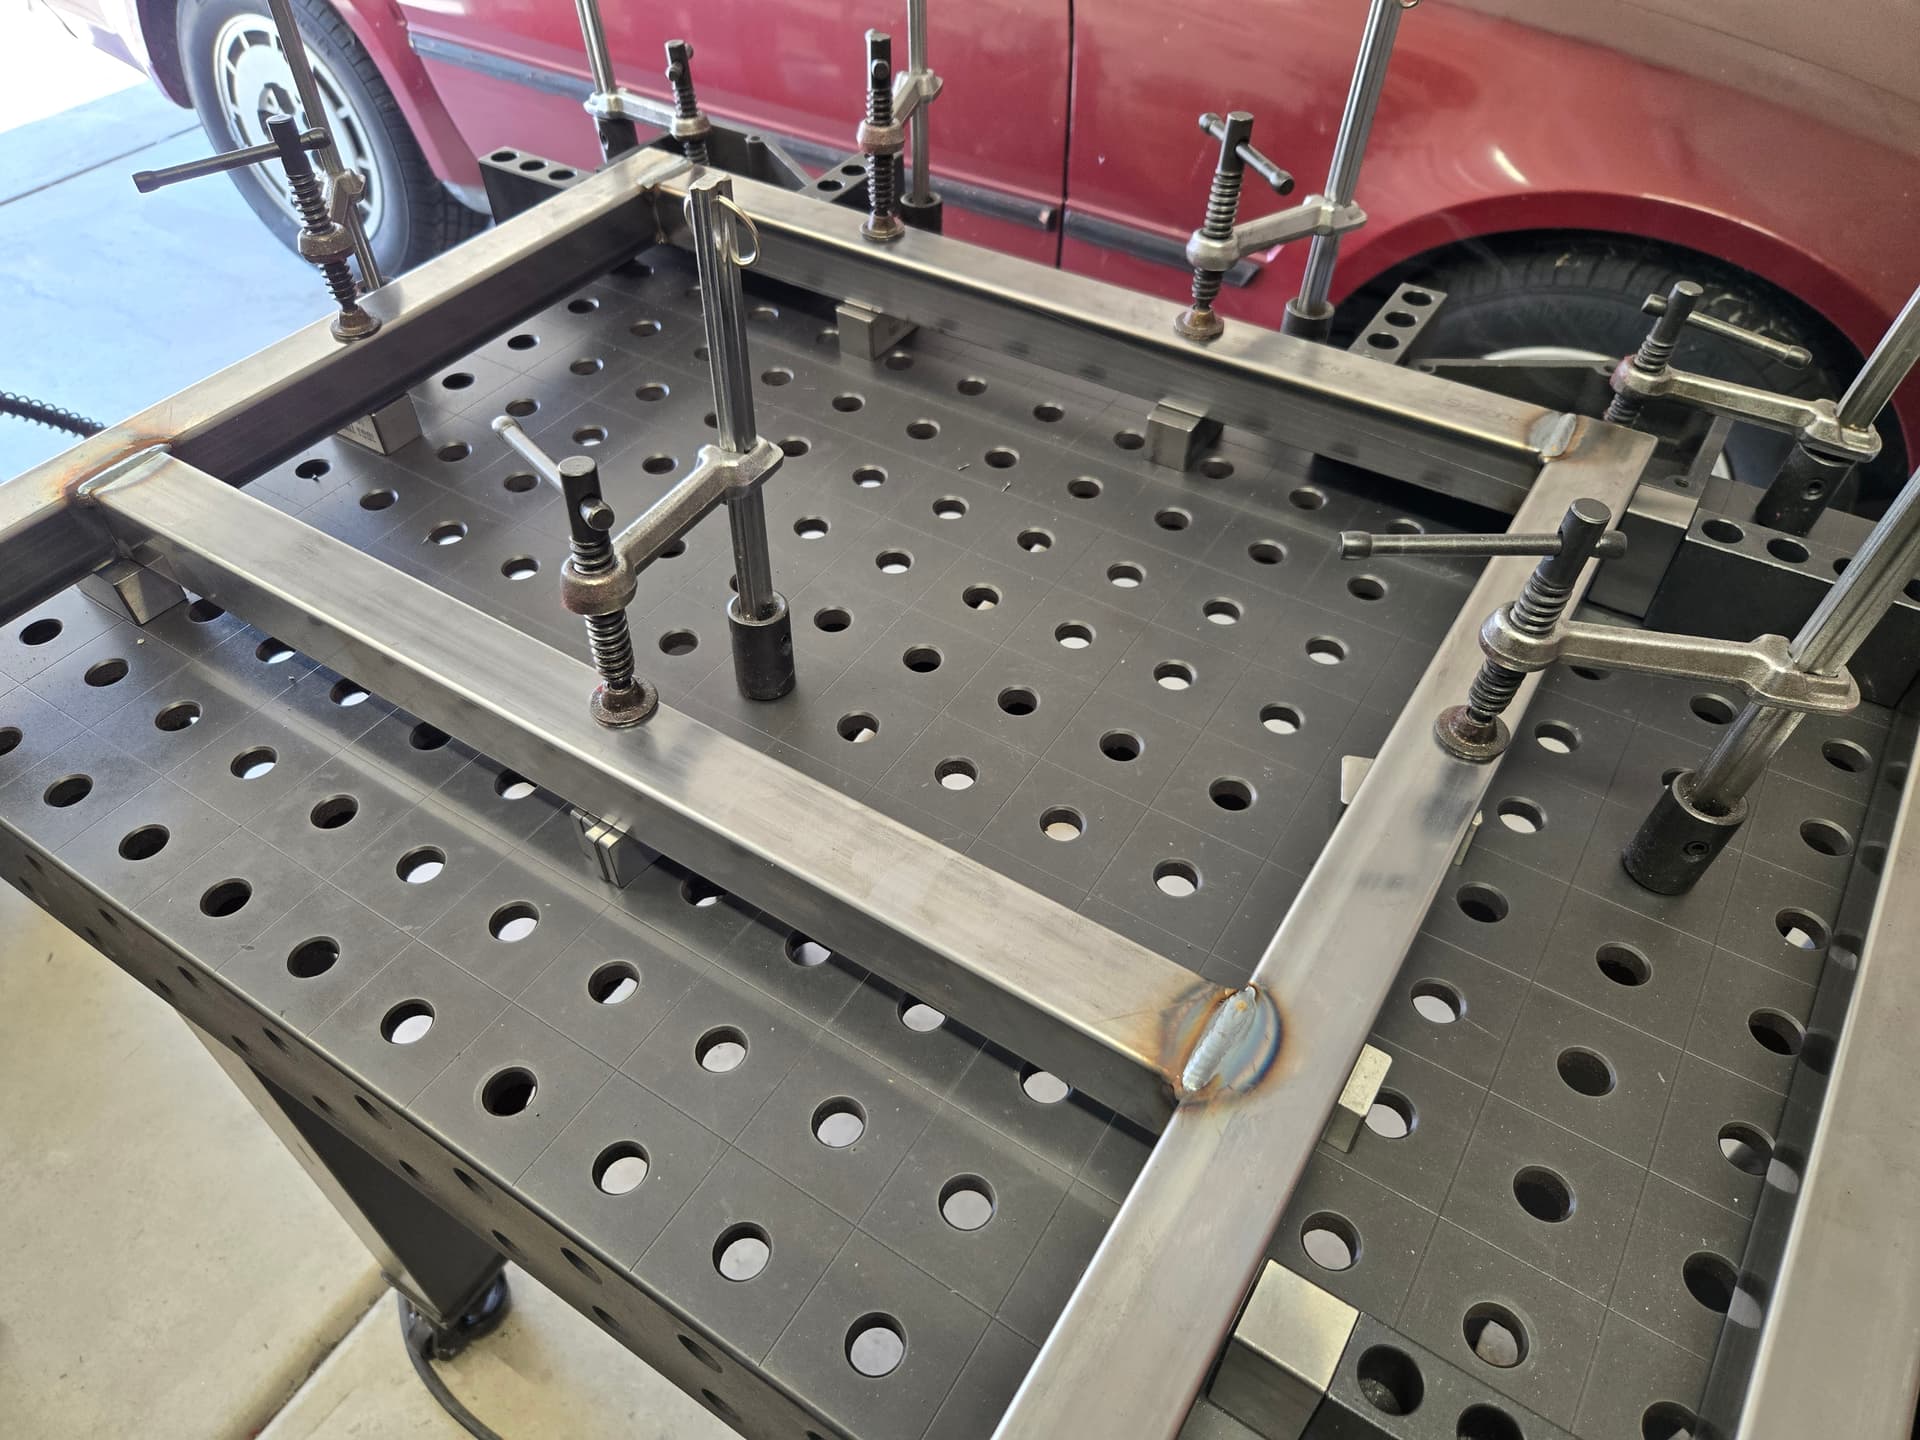
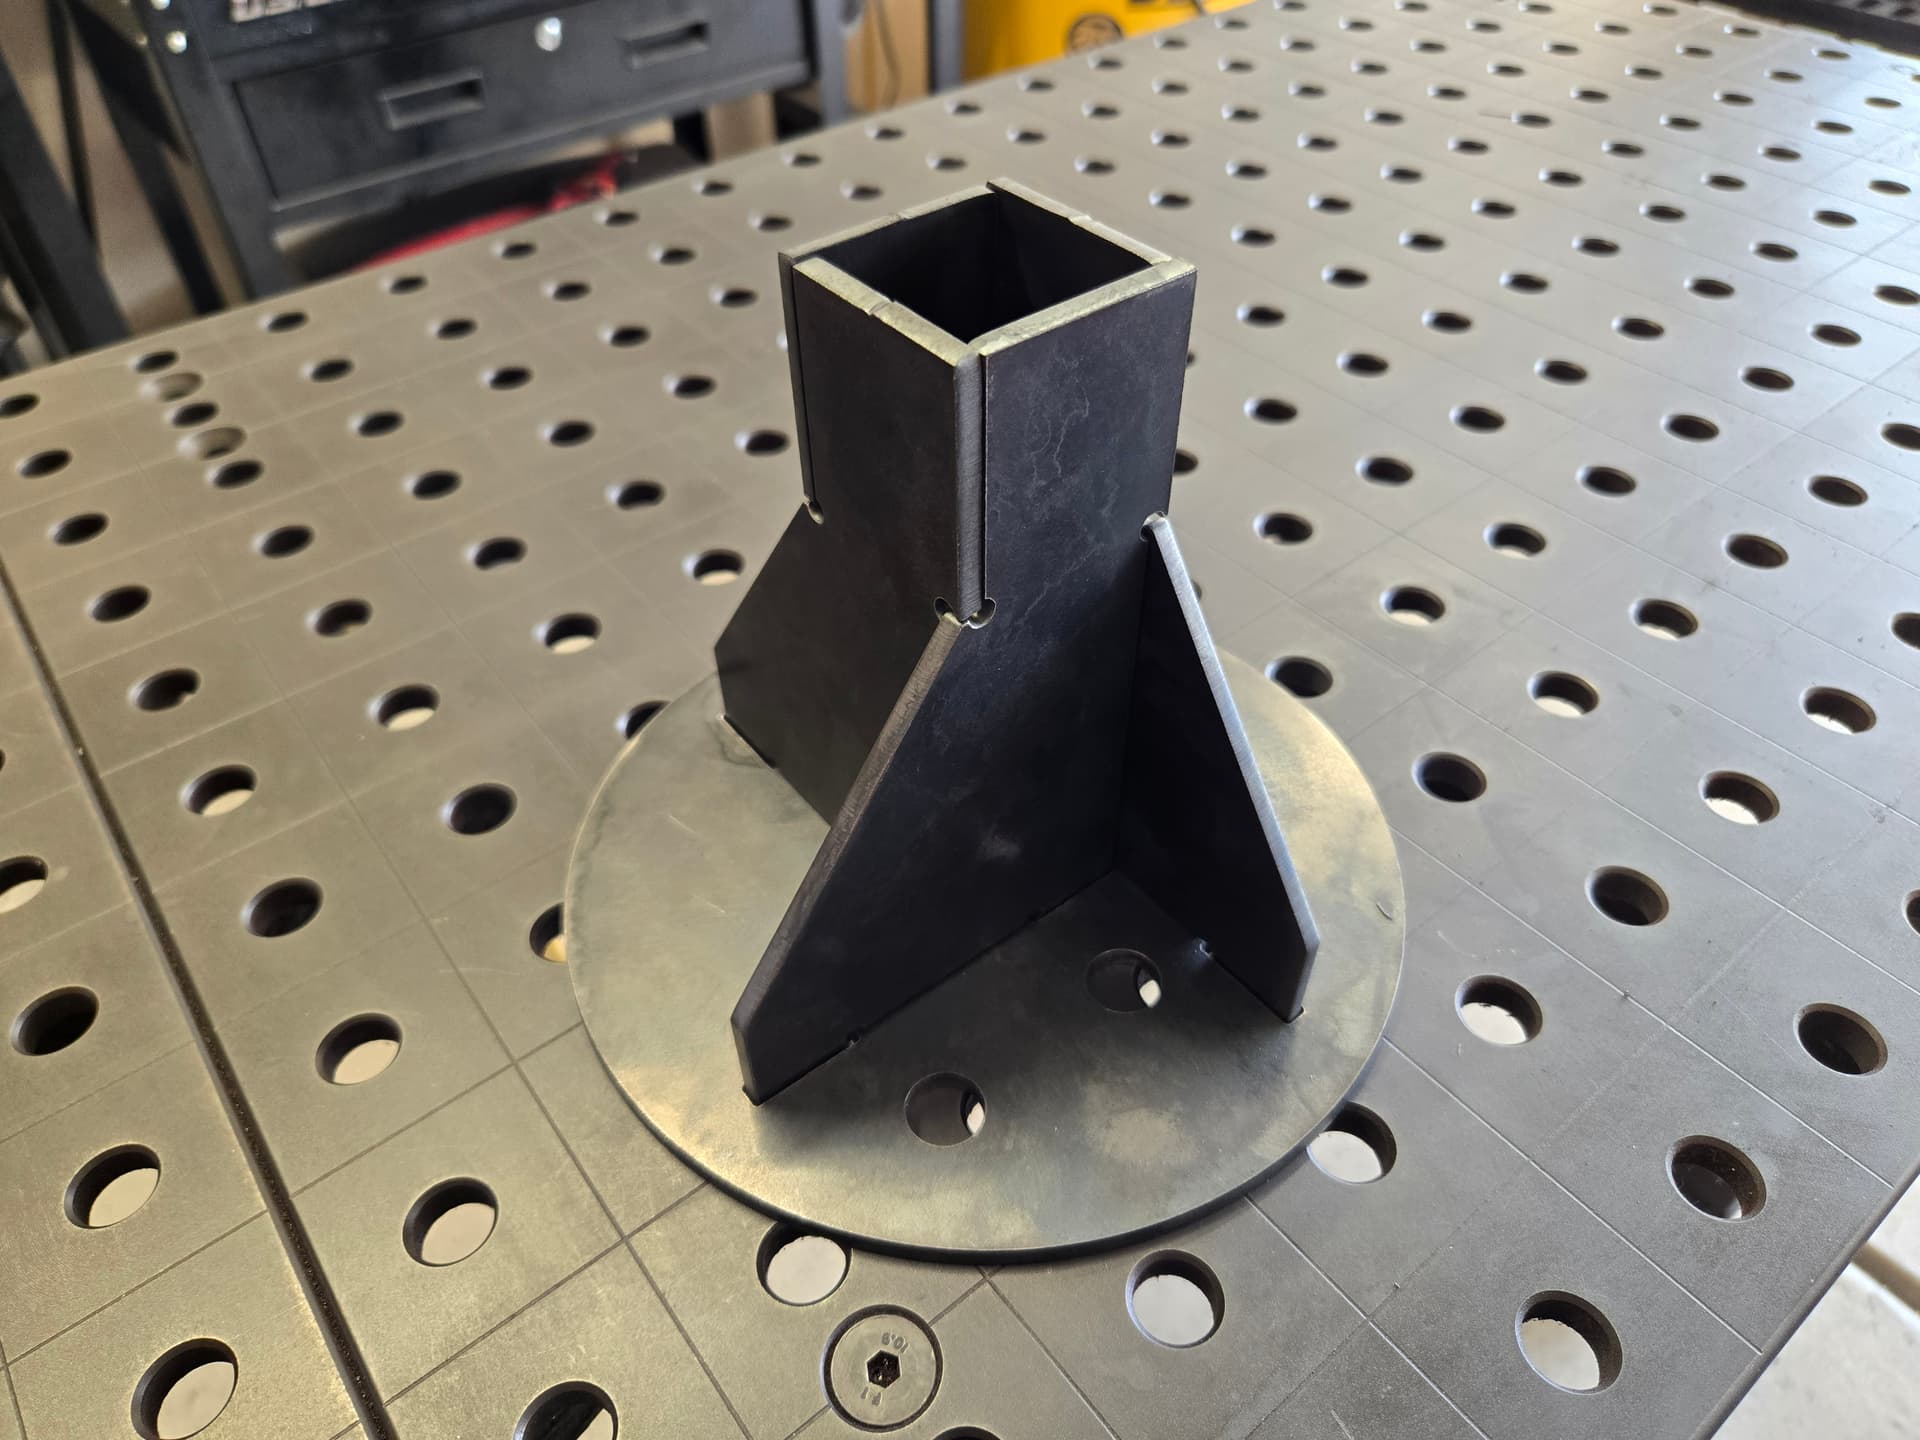
Here it is temporarily held in place by some blocks. Just placed an order for some lock pins so I’ll use those for my table extension once they arrive.
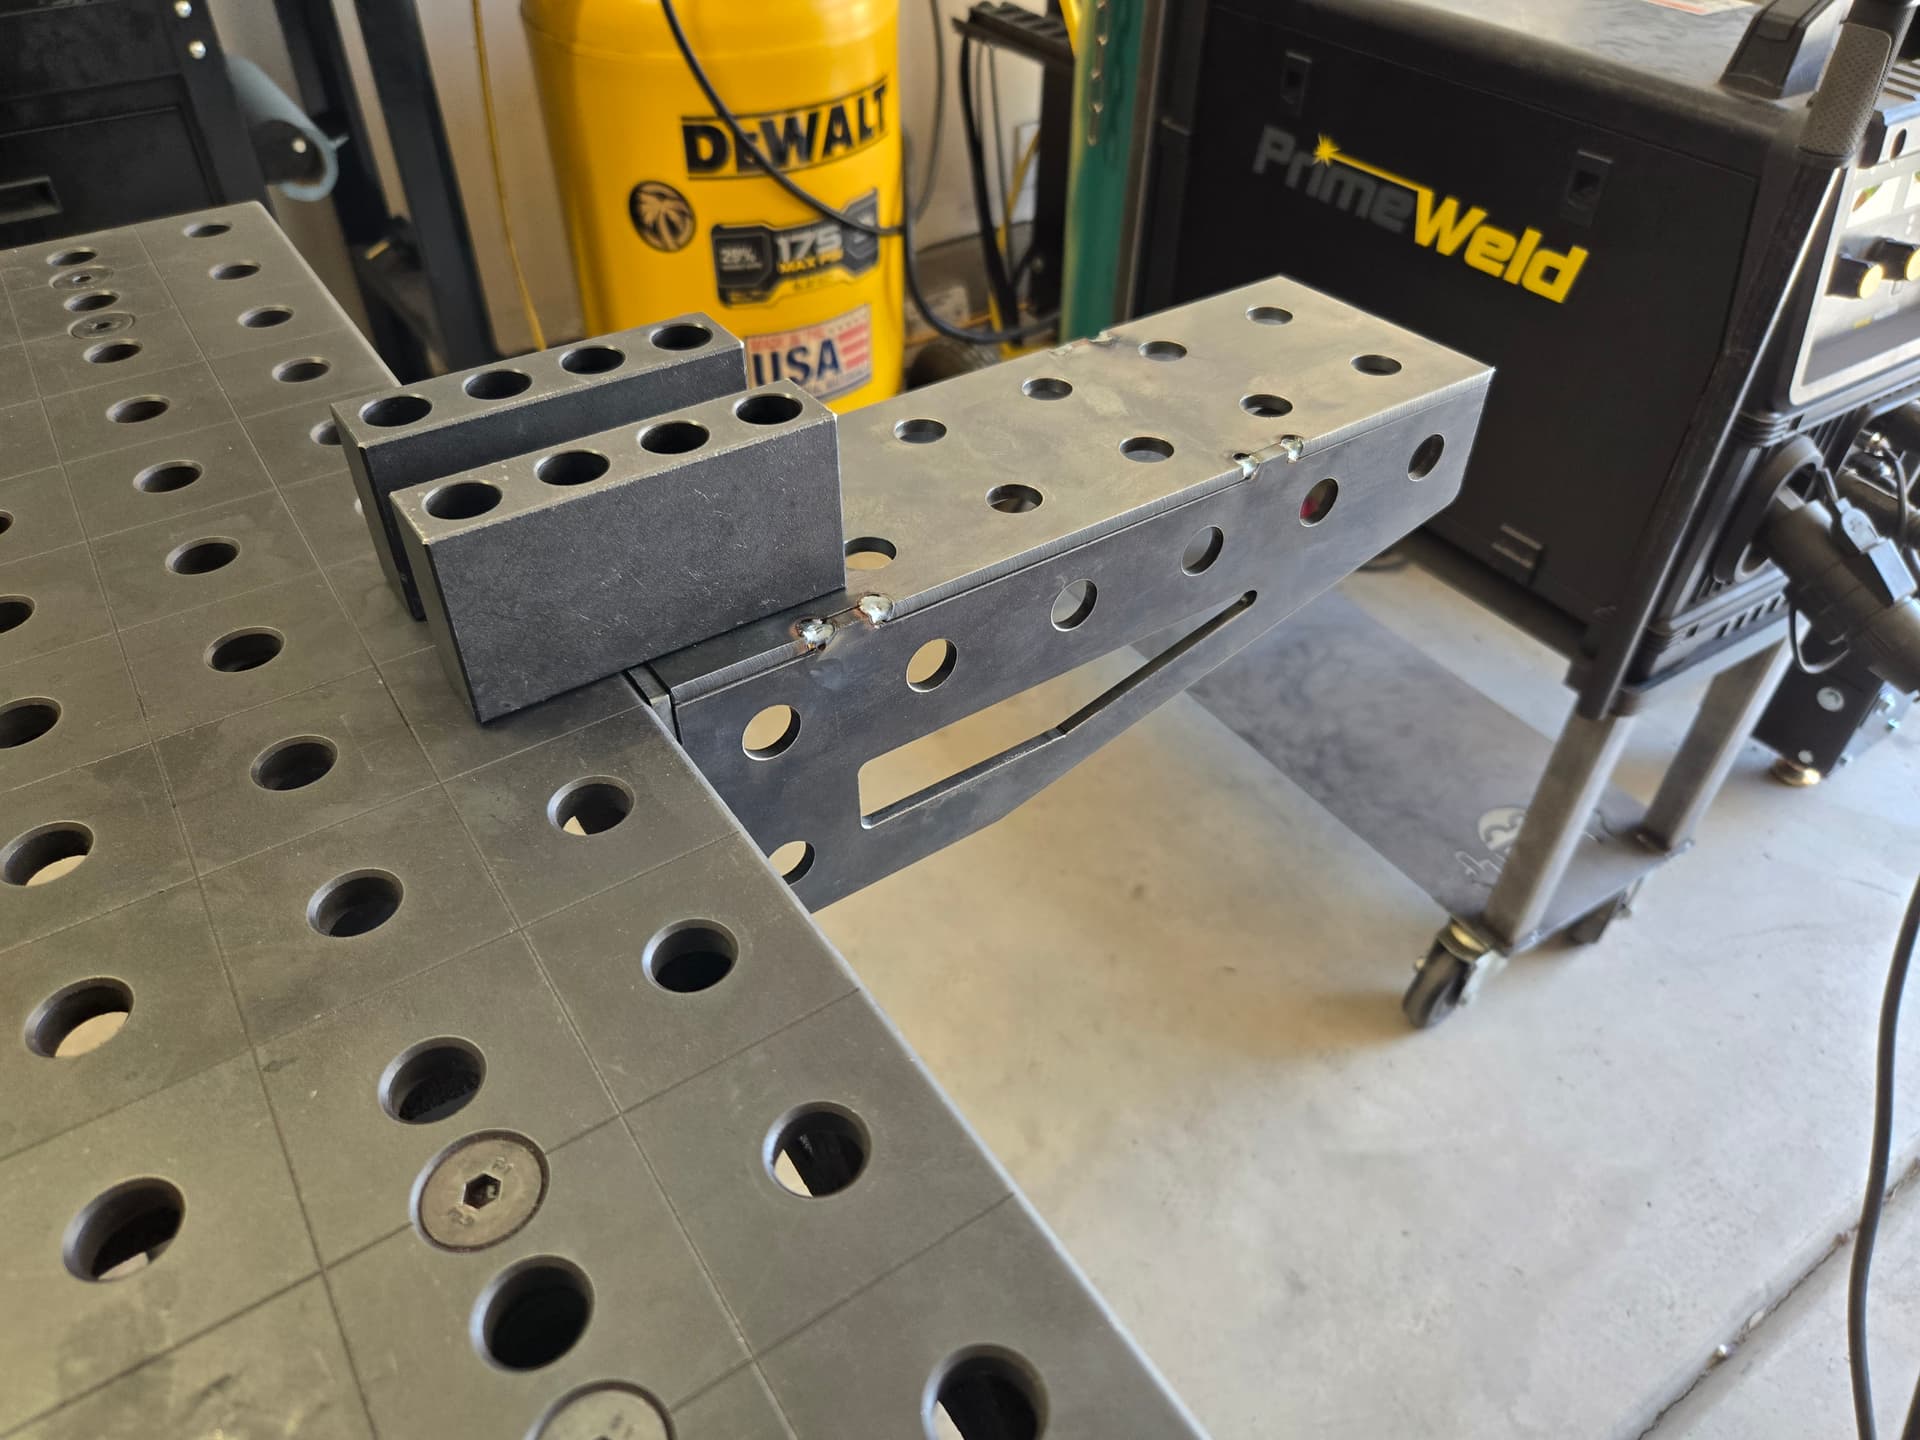
Just nice to see it sit perfectly flat and level with the top of my table. I’ll make myself another extension when I’ve got some extra time.
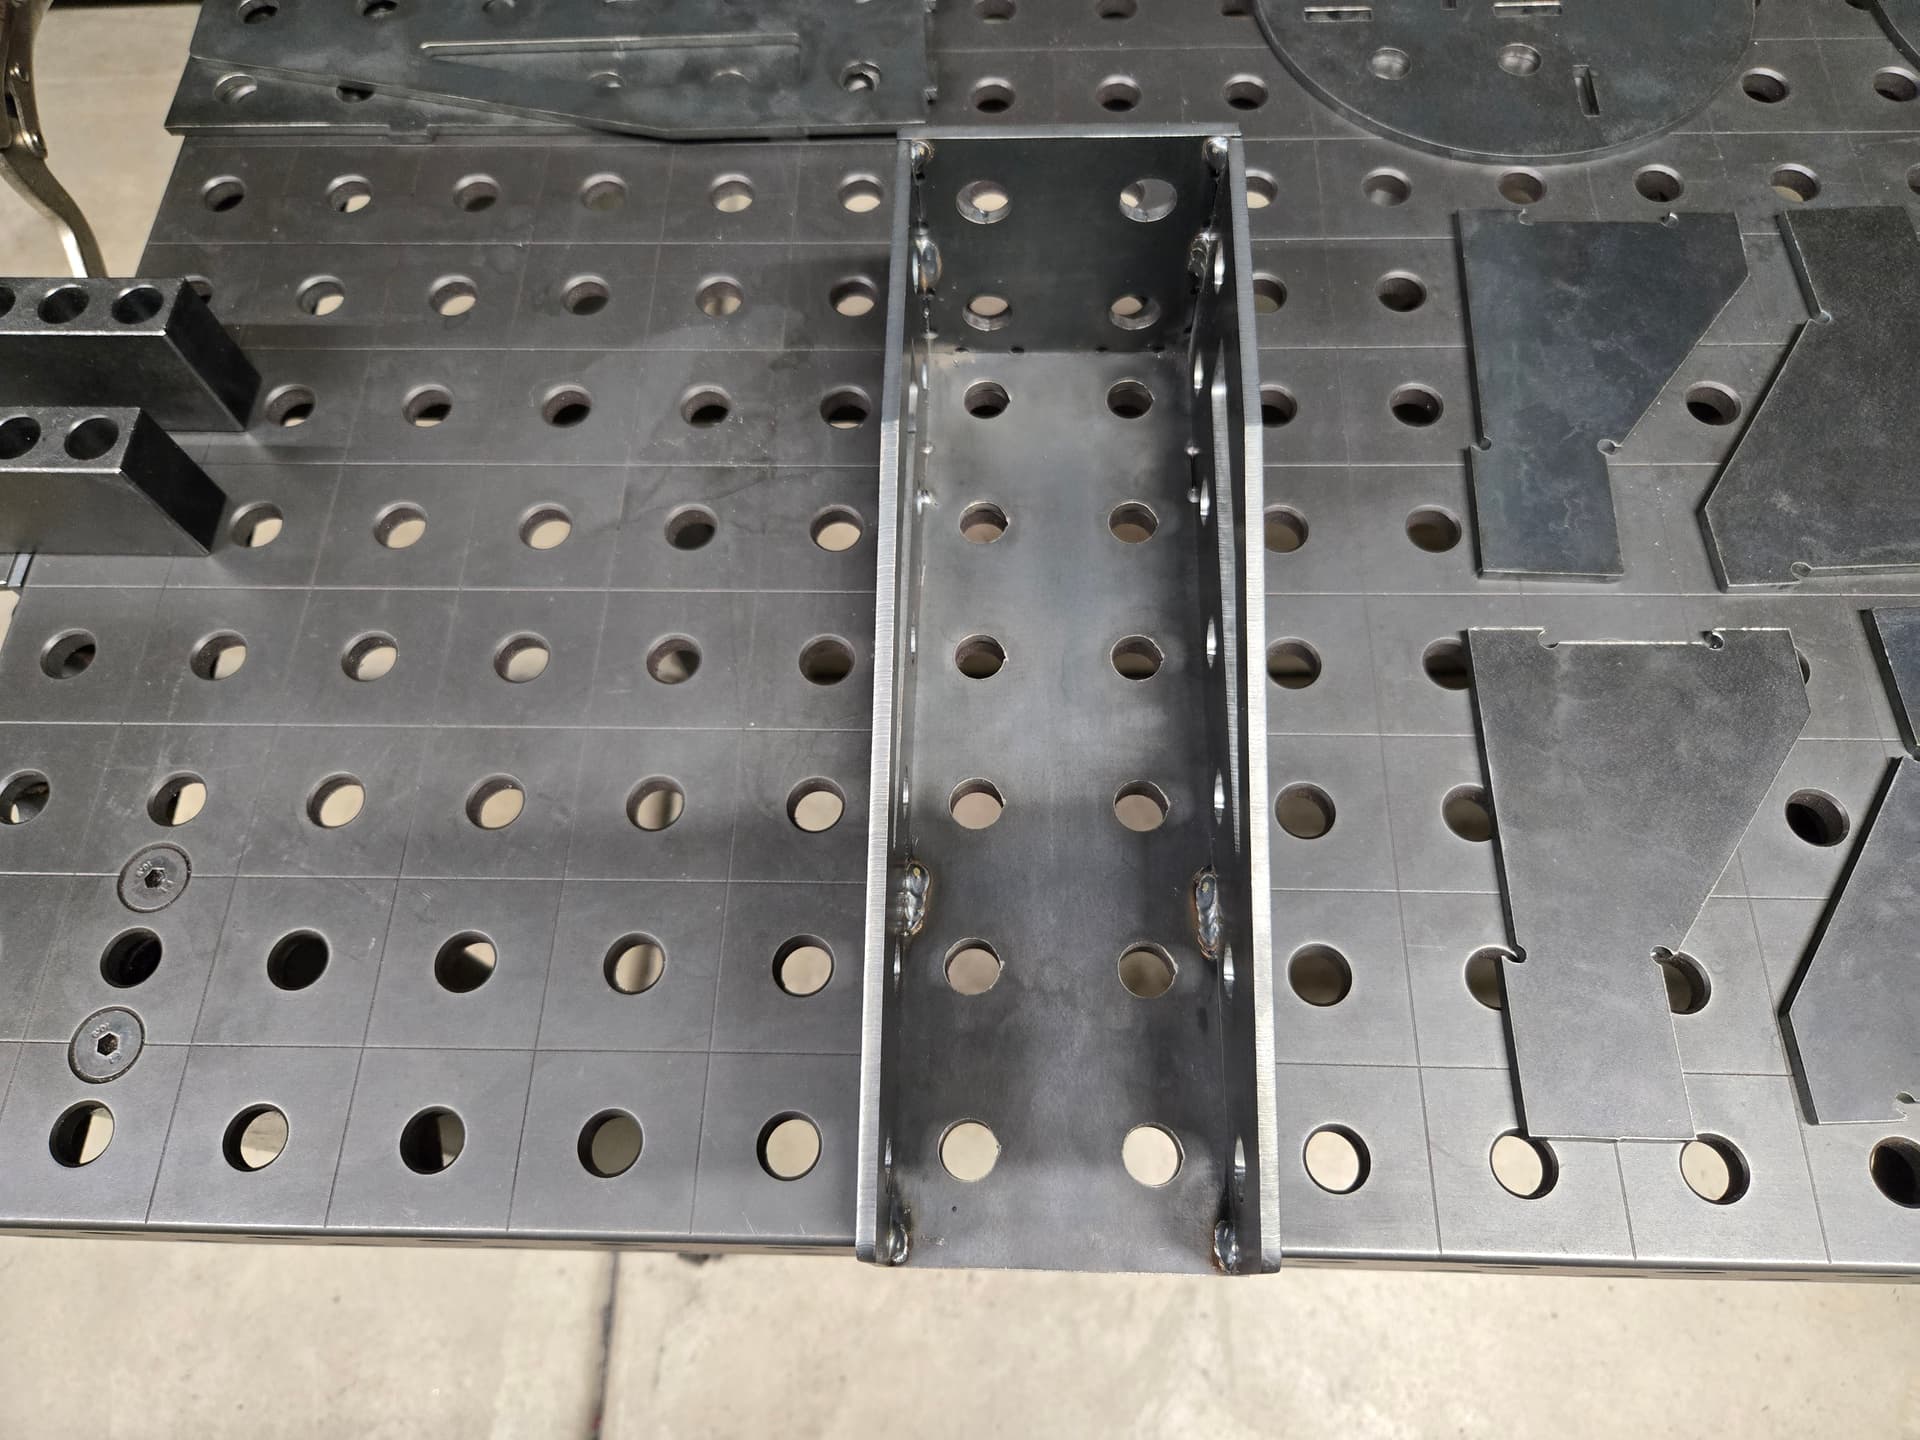
And onto the shelf itself.
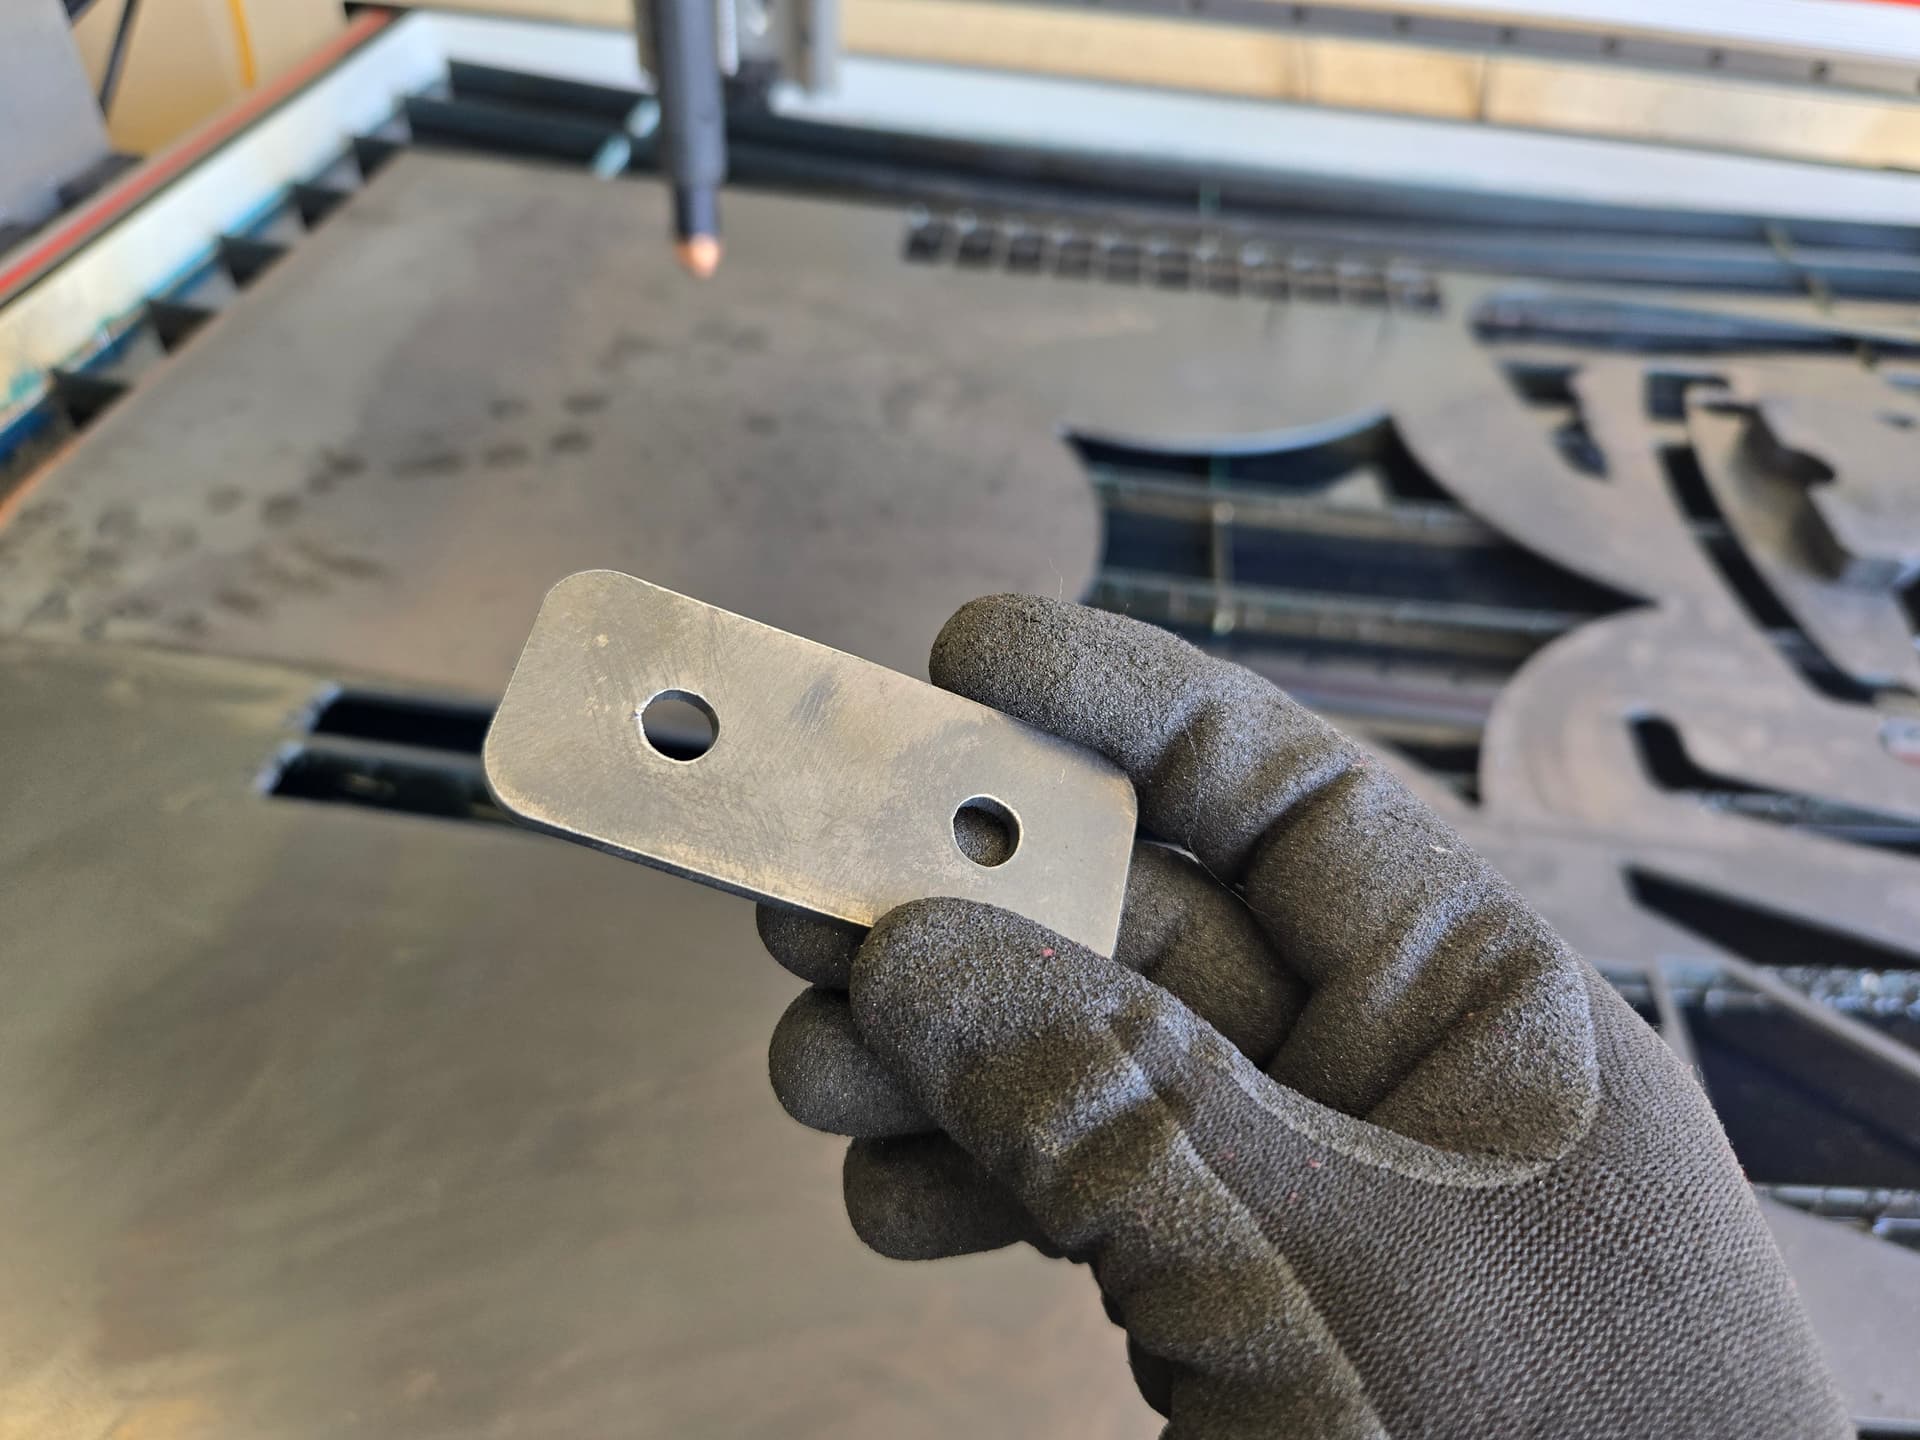
These are tabs I cut out to bend in half; one hole will get plug welded to the face of the tube while the other hole will secure the custom wood top.
Parts bent, along with some square cutouts. Those square cutouts get a nut welded to them nice and center.
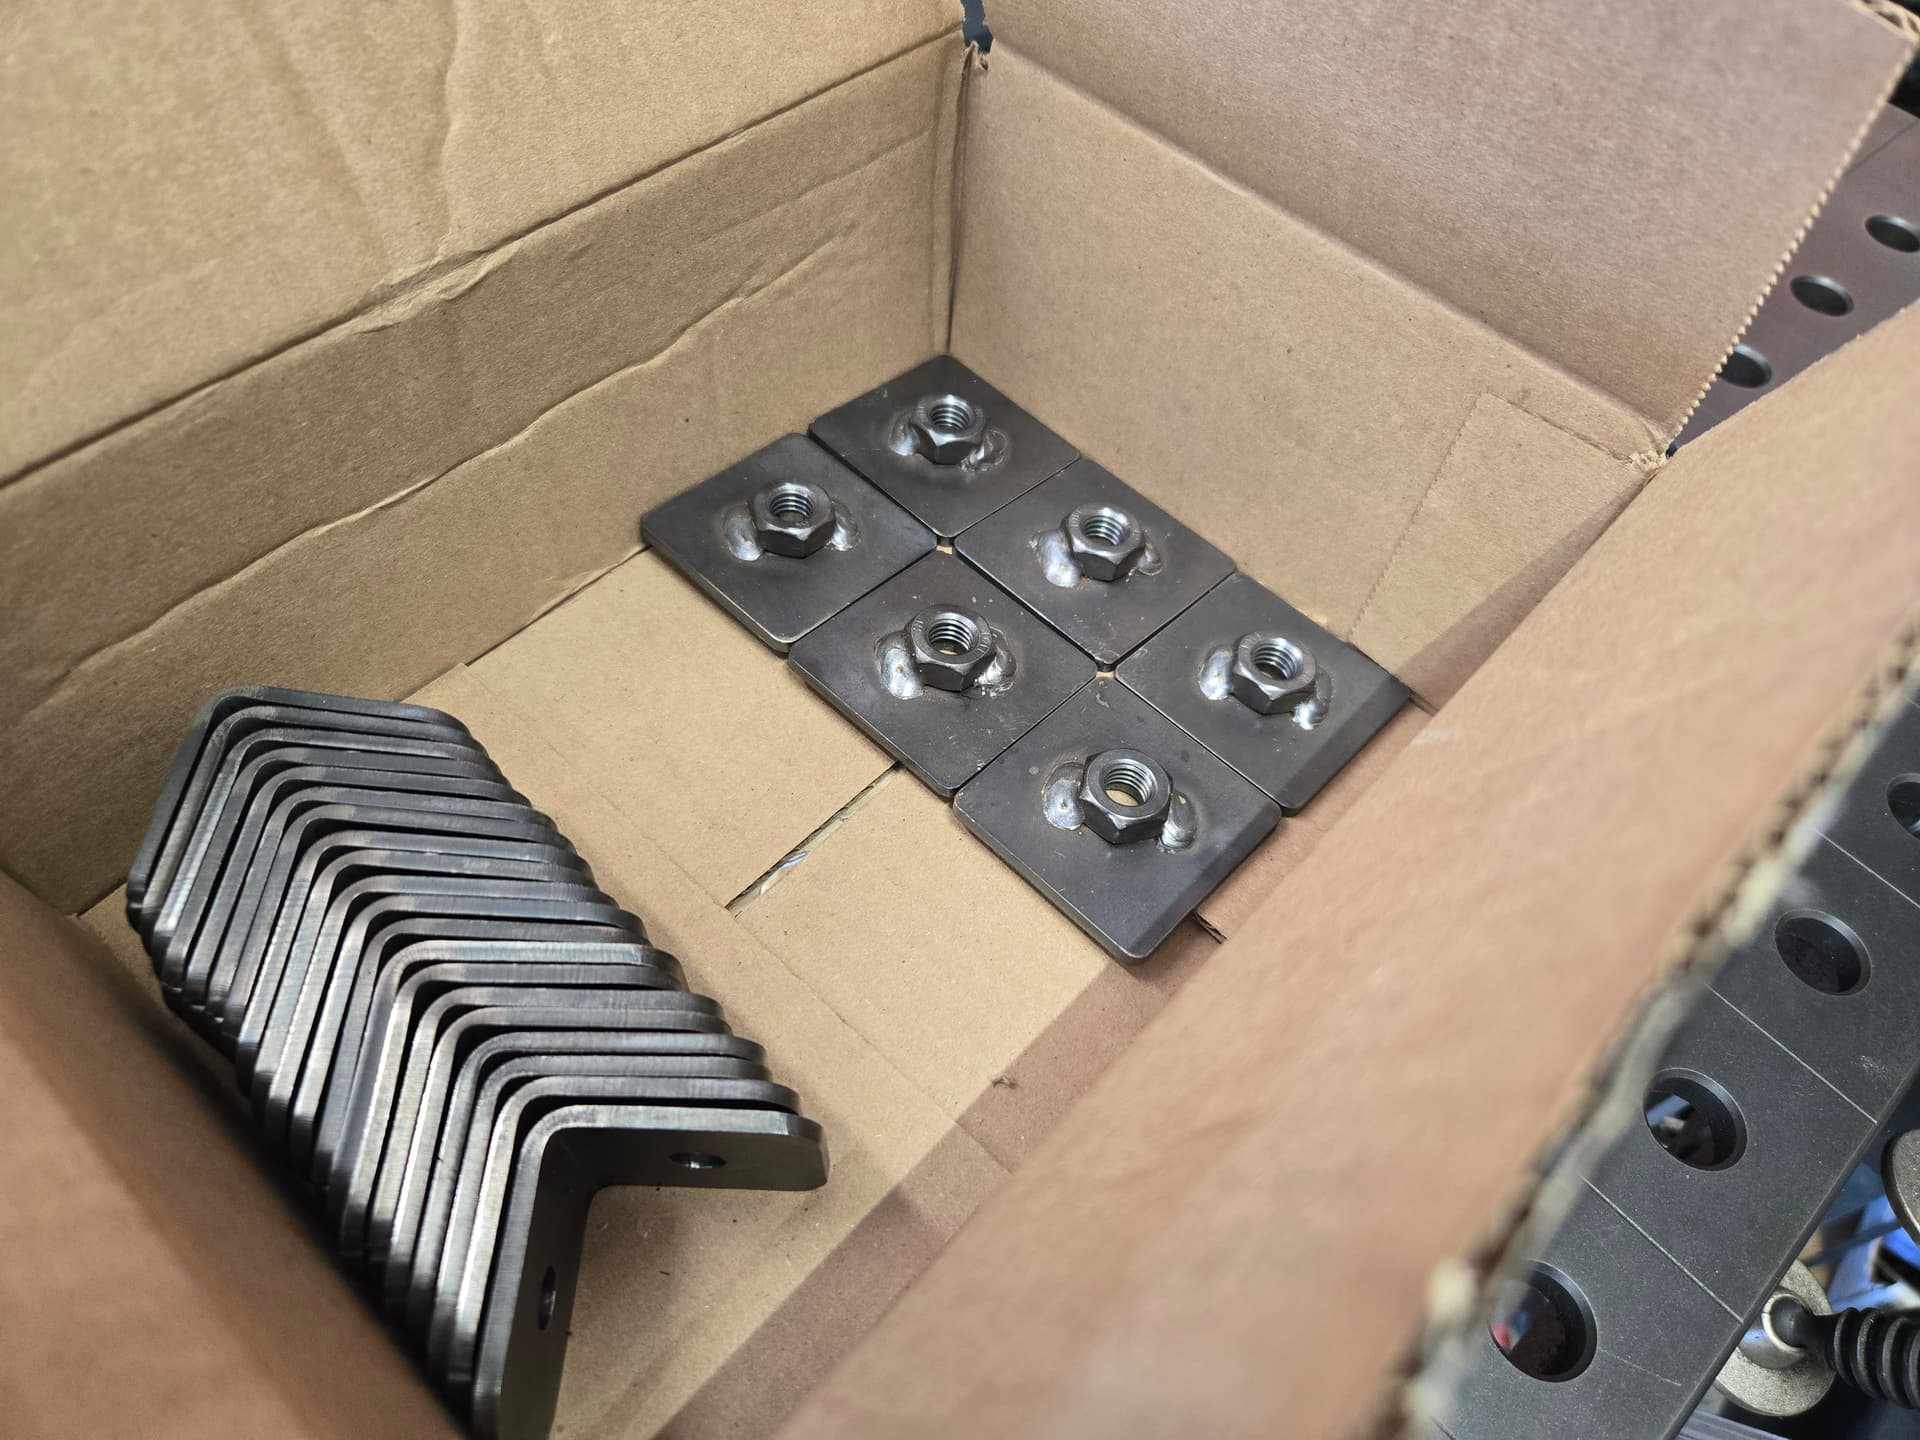
Here’s where those squares get welded to the bottoms of the legs. I did this because no surface is perfectly flat, allowing the use of adjustable feet.

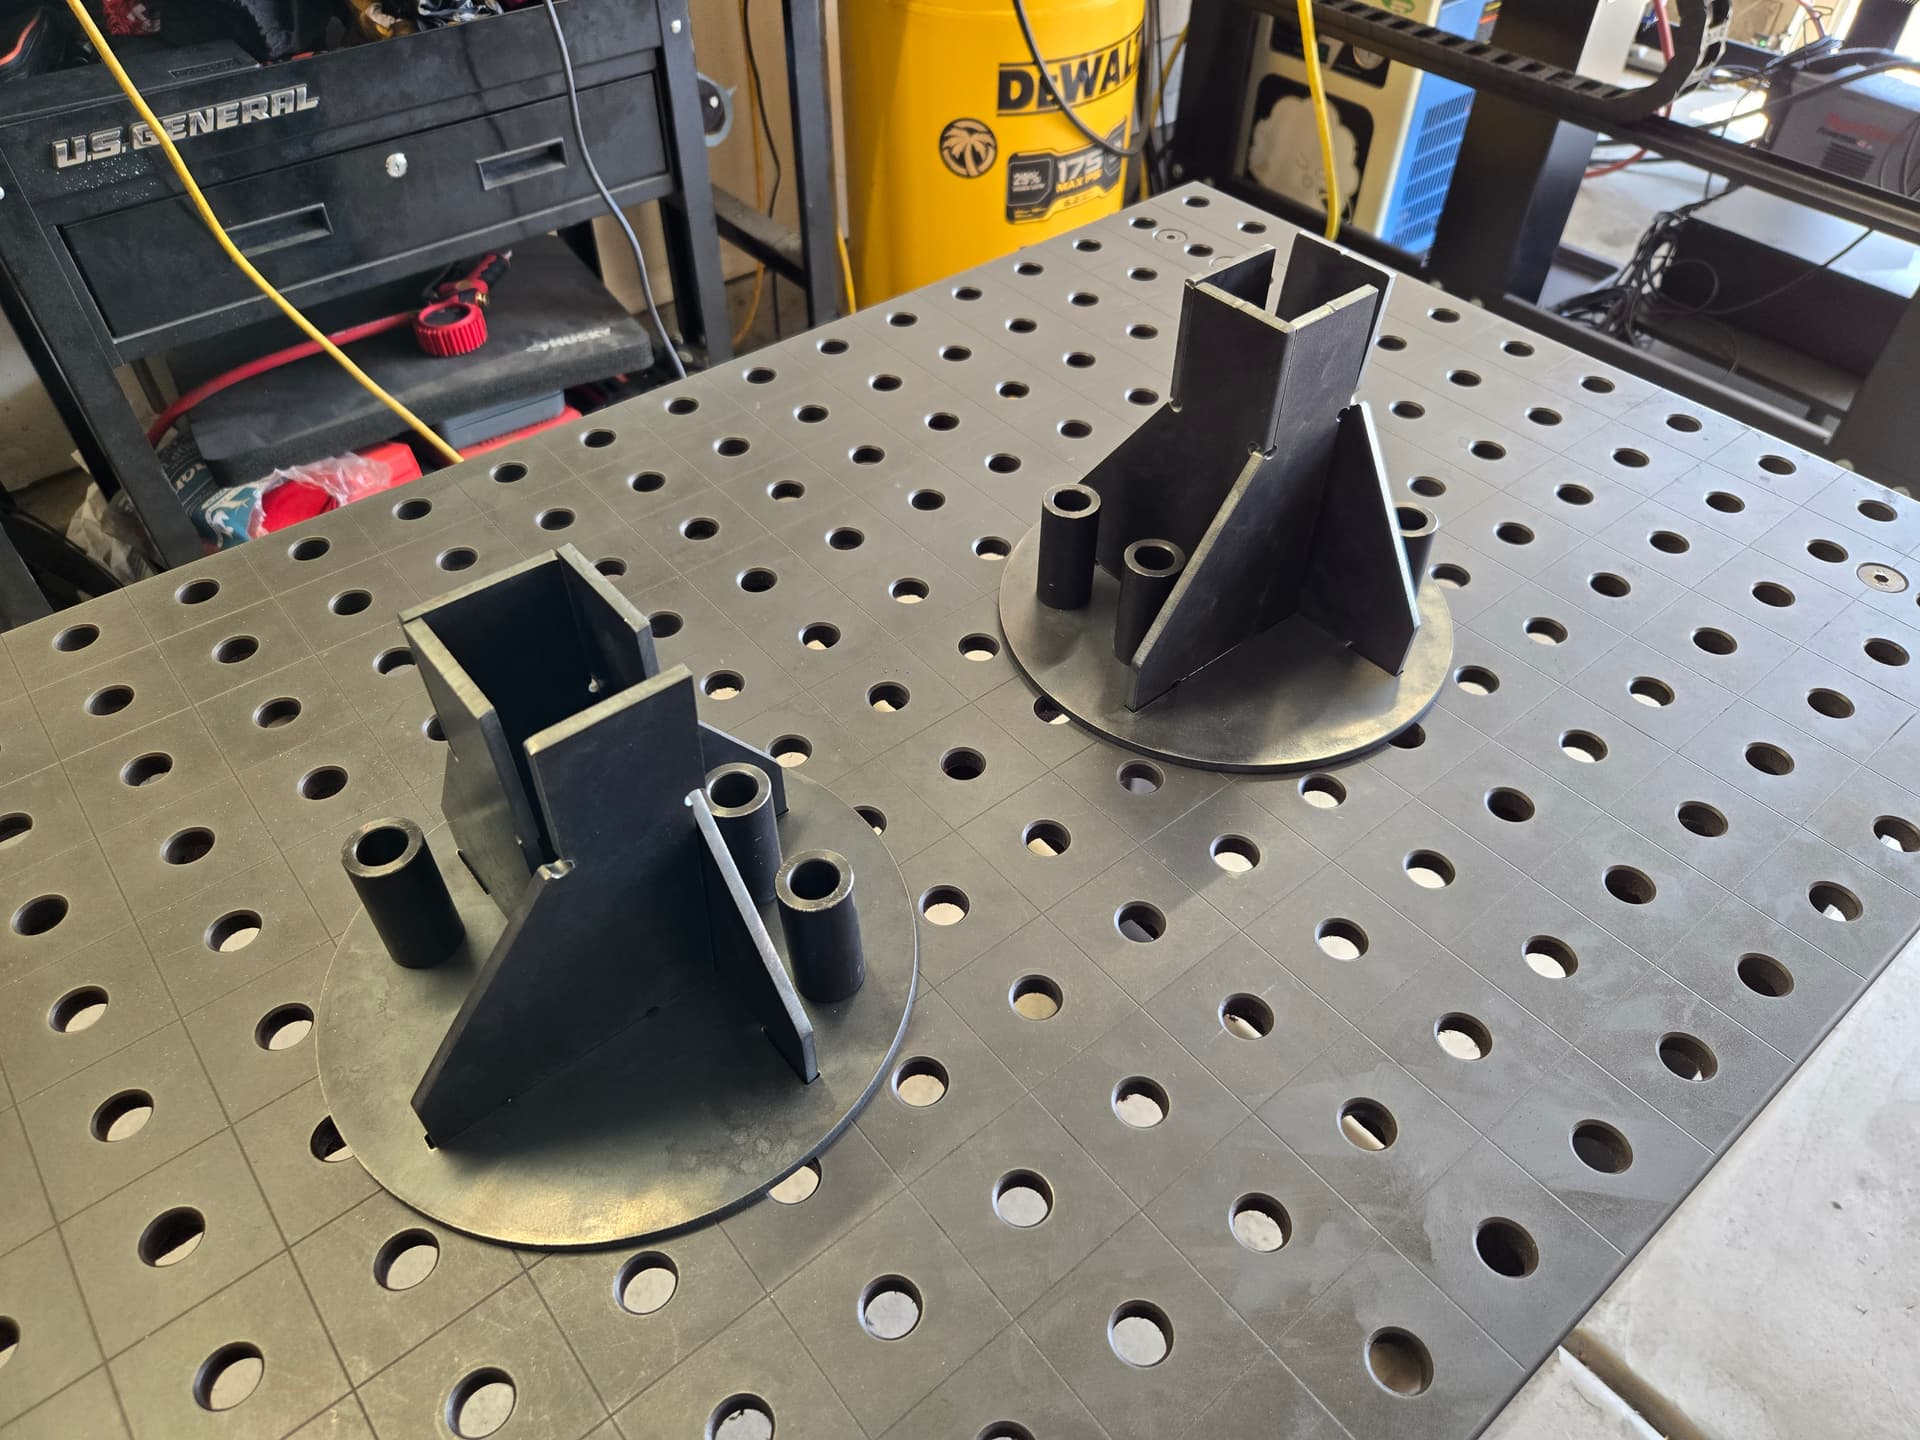
And the sub-assembly itself getting welded up.
Quick and easy work knocking these three out as one will go at each end, with one in the middle.
7 Likes
Did you get the bolt together or welded frame stv? I’ve really been eyeballing them since they came out with optimum. I’ve been making those packout mounts all summer and the 2x4 table is getting hard to keep up. Really the 4x4 doesn’t look like much bigger footprint than my crossfire since it needs so much overhang for the lead screw.
I spend so much time loading and unloading the table that its starting to feel like work. What id really love is to step up to the 85xp, but that pretty much doubles my upgrade costs.
2 Likes
Great work as always! Just curious how much clearance you left on your tab slots to make your tack welds.
1 Like
I got myself the modular (bolt-together) kit but for one main reason - the forklift I would’ve rented would be too tall to bring in a fully-welded table when unloading it from a trailer.
The modular arrived via LTL, with lift-gate service and me helping the delivery driver to push it into my garage via a pallet jack.
I do however run Optimum as I opted for the upgraded controller, I’ve got the homing kit, leveling feet, and even their gear reduction kit so it’s fully optioned.
Funny thing is I told myself last year I’d be getting an STV table “at some point”. I was able to buy it sooner with all the side work I do and just buy it with cash.
What I love most is - the consistency from one sheet to the next when cutting parts, the peace of mind that I can run a long program and walk away without worry, and their Optimum software.
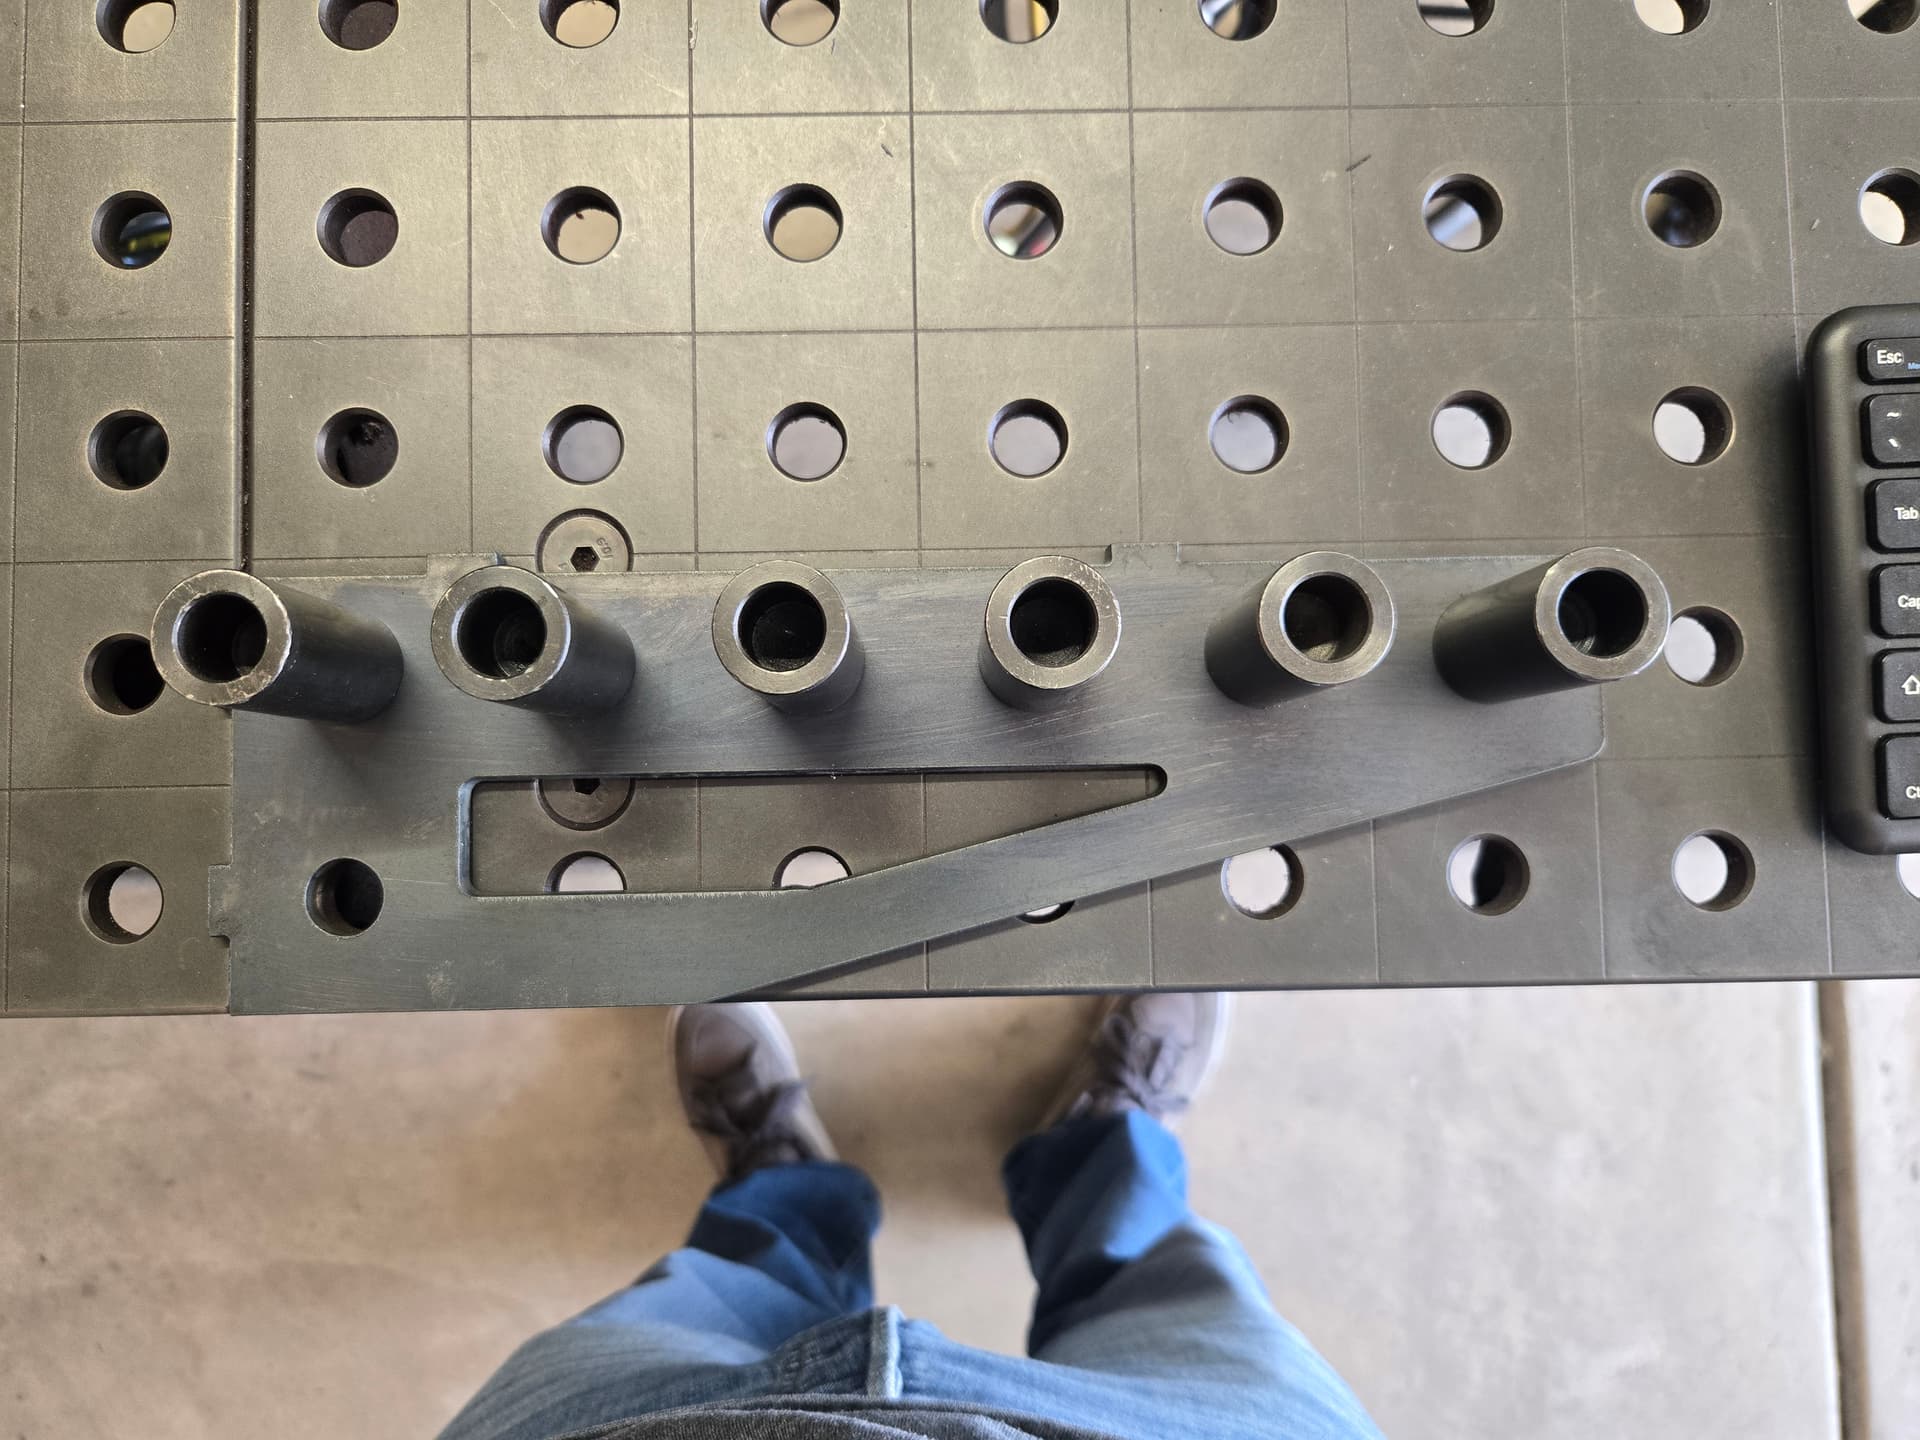
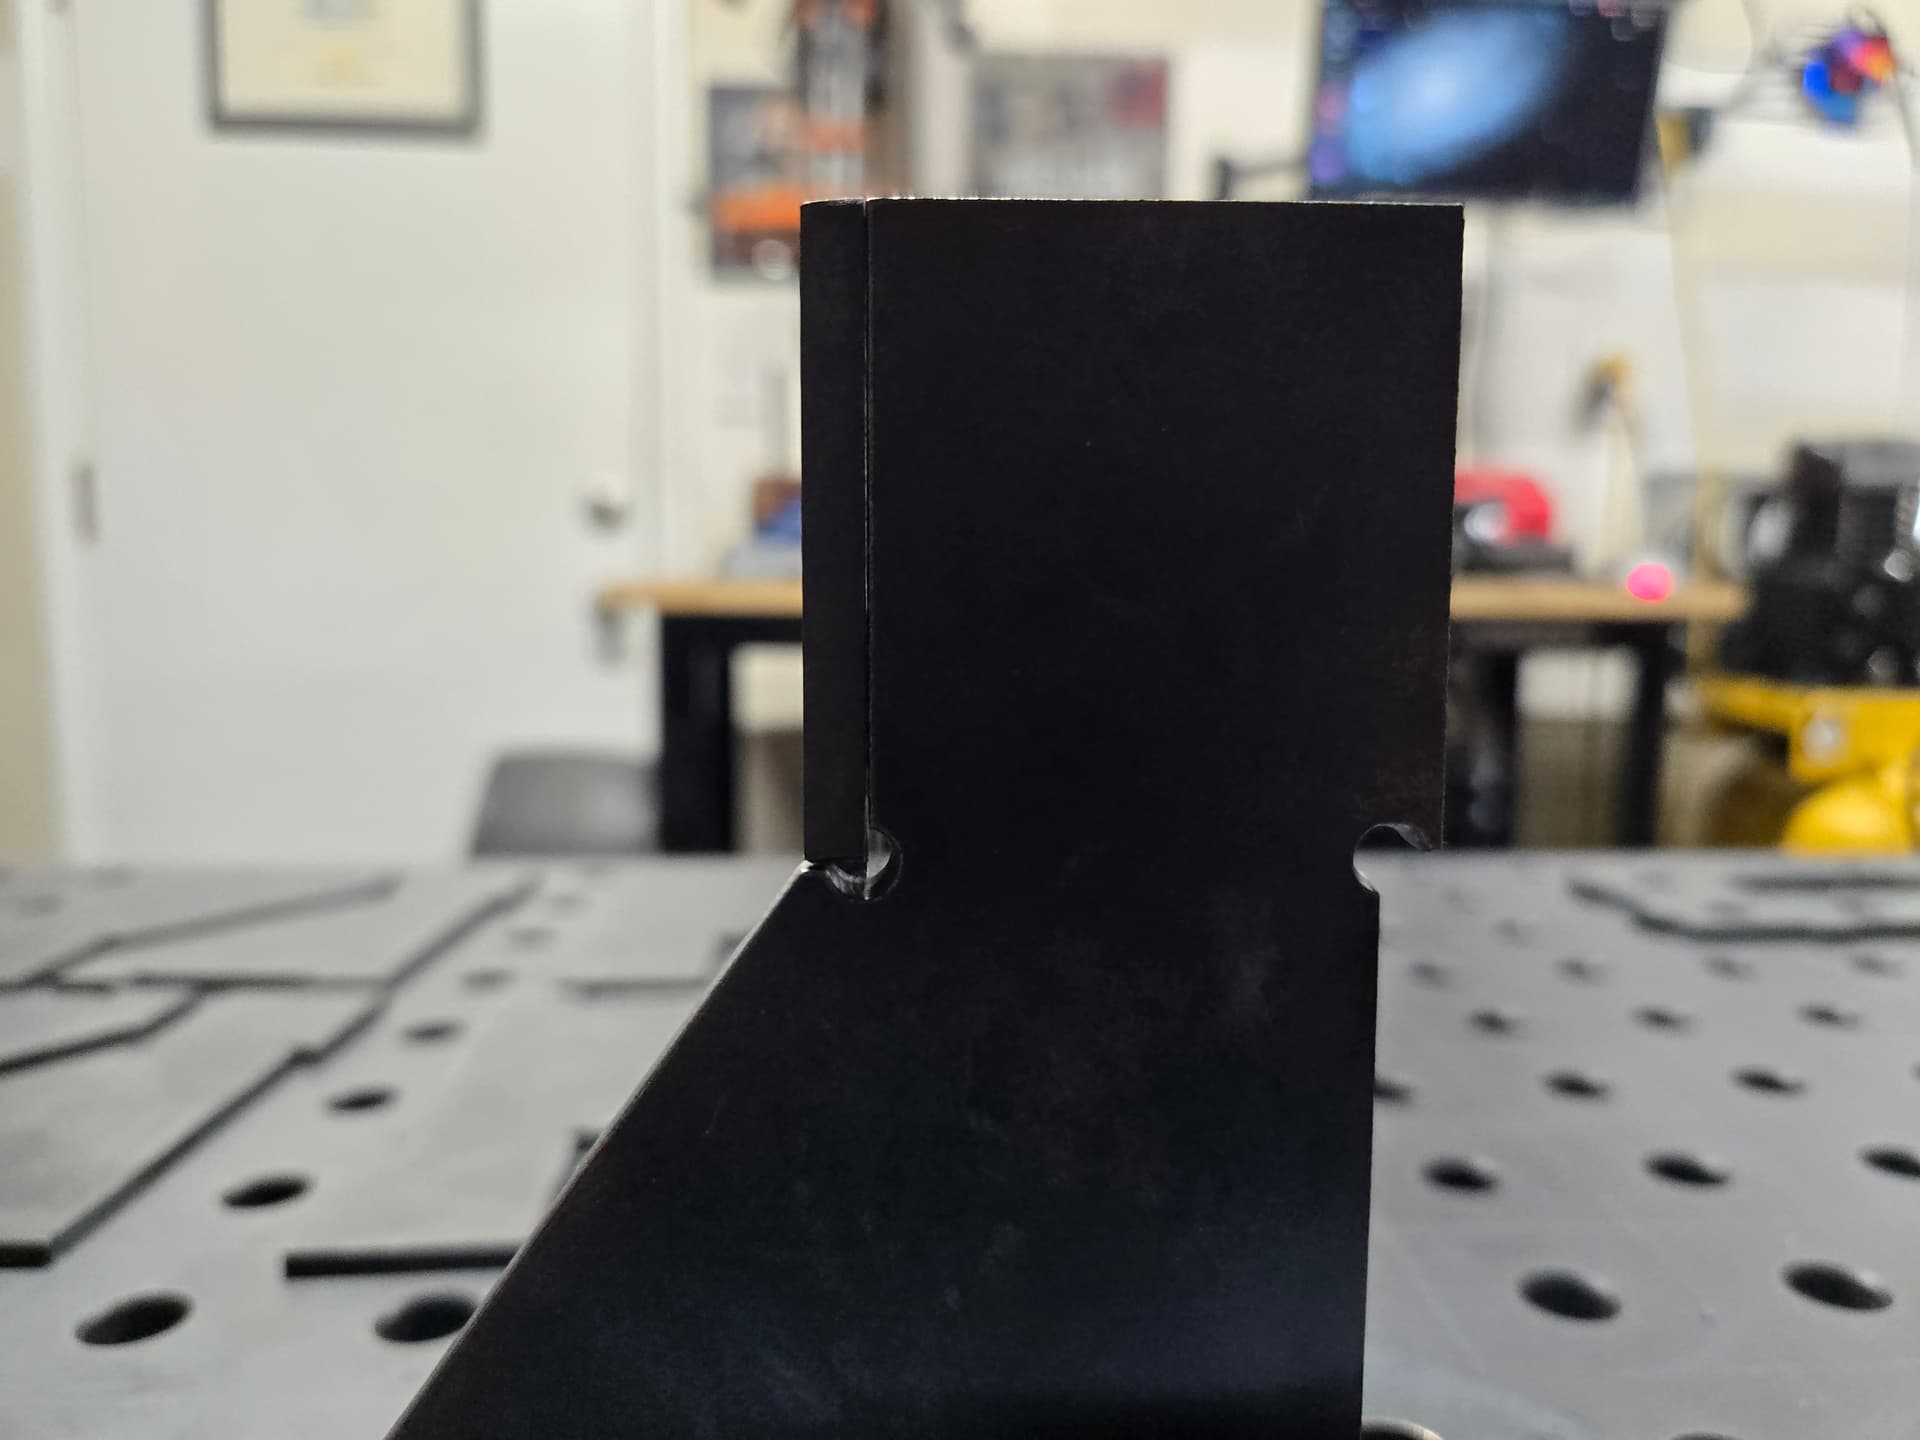
I left a good amount of room to allow for proper fitment.
The tabs are 0.65” wide, with the openings at 0.80” wide.
The depth however, I ran at 0.190” and this is 3/16” so steel measuring roughly 0.1875” thick.
You decide for yourself it it’s “good enough”
I made it so weld metal fills that circular opening.
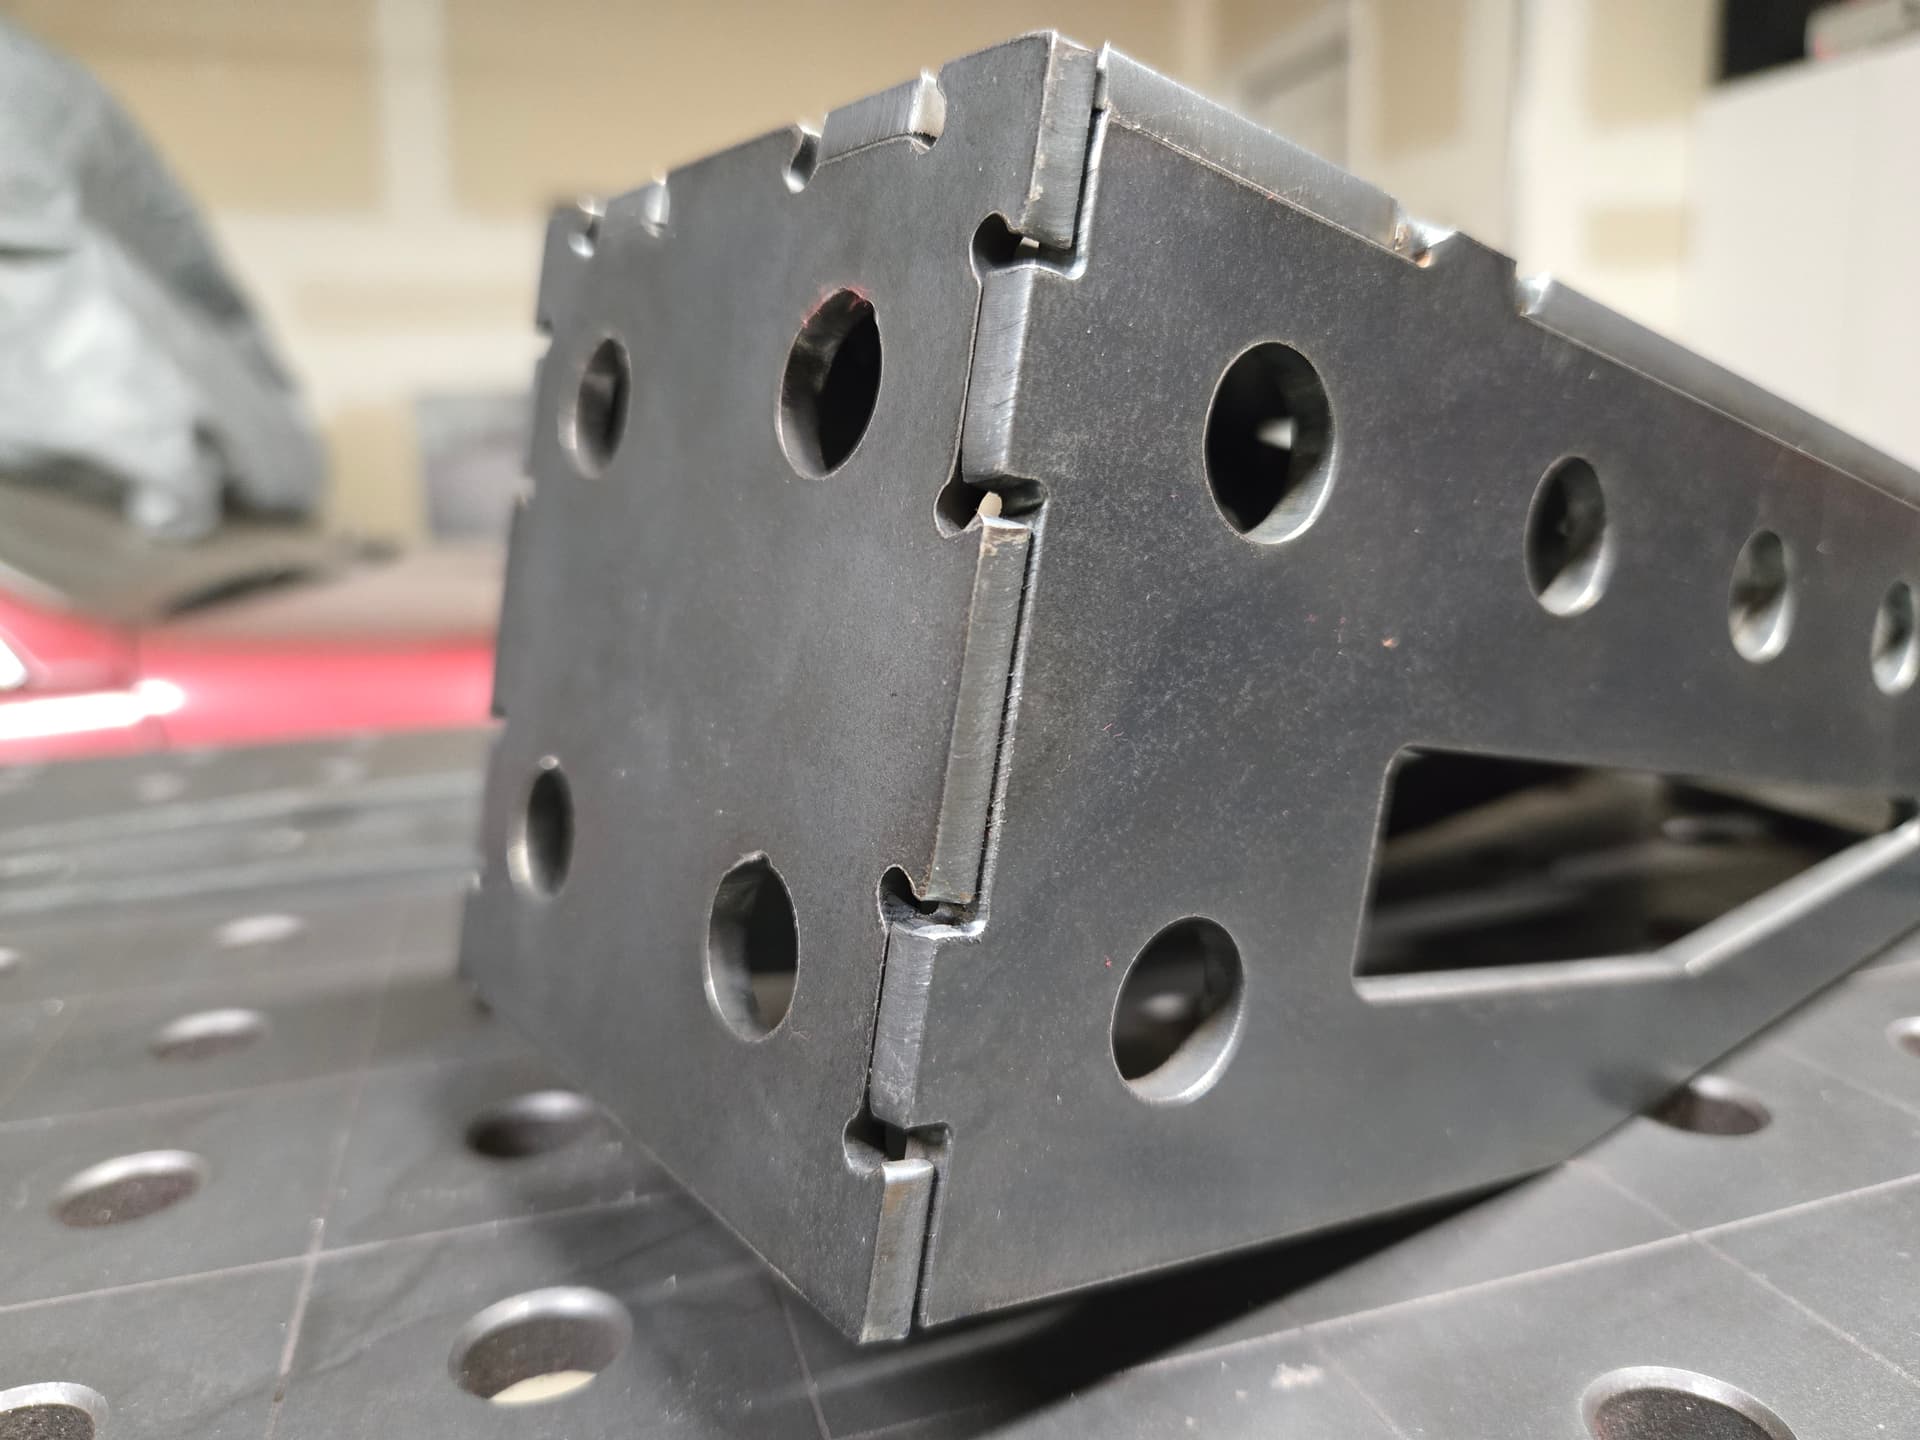
Holes line up on every part in relation to my table
And that depth is spot on as it allows clamping between the table and the top piece
And here’s something else I cut out today, using the same sizing of 0.190” to fit the 0.1875” steel.

4 Likes