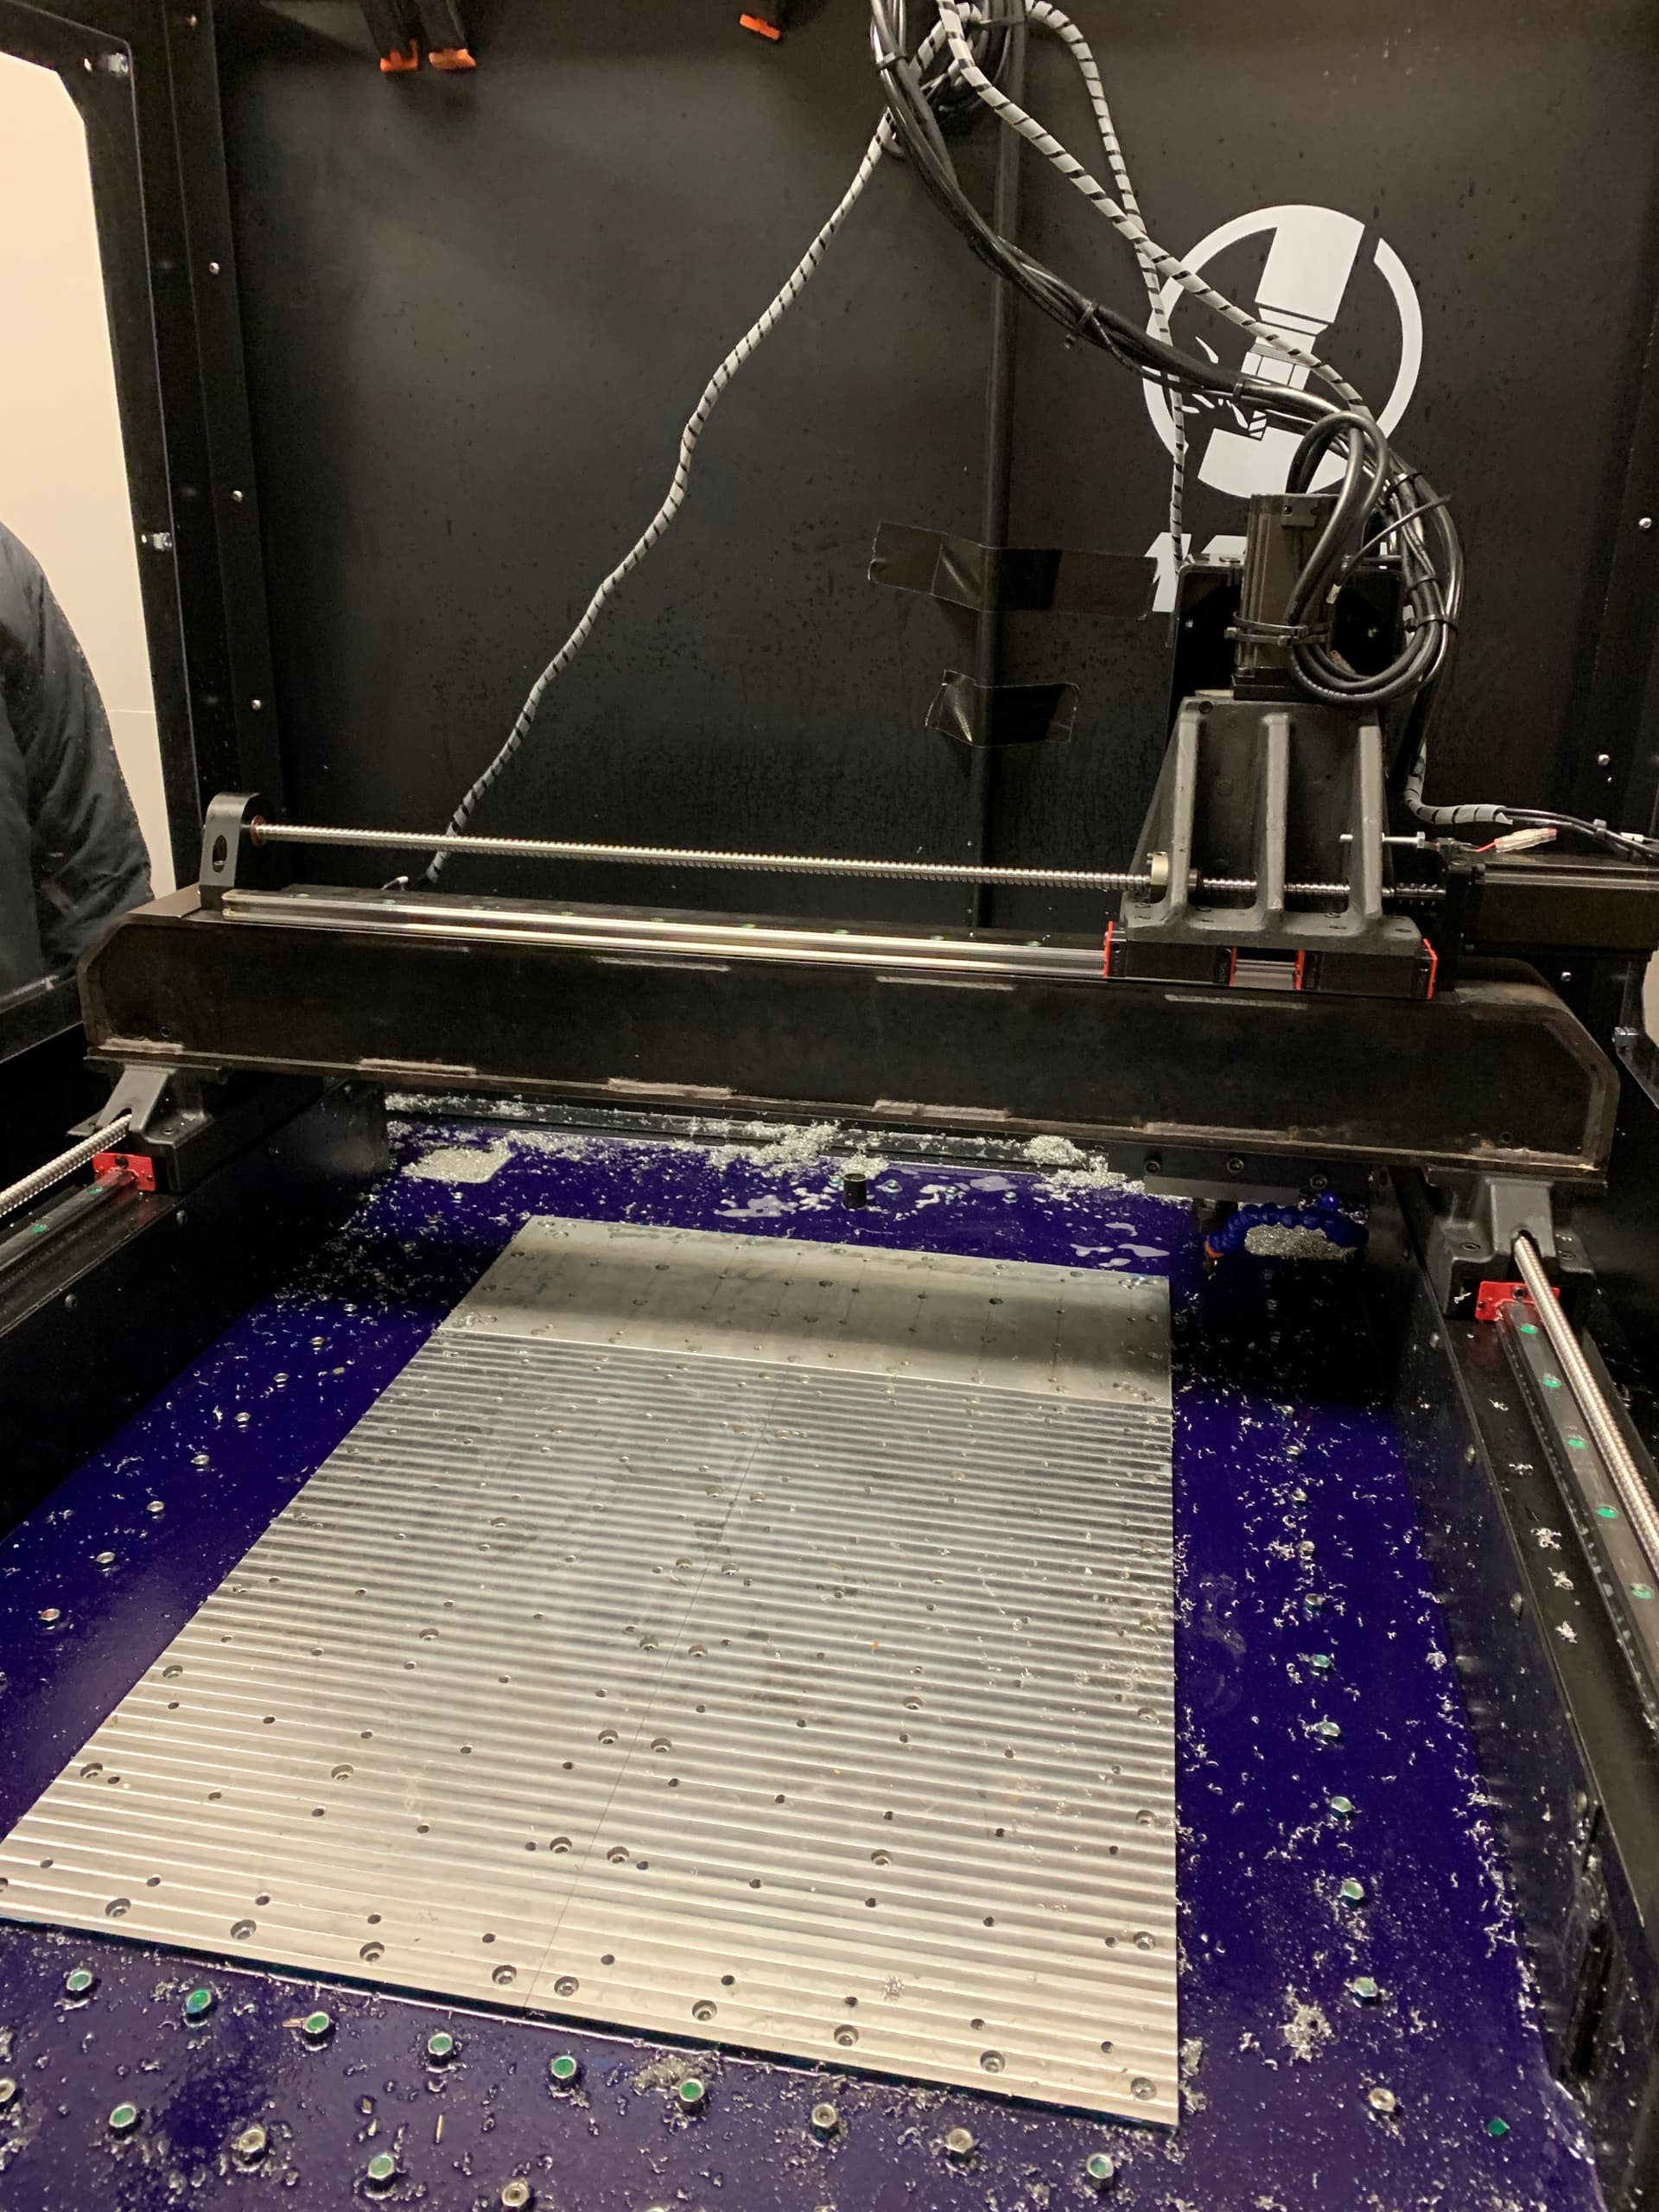
Of course, with an extended baseplate, machining the surface is a challenge since it cannot be reached. I rotated the X axis 180 degree to reach the rear once the front was roughed out.
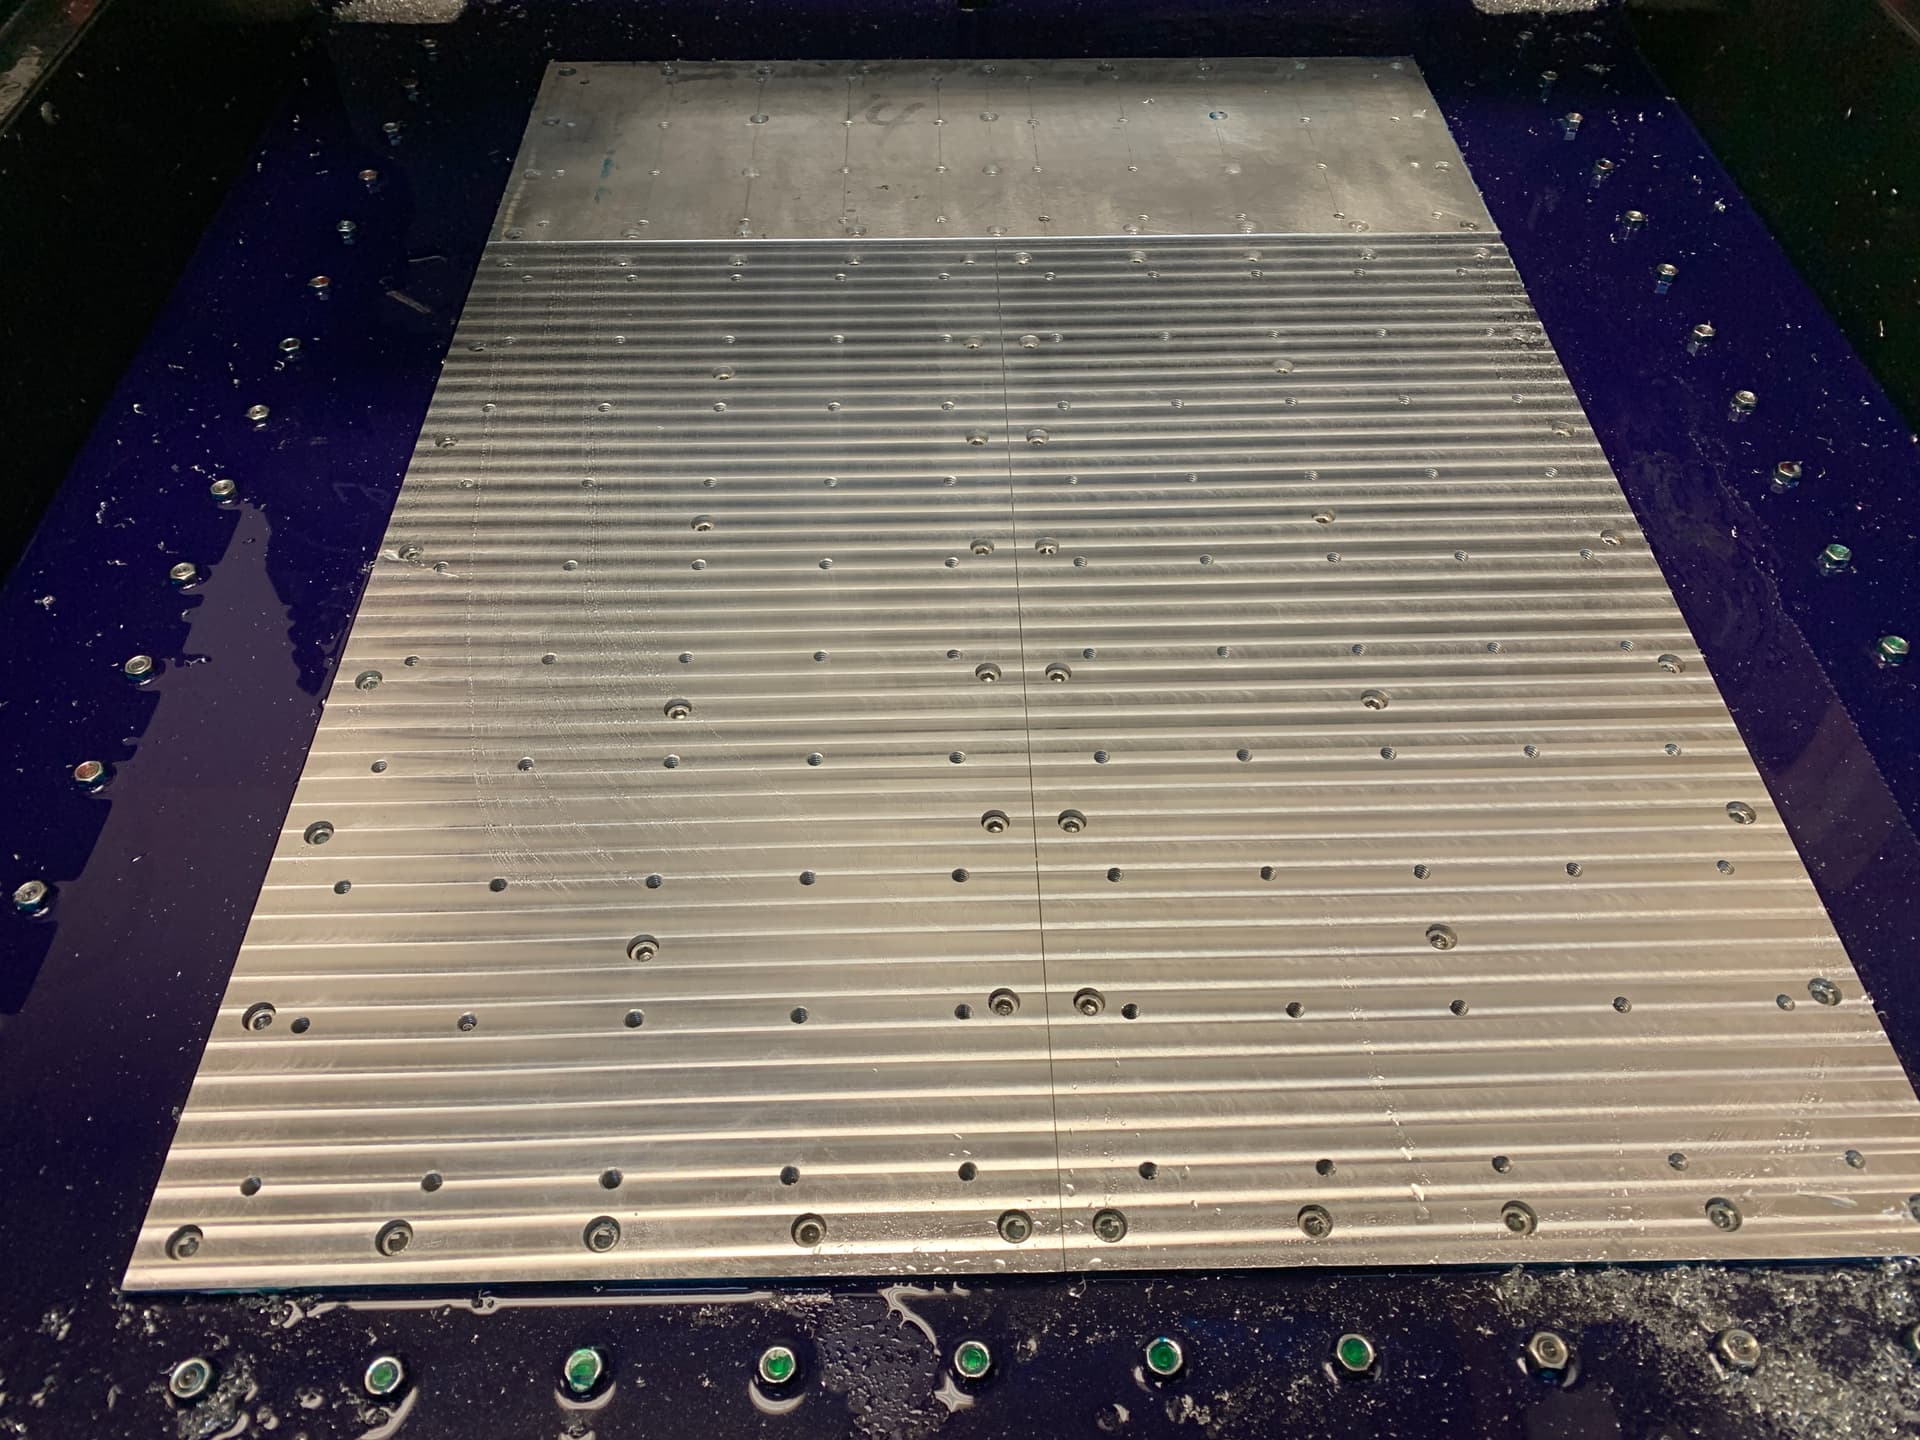
Here is the reach when the spindle is at the front of the X carriage, roughing pass done. The plate was quite flat, I did not have to take much off to get to this.
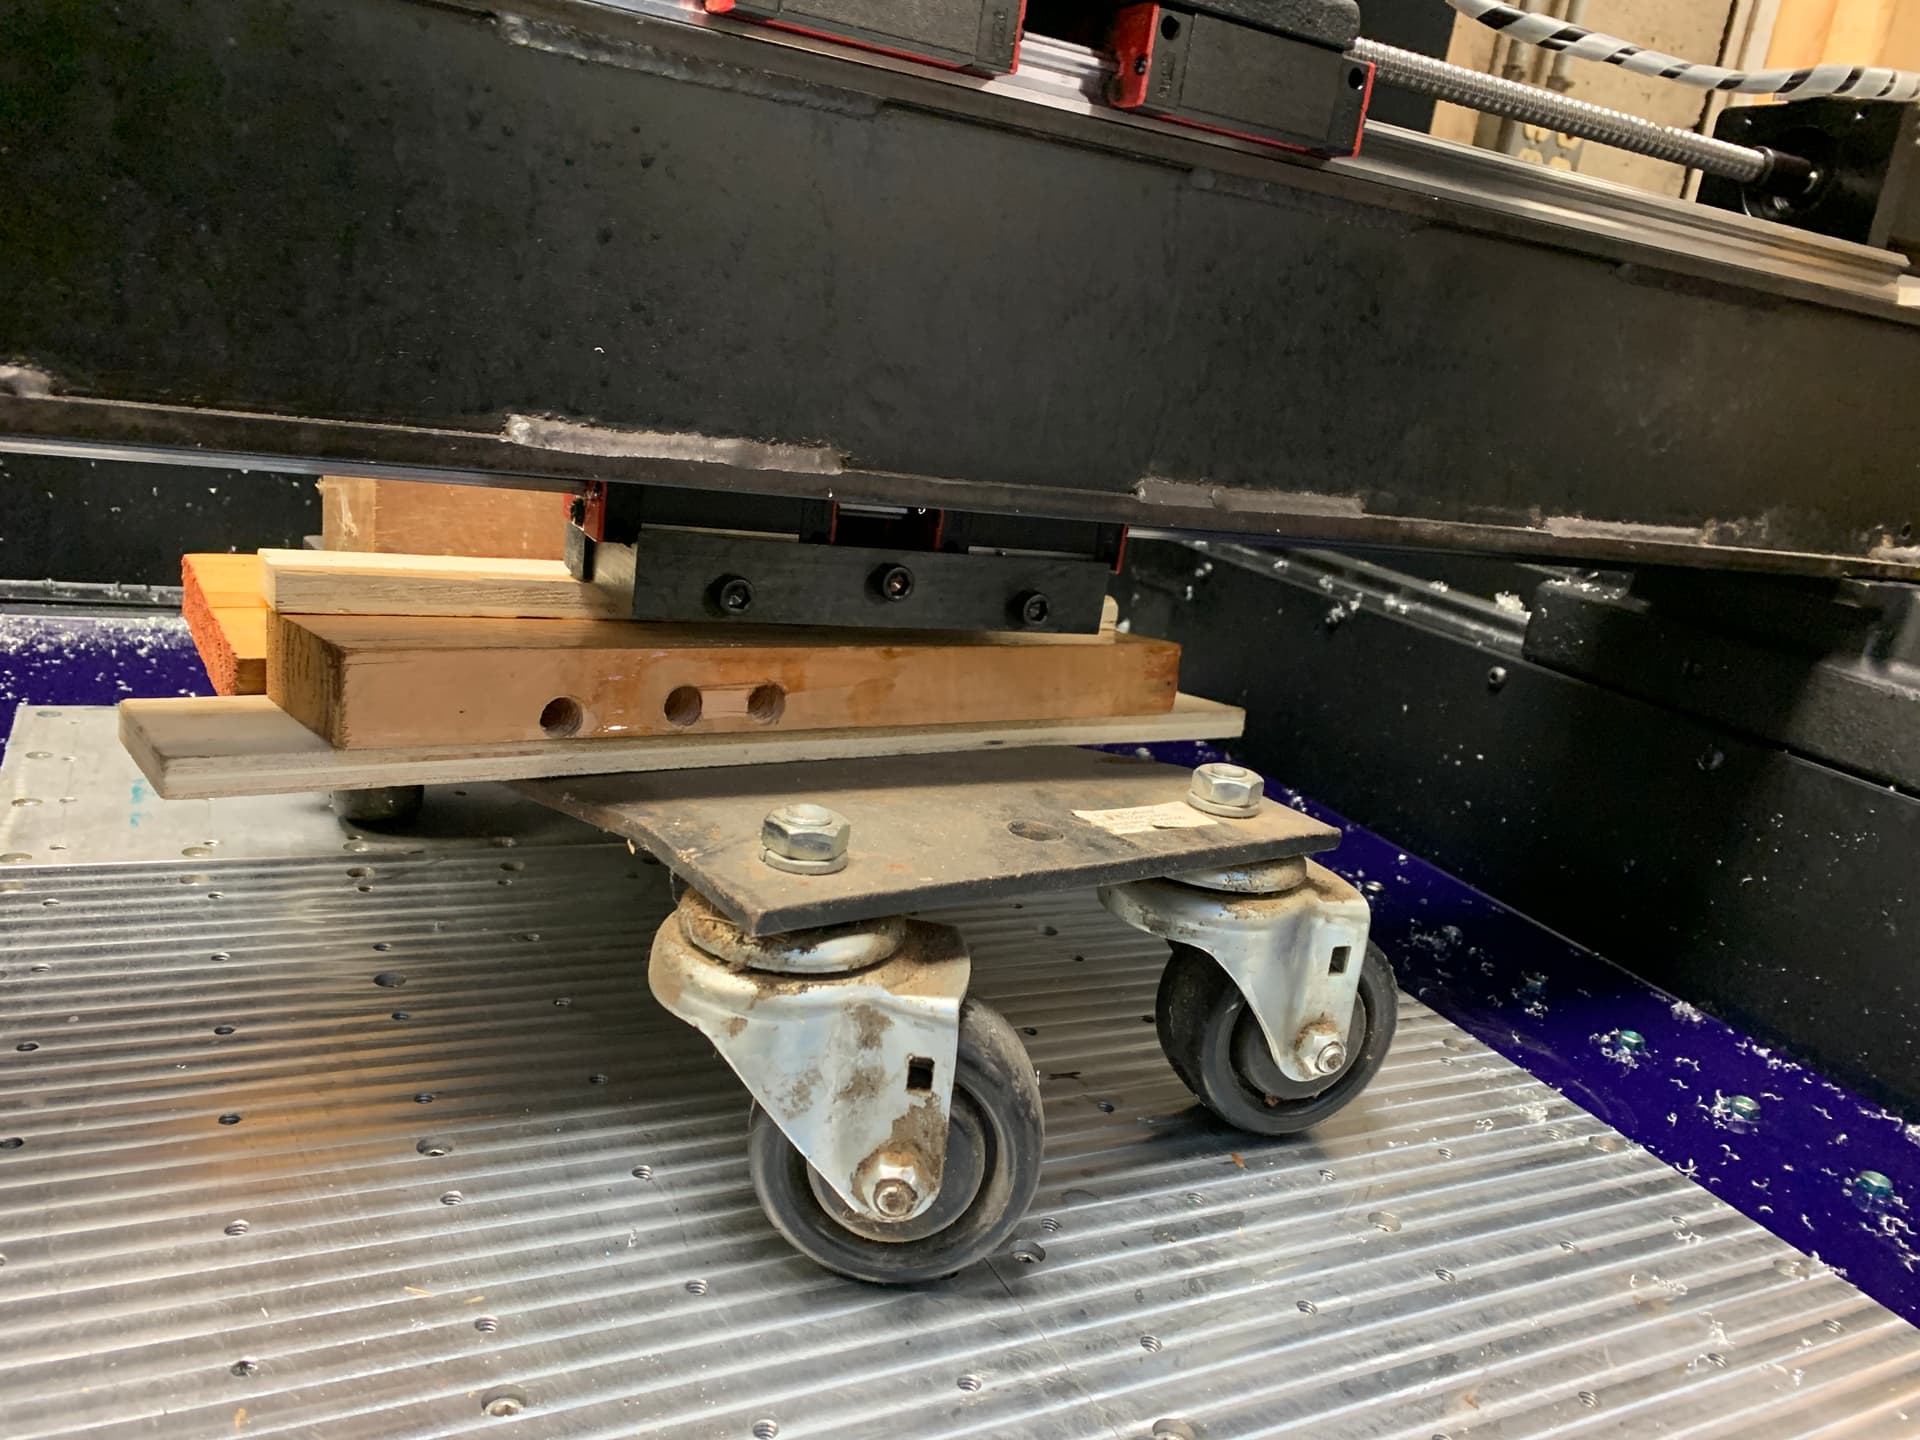
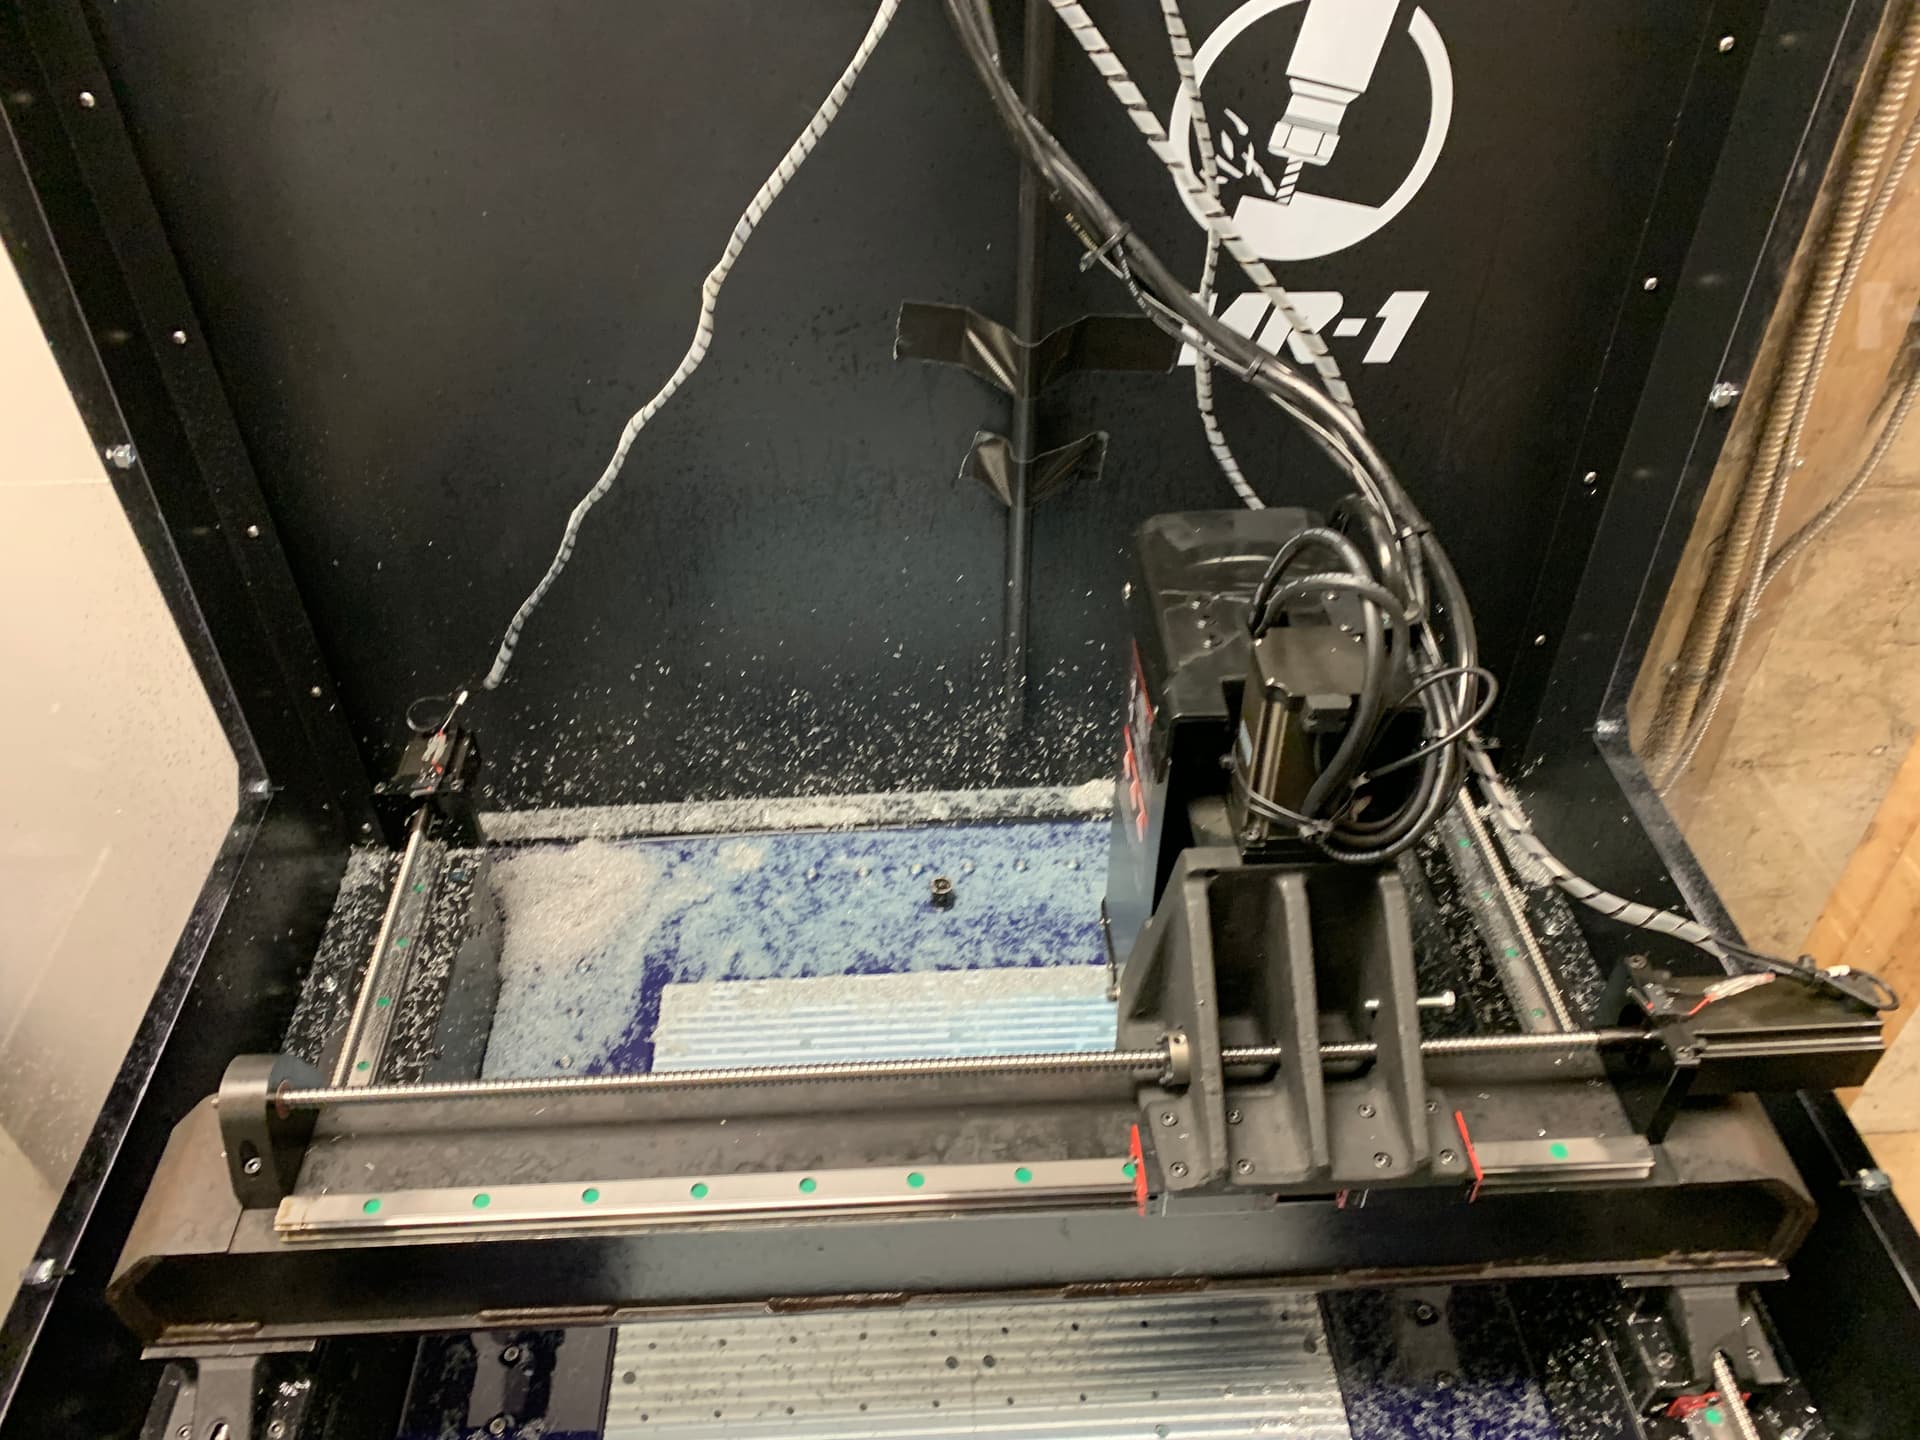
Now undo the X axis bolts and rotate the spindle 180 degrees. I had some car dollies in the shop so used that to easily rotate it clockwise.
Rotating
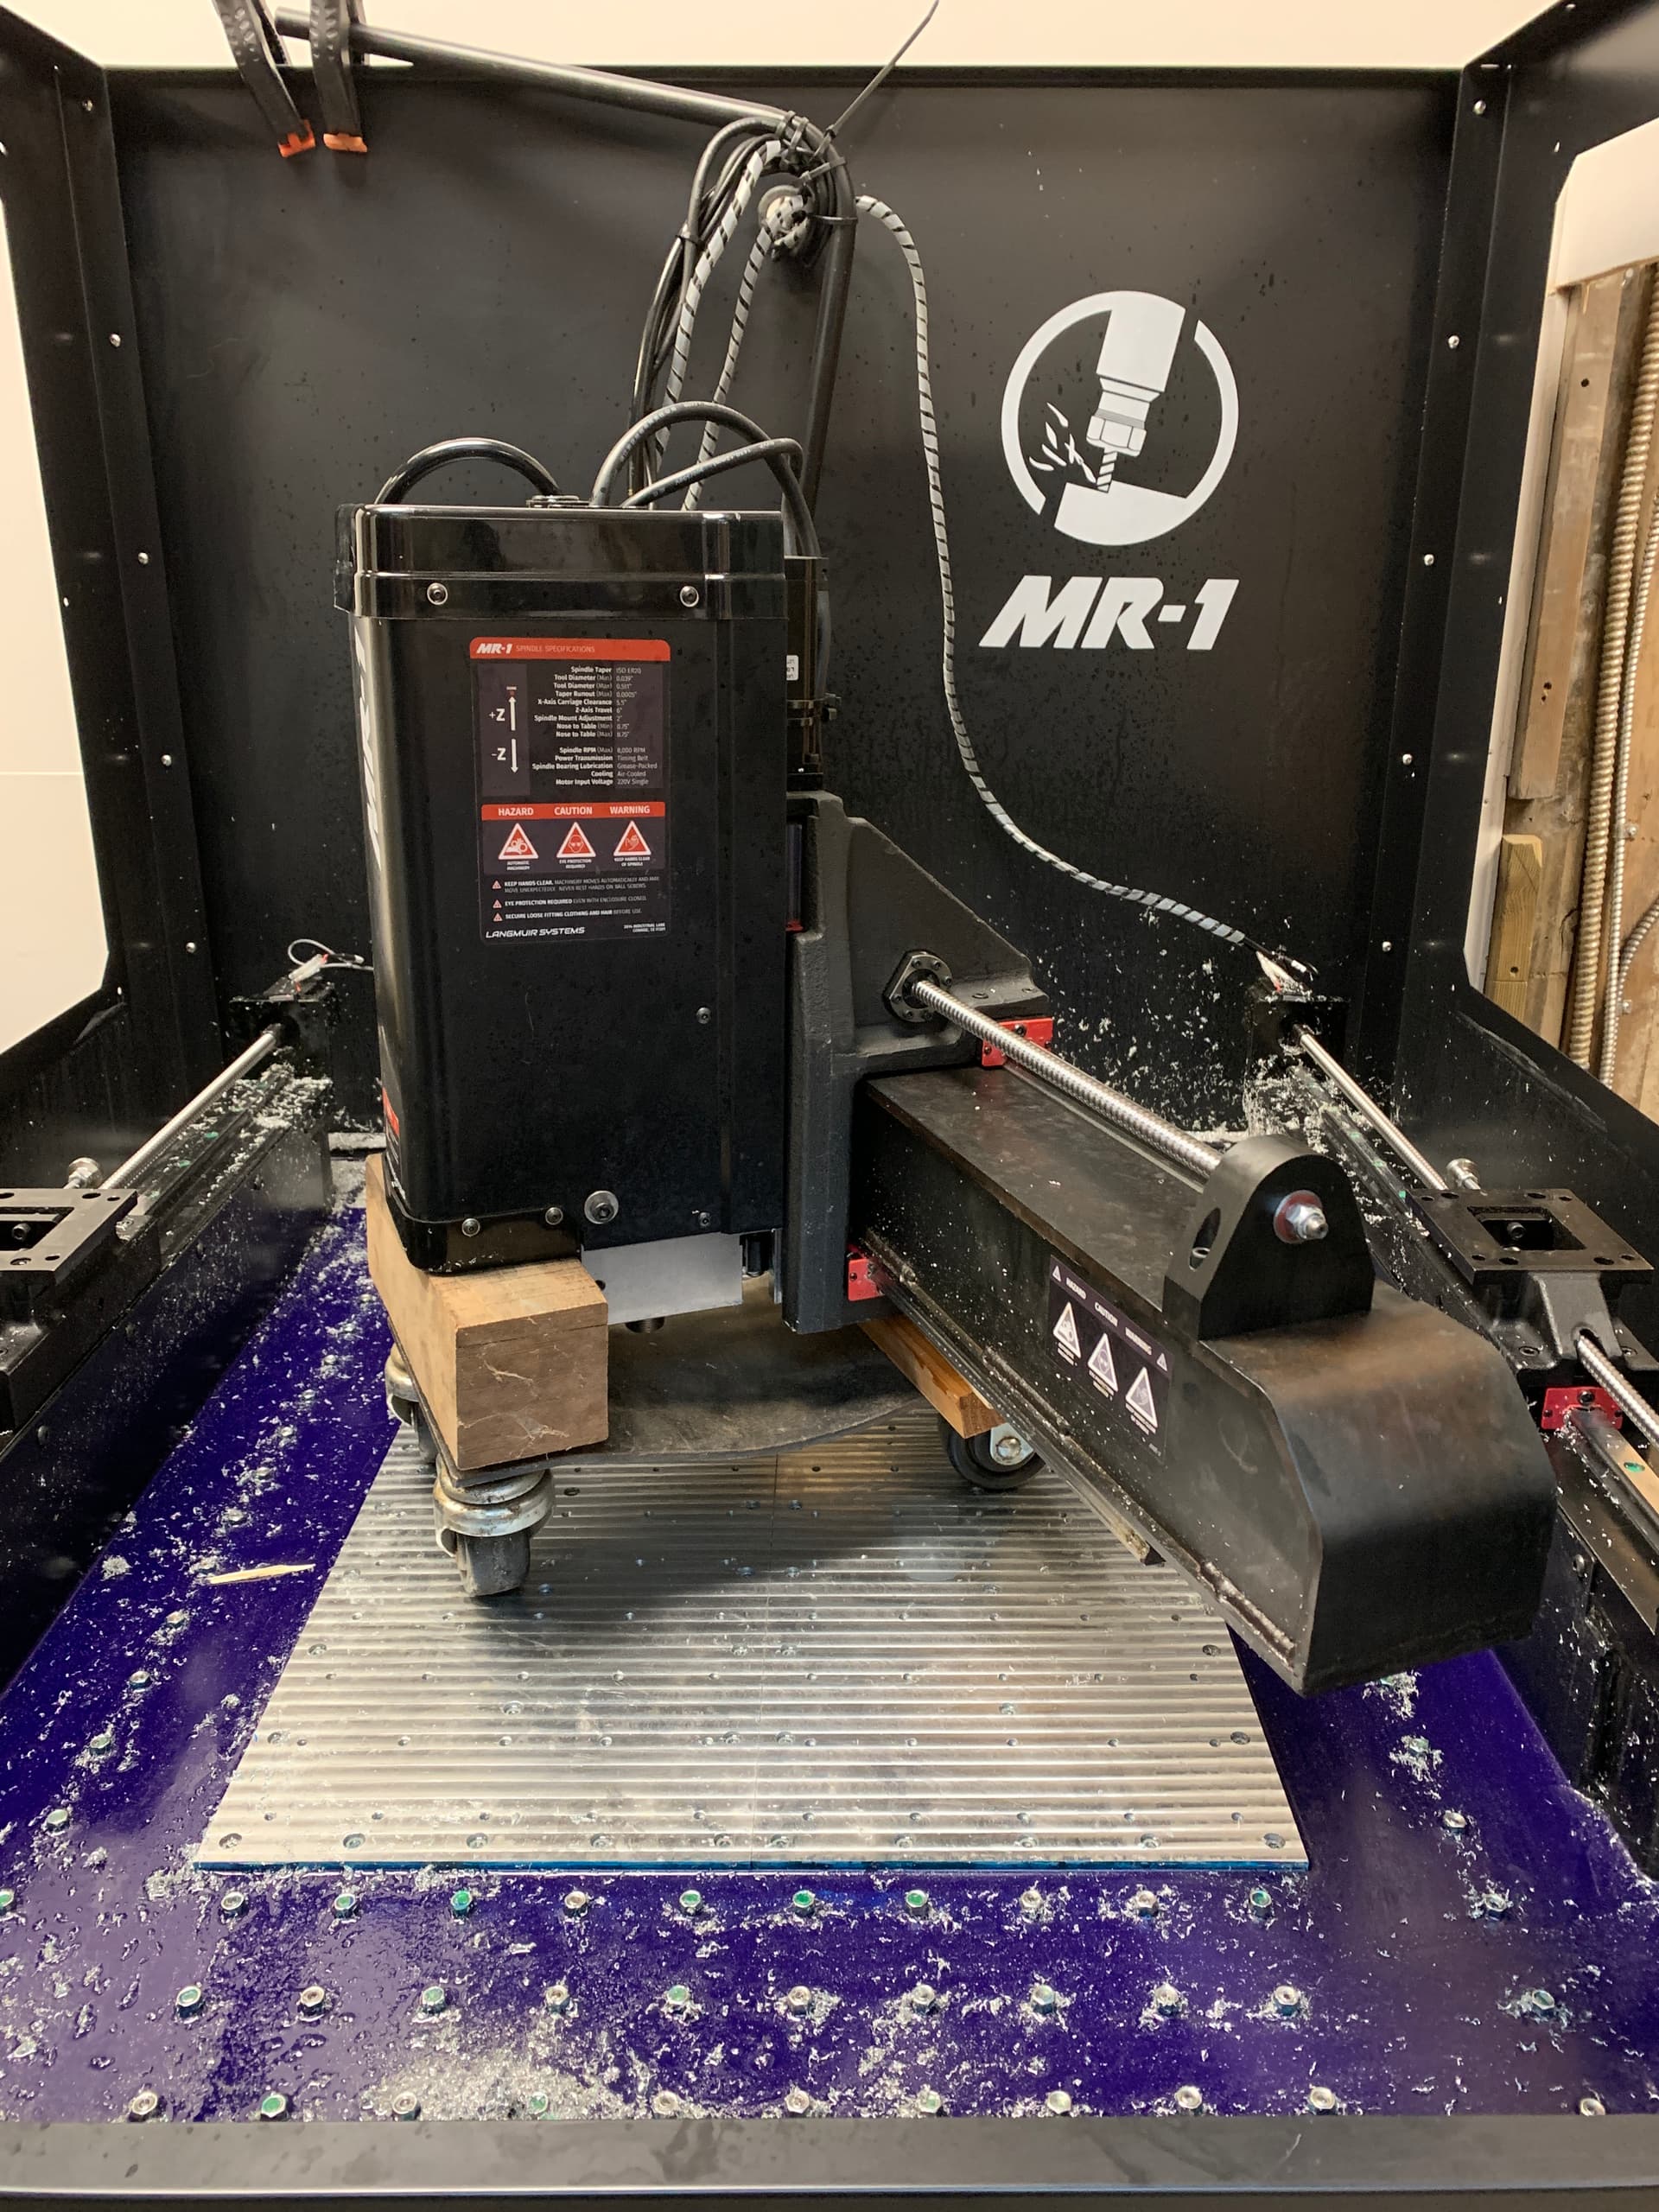
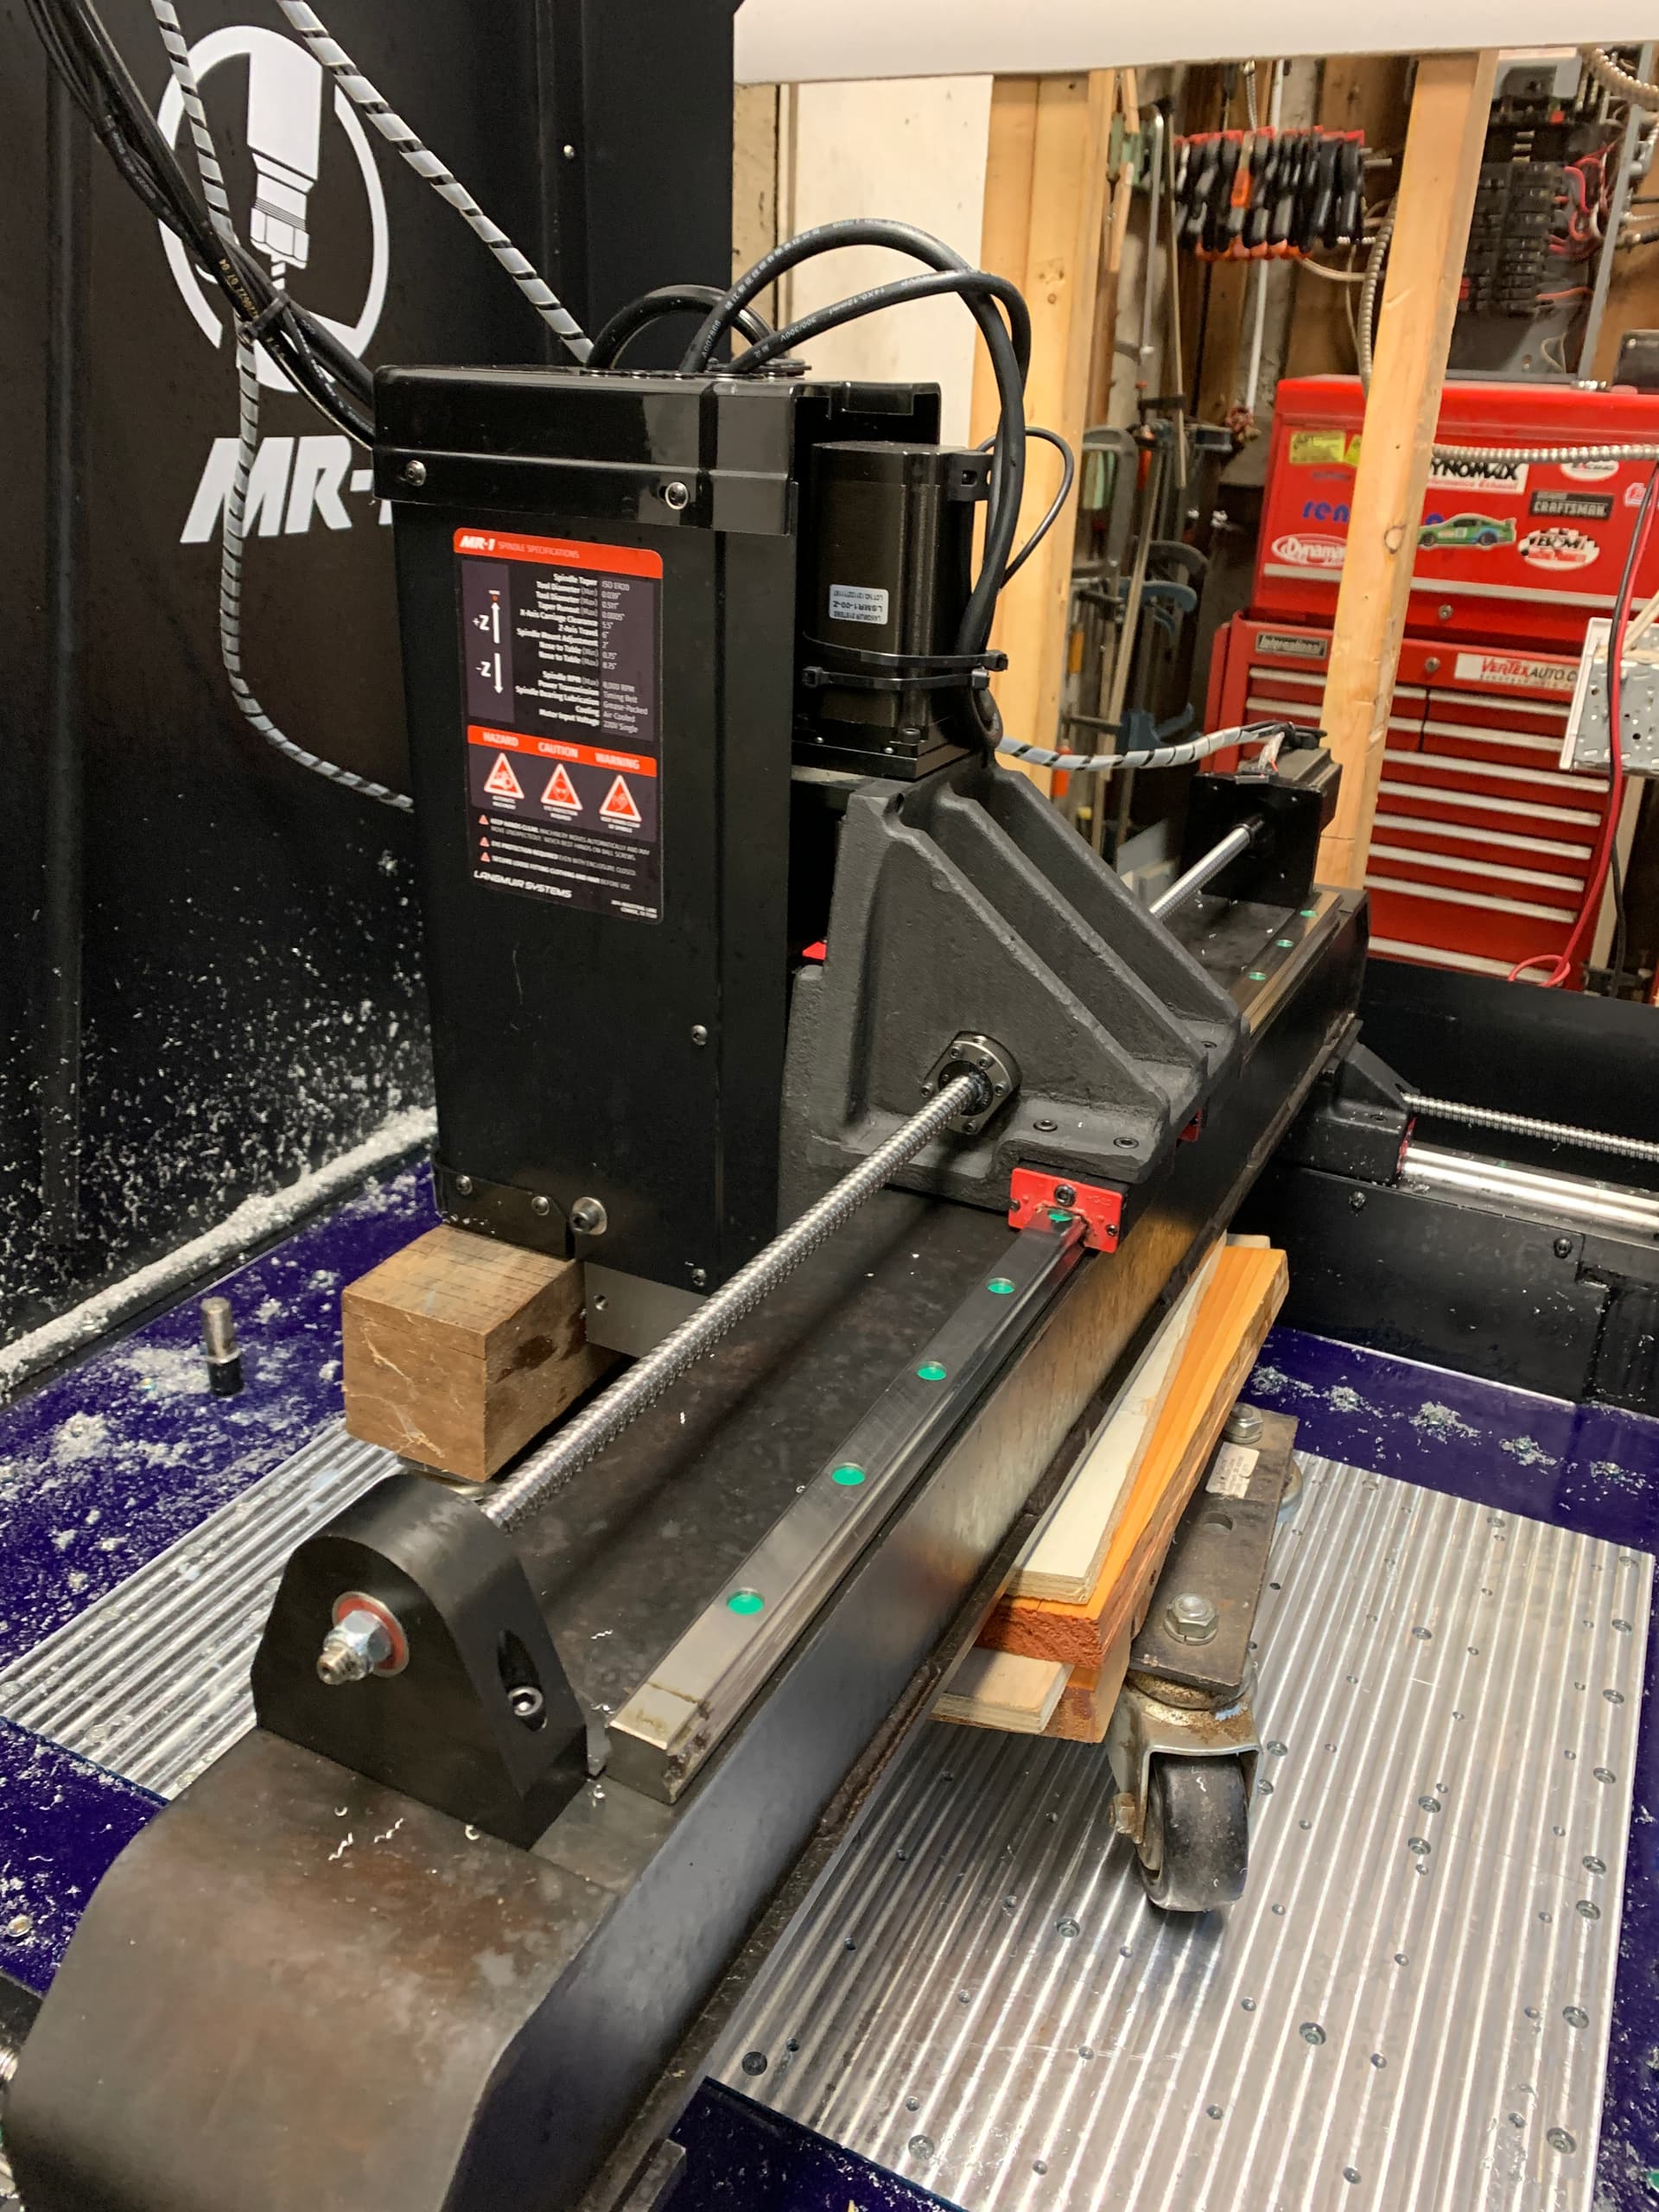
In place facing to the rear
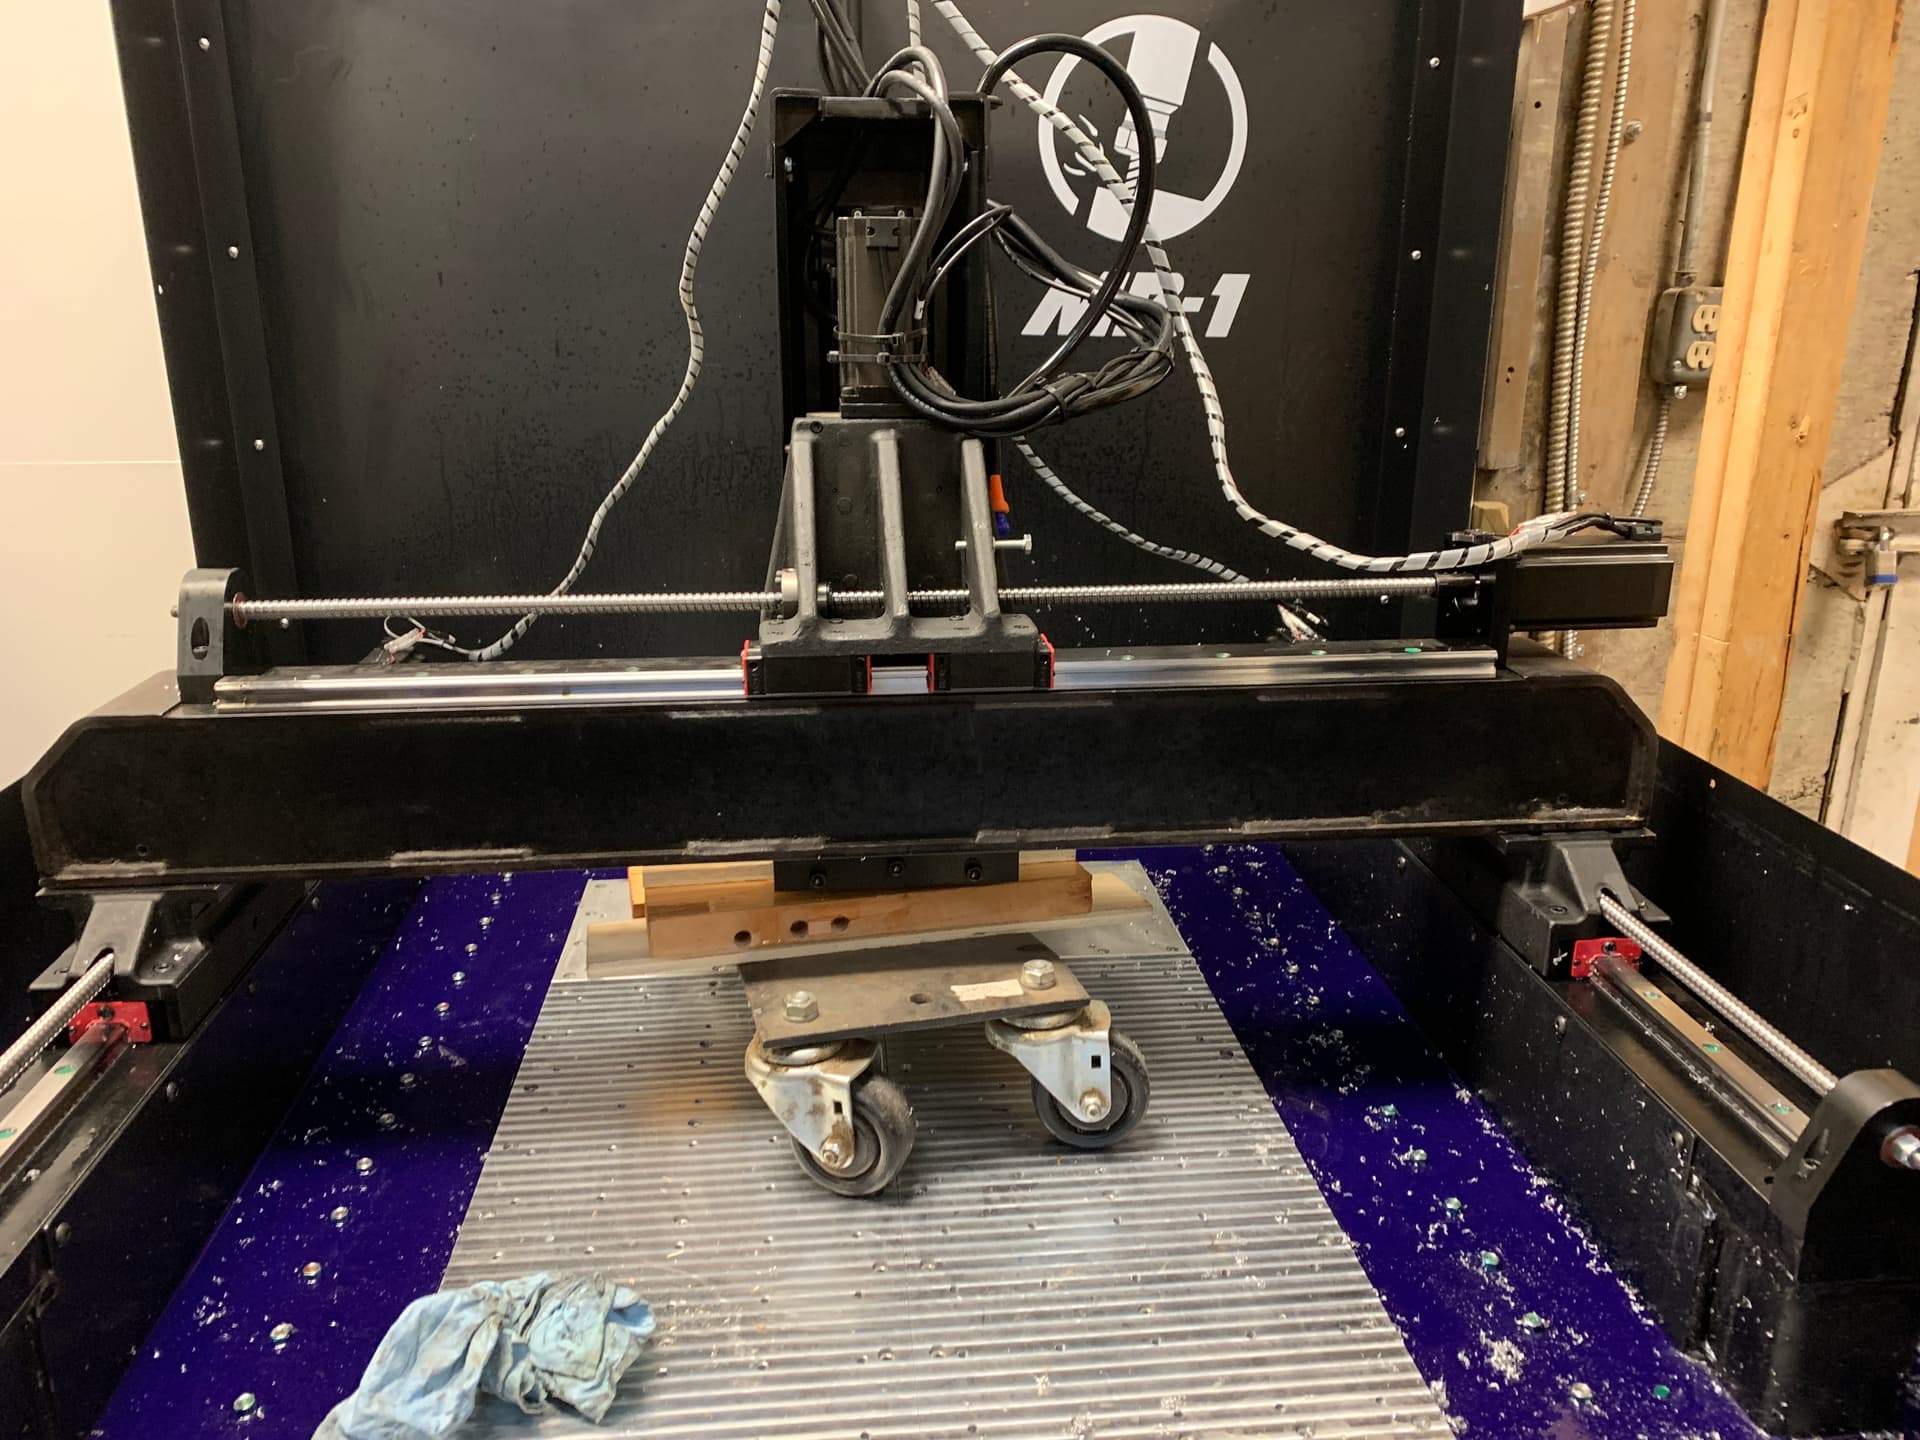
Once in place, I had to realign the x axis and check the nod of the head, which was fine. Since the X axis is now backwards, you have to be careful with the controls (since they are reversed), and the new start position for the baseplate program is to the right, not to the left. Here is the new home position.
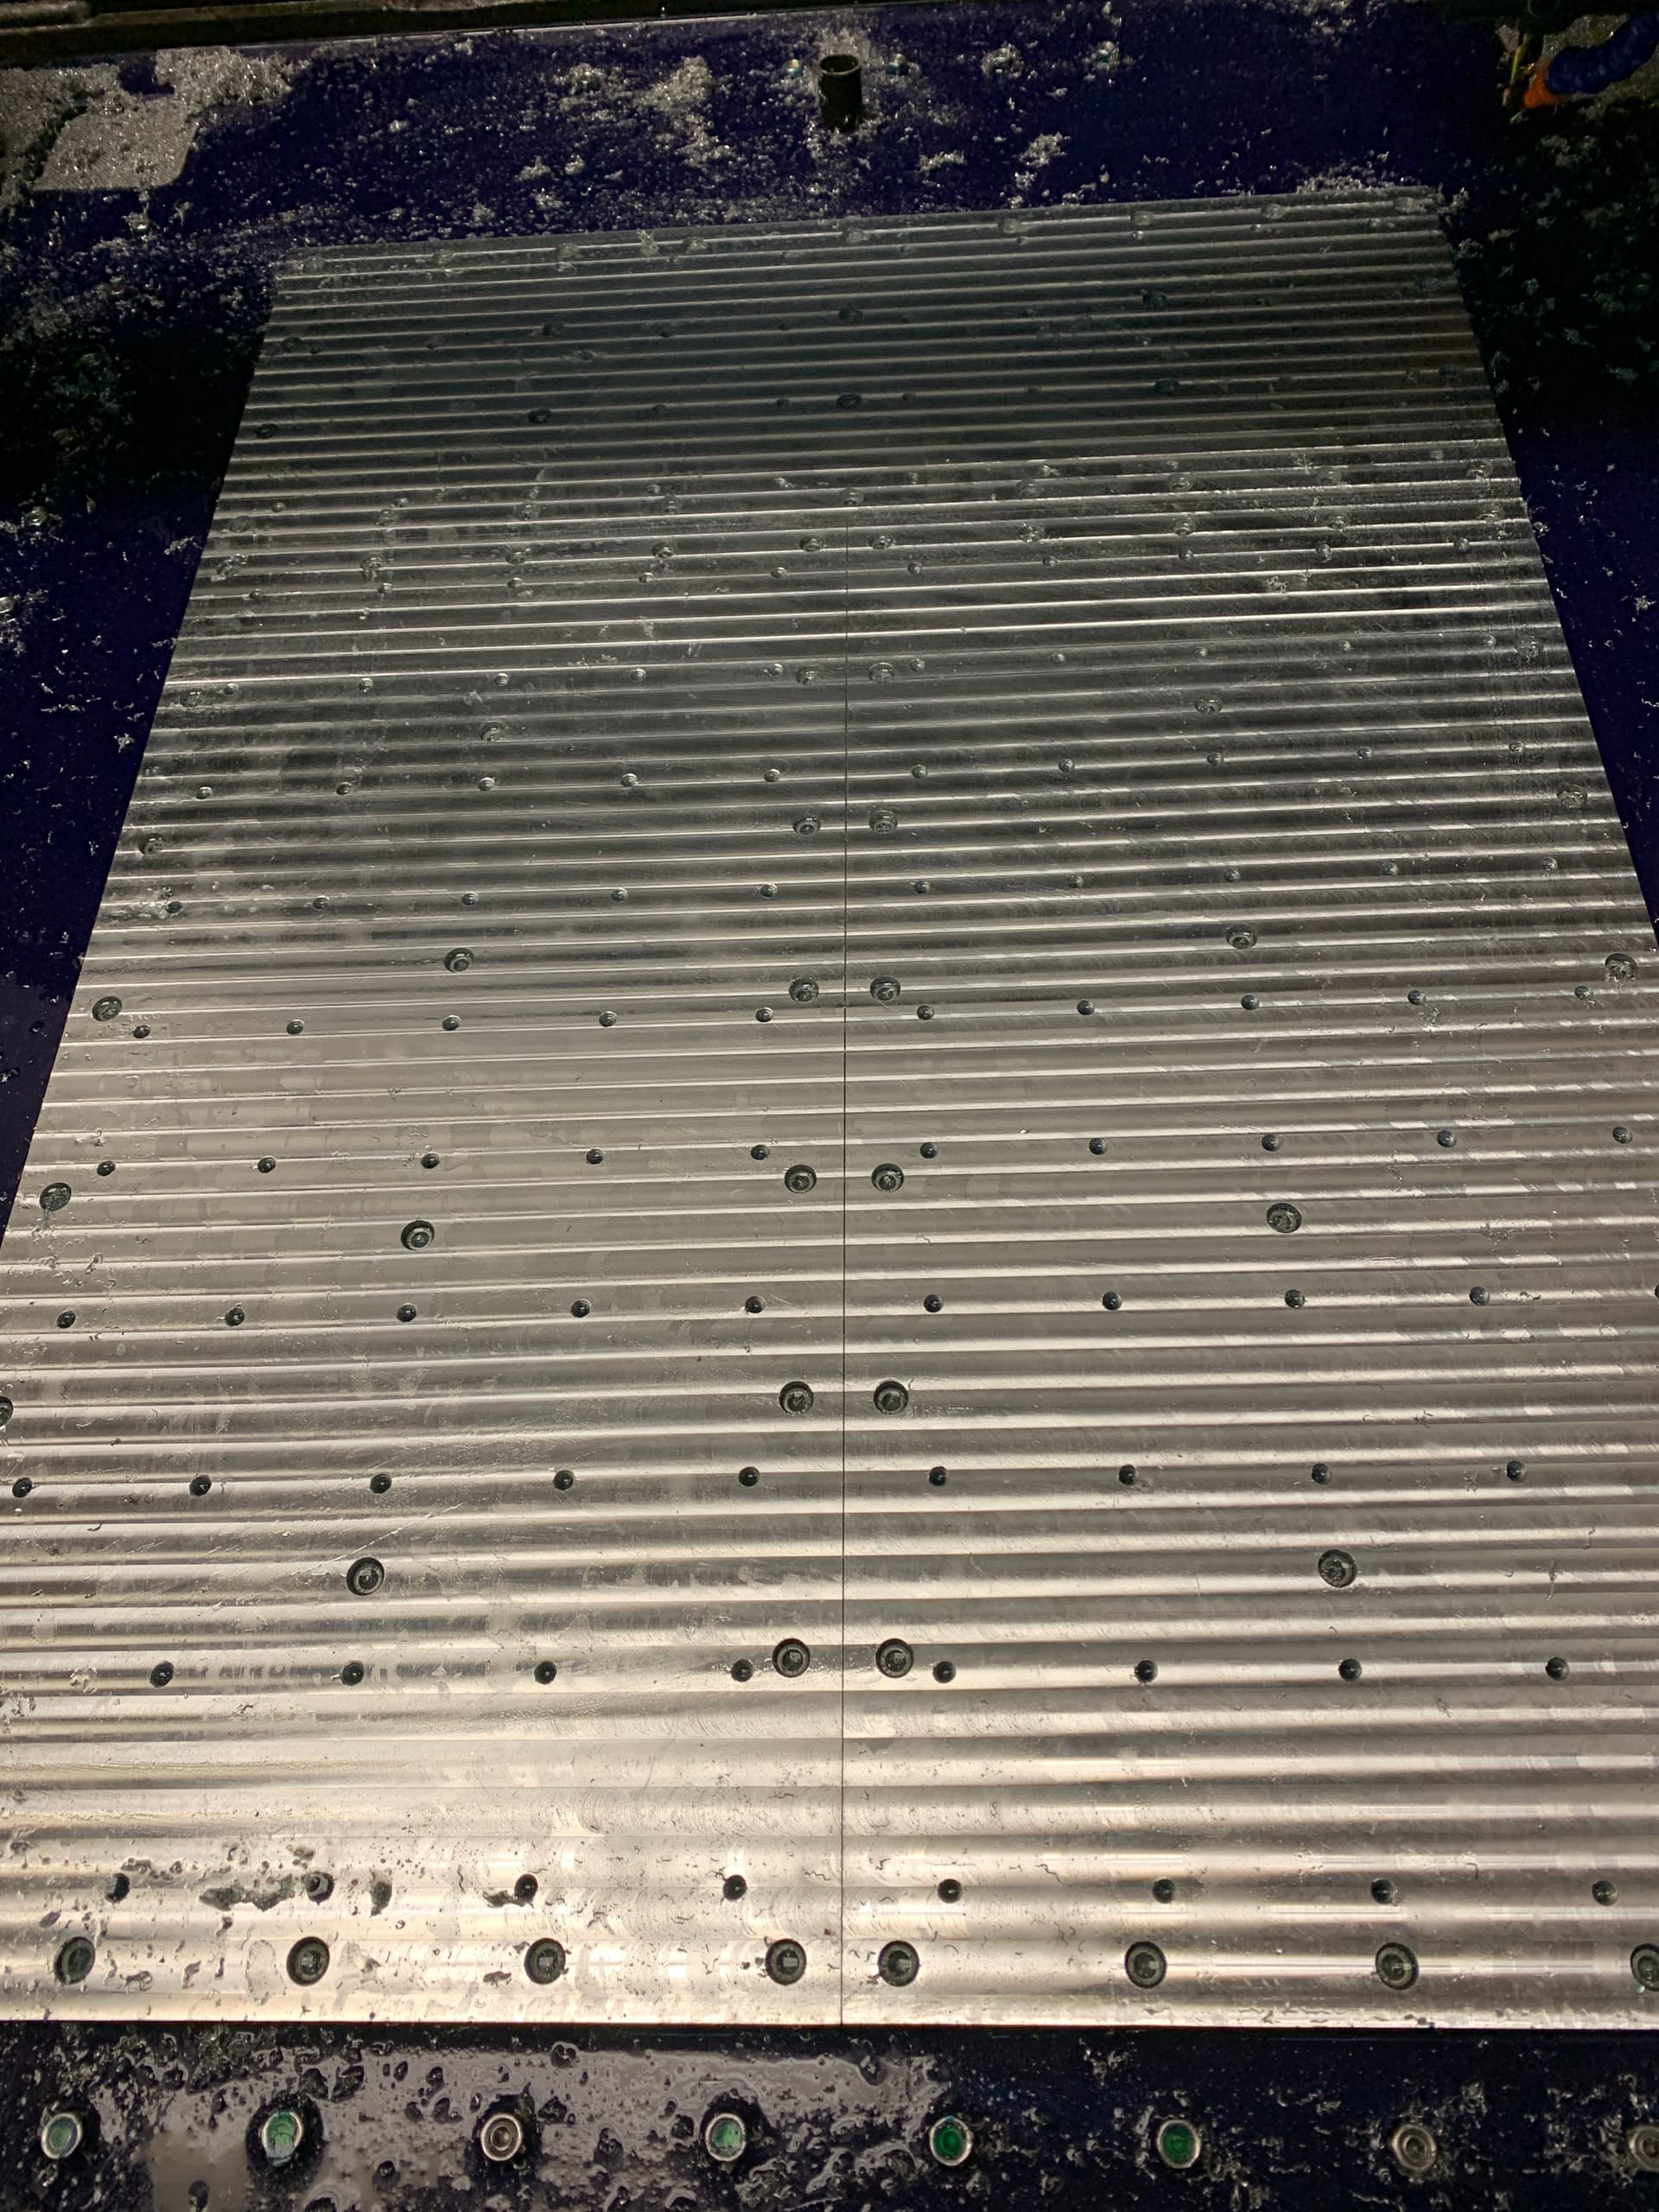
The cutting program works fine since the direction of the Y travel is the same. I then surfaced the rear of the extended plate, machining about 1" into the supplied plates. Two passes and a finishing pass.
Resulting in this
Ok, time to rotate the X axis back again and realign it all. Since I cut about 0.003 below on the rear surface, I have some meat left on the front to finish pass it to match the rear plate.
I am not sure if I would use these additional areas right now, but I thought it would be worth the extra effort - it was a lot of additional work but its now in place. The next step is to use an accurate straight edge and take down the tops of any of the external anchors to match the finished surface on the baseplate.