A shortcoming to me of the MR-1 is the ability to hold down larger parts, the baseplate is too small, it’s narrower than the machine’s reach and if the piece is larger you would need through holes to hold it down. I might be machining larger pieces, and even if I cannot reach all the area of the piece I want to be able to mount outside the cutting envelope. I did this two ways:
Add an additional custom baseplate to the rear of the two supplied, drilled out to match the pattern. You can also just order an additional baseplate.
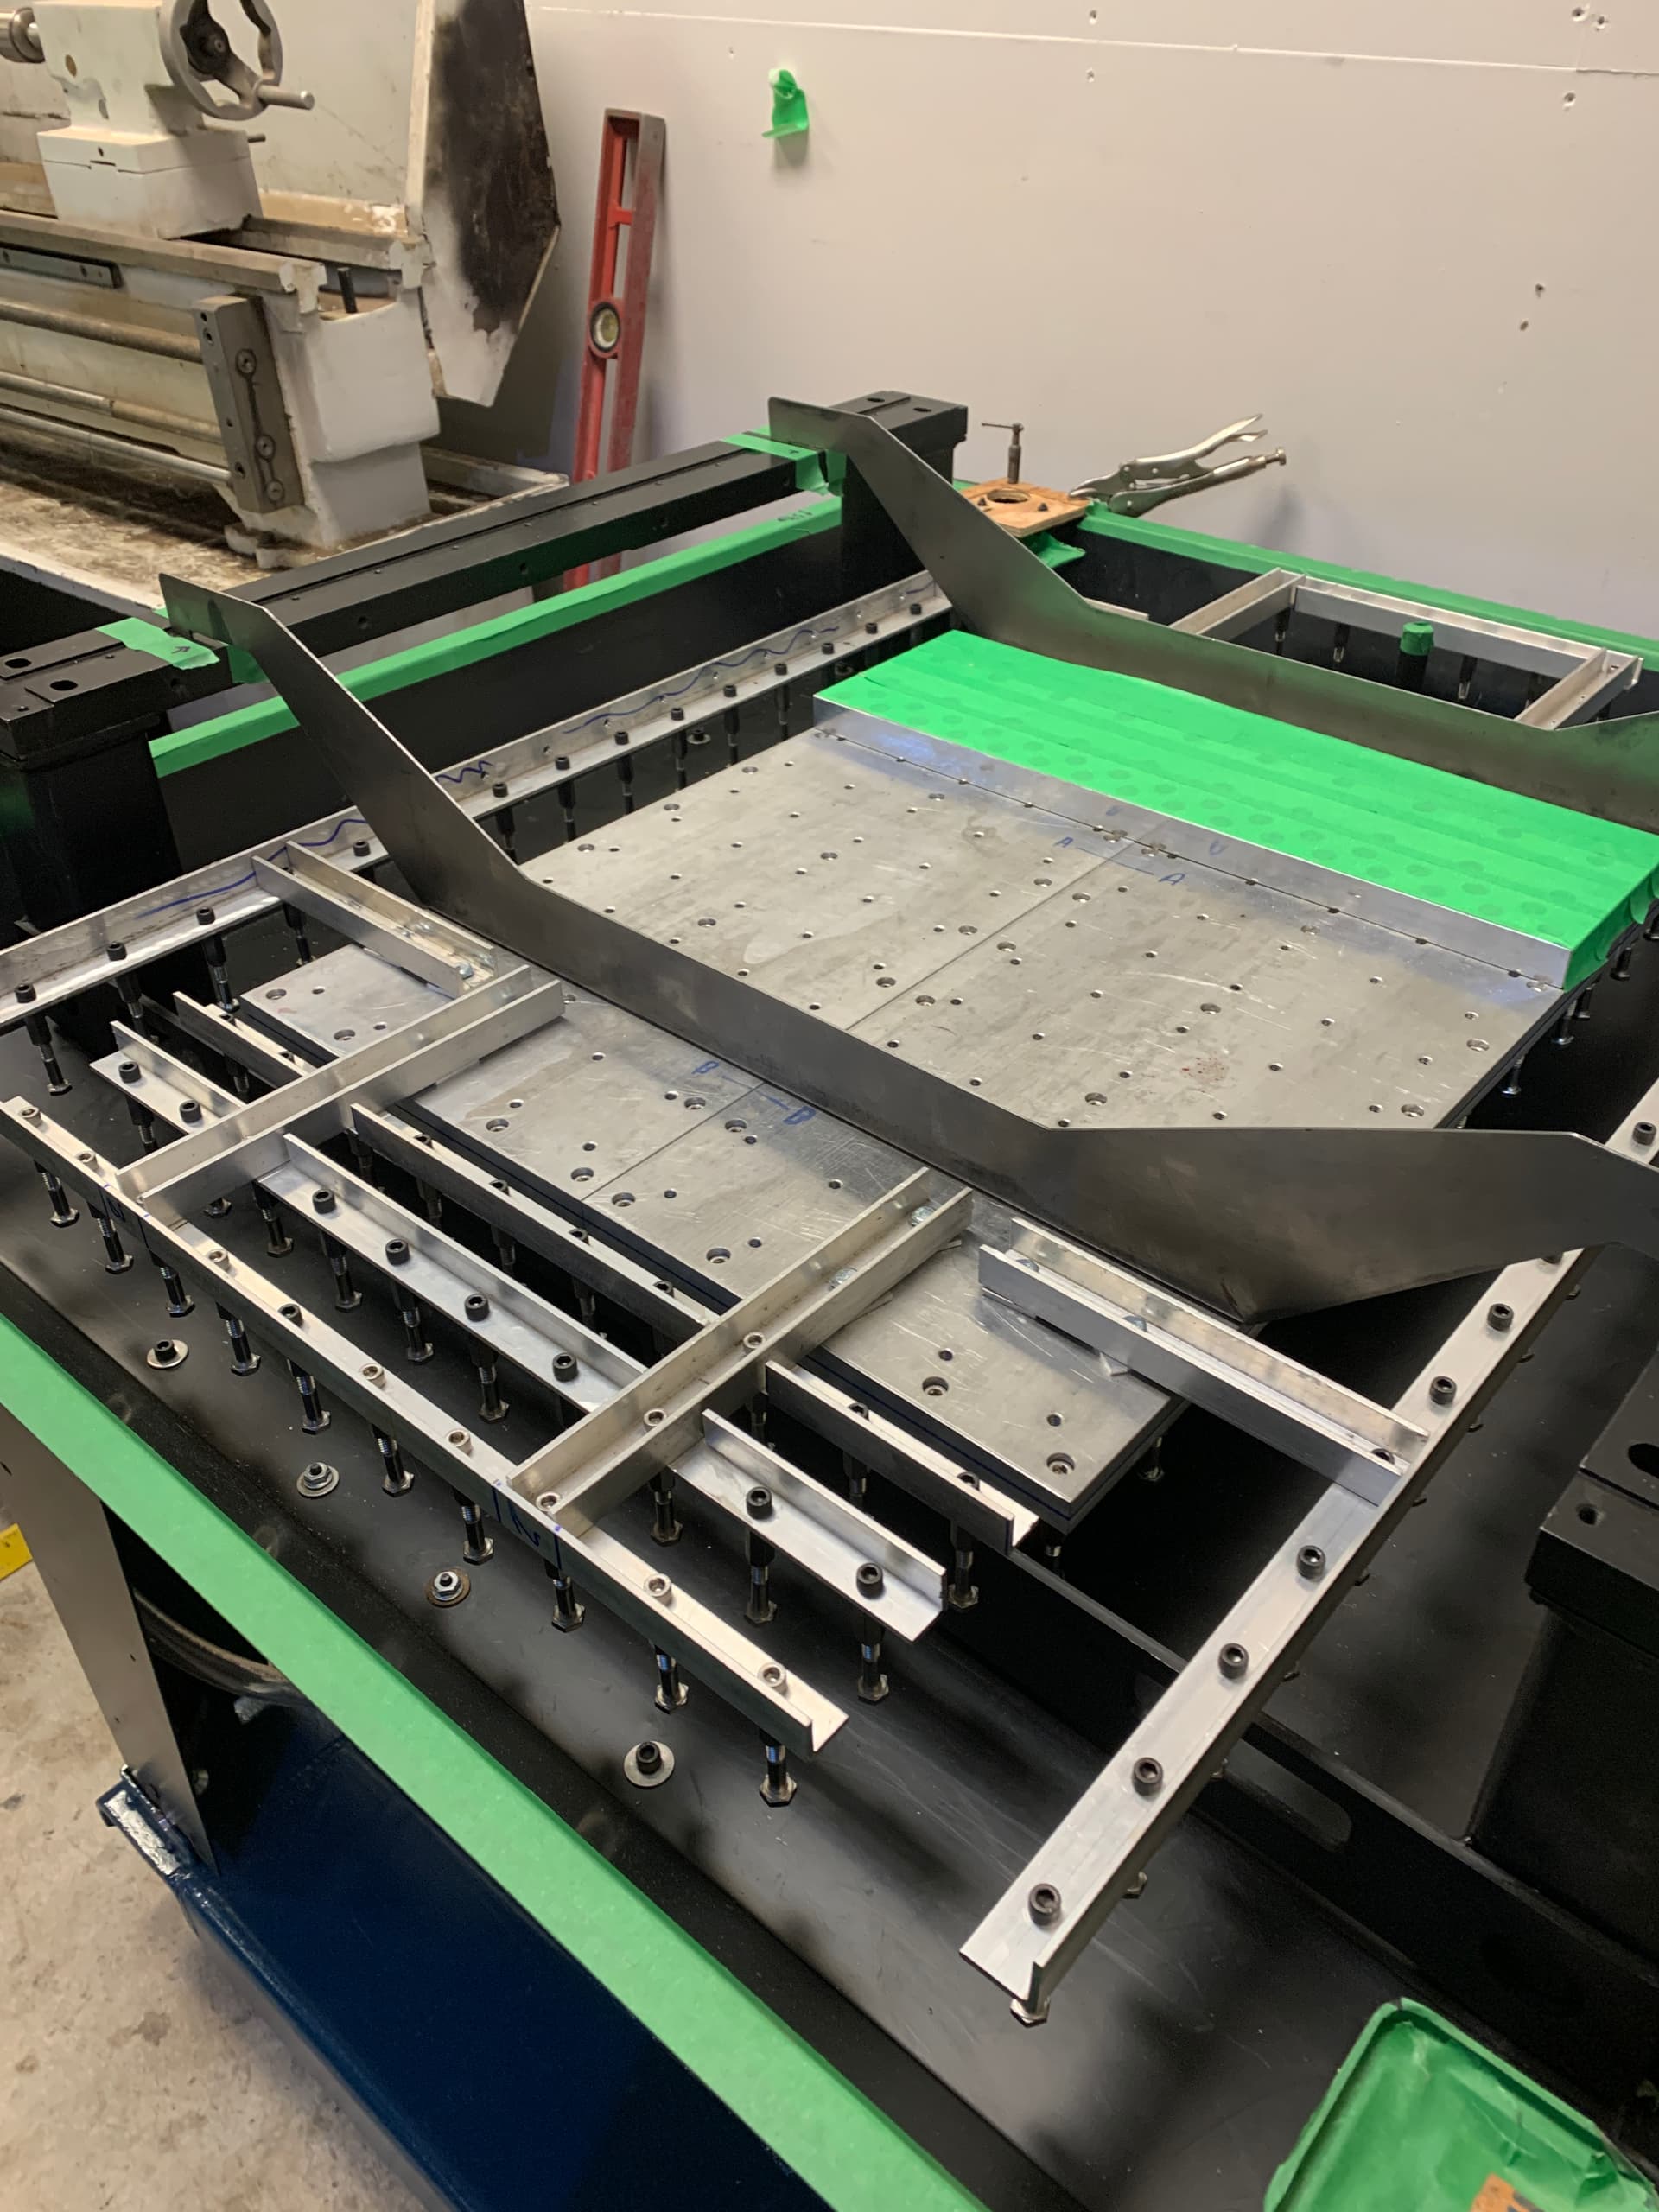
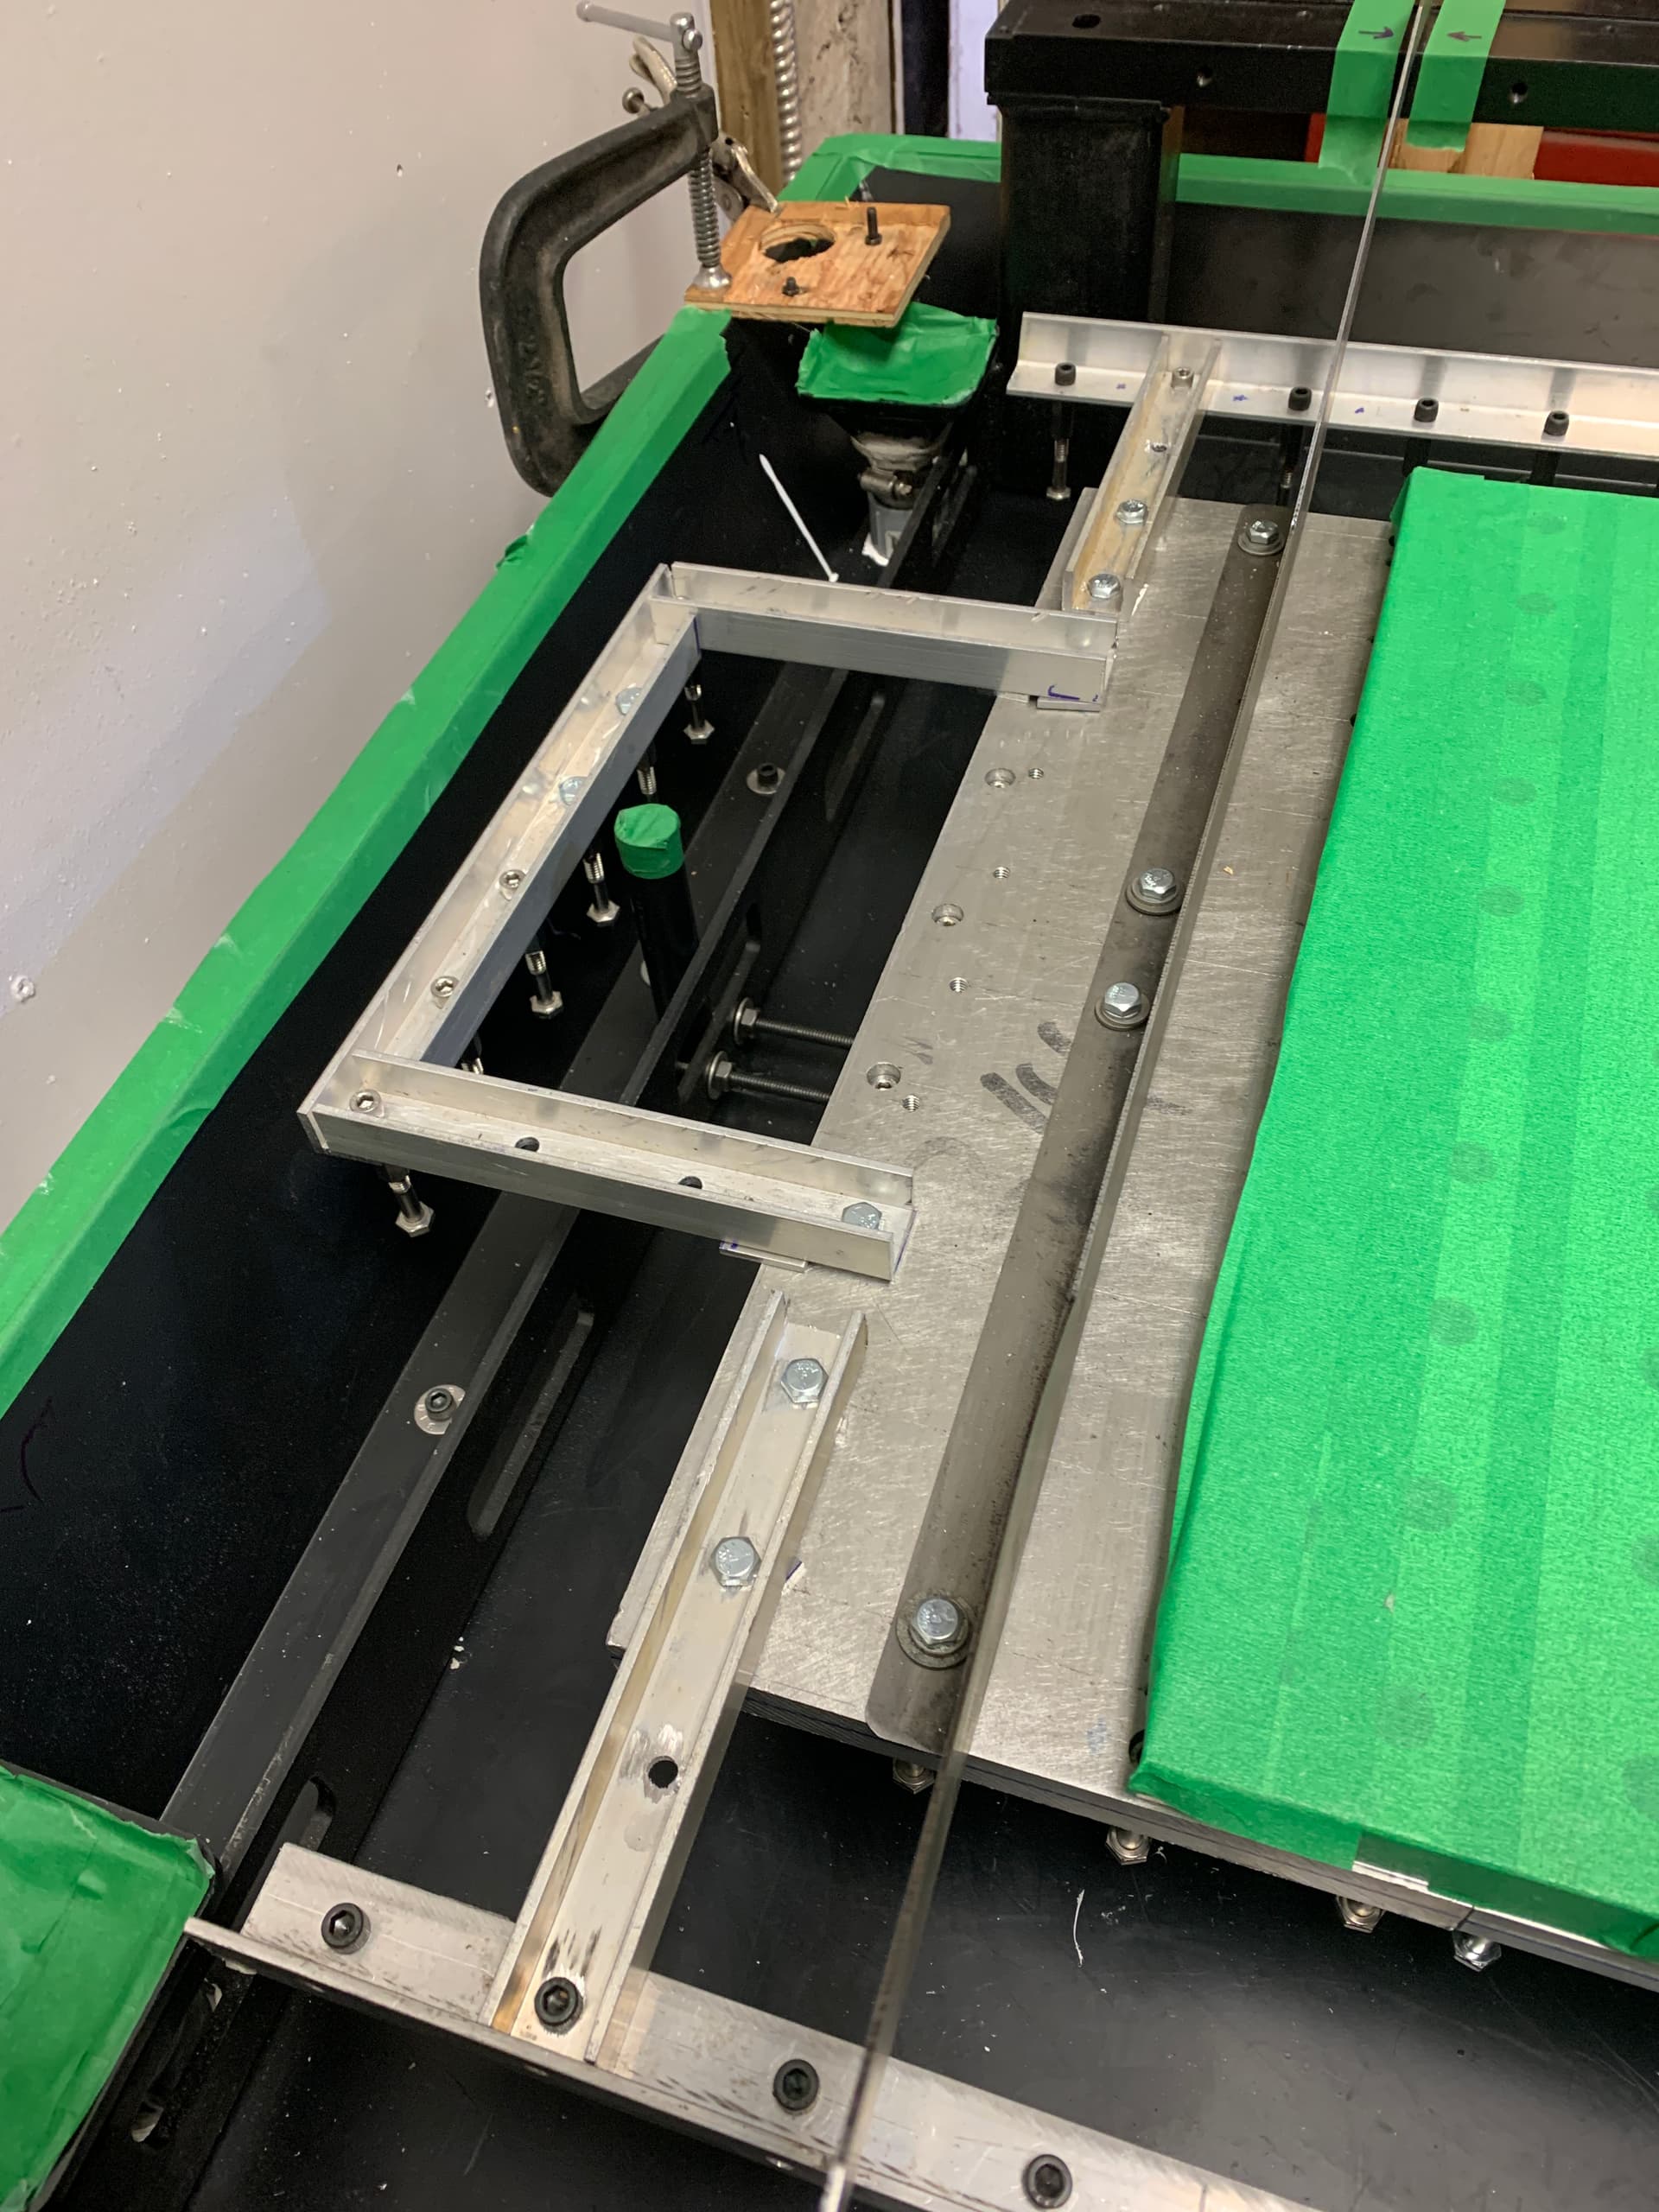
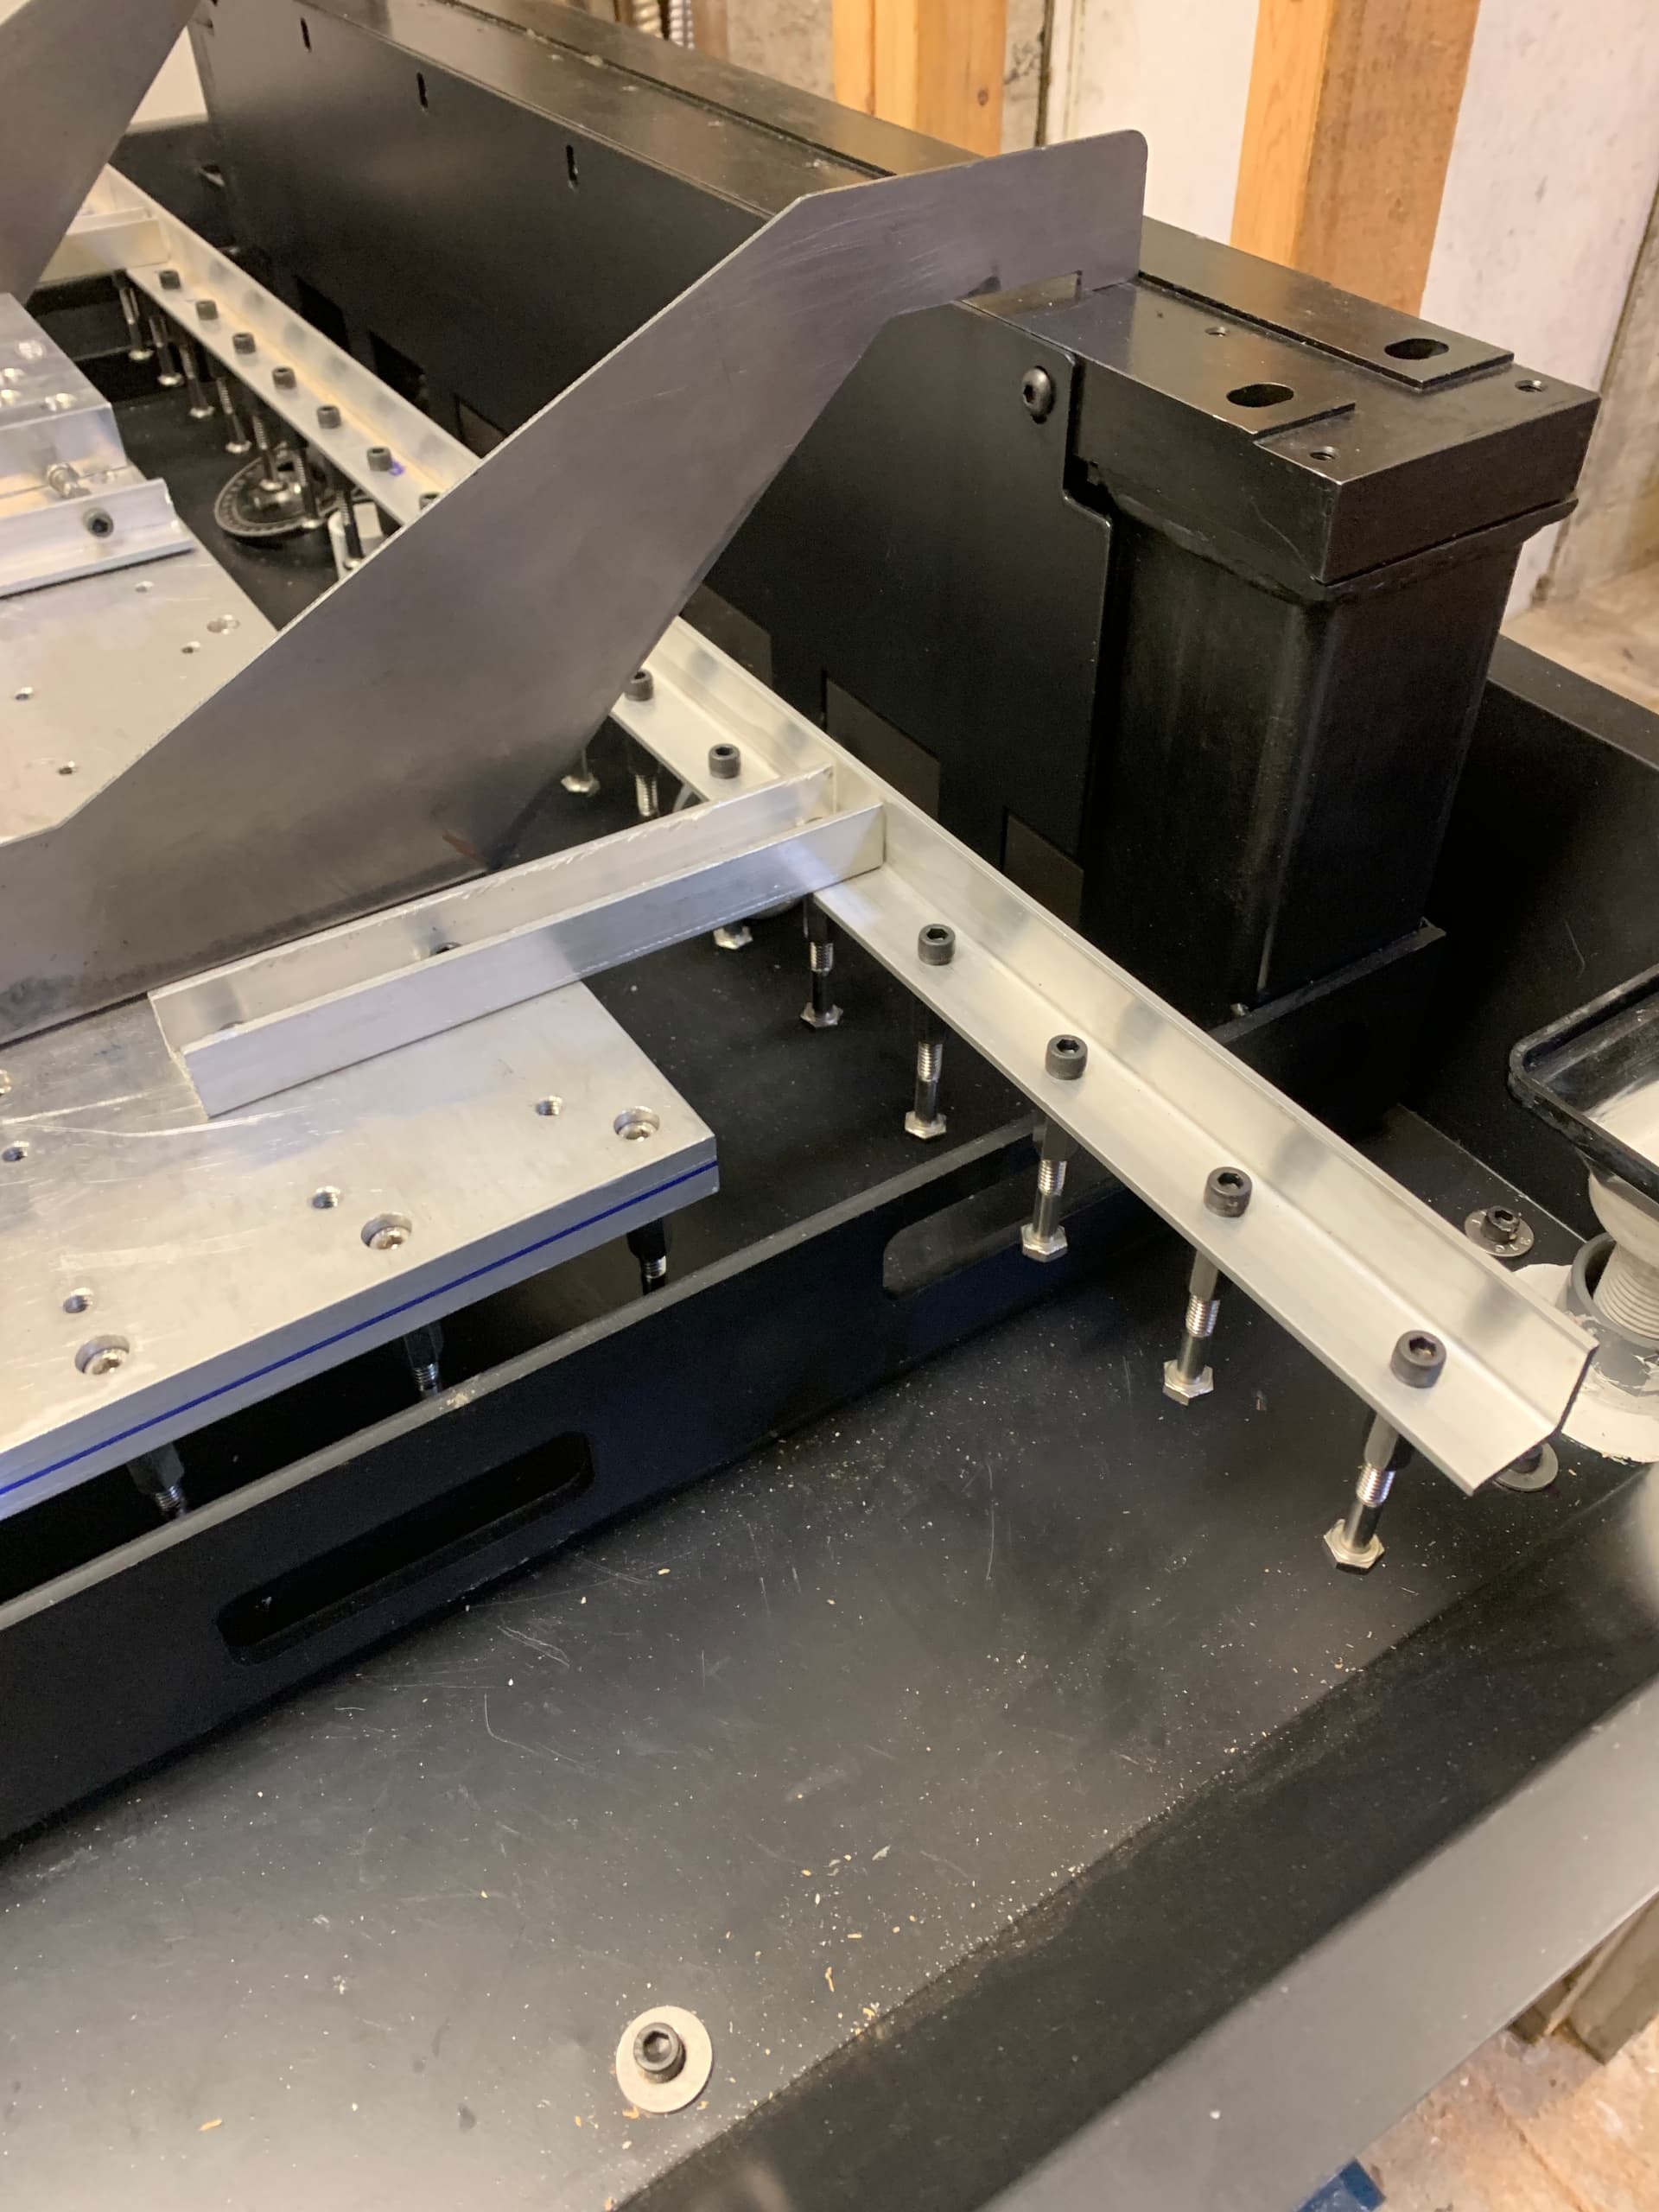
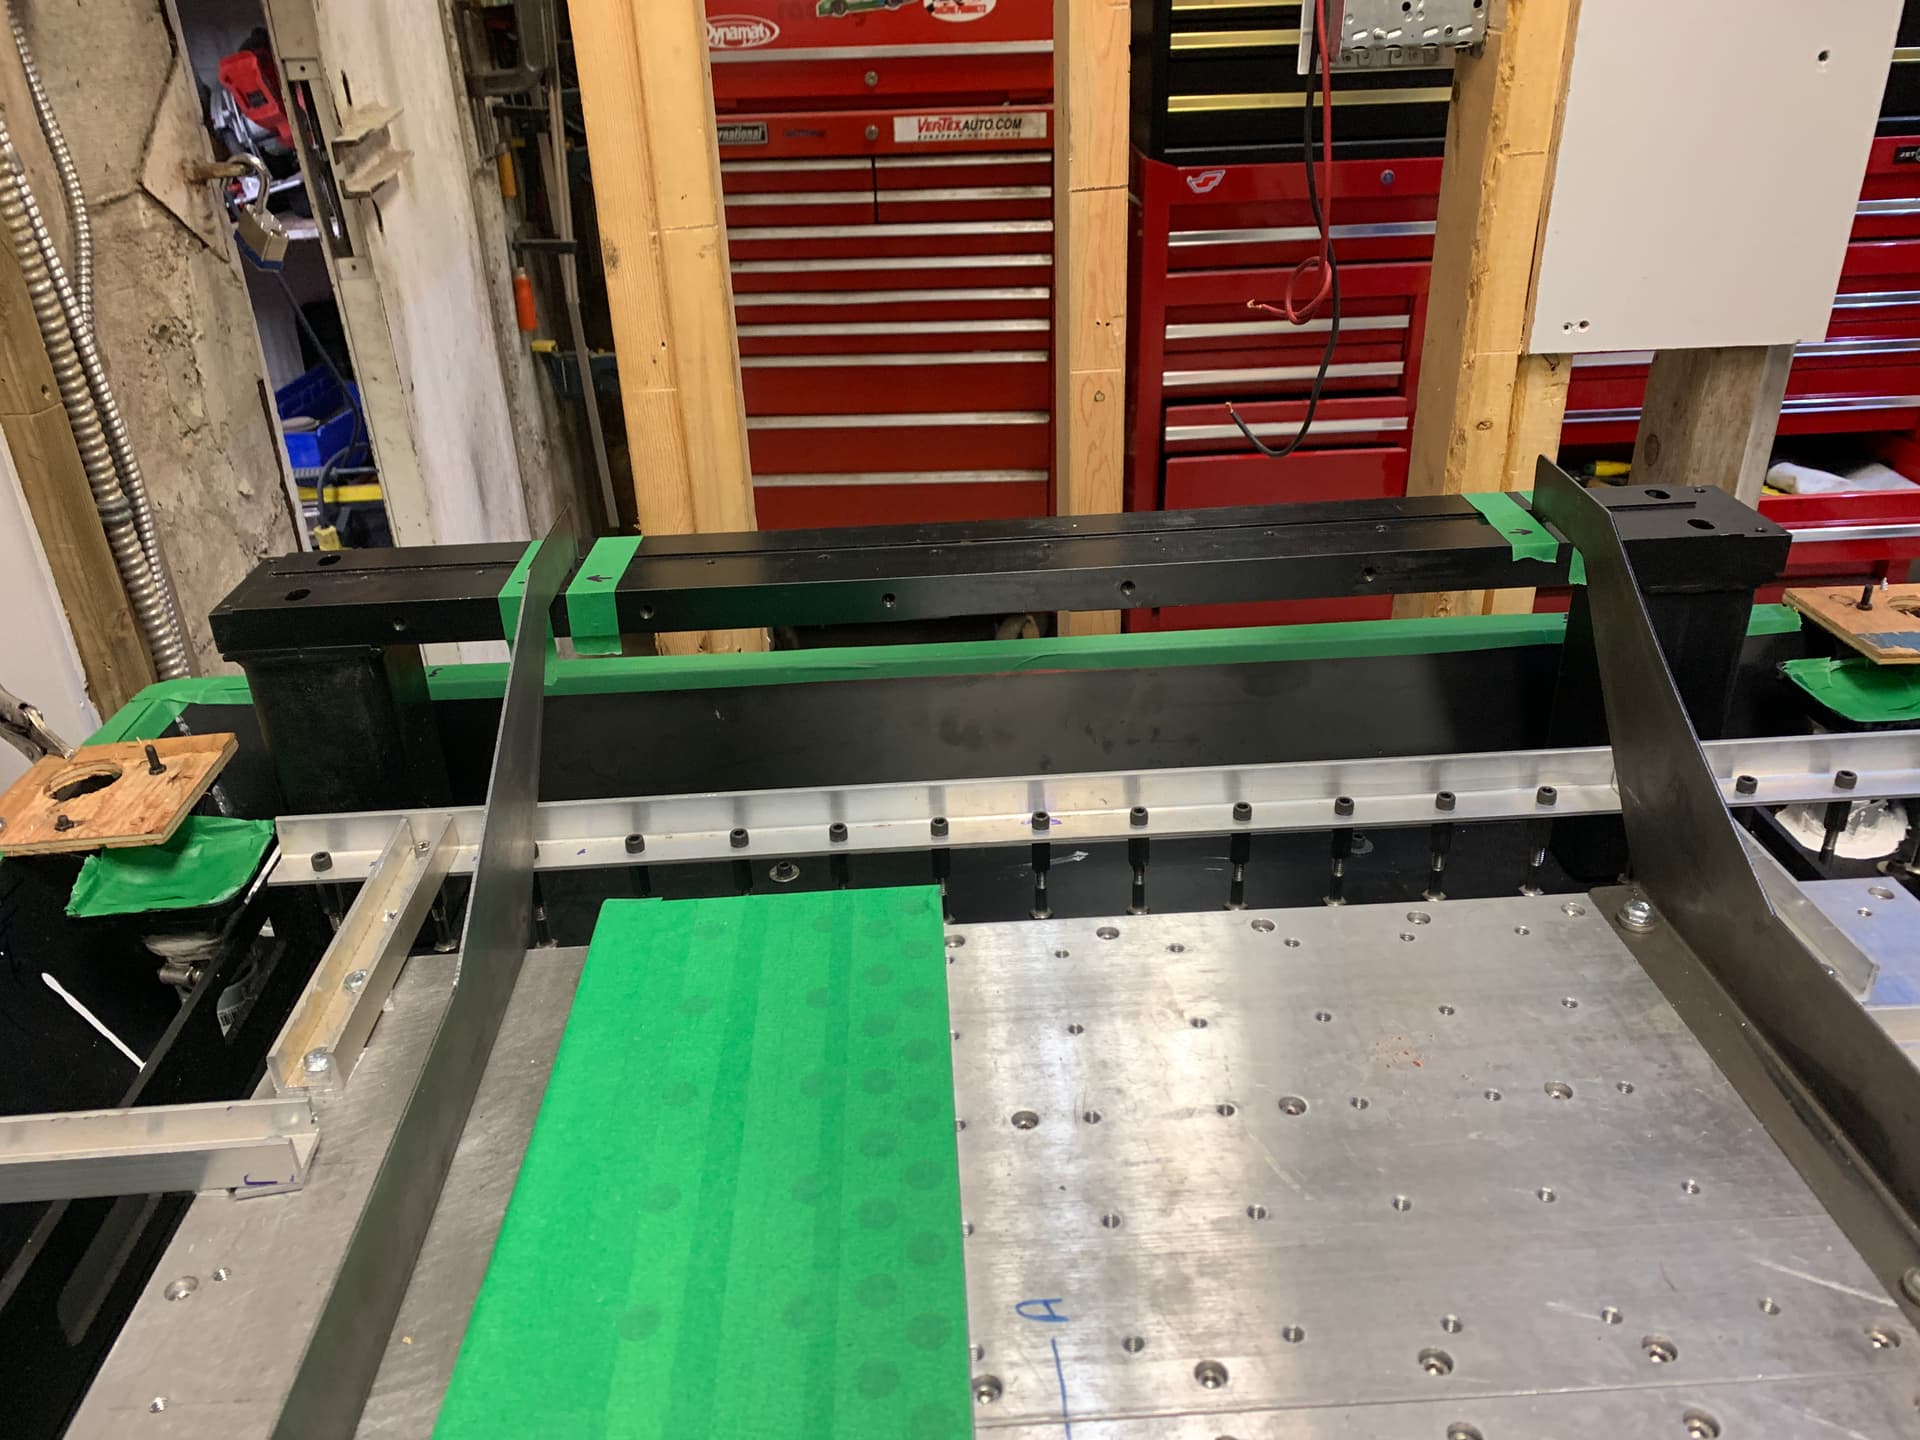
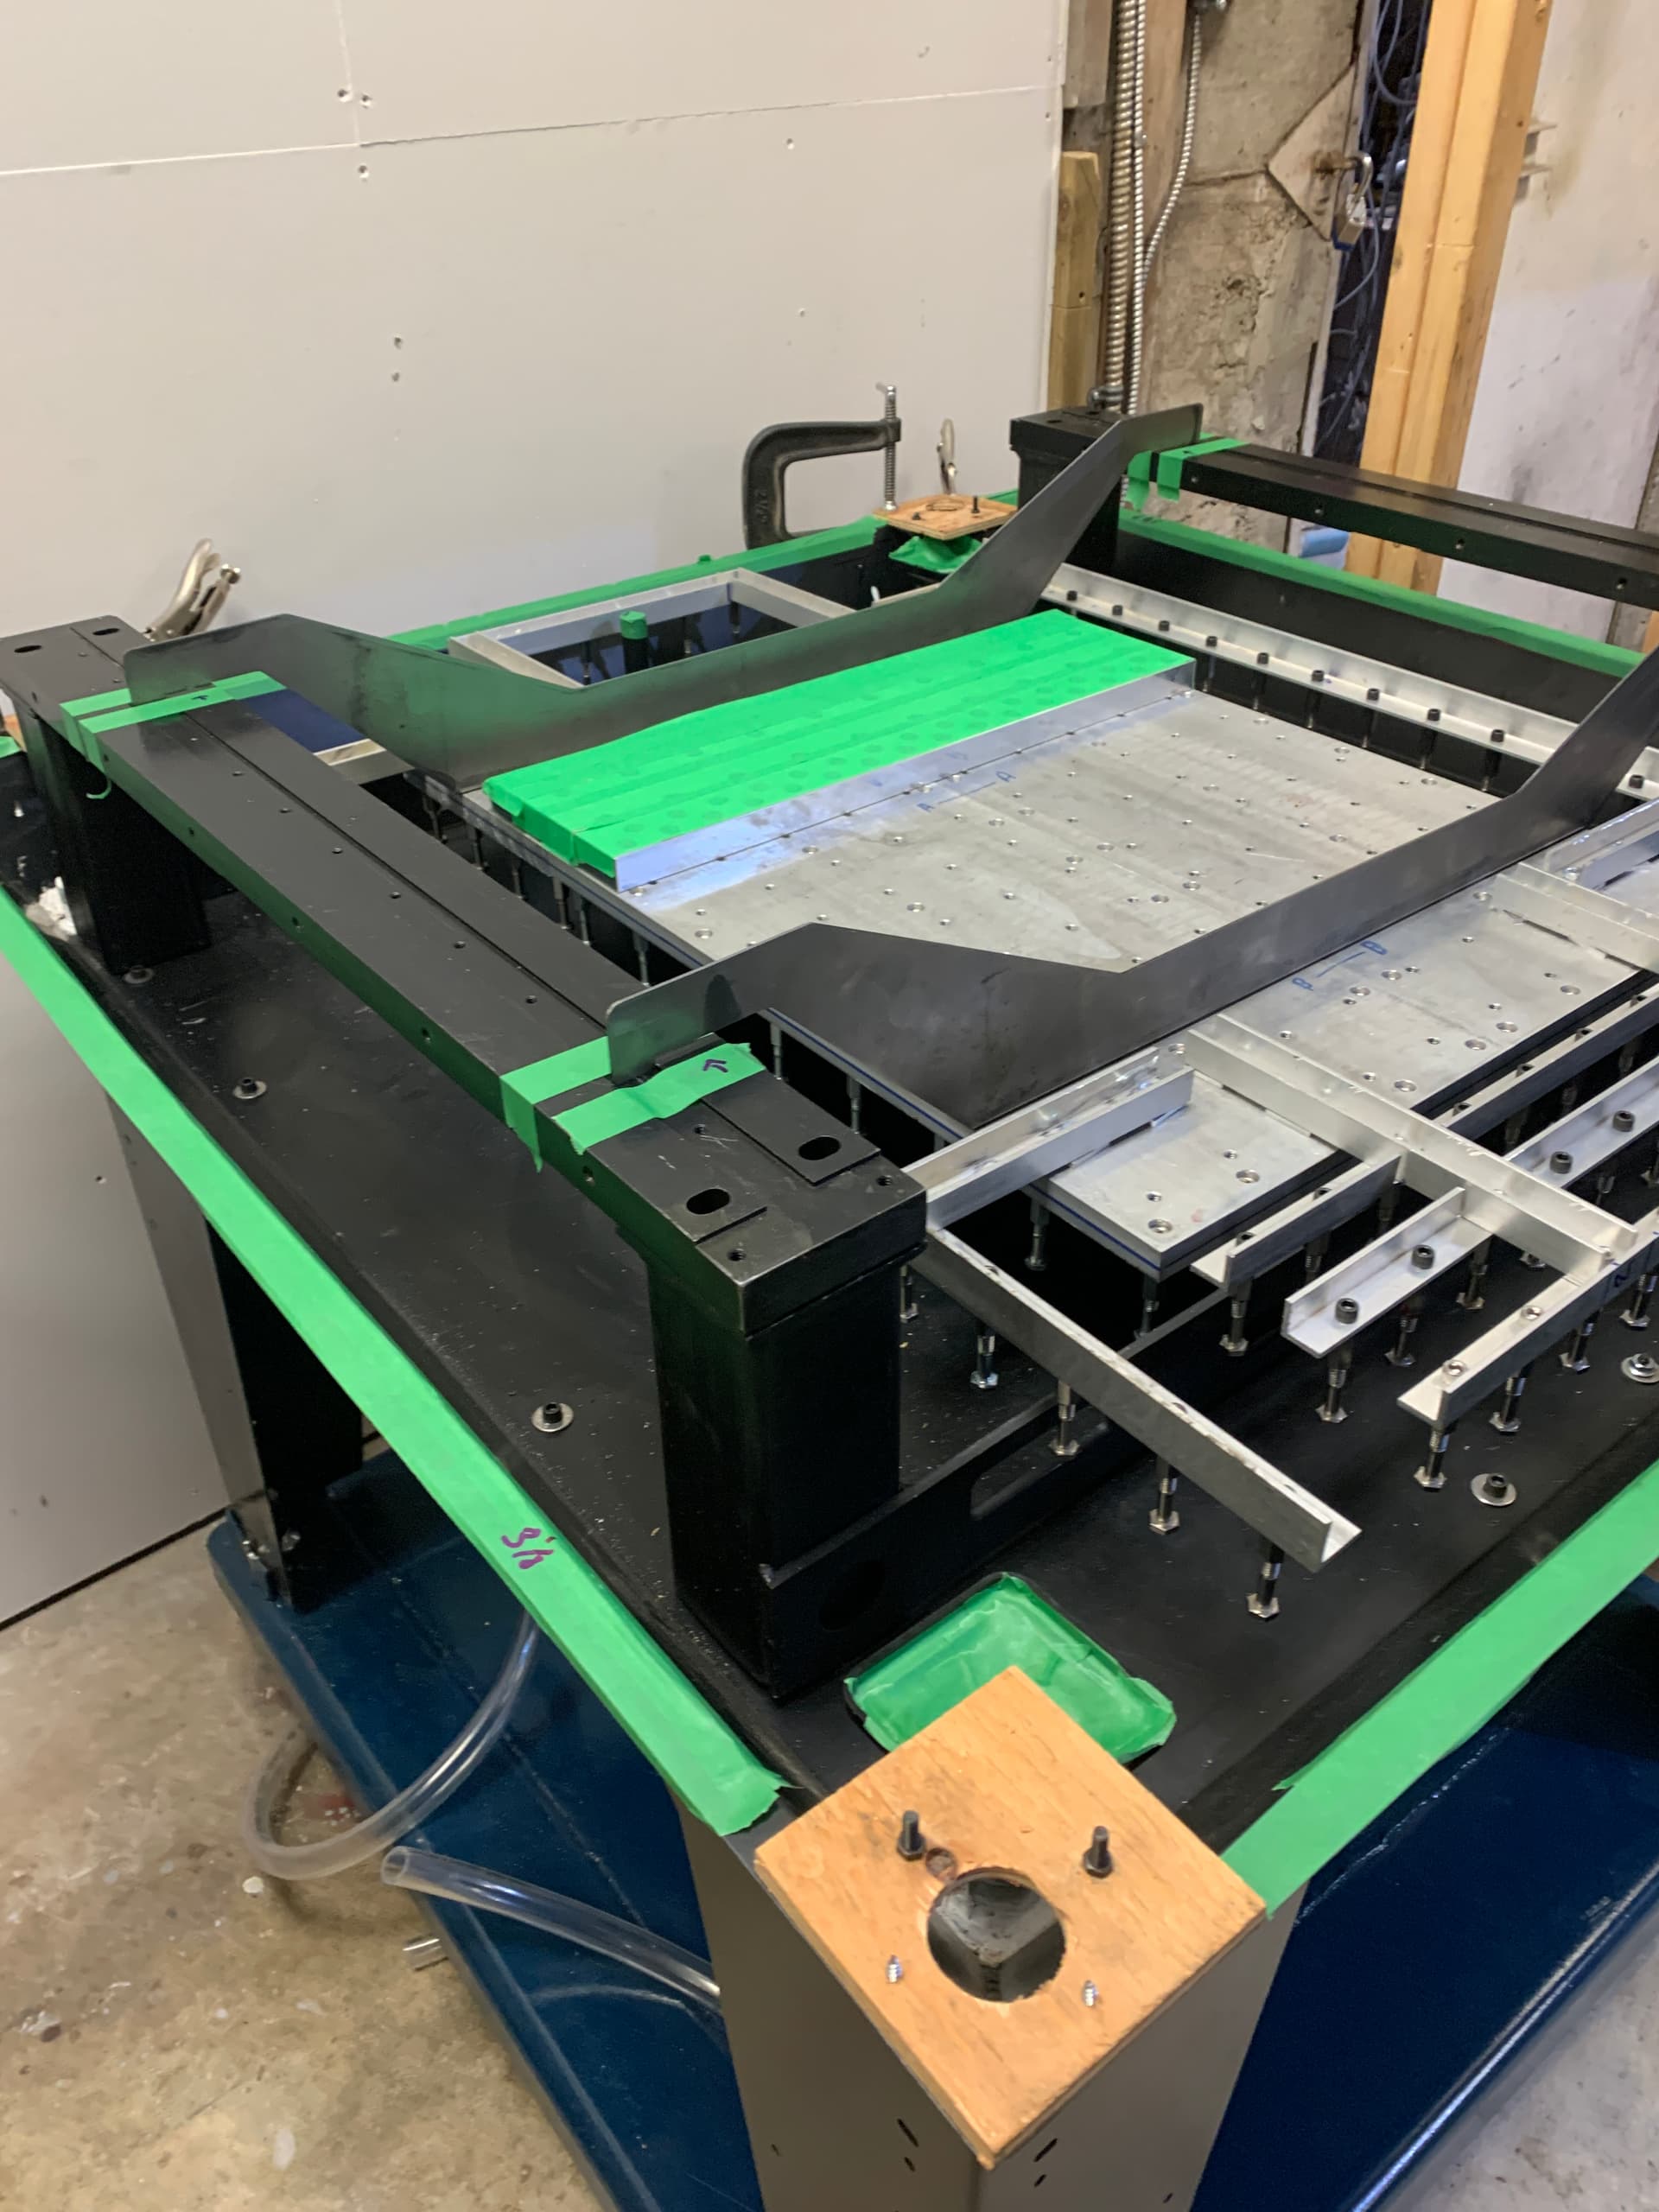
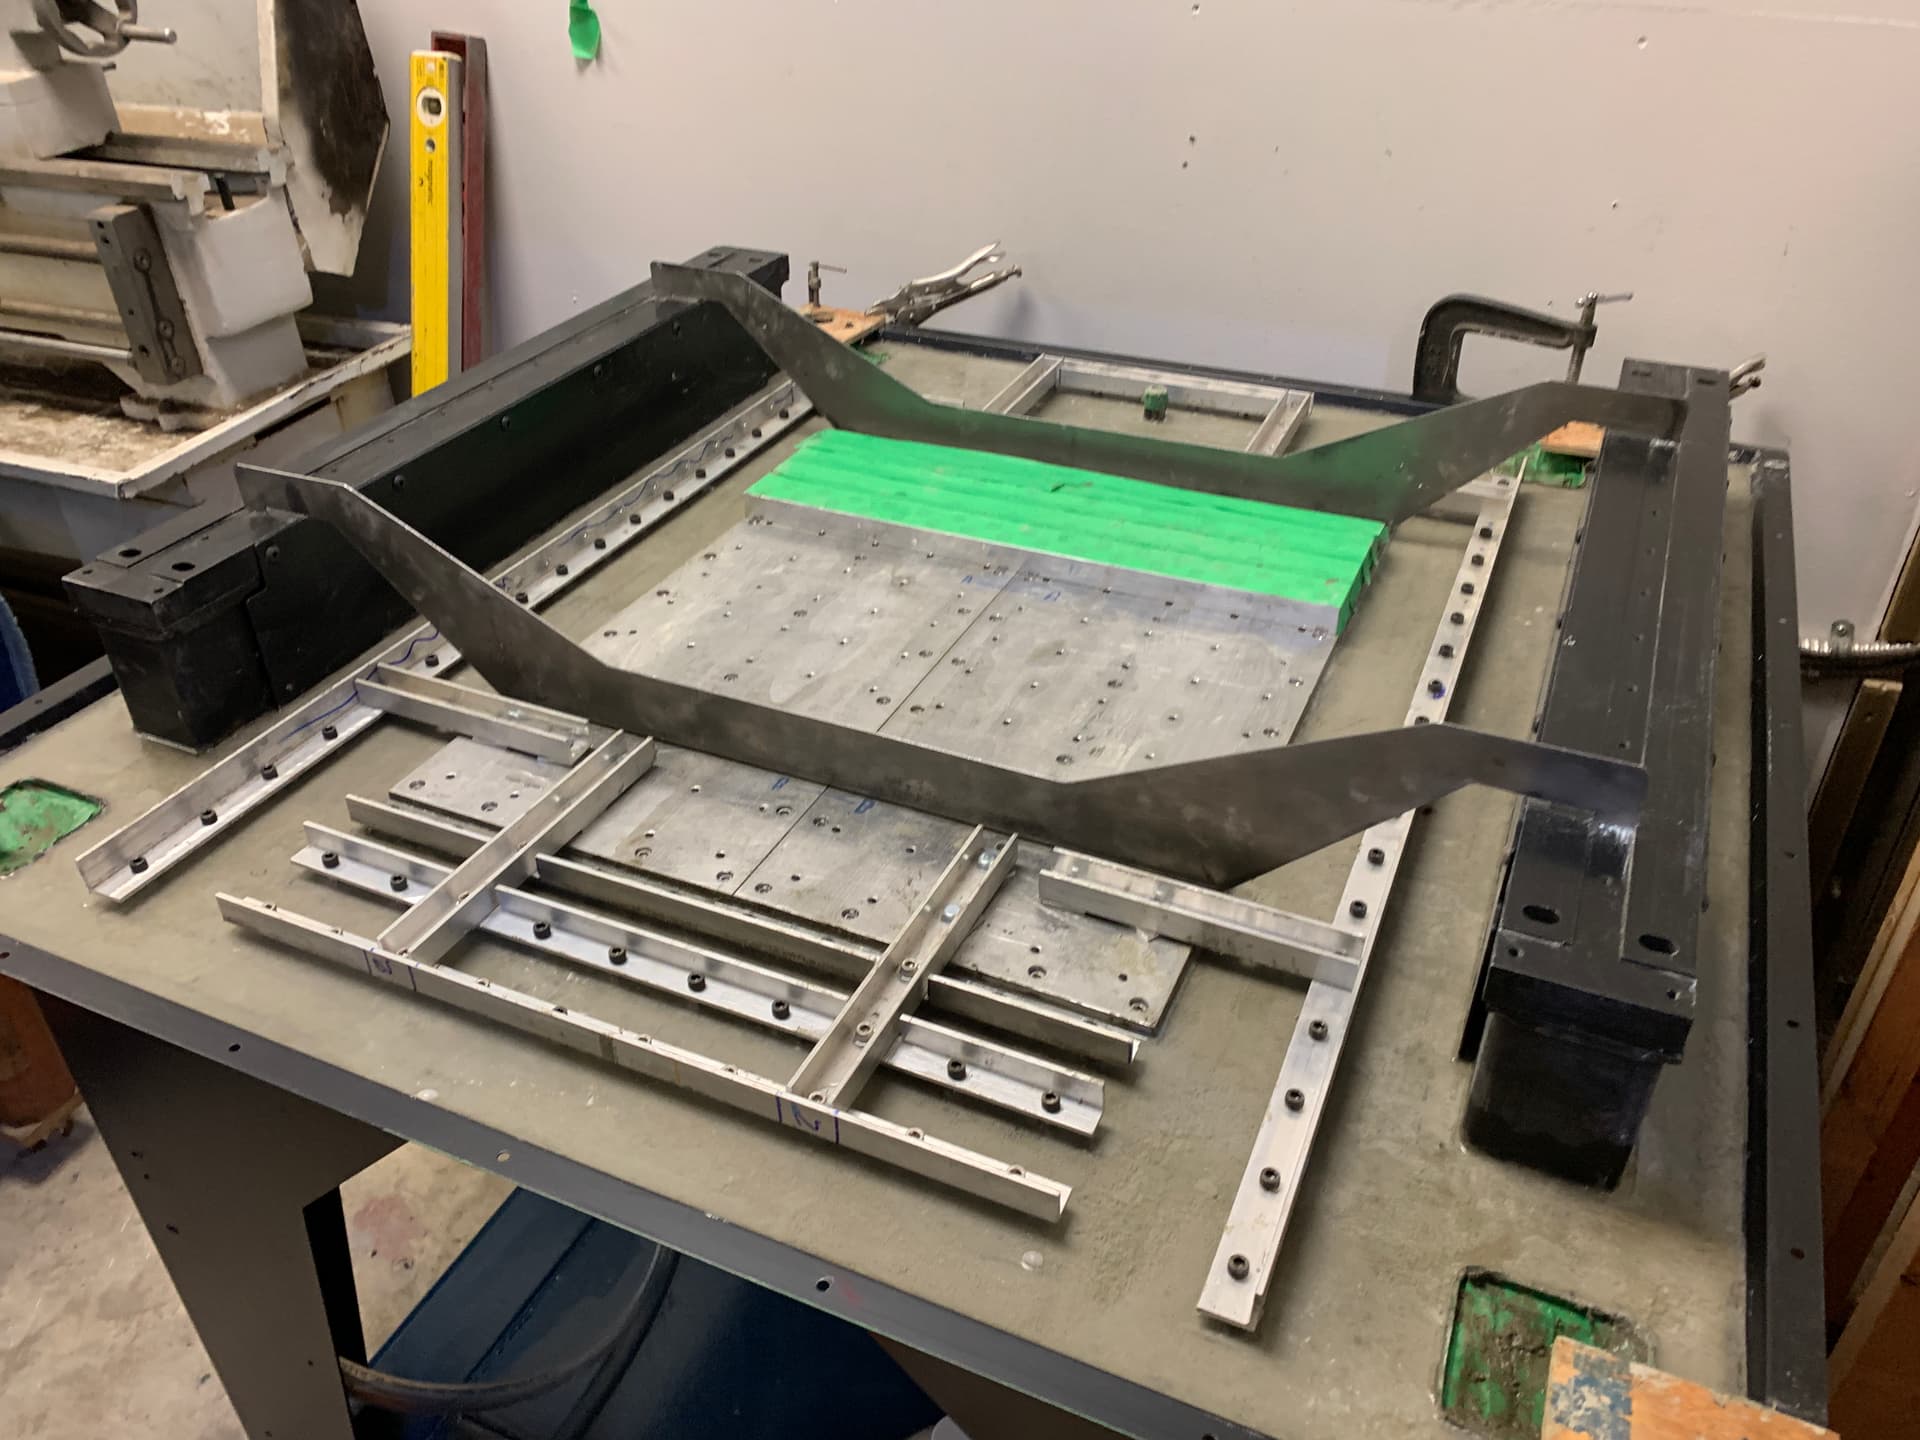
Add an array of anchors outside the baseplate that can be used to hold vices or pieces in place. These can be held in place with a matrix of aluminum supports indexing off the baseplate.
I really do not know what pieces may go into this machine so I thought it prudent to add anchors now since it would harder later.
I also had cut off the L shaped support tube since it was in the way, and reinstalled it with a coupler later on.
Once the baseplate was machined (and the X rotated and machined the rear base plate), I will hand grind/finish the tops of the new anchors to match.
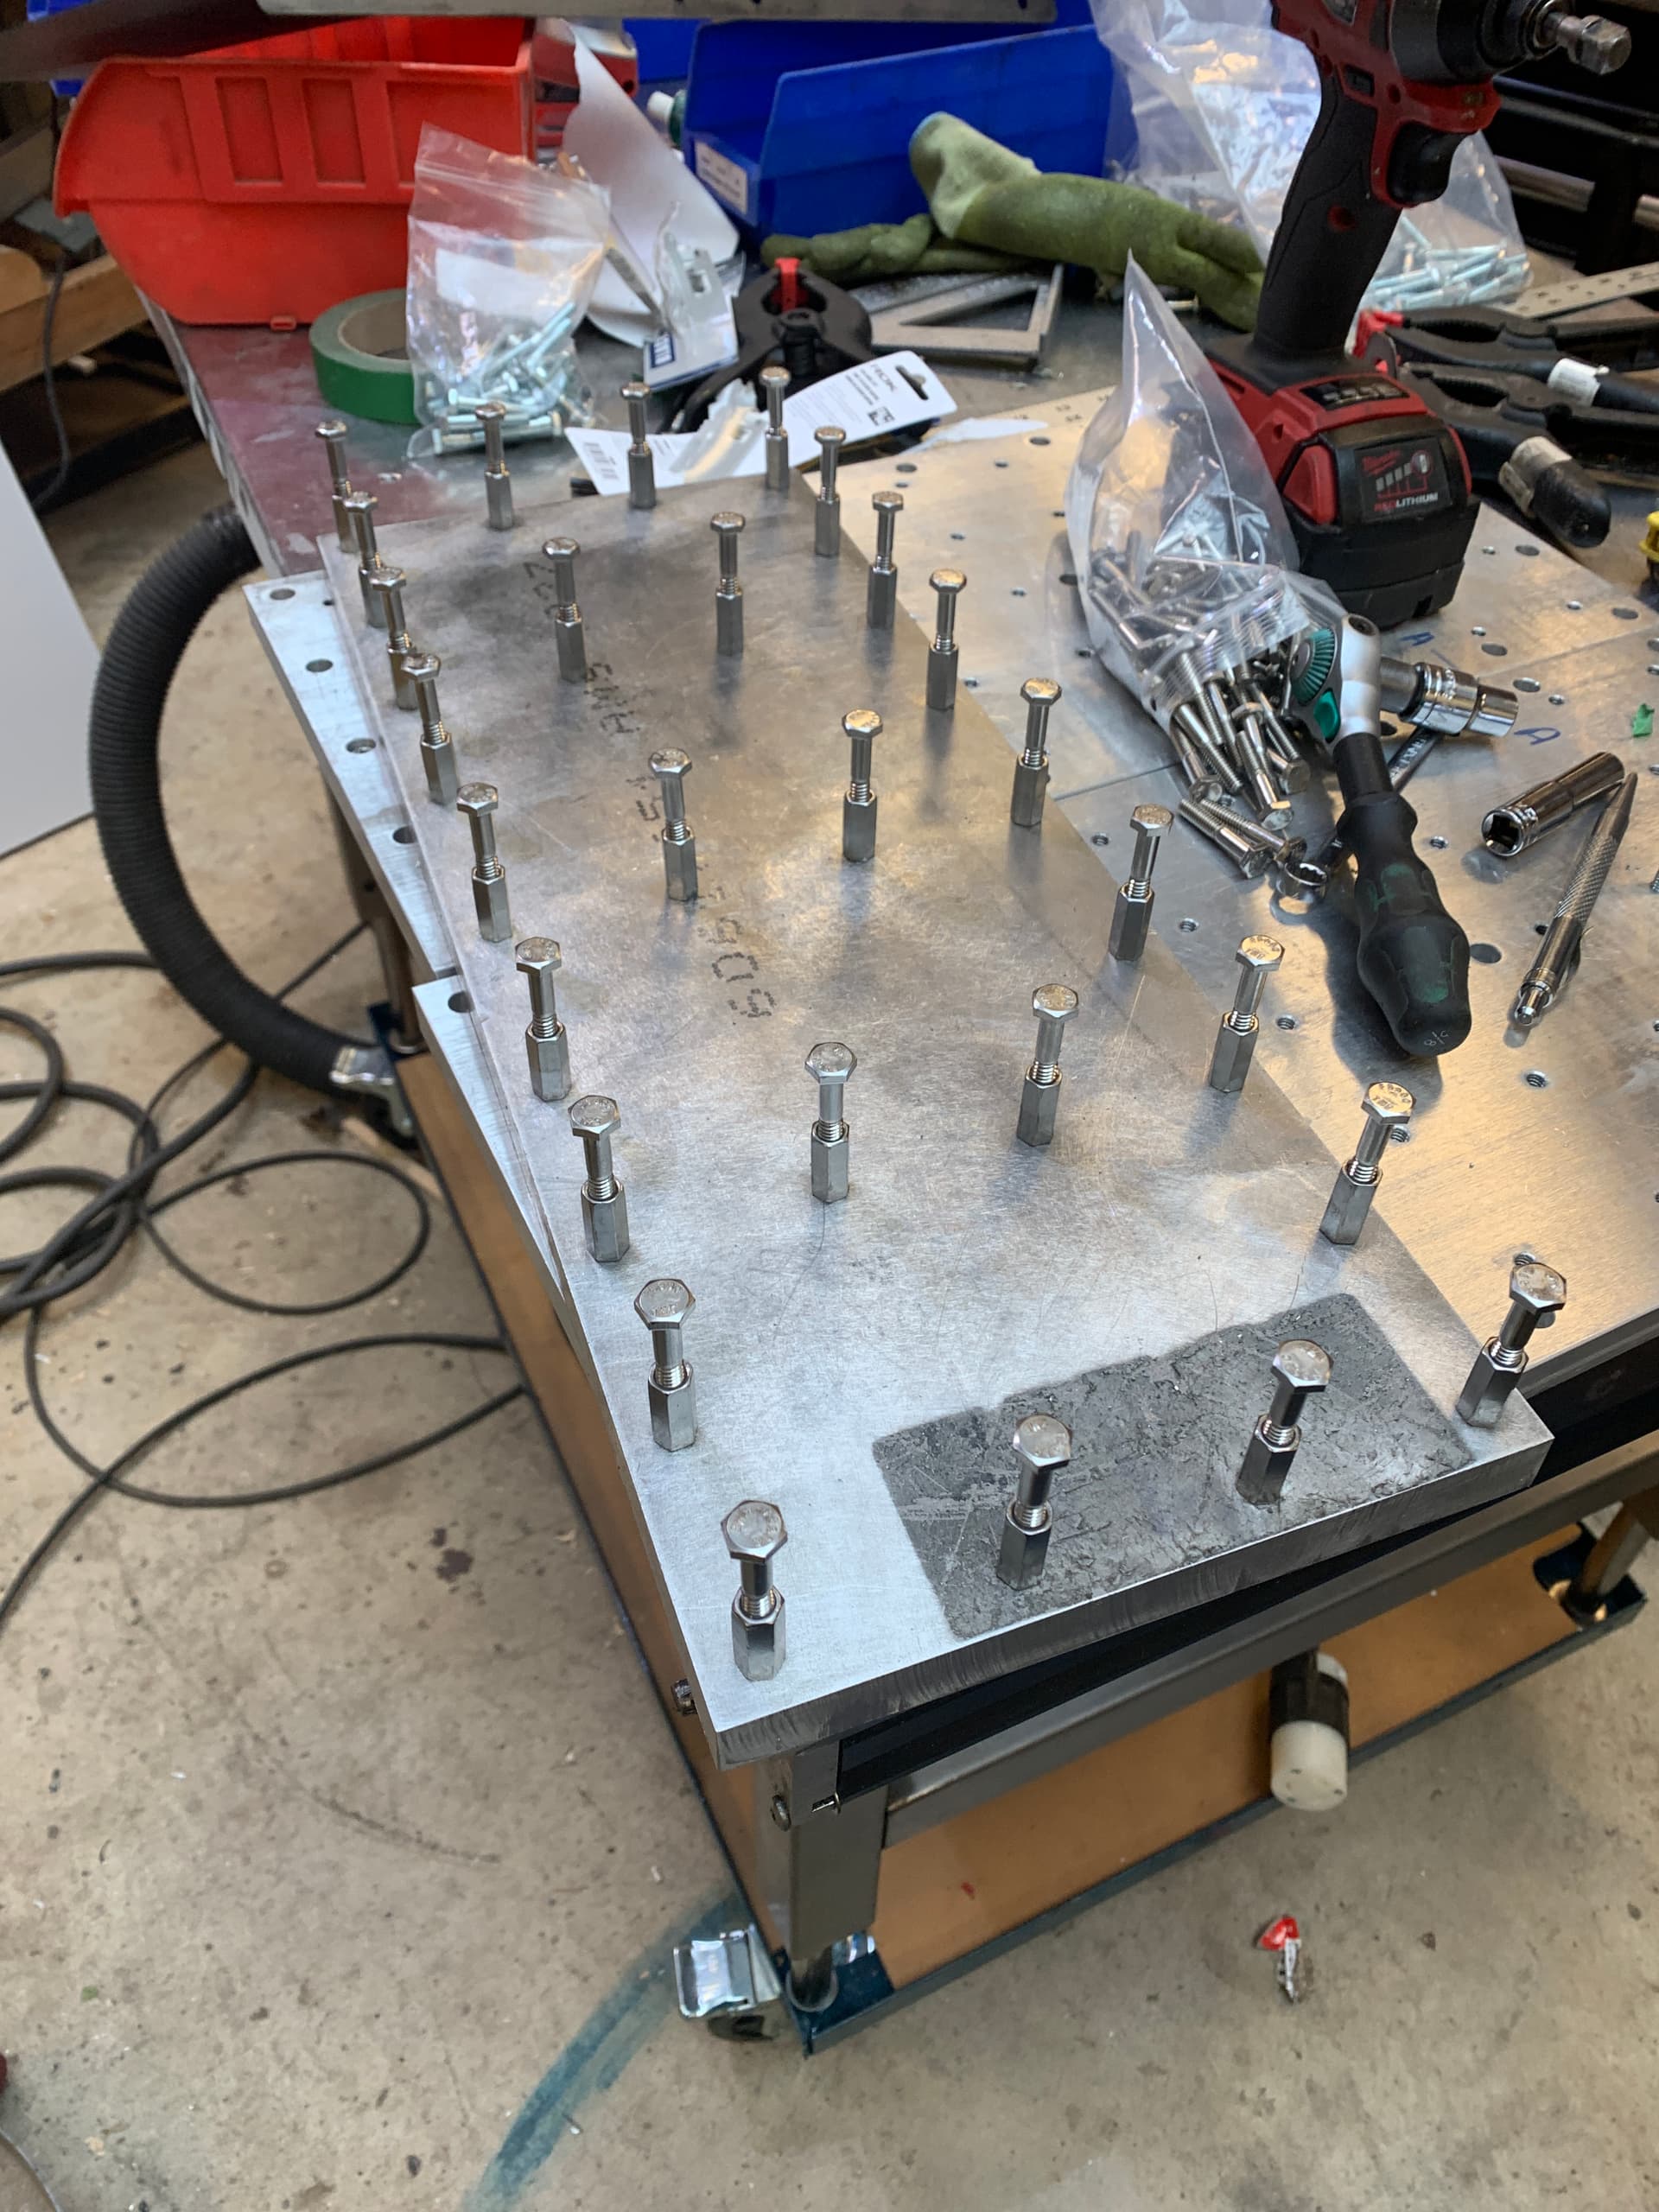
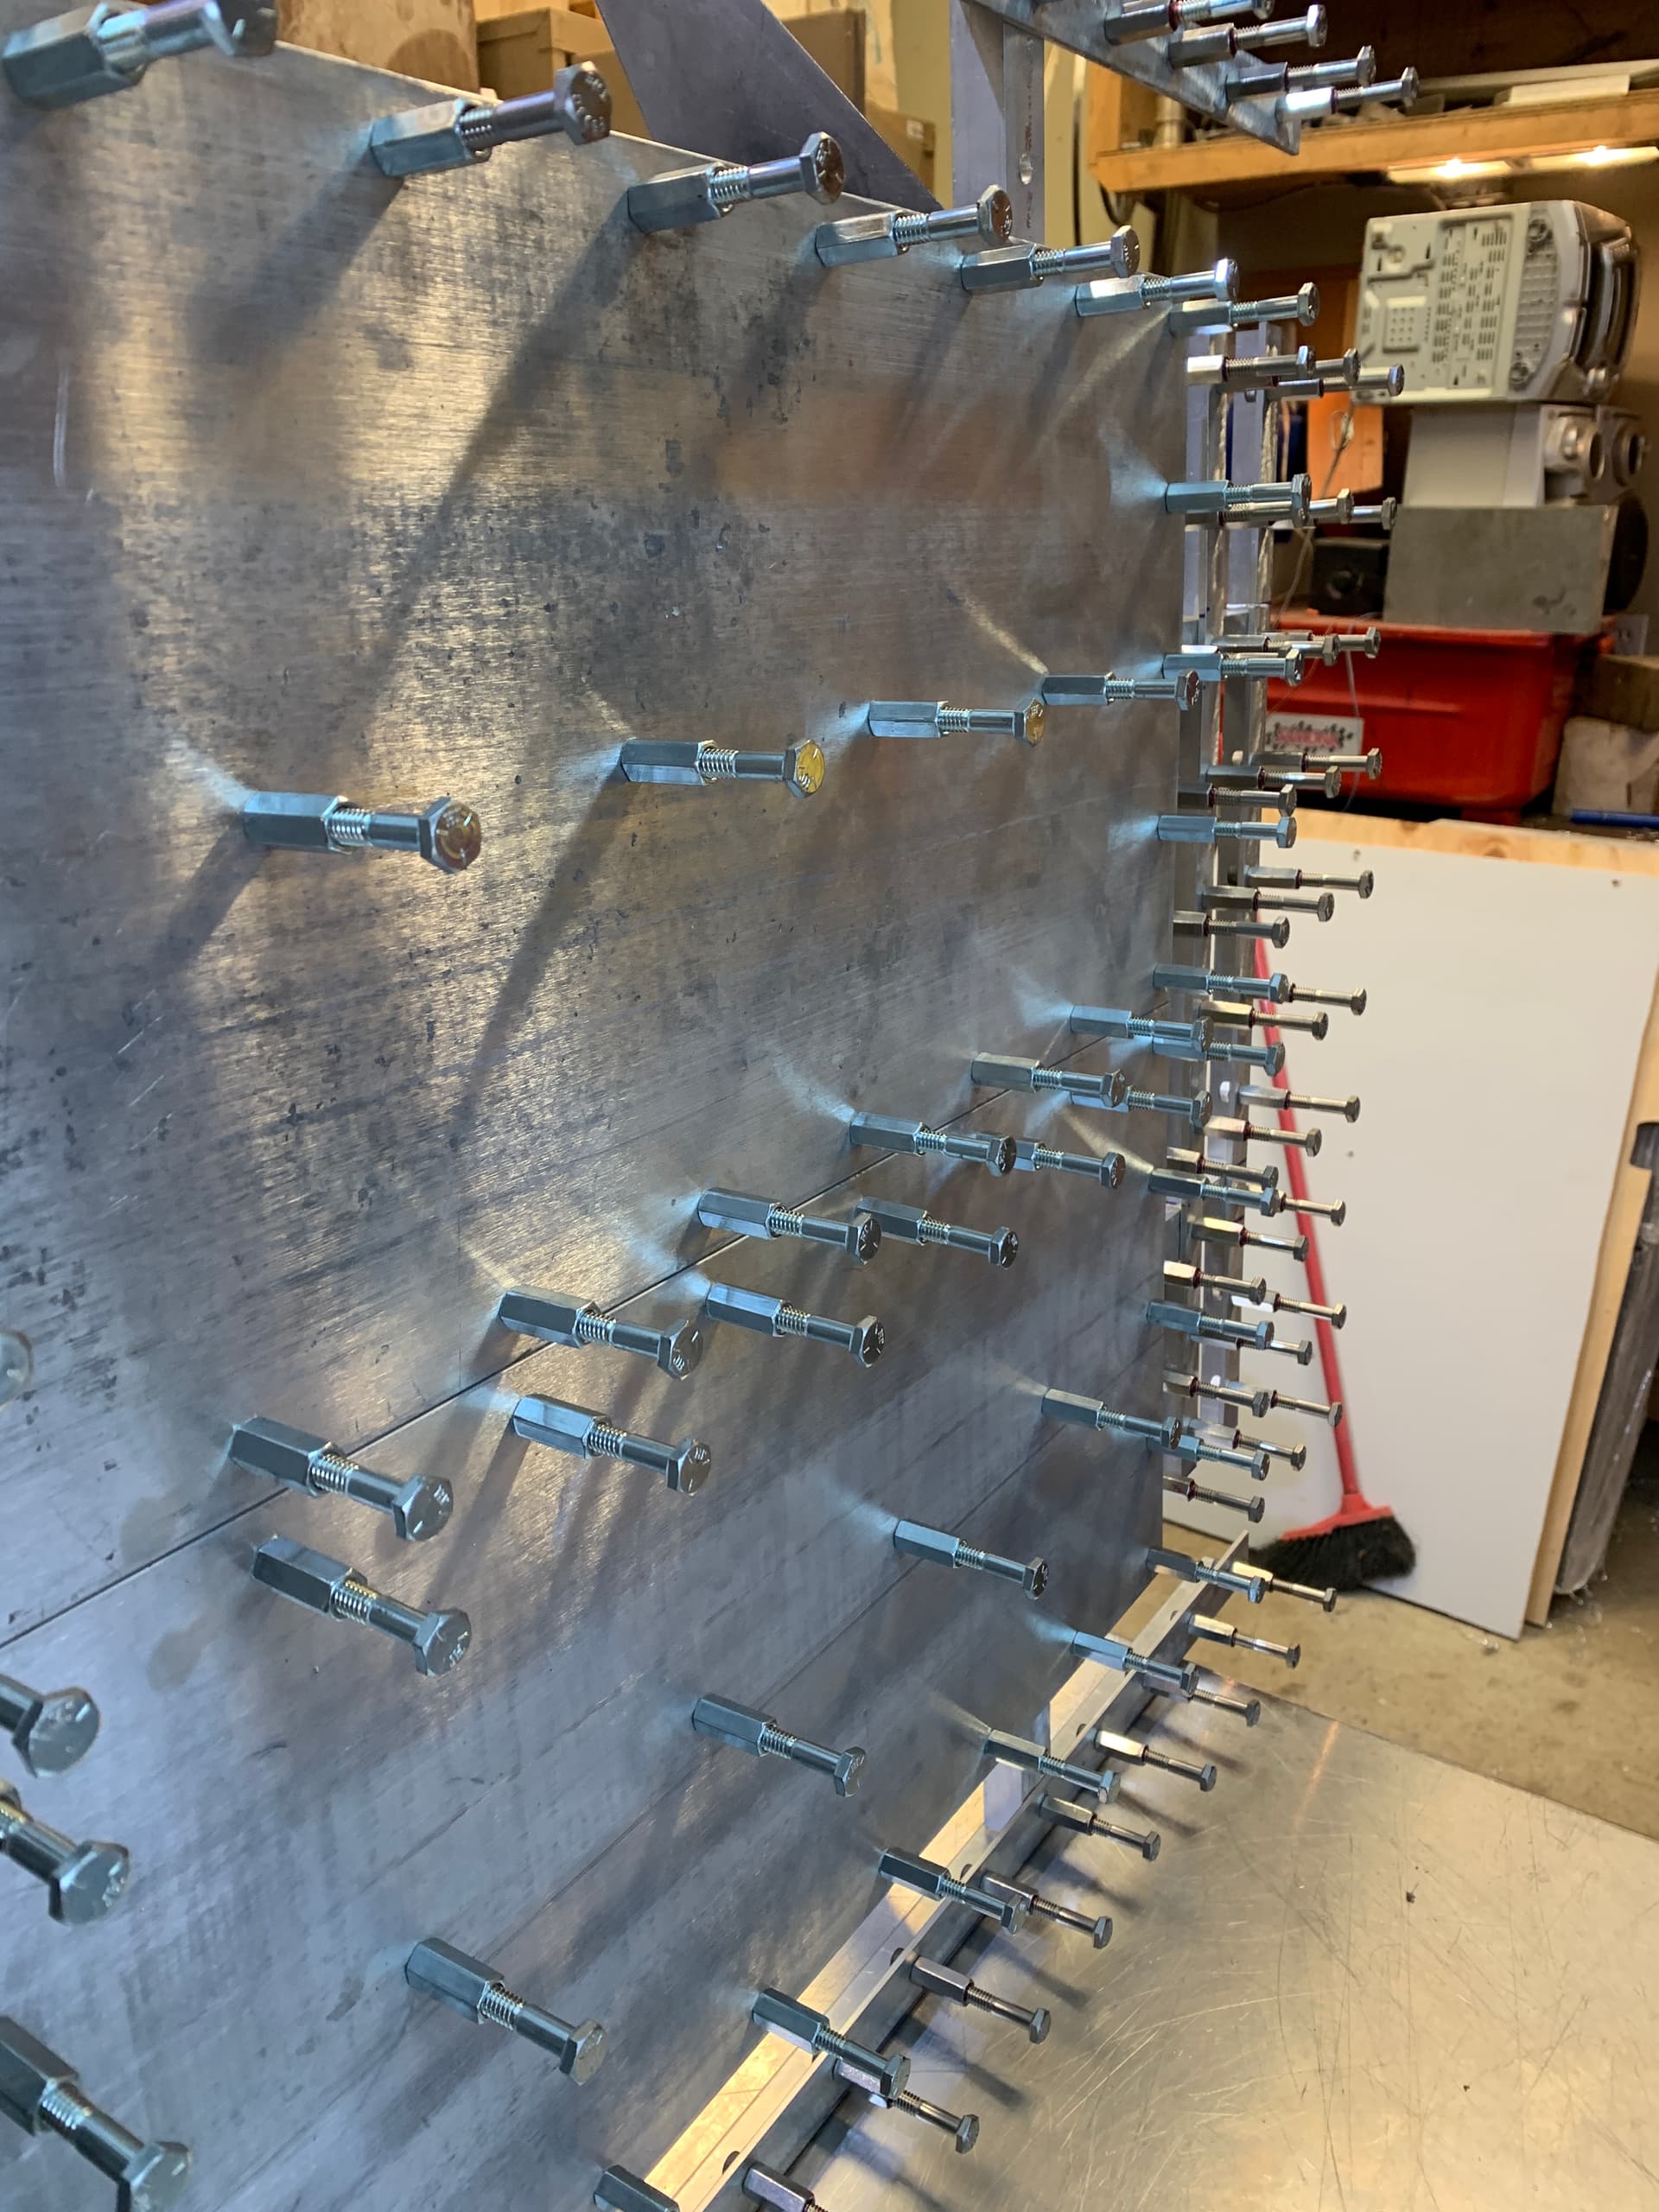
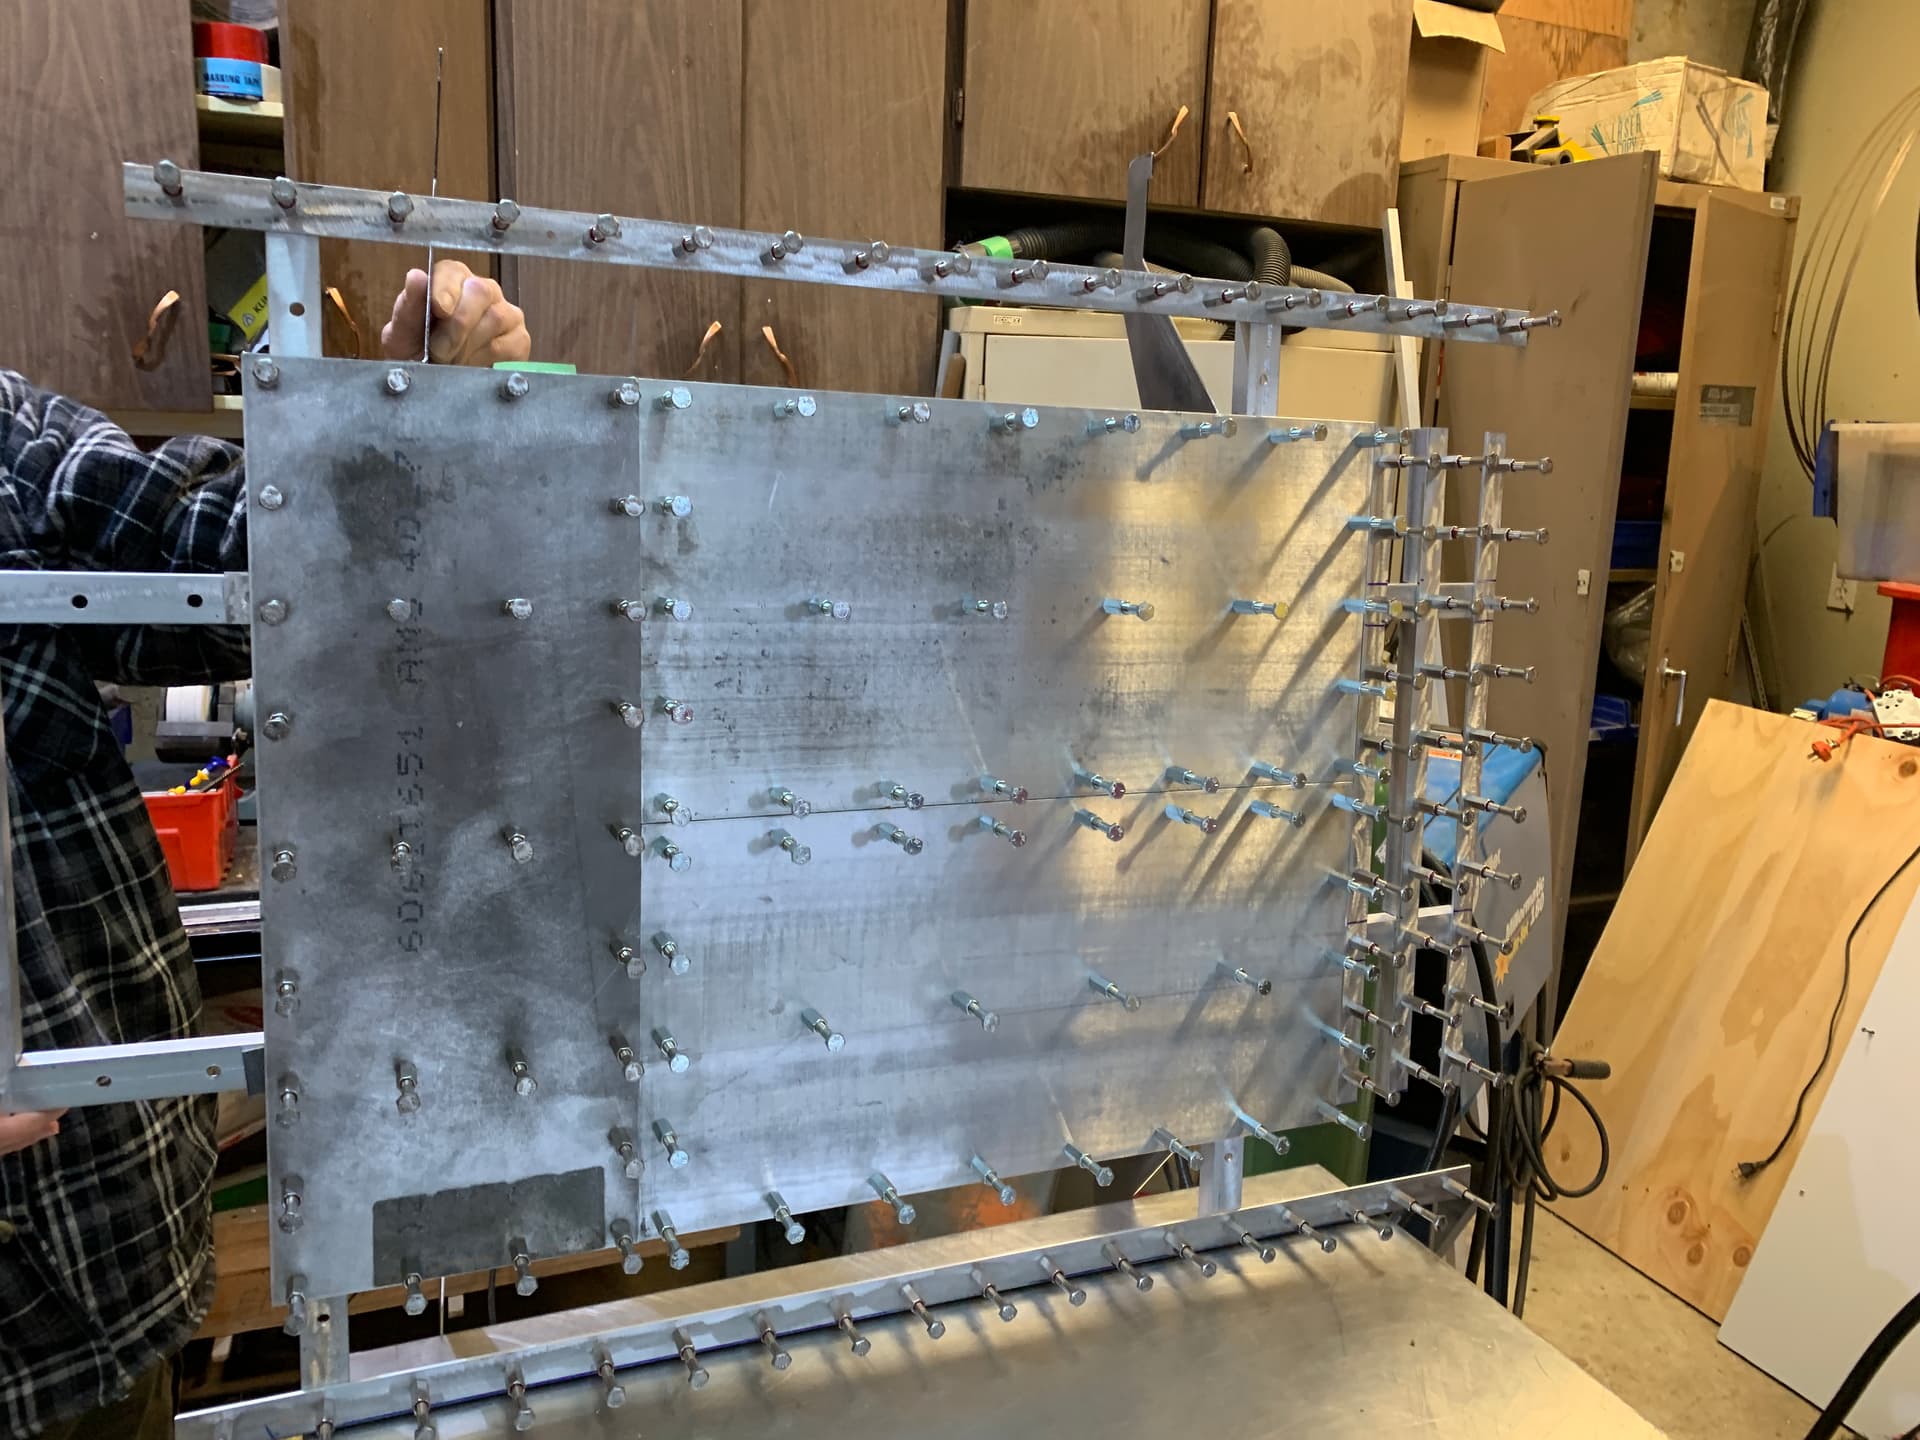
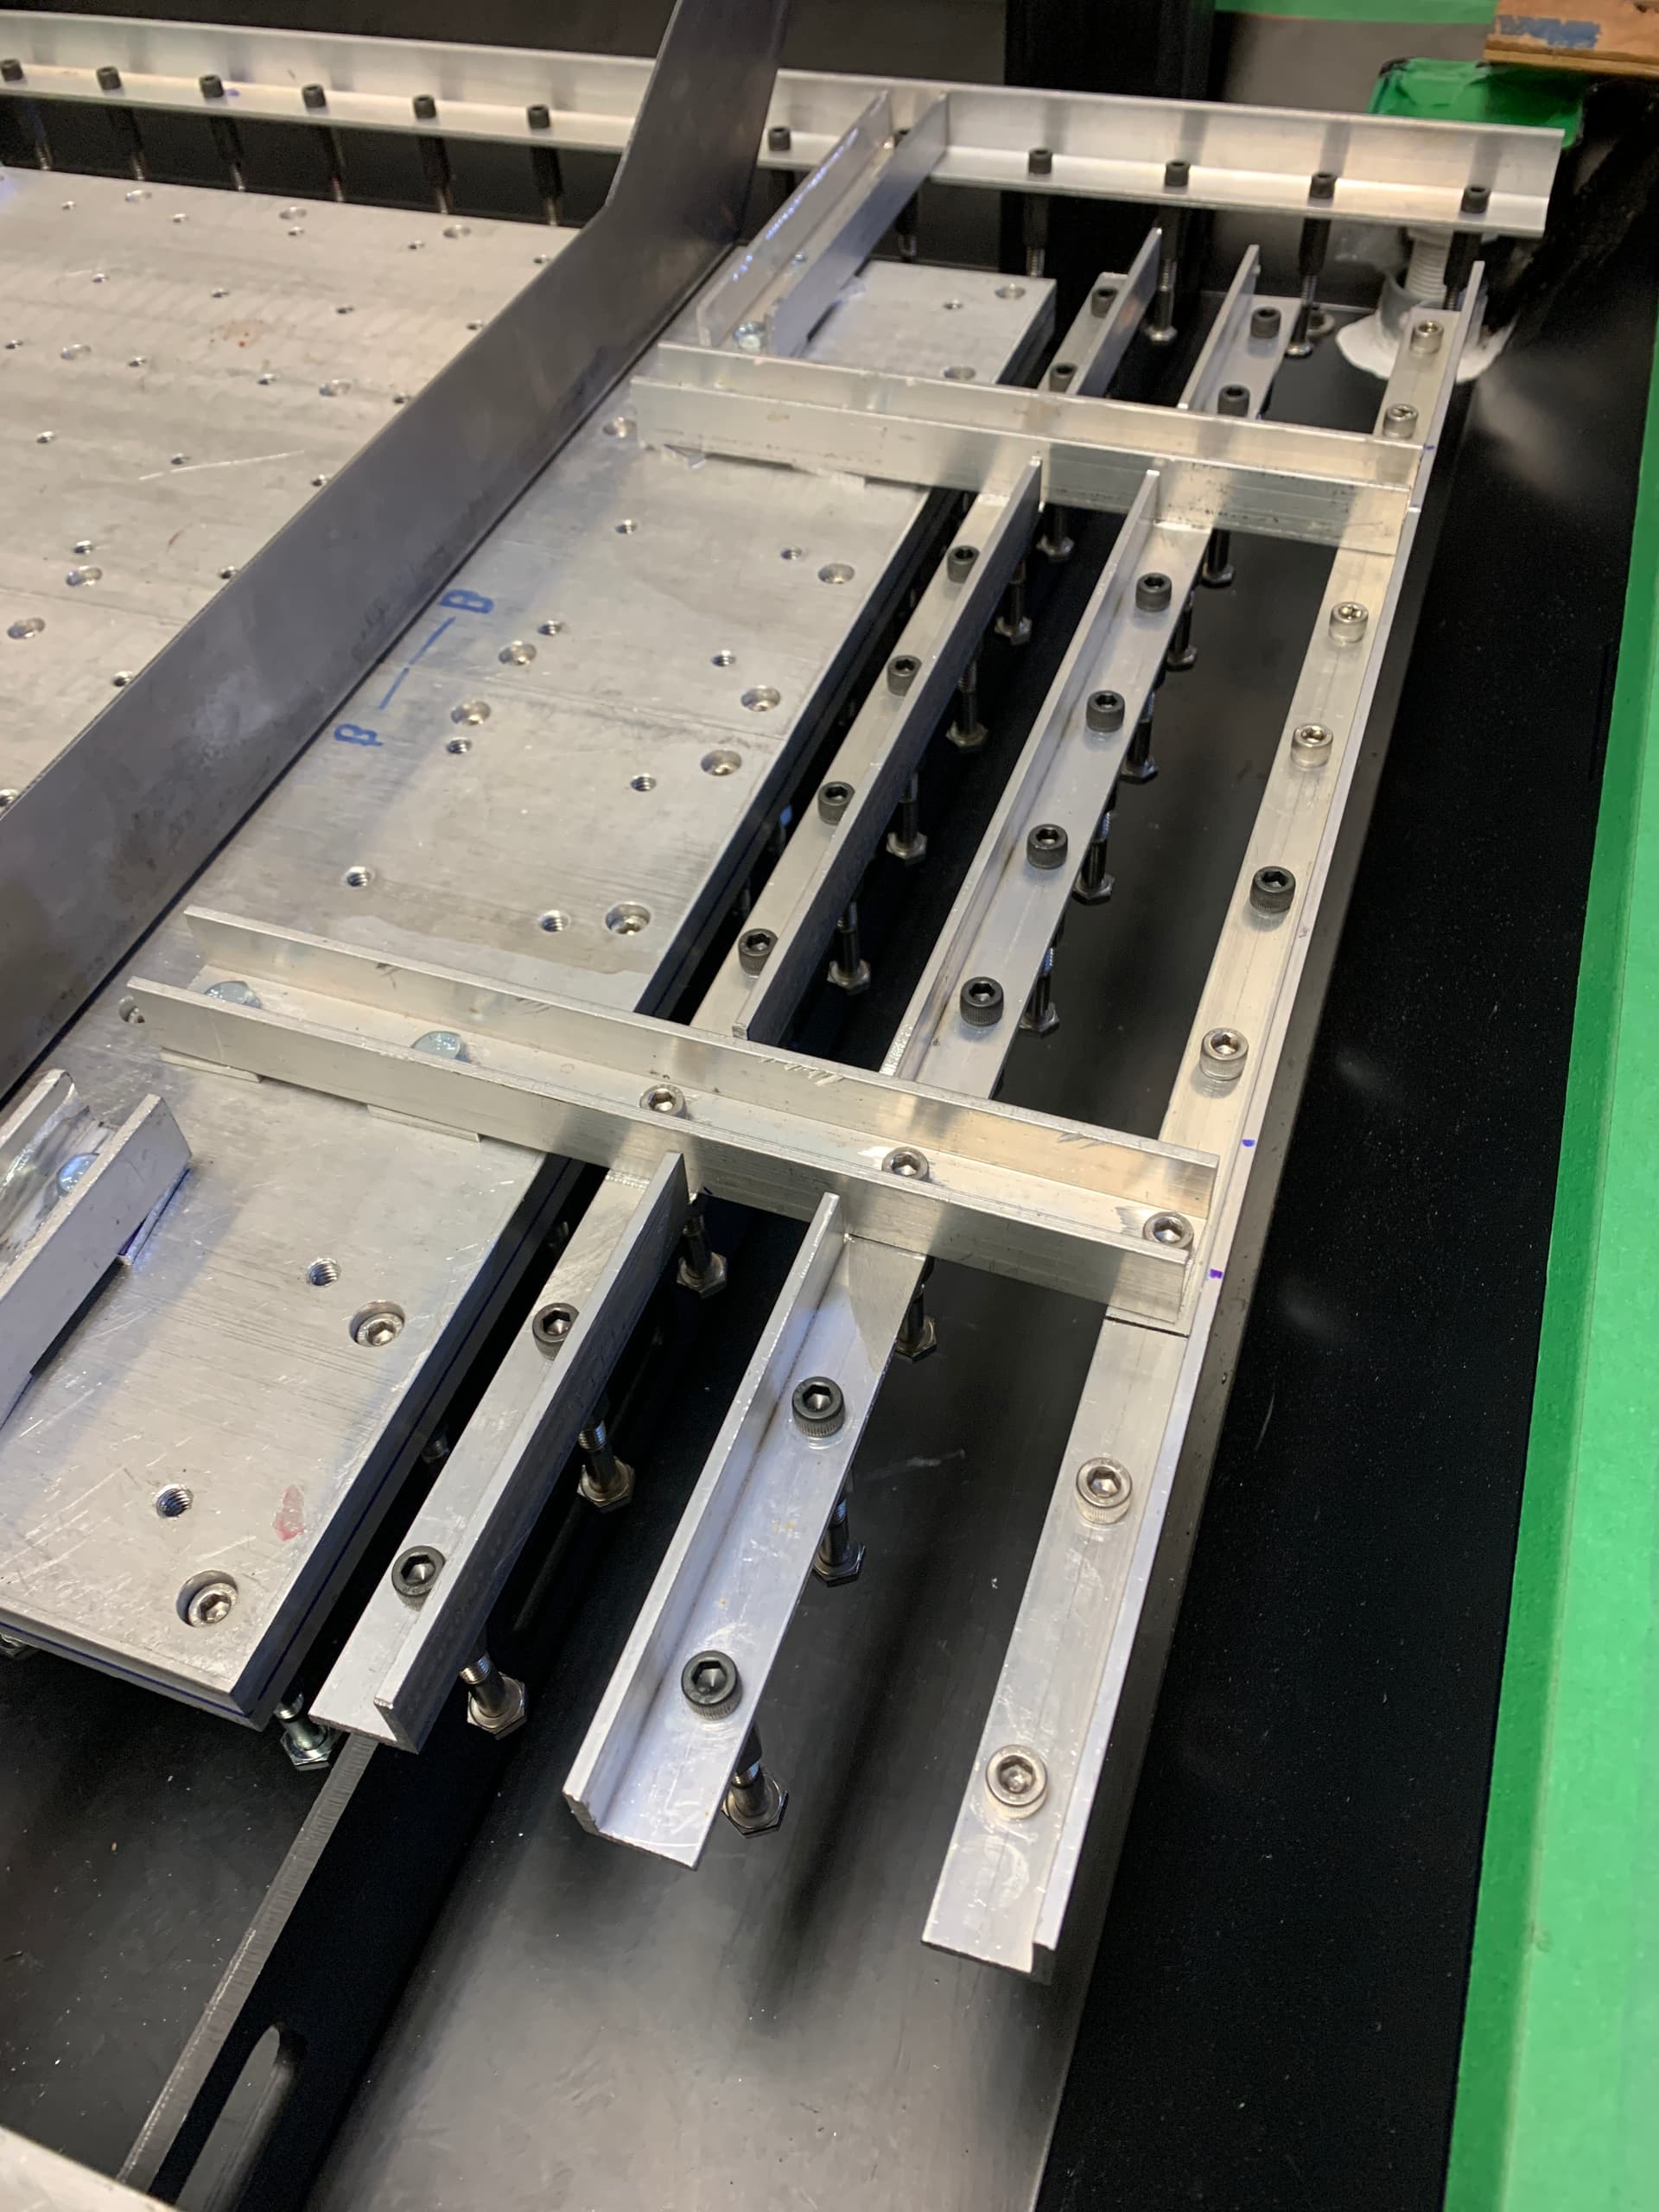
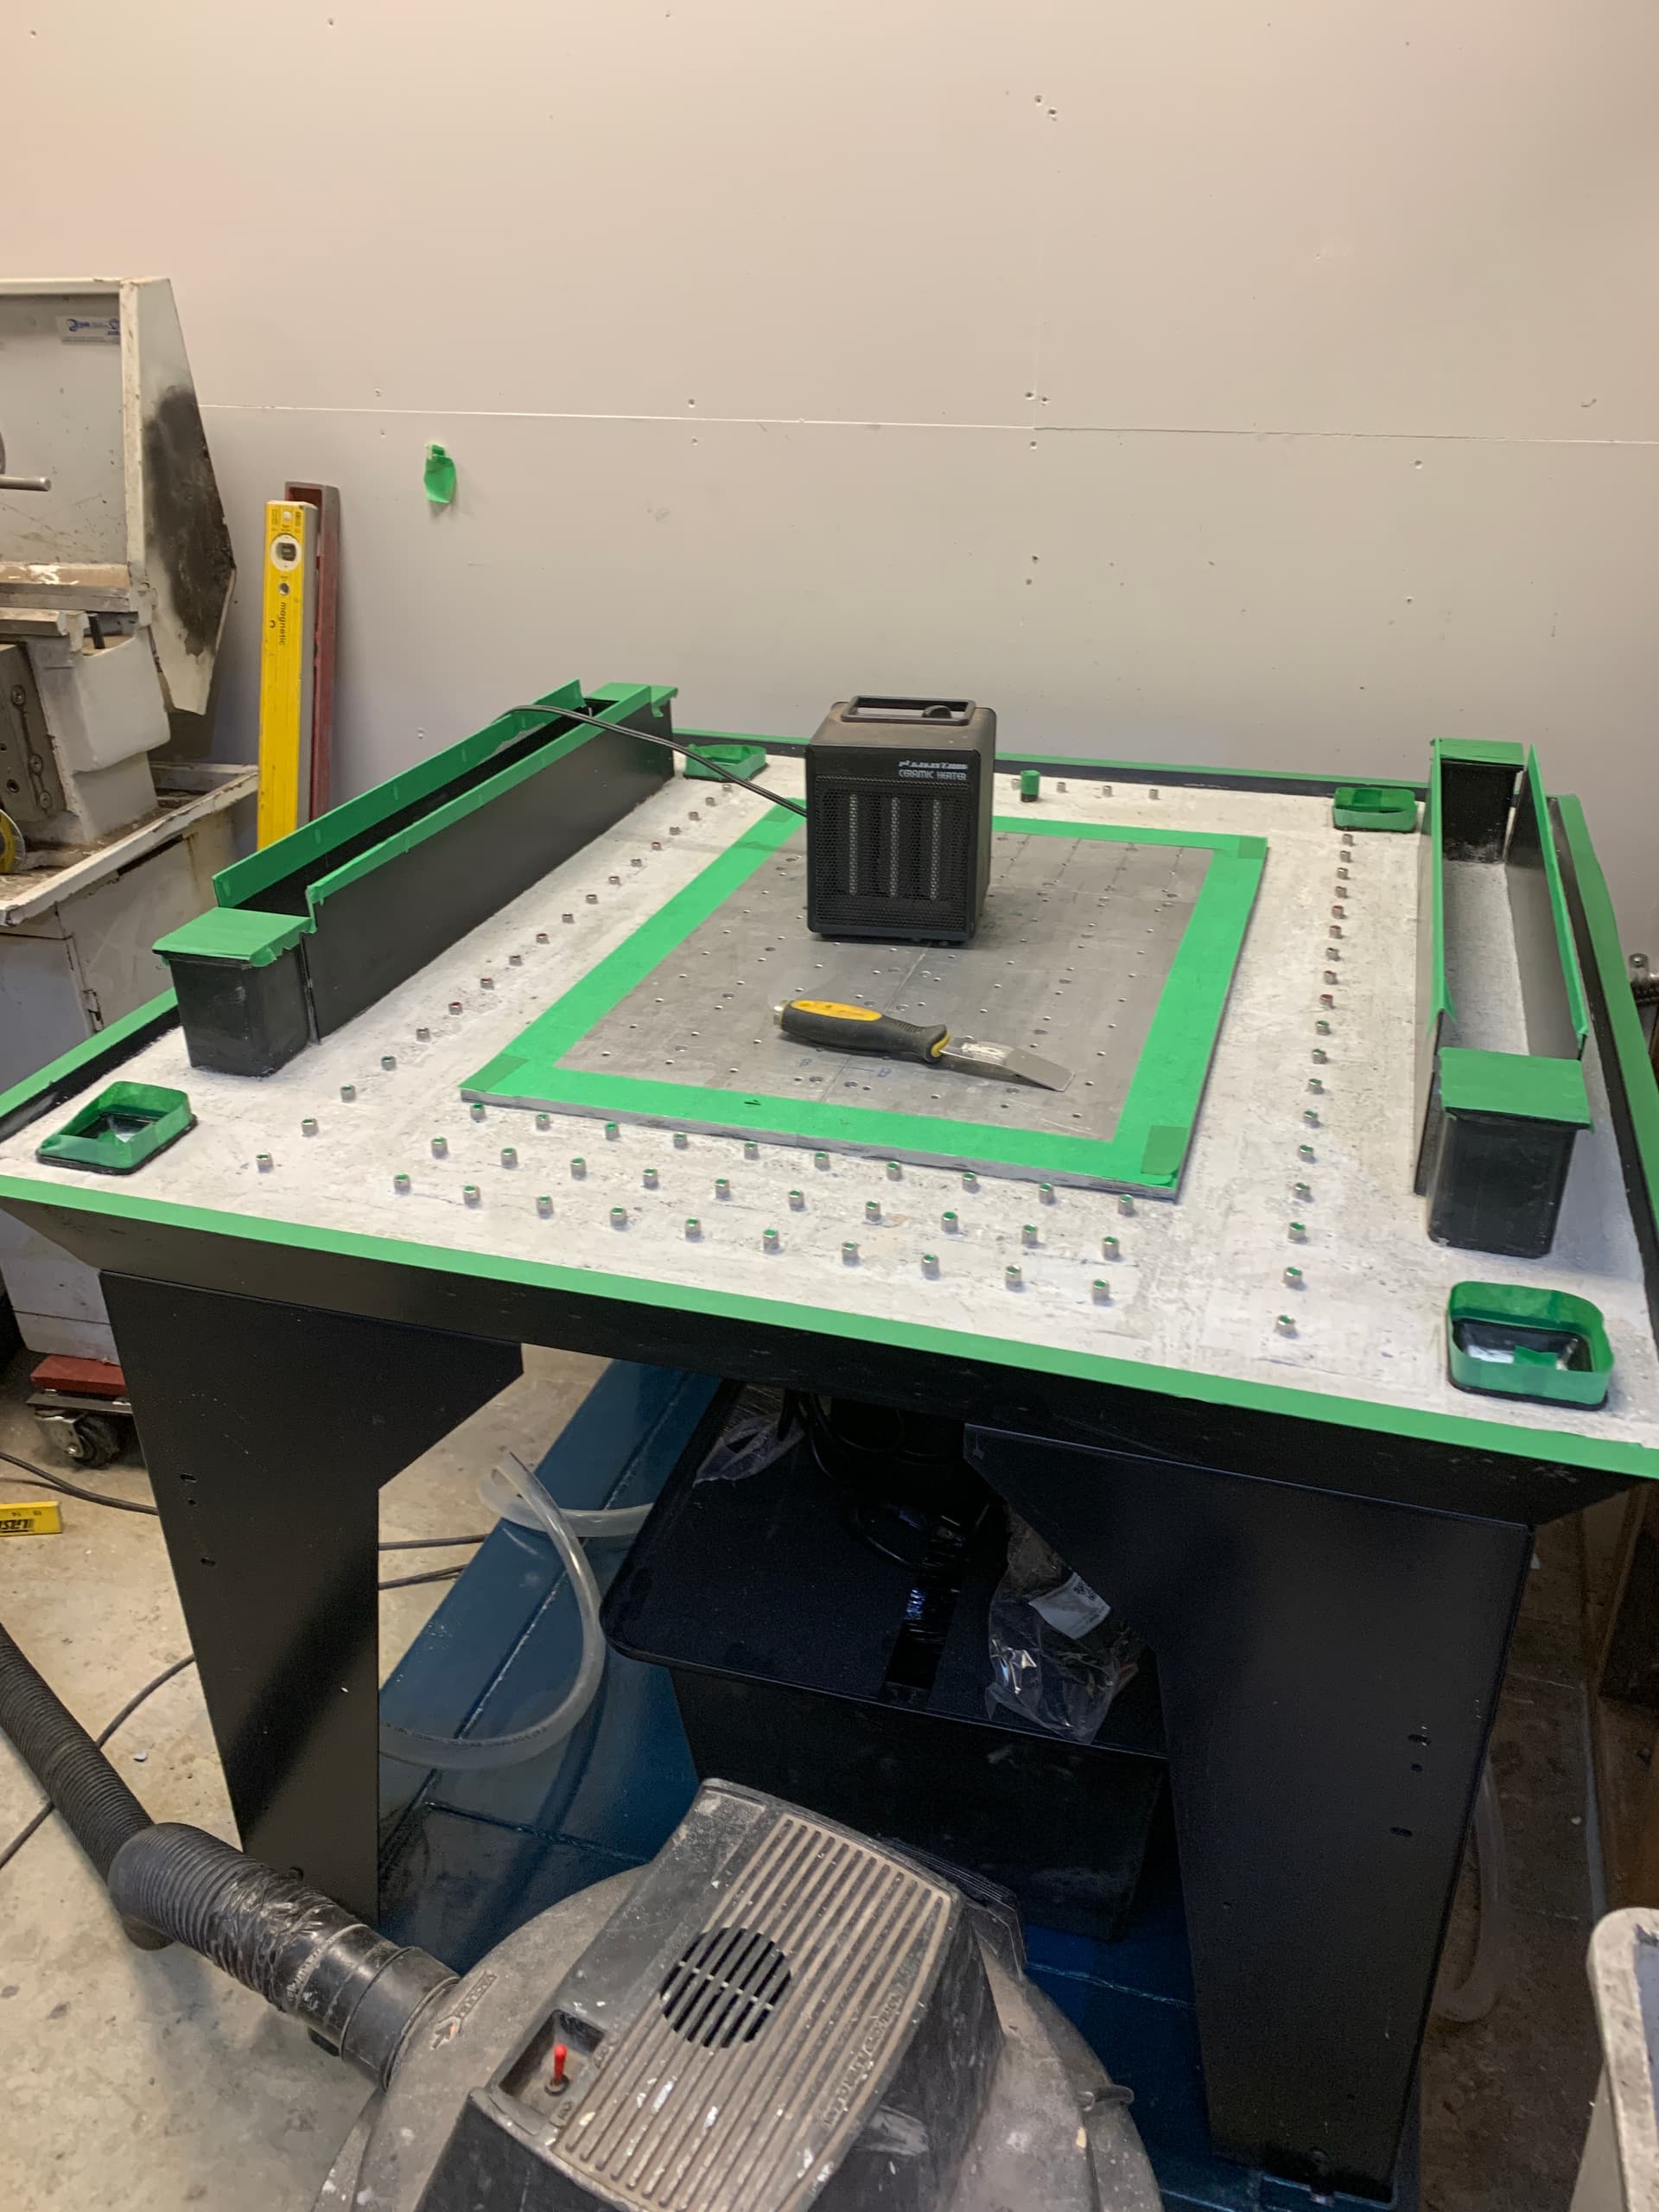
So the first step was to obtain a 3/4 piece of 6061 plate to extend the rear of the supplied plates 8" (that just happened to be the width of plate I found at the metal surplus suppier I used), and lay out and drill to match the pattern of the existing base plates. I used the same anchor system as Langmuir supplied, expect I switched all the bolts to stainless. Here are some shots of the underneath of the new plate with the anchor extensions.
I coupled the new piece to the existing plates using one of the MOD baseplates - that assured a fairly good alignment. I added an array of holdowns around the outside edge of the baseblate, three rows to the front, two long ones down the sides and two rows to the rear. The anchors are the same as the ones used for the baseplate, but all in stainless since they would be exposed
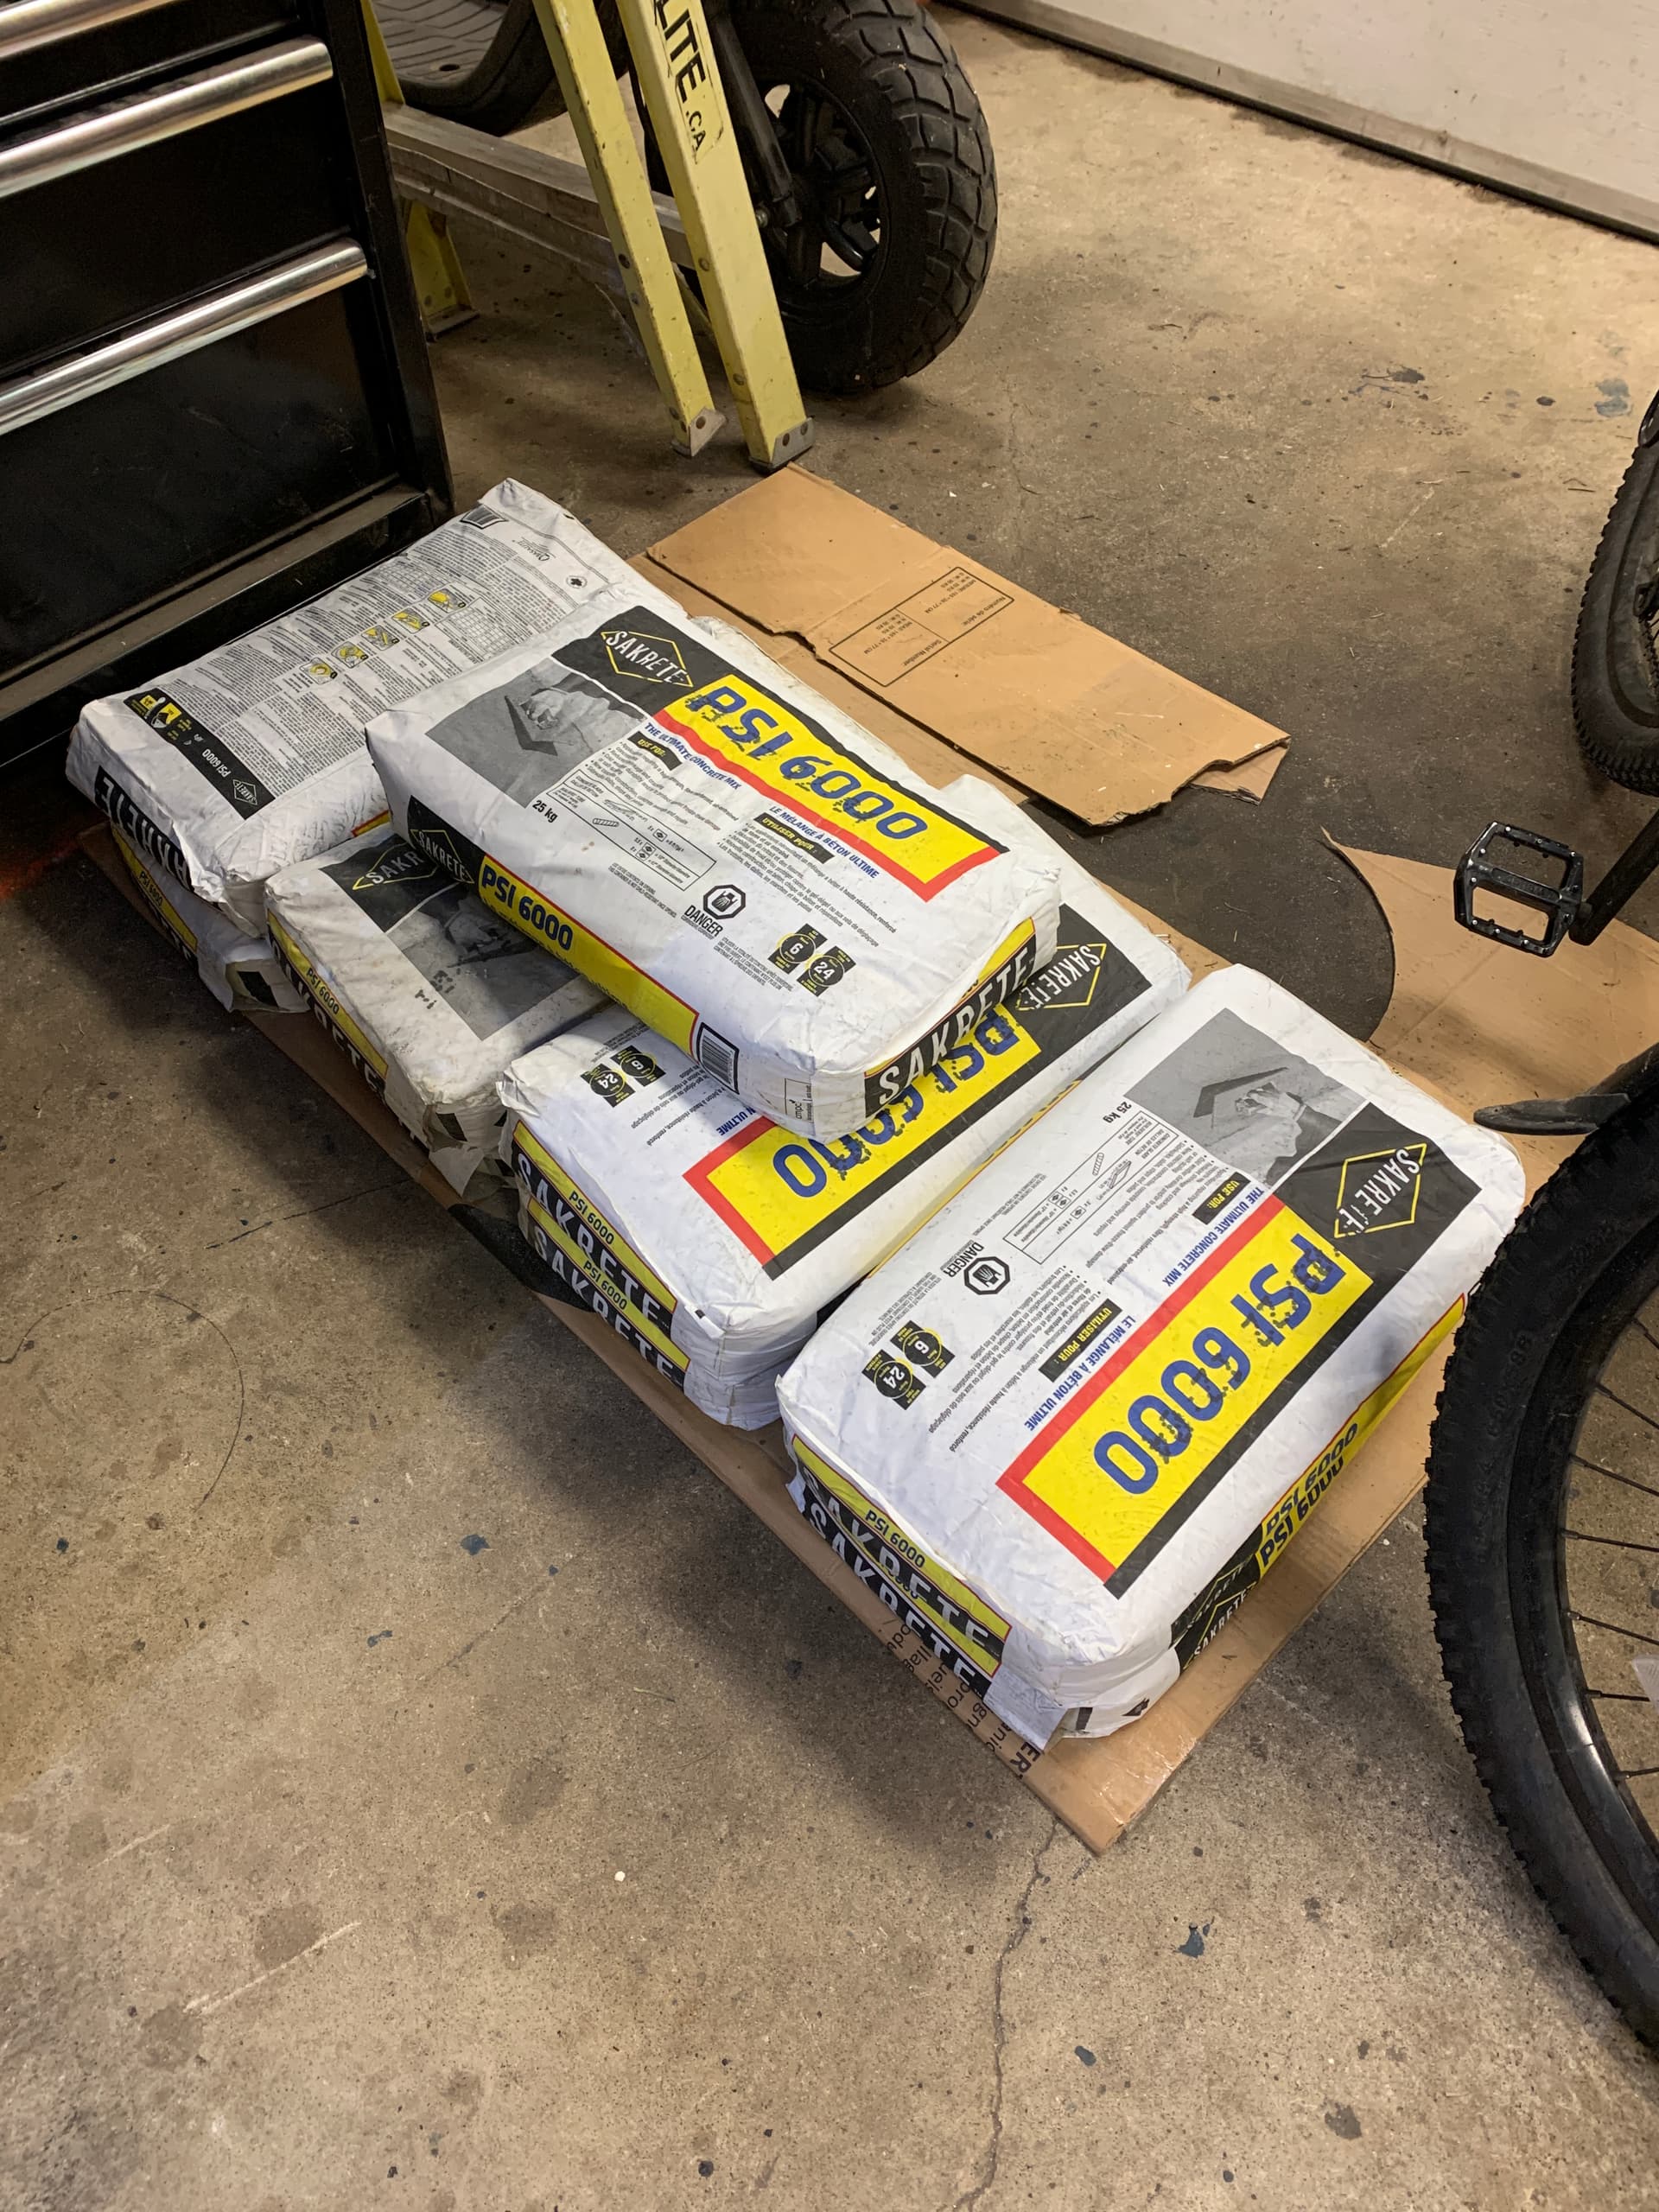
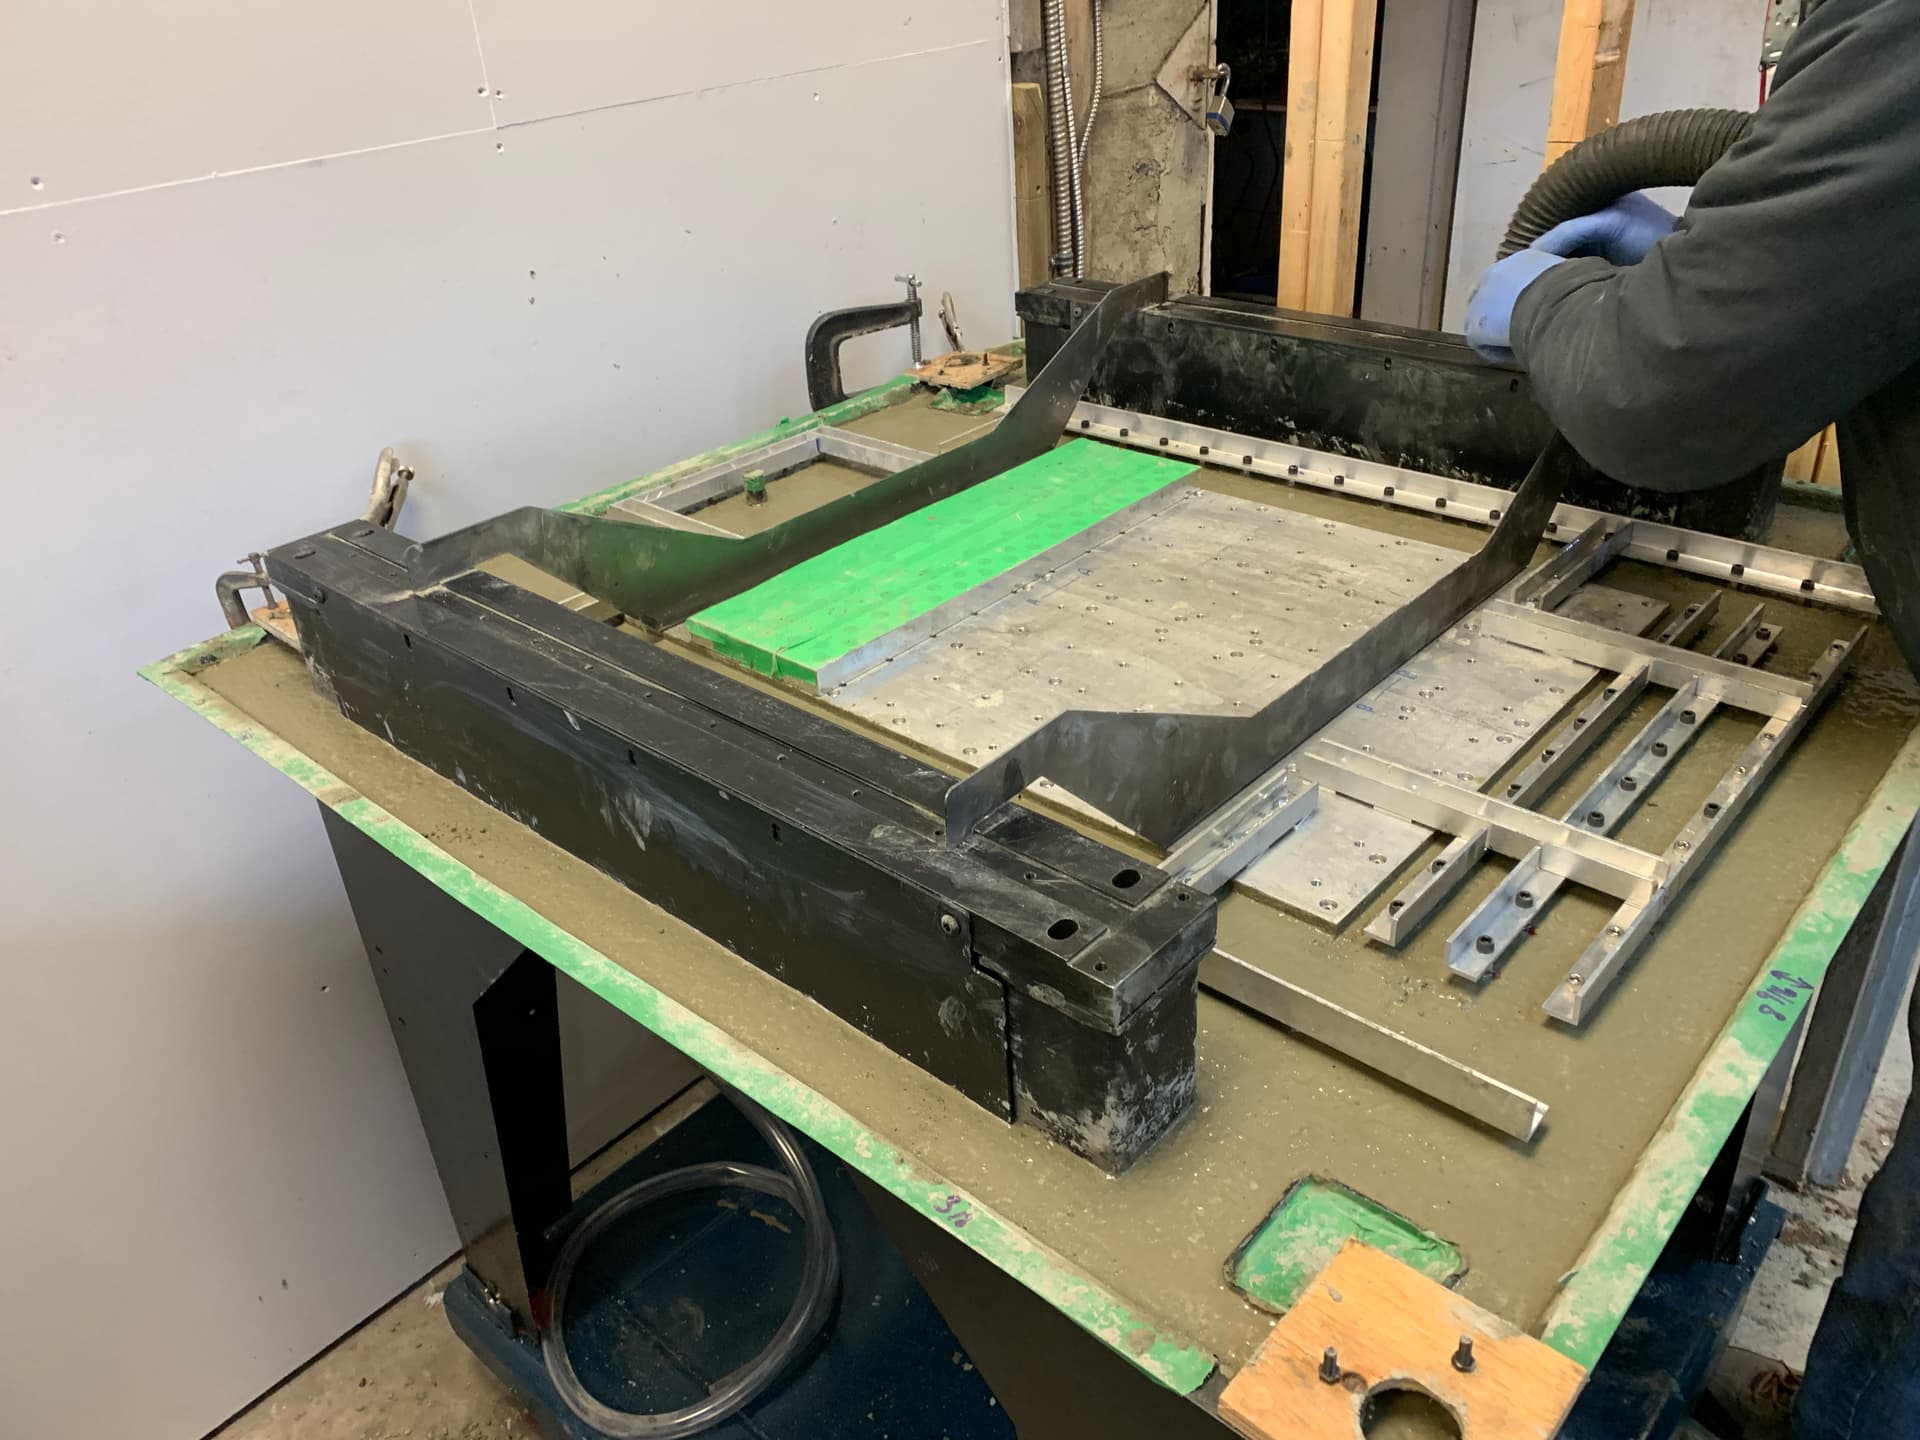
So next is the concrete pour. I used 6000psi concrete, mixed to the instructions from Sakcrete. That was quite a dry mix, but luckily I rented a mixer and had a few helpers. Tried the sugar trick but not sure it did anything. The initial concrete was easy to place, but you have to be careful not to move the Y axis rails which are floating in the tub. Given my baseplate was quite a bit larger than the stock one, it took quite a bit of tapping/wiggling/hammering to get it to sit flat.
It was a challenge to since this larger baseplate with its additional anchors into the mix, and it took two people to place it. With hammer tapping/wiggling/vibrating we got it settled down.
I had zere water come to the surface, and after a few hours flooded the table and let that pond cure for 7 days. Once that was done, I drained it out and let it sit for another 5 before epoxy.
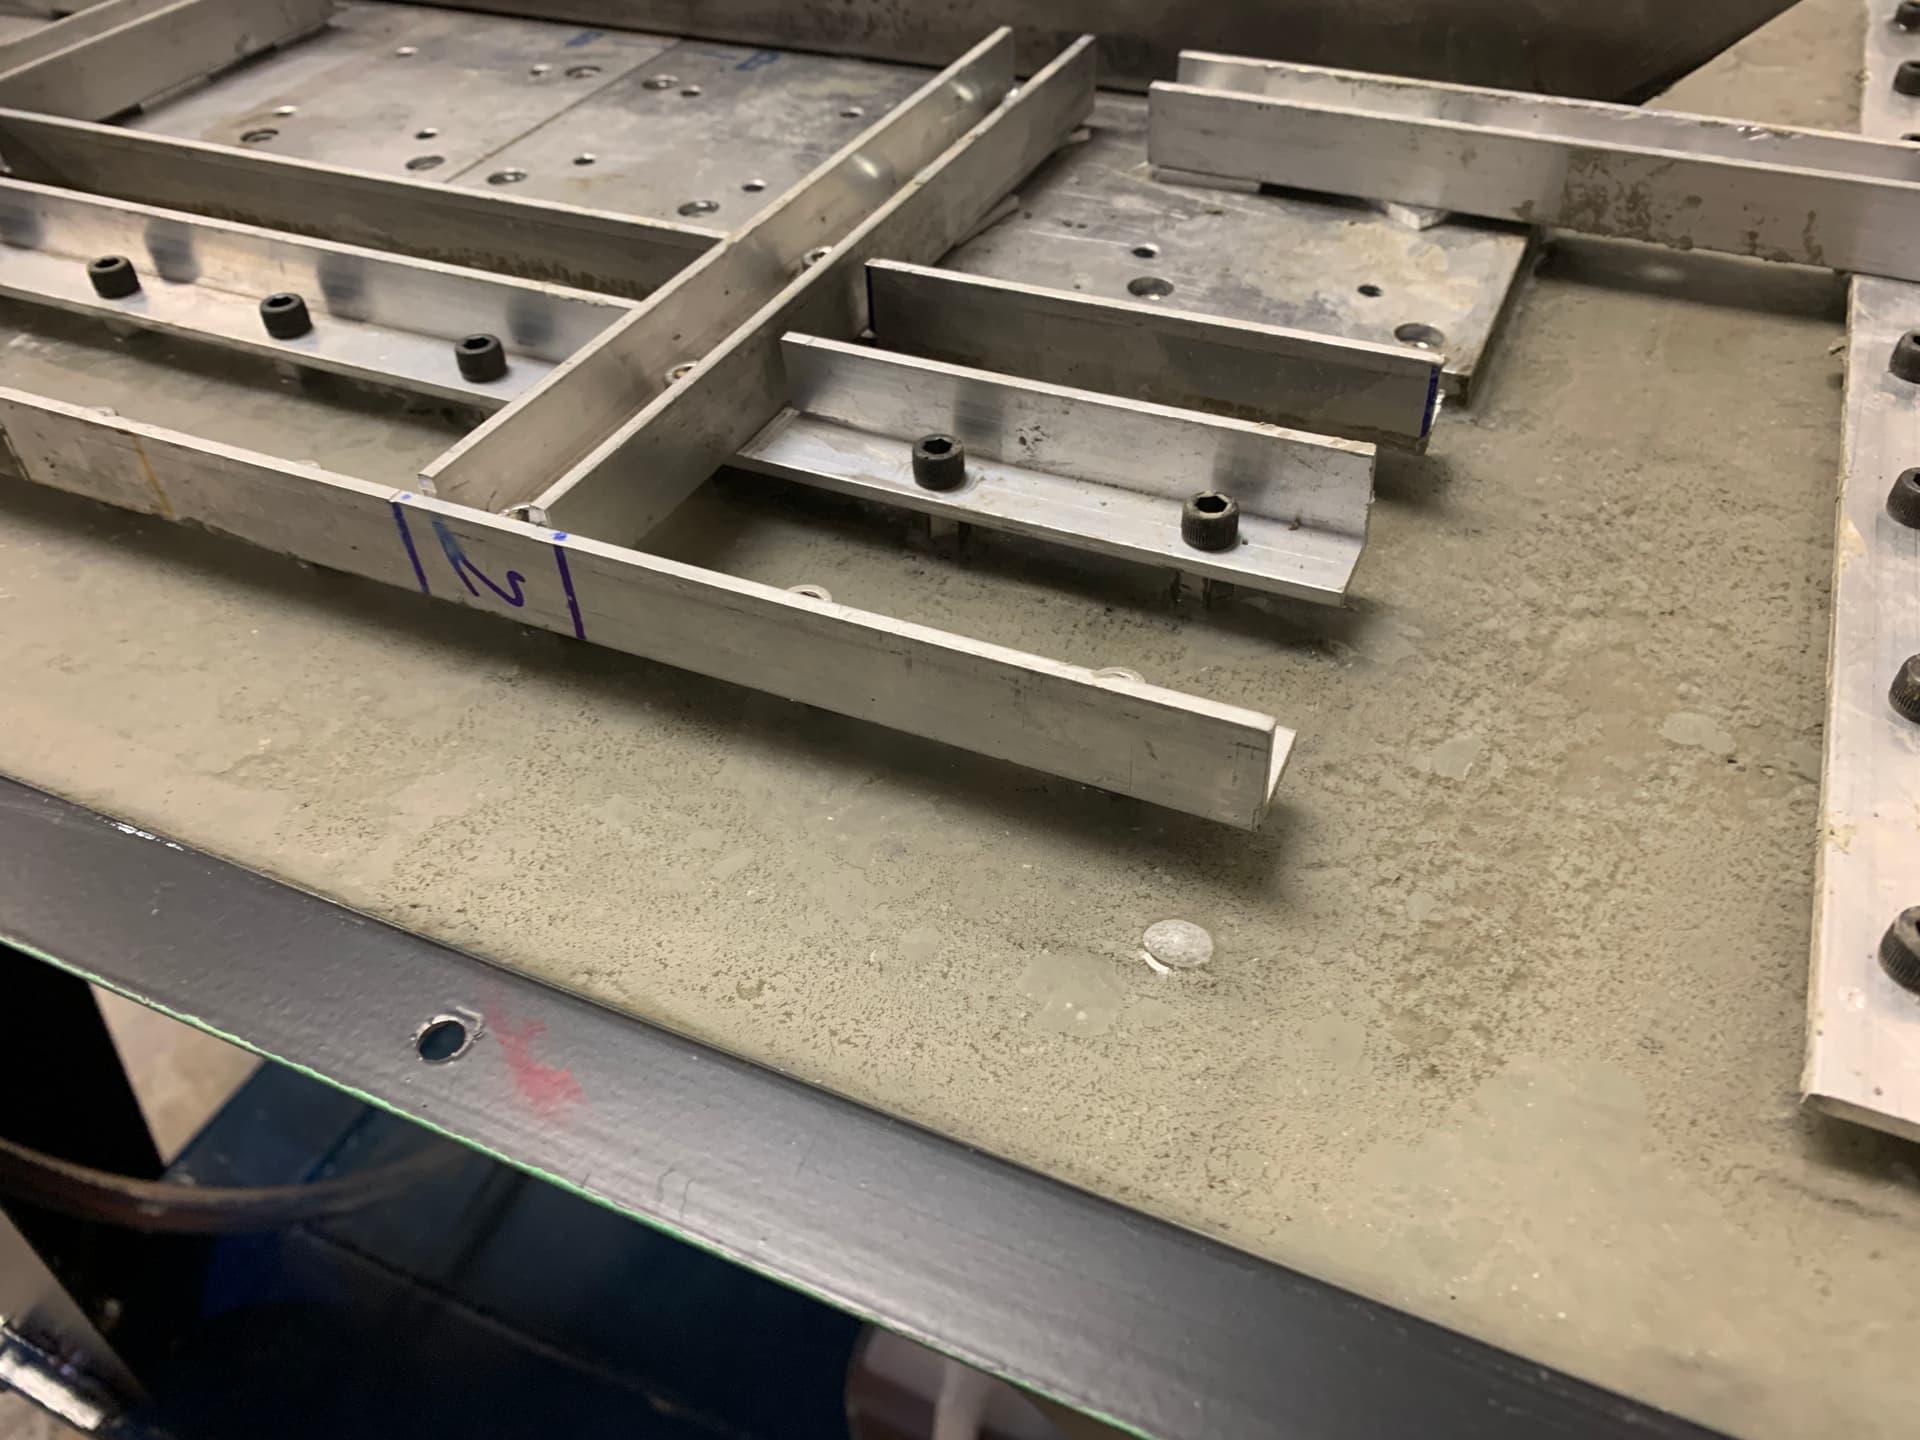
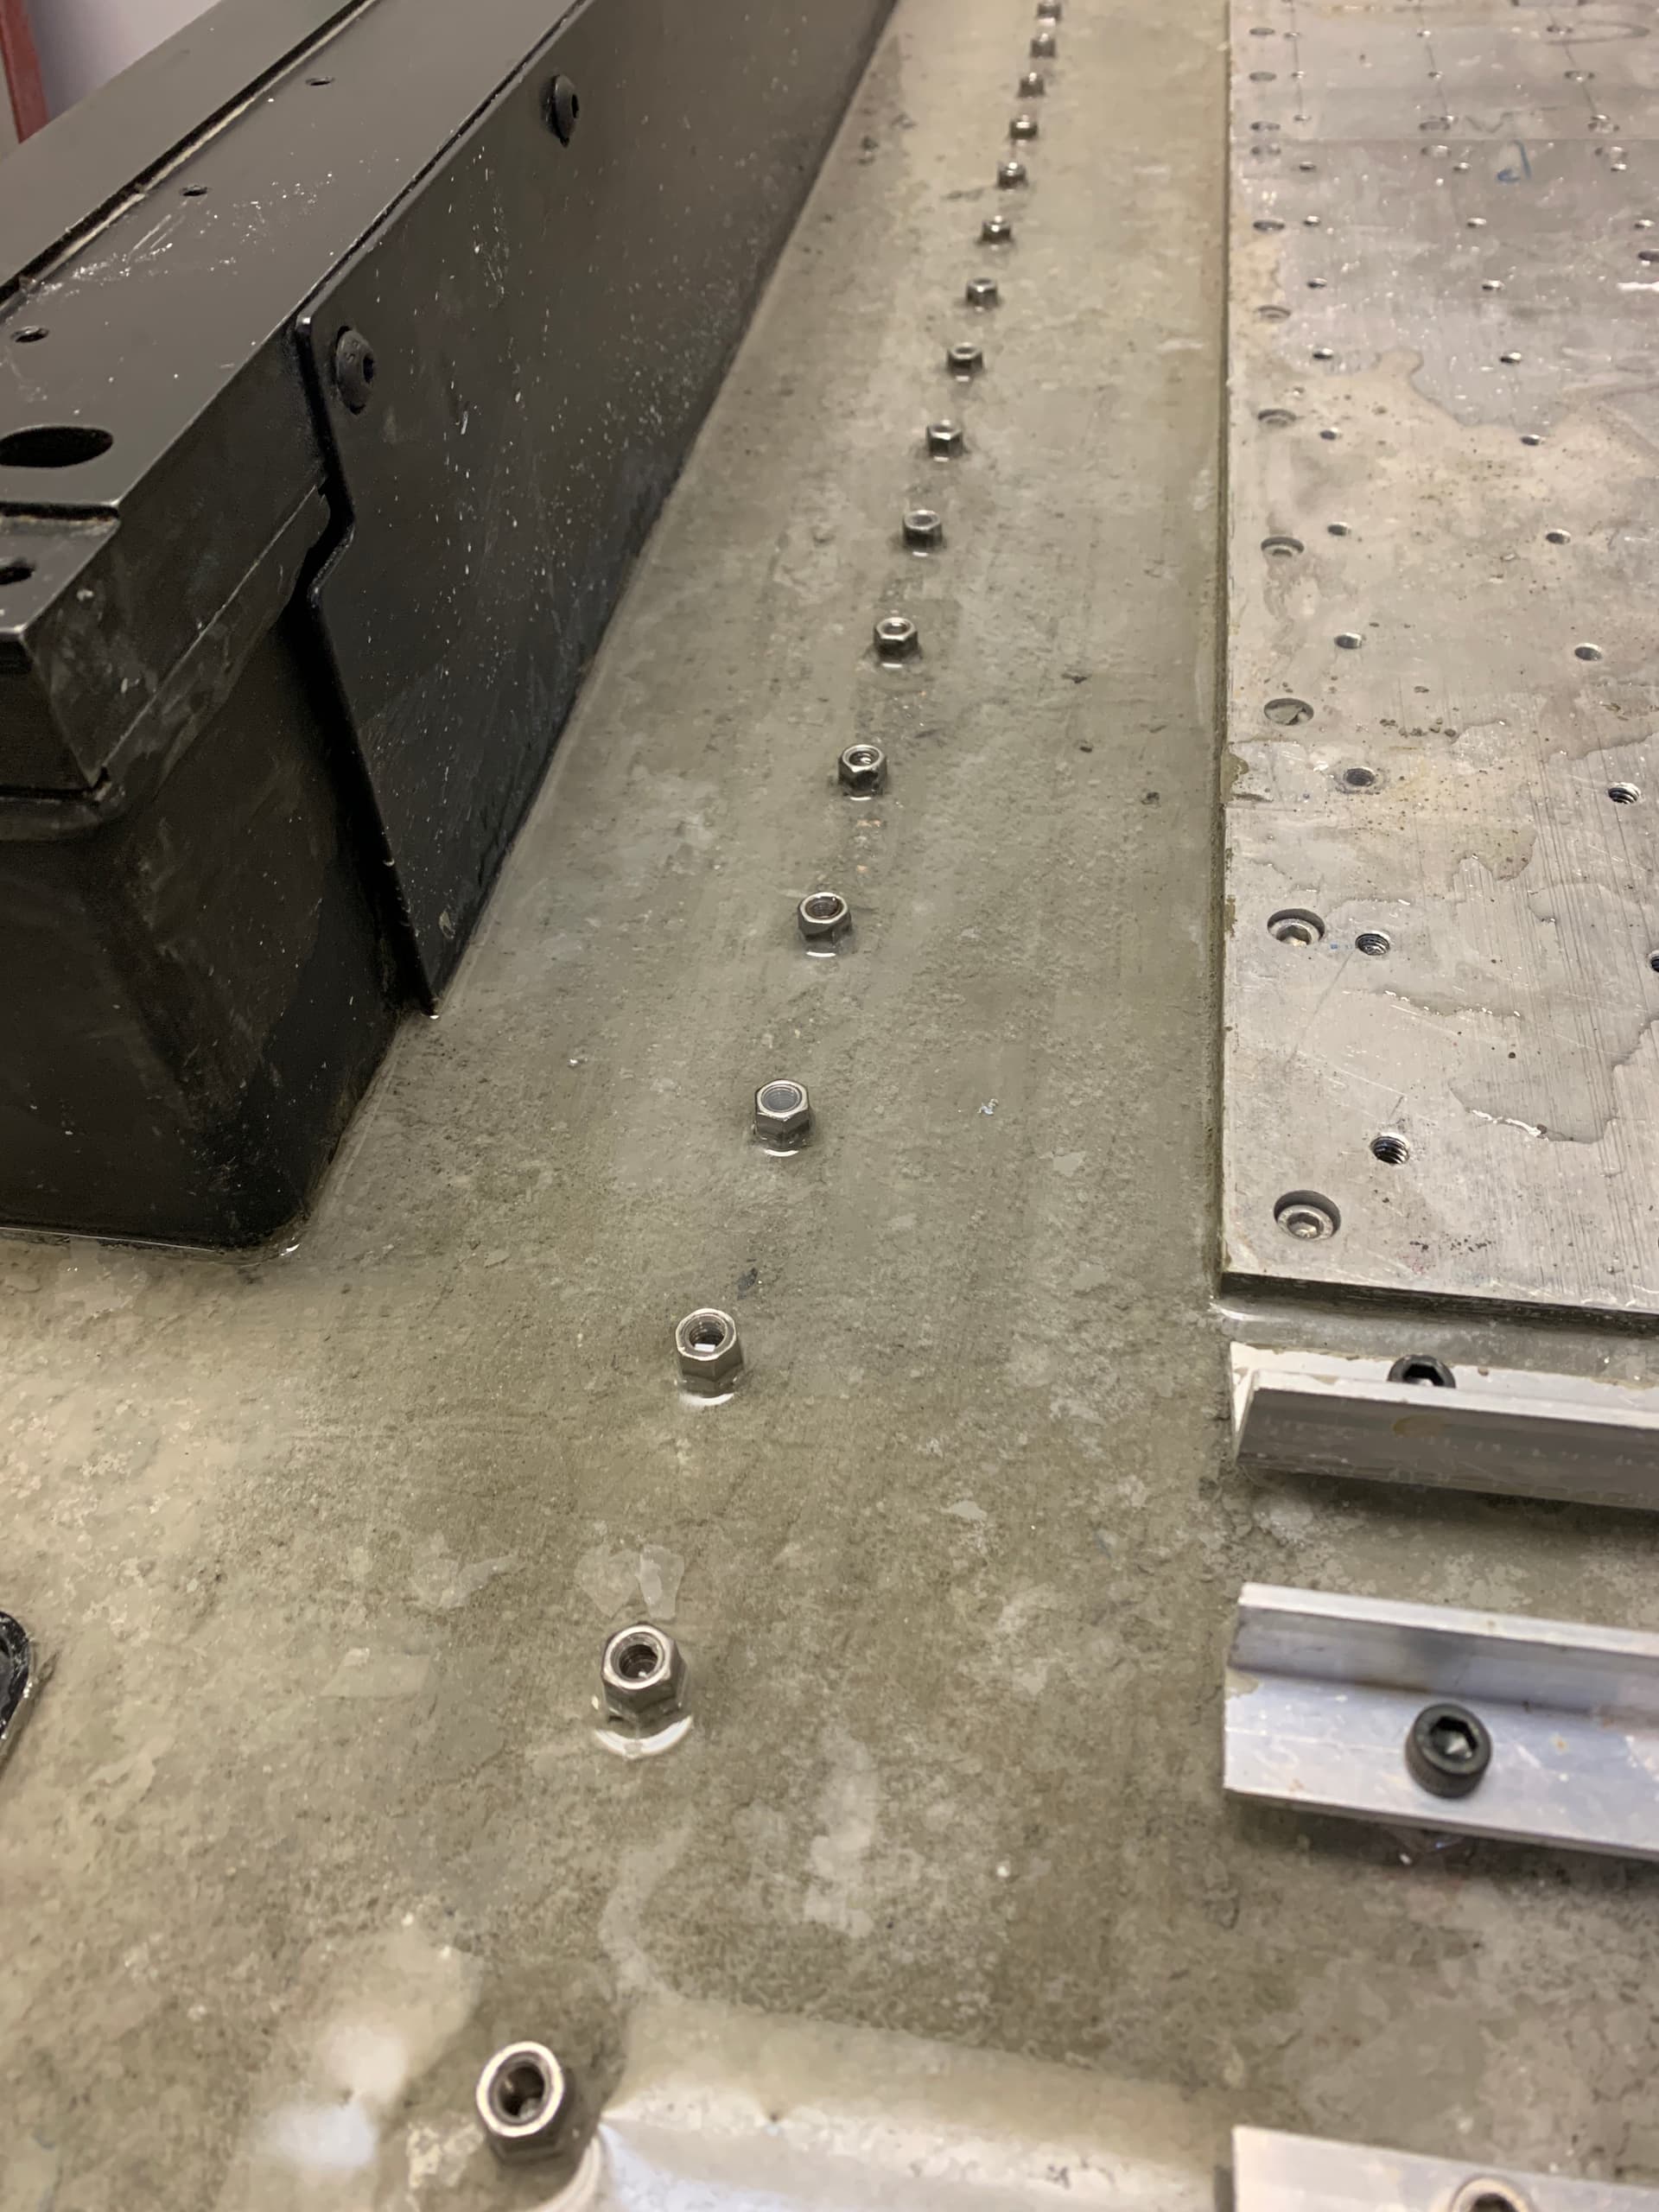
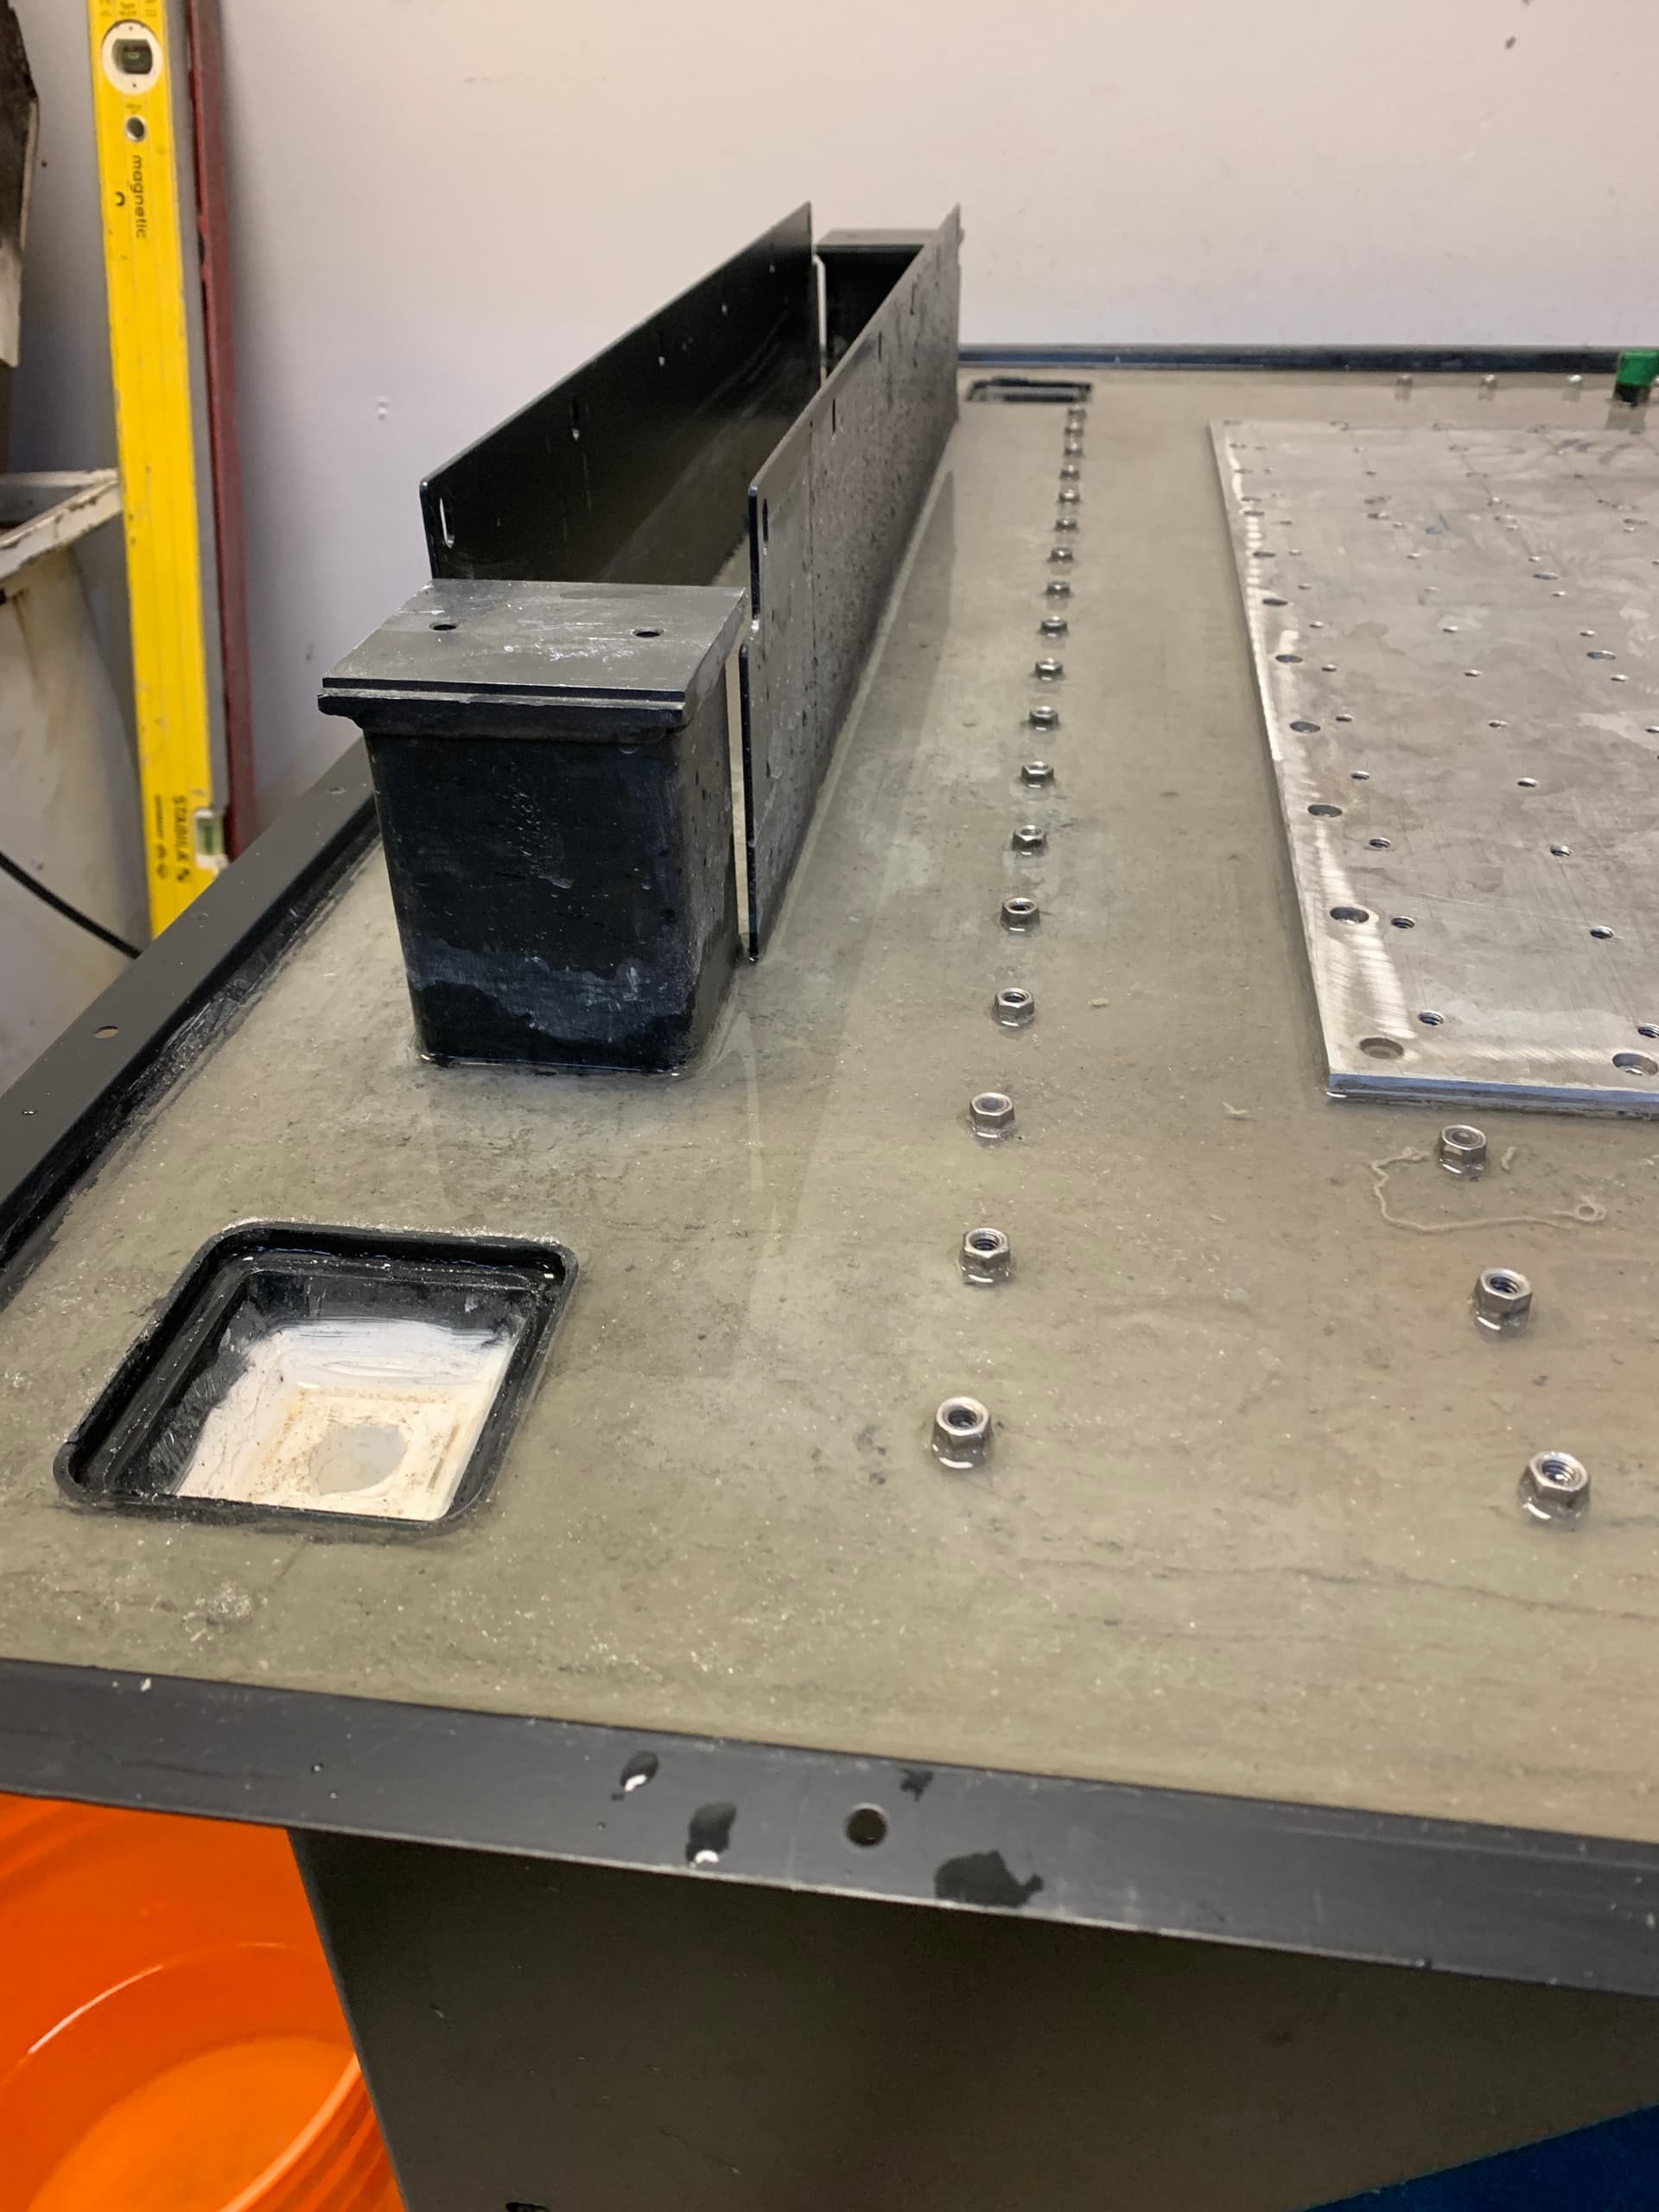
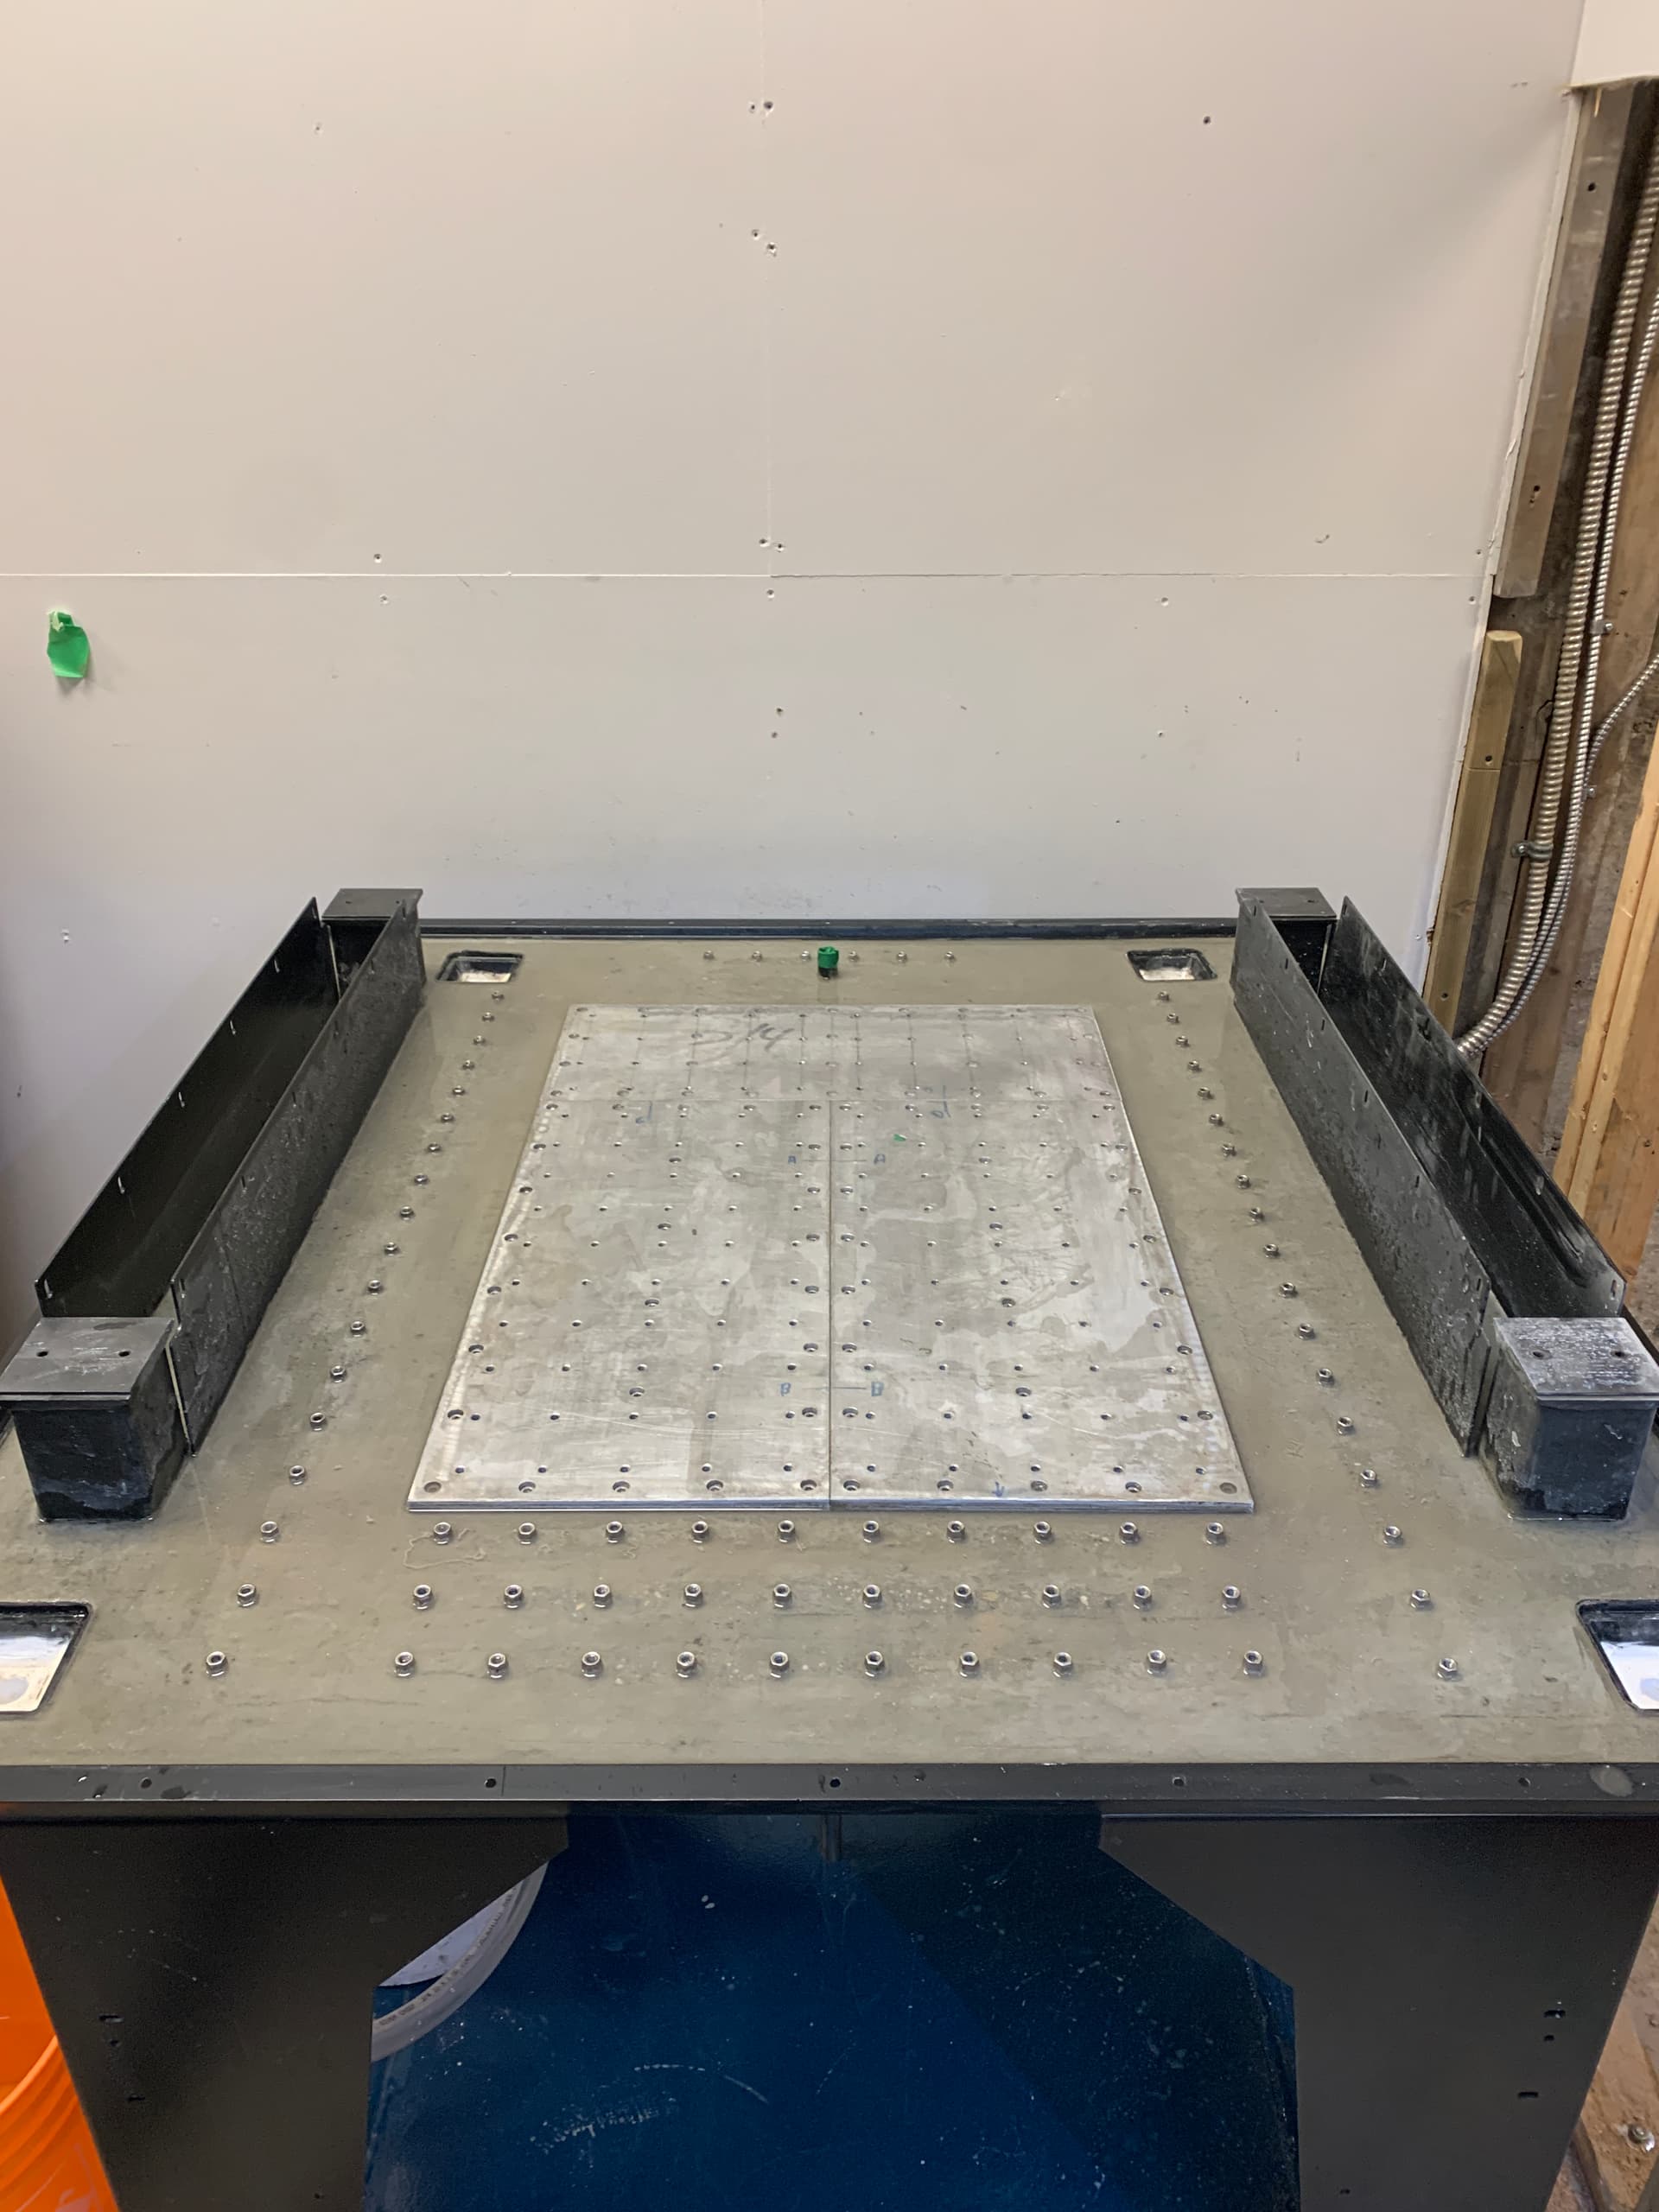
Concrete is 5 days old, removed the aluminum supports to show the new anchors.
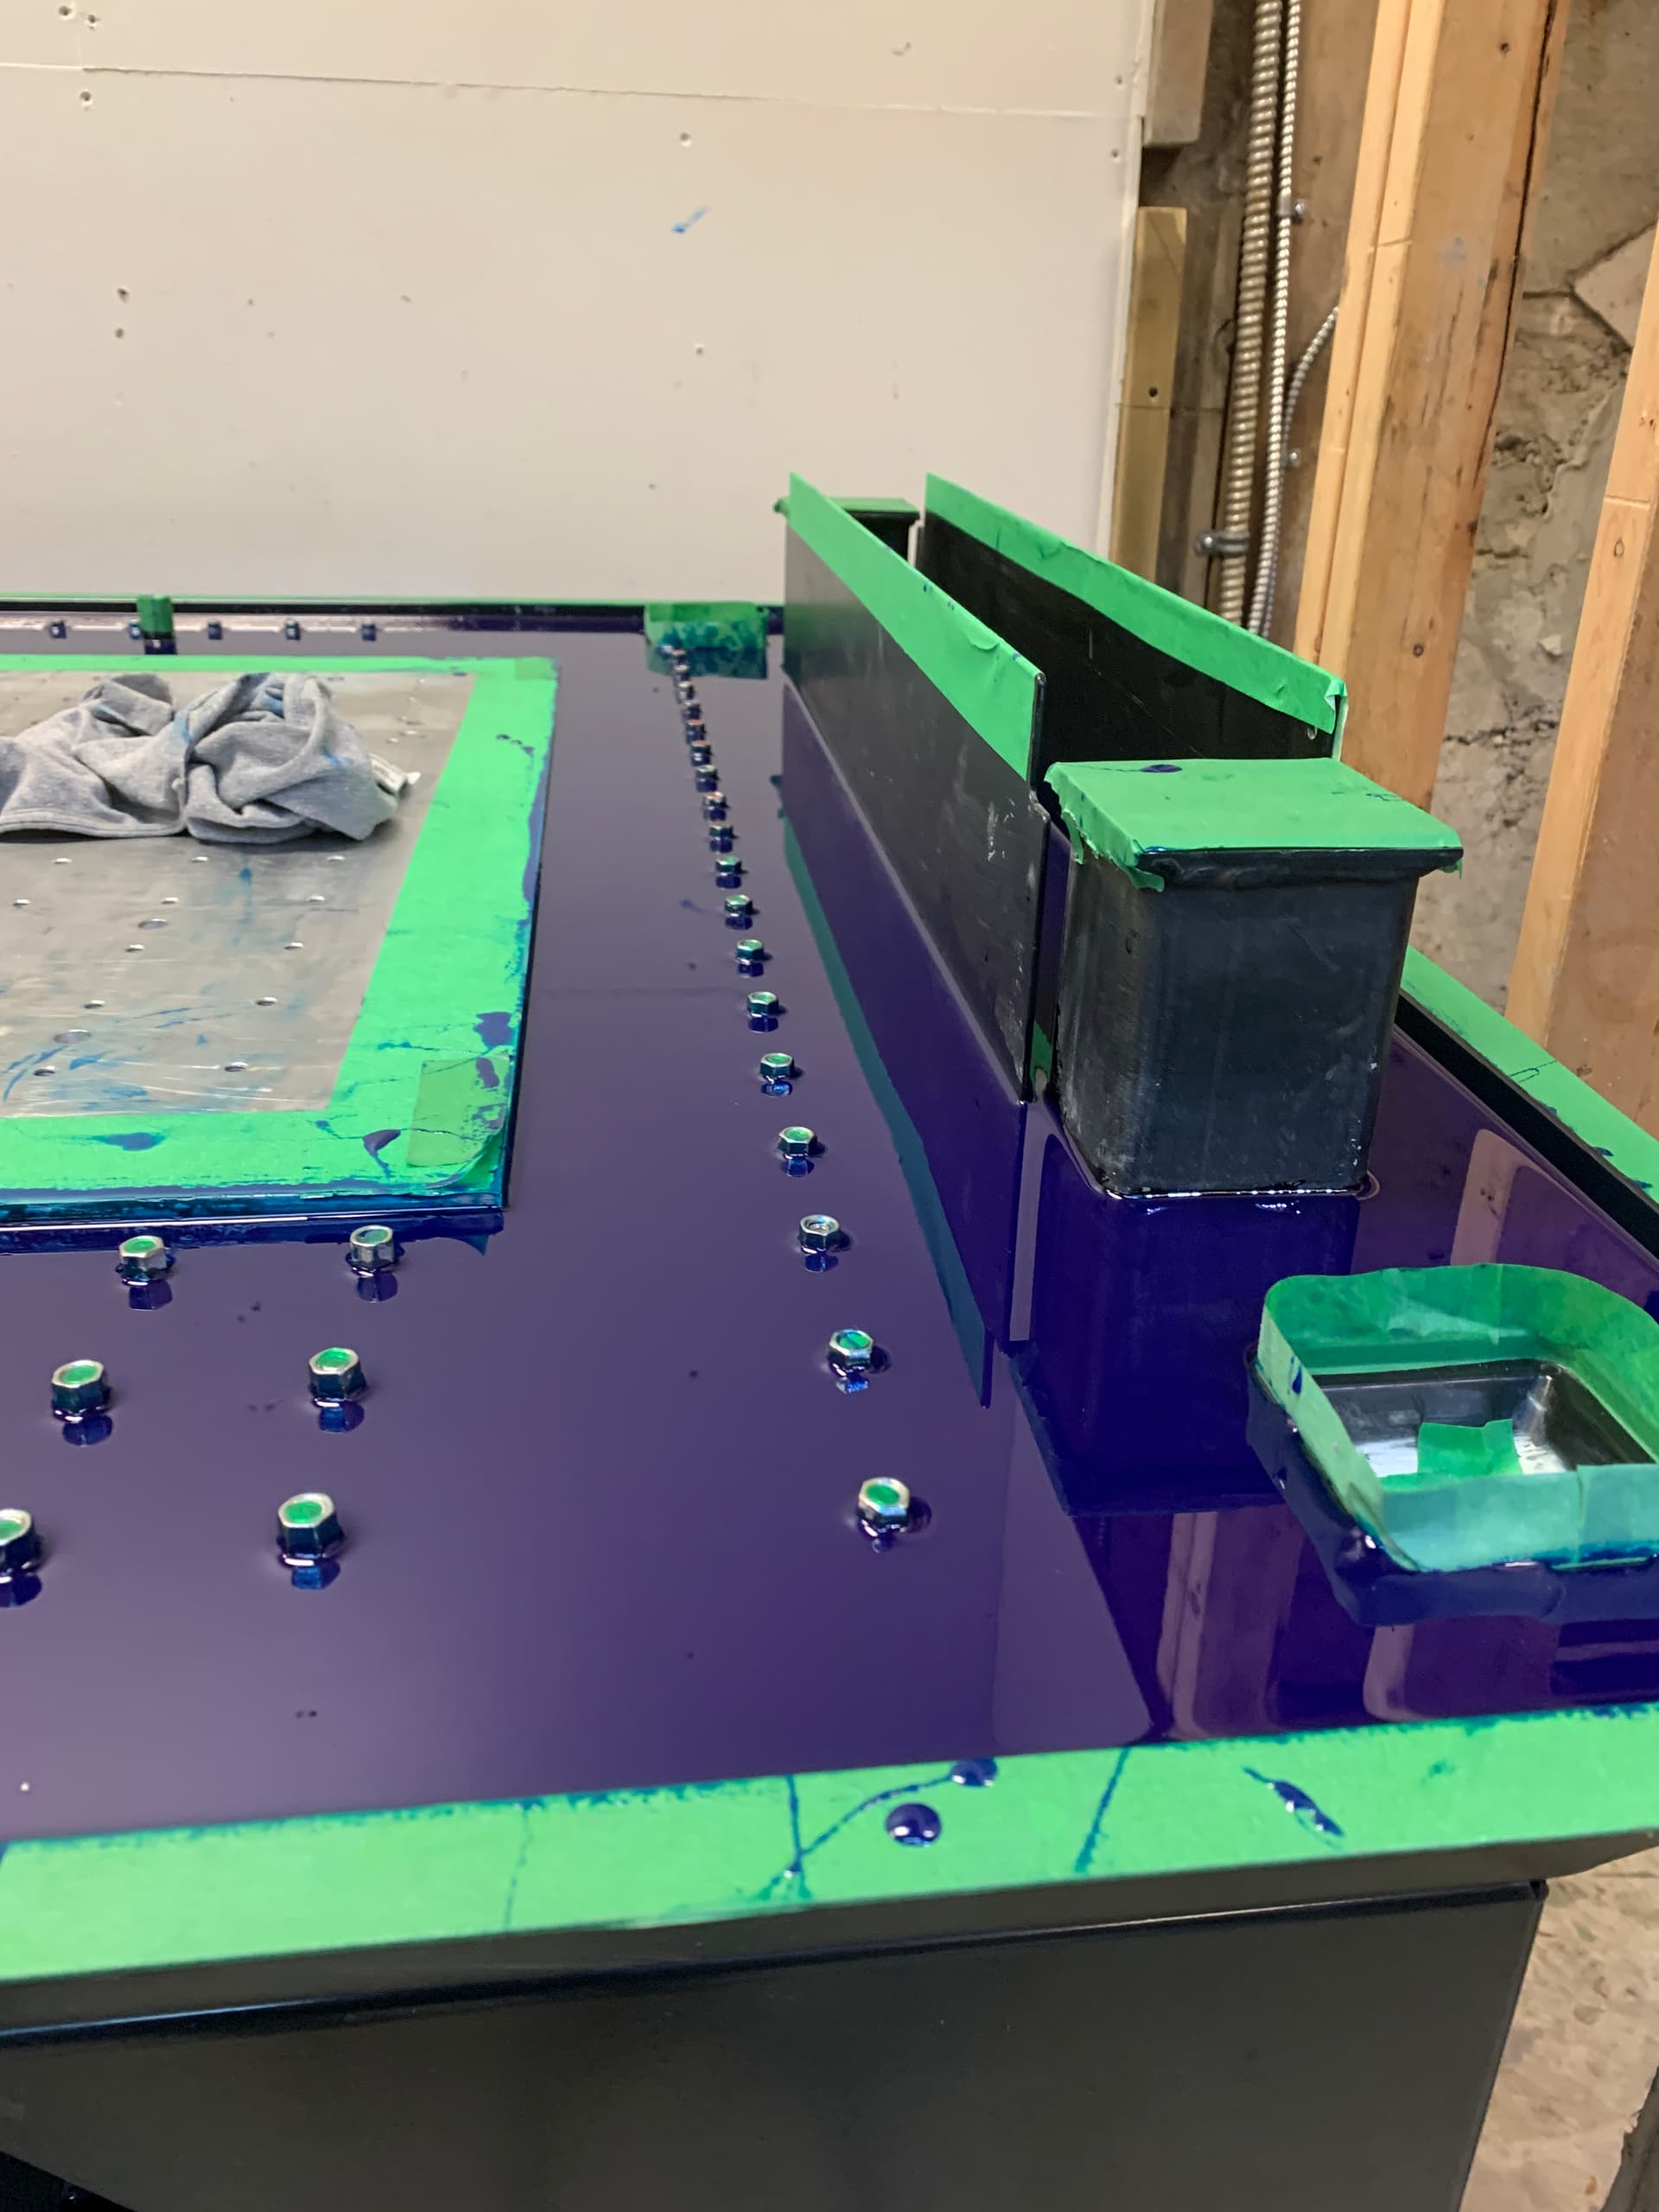
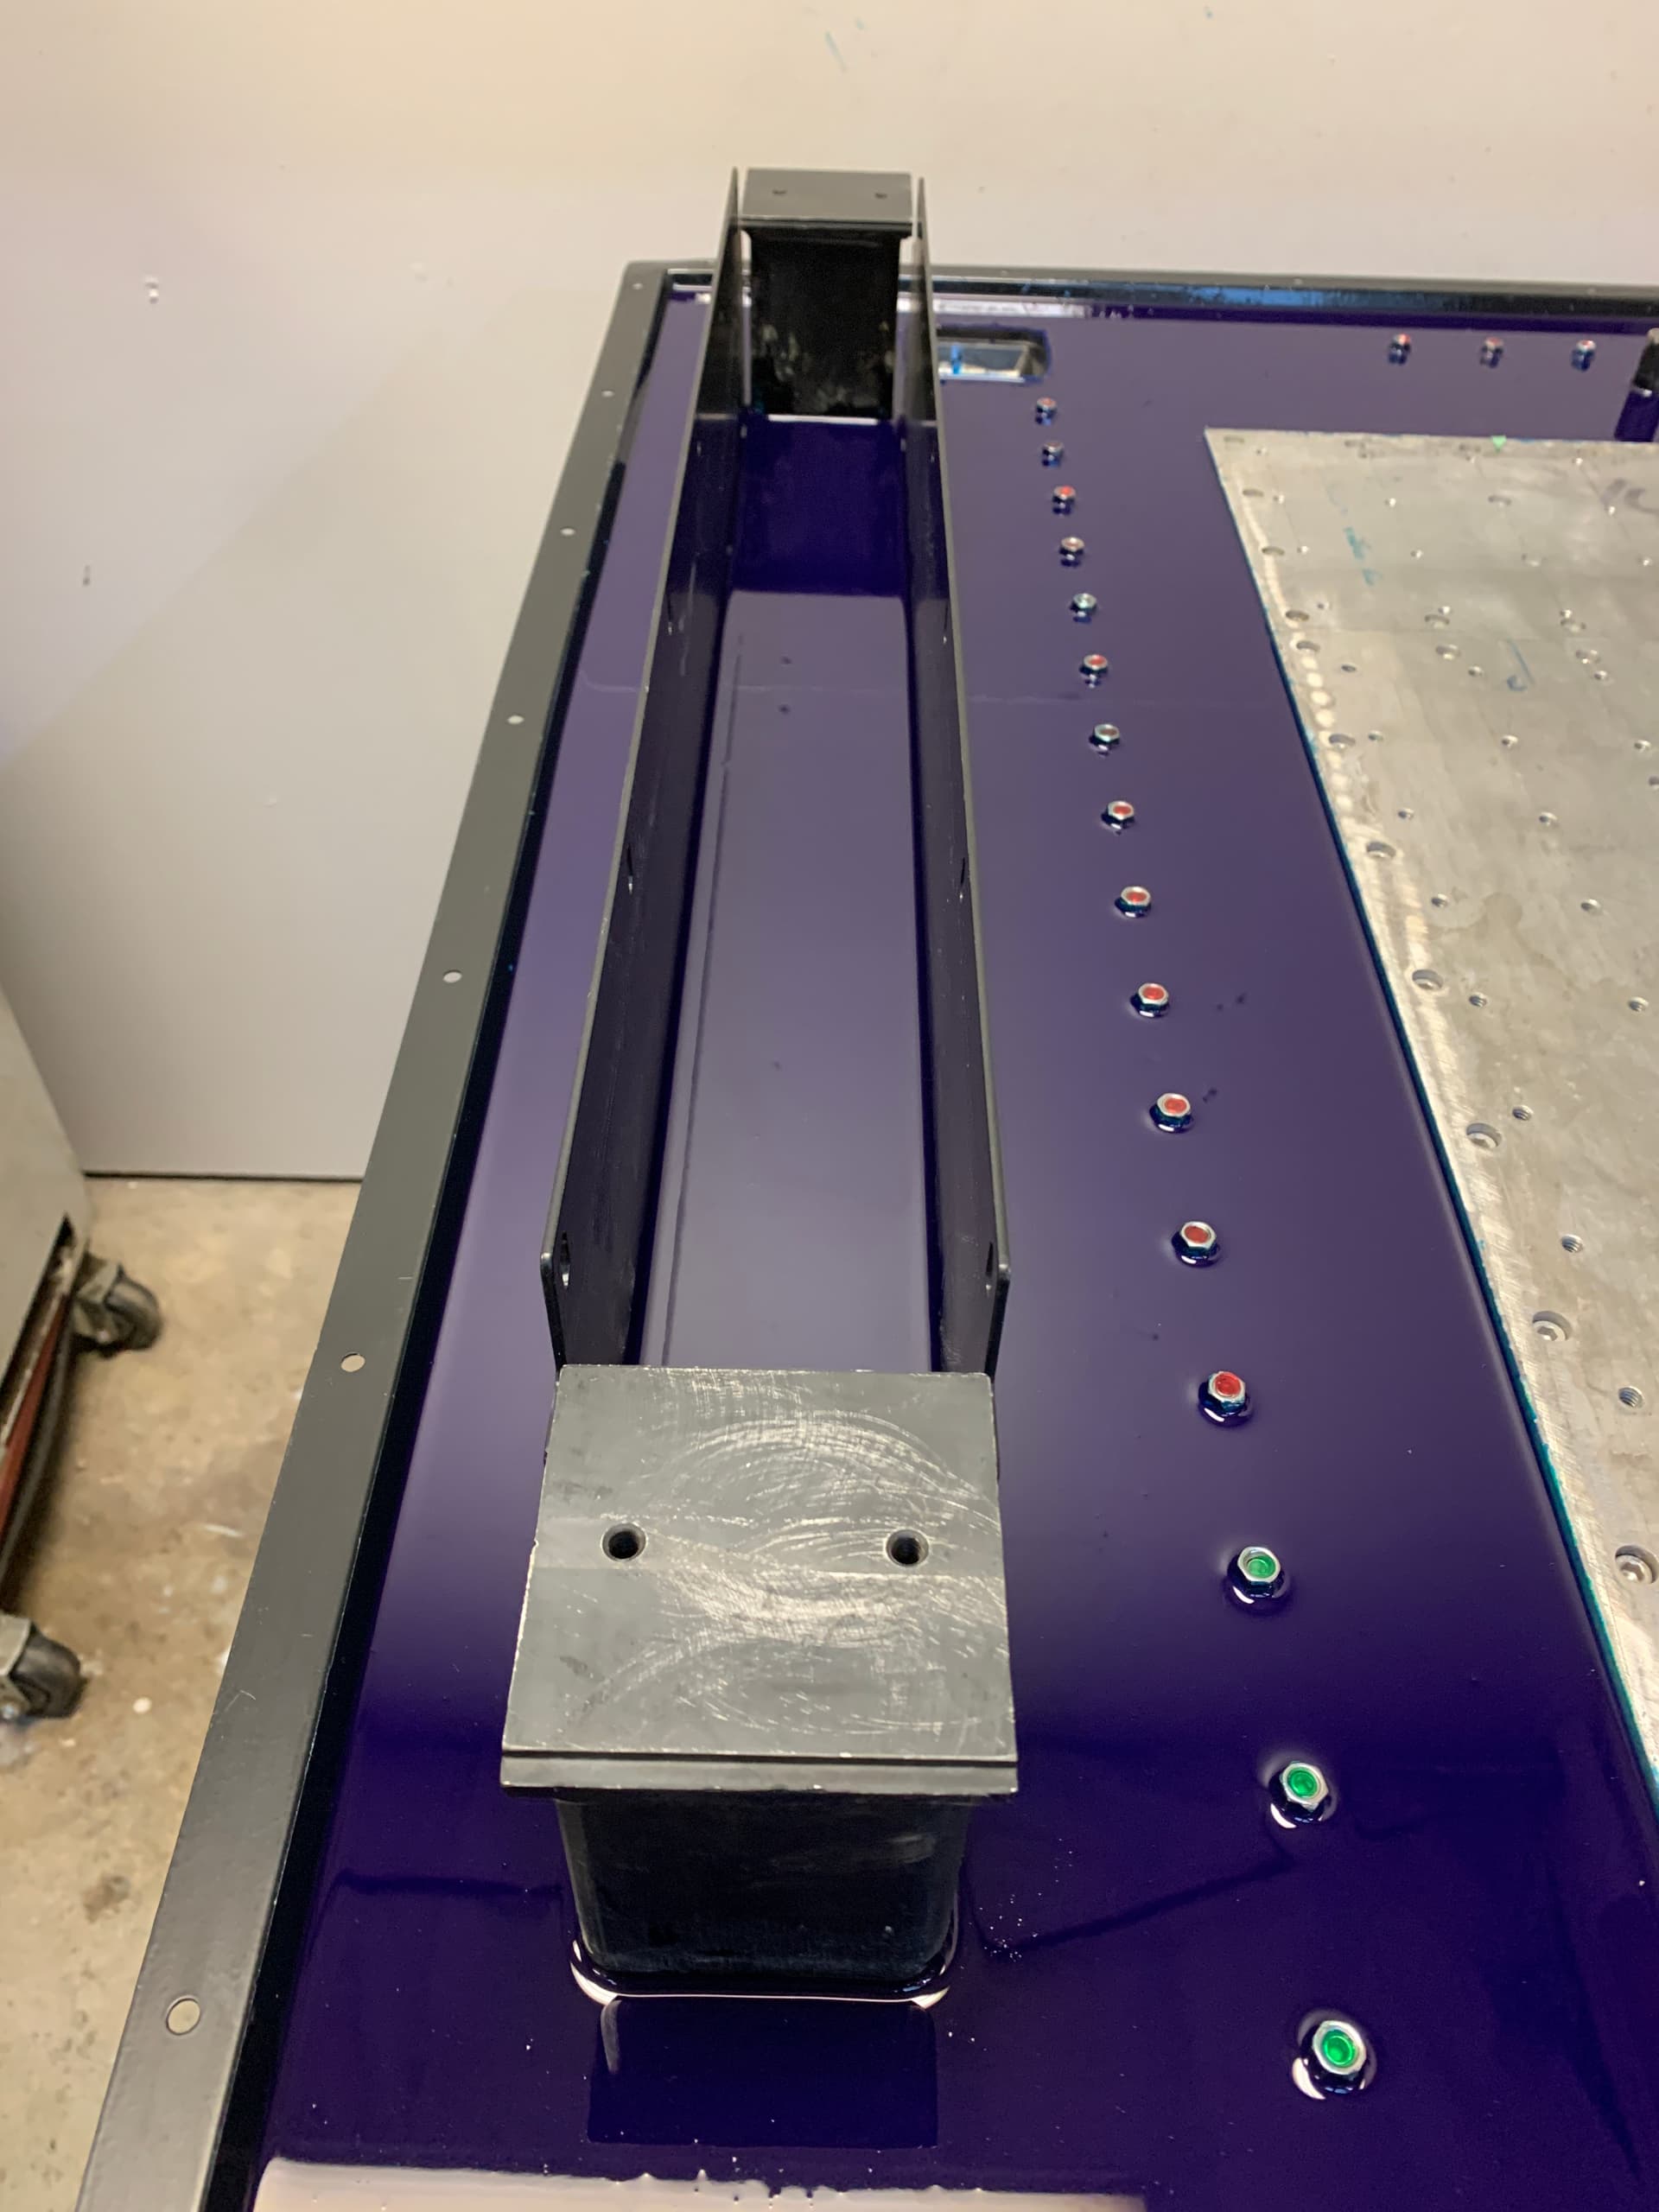
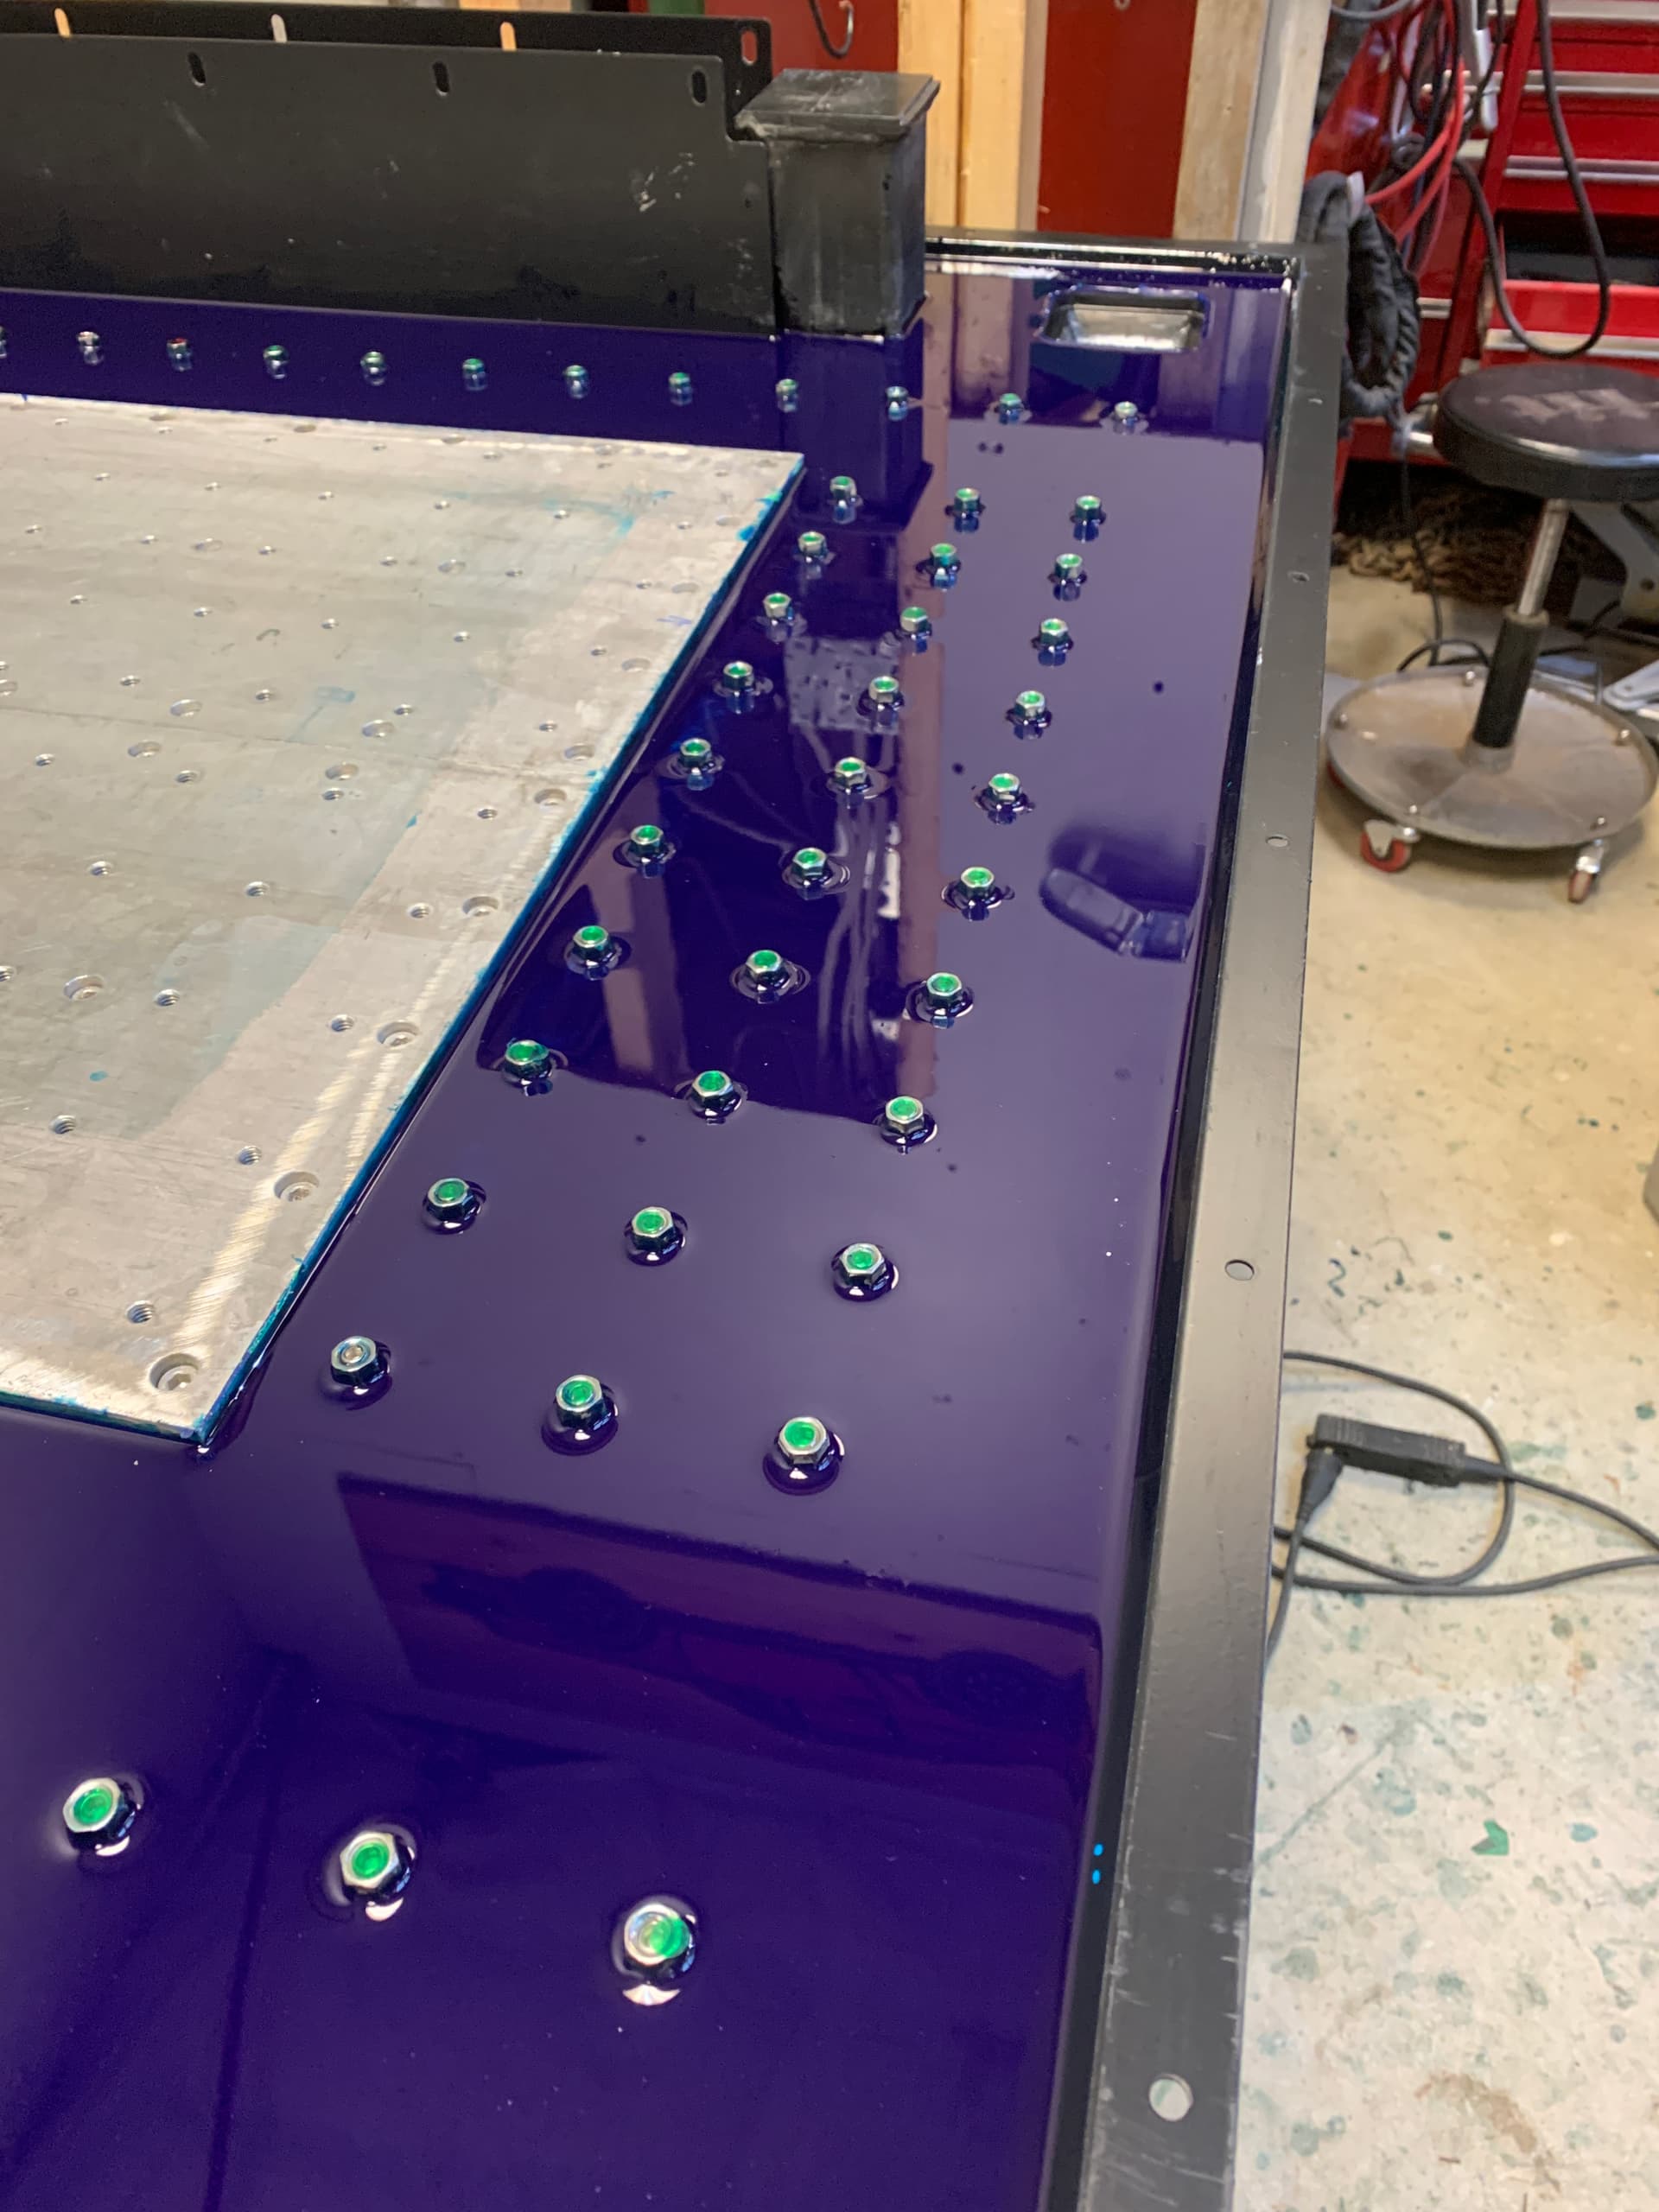
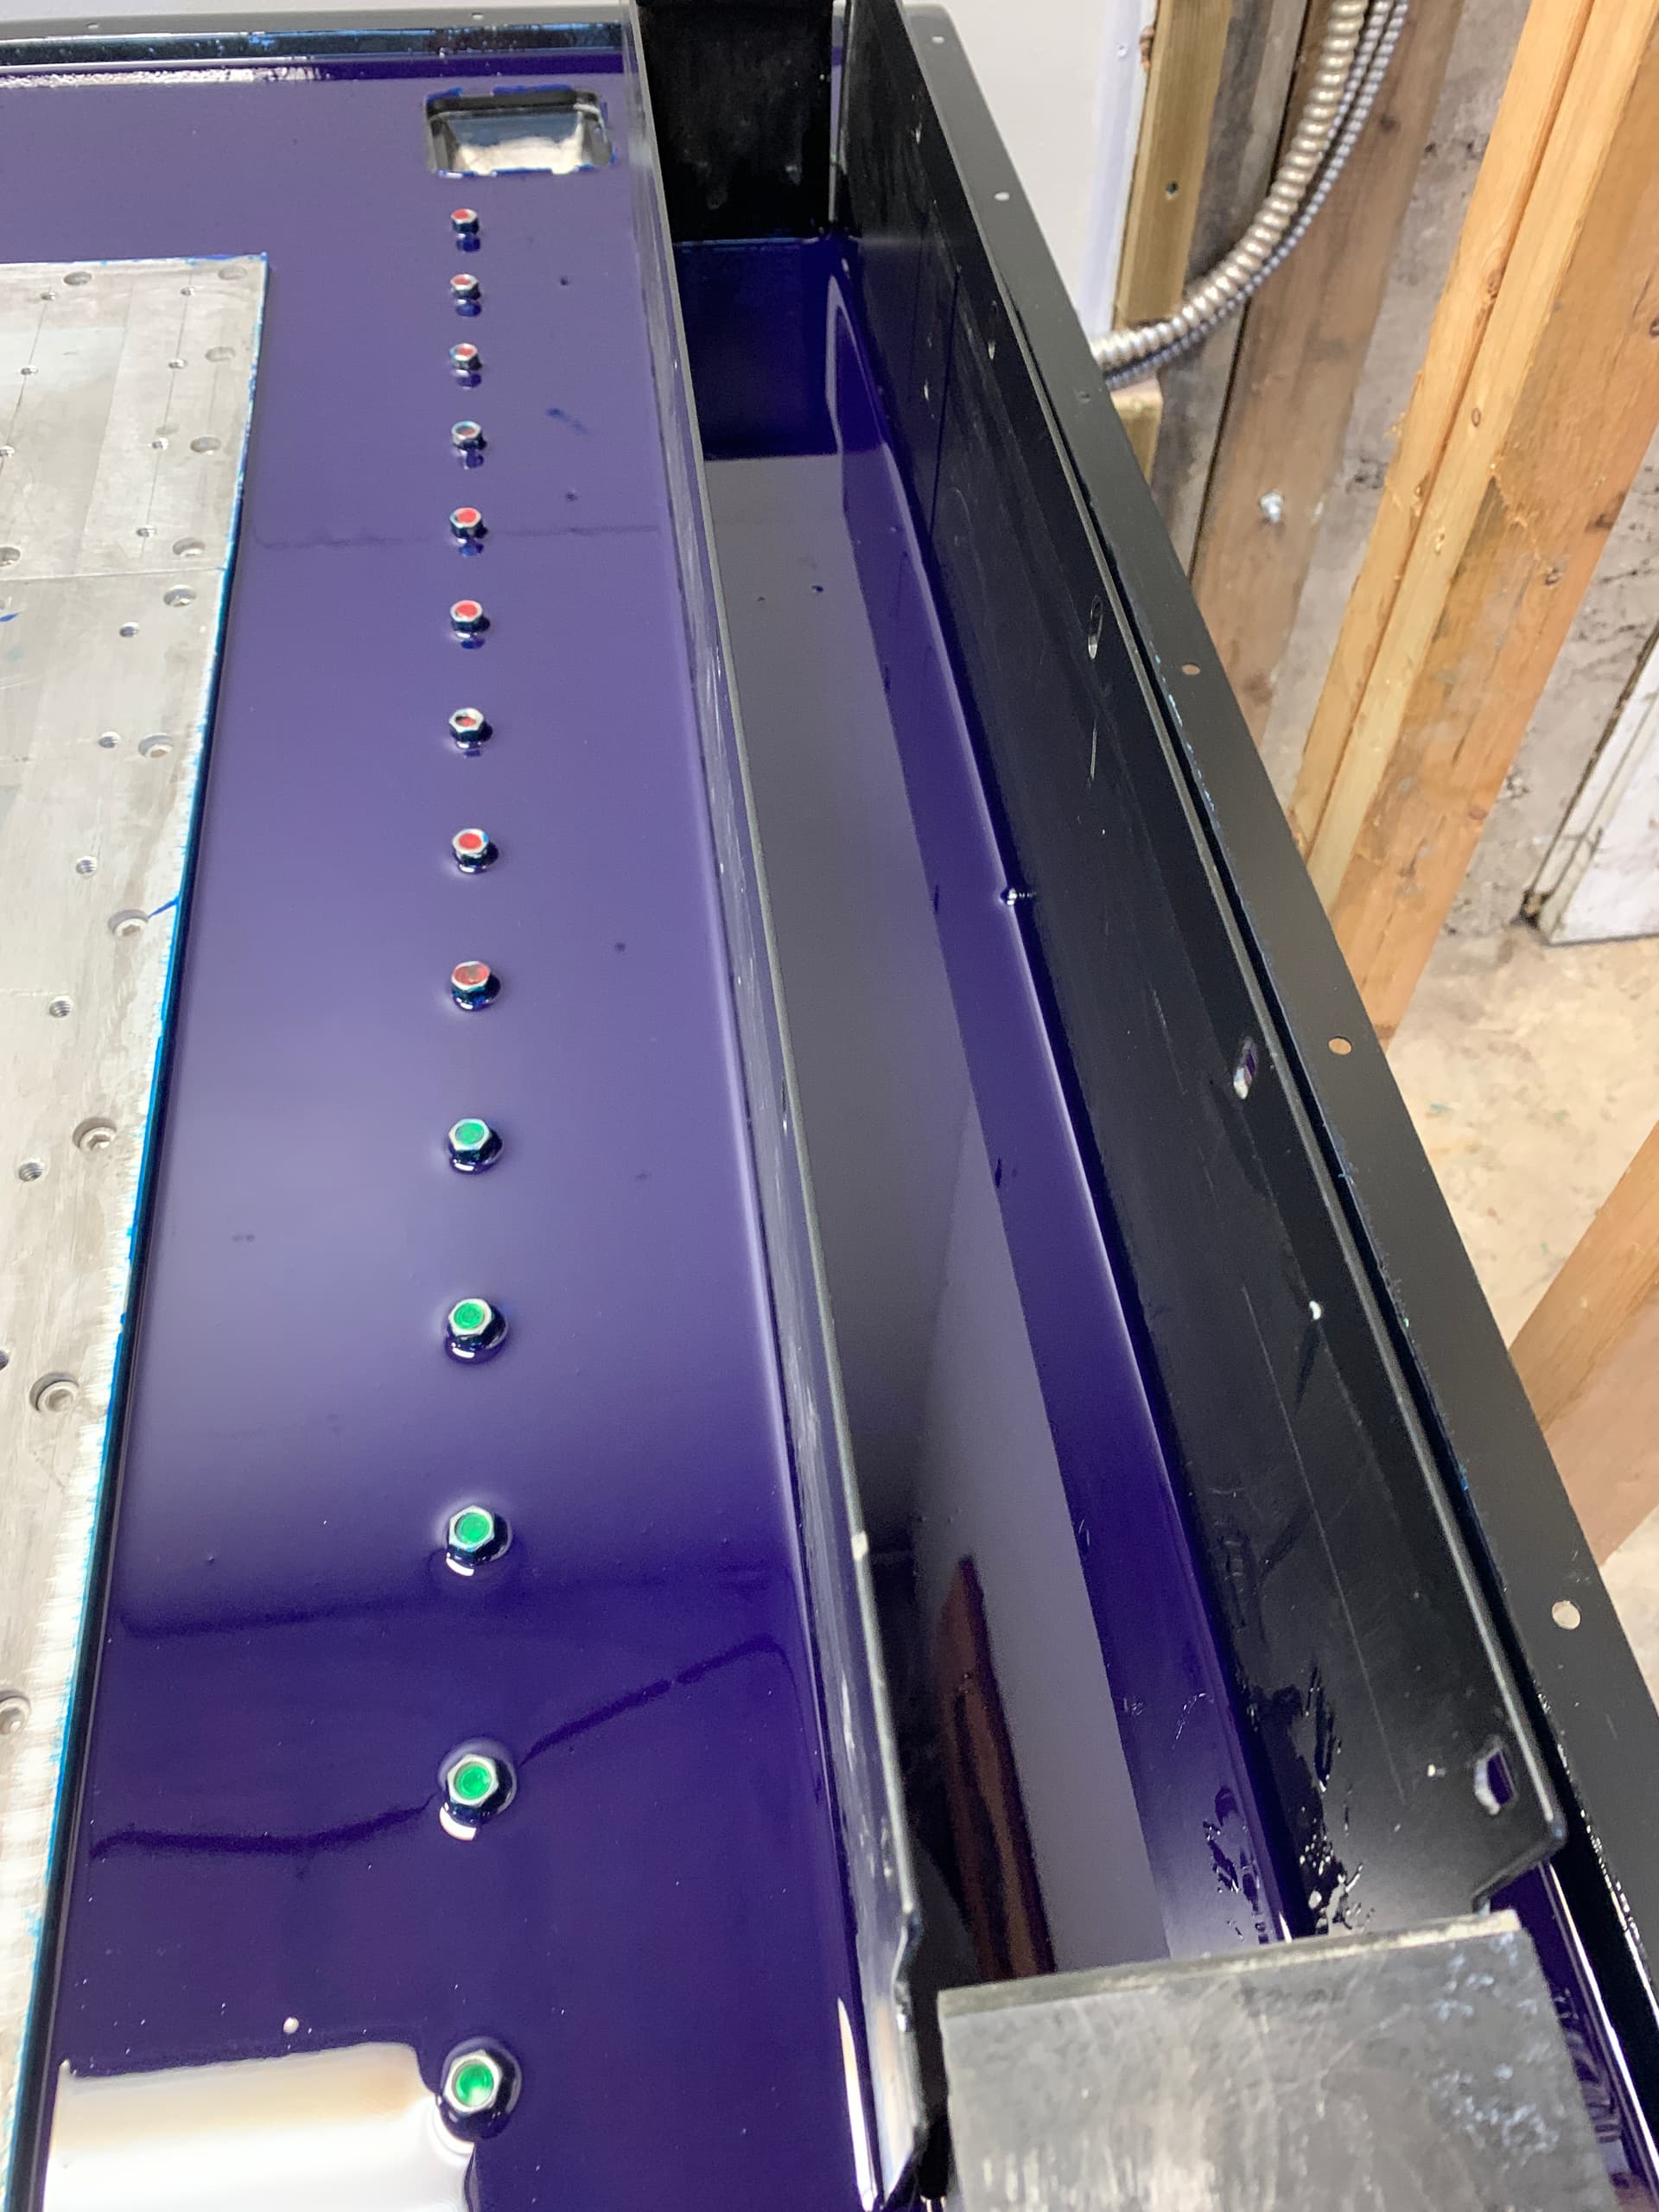
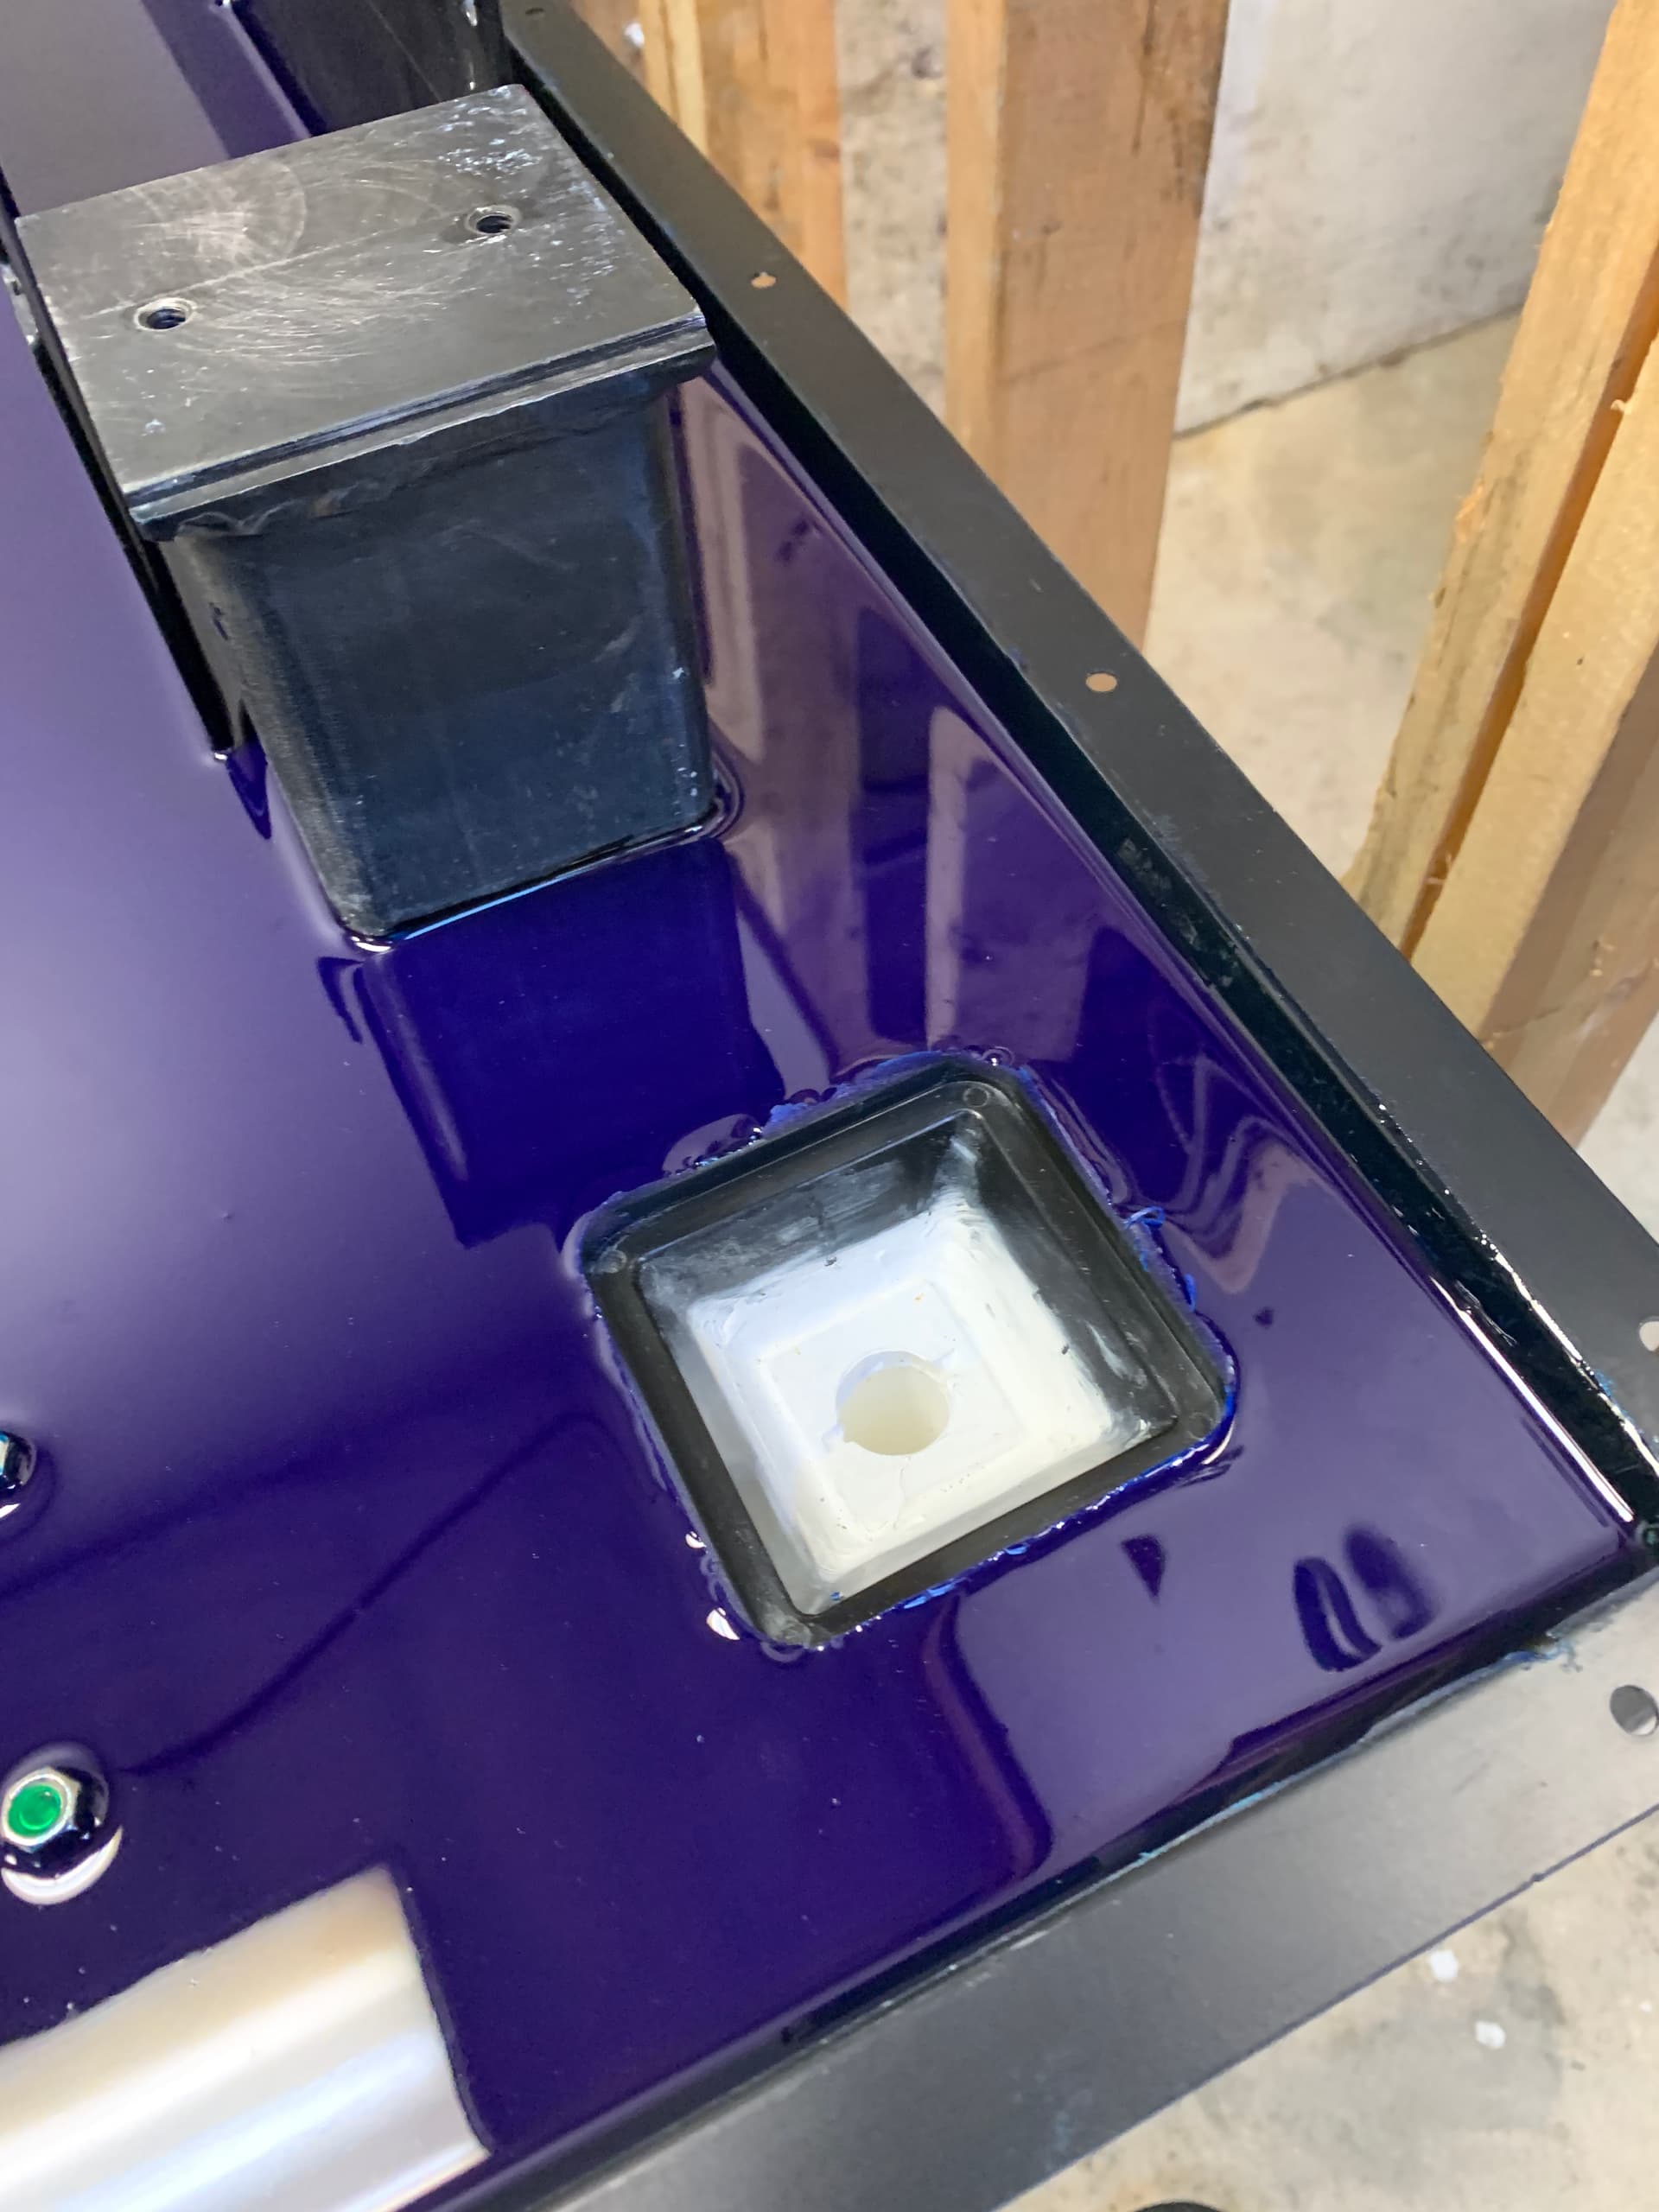
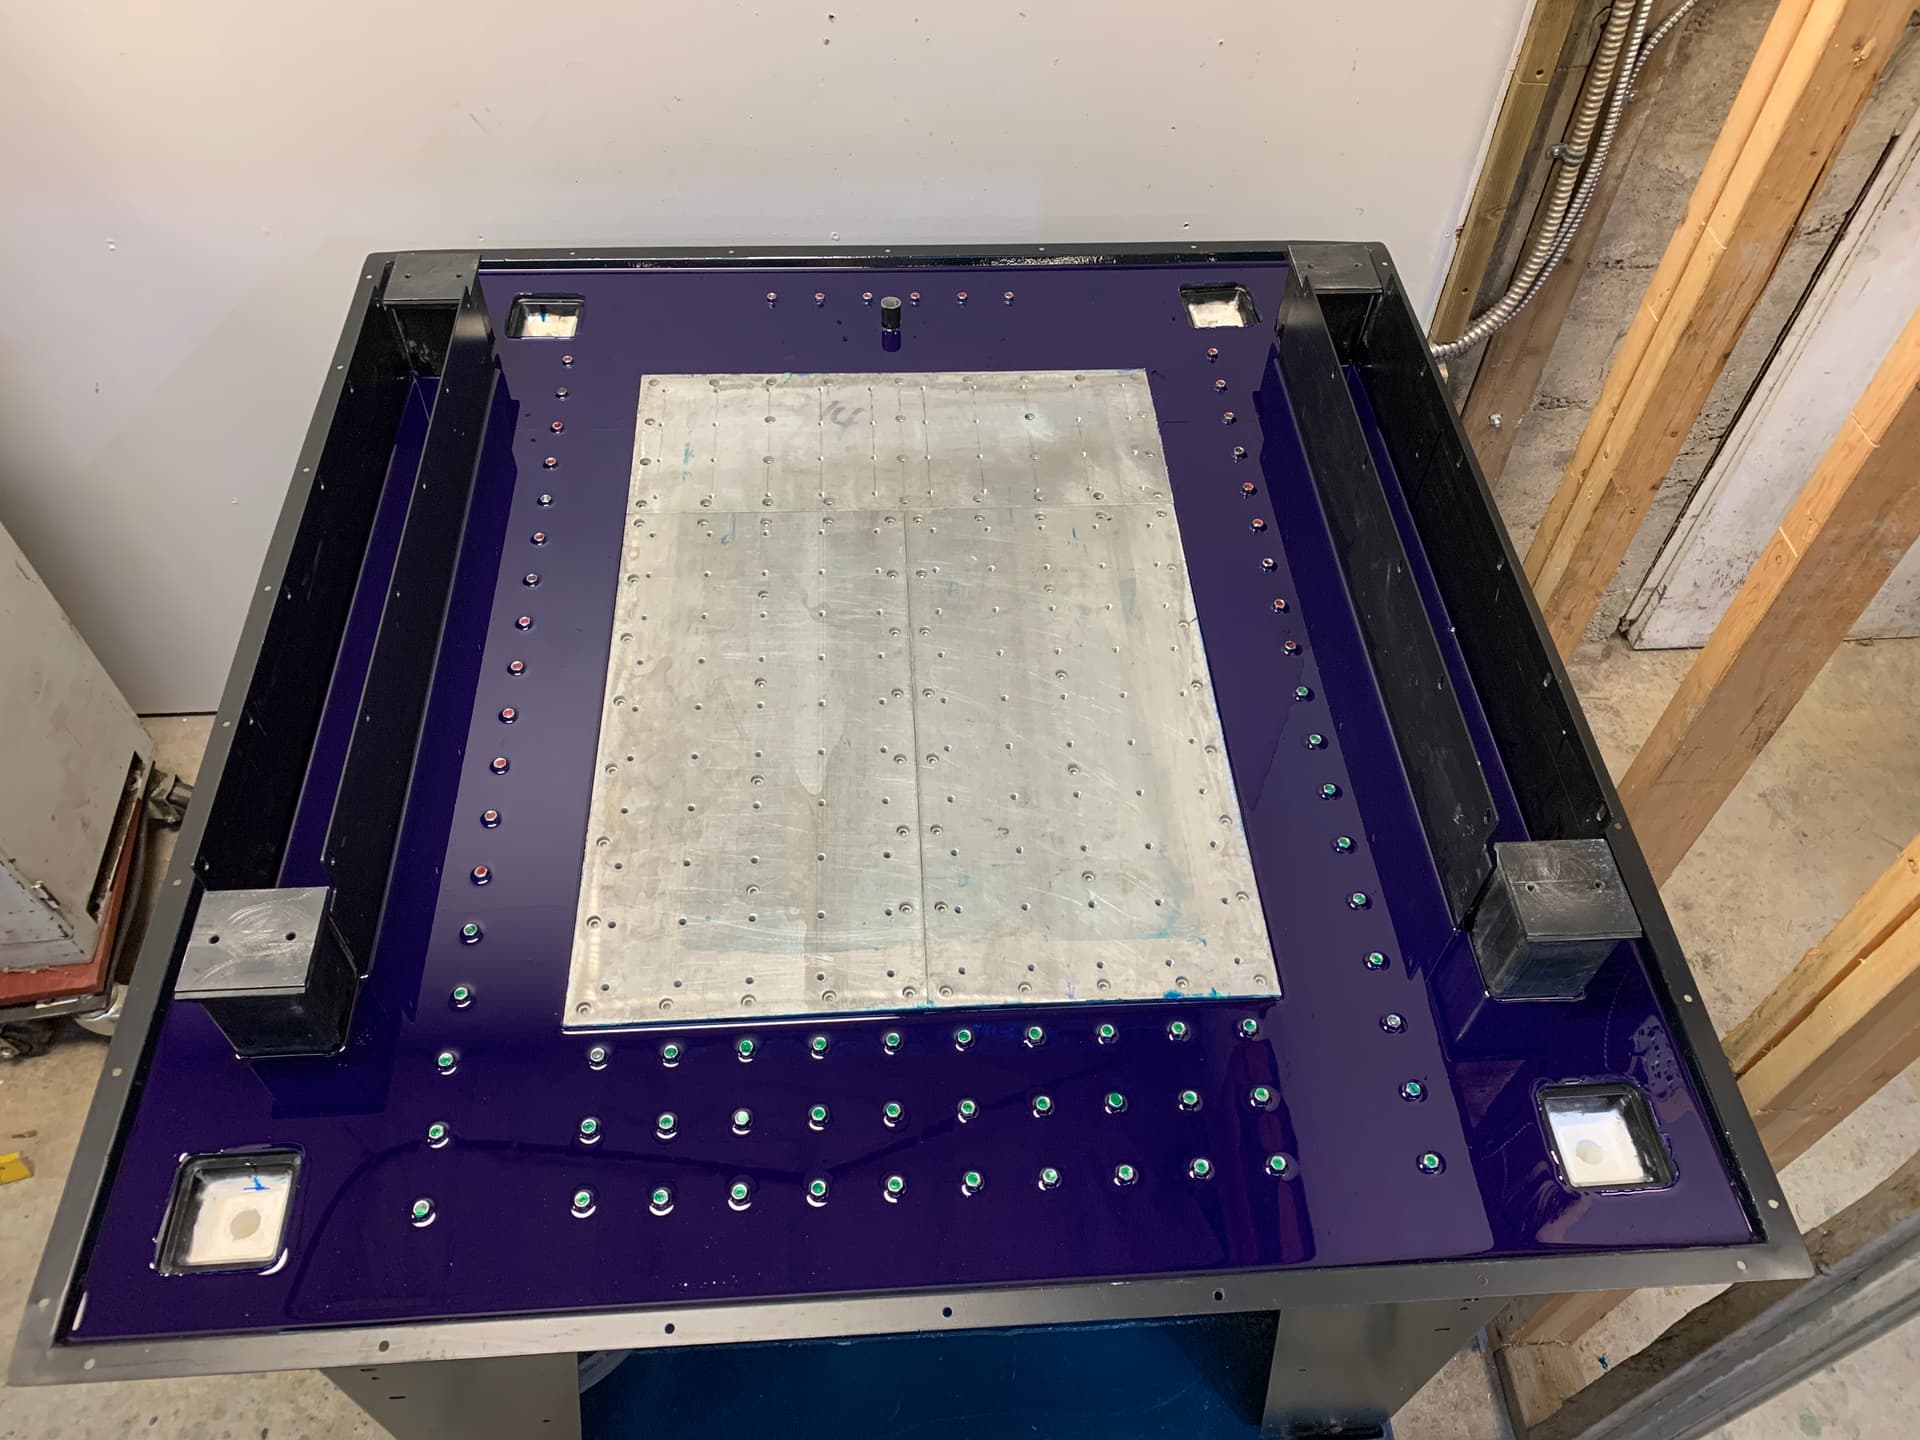
Epoxy next - we have the added complexity of all the anchors sticking out. I used stainless plugs for each one, and used 3/8" round stickers to cover the top of each one just in case. Notice I also took off the Z rails in order to reach the inside of the rails for the epoxy. I was going for blue, but added a bit too much tint, so its more purply
I bought the same epoxy Langmuir recommended (Clear Table Top Epoxy) – used just over a gallon in total. The additional hold downs were a challenge for sure when pouring epoxy, you have to be careful not to pour right on top of them.
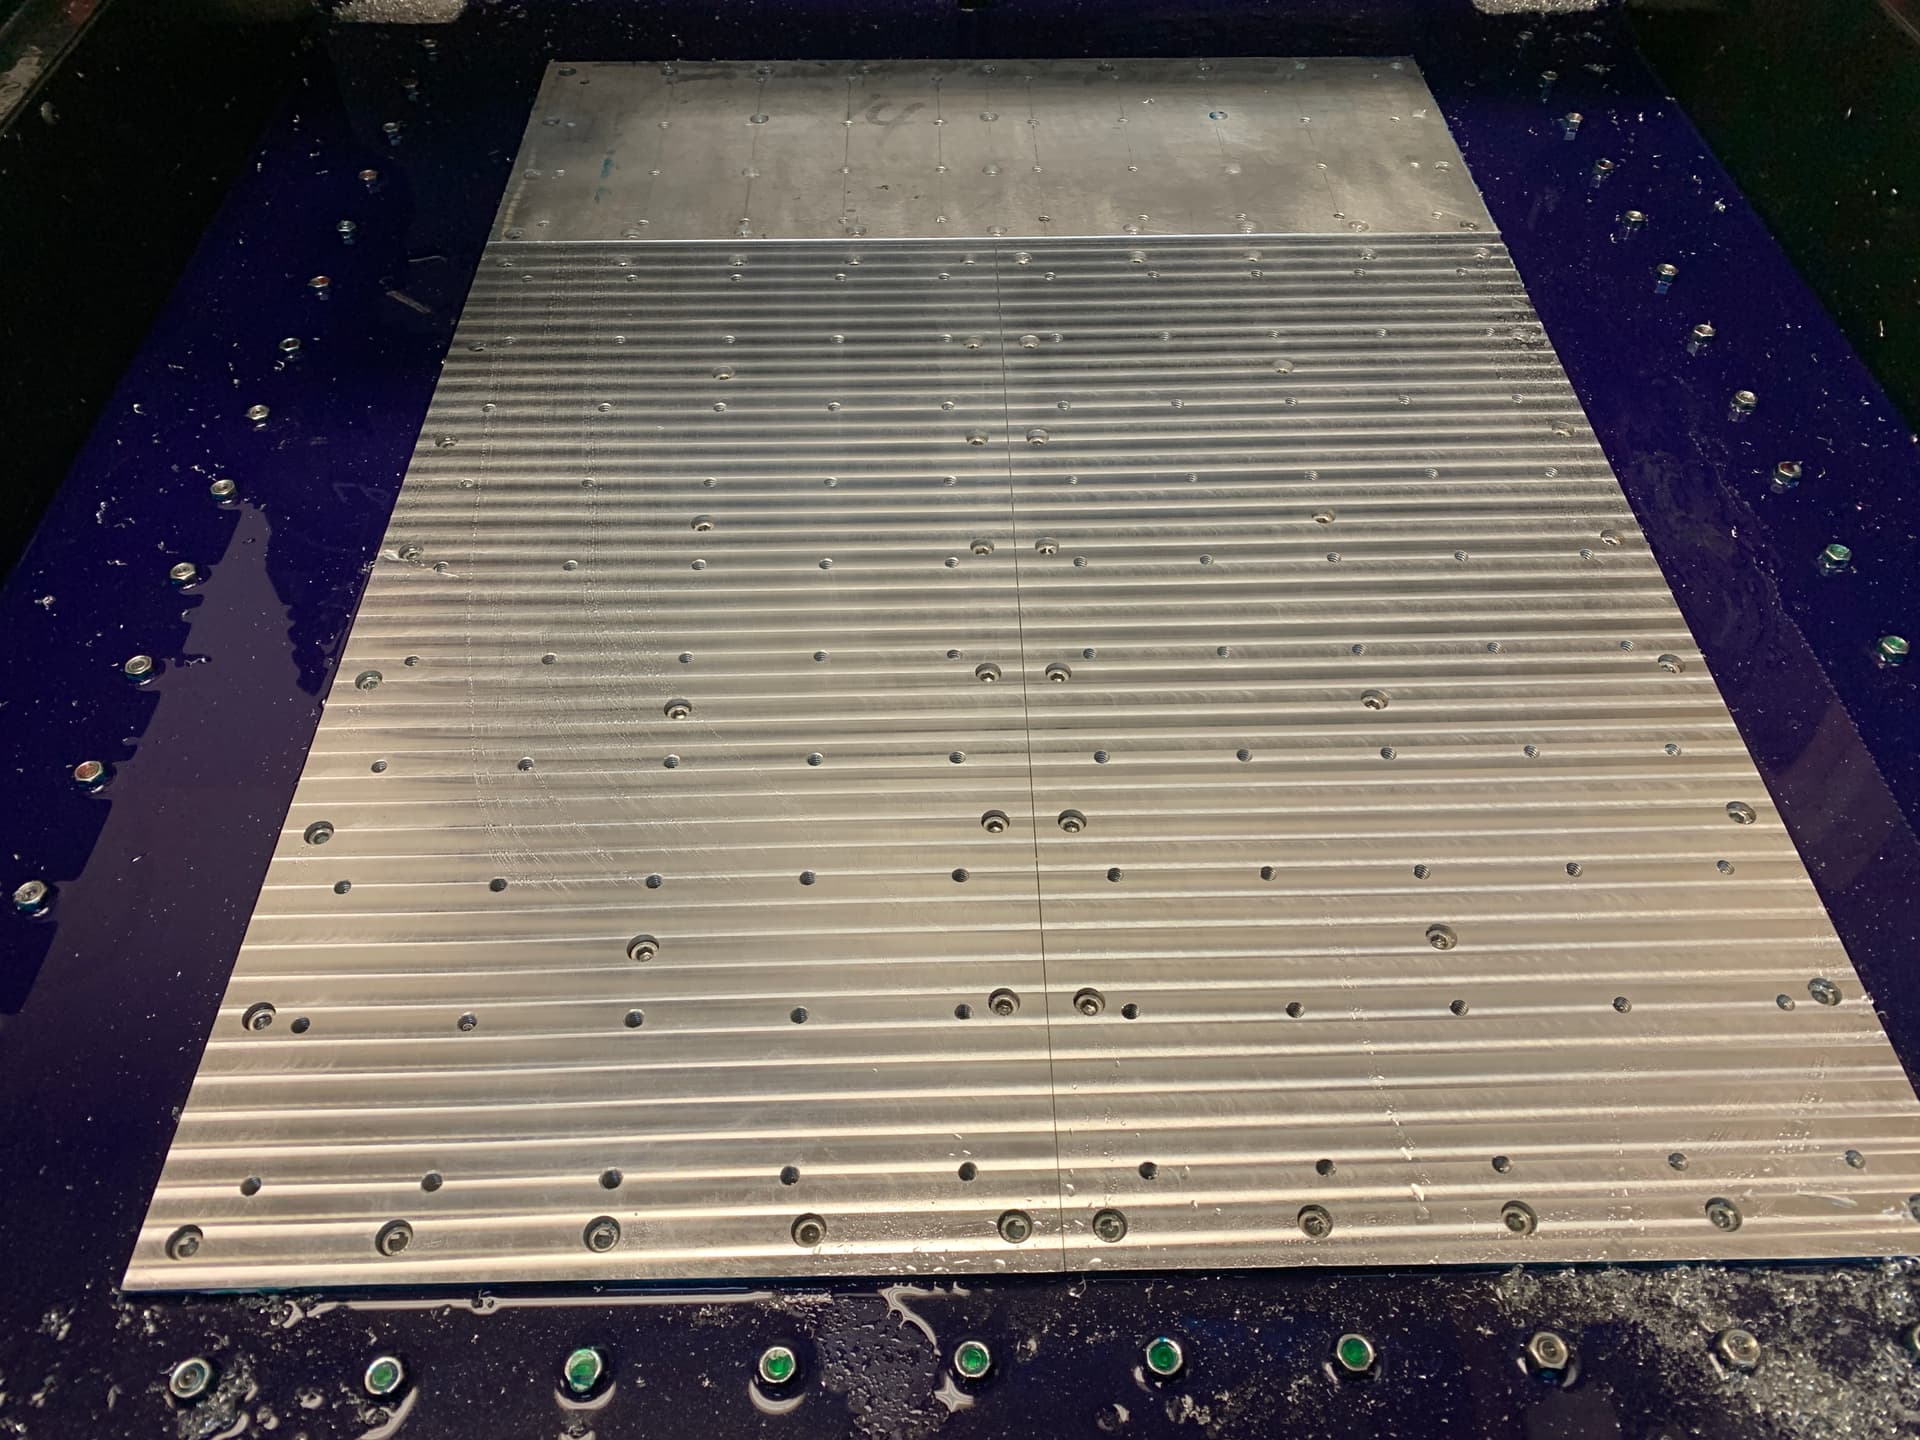
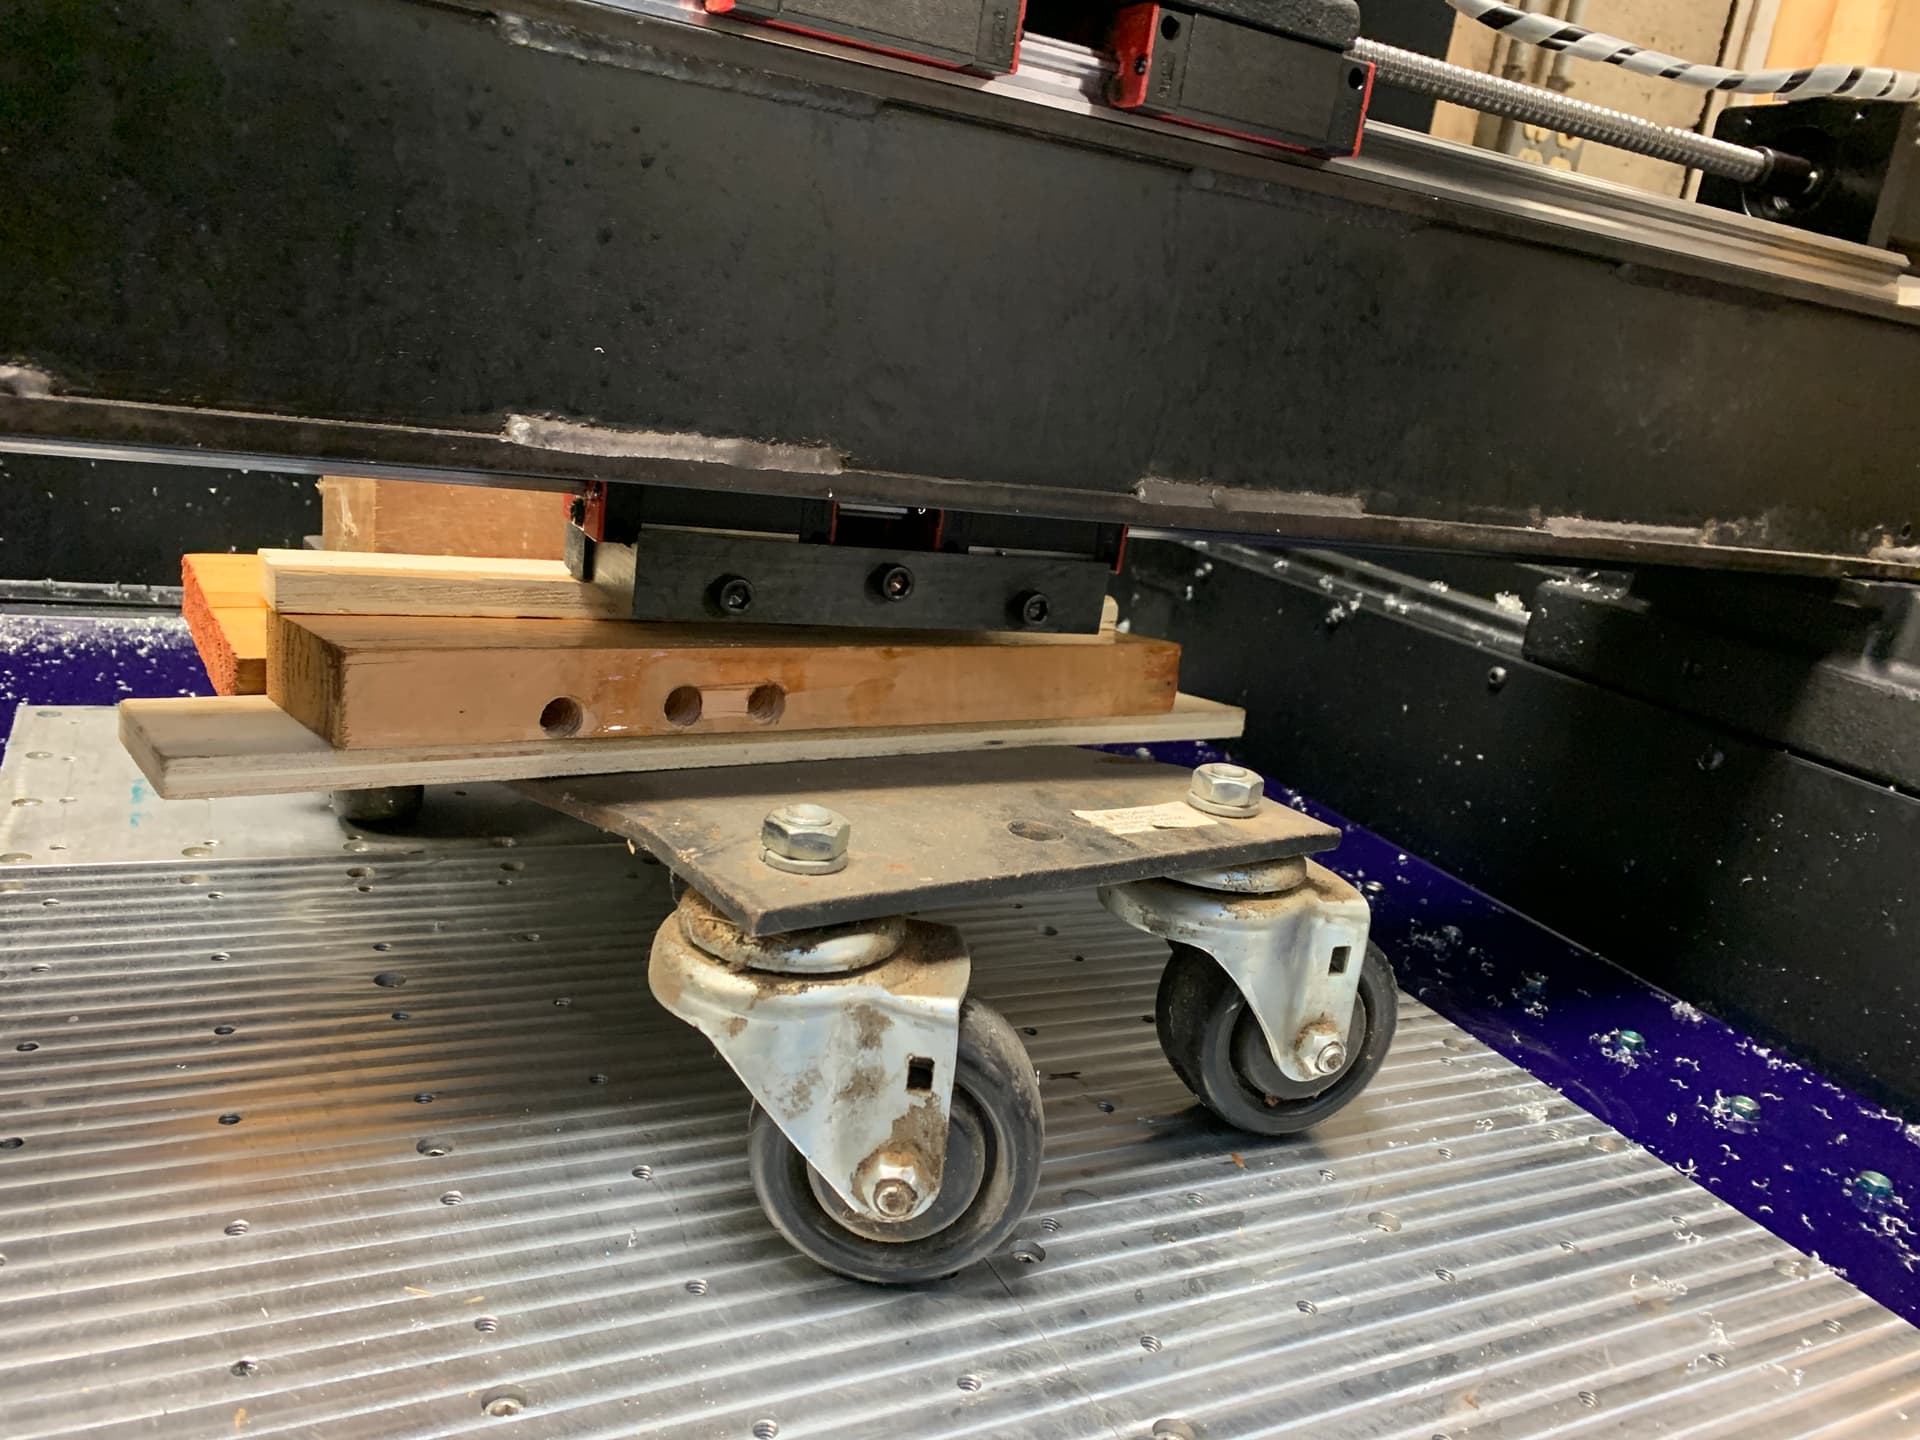
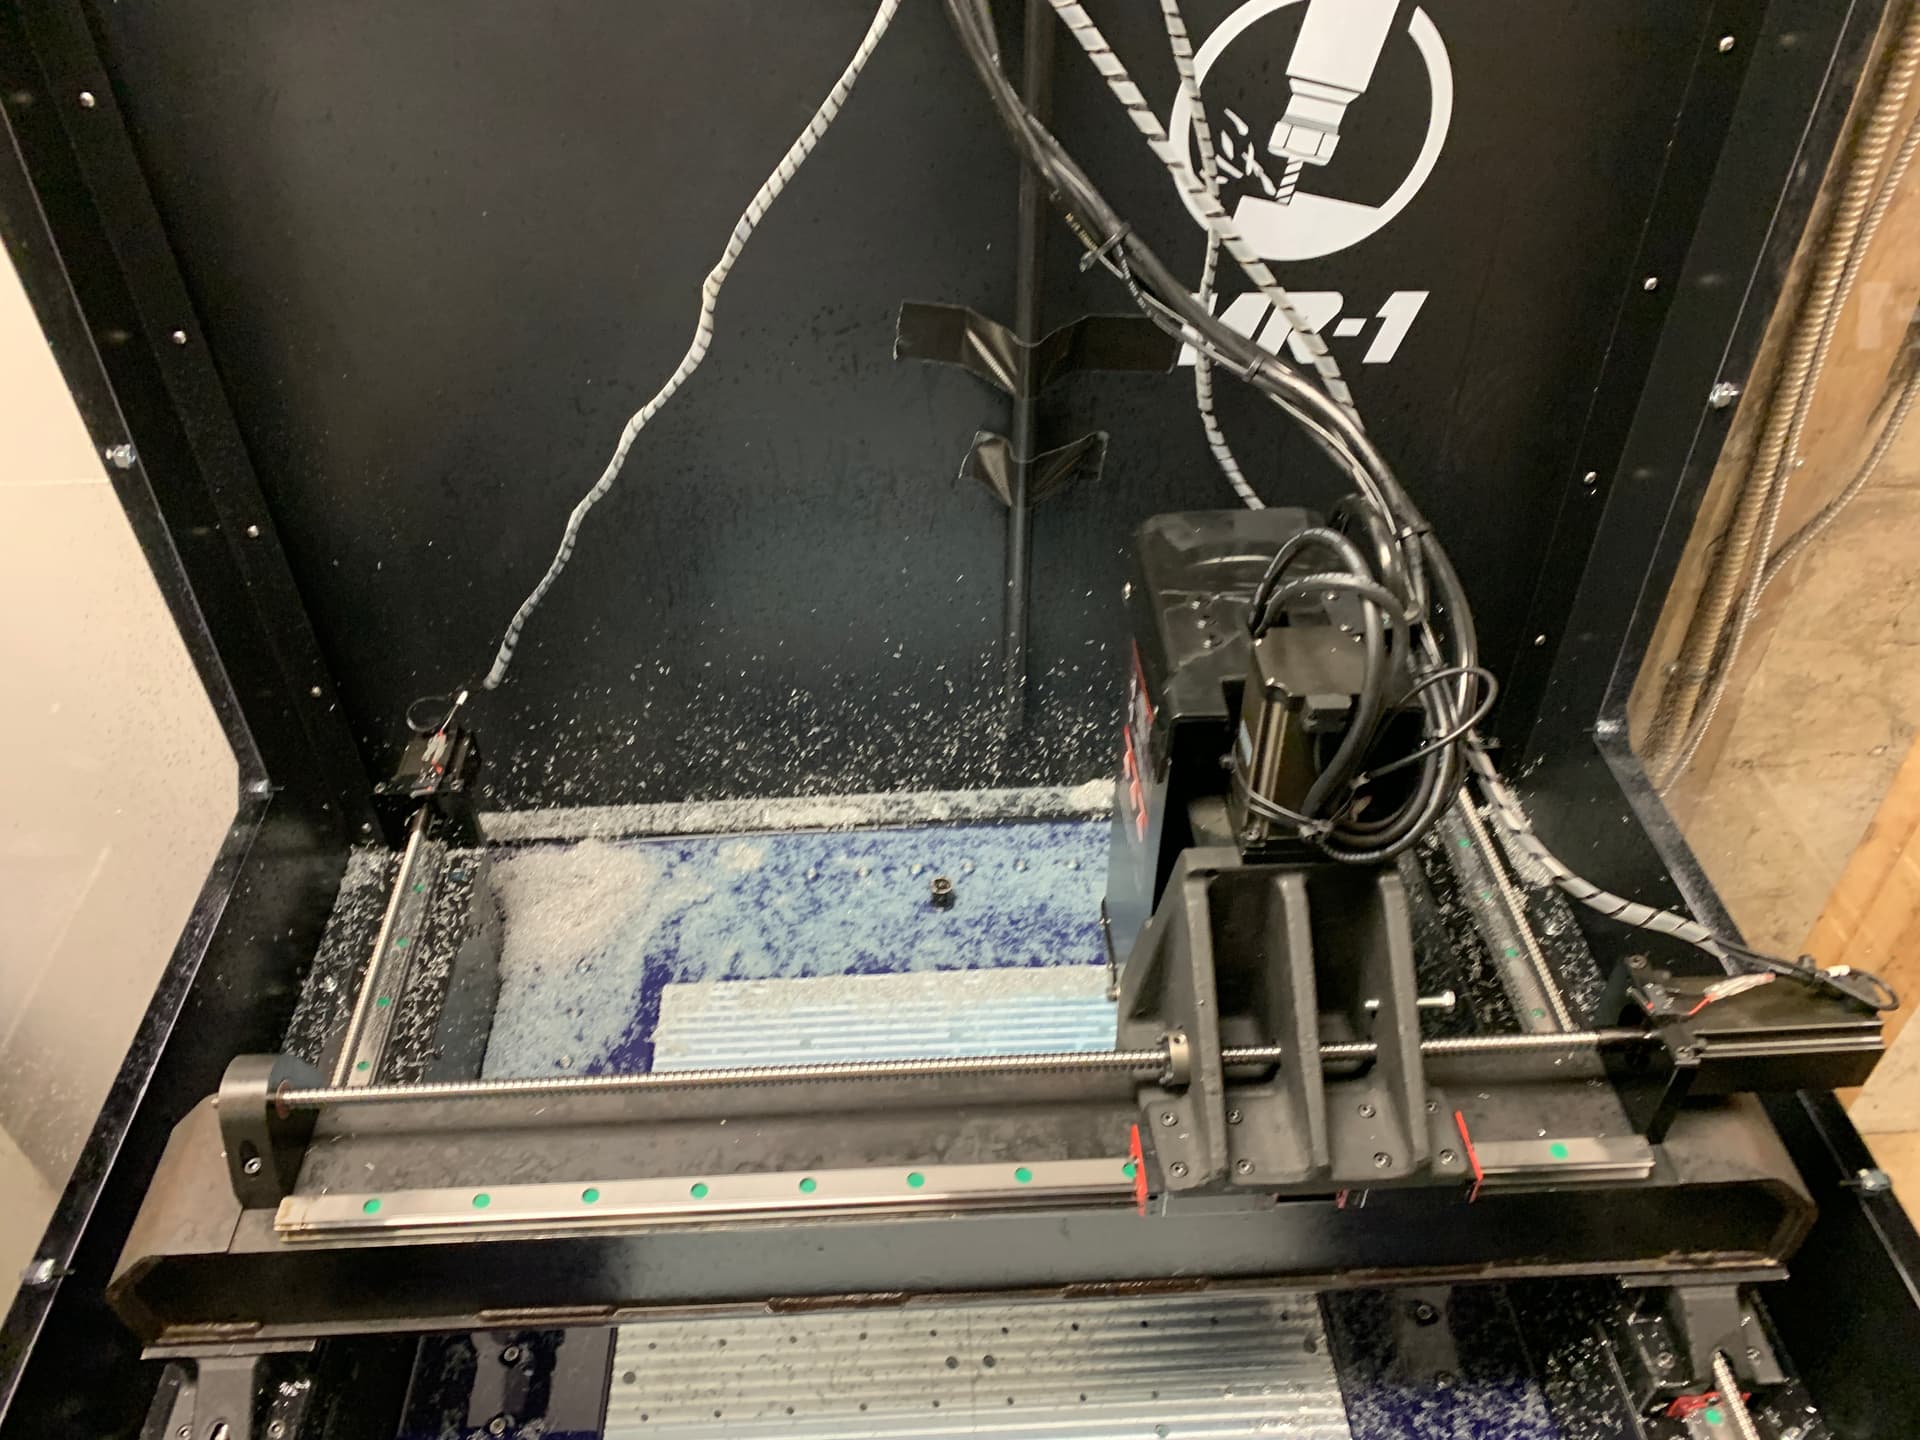
Of course, with an extended baseplate, machining the surface is a challenge since it cannot be reached. I rotated the X axis 180 degree to reach the rear once the front was roughed out.
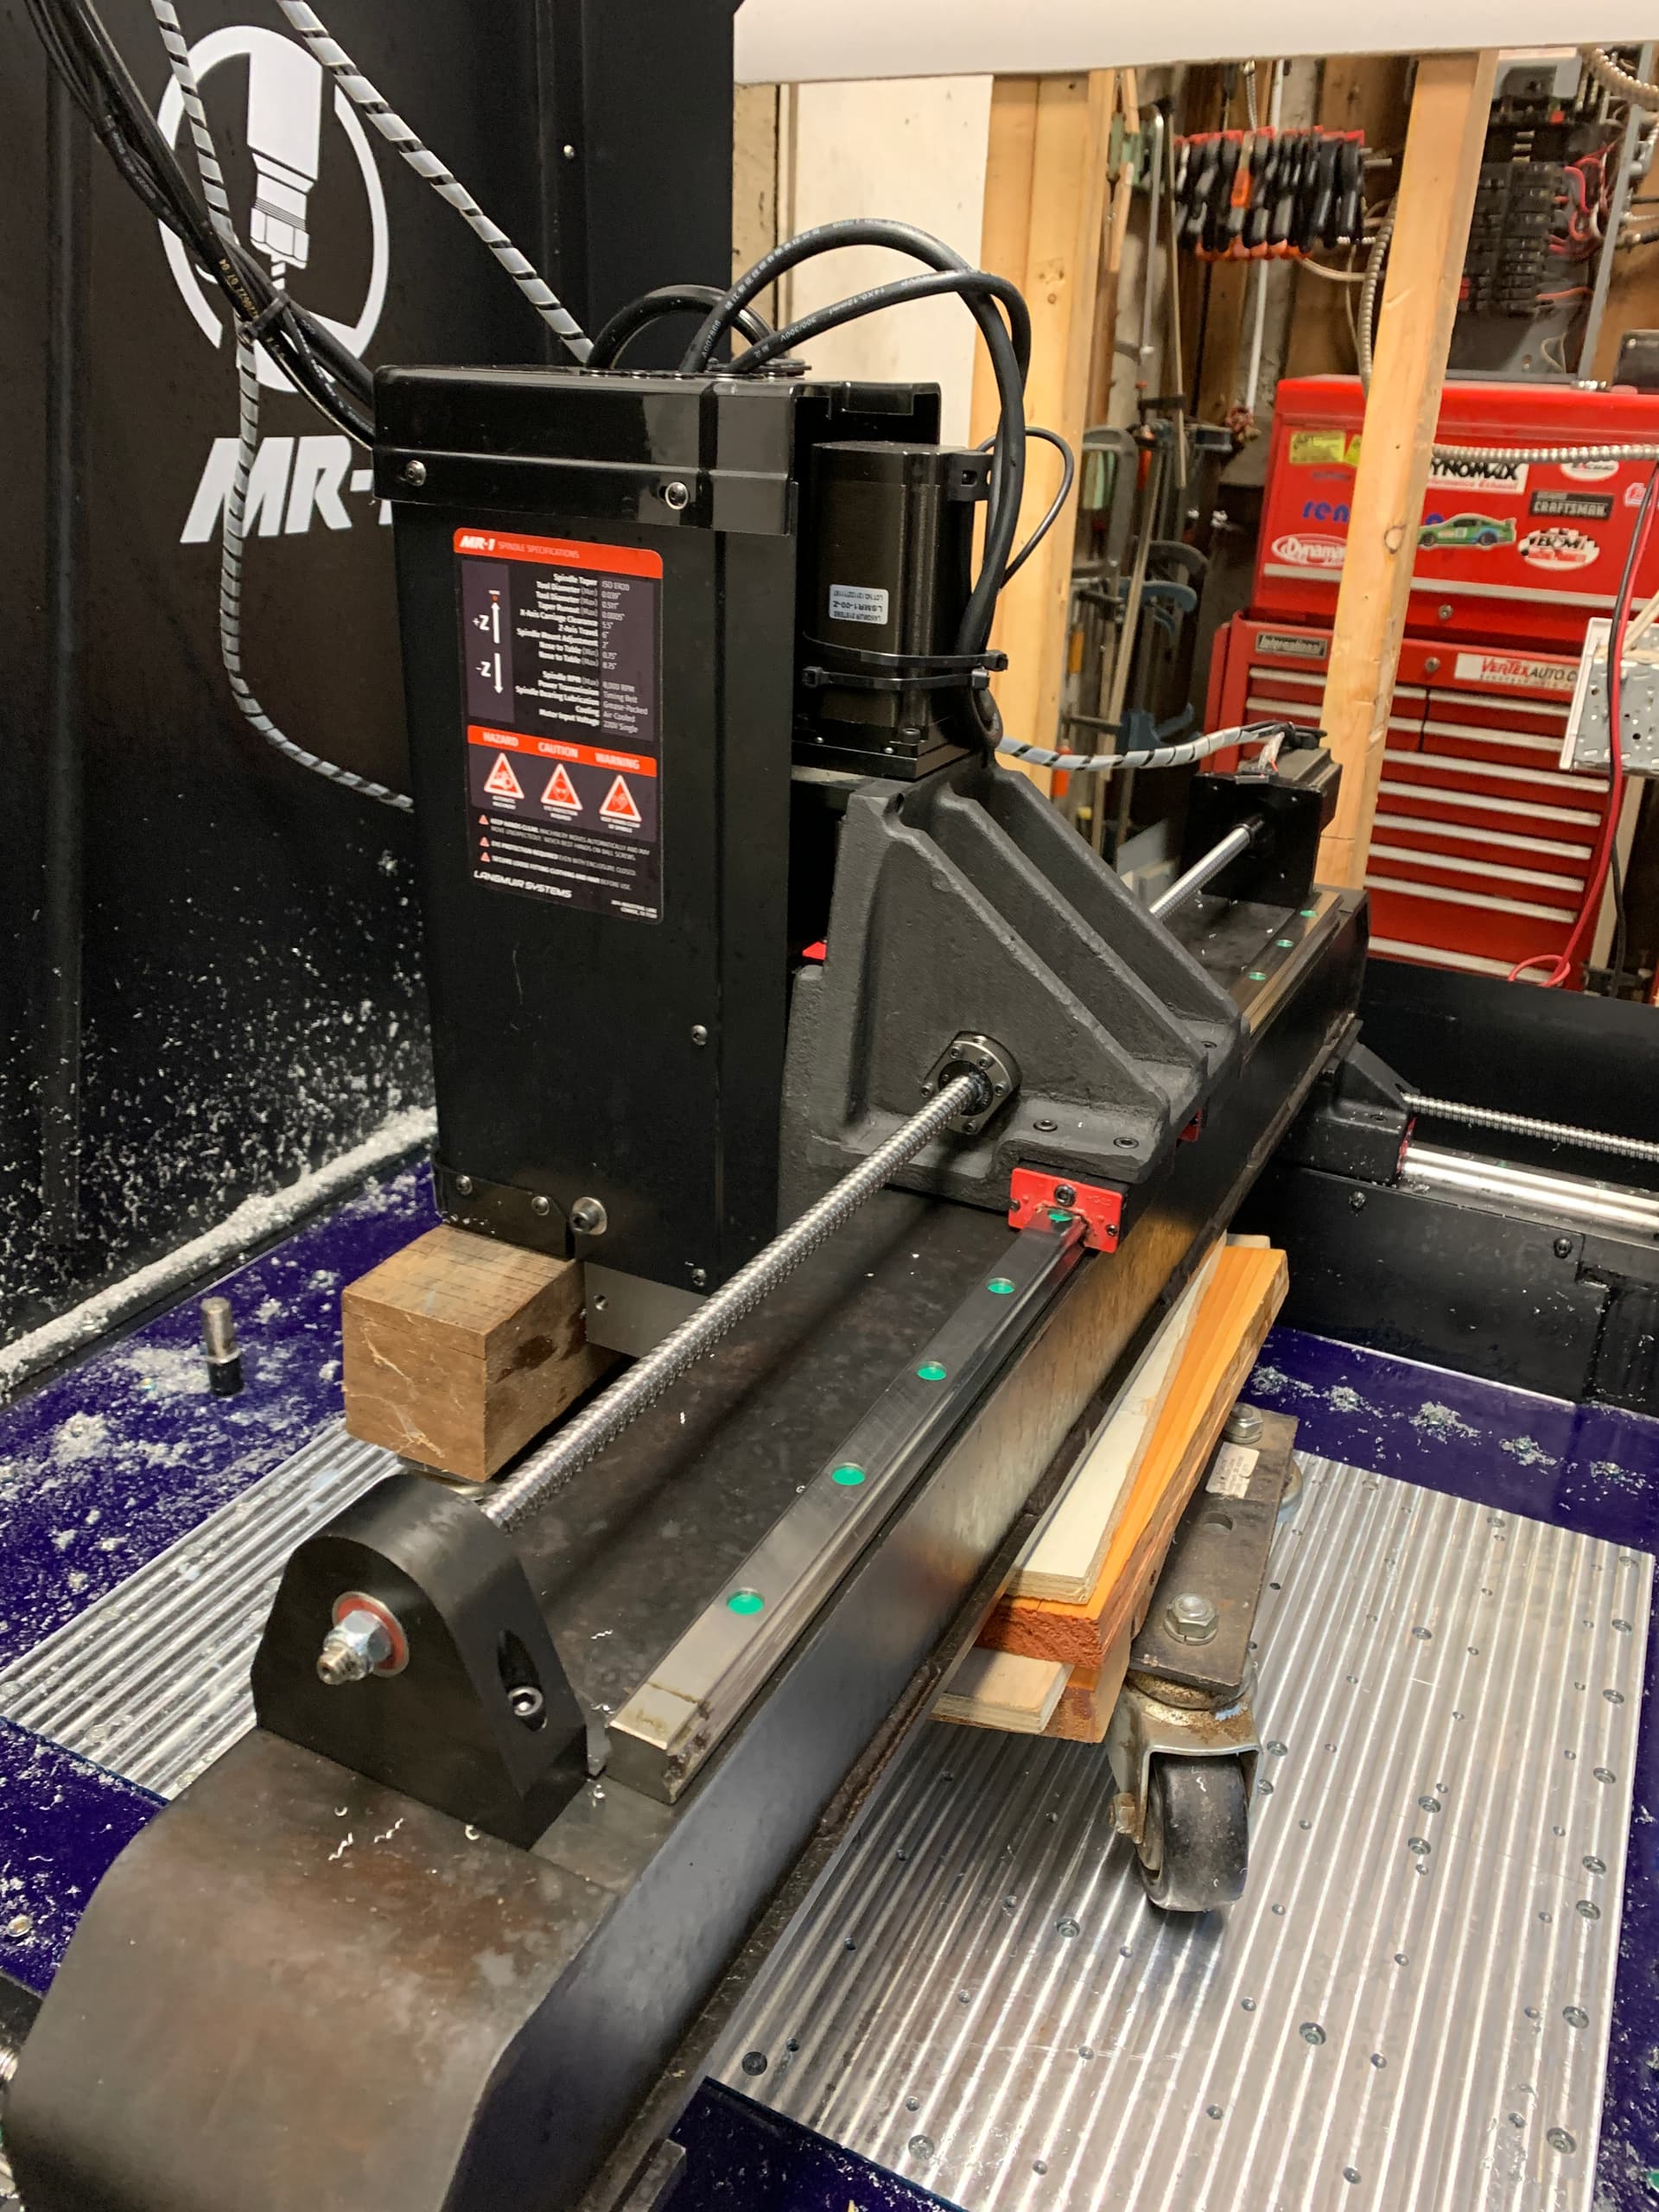
Here is the reach when the spindle is at the front of the X carriage, roughing pass done. The plate was quite flat, I did not have to take much off to get to this.
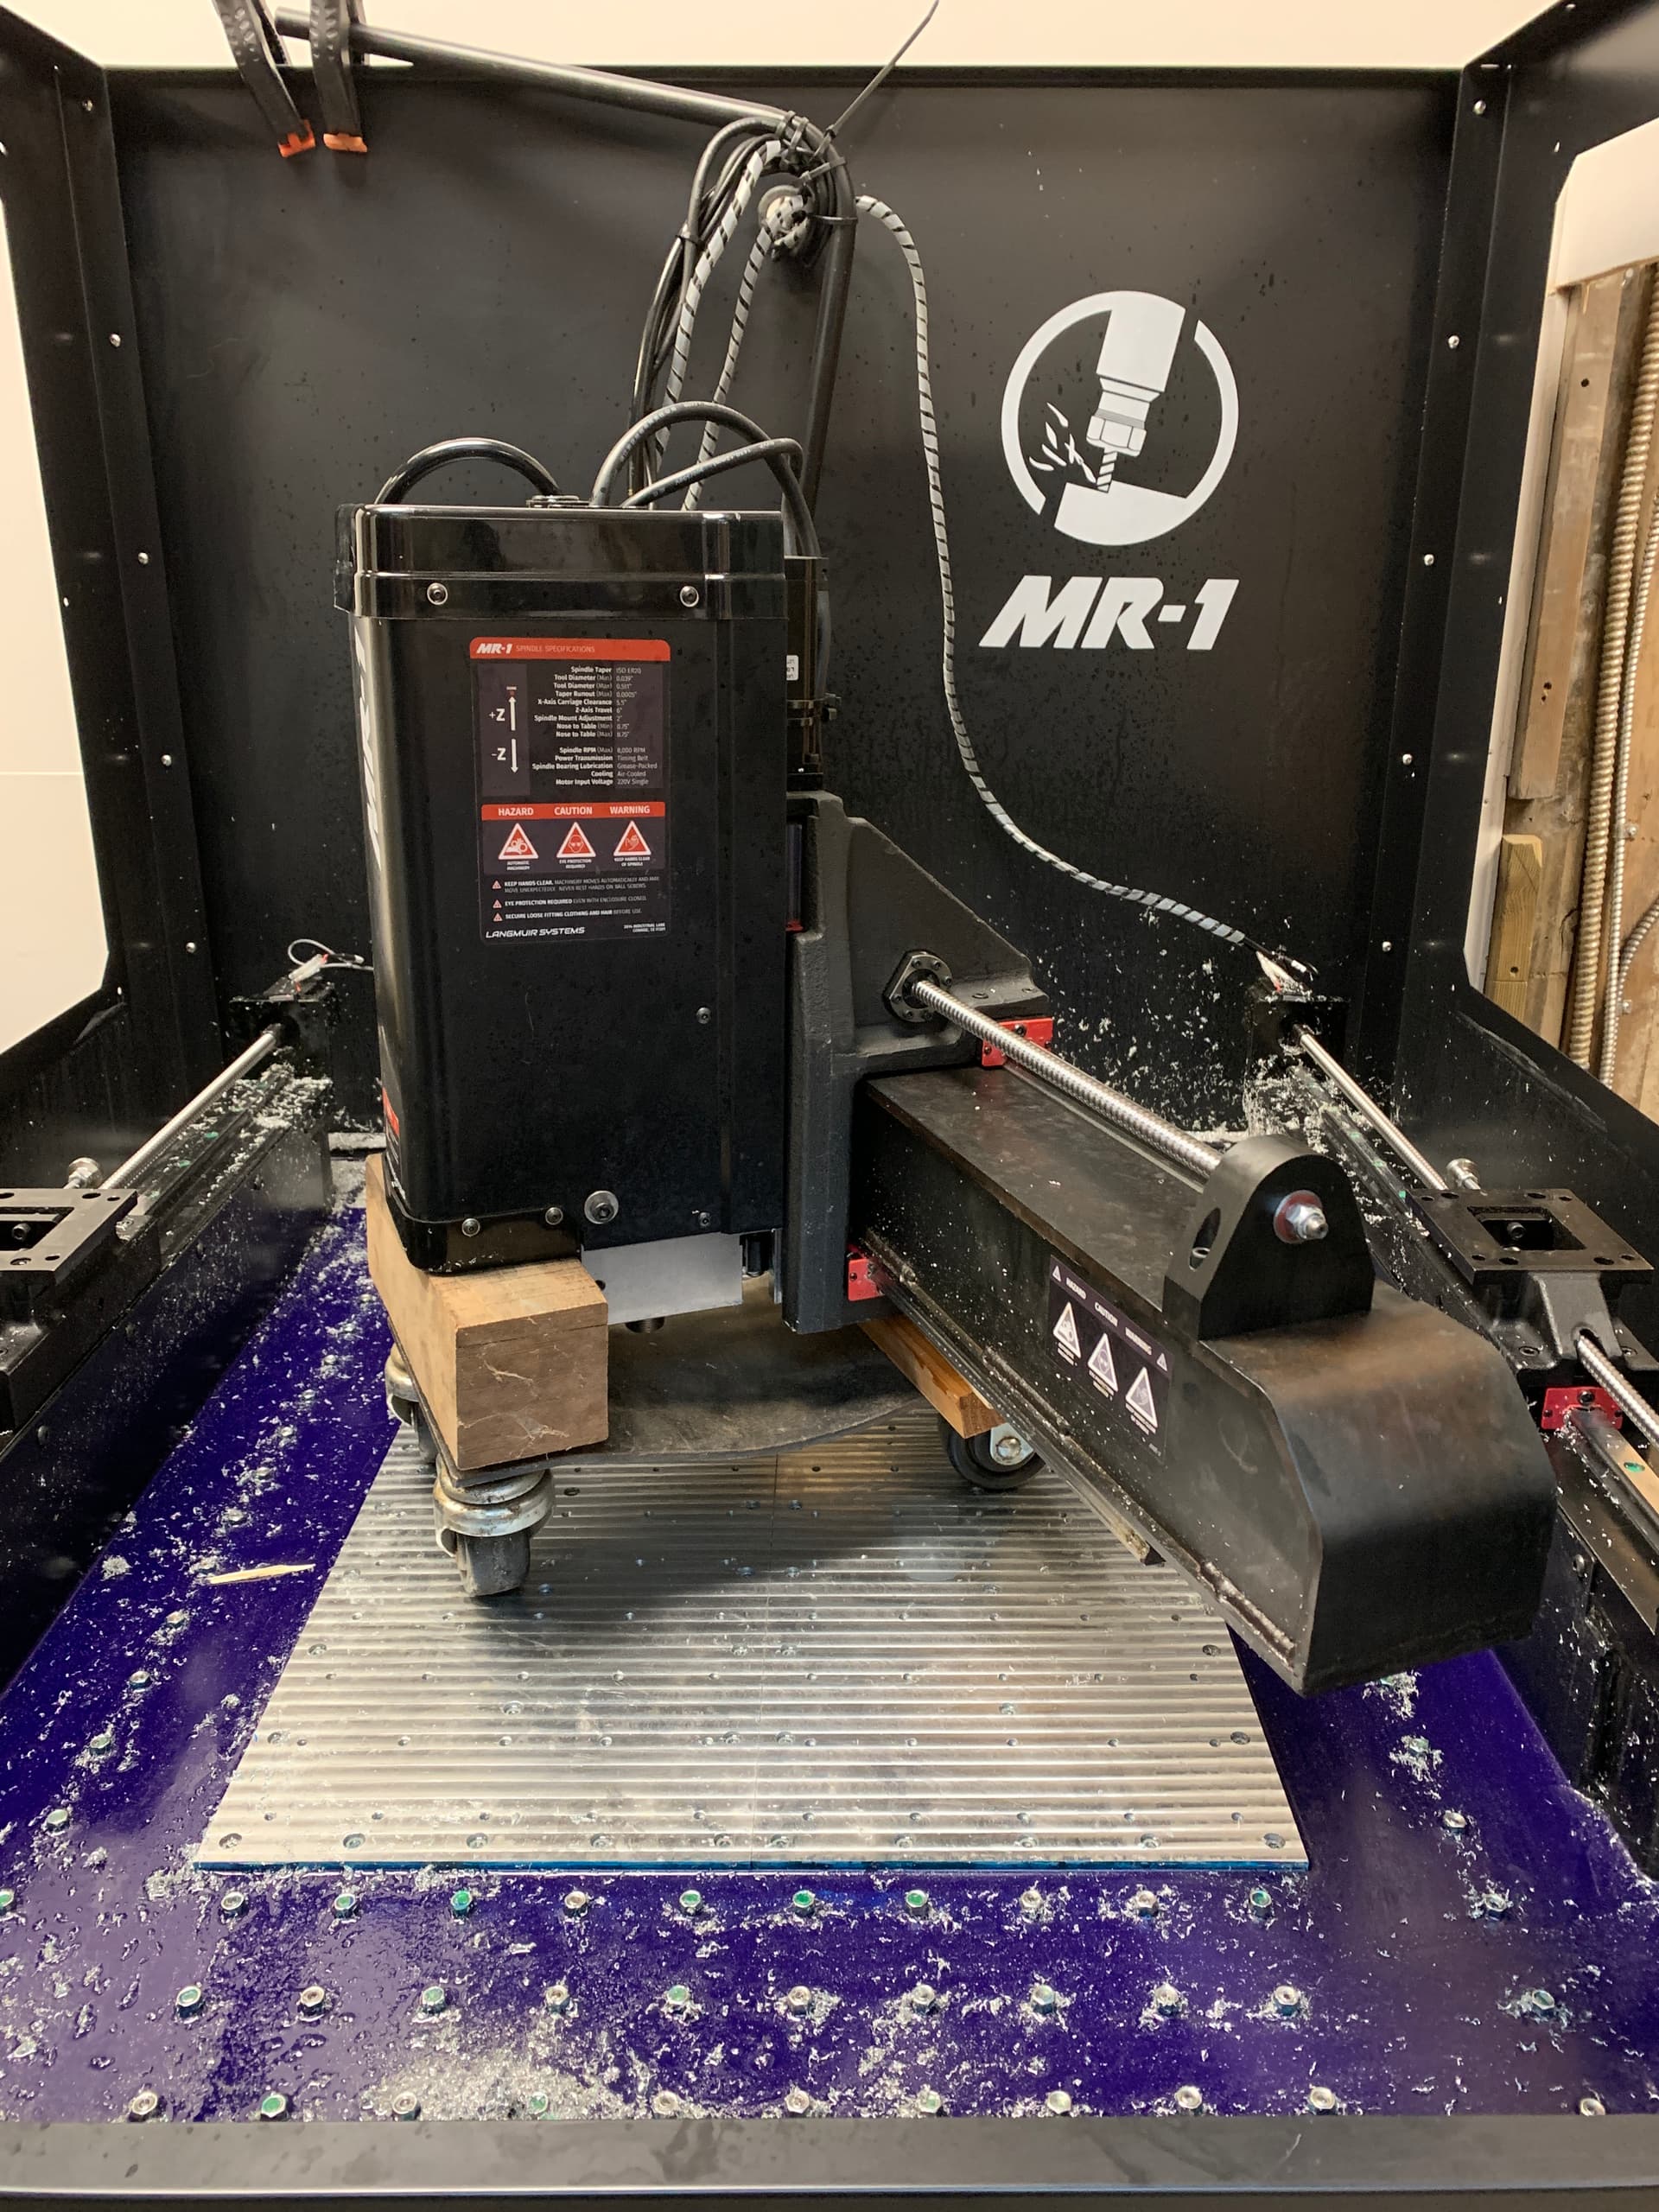
Once in place, I had to realign the x axis and check the nod of the head, which was fine. Since the X axis is now backwards, you have to be careful with the controls (since they are reversed), and the new start position for the baseplate program is to the right, not to the left. Here is the new home position.
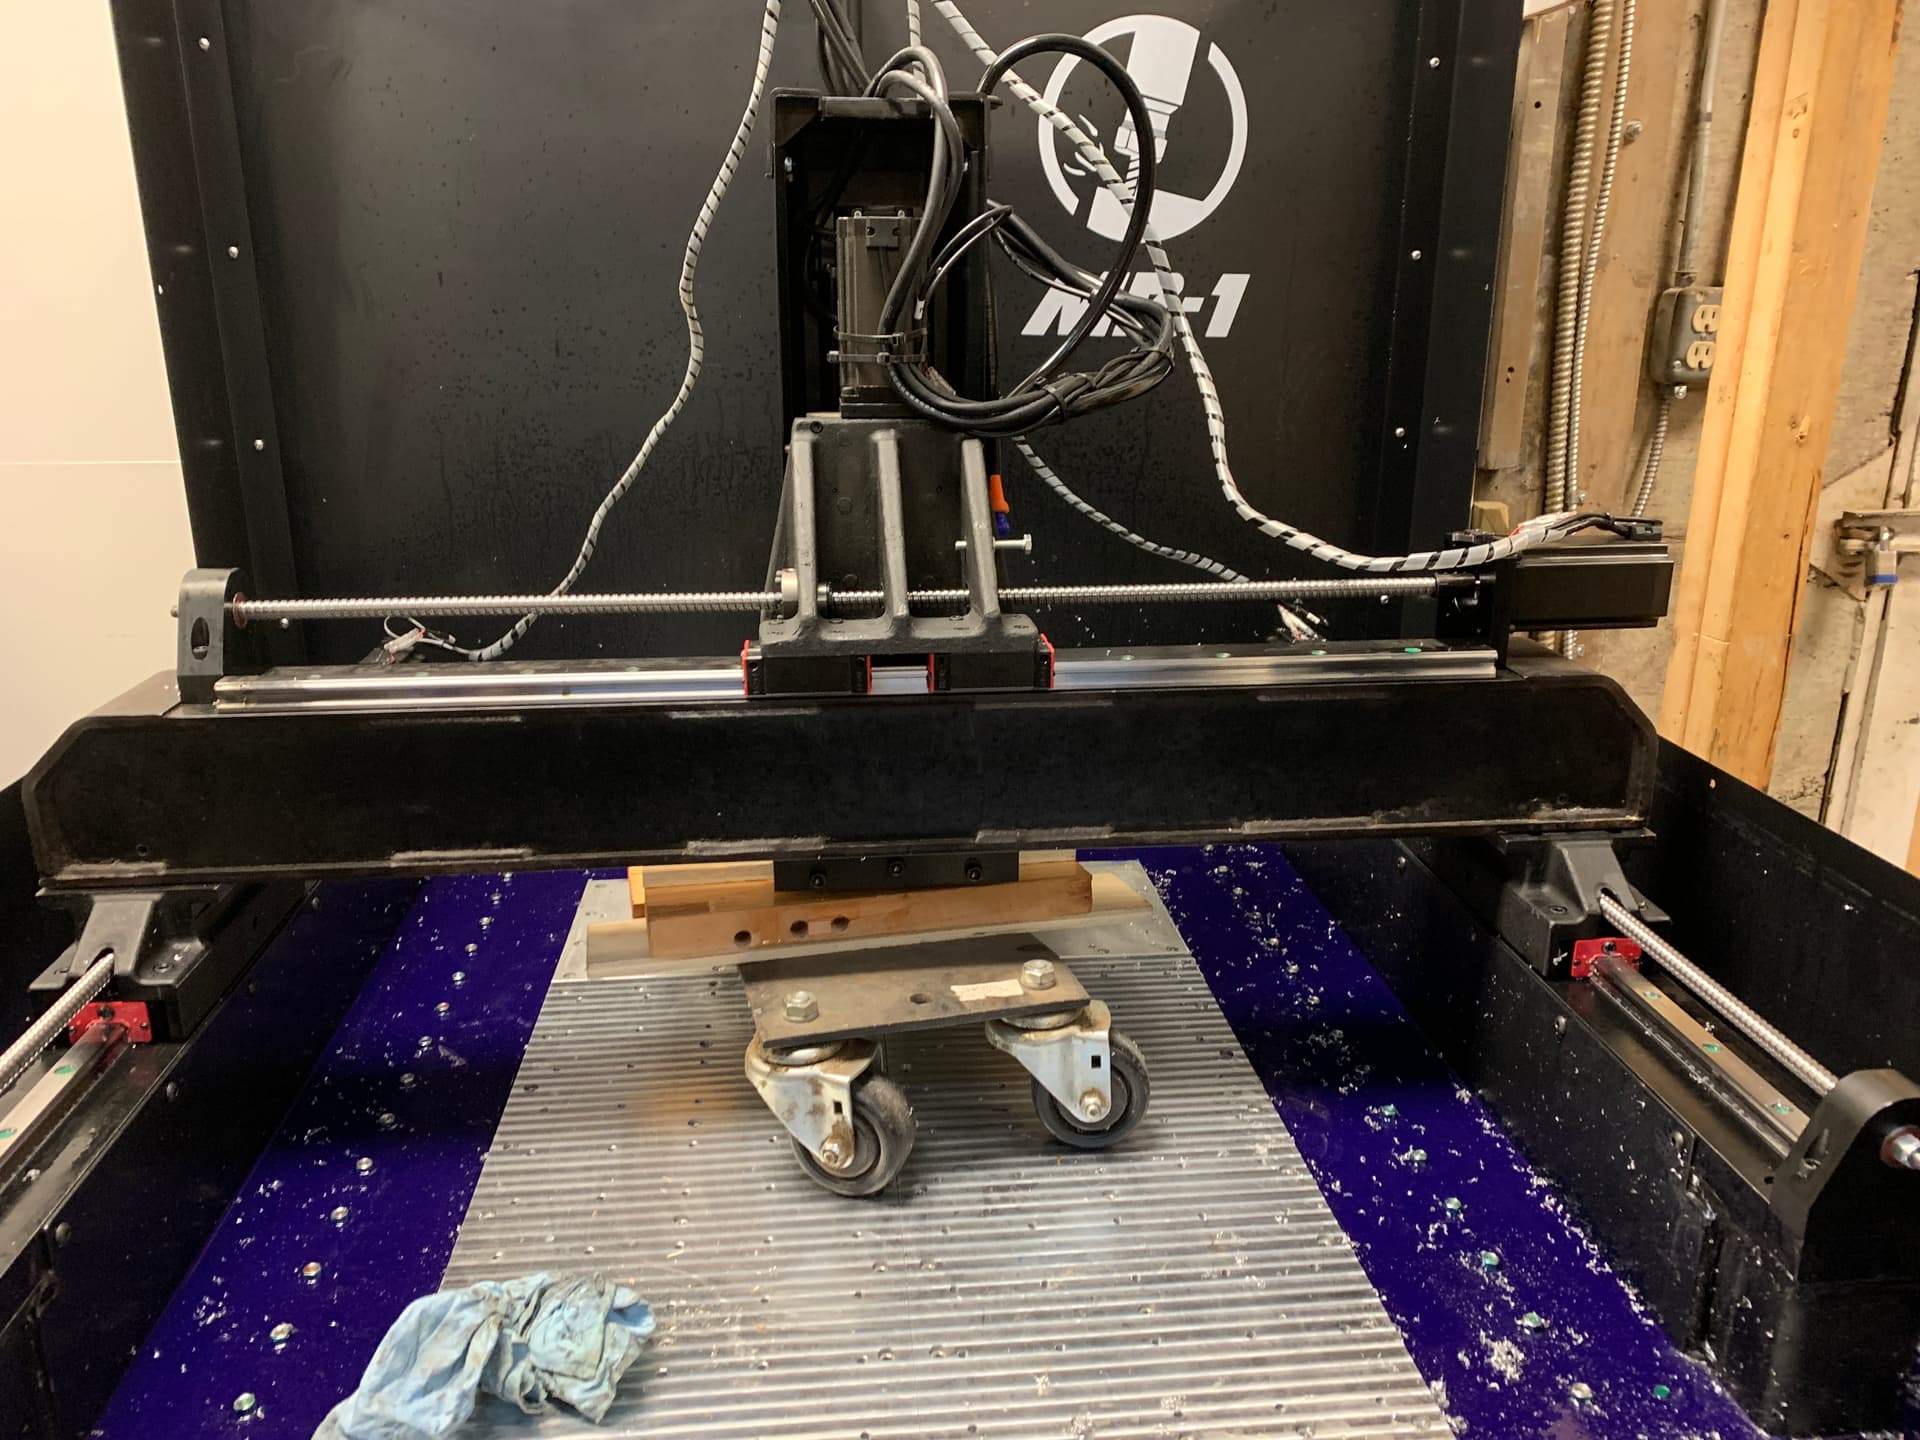
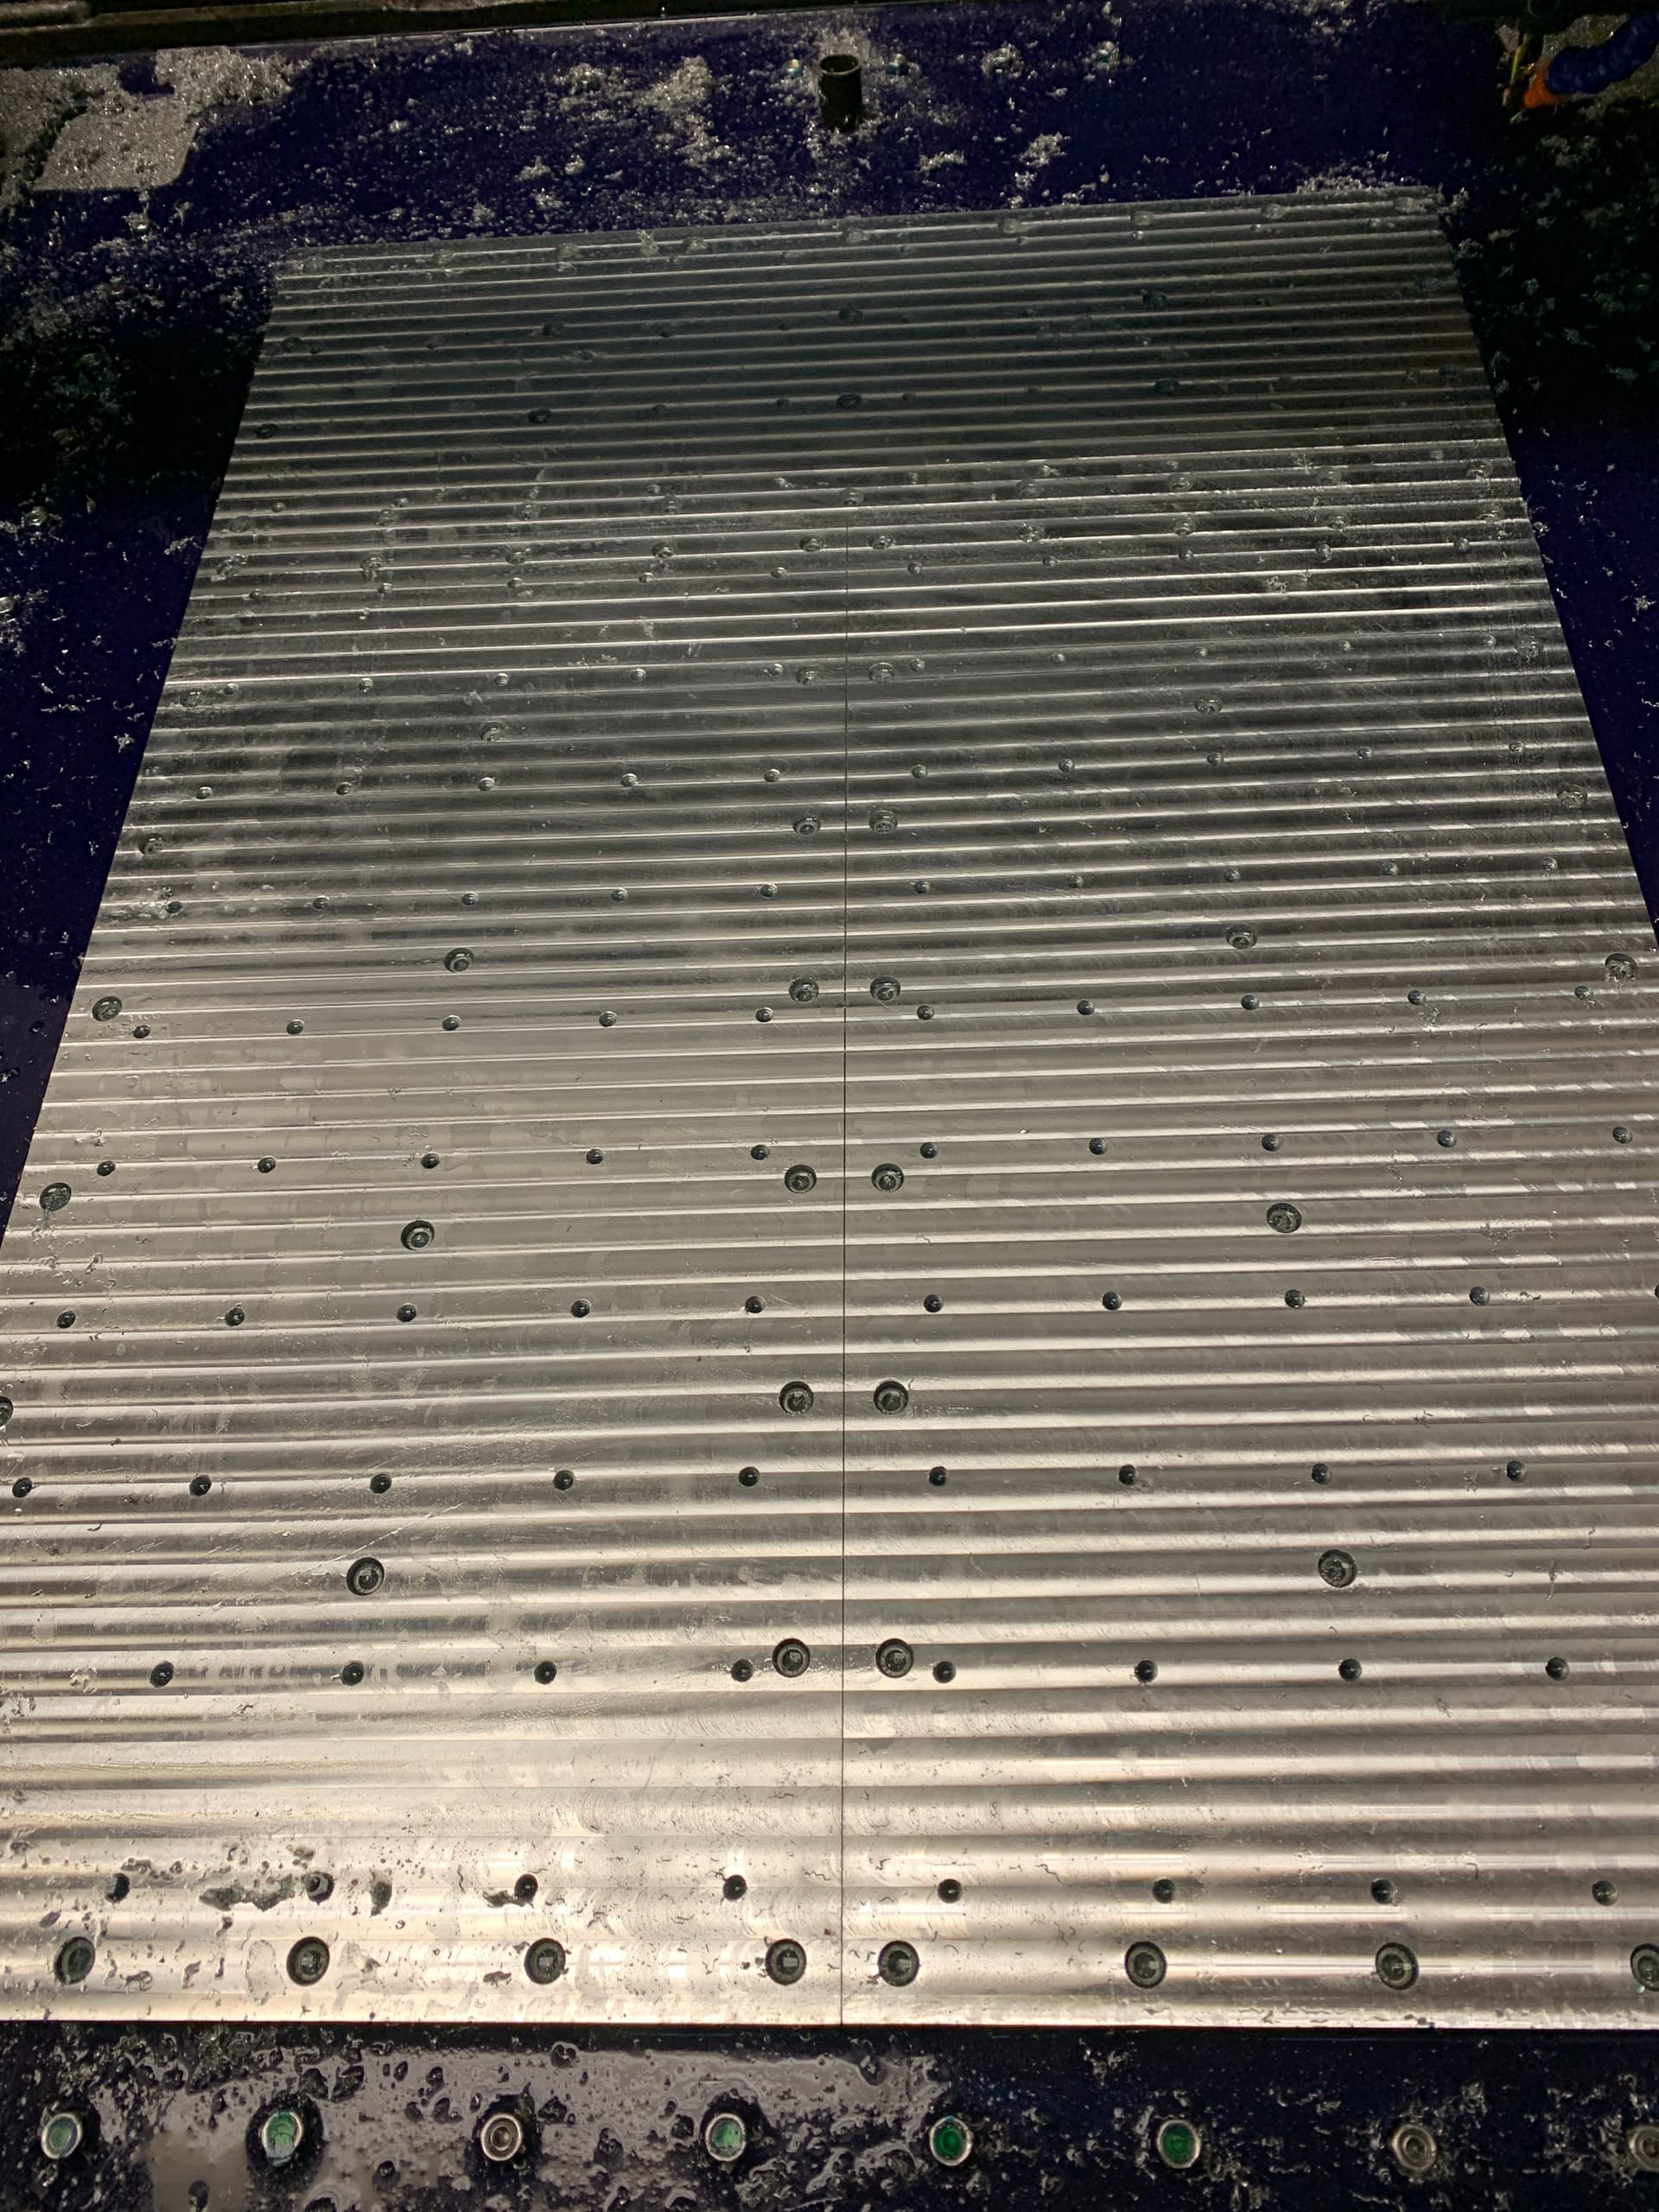
The cutting program works fine since the direction of the Y travel is the same. I then surfaced the rear of the extended plate, machining about 1" into the supplied plates. Two passes and a finishing pass.
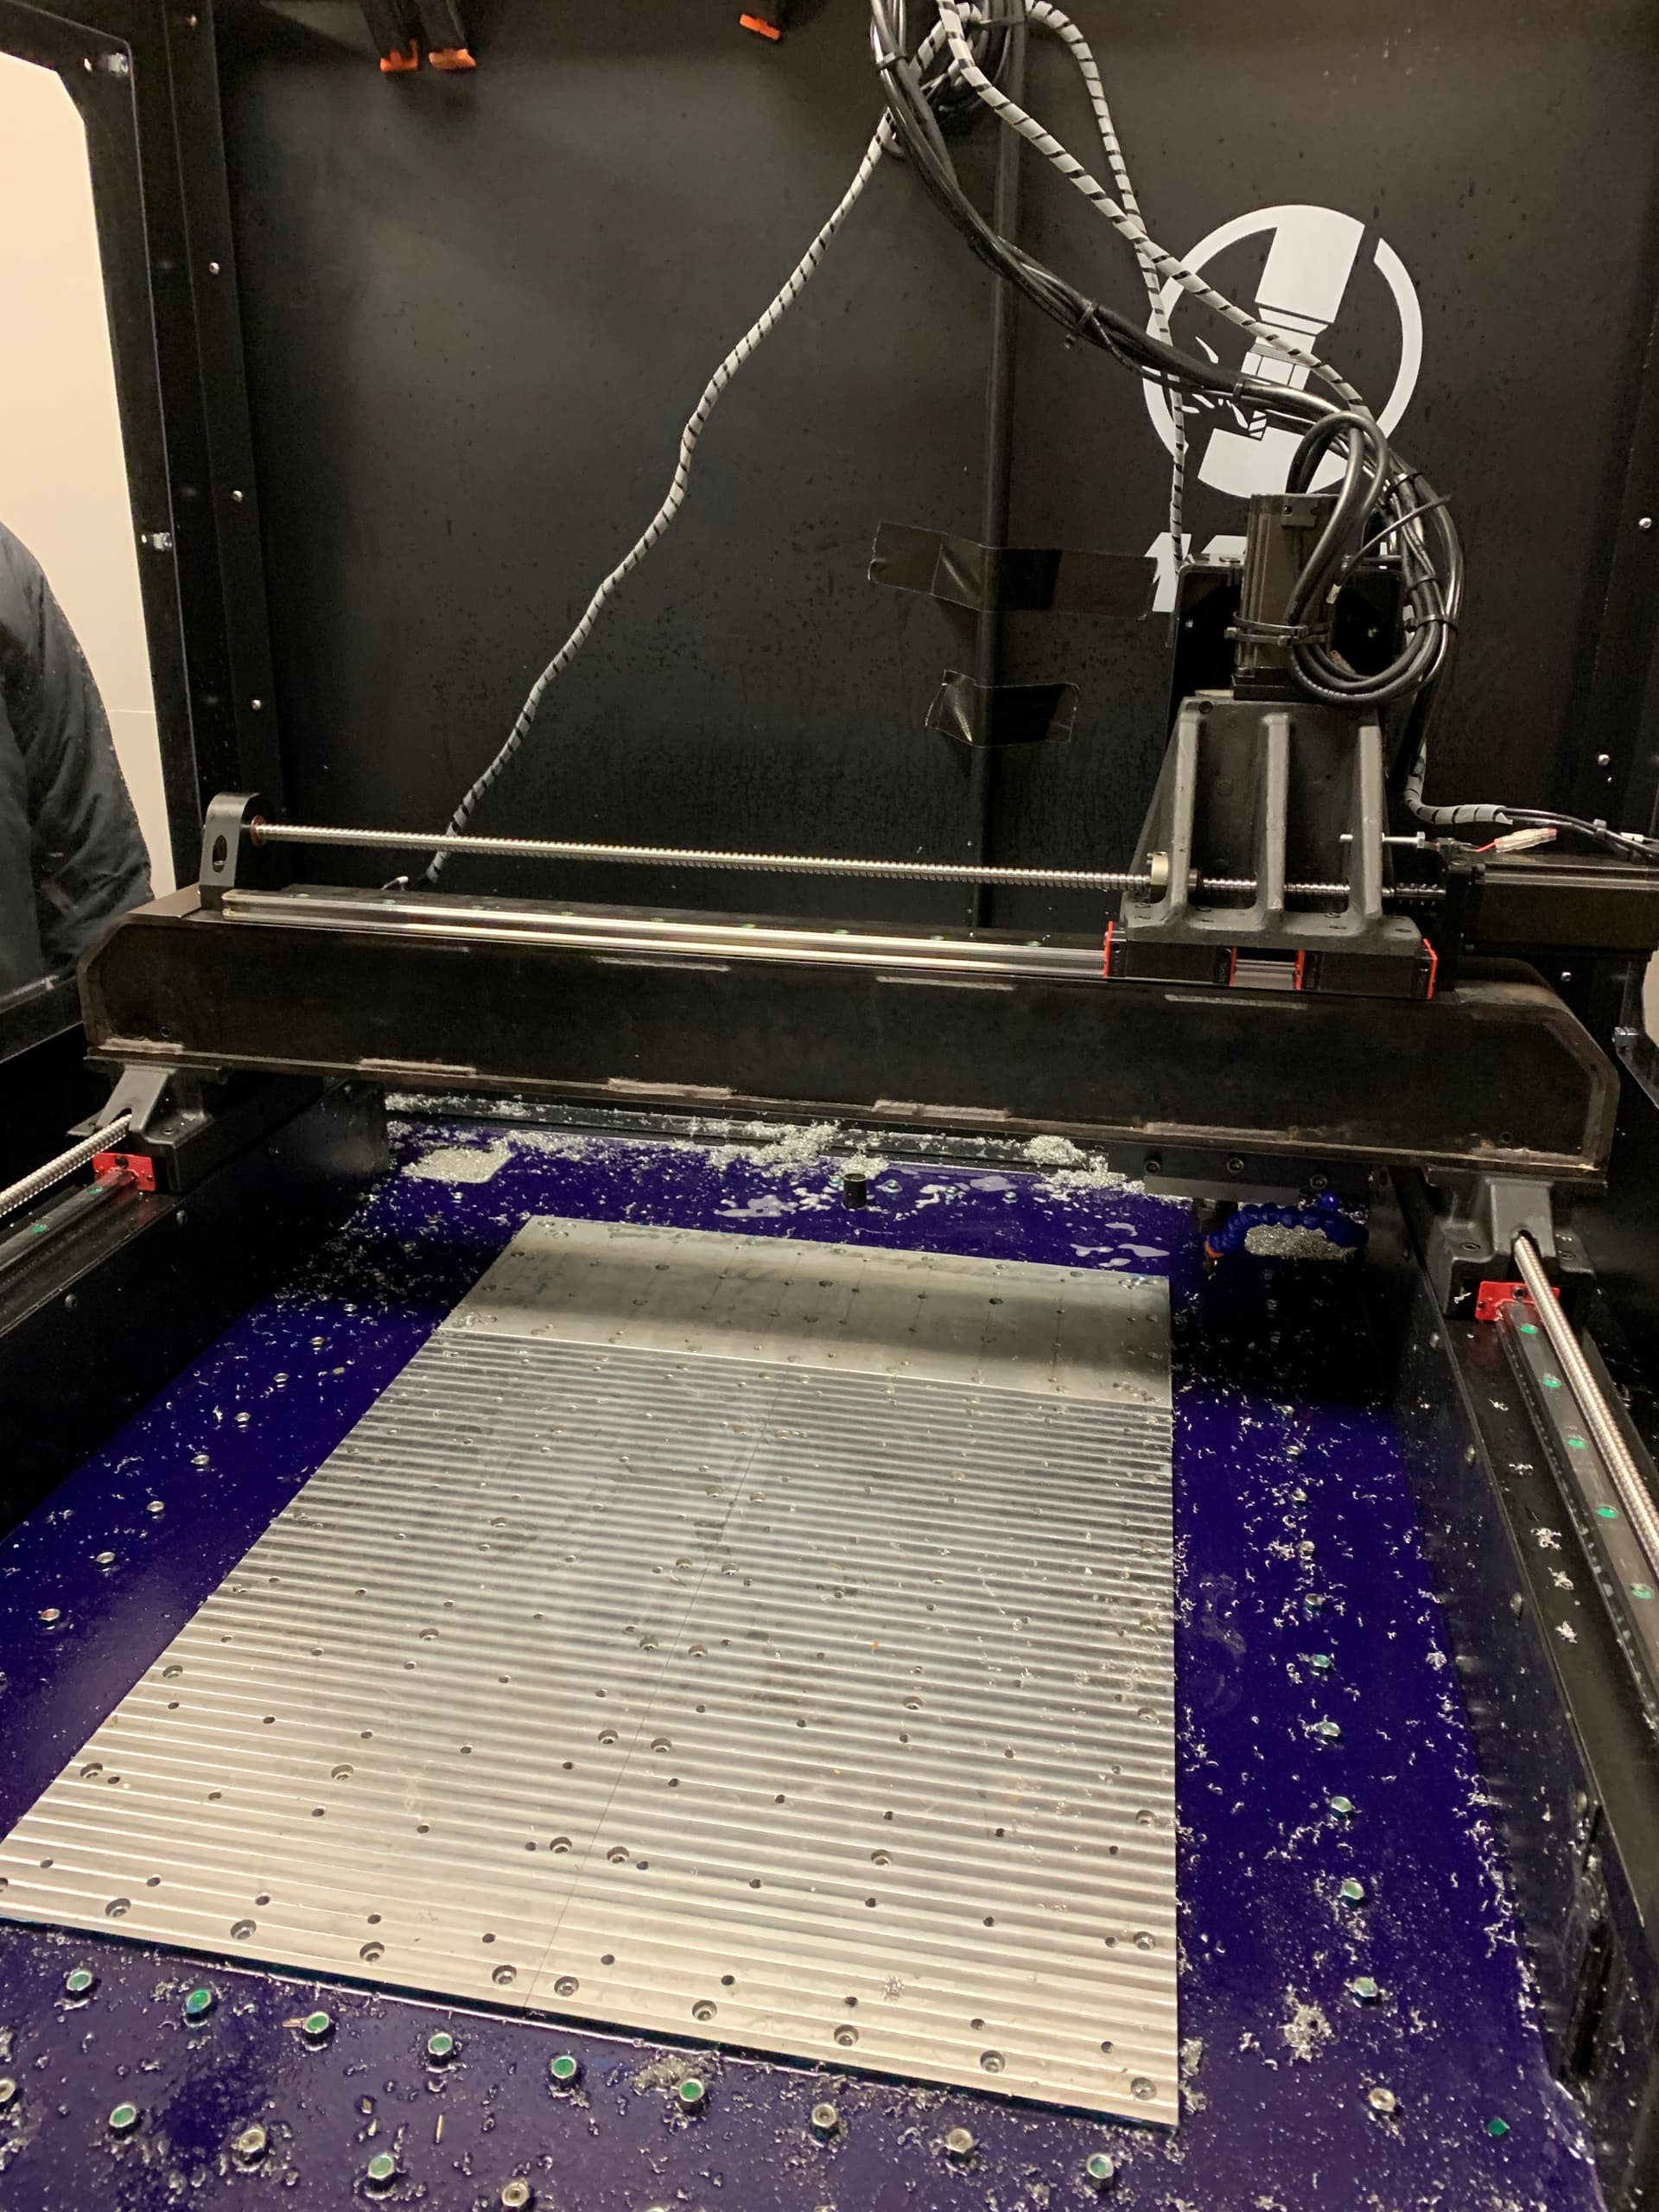
Ok, time to rotate the X axis back again and realign it all. Since I cut about 0.003 below on the rear surface, I have some meat left on the front to finish pass it to match the rear plate.
I am not sure if I would use these additional areas right now, but I thought it would be worth the extra effort - it was a lot of additional work but its now in place. The next step is to use an accurate straight edge and take down the tops of any of the external anchors to match the finished surface on the baseplate.
Looks awesome, the only suggestion I have is to make sure anyone who switches to stainless steel bolts should use some form of isolation barrier (paint/coating/plastic or rubber gasket) between the stainless bolts and the aluminum to avoid galvanic corrosion.
Good advice - I did the outside anchors in stainless because when used it will not be for long and otherwise they will be constantly getting wet from the coolant, and being stand alone in the concrete usually not in contact with aluminum. Great guidance for other areas though, thanks.
Same X direction width, another 8" to the back (Y direction). The only reason its 8" is becuase that is the size of a 3/4 6061 plate I found at the metal dealer. I could have gone wider - some others have just bought another base plate from Langmuir since its predrilled. I had to cut, drill and counterbore the extension. If you use the enclosure to support your cables and get rid of the cable holder, you could go almost to the rear of the cabinet, but I elected just to put some hold downs in the concrete if the piece gets that big.