Check torch to work surface for square.
1 Like
Torch is not square to the table surface, or the nozzle is blown out on one side. You can see in the picture that the bevel is reversed on the opposite side.
3 Likes
I think David has a good point or that photo is giving an optical illusion.
1 Like
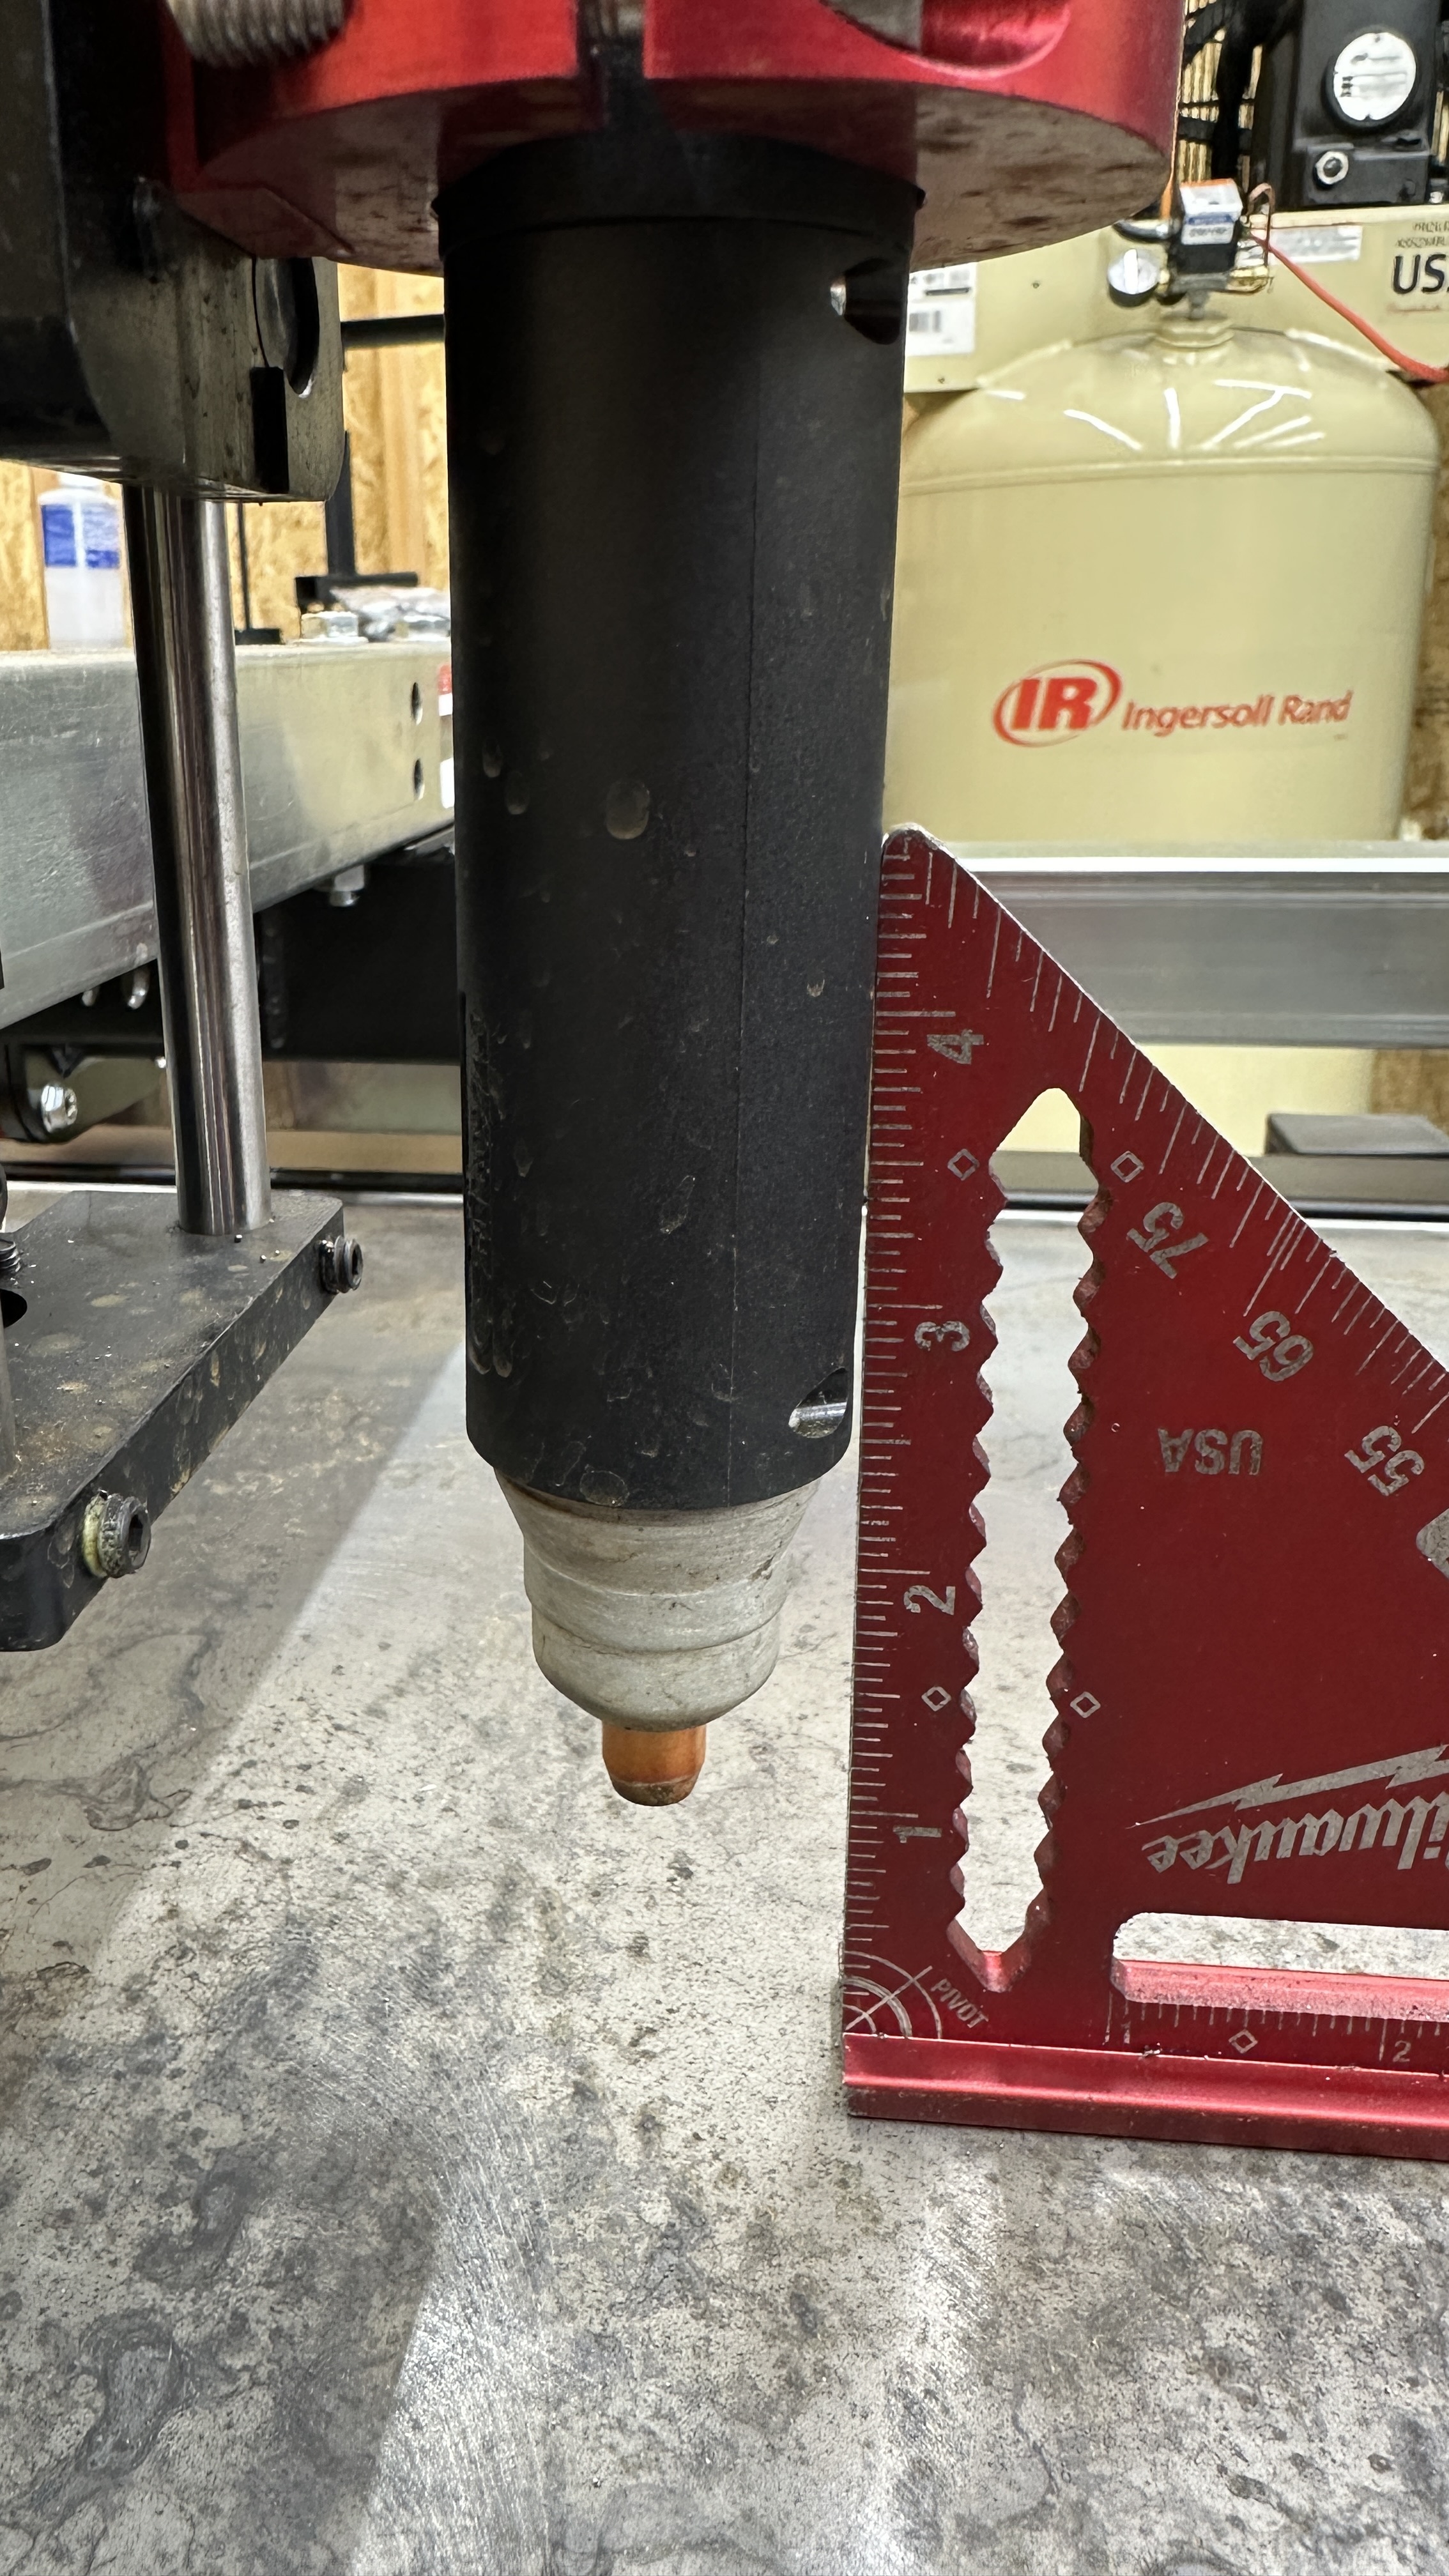
Ok, so I put a square on the torch and it does appear to not be square to the table surface:
I read this post, but I’m not clear on how to square the torch up.
Are there any other guides on how to square the torch up?
Here’s my current air setup:
• Maxline 3/4" tube
- Into a TAILONZ PNEUMATIC 0-240PSI 3/4 Inch regulator/filter/dessicant
- Steps down to 3/8" hose
- Into the Powerplasma 62i
Here’s the video:
I know folks recommend air dryers and elaborate copper arrays, but as stated, the wife won’t approve. I got could her on board to add another dessicant filter or two? Has anyone had luck stacking multiple dessicant filters to remove moisture? This post made it seem like it is possible to get dry error without breaking the bank.
Nice setup!!
How much air drying you need depends on your climate. What size is your desiccant filter?
Langmuir has video in the assembly of table.
1 Like
Install a motor guard 60 filter just ahead of air inlet of plasma cutter. Do a search in forum and will find lots of info on this and more for clean/dry air. What you have now for filter set up isn’t sufficient to achieve dry/clean air. Over two years on my setup, no moisture problems.

2 Likes
Video of how to tram the Z axis. https://www.youtube.com/watch?v=xCbOJz-zfl8
3 Likes
One thing about LS instructions to tram the z axis I don’t understand is you square it to the slats. As soon as you start cutting places in the slats metal will not sit level.
the way I did my set up is I used a level to level my torch holder. When I put a plate on the slats I use a level to make sure it is level. This is the way our supplier for work does it. Some out our burnouts are 8.5 thick if they don’t get everything squared ( the torch and material) it doesn’t end well.
3 Likes
I think what Phillip said is correct.
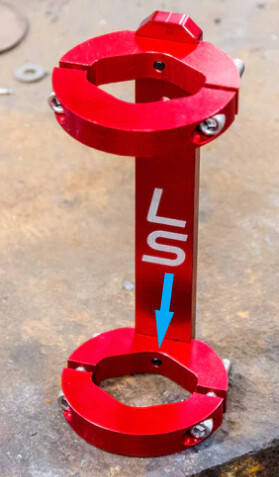
Since it is front to back, the way I might try is to take the lower torch mount ring loose and put a very thin shim between the mount ring and the upright stem part of the torch mount assembly. It will be trial and error and may not take much. You can get thin brass shim material at the hardware store (used to be able to…not sure now). You could even use heavy duty aluminum foil. When you tighten that screw down, I would put some blue Loctite on it.
If it is a little bit off in a left to right fashion as well, then you might need to shim inside that ring mount. Like I said: trial and error.
1 Like
Great idea for trial and error. My z axis mount has enough slack for the torch holder that I can also level it on the side as well.
Why would you shim it, when you can adjust the bearings on the carriage to fix the tilt?
You’re not going to adjust it for every plate that you put on the table.
I put a sheet of 1/4" plate on the table and tram the carriage to that. It’s never going to be perfect for every sheet, but it’s as good as you’re going to get without obsessing over it for every sheet that you put on the table
3 Likes
For moisture in the air, drain the tank every morning and evening: just a little spurt so as to allow all the collected water in the bottom of the tank to exit. It will help more than you can imagine. That is the only water/moisture control I had for the first 6 months. That is based on me never seeing any moisture caught in my water traps.
2 Likes
By all means: Try to adjust the bearings first. I have no first hand experience with that adjustment.
And, I also agree with David that I would not want to try and level every piece of metal I put on the table.
The idea of squaring the torch head to a piece of material will work for that piece. You level the head with a level. It only takes a few minutes to shim your material after it is on the table. I only do this for parts I want the best quantity edge on. Keep in mind this is plasma the bottom end of the cutting spectrum you will only get so good.
2 Likes
Alright, I was able to adjust the set screws (as shown in the video) to square the torch. I reran the same cut, but still have the bevel. So it seems like based on yalls feedback, that means it’s a moisture issue. The cuts also are pretty bad.
IPM: 45
PSI: 75
Amps: 55
Torch height: .05
Material: 1/4"
Tip: 1.1


looking at your setup, is it safe to save that the bigger the dessicant filter, the dryer the air? The dessicant filter I currently have is quite small.
I can’t find the size on the listing, it’s pretty small though compared to the photos of rat’s arrow pneumatics one. This is the listing.
Yes, I had a filter setup similar to yours when I first set up my Pro table didn’t work worth a f%$k.