Hooked up a new PowerPlasma 62i today and am getting the dreaded “torch moving before cutting voltage sensed”. I’ve been reading on this forum for the past three hours and trying all the fixes (one at a time, but still no luck). Here are the details - I’m cutting 1/4" plate:
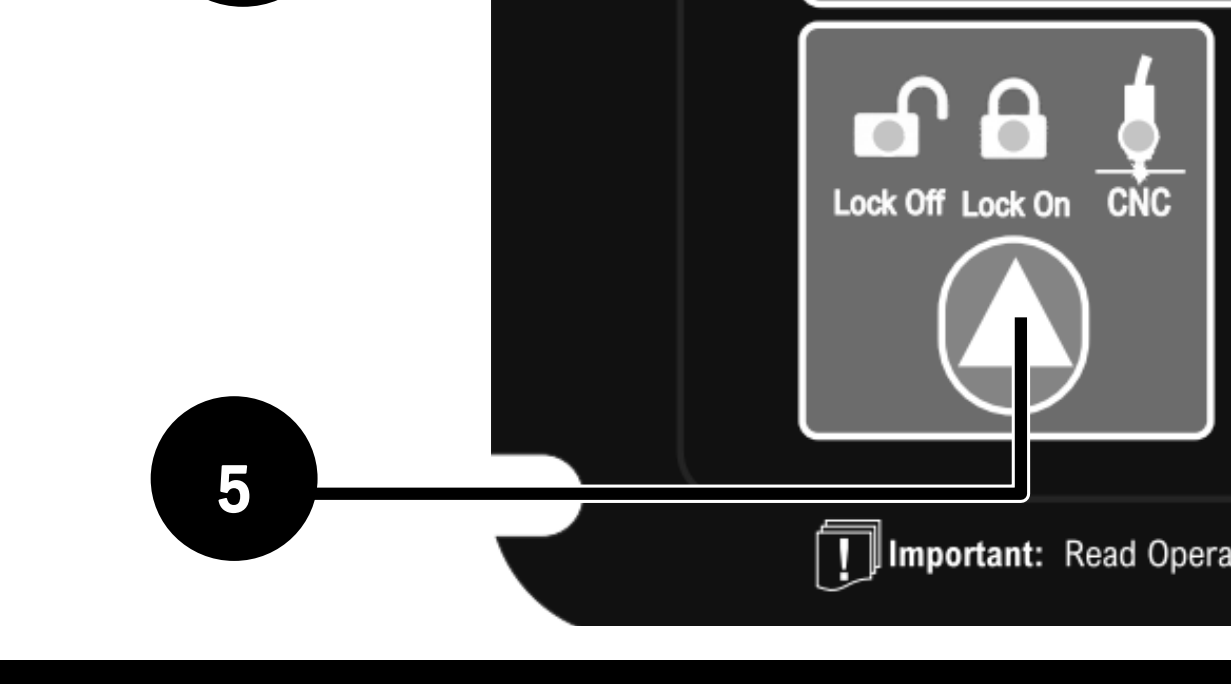
THC is hard-wired to the lugs and running THC test was successful and gave me voltage reads in the normal range. Torch on/off are soldered to pins 1 and 2 on the back.
The issue happens whether THC is enabled or not. It cuts the first part and then when it goes to cut the next step it fails.
Consumables are brand new (these are the first cuts) and are the ones that came with the PTM60 torch from everlast. Air is dry and have 120 psi coming to the plasma cutter and then use the regulator to set the proper range.
Ground clamp is attached to work piece. Laptop is not plugged into power adapter.
I’ve followed the instructions and tried increasing and decreasing pierce delay. Each time I reset the cut it does the next step and fails. Also tried with 14 gauge and the same issue occurred.
Holy guacamole that was it!!! I’m shocked and not shocked that I spent hours and hours triaging and just had to push a button. Thank you thank you! Here’s a video of the successful cut (if anyone is curious): https://cdn.zappy.app/a38178fb48b27f40f4394d5263cd2f75.MOV
I do now have to work through some dross/bevel issues (photos below), but I’m sure the answer exists in these forums.
ok thanks, i will reduce that first, and if that doesn’t do it, I’ll change out the consumables (mentioned here: Another bevel posting [mostly SOLVED]). Even though they’re only a day old, I probably damaged them doing all the tinkering last night
I am not saying Jim is wrong… but before you drop it verify what your actual cut height vs programed cut height. Here is a file from @Phillipw you can use to verify your cut height.
thats a ton of pierces! very impressive. Right now I’m only running a dessicant filter. Planning to purchase the harbor freight air dryer, but right now the wife (aka CFO) won’t approve the purchase until I actually make something off said table. But getting dryer air is my next priority!
I totally concur with Erik. I was going to say “Don’t just guess at the height. Run that test file he posted.”
I couldn’t reply earlier because my other ‘boss’, the one with four legs, insisted she be taken for a walk. And by ‘walk’ I mean a hurried pace interrupted by frequent stops to read the messages along the path. Not very relaxing for me…but that does not seem to concern her.
I tried to run that program, but not really sure what the outcome should be? do I run it and then put my feeler gauges under it? When I did that the gauges measured the height at .062
That confirms that your height is not the problem. Replace the consumables, my guess it is more likely the nozzle but replace at least nozzle and electrode. If that clears it up, just for giggles, put the old electrode back in and see if things are good. Saving old electrodes that are somewhat good when you get a gnarly assignment like cutting out a bunch of holes without much lead-ins. It is going to destroy the electrode as quick as moist air.
Lets say the new consumables don’t help, make sure to look at all the consumables and be critical of any chips or cracks on the swirl ring. Send photos of the parts so people can confirm or weigh in on ideas.
WHAT!!! You measured with that??? Your Irwin combination square? You are kidding me right?
the biggest mistake I find people make is that they do not cool the air down before going in the refrigerated dryer…
to hot of air going through the dryer makes it less efficient.
This system is based off one I had at the Hospital I managed for years. we had to make and supply dry medical grade air for the equipment and OR’s.
the dryer they had was a “little” more powerful than mine…but the cooling of air going into the “wet” tank…then going through the dryer to the “dry” tank.
the biggest restriction I have is the air going through the dryer…so by having the dry tank I have no volume issues at all.
Did you use it to measure the gap between the torch and the metal? That is what I was making a big deal about. You are going to want something like feeler gauge or at least a piece of 16 gauge metal to verify the 0.06 inches.
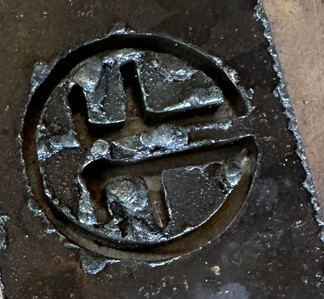
oh haha, no, I used a set of feeler gauges to confirm the torch height off the metal. The combo square photo was to show the amount of bevel on my cuts.