The following link is a video I created today showing the use of a dimple die I turned on my lathe plus a mod to the brass drains that come with the pro. Of note is my offer in the video to send this dimple die to anyone on the forum that would like to use them. Not asking for money for the dies except shipping cost. I have no need for these now that the table has been modified so I’ll gladly pass them on to anyone that would like them with the hope that they would continue the pass to the next interested member.
Dan, I think this is a great idea… If you think this would do the trick on the OG Crossfire table and drain, I’d love to get on the list… I’m located in Sussex, WI…
I’m a newbie to these tables…don’t even have all my parts yet to start my build but I would think the drains are the same on all the tables and the pro isn’t unique. To be sure just measure the diameter of the hole in the table. If at least 1” diameter then the dimple die will work.
I’m also pretty new to this forum…started reviewing it when I ordered the table. I’m not sure how to pass things like emails, addresses, etc. maybe you can tell me the process so I can figure out how to send it to you. I’d find the cheapest shipping option and you could PayPal me or something.
Sent you a message here on the forums directly Dan… Thanks!!
Nice work Dan I can appreciate the work it took to make that die especially if you did it on a manual lathe. I have a couple old restored southbend lathes in my shop and they have been a life saver more times then I can count to make basically just stupid one off parts or hard to find parts and cutting threads is the biggest thing I use it for.
Maybe you’re better on a lathe then I am and you probably are but I’d have some time invested making that.
The training I got about machinist work was from a retiring machinist that I bought a bunch of equipment from 17 years ago when I finished school and even though he gave me a lot of info not a whole lot sank in because it was just so much info but the one thing I did remember was when I was leaving he said just don’t be scared of it I’ve been doing this 50 years and I still break tooling just watch your fingers as he takes off his glove and he’s missing two fingers and he just starts laughing and walks back into his shop.
1 Like
Yep manual lathe (Chinese Birmingham 12x36) but do have advantage of a DRO! Used Fusion 360 to draw it up and get all the measurements, just had to make sure I did it in the order necessary!
Started hobby machining few years before retiring as engineer in an Air Force weapons lab…knew bomb making expertise wouldn’t be a good post retirement hobby!!! Had always been fascinated by guys that could turn a hunk of metal into a usable item. I’m still way low on the learning curve and YouTube has helped me immensely. Have a small metal fab, welding, light machine shop that keeps me busy. Have had enough folks wanting things that are perfect for CNC plasma table so that’s how I got on this forum.
2 Likes
Nice job Dan and thank you for the generous offer of sharing with the Crossfire community. I’m getting ready to assemble my Pro table and would love to borrow the dies, I guess I’ll shoot you a PM to get on the list…
I’m in the process of restoring a 1944 South Bend 9C lathe and hope to get to become proficient enough to be able to fabricate something like this.
thx Chris, die is on its way to Bill P. (KX9M) Hopefully he will read this thread and after he is done ship to you.
South Bend is a quality lathe…Youtube was my lathe instructor!! 
Dan, nice work on the die. I don’t have my table yet (march hopefully) but I do like projects. I have a hobby machine shop as well (12x36 classing lathe from the local high school 1953) and would love to make the die myself. Any chance you can send me the fusion 360 file? I have just started learning that program in anticipation of getting my crossfire pro.
thanks,
Joe
Hey Joe, I’d gladly send you the file…will do it later tonight. 1953 was a good year (year I was born!  ). Clausing Lathes are excellent…wish I had a bit bigger machine that was more rigid but taking lighter cuts I get by!
I’ll also send you the order I used in the turning. Not sure it is best but it worked.
I’ve got most of my table parts but still waiting on the frame and rails…have yet to receive notice of shipping on them either but have had the other stuff for over a week! Hopefully this coming week I’ll get notification that it is being shipped.
Dan
Pro Drain Dimple Die v4.f3d.DXF (96.6 KB)
Here you go…remove the .DXF file extension and you should be able to open it in Fusion. Couple of things. Its my understanding that the gap between the punch and die should match the thickness of the material you are dimpling so that is why the .0395” gap. You will see that my sketch is way over-constrained because I wanted the coordinates to use on my Lathe DRO. Also the fillets were notional, in reality I just chamfered the pieces where I thought it made sense.
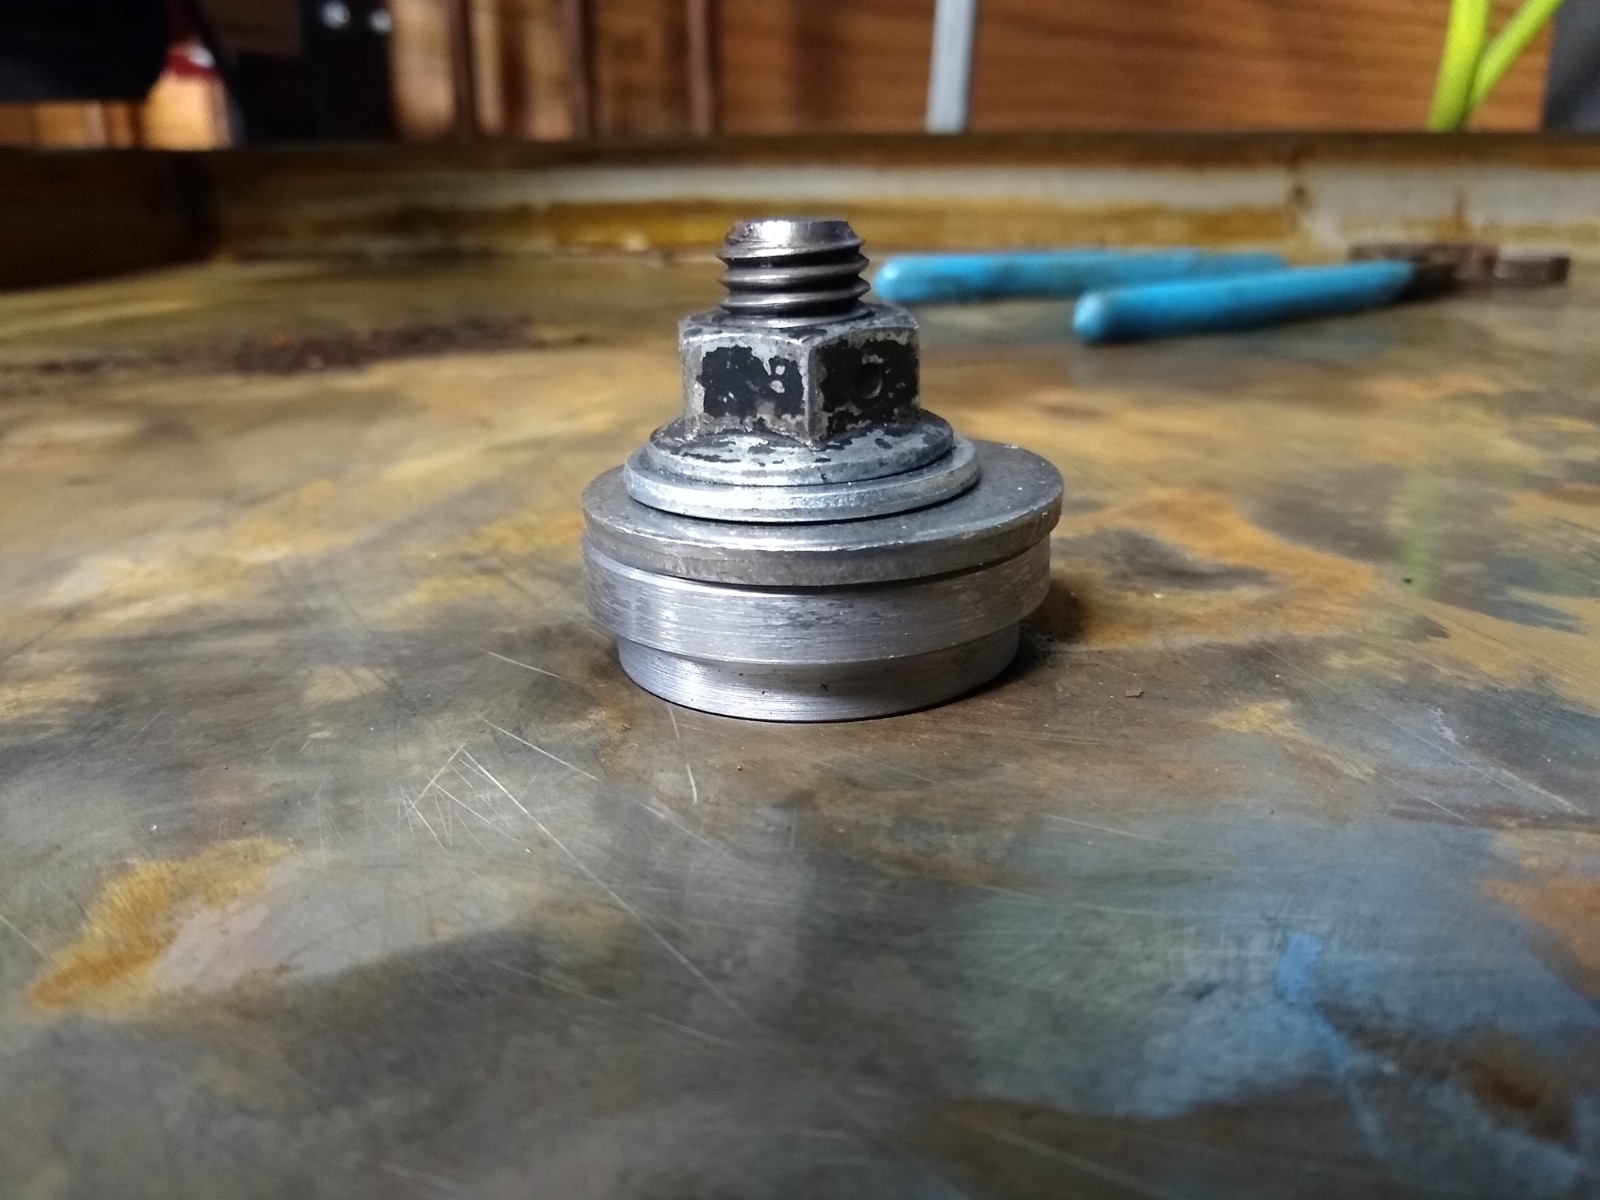
I started turning the punch side first and after turning OD to the 2" I began turning the nose where the punch fits into the hole in the table. I made it about 0.050" less in diameter and so when using the die set there is some slop…if I made another one I would make that nose a closer fit to the hole in the pan.
After the nose was turned I then turned the next shoulder all the way out to the 2" OD. Then setting the compound at 45 deg I turned the angle portion. The DRO allowed me to know where to stop the 45-degree and then cut the last shoulder. Then I turned the part around in the chuck and faced it to the desired thickness and finally drilled a 3/4" dia hole. Probably should have drilled a 5/8" cause that is the bolt i used! Chamfered part by eye!
on the die piece I first drilled the 3/4" hole through the length. then bored the innermost shoulder, then the next shoulder to the diameter in the sketch where the 45-deg started. Turned the compound rest 45-deg in the opposite direction since you are turning an inner angle. Turned the angle to the sketch dimension up the next shoulder. Chamfer part by eye.
hope this helps.
Dan
4 Likes
For those that don’t use Fusion here are the drawings for the dimple die set.
Pro Drain Dimple Die Drawing (Die) v1.pdf (142.6 KB)
Pro Drain Dimple Die Drawing (Punch) v1.pdf (134.4 KB)
3 Likes
awesome, thank you so much. If I am able to get this made and it turns out ok I will send it to others who need it once I am done. Might as well pass it on like you are.
thanks again.
Joe
1 Like
That is great work and appears to solve an ongoing issue. Wouldn’t it be nice if Langmuir saw this and dimple them before being shipped? Seems like not too much to ask.
Thanks Dan, nice of you to make it available. Also like the idea of passing the one use die along to the next. Certainly the member of the community could pass/sell it to the next for what they paid so it helps everyone and nobody gets taken advantage of. Wondering if a forum thread needs to be started to follow what/when is available…
So, the die arrived this afternoon and I’m done! 10 Minute job!!! Thanks so much…
I will be contacting next in line and sending it off tomorrow…
Here’s a few pics…
Before:
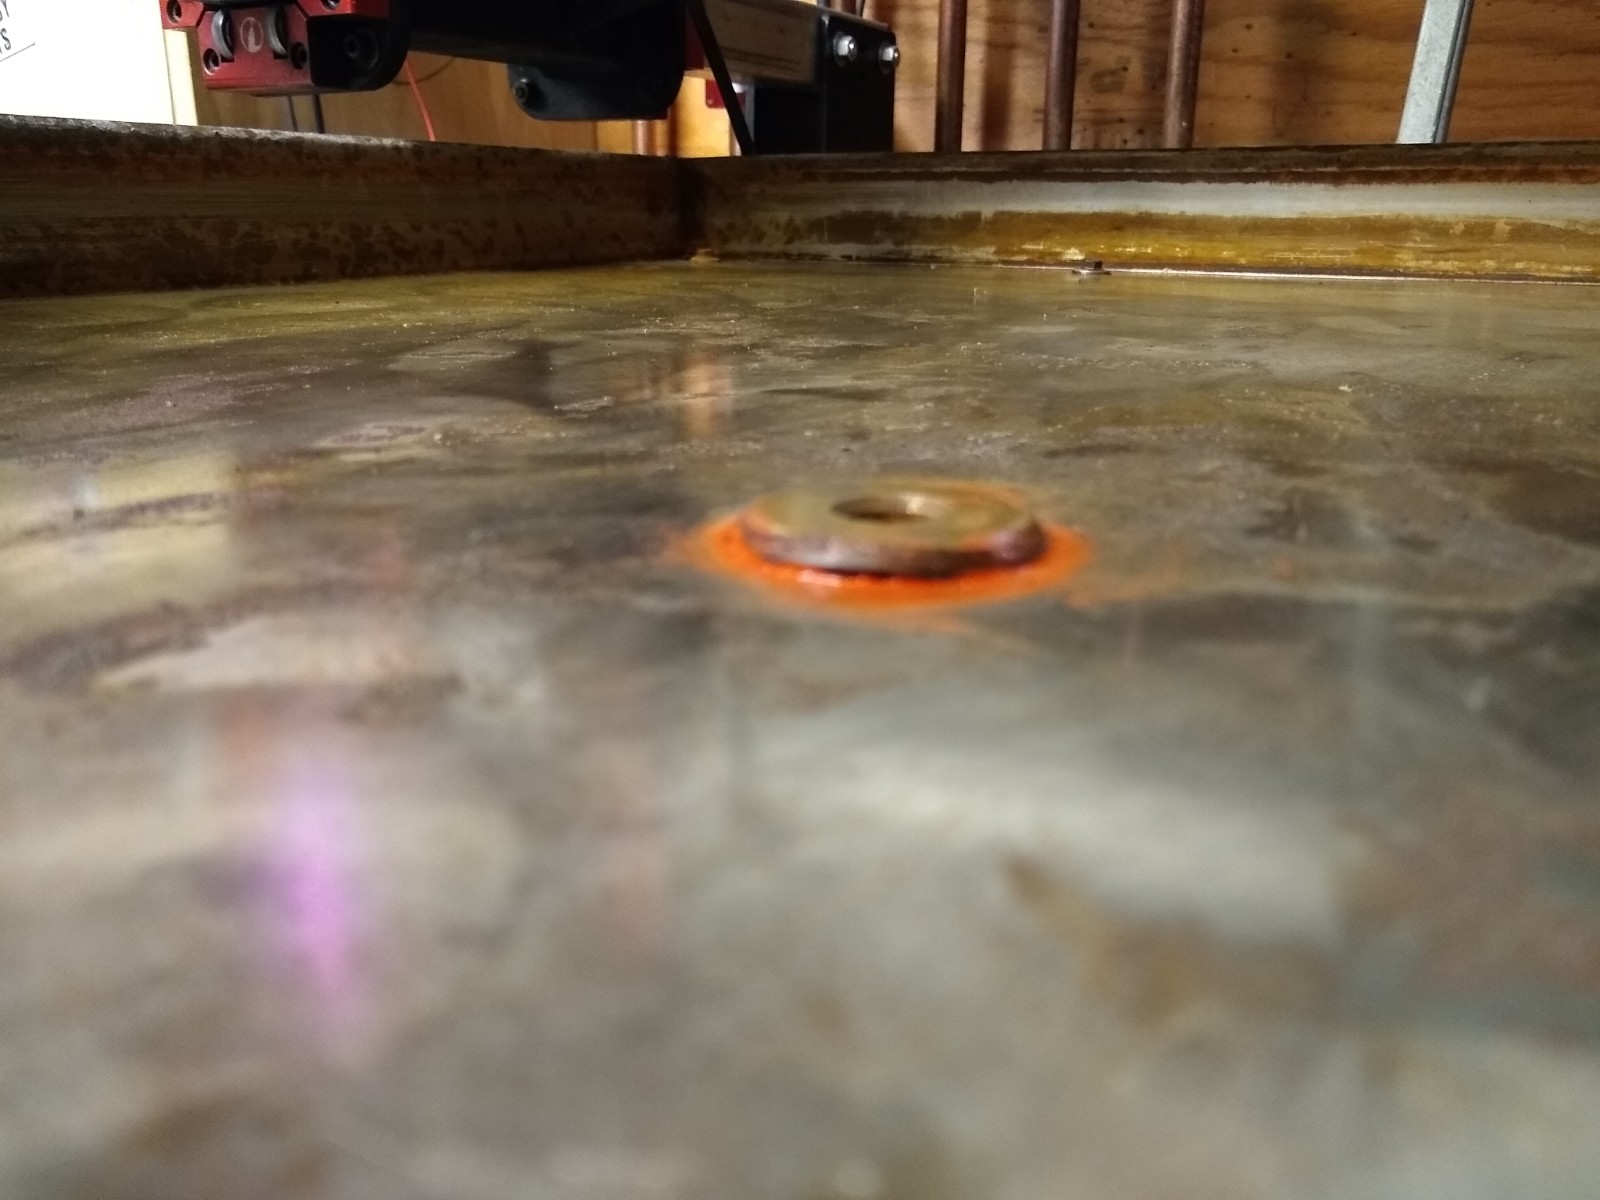
During:
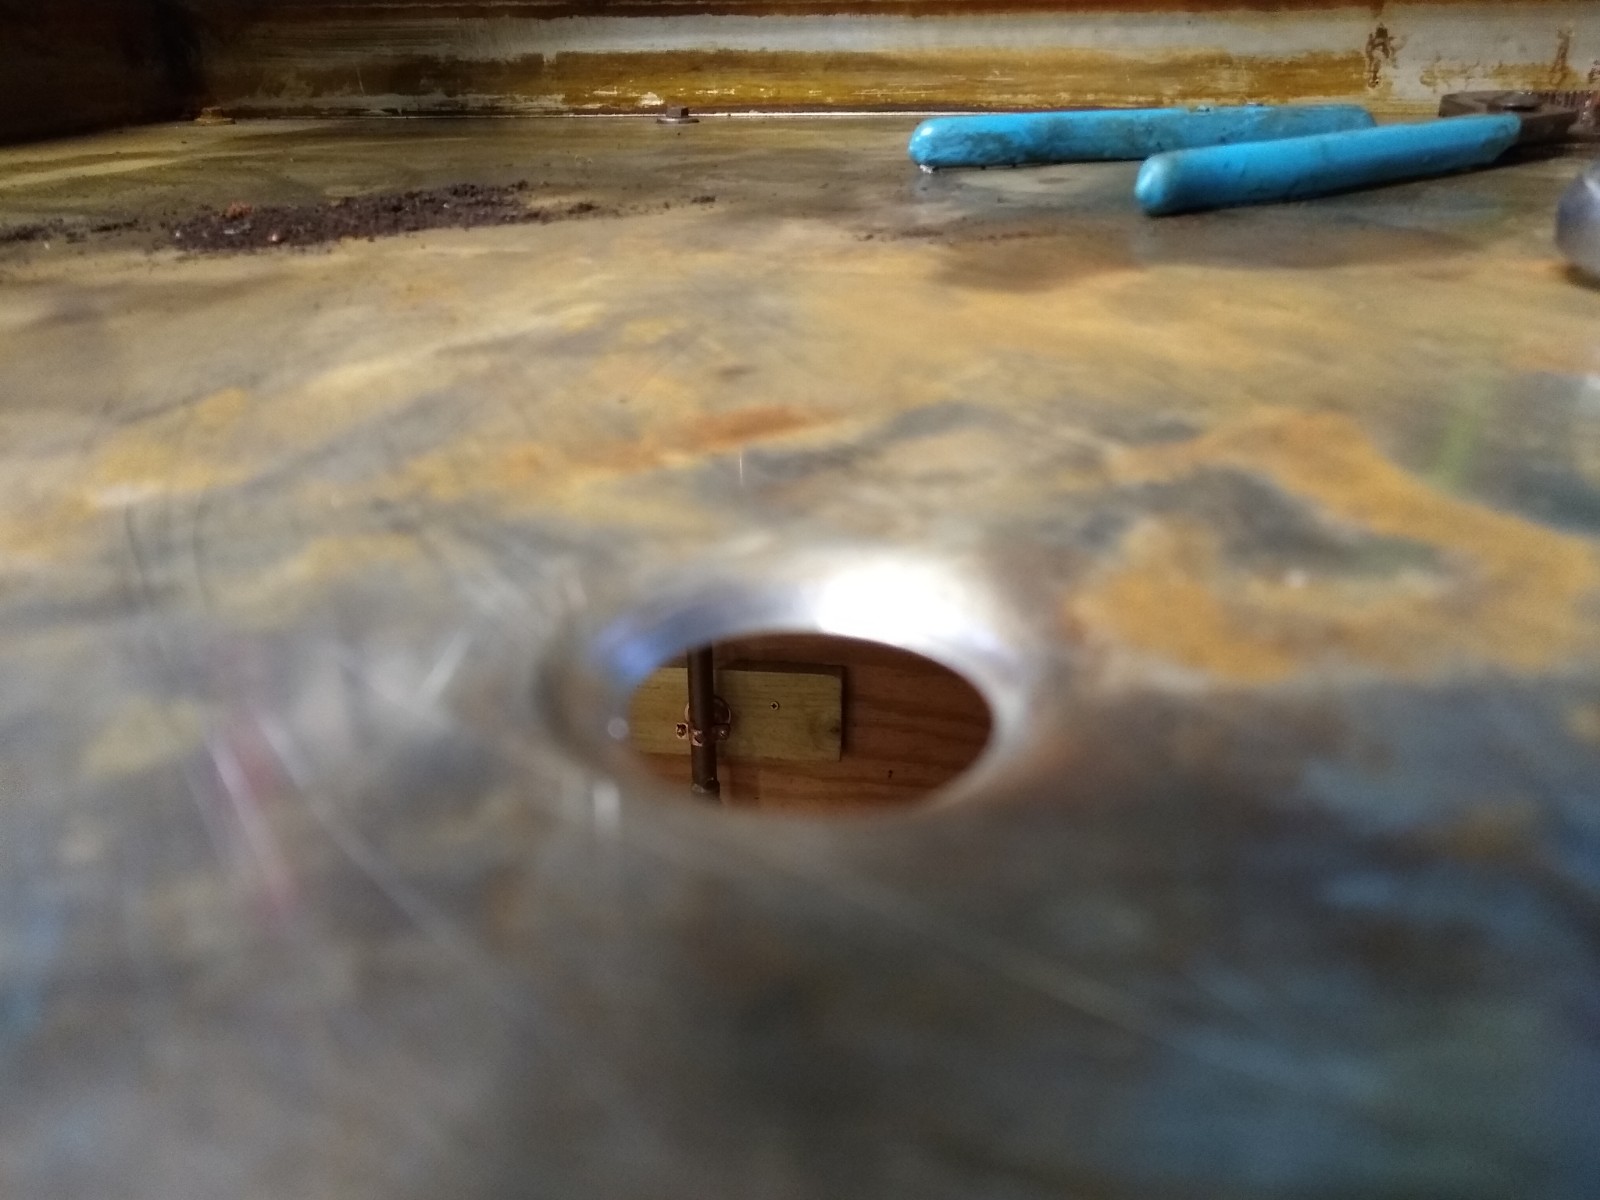
After:
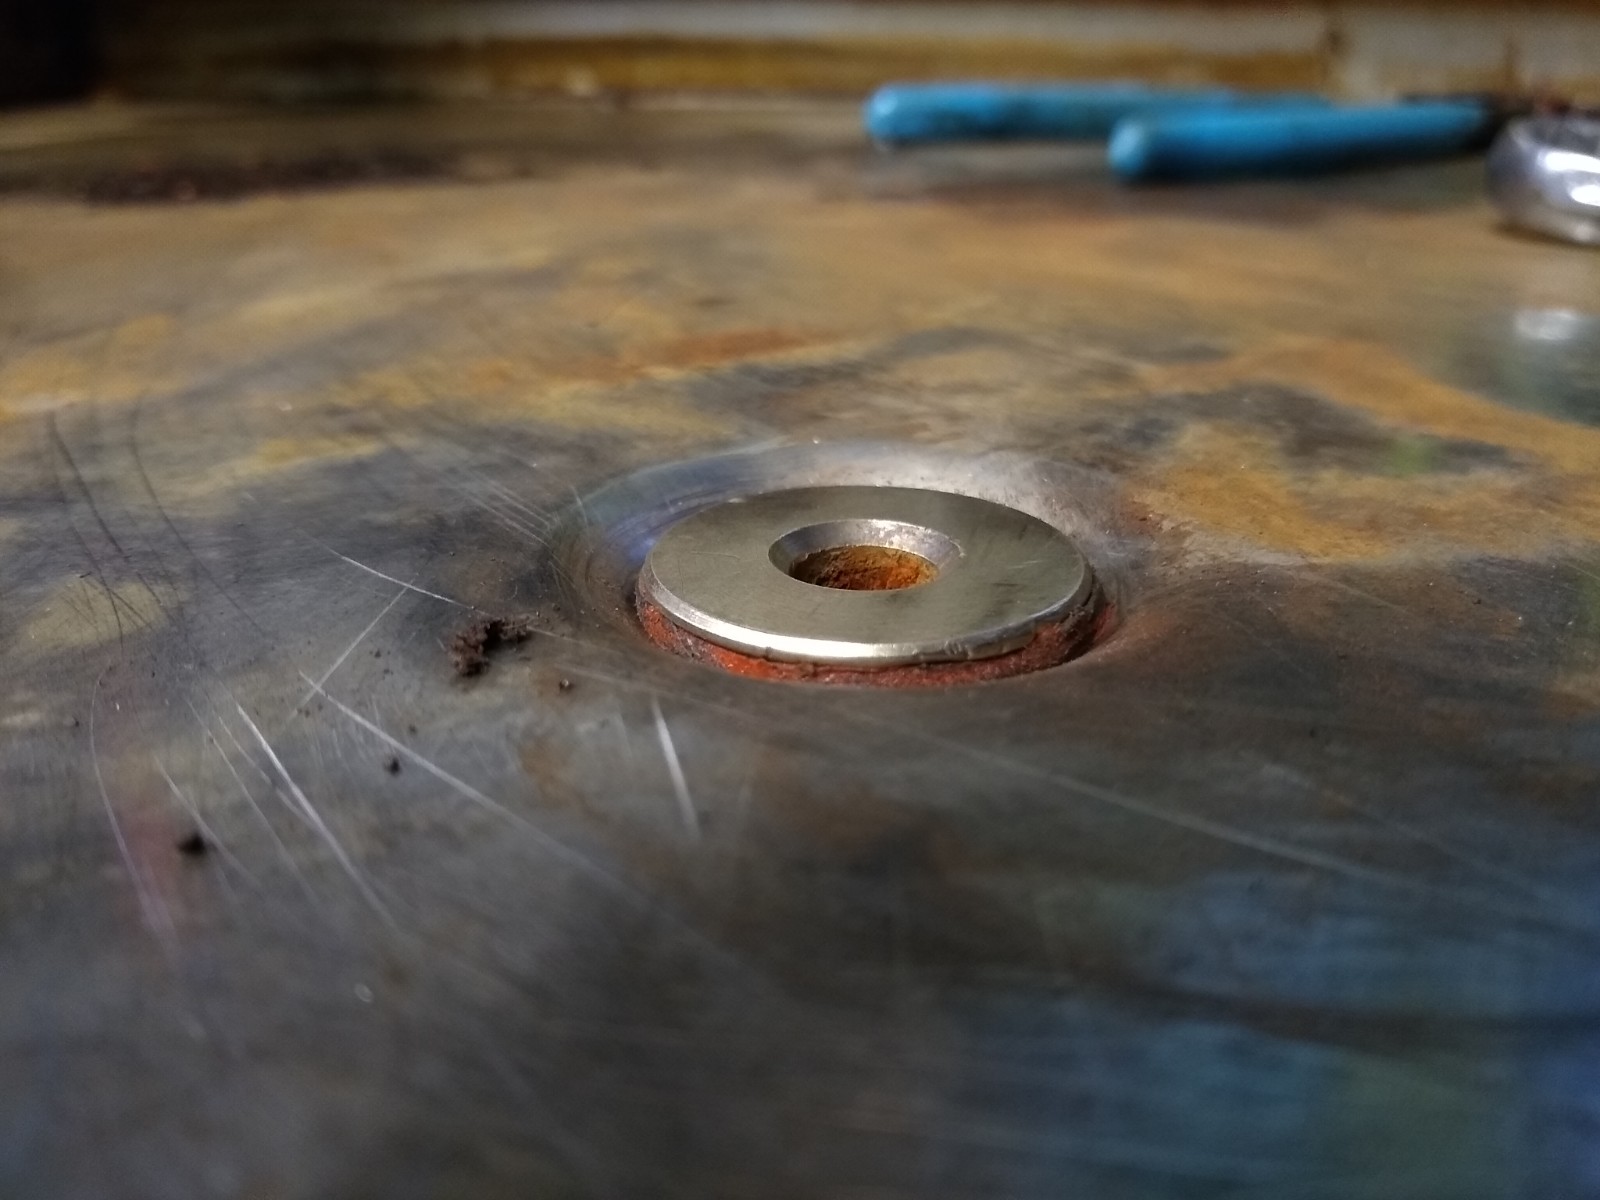
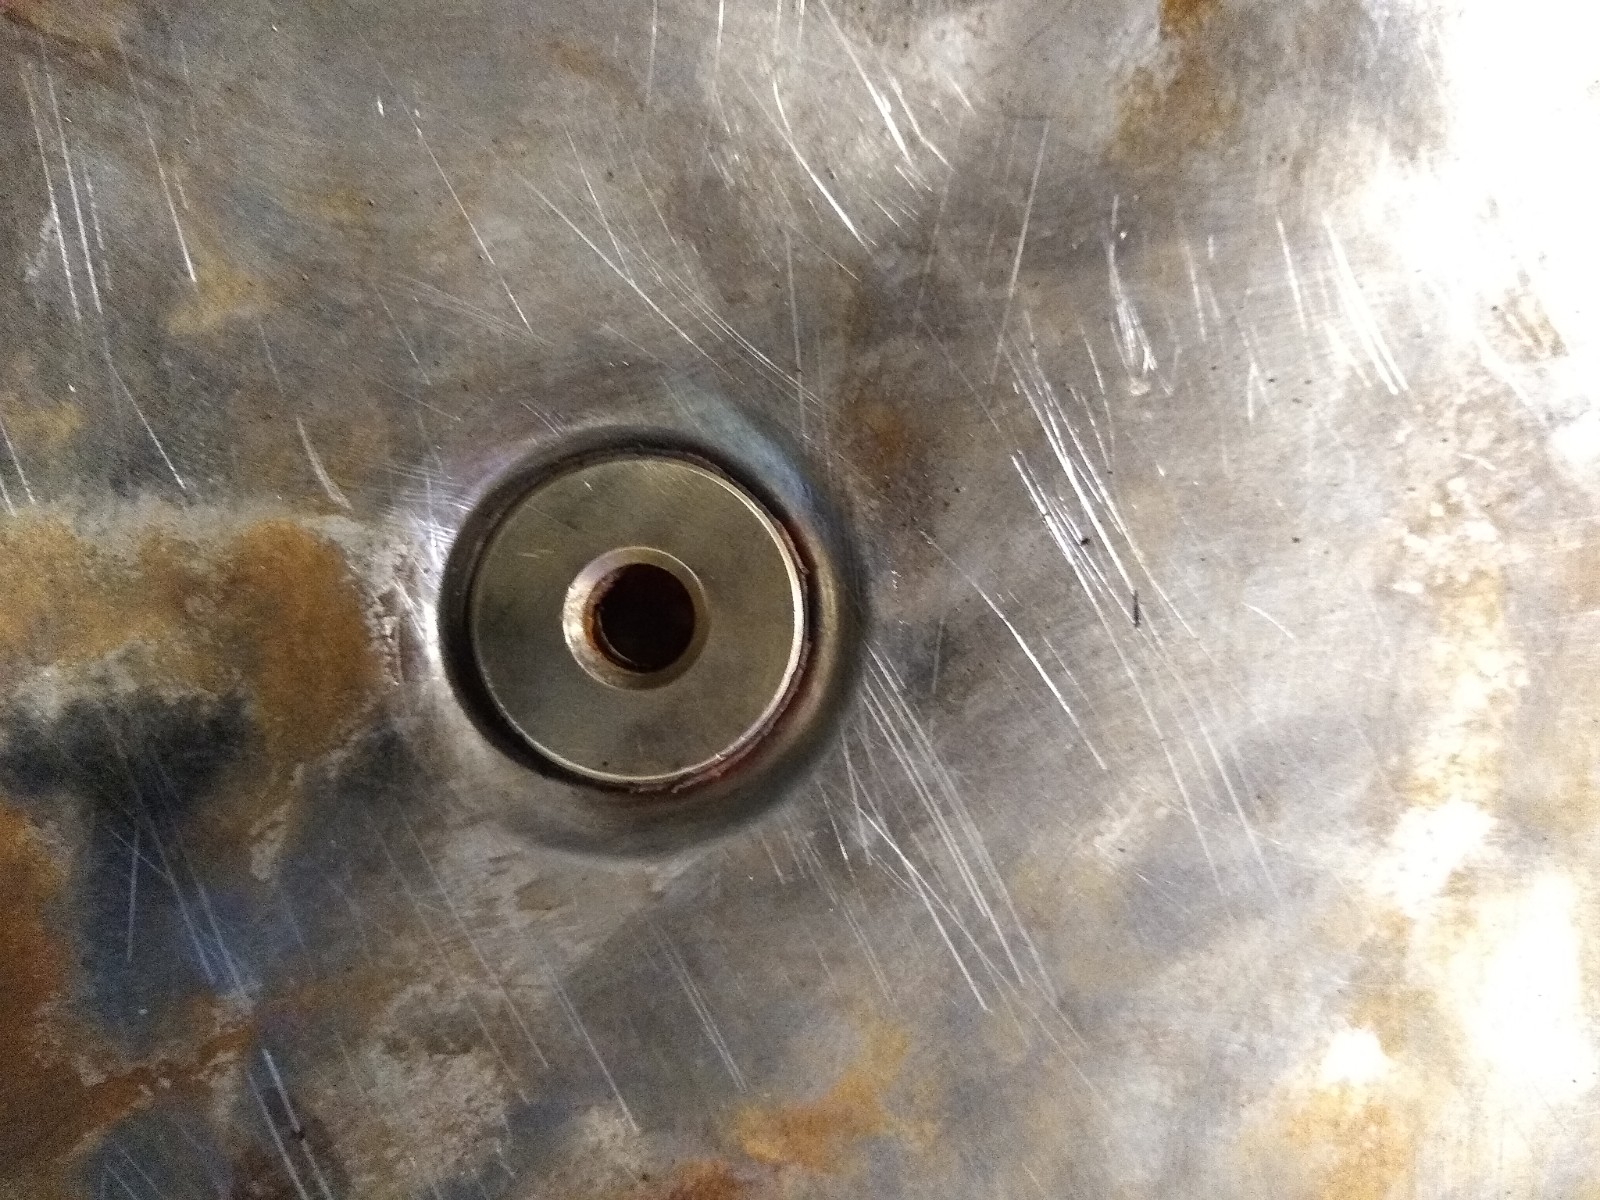
If I had it to do over again, I’d probably not crank it down fully next time. The die fit in the original (Crossfire XL) hole in my pan with a few thousands to spare but, not crazy sloppy… After the dimpling process, the drain just about wants to fall through the hole… I will get a larger diameter rubber washer and give that a go… If not, shopping a bit for a slightly larger drain…
Before you ask, “nope didn’t measure the hole before dimpling”… LOL
No worries, we’ll get 'er going!!
1 Like
Wow! I guess I never cranked down as much! It may sound crazy but if you assembled the die as if you were going to dimple the opposite direction the shoulder of the punch might flatten the edge and close the hole back a bit. You might want to warn the next victim! 
1 Like
By the way the shipping payment arrived…thx
Yup, I think a guy could do the 'ole “sneak up on it” thing and do just fine…
I started to do the “opposite direction” thing just a bit but, wasn’t liking the results… It’s all good!