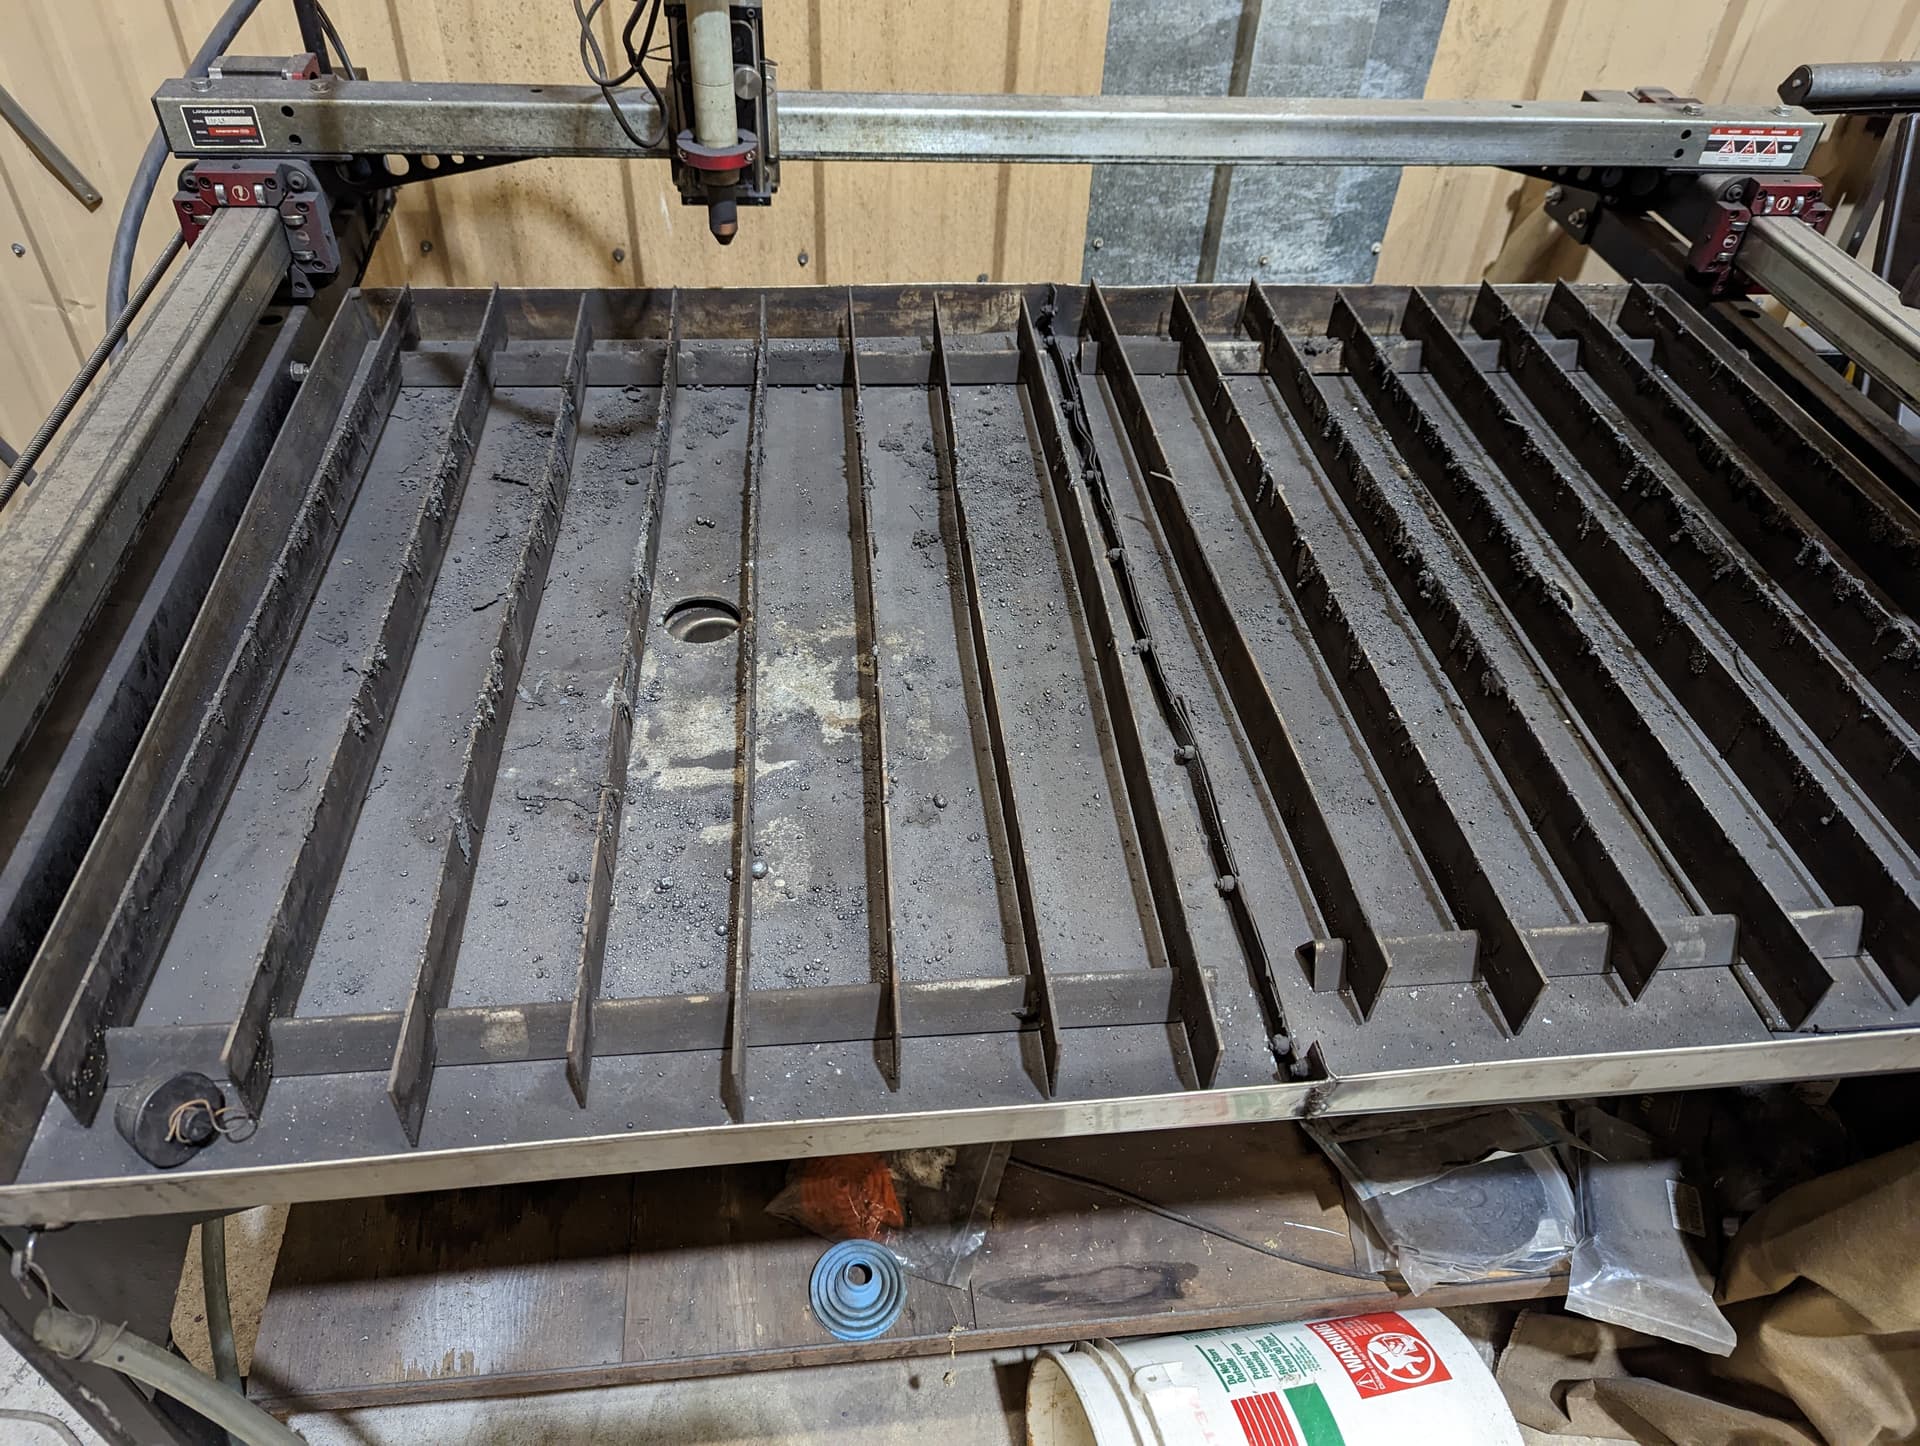
My plan is to weld the ferrule end of an 1-1/2 sanitary fitting to the bottom of the pan (link below) then build off of that with PVC pipe. The I.D. of the drain will 1-1/2 which I think is almost double the size of the original drain. I will be putting a 100 mesh filter in the drain system prior to the tank. Is there a consensus on where the least used part of the table is ?
I got my custom water table welded up and put it on the frame tonight. It looks like 3 inches was too much. My Y Axis is now hitting the pan. It looks like my options are:
Cut the pan down to 2-1/4
Raise Y axis up with taller Stanchion plates
Make pan narrower by about 1" so the Y axis will clear sides of pan
Stanstion Plates.dxf (164.3 KB)
maybe thats how???
Also need to say i got the file from the user directioneast, big thanks to him.
this solved my problem with a three inch tall waterpan.
I ended up making the new stanchion plates on my mill this weekend and installed them yesterday. Everything looks good so far so hopefully I can get this table finished up and try it for the first time. I made my stanchion plates 2" taller than the original ones were.
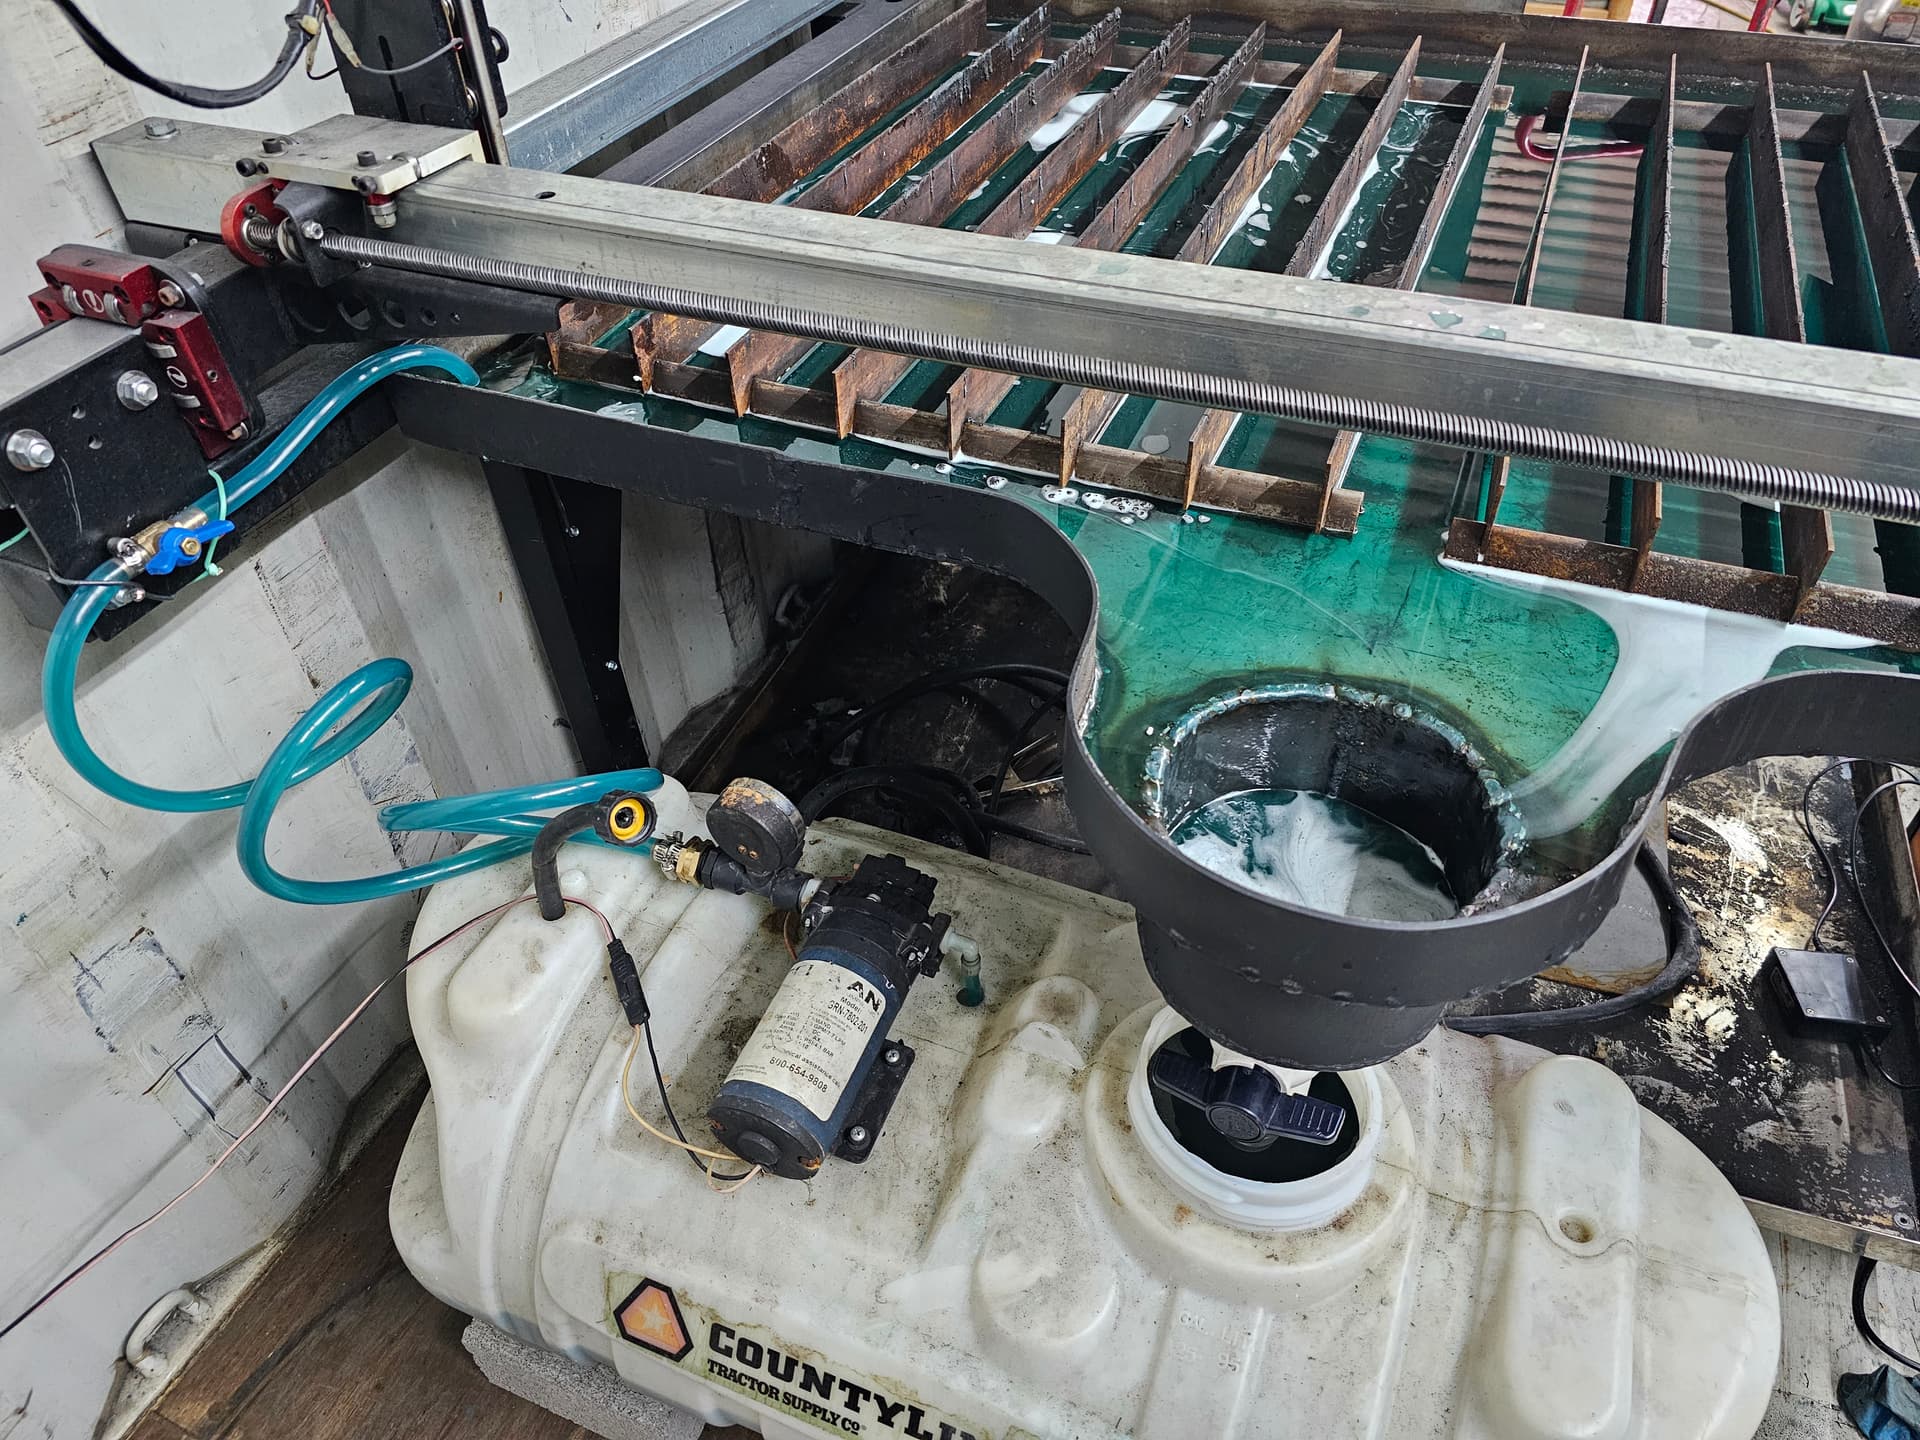
I made my water table 3" bigger front and back and as big as the frame would let me on the sides. Its held down by a clamp style setup i welded together on the bottom. I made it deeper as well as built in a sump on the back with a 2" drain valve that leads to a 20 gallon 12 volt strayer I got off of FB market place. I have different layers of filter materials in the sump so i can quickly draw , clean and be able to reuse my coolant. The 12 volt pump works great to fill my table back up as well as i can still use the spray wand to wash all the slag into the filters. I also have valves to pump the coolant up to the cutter head to keep everything cool and have two 3/4" pipes in the back corners for overflow drains for while its cutting and pumping coolant continuously. Figured id share incase someone else wanted to try it out.
What material did you use? The sides look around 1/8". And it looks like you welded the sides all the way around to the base plate?
I blew a few holes through my pan across the top of the seam, so welding the seam from the top wouldn’t have helped. I was cutting some AR500 1/2" plate at 65 amps & pretty slow. I was able to get a functional fix by TIG welding the bottom (so no water to keep it cool) I ended up with a potato chip, but I was able to clamp it back down with the mounting screws. I put some 1/8" pieces of sheet to line the bottom to avoid new holes. I had a few marks where it was warm (discolored metal) on the bottom of the pan as well, but no holes there.
I’ve been contemplating doing plain cold roll carbon steel in 1/8", bent by my local supplier so all I need to do is weld the corners & punch a hole for a drain & dimple that.
I drain after every use & use SterlingCool in the water. My slats & supports are still rust-free after a year of use, so I thought maybe stainless wouldn’t be needed.
Mine is 1/8" steel fully welded. The original was just not to my liking but i understand it has to be shipp able. I did weld the original but no matter what style of welding and setting it distorted. So i just built what i wanted. I don’t cut anything over 1/2" ar plate but if i was Going to be throwing a lot of amps at it. I would narrow the sides of mine about a half inch and make the sides as tall as i could and still miss all the moving parts. That way you could run your coolant even with the top of your plate your cutting on. Would keep everything cool and give you more coolant to keep from hitting the bottom of your pan.
I was afraid of that happening to me when I first setup my table. So I took one of the Harbor Freight welding blankets and cut into strips and laid them over the seam. Cheap insurance and easy to replace.
Would any of you all want to see all the mods and stuff i done to my water table. I could make a post and show pics of everything and maybe a video of how everything works on it. Didn’t know if anyone would be interested or not.
Absolutely!! Please do!! Everyone here, I think, is interested in a mod or great idea you have done with your table… If for no other reason… Show off your hard work!
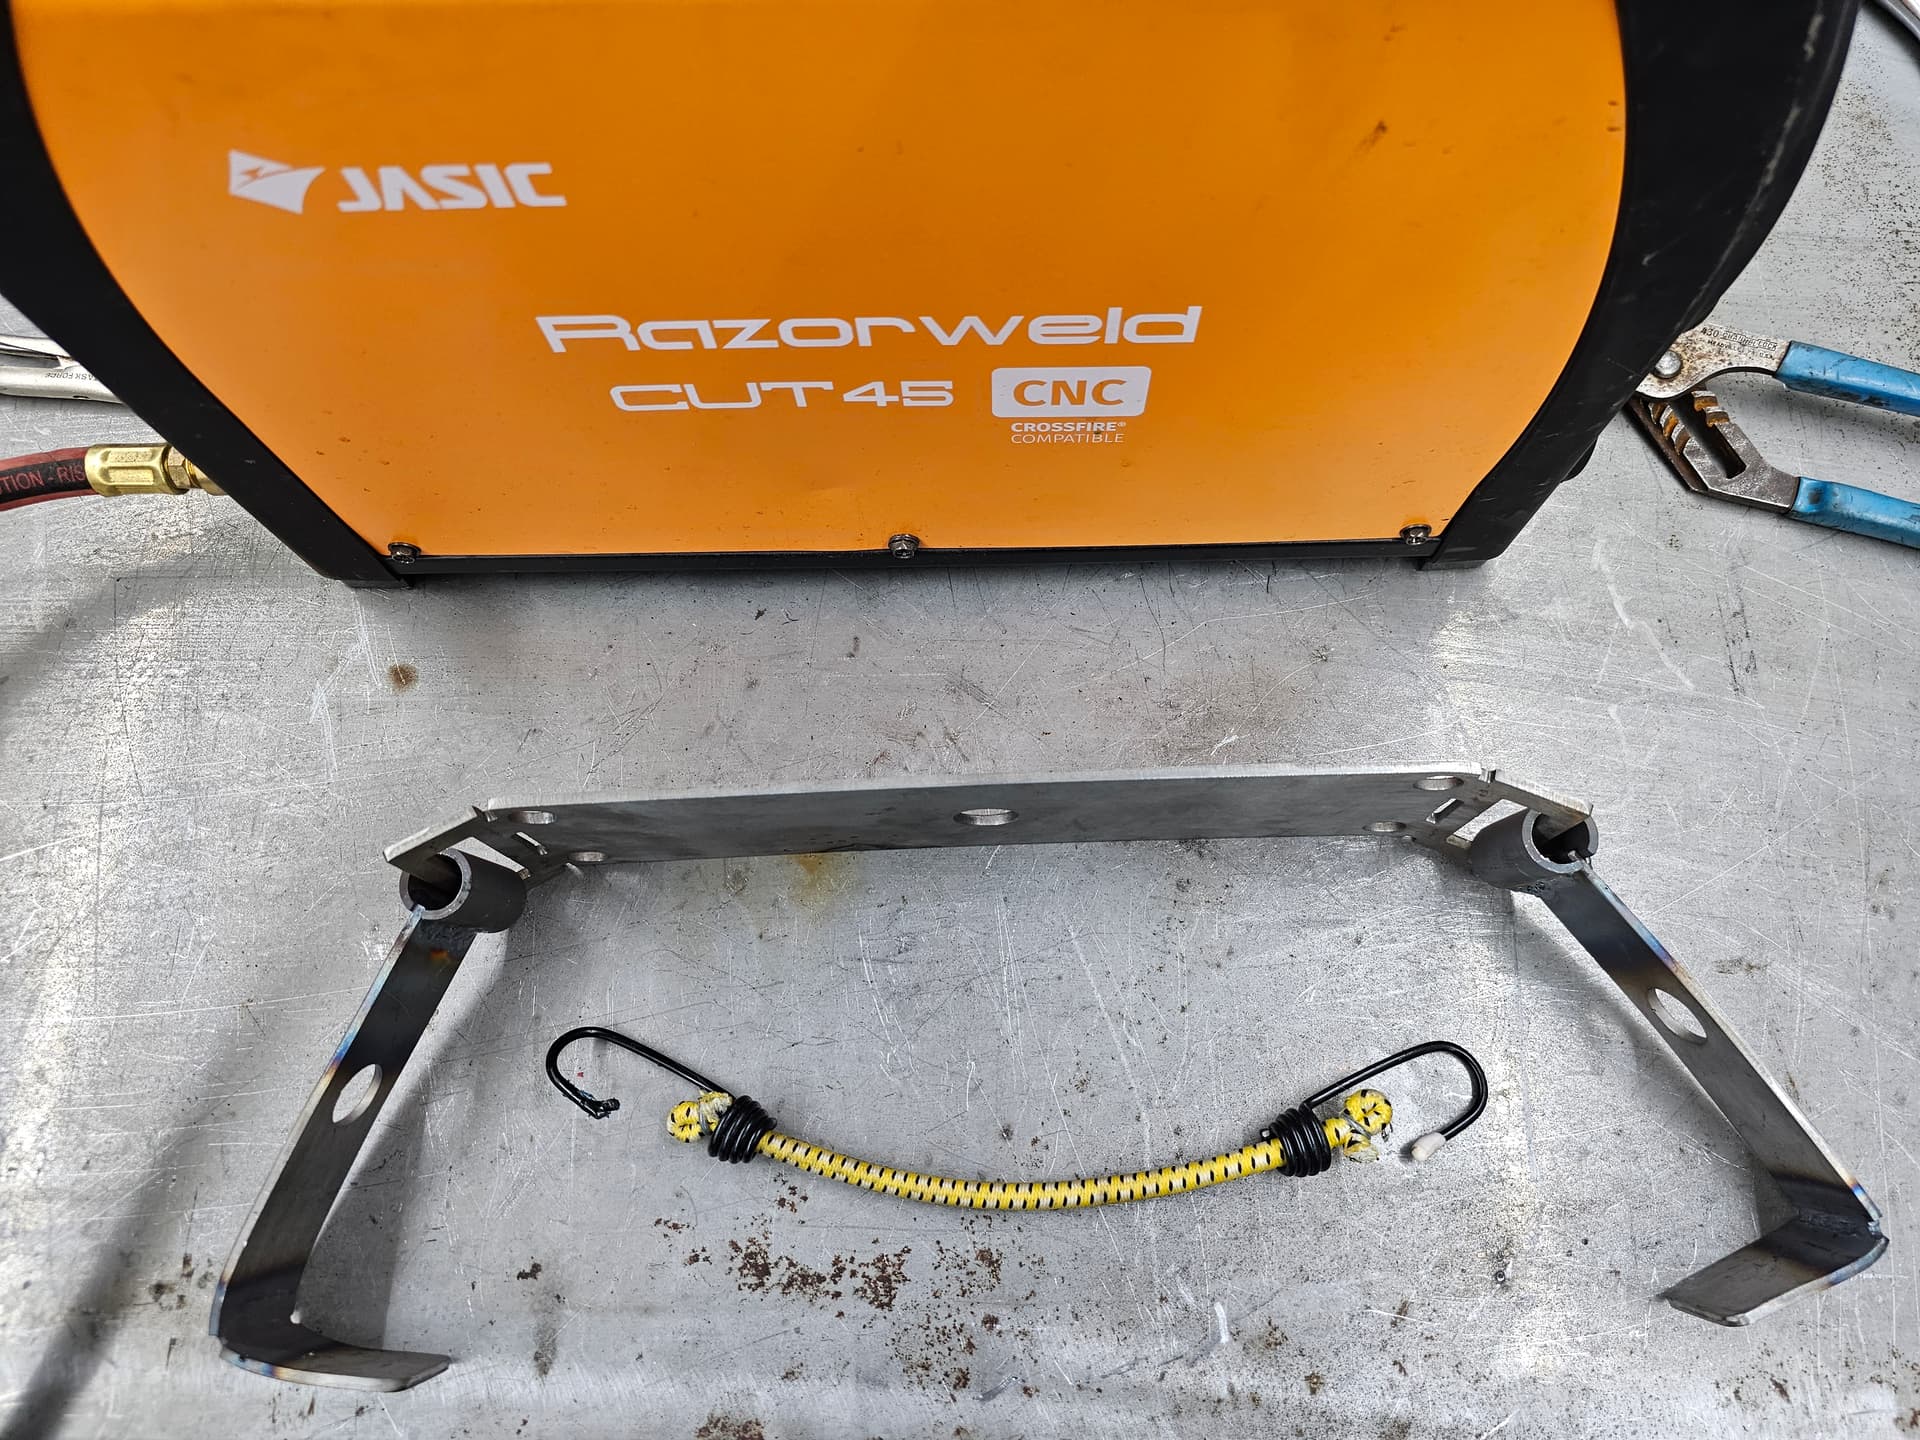
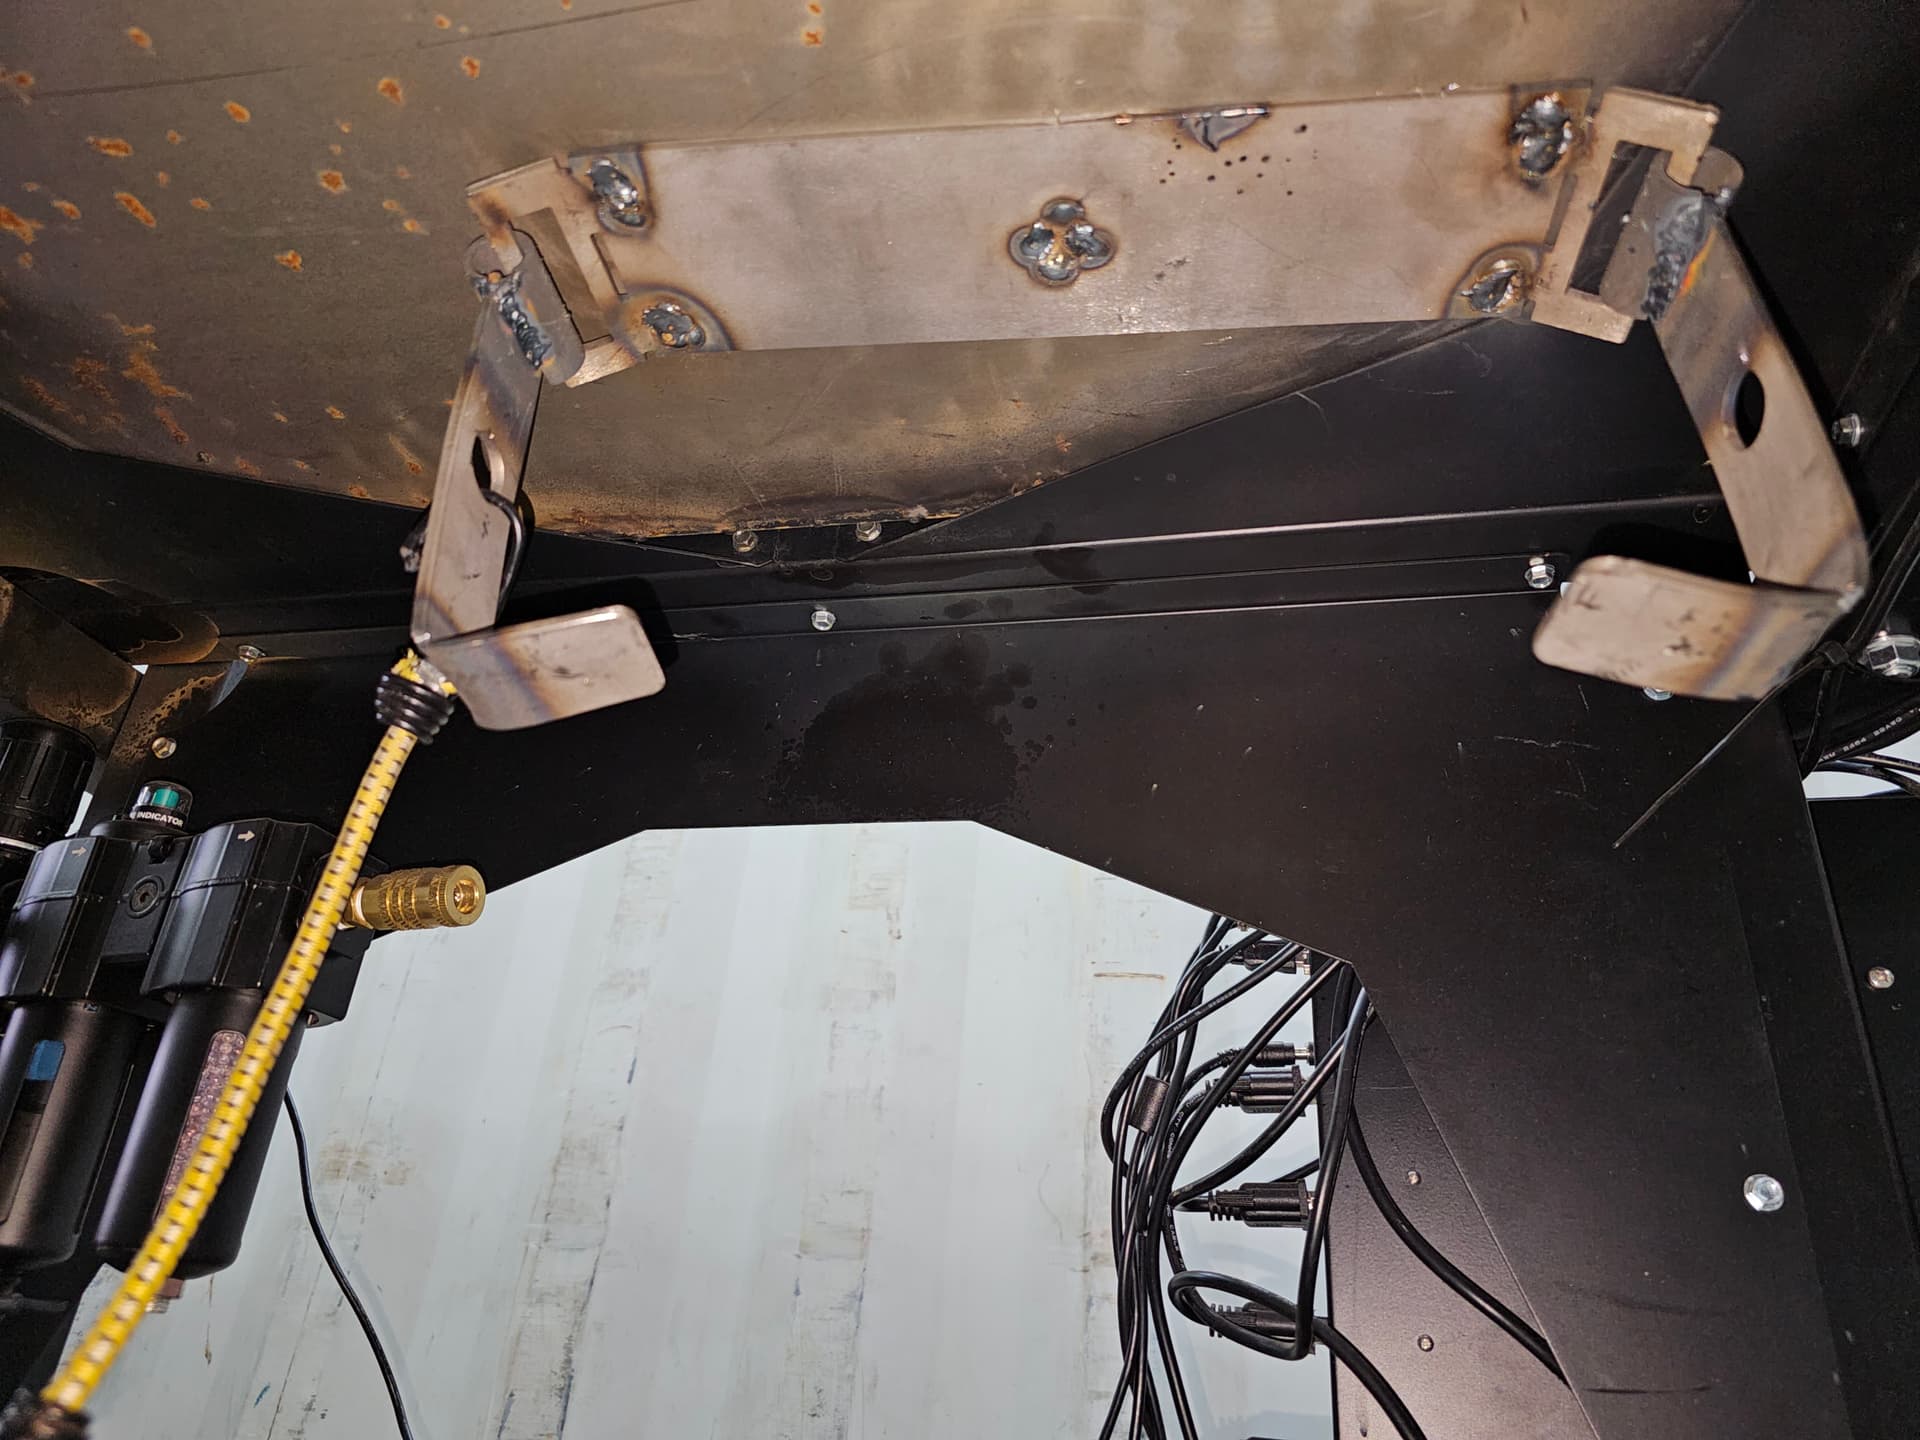
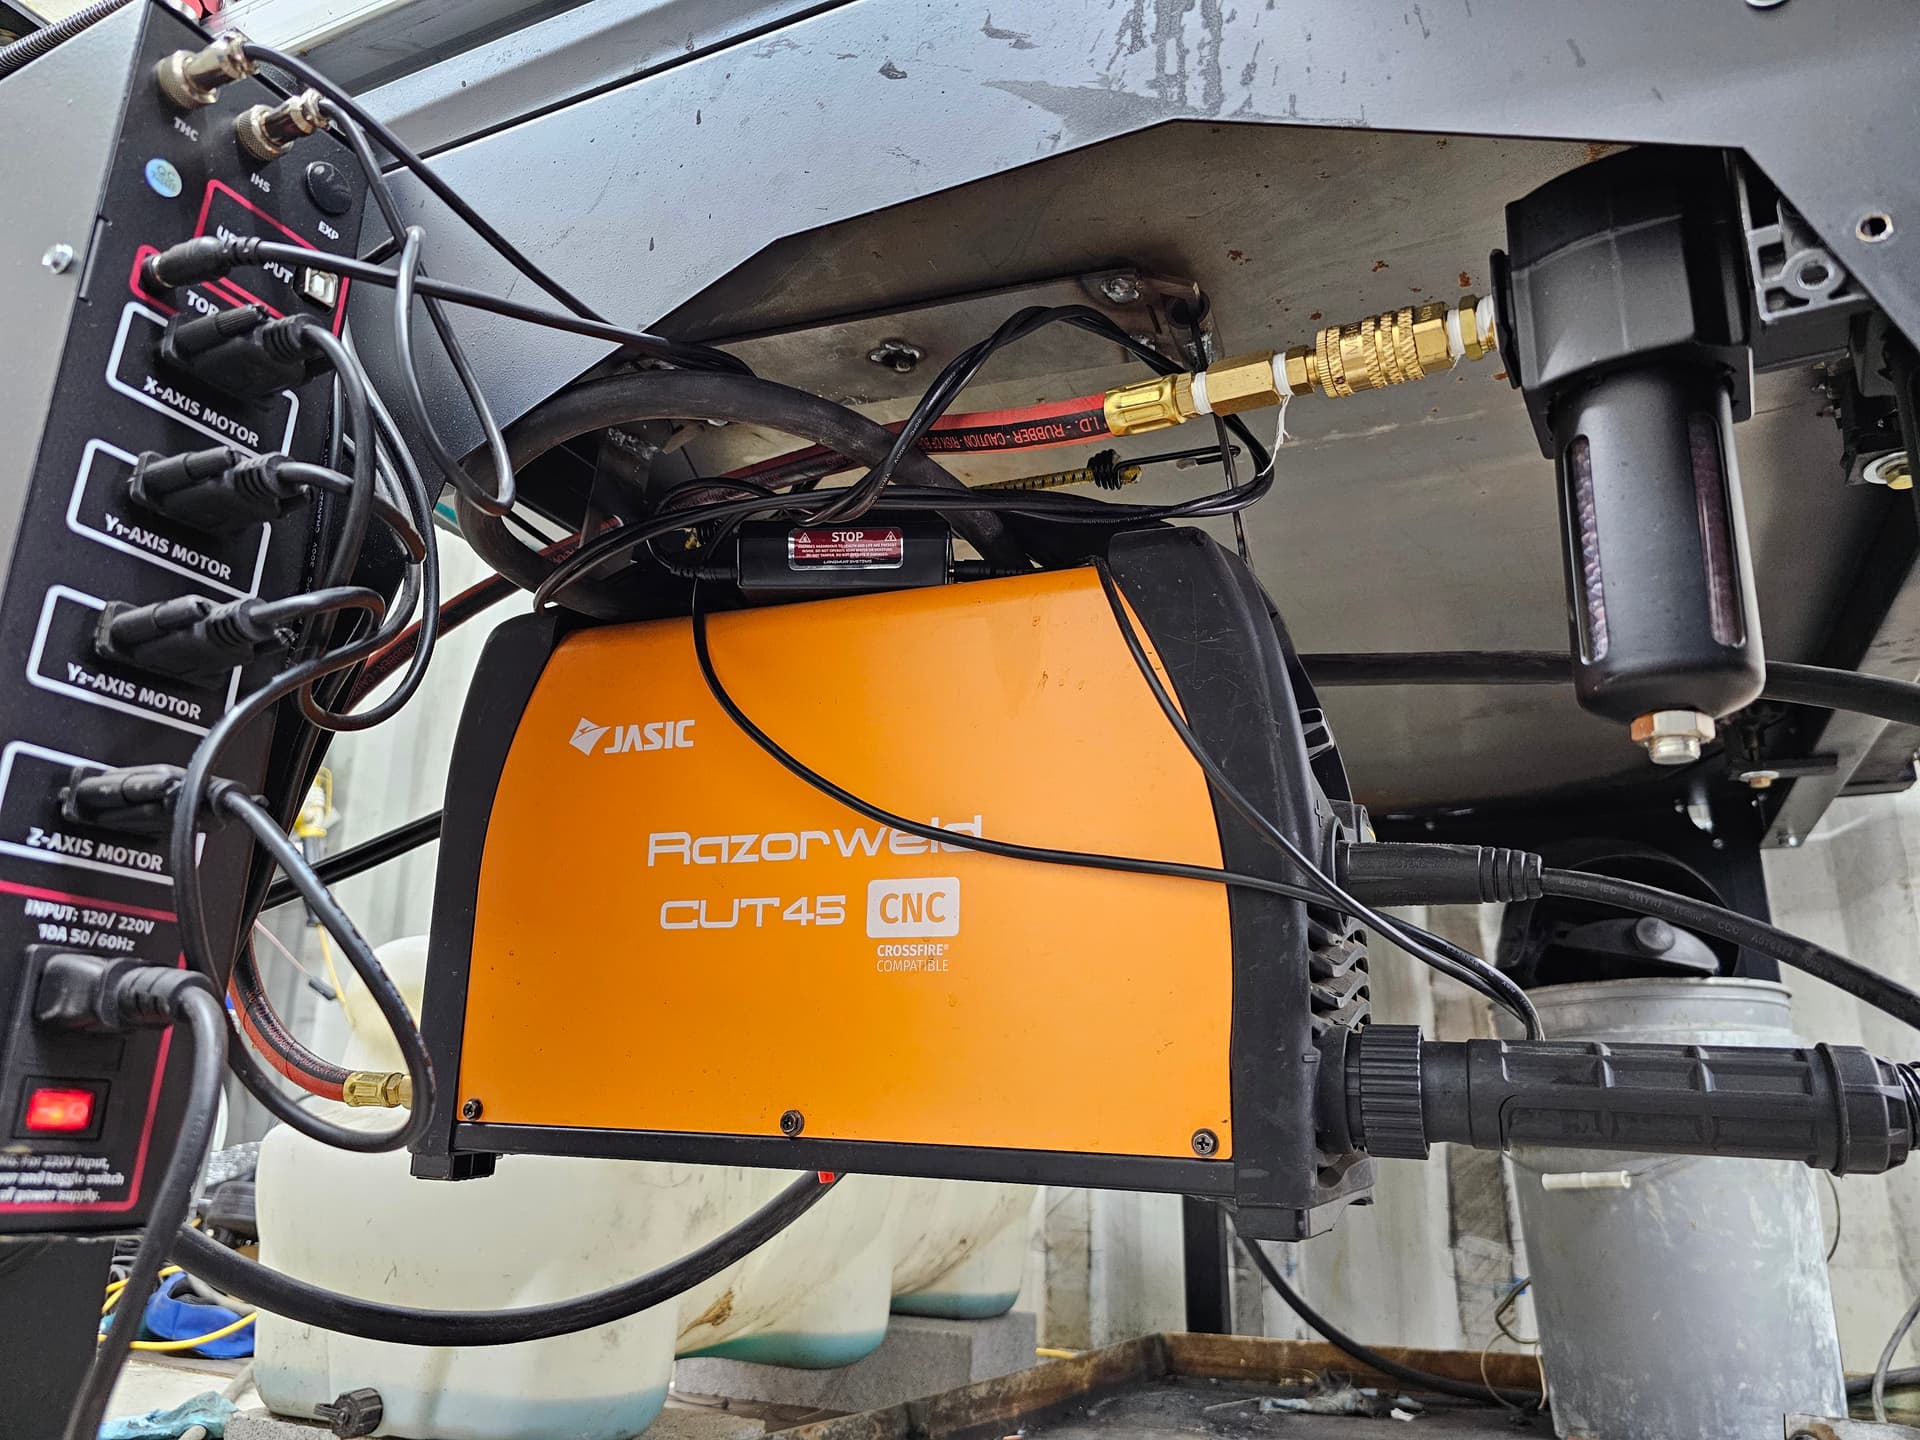
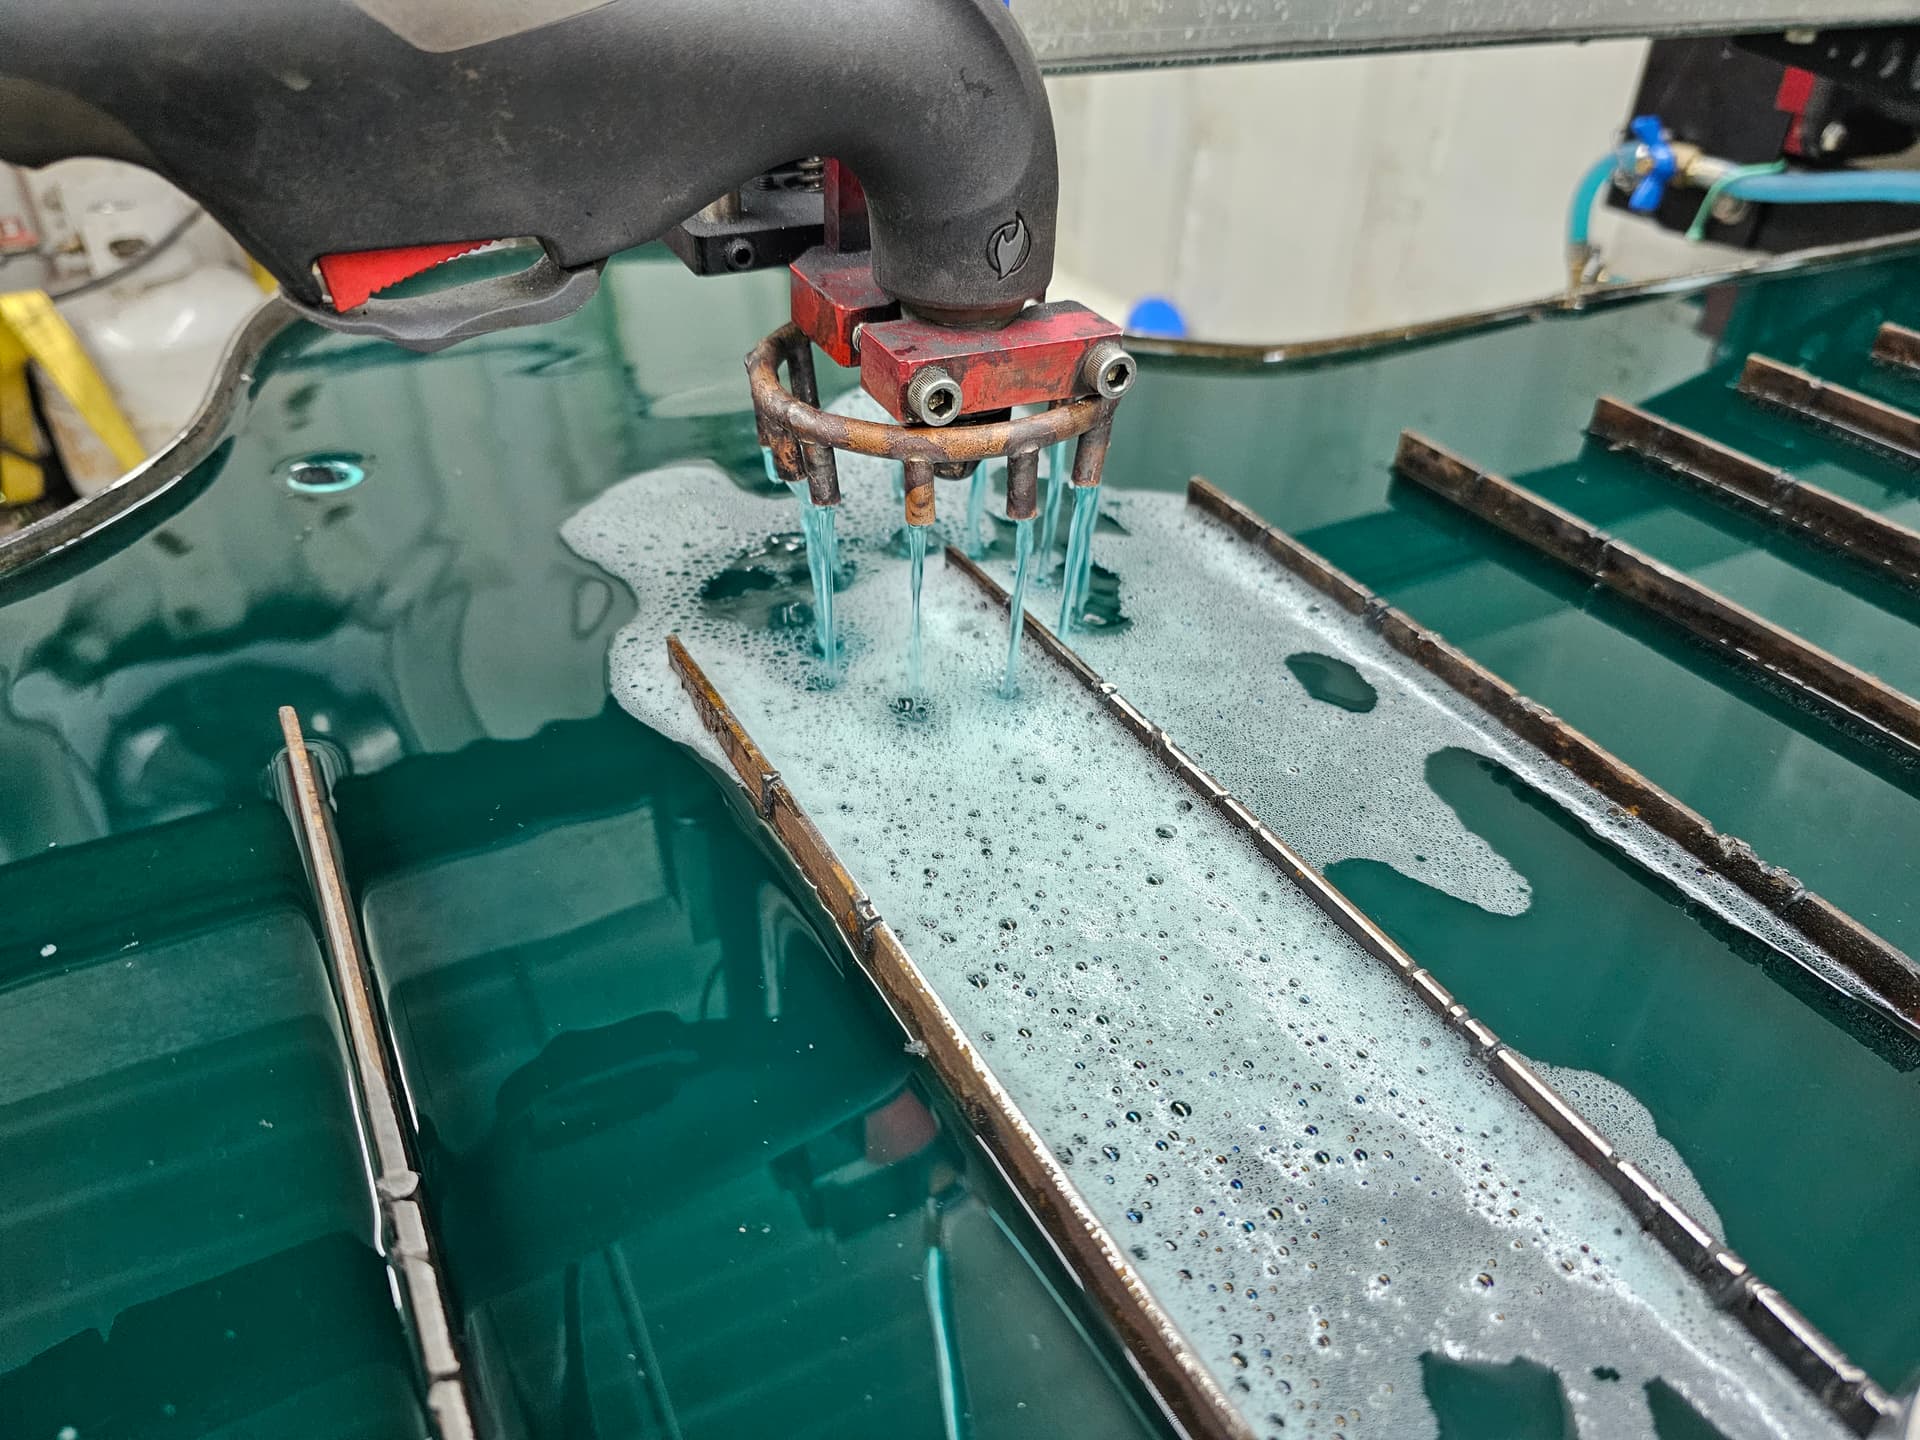
Thanks. Ill try and round up all the pics and information i have and get something put together for you all. Plus i just redesigned my coolant head to get a better flow. Its helped a lot to keep thin metal from moving around Plus i can basically pick up the parts by hand after cutting. Not to mention it has drastically knocked down the metal vapor in the air an cut down on the noise level. Also made a bracket to hang my plasma underneath the table.
@Bansheeman213 I find the coolant head to be quite intriguing. With access to a 3D printer, perhaps a head design to flow a “cone” of coolant entirely encircling the cutting head? -Steve
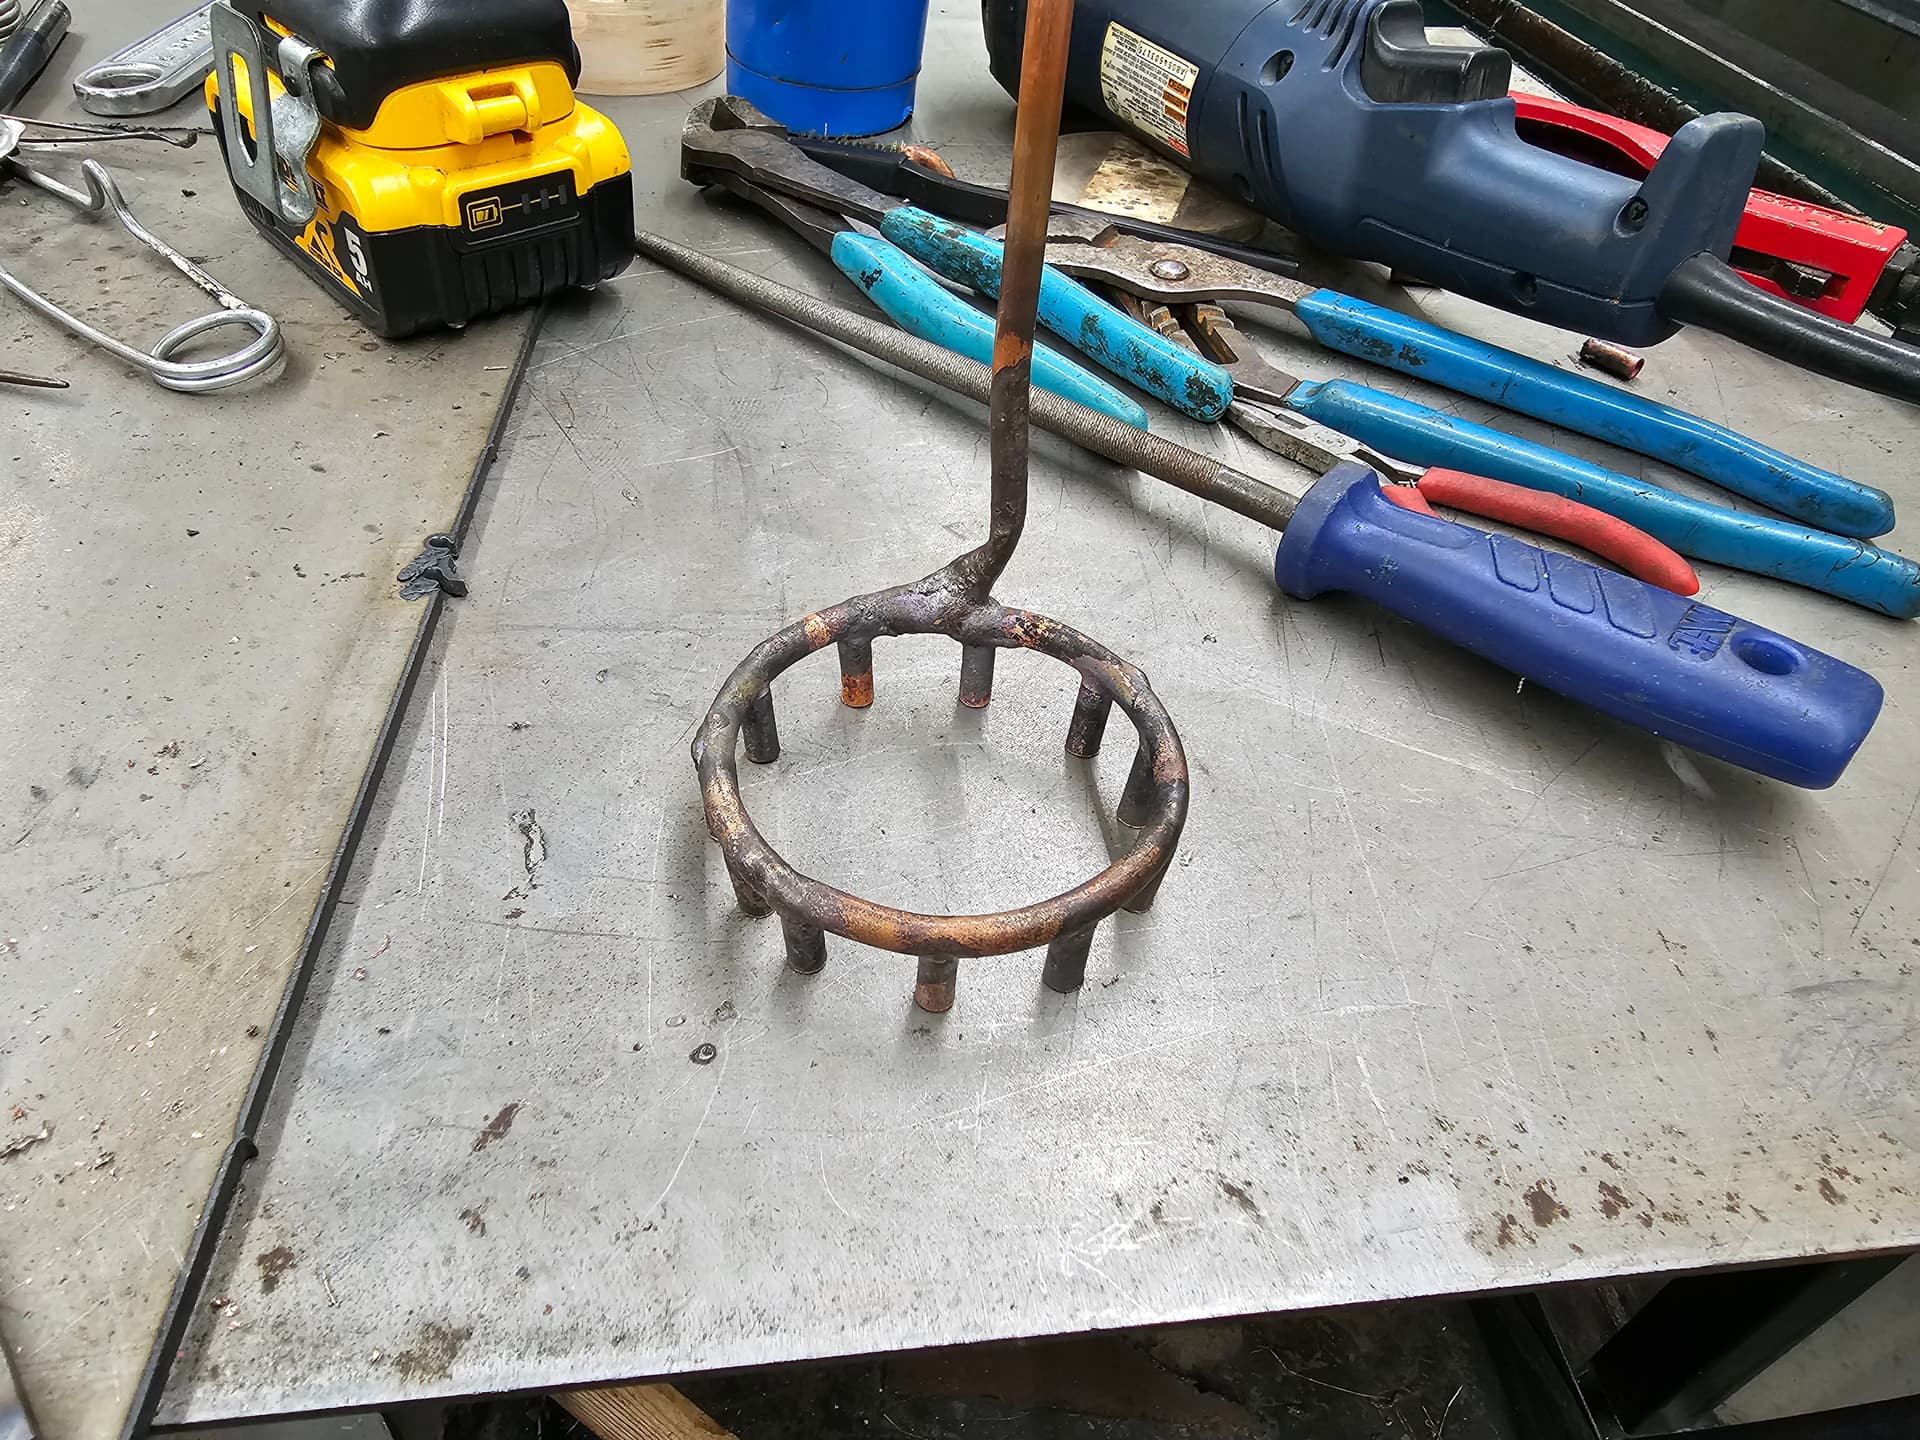
The coolant head is definitely a very nice add on. Thats my third one. First and second were similar without the nozzles on it. The main issues with the first ones were i just made a loop that butted up to itself. It had decent flow on the last few holes but the coolant flowed to fast and basically skipped the first few holes. Making the coolant flow from both sides of the loop and the nozzles to help control the flow helped a lot. Hardest part was silver saudering everything together.