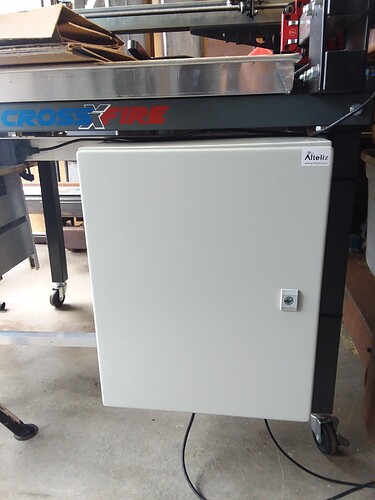
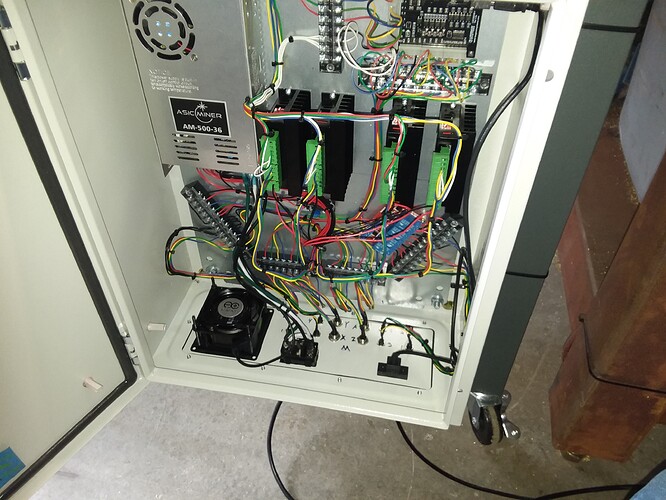
Looking forward to video of the system making cuts.
Here you go! I have keep nozzle down active. This keeps the z axis from probing every cut and reduces cycle time.
Amazing addition there man! Hope this is an option from Langmuir down the road- definitely not your average DIY project for most of us!
That is some serious engineering! Keep up the good work!
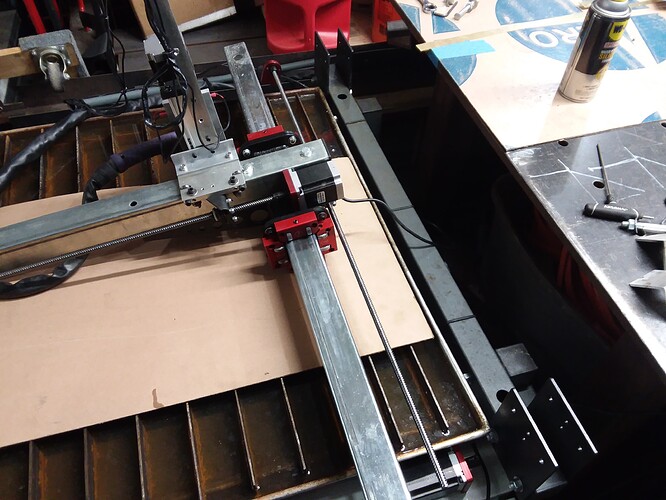
Cool project! Doesn’t having your torch offset from the gantry that far reduce the size of your working envelope though? It looks like your torch is good 4”+ off from where the stock mount was located.
You are correct. It is offset by about 3". To solve this problem it would be no issue to move the water table 3" in the same direction and put additional supports under the table. Or, what I’m thinking is, since I have a cnc plasma cutter, is to make new stanchion plates that offset in the opposite direction which would probably be the easiest option. I’m not too concerned about the 3" lost. My cut envelope is roughly 20x25 and that covers most of the stuff I want to do or am doing.
I have already been thinking about expanding the table and designing a rotary axis on to cut pipe. I’m going down the rabbit hole and I like it!
Also thinking about making the aluminum plate bigger to add attachments like a permanent marker and a pneumatic scribe.
I know what you mean about falling down the rabbit hole. I’m still waiting on some parts to get my table fully operational and I’m already looking at ways to modify it so I can use other attachments. I laser for engraving would be super cool.
Same here! For like the first month I had mine my wife kept asking if I could put a laser cutter/engraver on this…
Wouldn’t be too much of an issue to add a diode laser - a 5W one would cut 3mm wood & acrylic. Lower power would cut thinner stuff like paper, cardboard, cloth.
For real work with a laser you need a Yag or CO2 or fiber laser and your costs & doability start to get out of reach. One of those is going to require more structure than the Crossfire table (a low power 40W CO2 laser is okay for up to 1/4" plywood but is a liquid cooled glass tube 3 ft long and requires precision alignment mirrors & lenses). The physical properties of a plasma CNC table are incompatible with maintaining mirror alignment and adding a high voltage circuit (25,000 V) doesn’t mix well with a water table ![]()
If you’re really interested in laser cutting and engraving and are open to some tinkering, a Chinese “K40” off eBay would be a good place to start - and drop you deep in the rabbit hole ![]()
Very cool! My question is do you have a voltage sensor setup? The main purpose of THC is to account for warpage and tip ups. Keep us posted!
May have been asked already, how much weight does that add? And have you noticed any extra sagging when the torch is to its furthest position?
Not yet. Still on the to-do list. Working on new stanchion plates to ger my cut area back to stock.
I didn’t weigh the assembly but I would imagine it added at least a few pounds, probably closer to 5 lbs if I had to guess. I did have to readjust the gantry. Can’t remember now but it was close to .090" difference from when I set it up with no z axis.
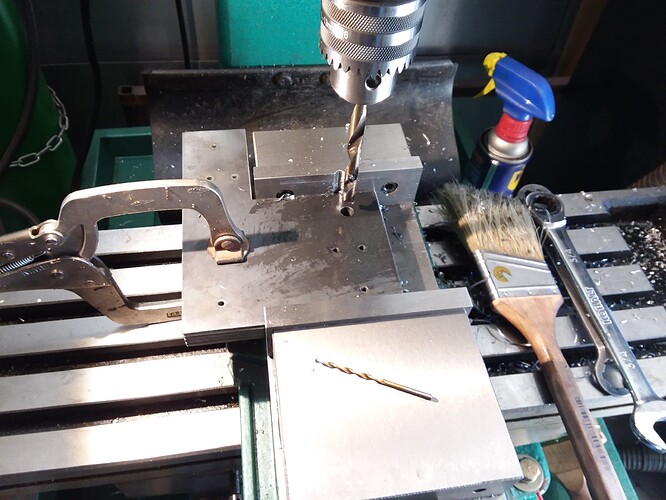
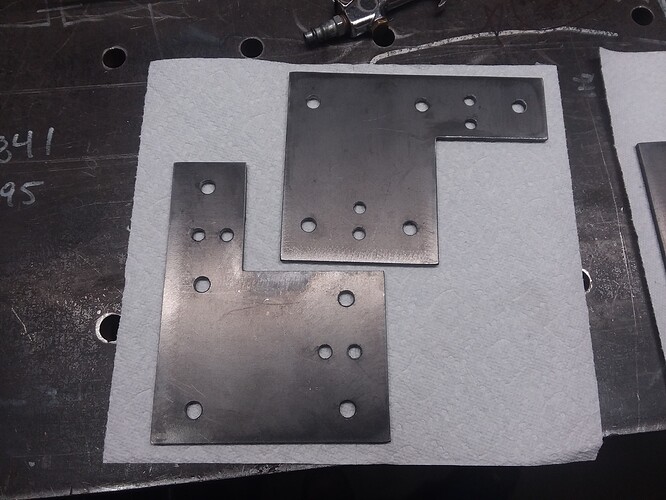
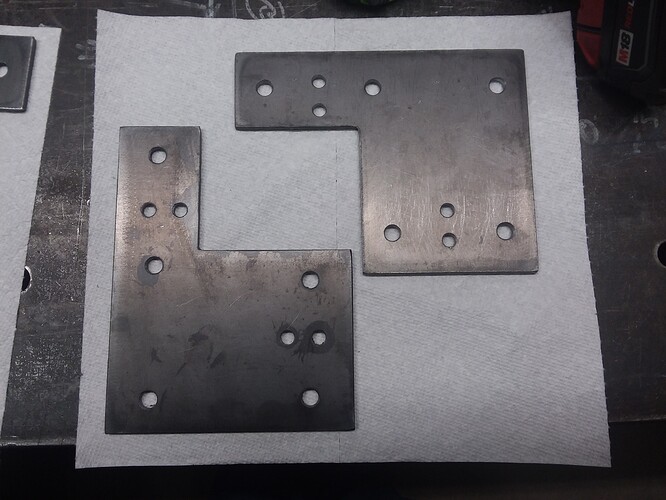
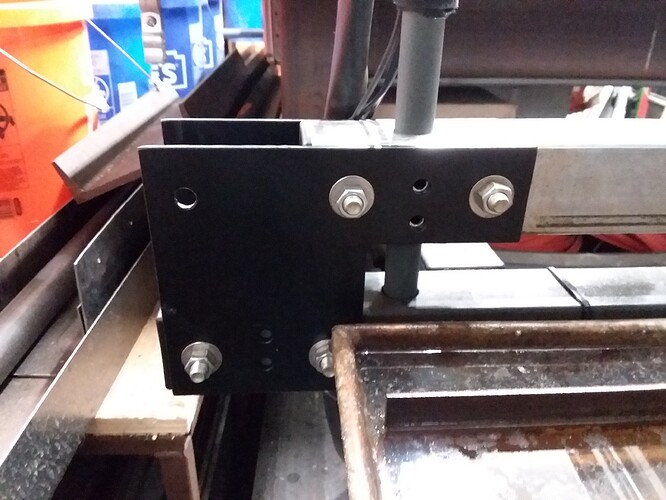
New stanchion plates. This moves the y axis 3.125" in the positive direction. This brings the cut area back to stock dimensions.
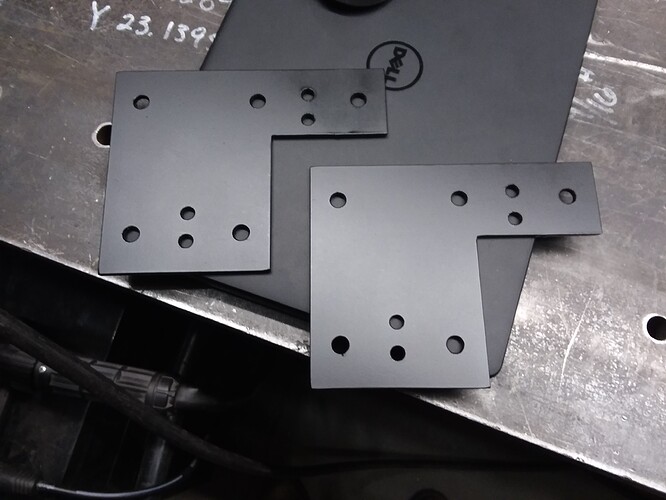
Painted and ready for install.
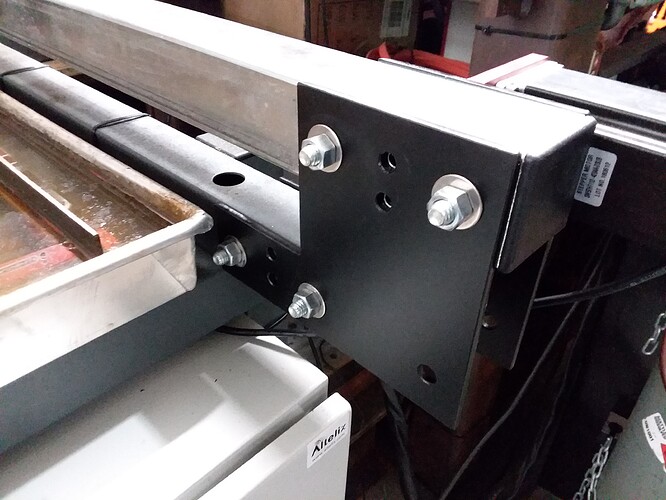
Installed.
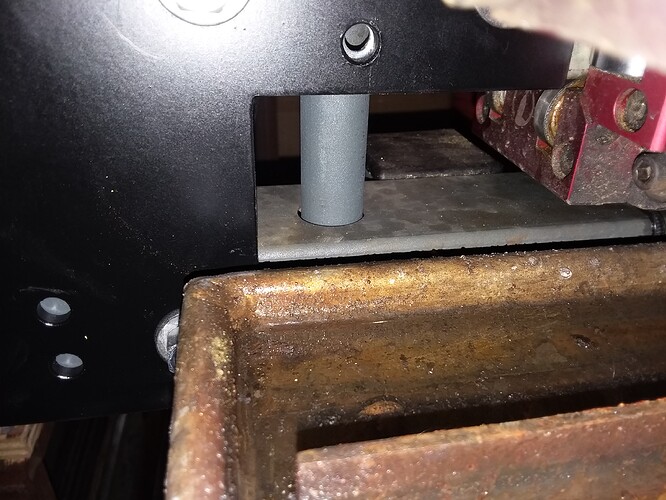
Had to adjust the gantry again. Got back the .090 from the last adjustment and more. The extra hole was going to be for a 2" spacer and bolt but everything seems good now. First cut back at max dimensions coming here soon. Somehow, must have been dumb luck, the bent tube for the cables landed directly in the bolt hole for the cross tube.
Wow. What a project. So for those of us that are not so adventurous, how could I add my E-stop botton? Do I have to try and solder in a resistor and not burn up Bob?
3 options.
-
Could solder in a resistor, add an input and e stop button.
-
Do it how I did and change the voltage supply to the bob, add an input and e stop button.
-
Use something like this
https://www.amazon.com/iKKEGOL-Control-Customized-Computer-Keyboard/dp/B01NAL3DV6
and keybind this to the e stop in mach3.
Found this. Kind of expensive but should work.
https://www.amazon.com/Button-Start-Stop-Pause-Controller/dp/B01AHHRWH4
