Well, it is finally here. Now what!!! Lol


3 Likes
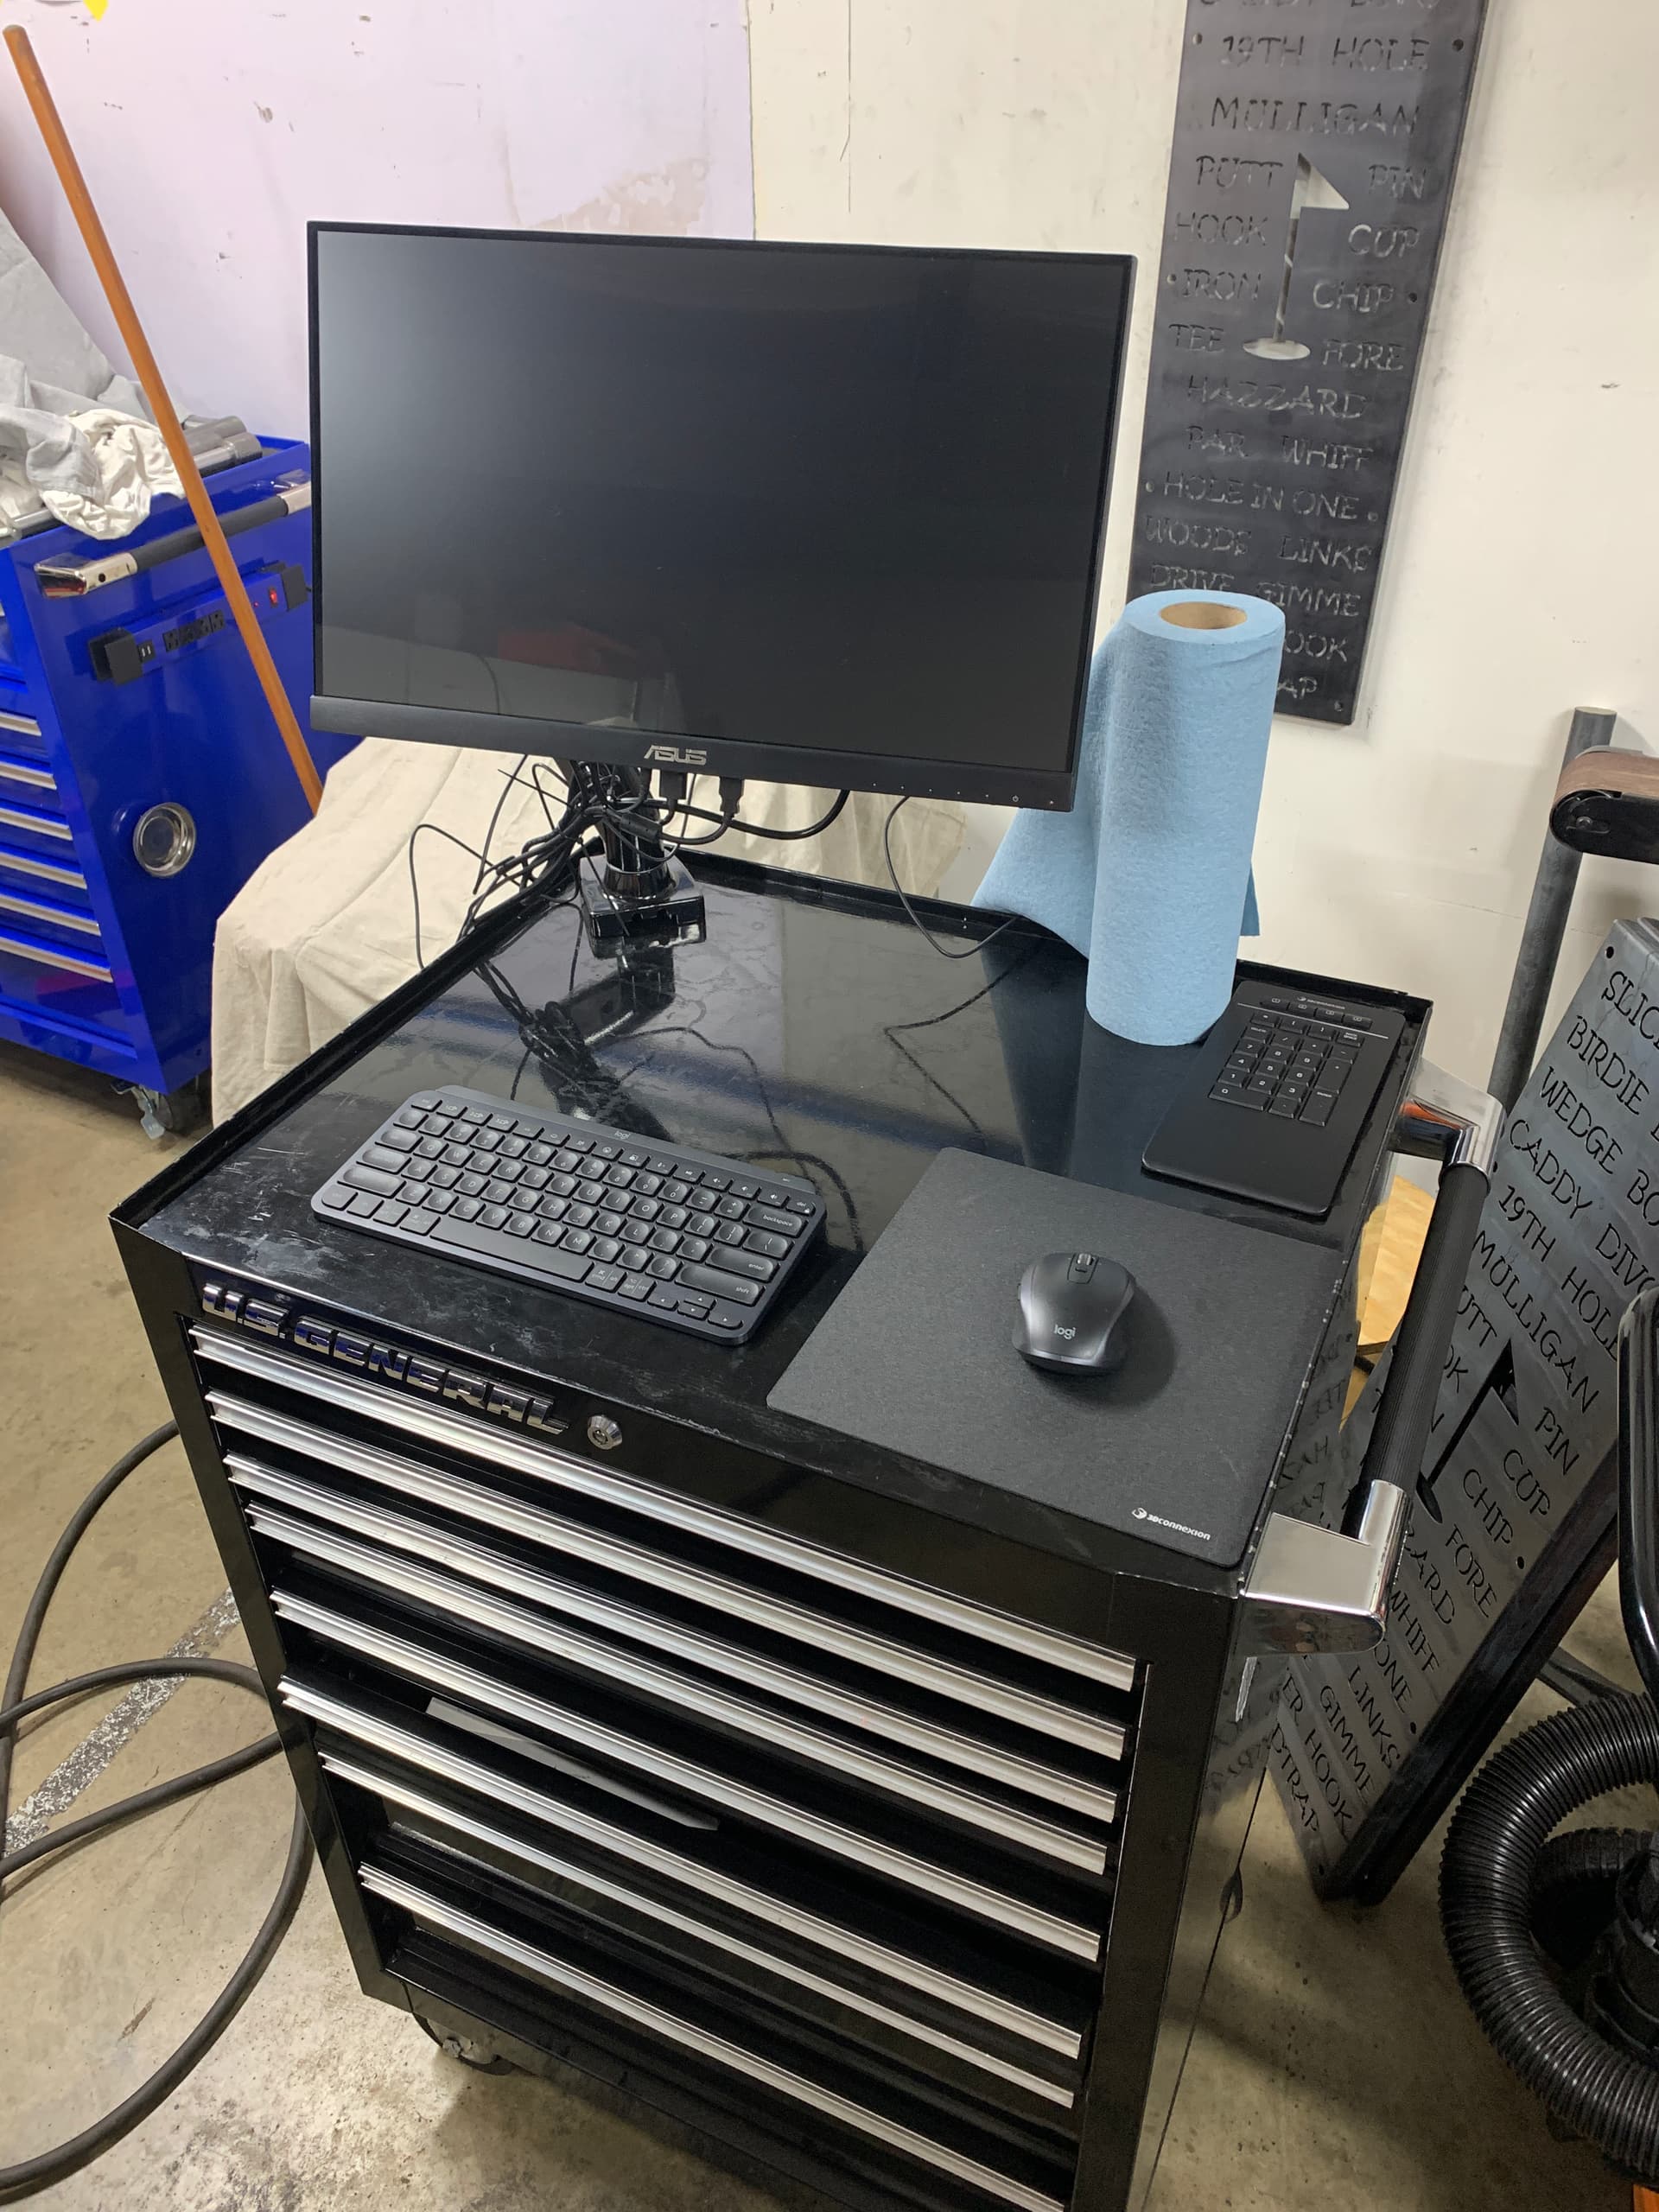
Computer system and toolbox set up for the MR-1
ASUS VT229H 21.5" Monitor 1080P IPS 10-Point Touch Eye Care with HDMI VGA, Black
Beelink i5 with 8gig mem
2 Likes
I ordered the exact same monitor for my pro setup. It arrived a week ago but I haven’t had time to install it yet.
How is the monitor working out for you?
2 Likes
It is working great. I have the same monitor that I have been using for over a year on my JDSquared plasma table now and used it on the Langmuir Pro when i had it.
2 Likes
Have that monitor on my pro and it works great. You’re going to love it.
1 Like
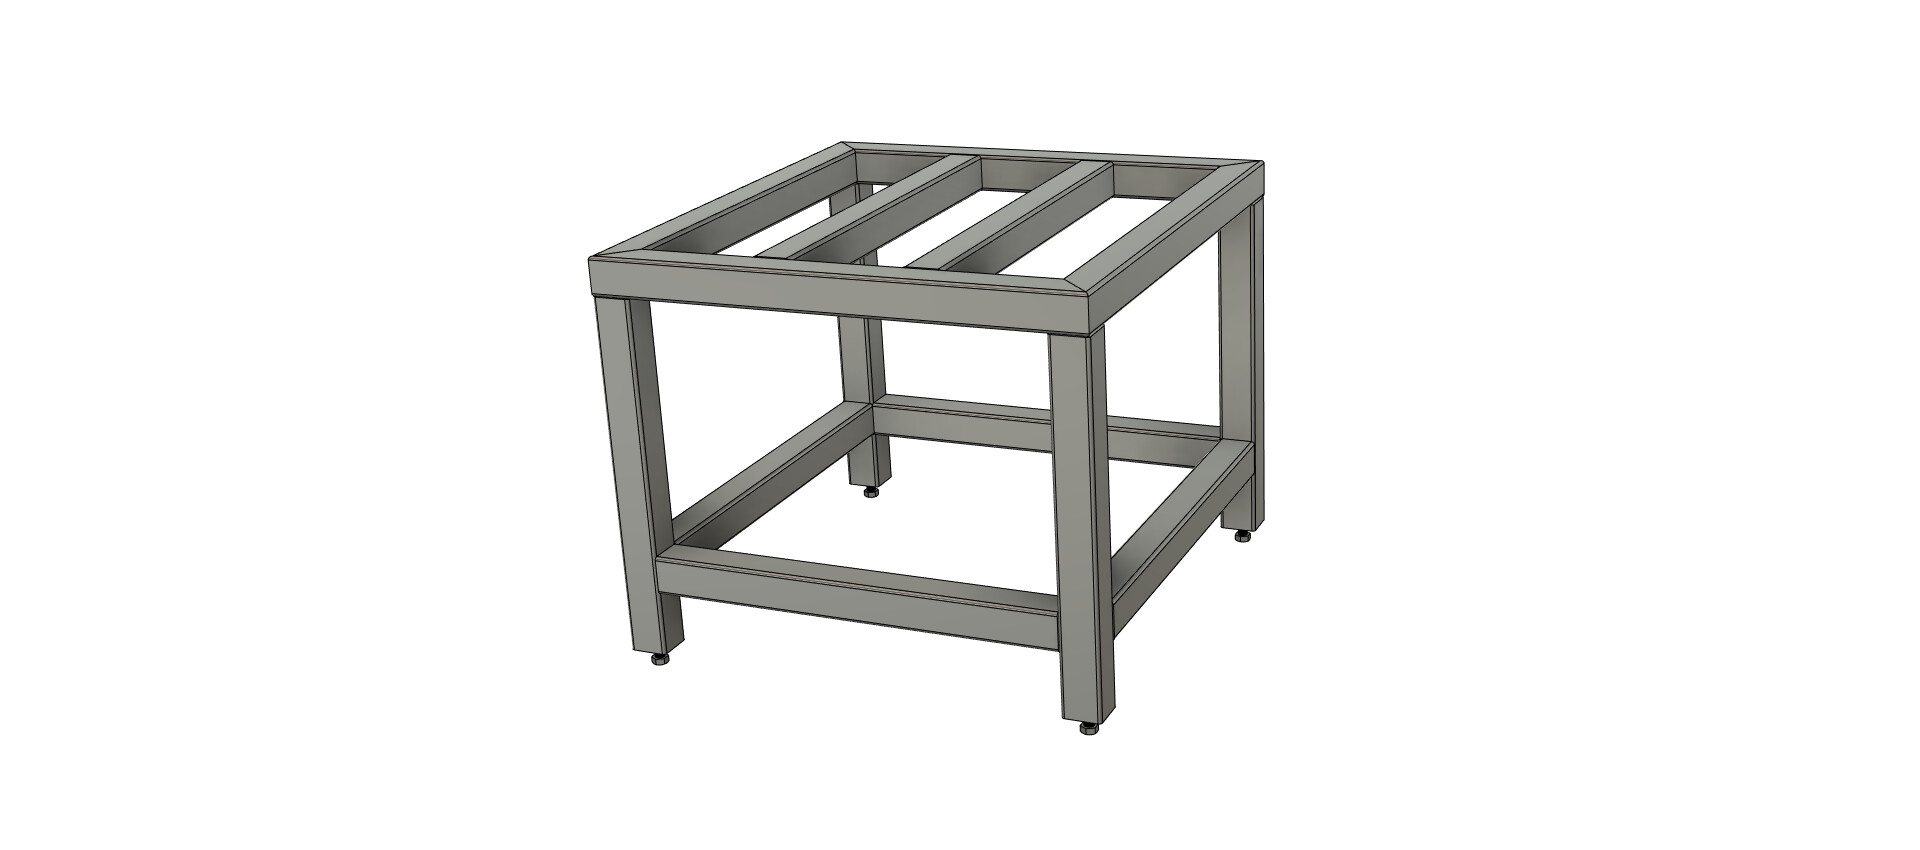
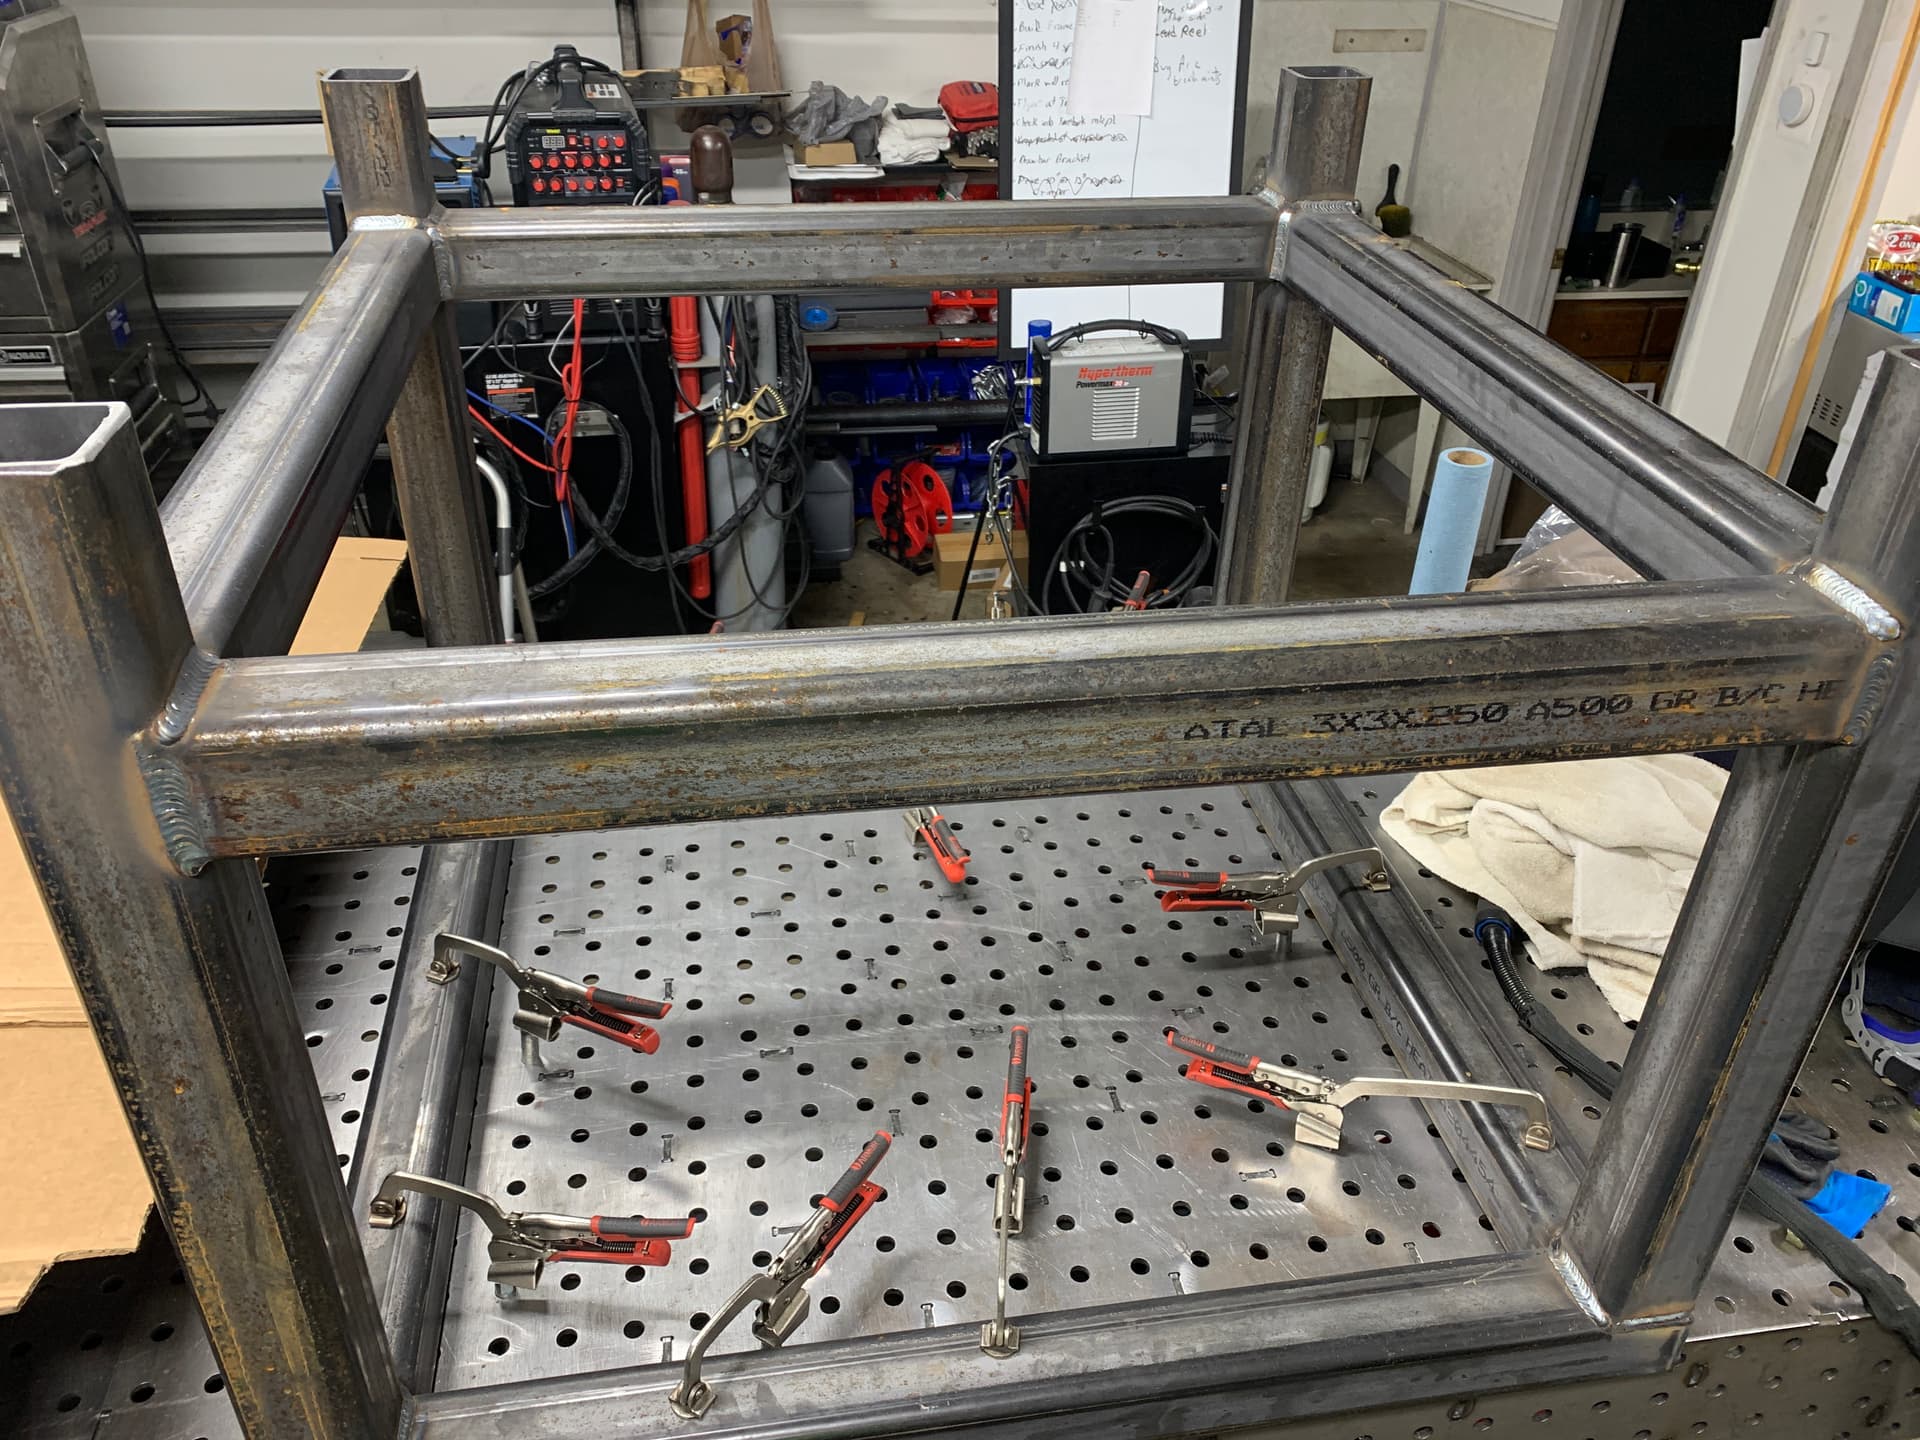
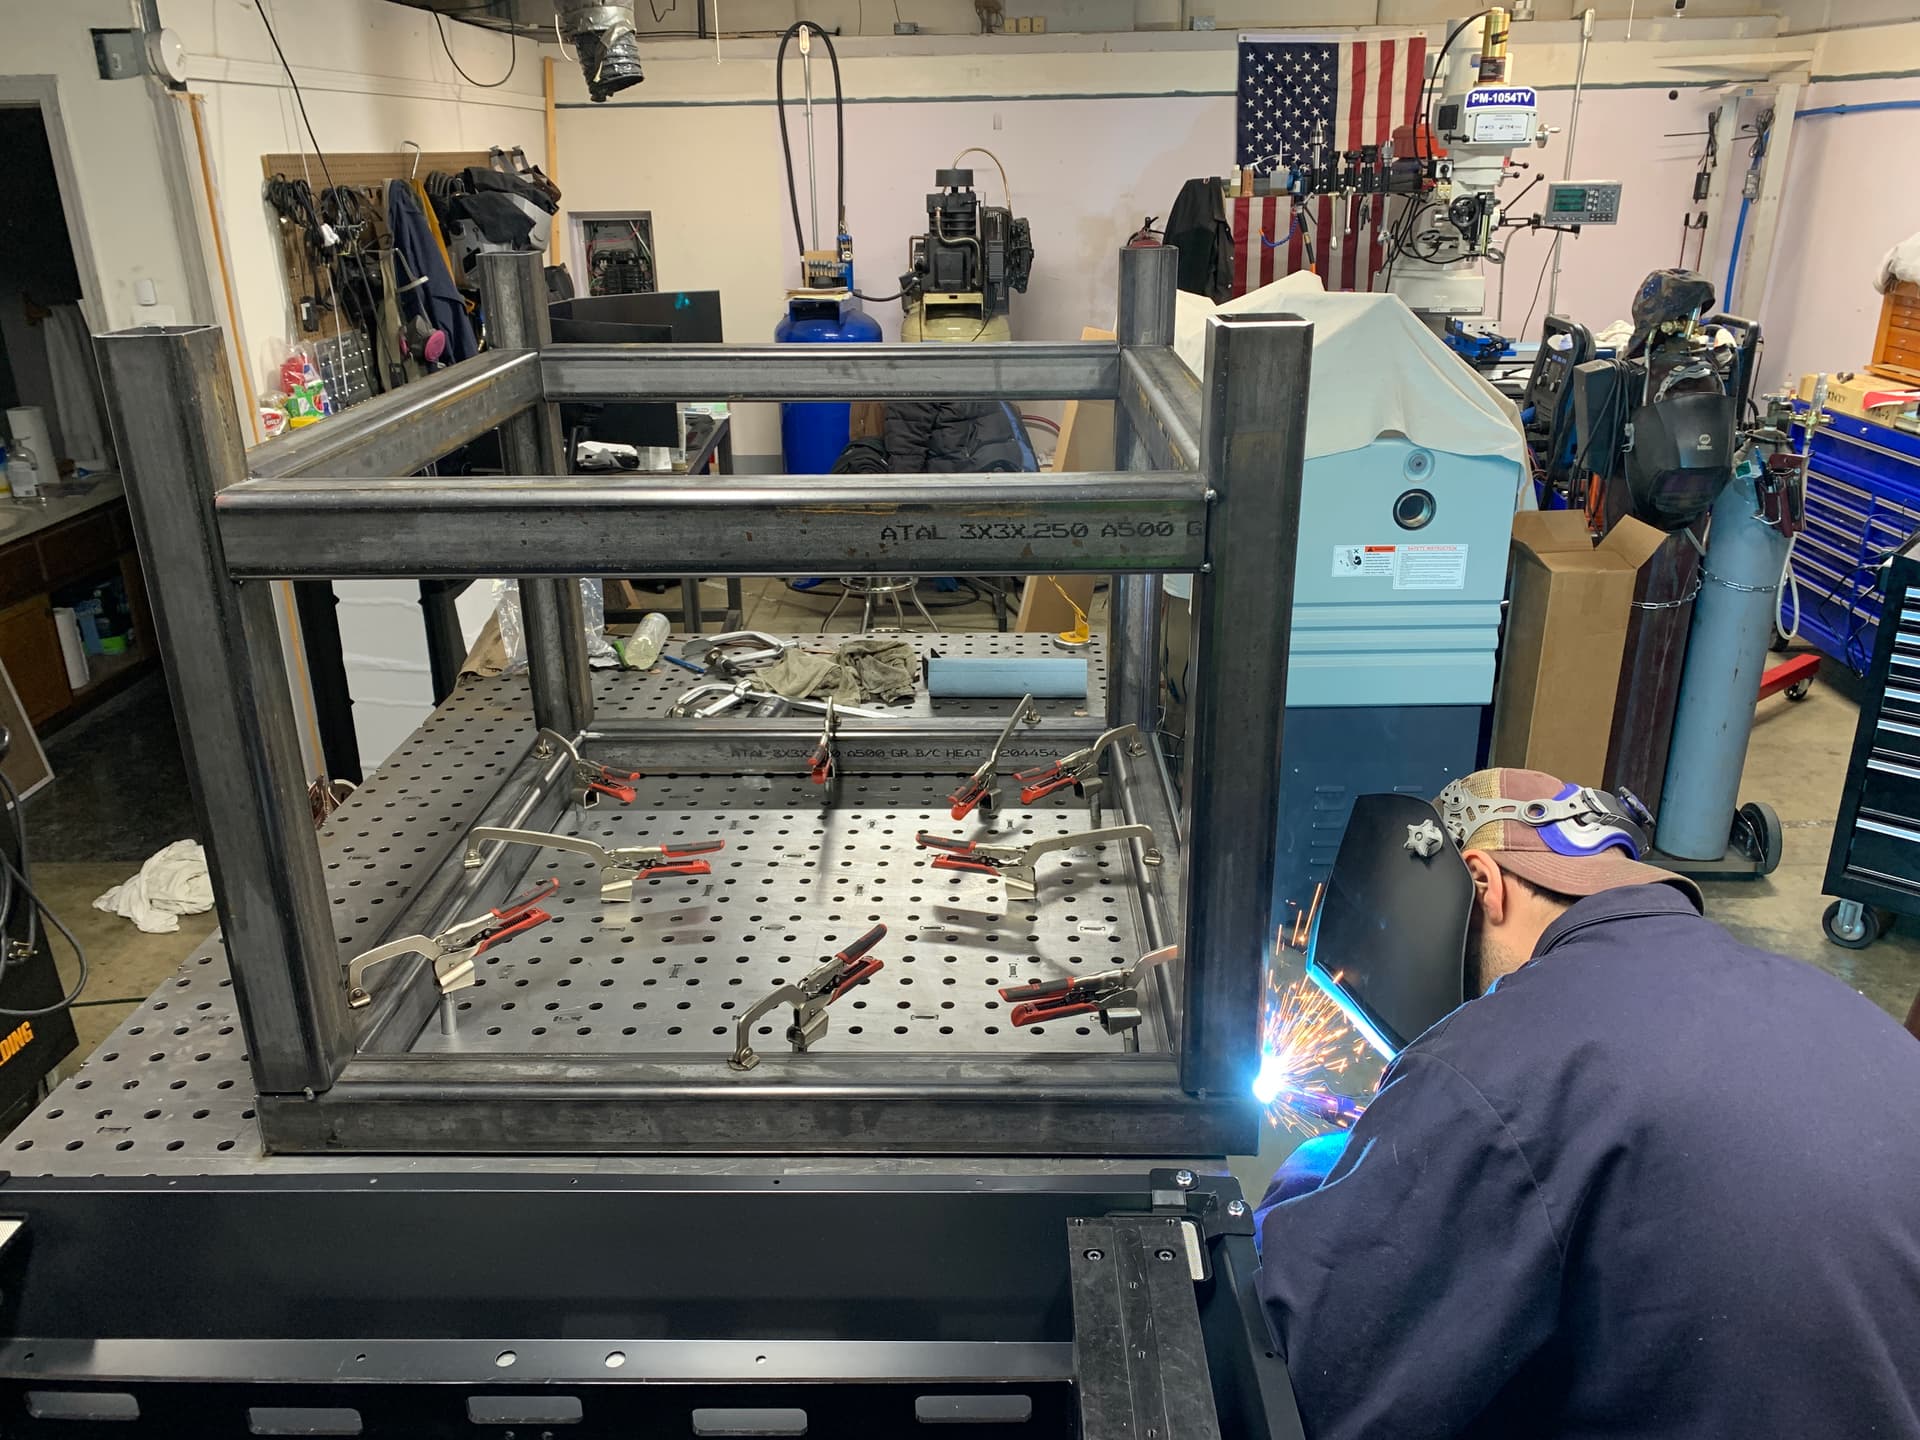
Working on making a new base to replace the legs on the MR-1. Will be made out of 3 x 3 square tubing .25 wall thickness. Will add a lot more weight which will be good for rigidity.

6 Likes


That is one serious stand for an MR-1……
1 Like
Nice job. No shaking and shuttering with that set of legs…
1 Like
A guy I know made a stand for his benchtop mill somewhat similar and he filled the legs with sand as well to add some more damping/weight. Might be worth the effort, might not
2 Likes
Damn that’s a good idea
1 Like
Weight is your friend in CNC………![]()
2 Likes
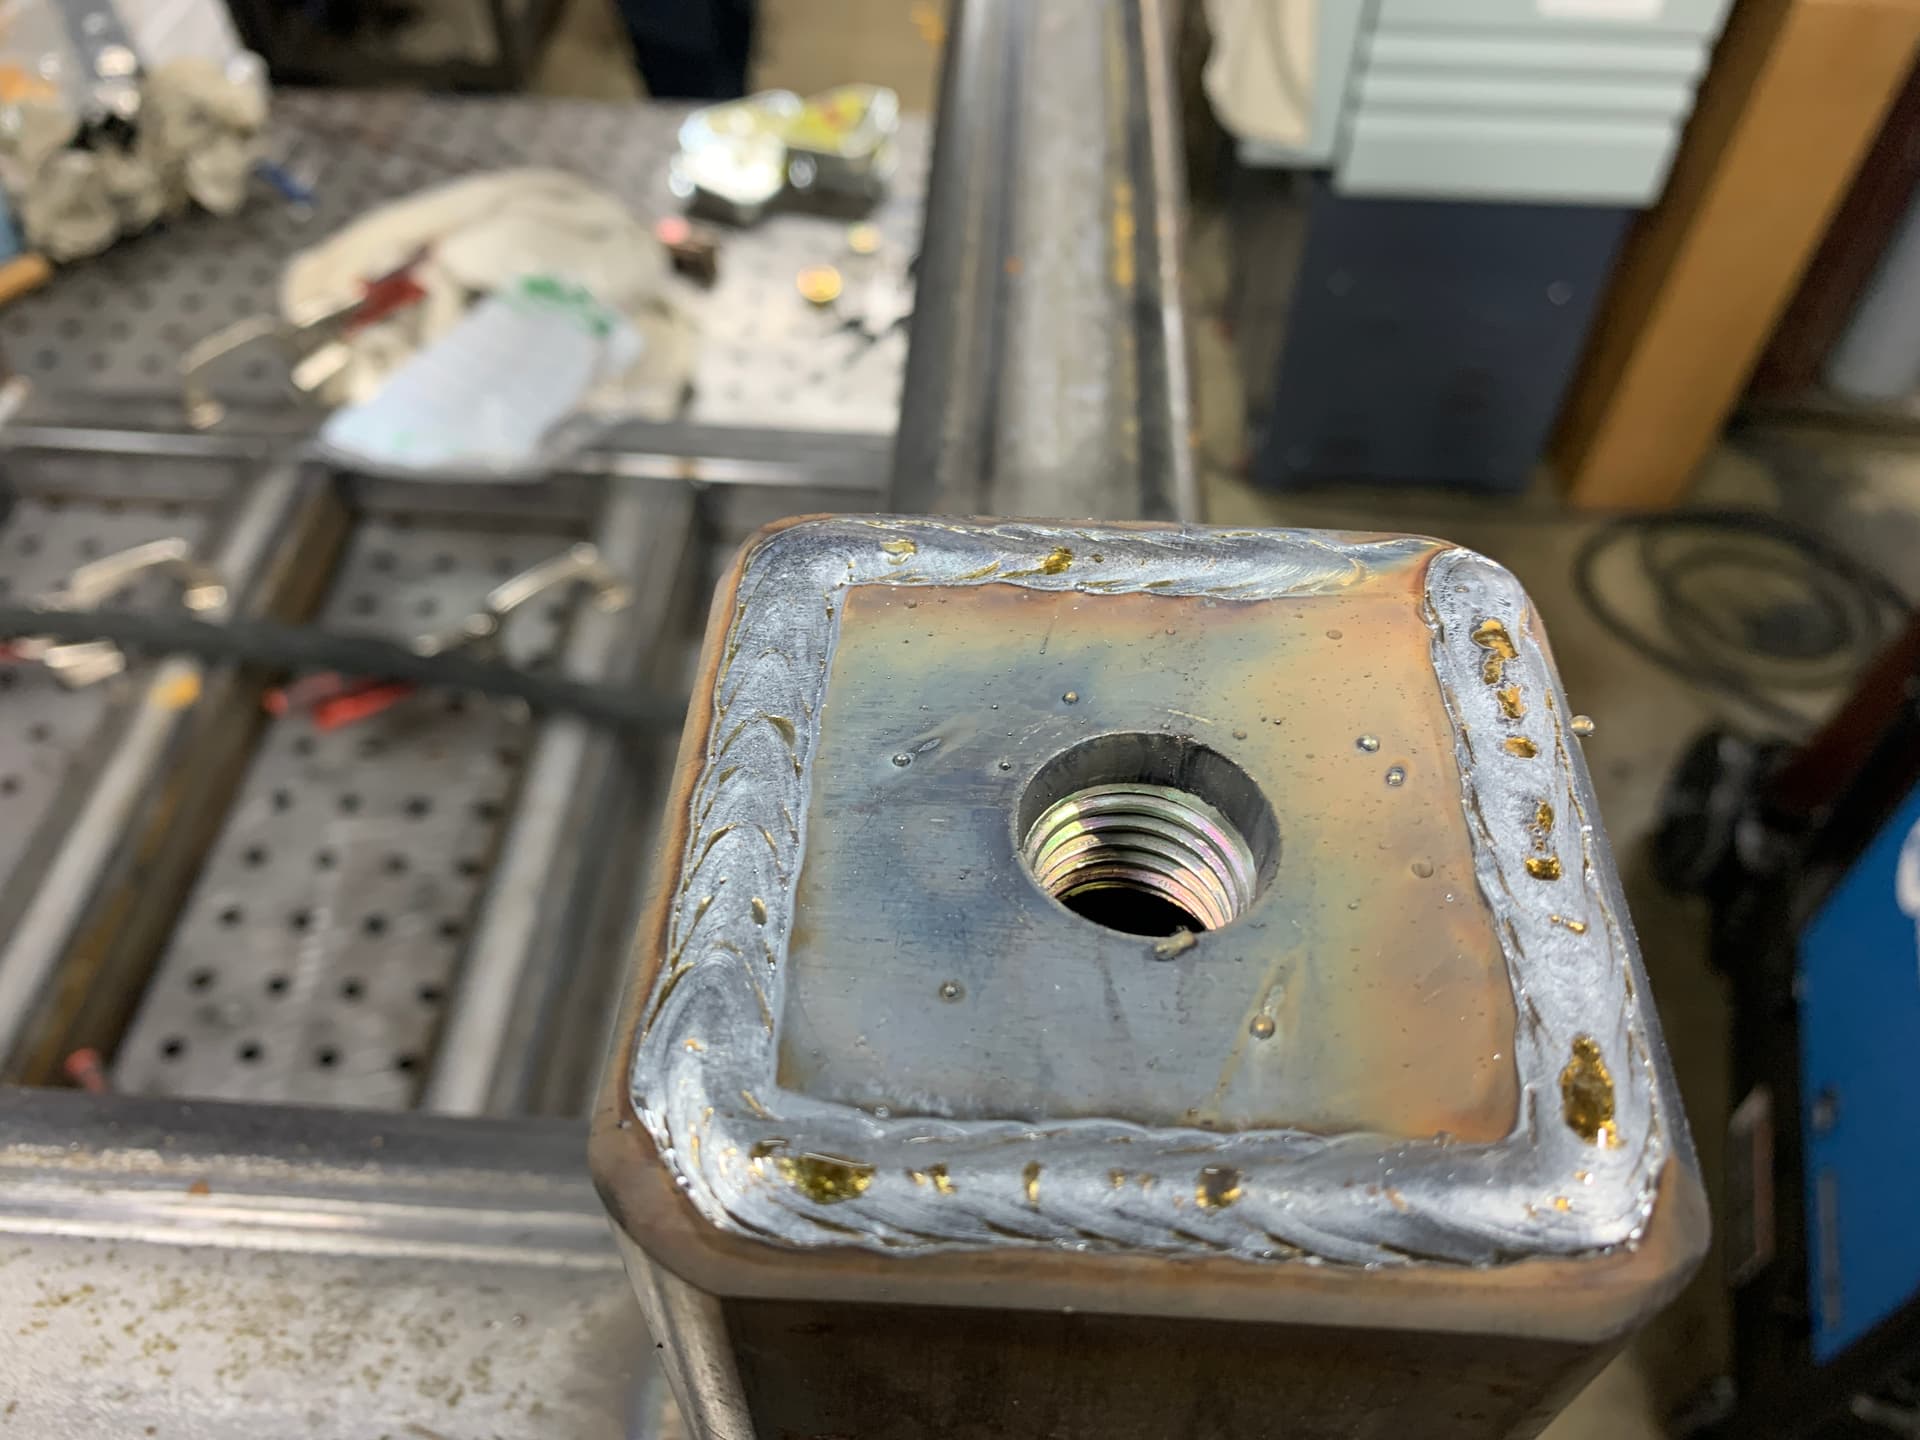
Well, got the stand completed and fitted the pan. Looks like all the measurements are correct. Now to mark the holes and drill and tap for the pan screws.


6 Likes
Only downside to that is youll never be able to separate the pan from the base if you need to. Maybe weld some studs to the pan and use clearance holes through the tube?
Excellent welding my man. Came out great.
Got to give the credit to my Middle son on those welds. ![]()
3 Likes
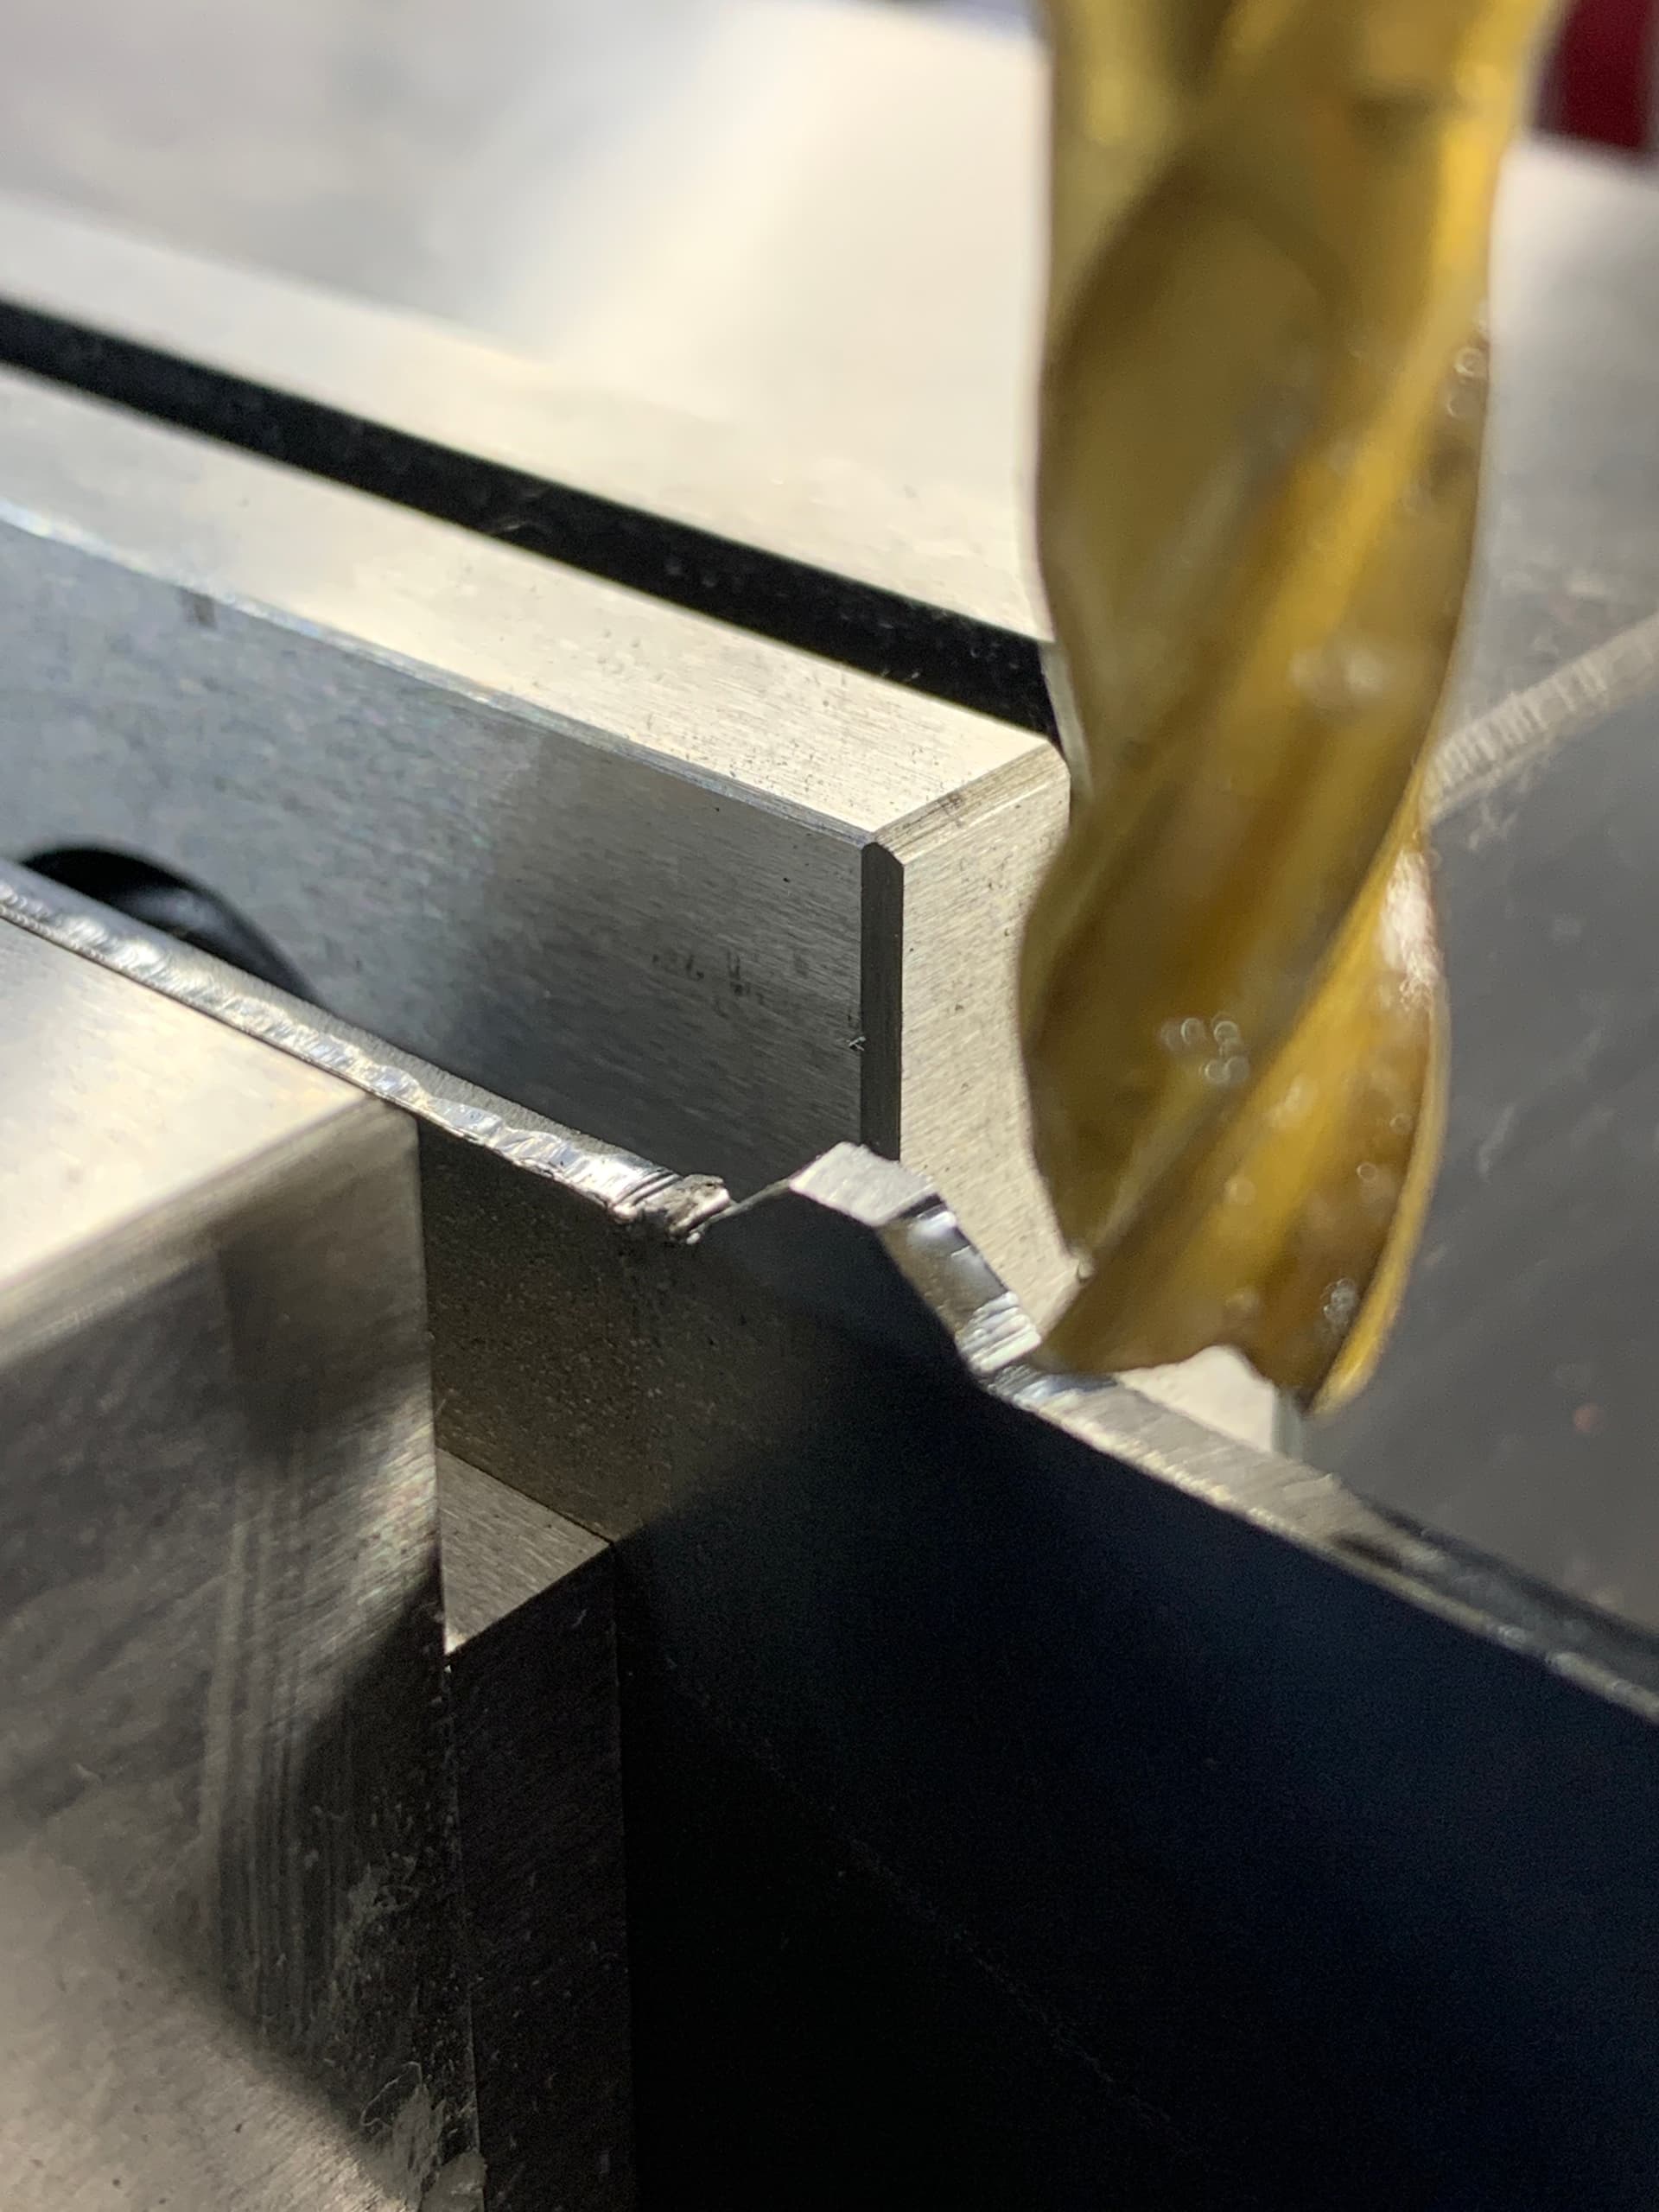
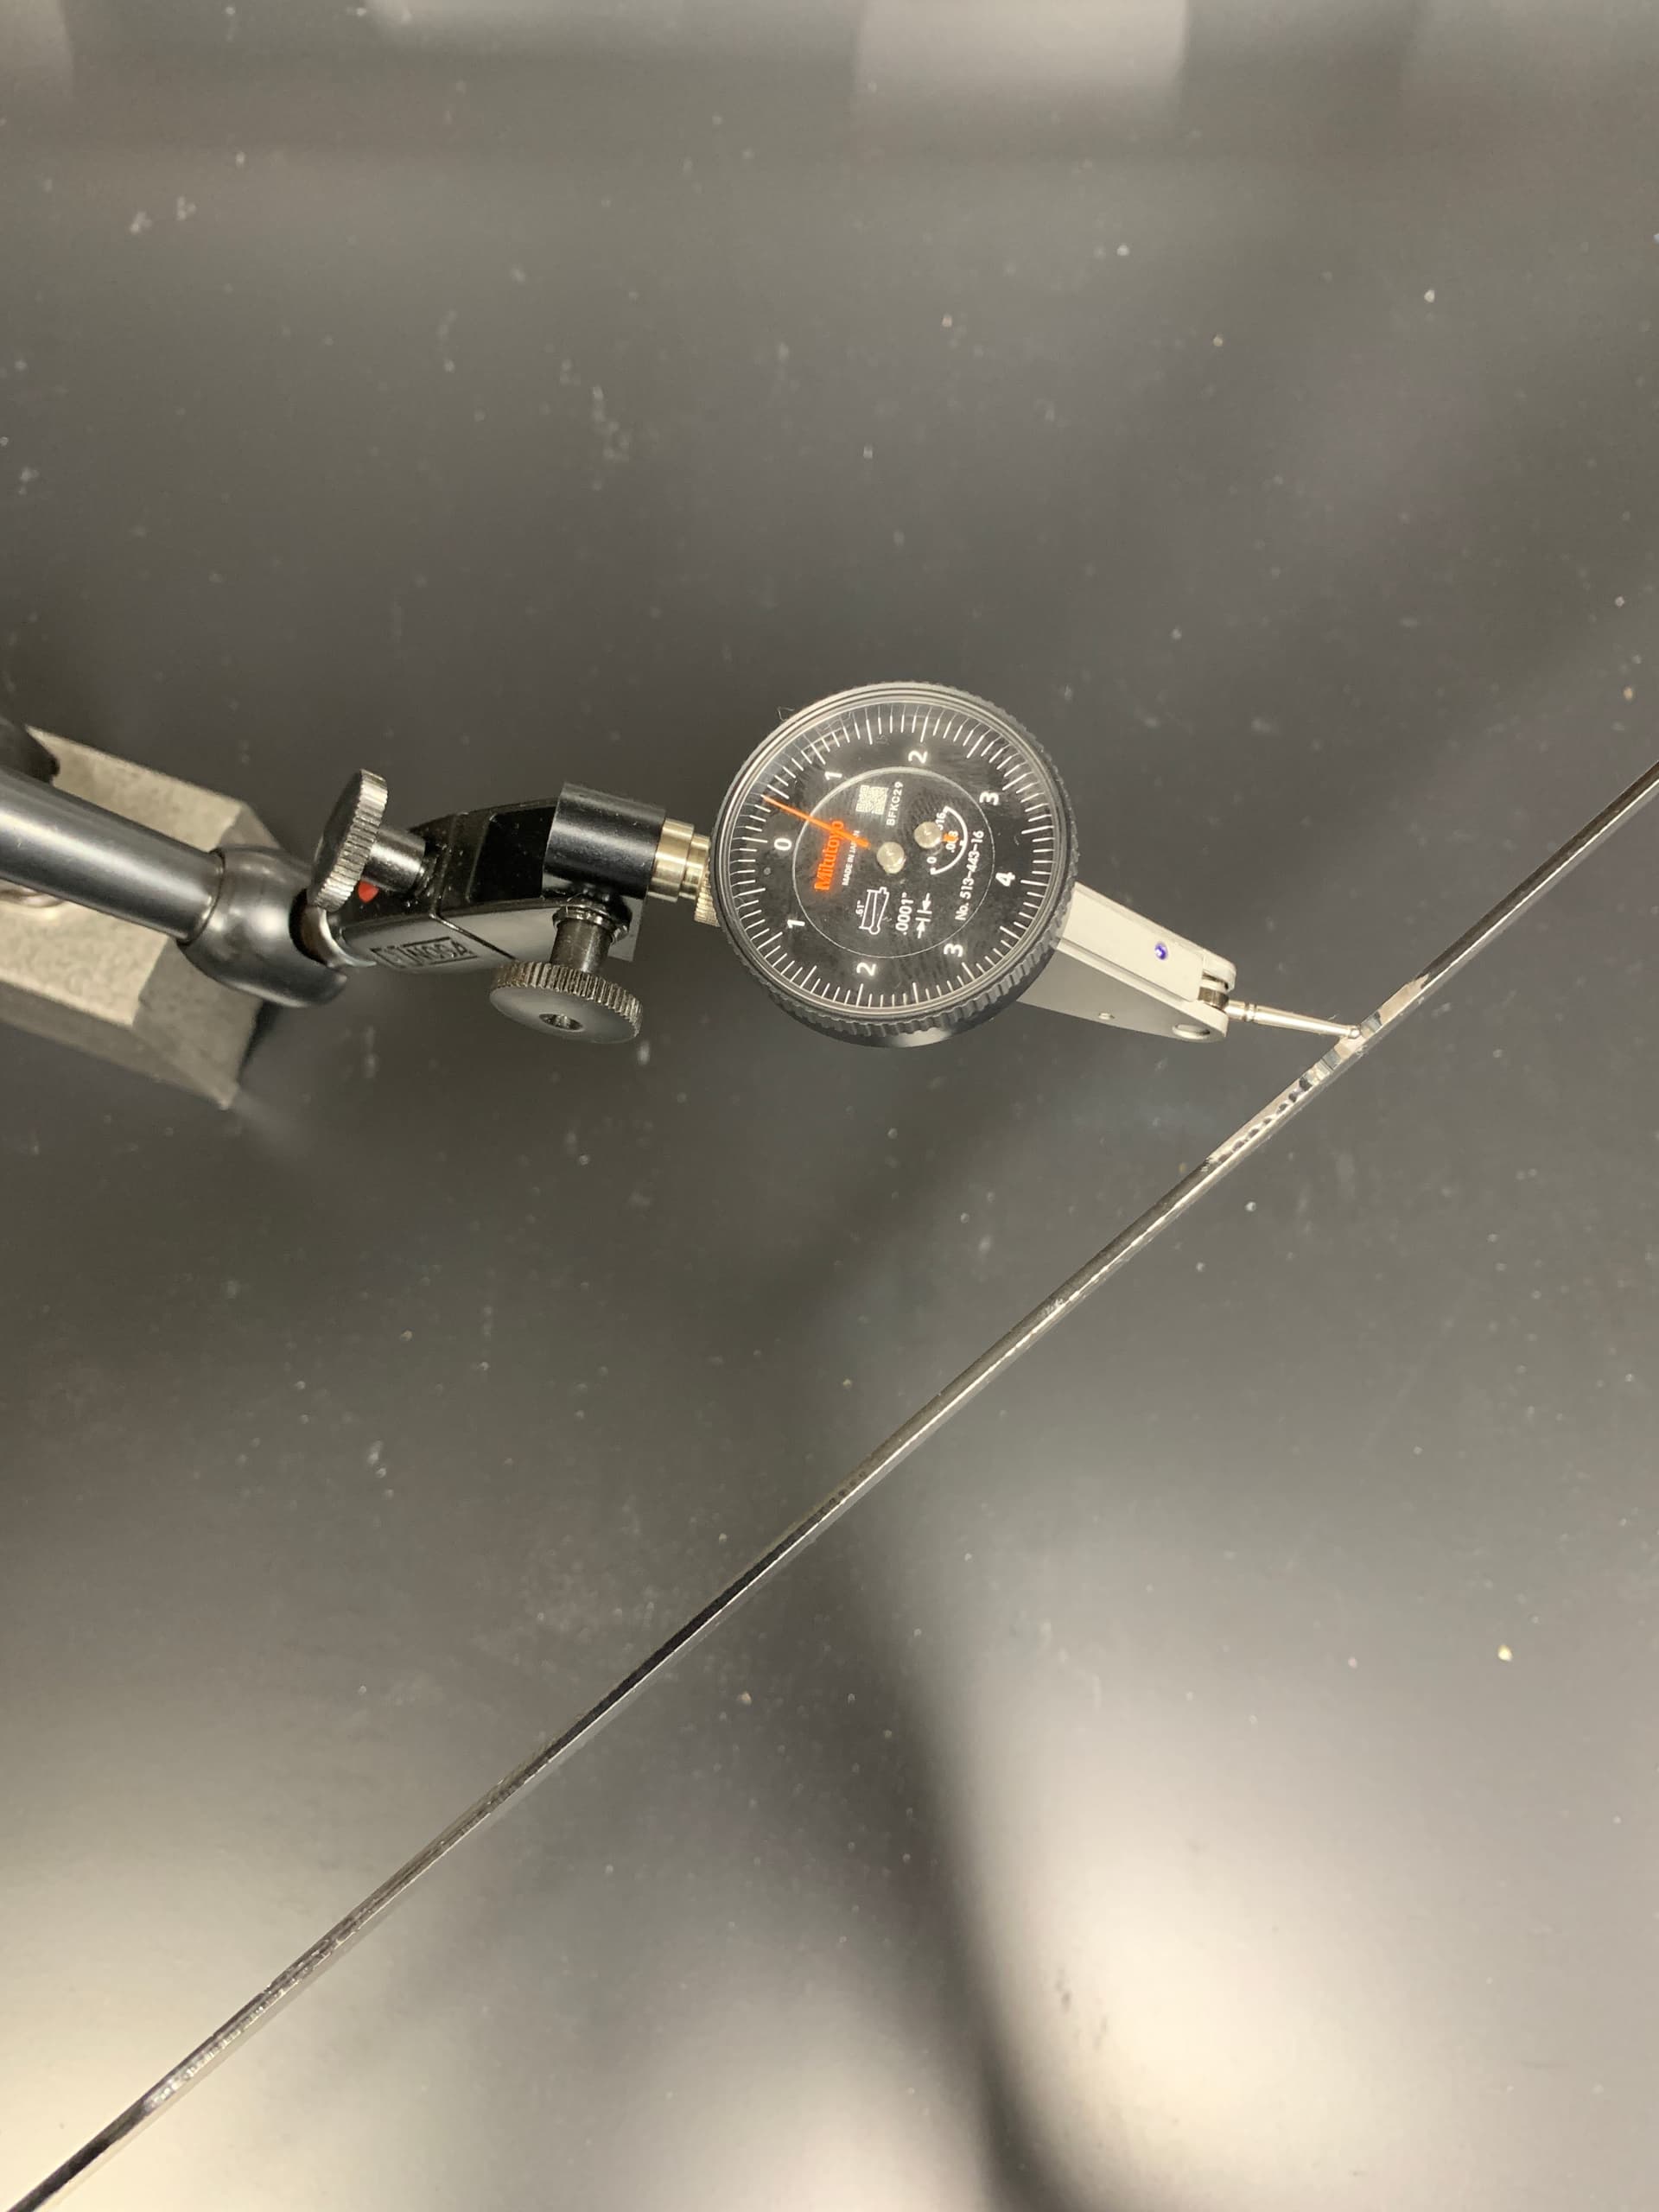
Sooooo…I started playing with coplanarity and found that my Coplanarity gage that was sent, the laser cut dimple(if that is what you call it) was cut terribly. I checked it on my surface table and found it had a rise of 6 thousandths, so there was no way to try and use that in my opinion. Lucky for me, i have a mill and milled it down .008 and got it perfectly flat, Should be a more accurate reading now when I do the check for real. For those of you that have a mill, I suggest checking yours as well and milling. Just trying to get the most accurate table that I can.
Before machining…

After Machining…
1 Like
Here is a test run, before concrete of course. I have figured a way to adjust the coplanarity with out using shims, I think…LOL.

2 Likes
Thanks for sharing. Just a PSA that we mention in our manual to file this nub flat if needed during assembly; it will achieve practically the same result.
1 Like