There are a number of posts / threads here about leaks in the piece water tray design.
From a shipping / convenience / cost perspective, it makes sense that Langmuir uses this design but it certainly seems to be one of the most common areas for complaints and issues.
Came across this YouTube video this morning:
It starts out as a maintenance and cleaning video, but ends up being a full water tray swap due to numerous leaks induced during the cleanup and drain mod processes.
Starting with a clean-sheet design seems like it would offer a couple of advantages:
Fastening method could be designed to remove ALL through-hole mounting screws which could eventually cause leaks
Removing the center seam (2-piece) eliminates the problems with sealing that properly
New design could use a single center-mounted drain with a flush mounted flange for better cleanout
Tray could be designed slightly oversized (and with taller or reshaped side walls?) to help contain “splashouts” on cuts where the torch runs close to the edges of the table.
I’m sure the cost to have a nice stainless tray cut and formed would not be trivial, but given that the CrossFire PRO is such a cost-effective machine… even after spending some extra money on an upgraded 1-piece water table, the total build cost is still far less than other competing products and eliminates the single largest complaint that people seem to have about this product… leaks.
Has this already been done? My Search-Fu didn’t find anything obvious, but I’m still new around here and may not have found the FAQ or the “Ultimate Mods” type threads yet.
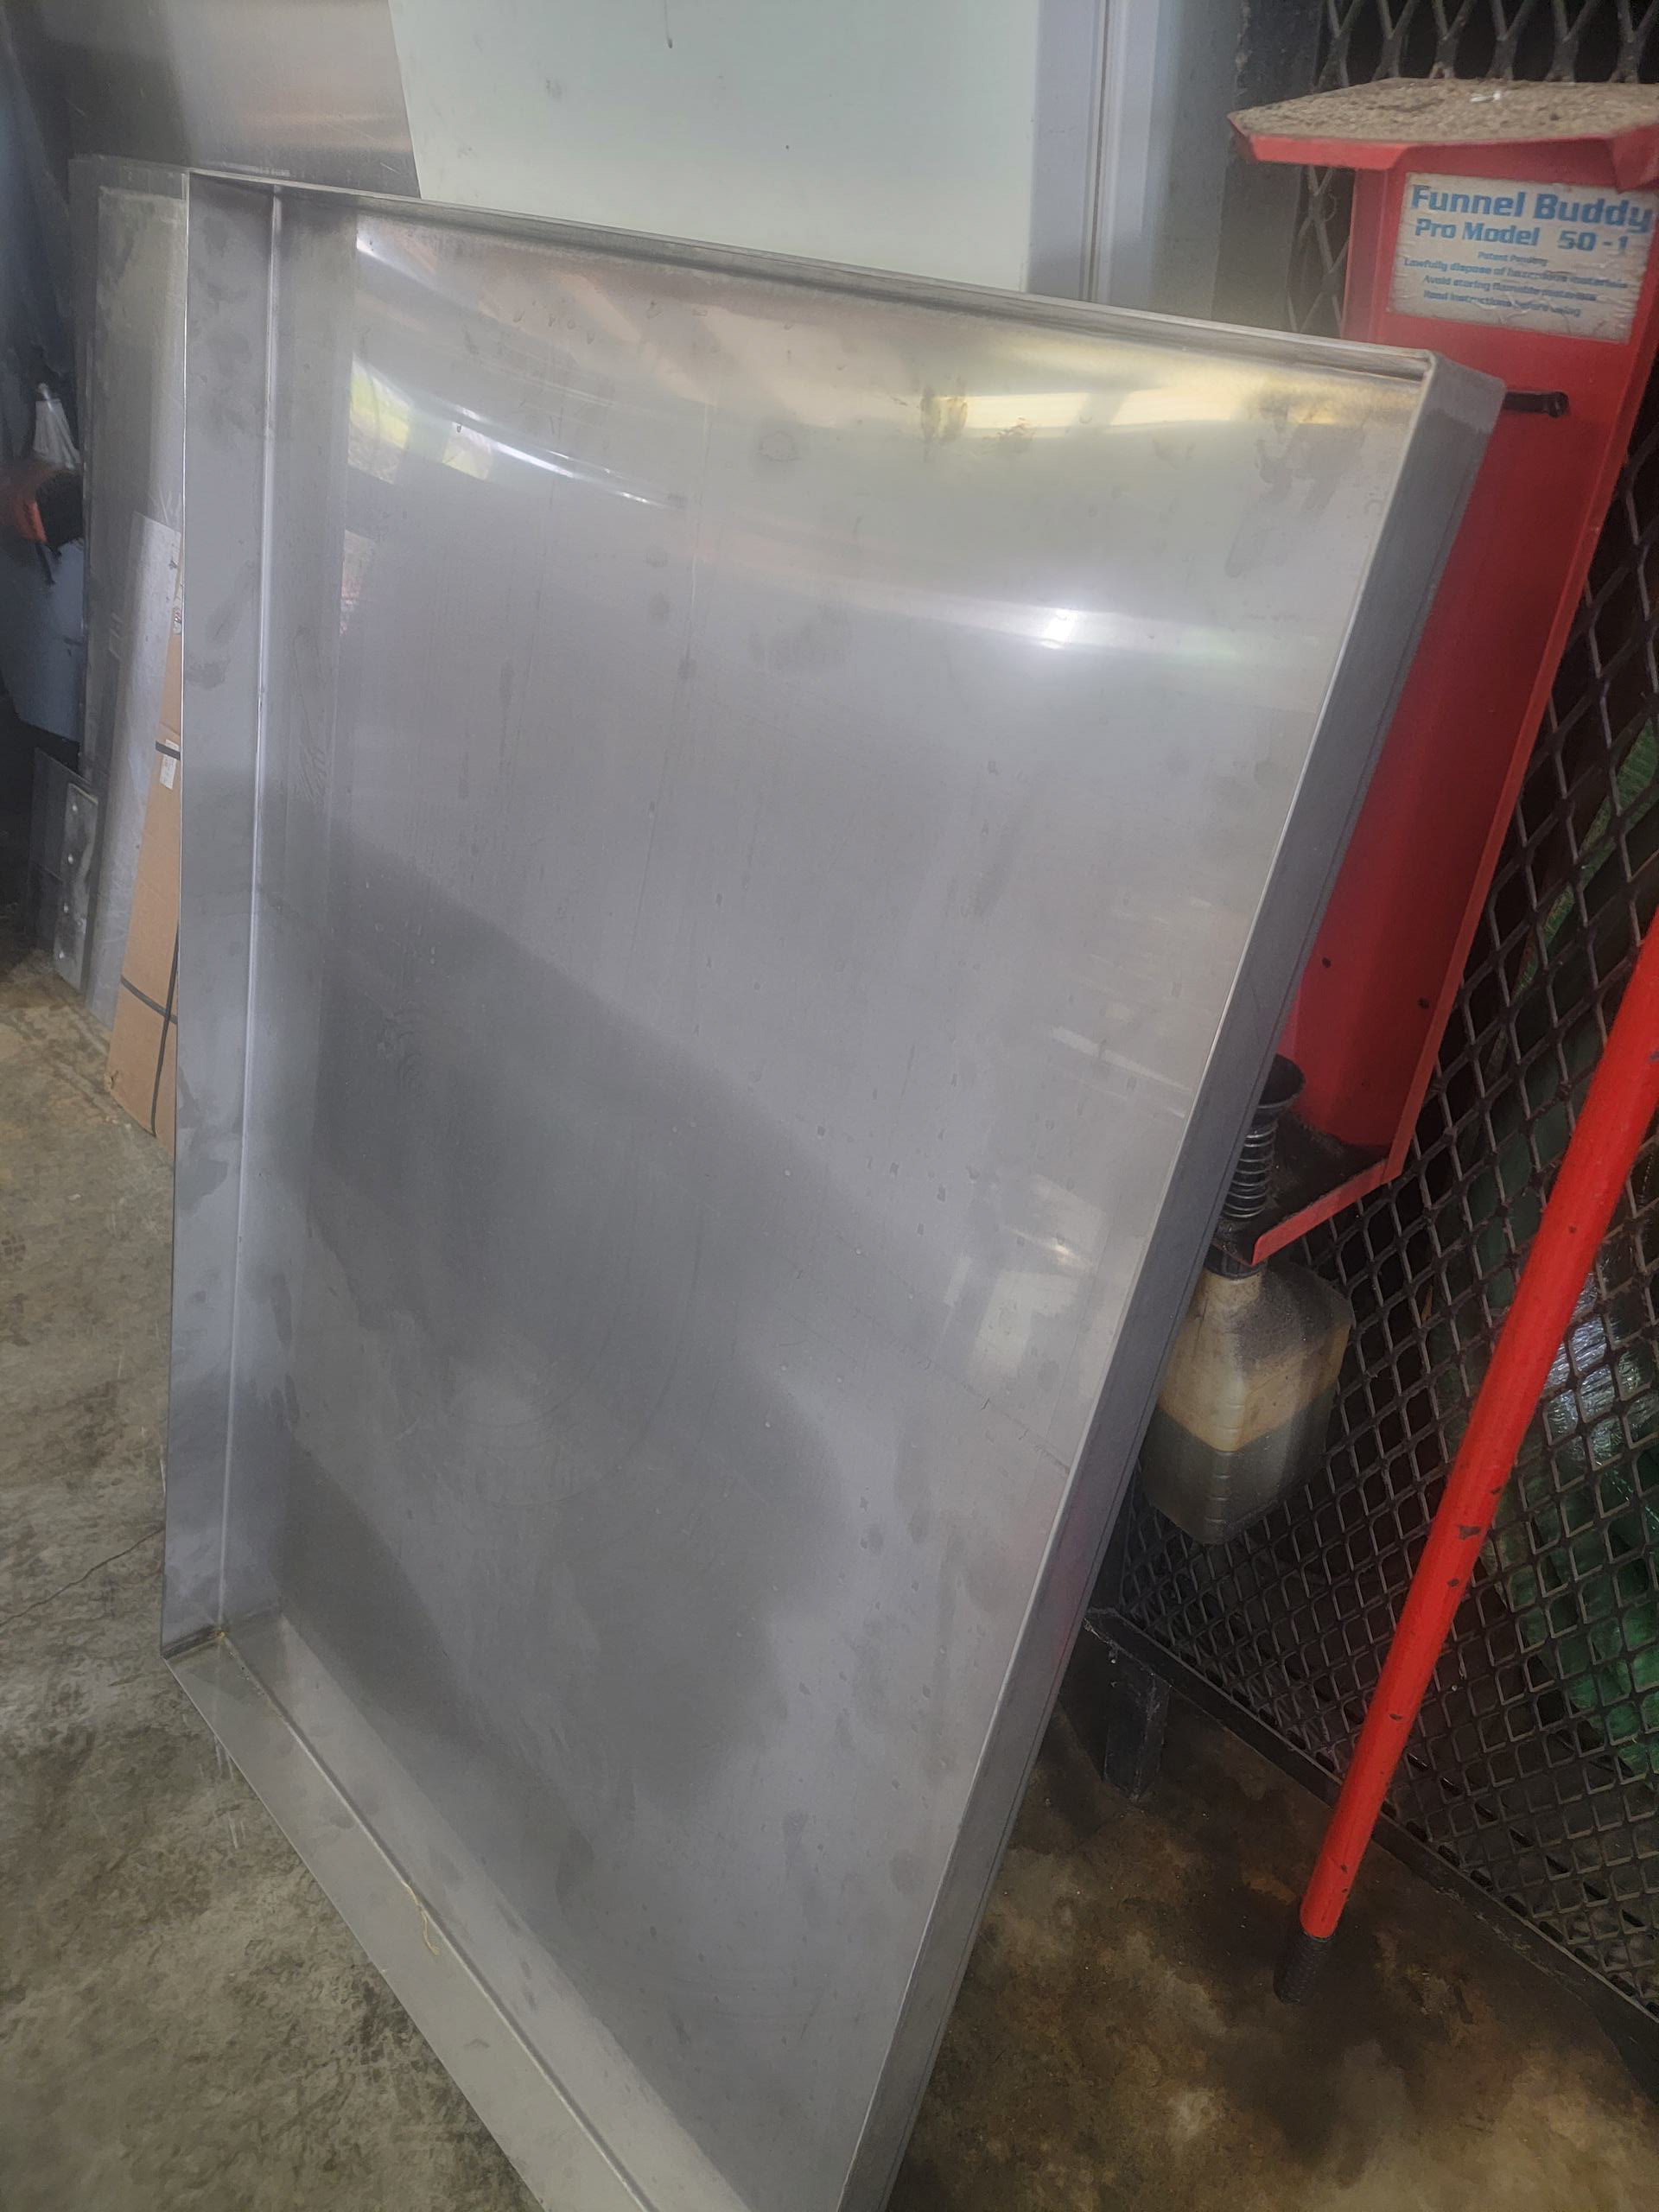
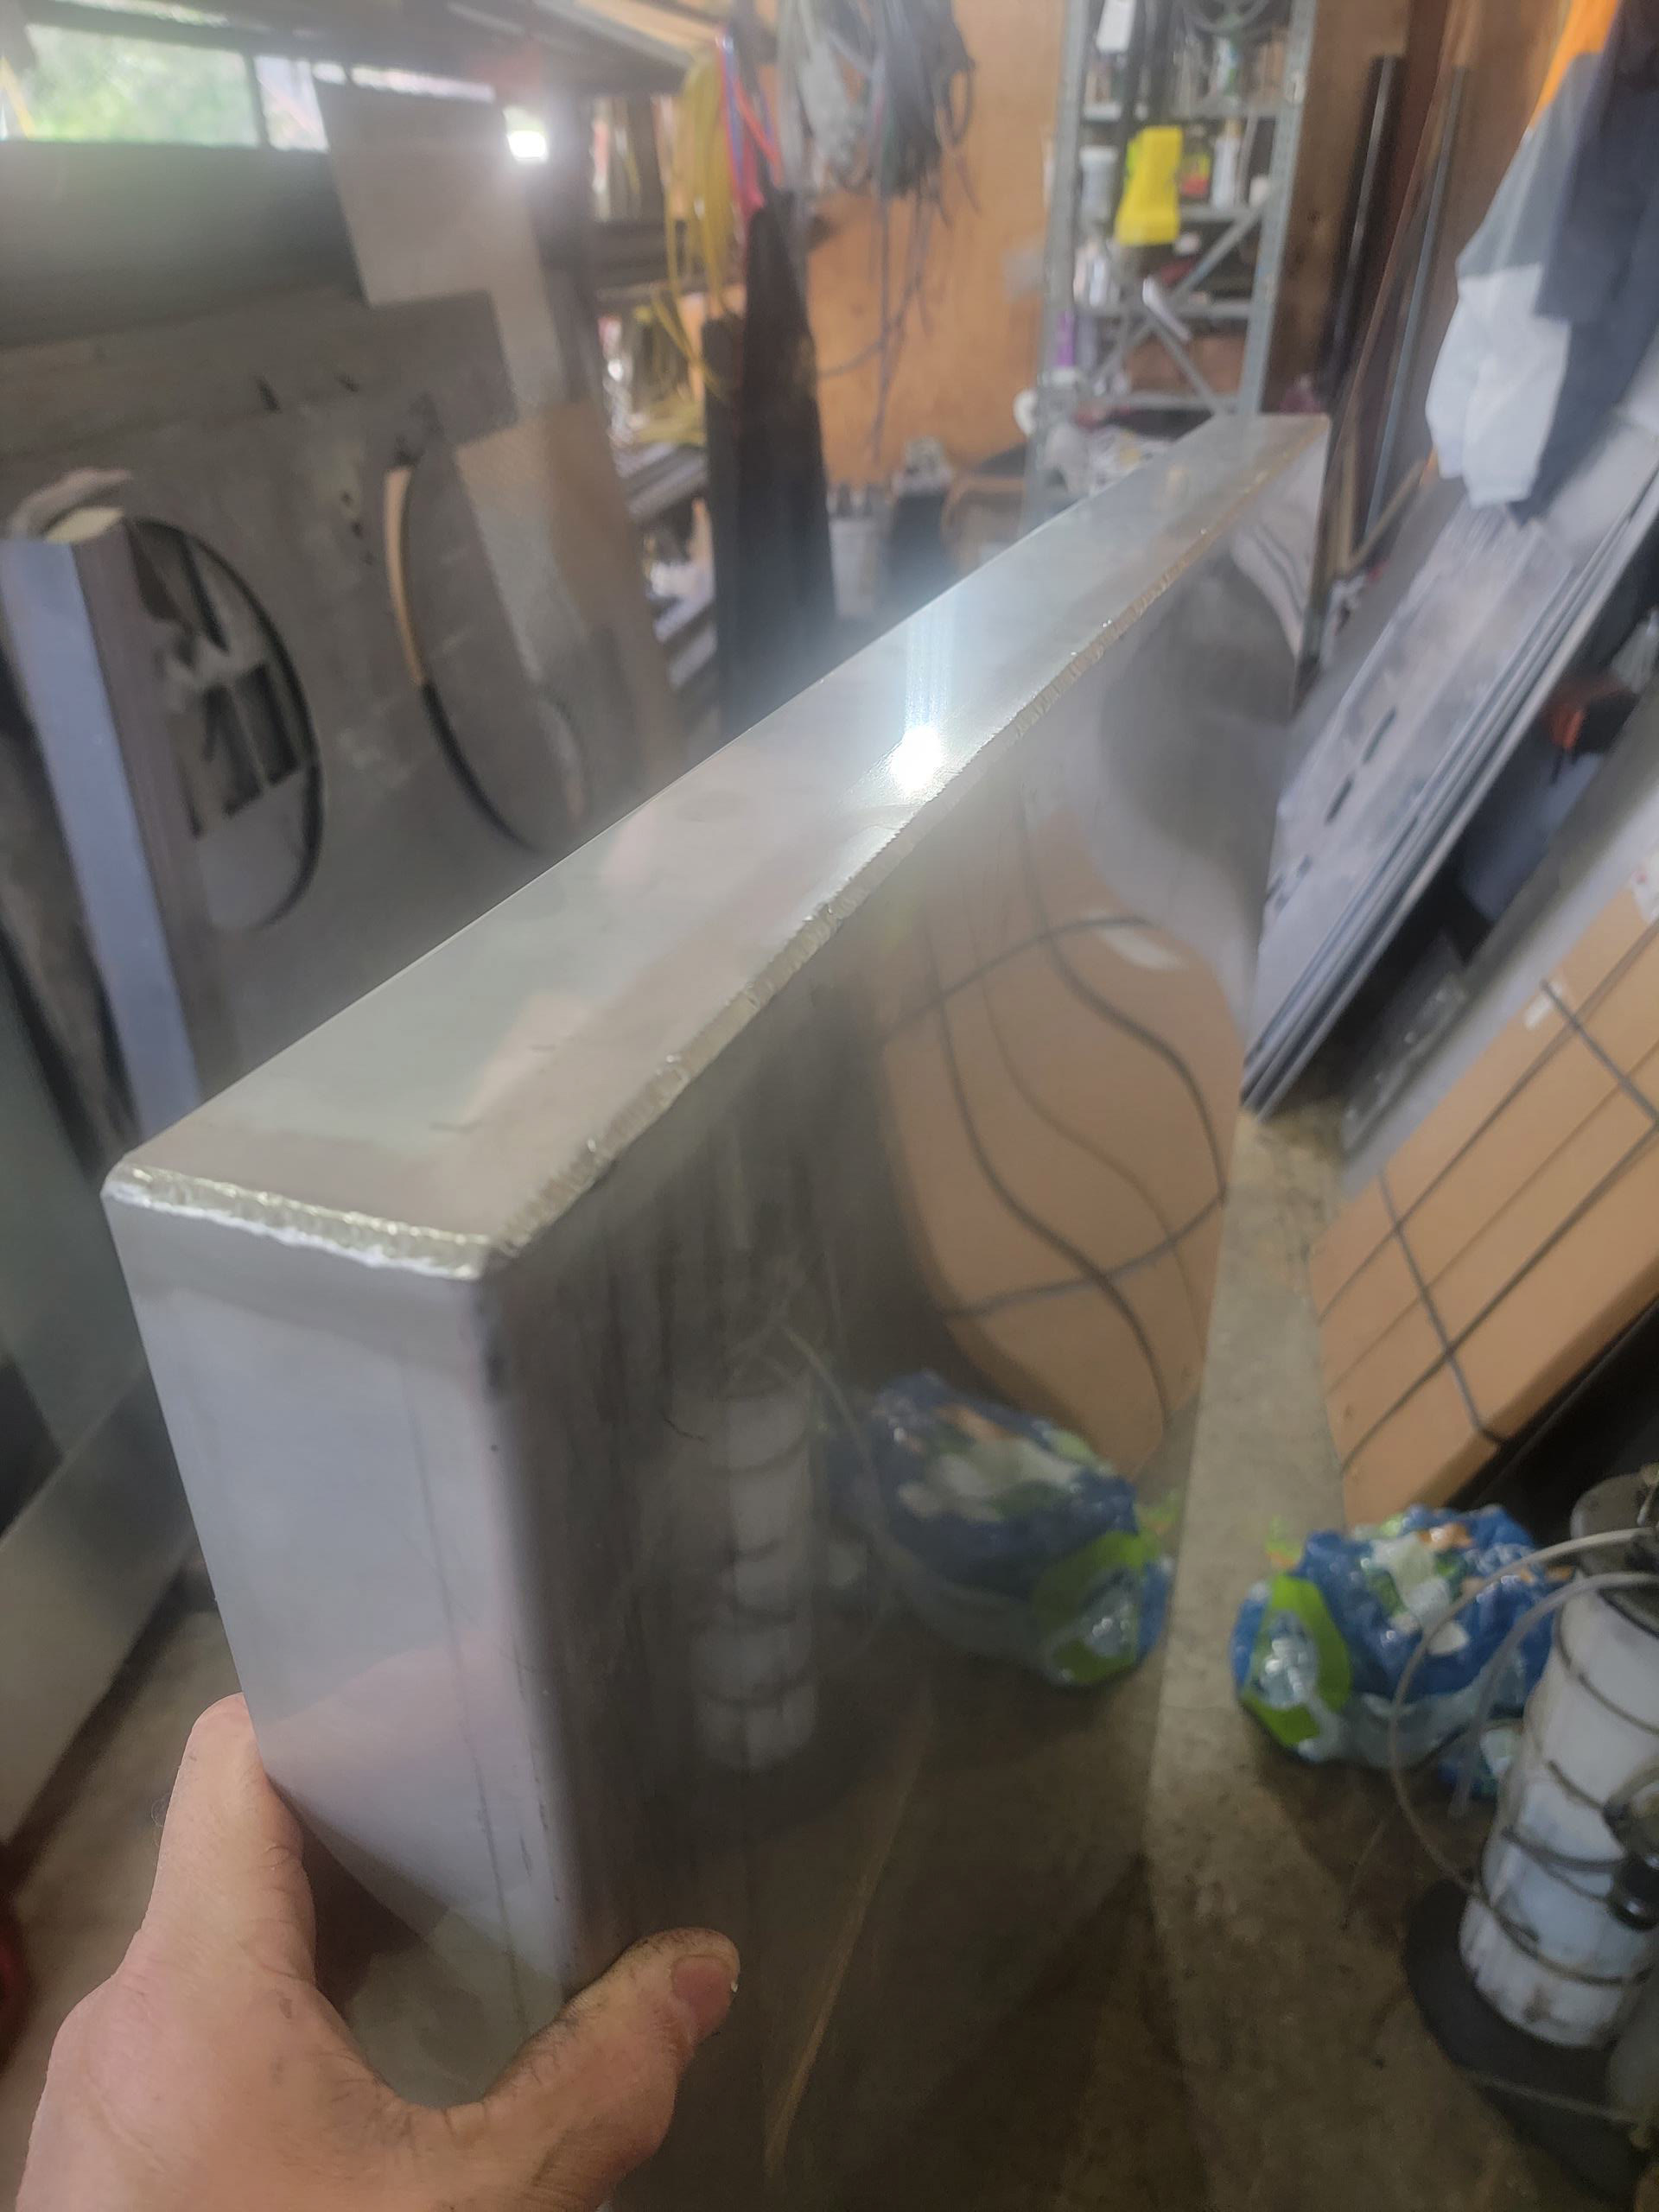
Made this one several months ago out of 11ga 316ss. Very easy if you have a large brake and can tig weld. Be aware that a sheet of 316 ss is like $600.
That one piece water tray looks great, I originally planned on making a one piece water table when I first assembled my pro but ended up using the one it came with. I have zero leaks with the two piece tray. When it came to the water tray I decided to install it my own way. I used automotive panel bond instead of silicone and I used stainless steel hardware when bolting the halves together. I also used stainless pop rivets down low on the flange but I should of just used my spot welder. After doing that it is probably just as solid as a one piece tray. Instead of using the sheet metal screws to hold the tray down I used stainless steel toilet tank bolts I had laying around and they are long enough to go all the way through the frame rail. One day I will build a new tray, I have a pile of scrap stainless sheets from restaurant commercial kitchens. I previously did work for a demolition company doing all the electrical disconnections and isolation work so whenever they get a restaurant job I go in and salvage whatever stainless I can first.
When I built my table, I didn’t like the design so I drilled the 2 halves for 1/4 inch bolts. Used 1/4 inch SS with nylon locking nuts and fender washers plus sealant. Have not had any problem with leaks.
I used Right Stuff. You can get a Cheeze-whiz style can from Autozone. Easy-peasy. A442 is still a silicone product, but WAY tougher (and harder to take apart) than Right Stuff. Probably the best seal you’ll ever get, and still be able to take it apart without ruining the metal parts you sealed with it (usually…). Panel bond, like someone else said they used, shouldn’t even need fasteners if applied correctly… It holds your car together during a wreck. But it’s pretty much permanent, so make sure you have it together the way you want it to be forever, before doing that.
I would have happily paid for a ‘1-piece stainless pan with flush mount drain’ upgrade at the time of purchase… I thought the 2-piece pan looked like both a hassle (2 drains) and a source of leaks, before they ever shipped the first one. And a 1-piece pan would be cheaper to manufacture. On the other hand, they have their reasons (some pretty good reasons) for the 2-piece pan being the standard package. It is what it is. First time mine drips 1 drop, I’m making a 1-piece pan. Or whenever I decide the hassle of the 2 drains outweighs the investment to make one.
I put mine together per the instructions. It leaked. I tried TIG fusion welding the seam from the top side but couldn’t get down in some of the trough cutouts for the bolts. Hoped for the best. It leaked. In hindsight, I wish I had cut the seam down to eliminate those troughs and fusion welded it. Or maybe also welded it from the bottom since it’s stainless, no need to worry about water in the seam.
I got some roofing seam sealer made for commercial rubber roofing. BIL works for Firestone. They sell rubber for industrial roofing. Applied that right over the entire seam. No leaks to date (approx 4 months).
I cut a strip from an old welding blanket and laid it over the seam, so when (not if ) Firecontrol freezes over that seam it won’t melt the rubber.
Good advice about cutting the flange down to eliminate those bolt pockets before TIG welding… was already wondering about how effective my welding would be in those fussy areas. Removing them completely is the better option and makes for a simpler weld seam
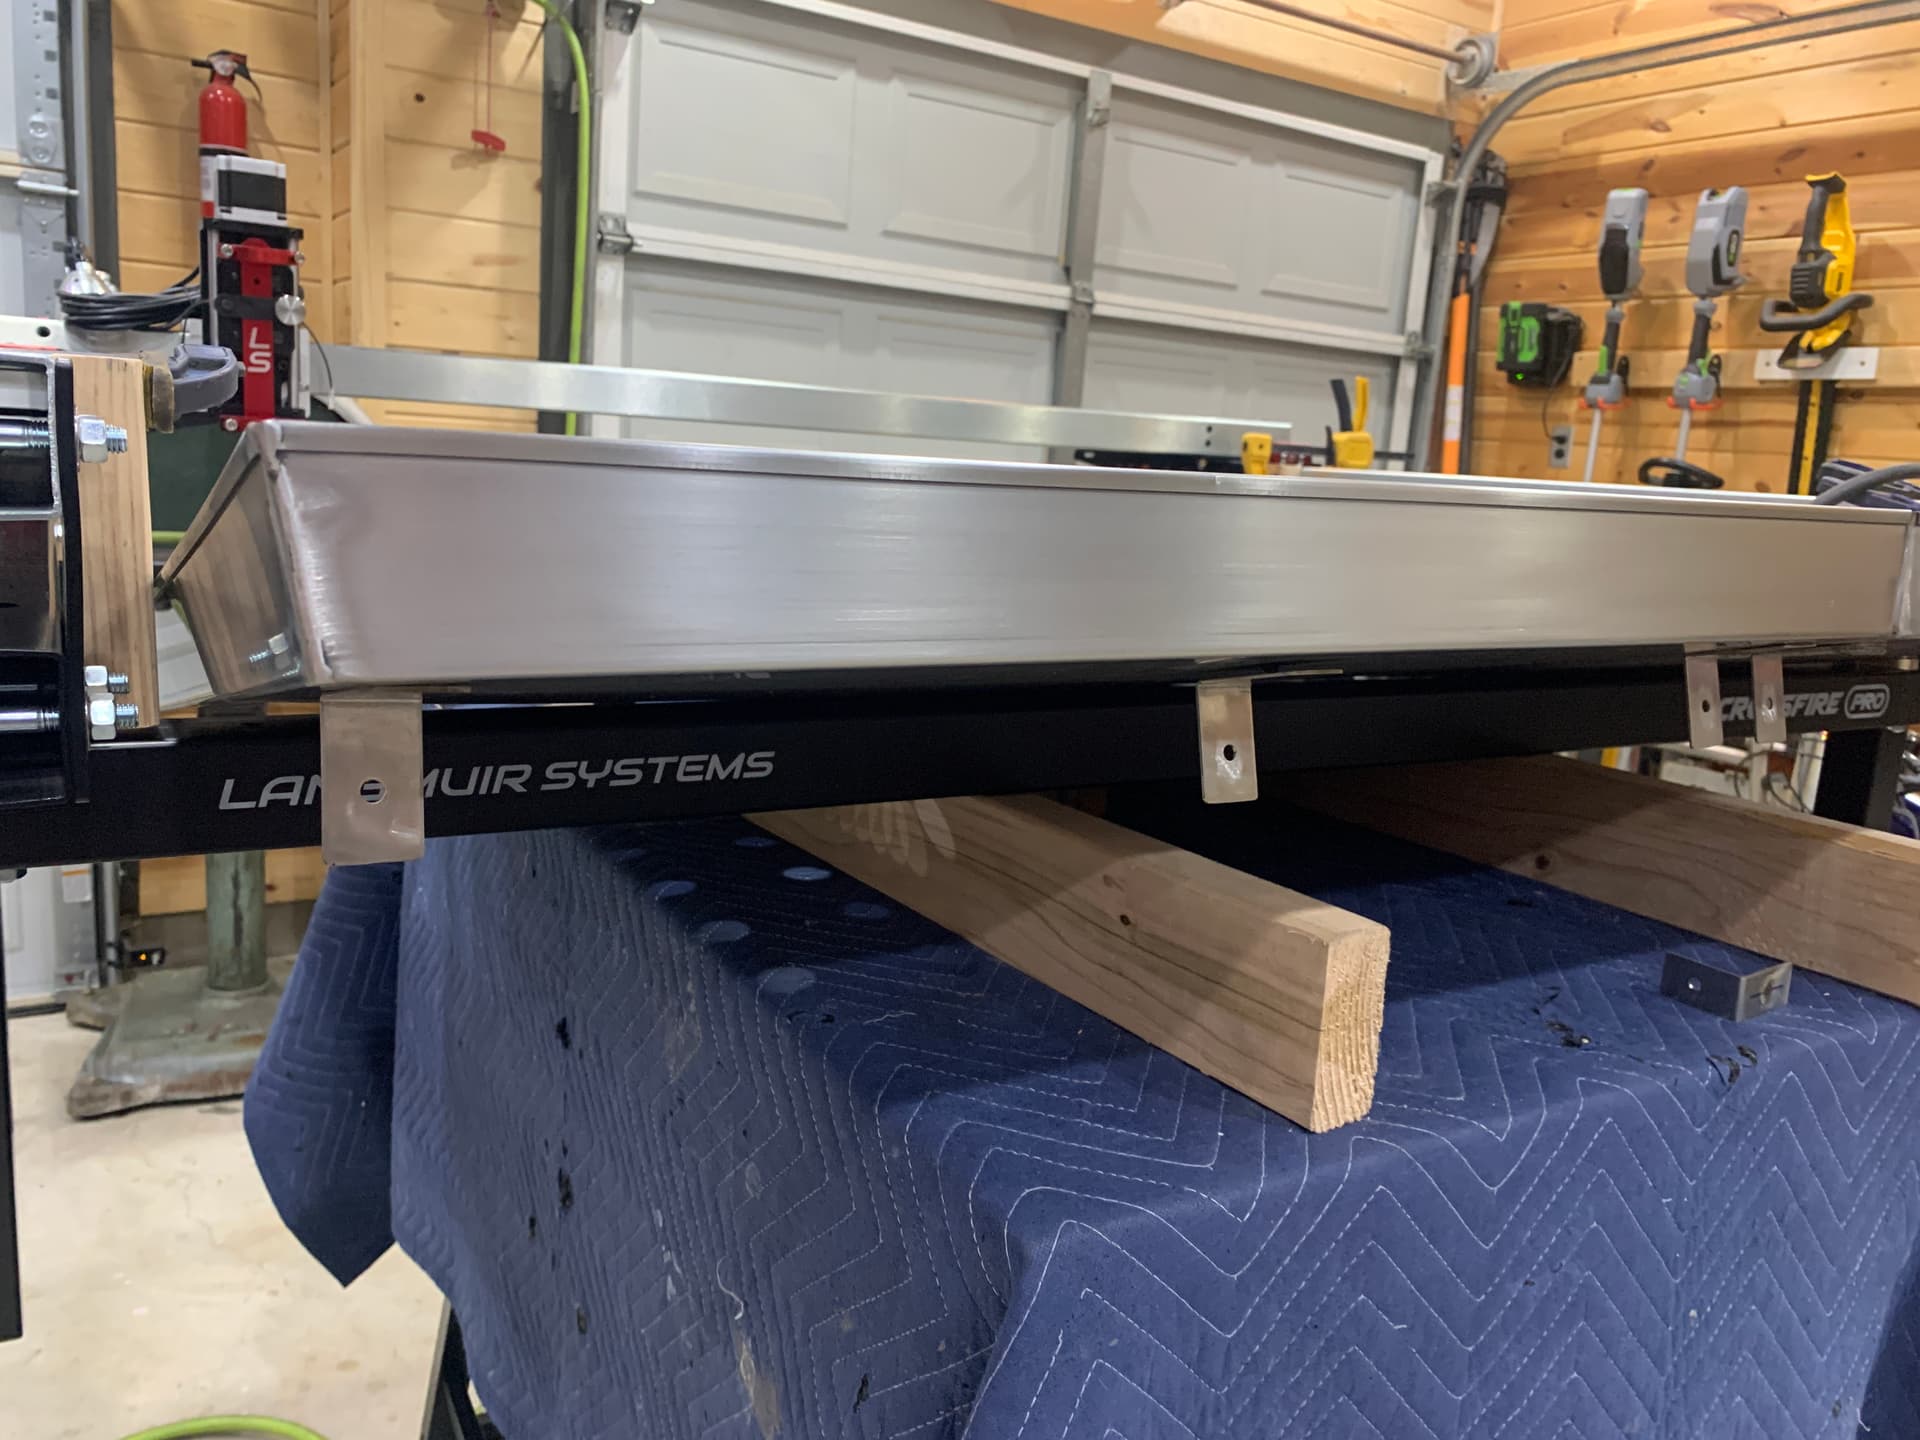
Decided to just make the best out of the 2-piece tray design and welded up the center seam, and removed the 12 perimeter holes that were used to secure the tray to the table frame.
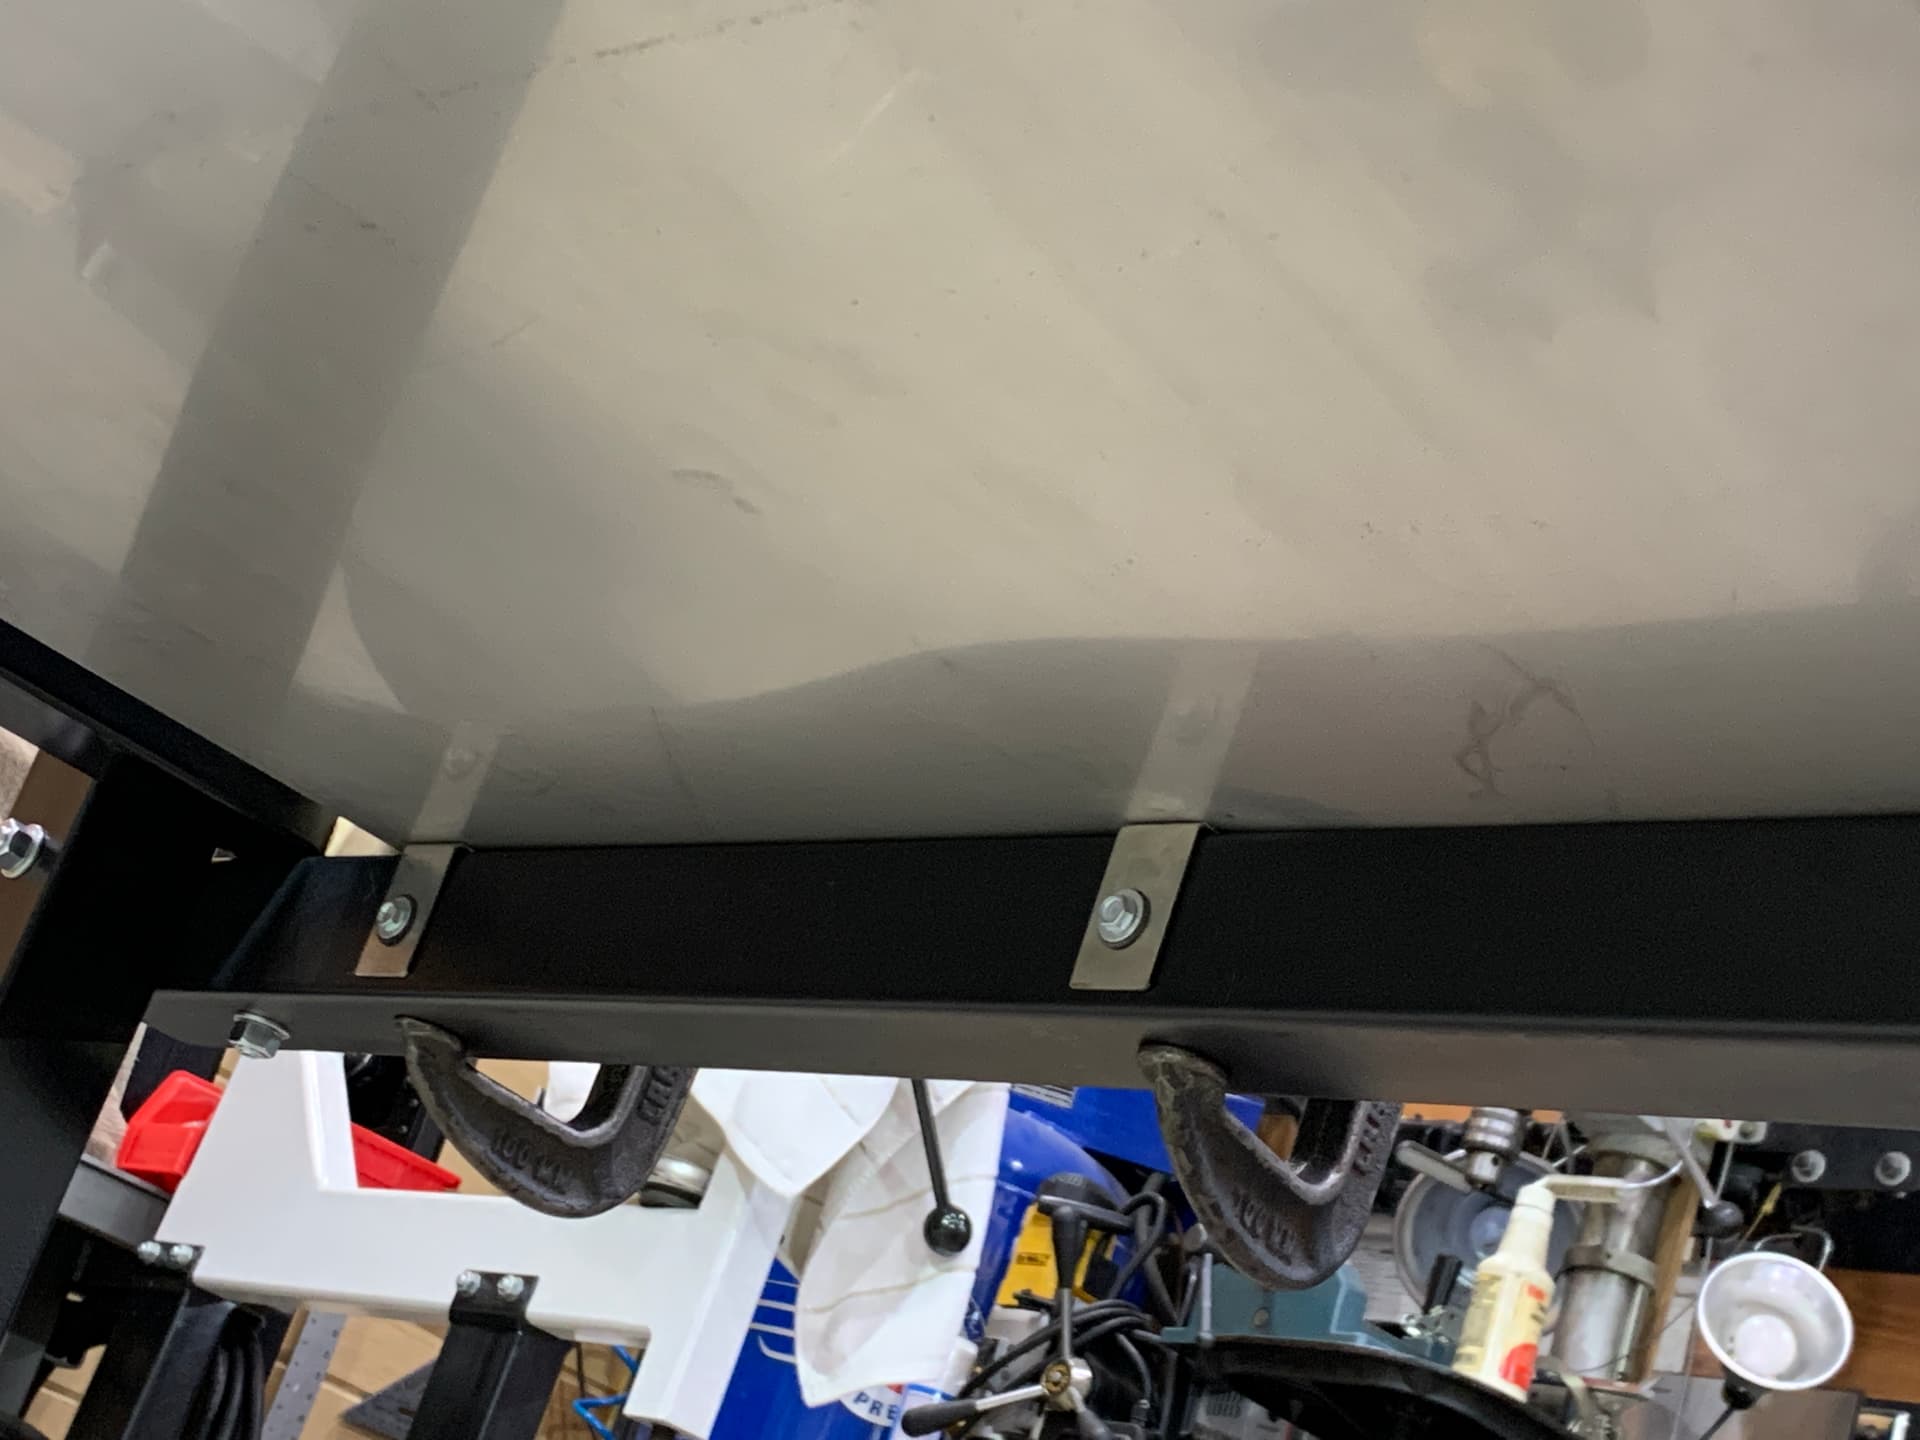
Stainless brackets were swapped in and welded to to the tray… getting rid of 12 holes should improve the odds of keeping everything leak-free.
The only snag so far is that the torch assembly hits the long triangular support brackets on the Y-axis beam… I trammed it to get the roller bearings to touch and remove free-play but it hits the bolt head on that black bracket on the underside.
Will have to see if there is a different way to set up those bearings and set screws so that the entire assembly can sit maybe 1/16" further away… that would make all the difference.
Why even bother with brackets. I let my tray just sit on the frame on top of additional supporting metal between the frame bars. This allows easy removal for serious cleaning when needed.