Hi all, looking for some advice on cutting some 1/4" plate with my Hynade CUT60DN plasma cutter. I’m new to this and made successful cuts with 14 gauge plate and now am trying to cut out parts for my side hustle.
I ran three cuts and each time, the plasma didn’t fully cut through the 1/4" plate. I tried slowing the IPM down which did increase the penetration but also increased the dross. I’m running the latest version of firecontrol with THC. I only changed the IPM from 30, to 25 to 20.
Machine settings:
Also, these are the very first cuts with the brand new consumables for this torch (Hynade Plasma Cutting Torch, PTM60)
Any ideas on other tweaks I should try? One thing I need to understand is my regulator for my airline was set to 95 PSI, but the regulator on my Hynade CUT60DN was only reading 65 psi. I intended to cut at 75 PSI based on some other settings I found.
Holy…this is a long read but lots of detailed info which is always helpful.
Few things - whenever the arc doesn’t fully cut through an entire piece of steel, the questions that come up are how are your consumables? Specifically your tip (is it oblong, blown out) and your electrode (are there signs of moisture).
Why are you running a regulator before your machine? I don’t know if your machine has its own regulator, but the only inhibitors I have are those for filtering reasons.
Are you certain you are running a 0.06" cut height? You can’t rely on programmed cut height as this doesn’t translate to a true .06" physical cut height.
Last but not least, pierce delay…what is it at?
I cut 1/4" easily at 45 amps and 45ipm with absolutely not a bit of dross right off the table
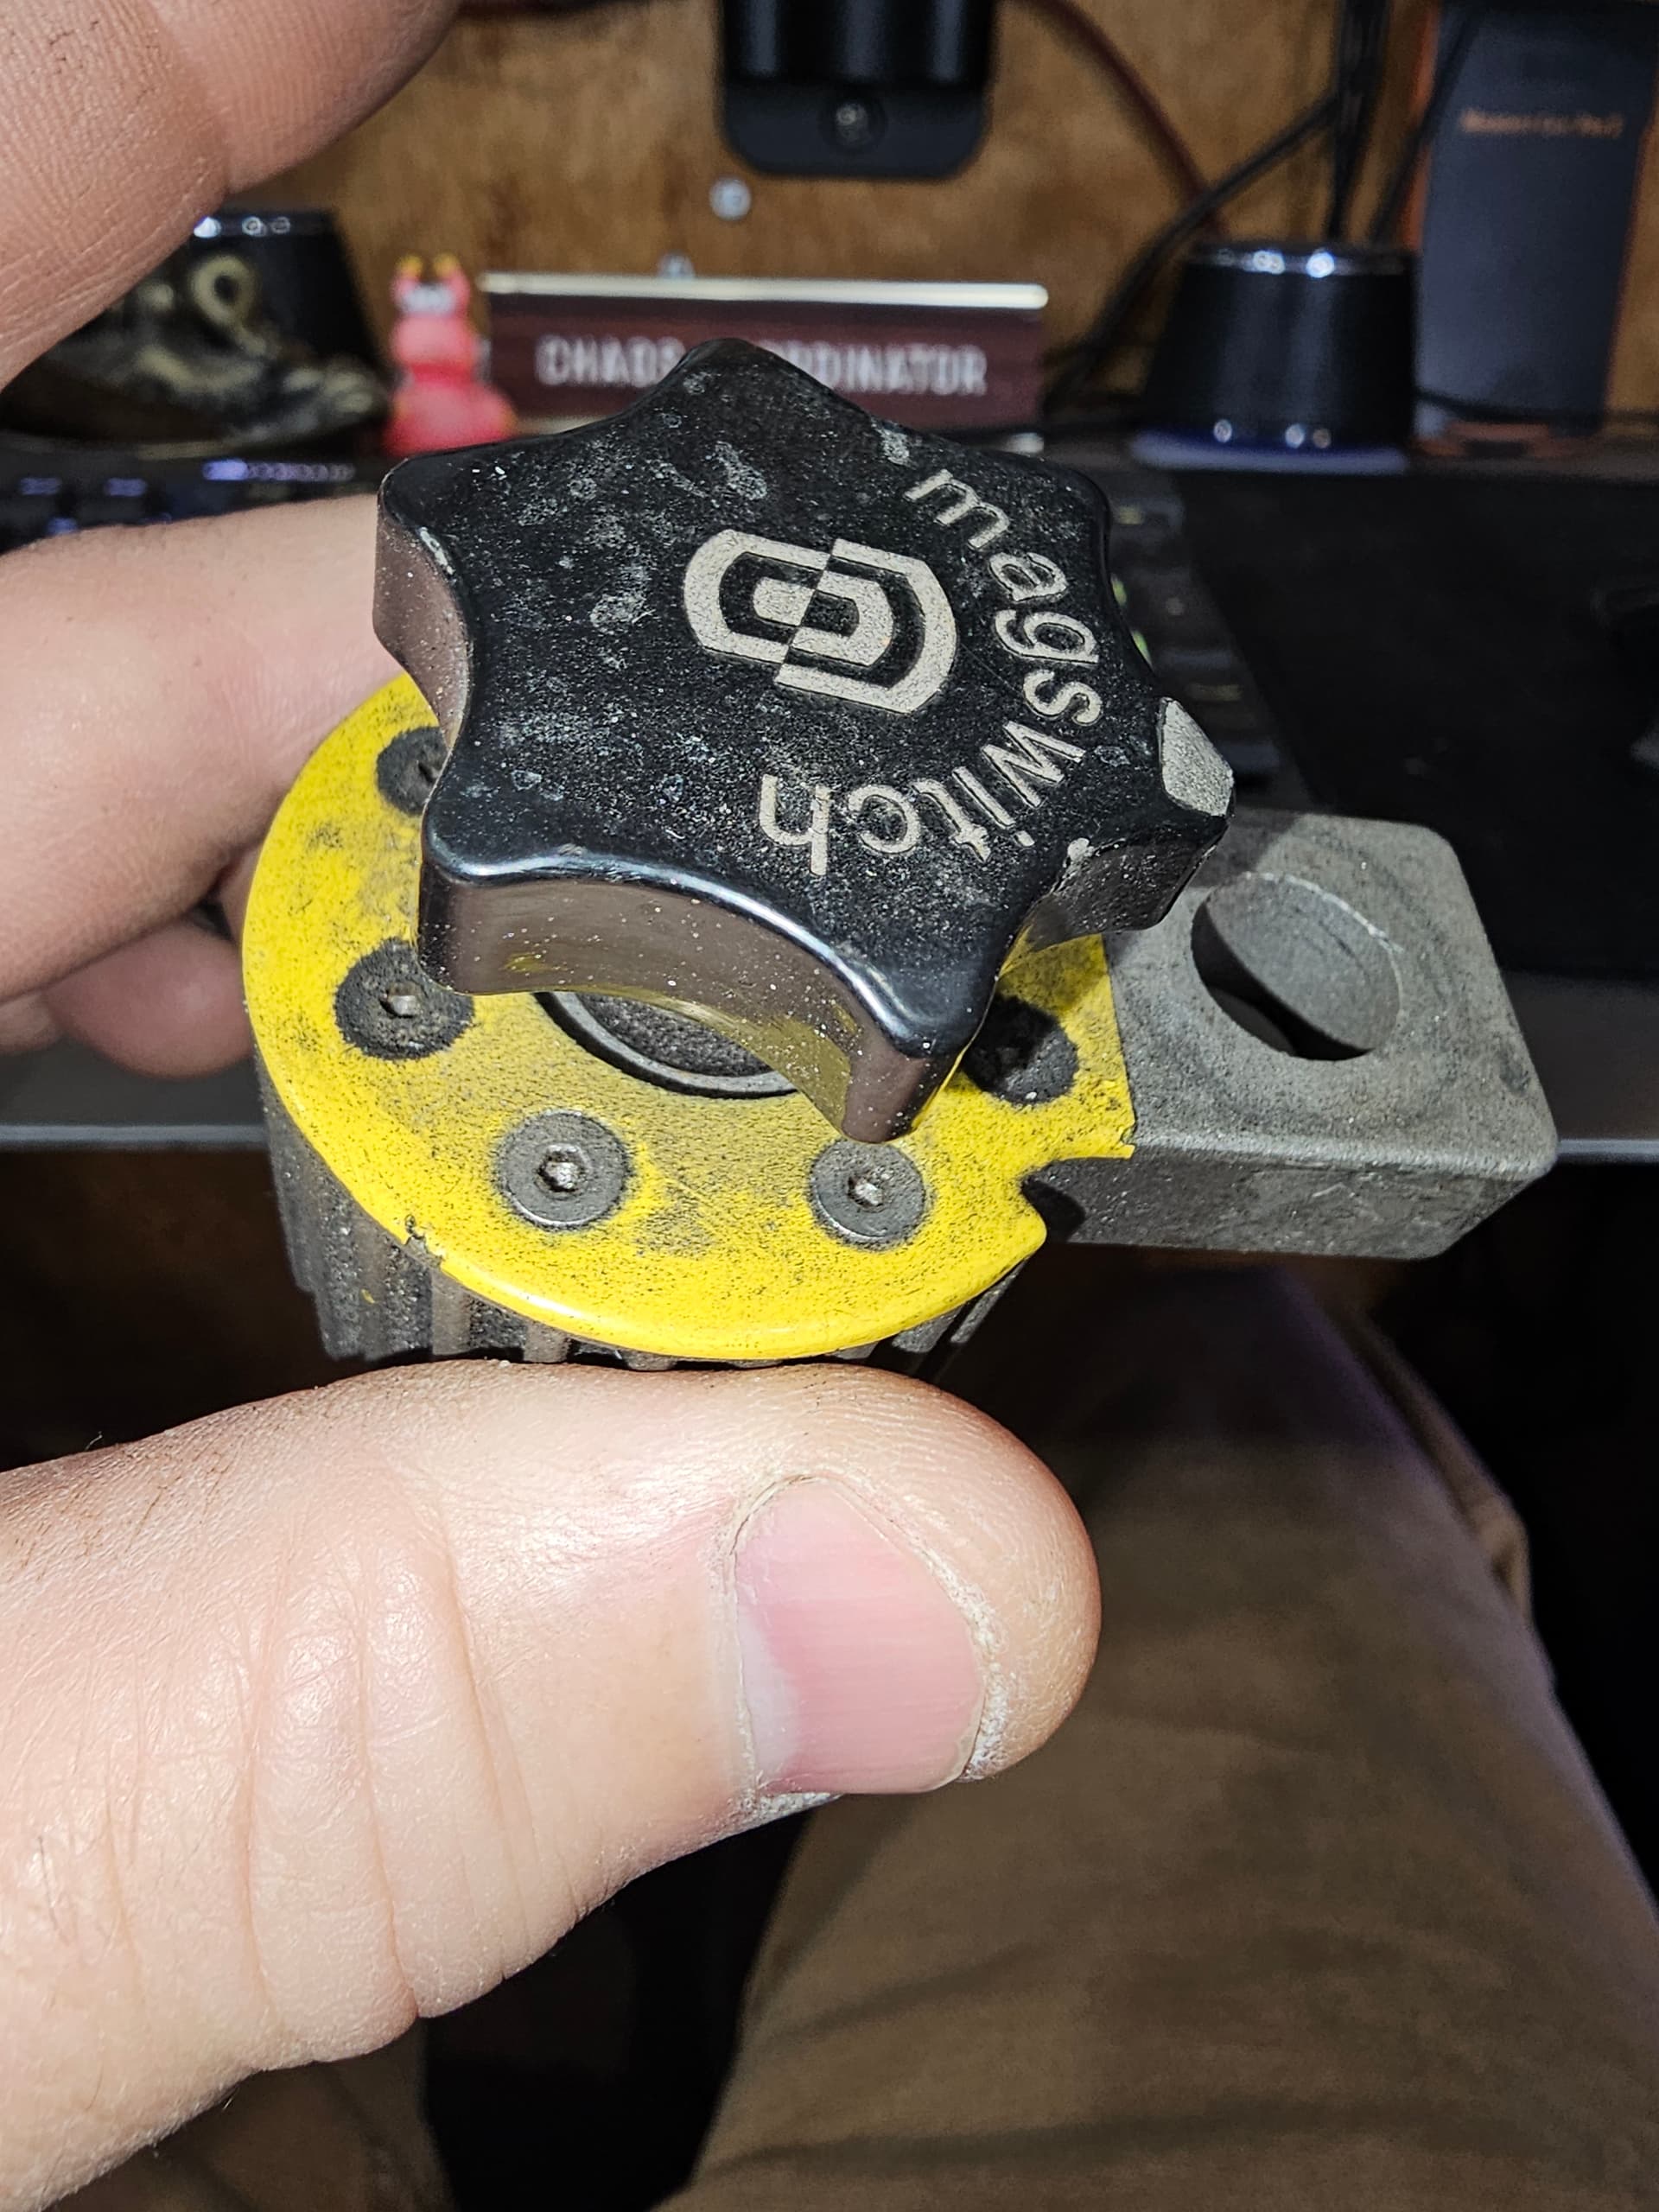
Thanks for the reply. They’re brand-new consumables. Only those three test cuts. Here are photos, I don’t know what good vs bad consumables look like because these are my first ever cuts:
It would help if you did whatever it took to get the psi to 70~75, even if it means adjusting or taking out the internal regulator. Adjusting your pierce high to
.15 might help.
Anytime you see sparks spraying across the top of the material like that you know its not cutting all the way through. As soon as I see that I stop rather than waste material.
I have a Razor cut set up just like you do with a regulator before the machine. I opened up the internal regulator all the way and use the external one for adjustment.
Here is info on checking cut height, there are lots more if you do a search (top right)
Those are the wrong consumables for the IPTM60 torch even if its a Chinese copy. They are most likely copy consumables for a S45 torch and are also most likely only 30 or 40 amp tips not to be used at 45 amps.
Ok, ill try changing out the consumables, thanks for the tip about the torch. So should I not even use the bottom clamp for the torch? Or just put it on there but very loose?
Ok, a few days ago I had ordered these consumables and they’re arriving today: Amazon.com. Maybe I need to just go with different consumables in general. Are there any you recommend?
Sorry, I read your last statement, but I thought you were referring to the ones that came with the torch – I shared the ones that are arriving today to see if they also are not the right ones. And judging by your comment, I suppose they are.
The ones you ordered appear to be .8 30 amp consumables for an S45 torch. When I first clicked on the link you sent I only read the title and in the description it says they are ipt60 consumables but if they look like what is pictured they are NOT IPT60 consumables. As George said they look like S45 copies.
Order from George and you will always get the right stuff and they are quality consumables.
Similar issue for me running my Primeweld cut60. I set the specs to the manufacturer settings (45amp, 60psi, 47 in/min) and it wasn’t cutting all the way through all my cuts (especially curves) I ended up starting with a fresh consumable and having to drop my speed all the way down to 27 in/min for clean consistent cuts. Maybe I’m doing something wrong?
If you cutting at 45 amp you should be using a 1.0mm/50 amp cutting tip, not a 1.1mm/60 amp tip. Next the air is 60/65 psi flow pressure. When air is coming out of the torch not just setting idle. Next your torch height must be .055" to .060" from the work piece (metal being cut). Last consumables are the electrode, cutting tip, swirl ring, retaining cup and CNC shield if being used, so did you change all those consumables or just the cutting tip?
I am using the 1.1 tips that came with my machine. Started out at 55 psi, then bumped to 60 psi (running) with no noticeable difference, and 0.06" height. I changed out the Electrode and cutting tip, the swirl ring was still in great shape. Any other ideas why I’d need to run at almost half the recommended manufacturer speed or is it just because it needs to slow down with a lot of curves? Top was run #2 running at 27in/min vs bottom I started at 45in/min and kept slowing it down until it was staring to cut through.
Use the FEED Optimization feature. Use these settings for the circles and such. Then, please make a separate operation for the outside without it.
Change the tip to 1.0 and up the pressure to 75. Yes, 75, 75, 75. Not 60.


