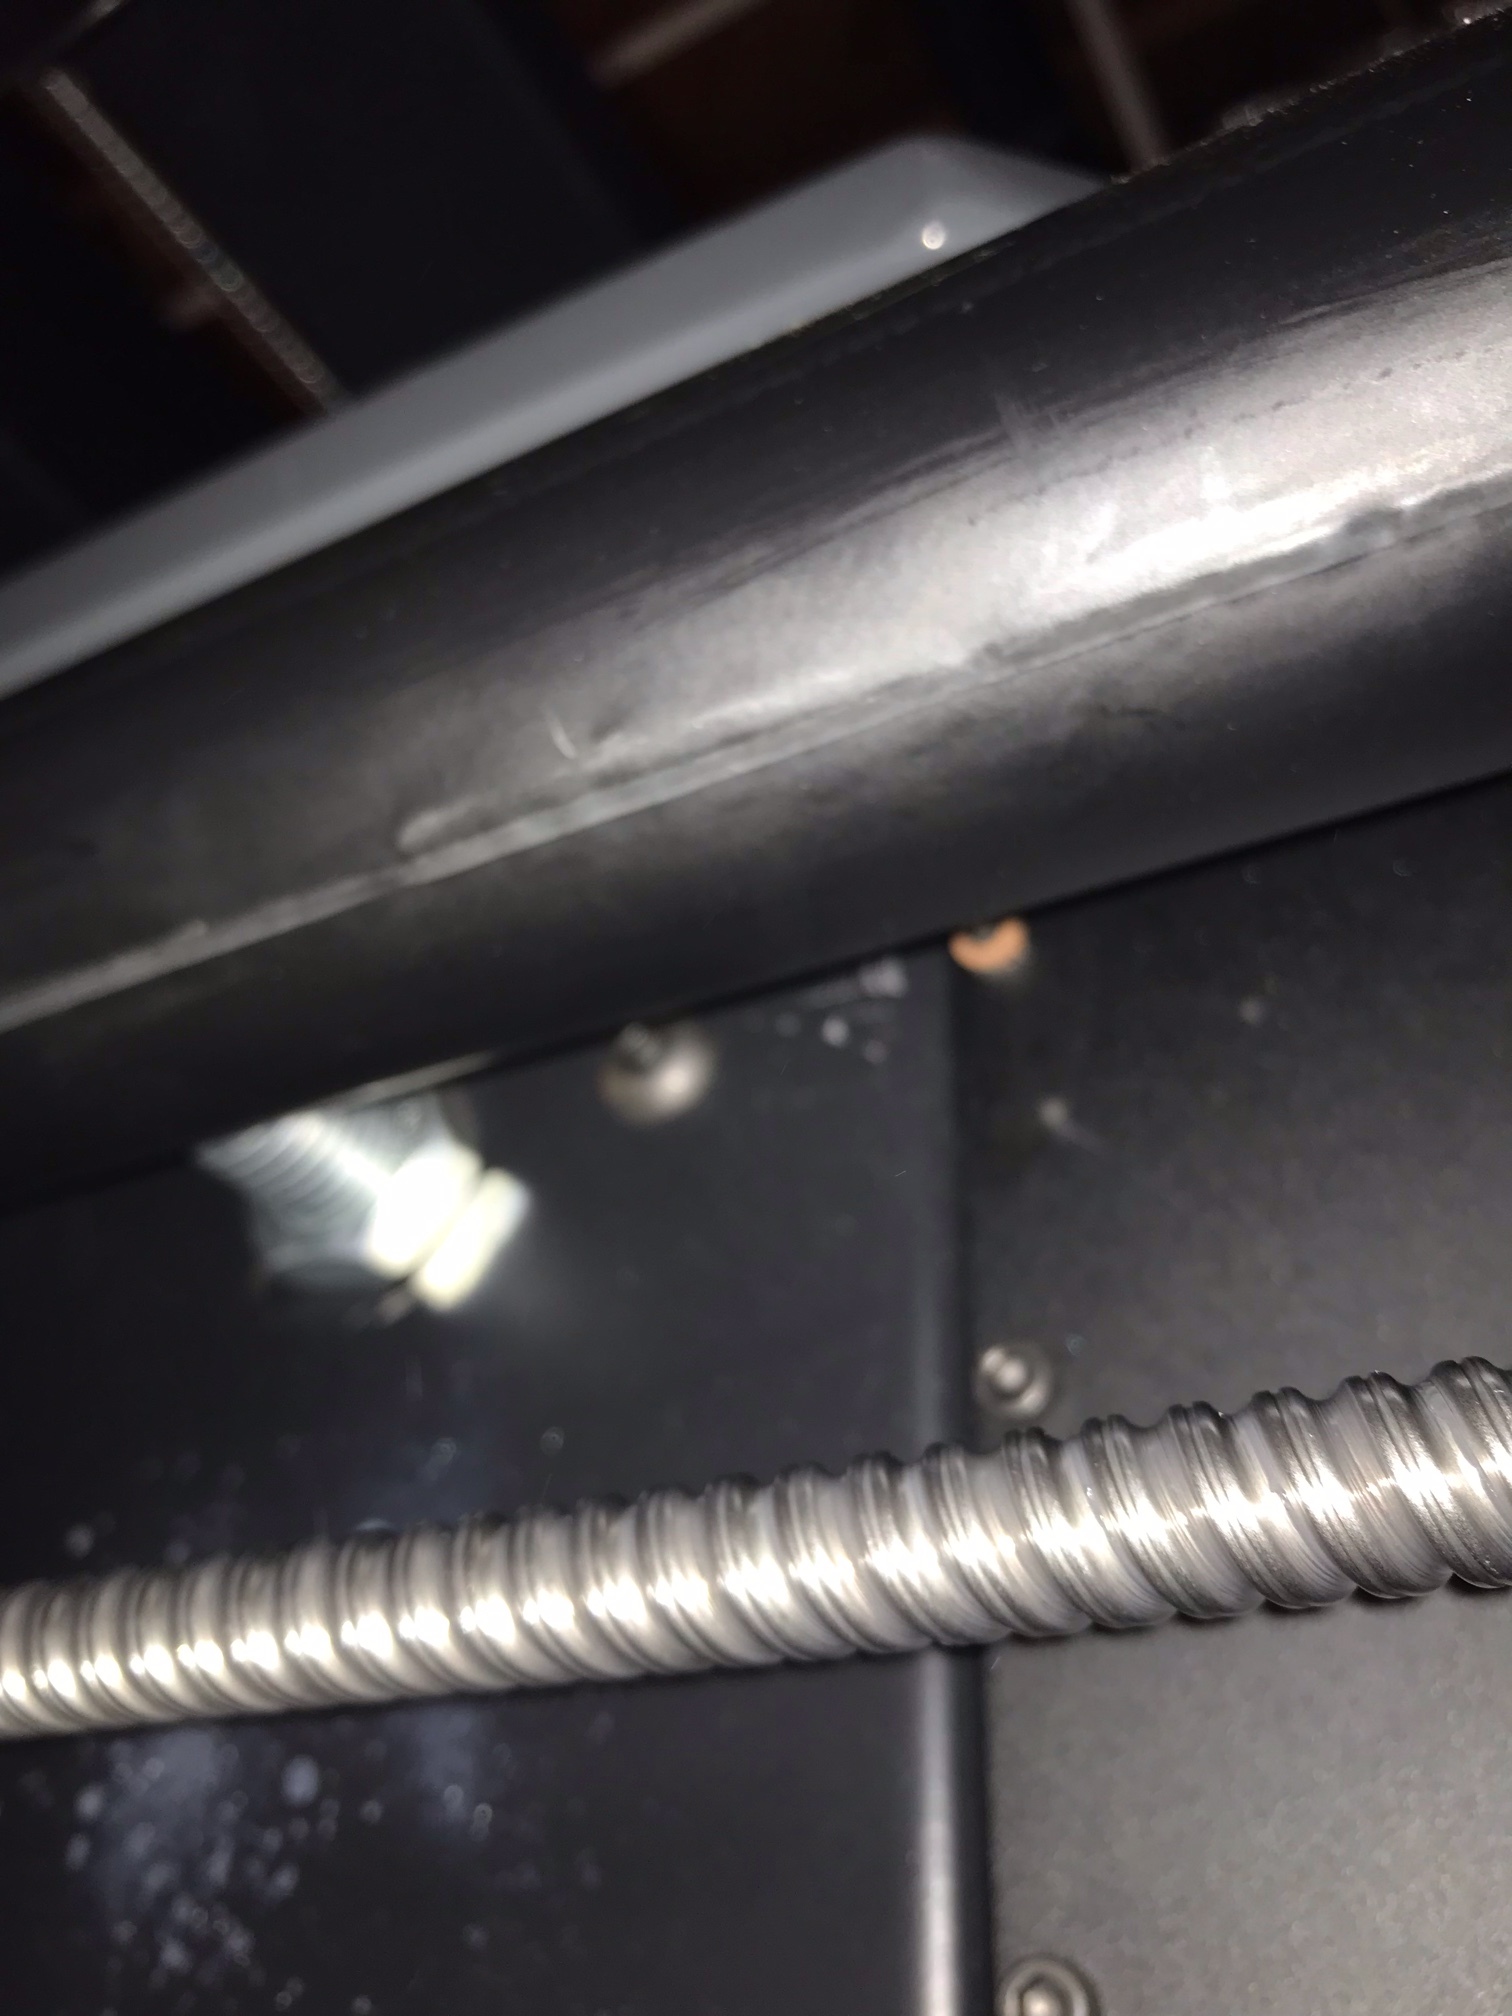
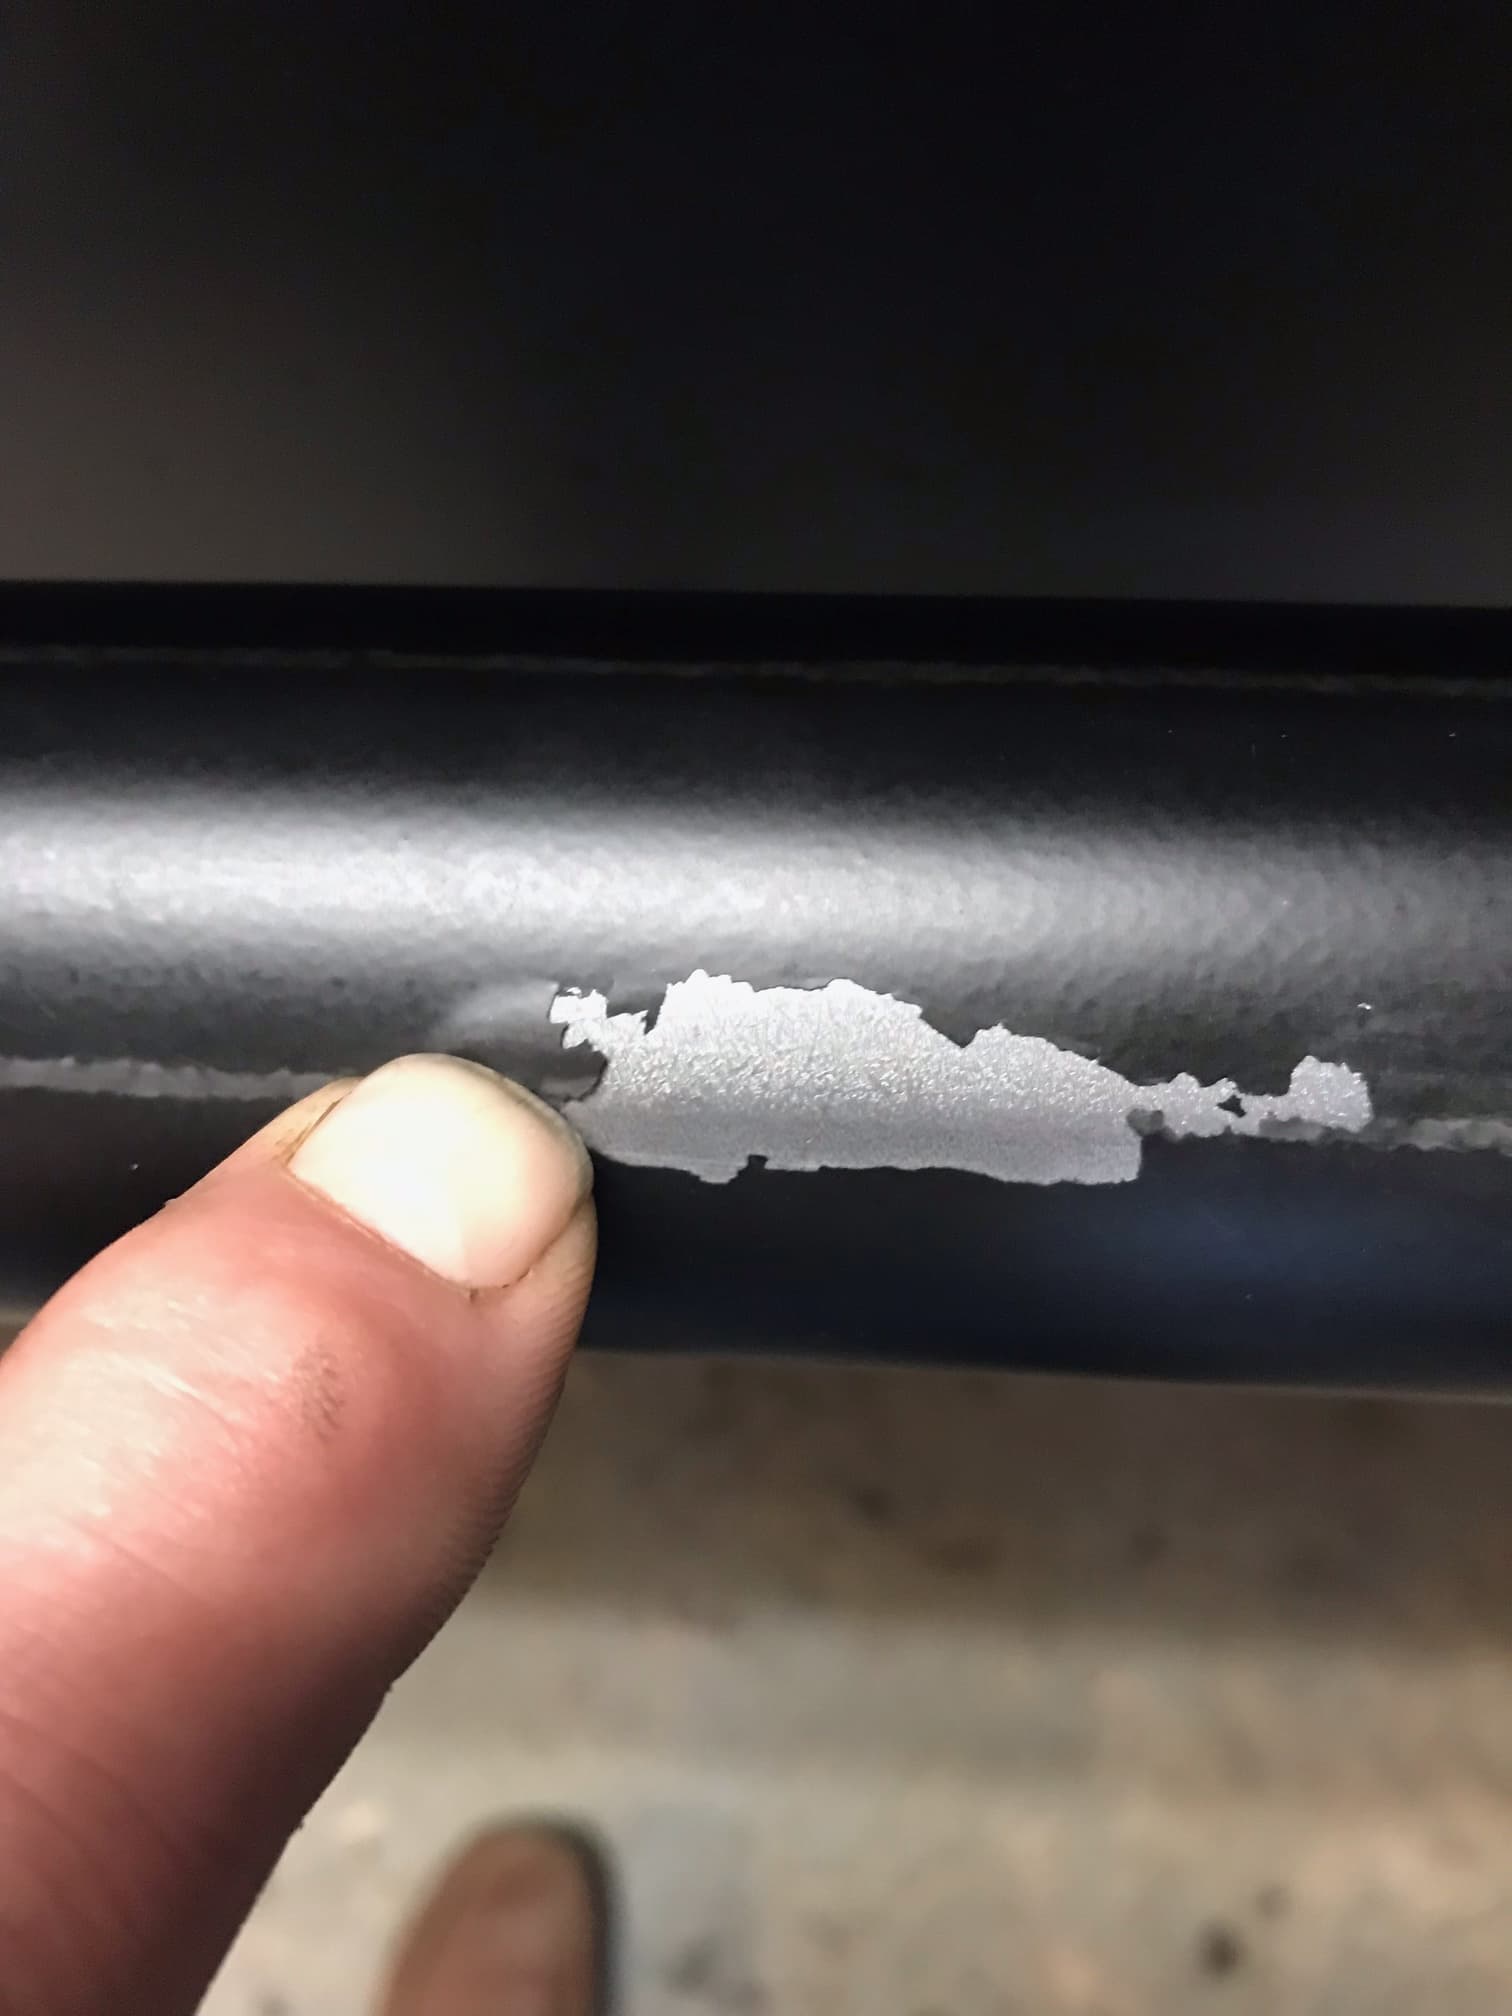
Went to run the XR a bit in prep to burn a 1/4" sheet and noticed Y does not sound smooth. Looked closer and the finish is flaking off the tube starting at the wear marks from the rollers and likely loading up the roller gap loosing some steps etc… We could jog at 400 ipm anywhere last week now its starting to Yaw and Y sounds a bit chunky. Literally push the finish with a fingernail a tad where it looks like a low profile bubble and it flakes off a chunk of finish. Looks almost like a galvanized finish under the black paint. Looks like a warranty issue. Unless they expect us to scrape all the failing paint off the new machines rails?
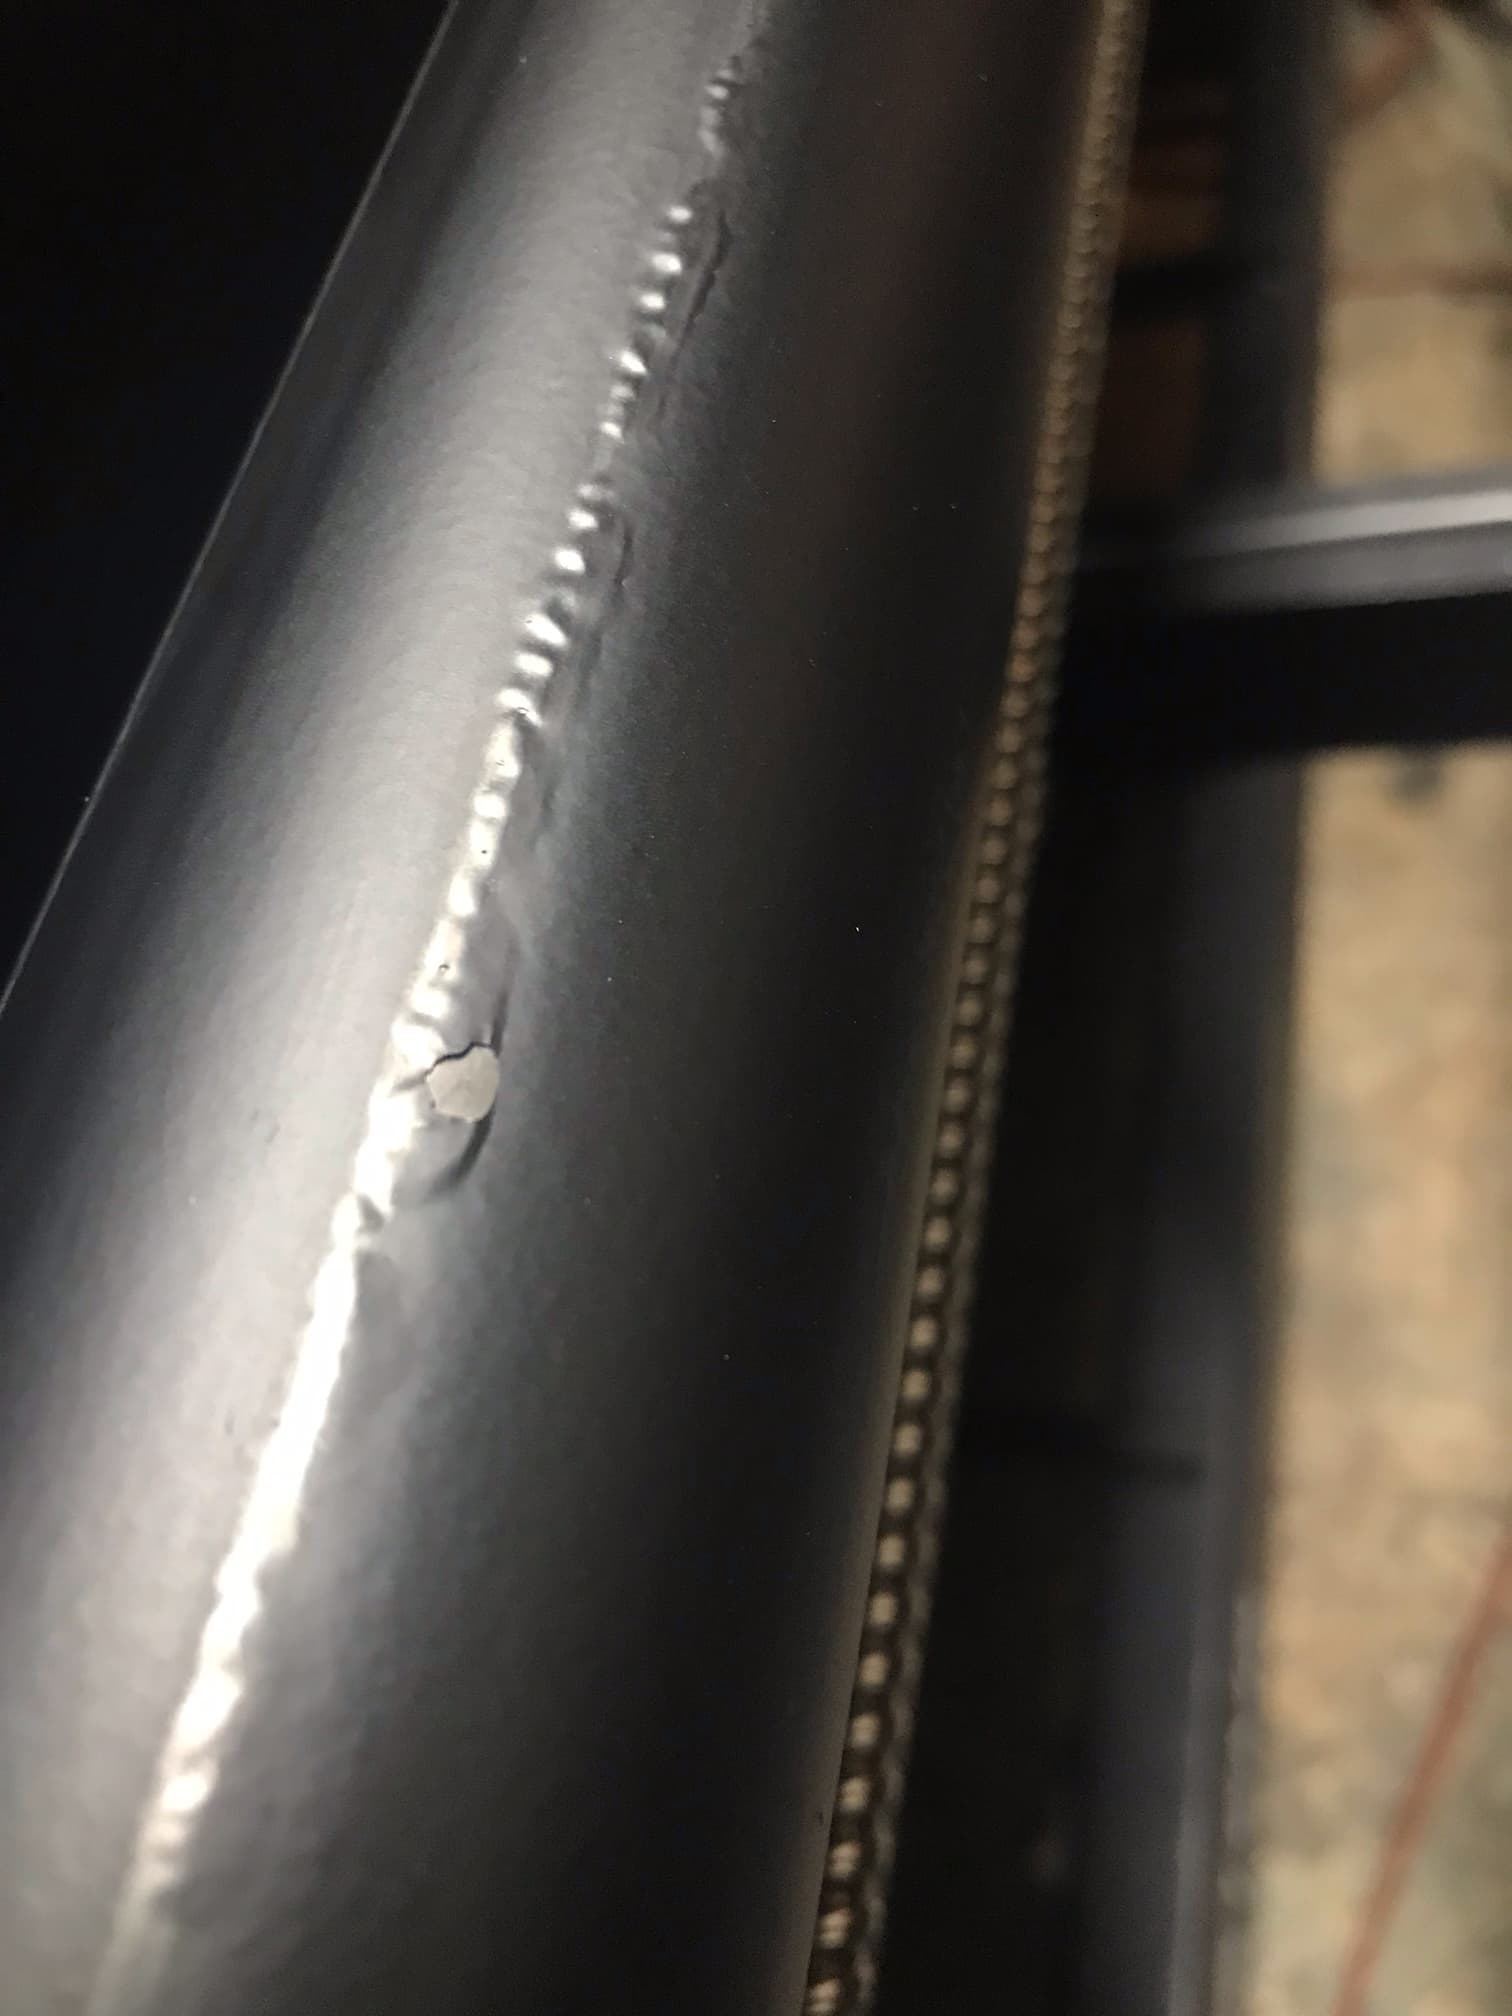
Walk down the machine Y axis tube with hand on lower side tube guide and it feels like alligator skin where the V roller has engaged. Similar on top but not as bad. I posted that but another image of top Y side on cable tray side.
I would think the top would go first as to that’s where the weight is. Maybe back the rollers off a touch. They may be adjusted a little tight, you have to remember that tube might very slightly on Diameter.and if you adjust the bearing on a spot where the tube is a few thousandths smaller it might be tight in other areas
Paint is flaking off outside the roller contact areas but adjacent to roller contact. Seems like poor prep, lack of using a proper primer or finish application.
Mine was like this on the bottom of both rails. I chalked it up to initial growing pains of a new product and processes there in (batch 1). Seems the problem still persists. I ultimately scraped off the flaking paint and moved on with my life and it ultimately didn’t seem to affect the machine cut quality. Though, my flaking problems were on the bottom side and out of the rollers paths. Not sure about yours as it looks like considerable flaking directly in the path of the rollers. Best of luck.
Warranty defect - lemon. spend shy of 7 k on a machine and need to sand and remove paint from rail finishes? Less than a month in and only doing a few 4x8 sheet dry runs. Only working on recovering one Y guide tube for now to try to recover it ( opposite cable tray) some coarse sand paper and a razor blade. These tubes are likely outsourced . Not sure what procurement specification was in place on the finish but it should have something specified as it is a critical part of the guiding on an open loop dual stepper drive.
On our X axis all the flaking paint has been removed and a light coat of Krylon matte black applied. Once you start getting into alligator skin type finish for guiding on the rails the small steppers loose counts.
The main issue seems to LM had guiding system without these issues and now customers are burdened based on product / marketing decisions to make it all black. Running dual open loop steppers maybe a motor current trip left / right could have initiated a Y axis yaw fault?
Some initial thoughts are stainless tube or some flash hard chrome on the mild steel, Alt sand the finish off in roller areas try and make it look decent and apply some oil?
Bastard to ship replacement guide tubes due to length so LM will likely ignore this for now. K
Not yet was reaching out to forum first to see of others are experiencing it. Also this is my son’s machine and he is out of town and has all the receipts on the order.
You should reach out to support. Quick easy email or a phone call (with the XR you have phone support reserved for XR customers) that will take less time than what you have spent here will get you taken care of. Last year, I know they had some issues with coating on some of the pro table legs. They ended up sending a good part of their inventory to a local vendor to have them re-done. I am confident that if they knew about your issue beforehand, they would have taken care of it. They stopped shipping the Pro tables because of the coating issues for a while late last year - early this year. By contacting support and alerting Langmuir to the issue, you would be helping fellow customers and Langmuir so they can take care of the problem and review their inventory to make sure this doesn’t happen to more customers.
I hope you can get your issue resolved quickly. From my experience they are very responsive to customer needs and warranty issues.
I’ve already talked to LM and no, they won’t cover this under warranty. The right solution would have been a ground rod with a similar solution for roller guides. The paint will come off and the system should smooth up. I’d put some Boeshield or equivalent rust protectant on the tubes and just run the thing. Any irregularities on the actual metal can be stoned I’d imagine. As much as this annoys me (same issue on the gantry) the XR keeps making good parts.
10-4
I read their warranty. In the areas the paint is coming off another metal layer looks like light galvanizing is pushing up with fingernail pressure likely the root cause.
We have another growling /soft popping type noise that started on both X ball screws in belt drive area. The belts are tensioned but seems something.is up. About to ditch all these plastic guards for now to better evaluate all the workings.
Same issue with a gen 2 my y tube look like left over exaust pipe and its rusty .who evere ther out sorsing to needs to be corrected . Pictures will be posted
Have the same issue but on my X axis rail. The paint began flaking off and eventually would start to bind up. I noticed if I ever jogged the machine at 400 IPM on the x axis it would lock up and I would have to home the machine over and over. If the X axis didn’t bind up it would at best translat into making cuts really stuttered and not clean. I eventually just sanded it down to a smooth finish and took all the paint of the x axis where the bearings touch it. I also made sure to clean out all the paint and debris that was jammed into the bearings. I set my machines max speed to 200 IPM and it seems to be going really well now since making those changes to my machine. Im expecting the same to happen to my Y axis rails at some point but both sides looks very smooth still so fingers cross those were prepped, primed and painted much better.
Did you do any other troubleshooting on the x axis? The paint on my x axis was flaking quite a bit and I was getting some binding as well but it turned out to be that the lead screw was not centered in the hole on one end. What I did was move the X axis until it bound up and then I loosened the lead screw end nut and the black insert retainer thing on the end that the head assembly was closest to and the screw assembly repositioned itself & then I tightened both of the nuts back up & it fixed the issue. I don’t think paint flaking off would be enough of an issue to put the entire assembly in a bind, in my opinion.
I honestly thought the same and checked the lead screws thinking that would be the issue. They were perfectly center and made sure they were still to torque specs. At this point I had already been running the machine for a month with daily use and it never had an issue till I noticed the paint. I ran the x axis and watched as it hit the patch of patchy paint and that’s when it would always either slip trying to find traction or bind due to the paint either being built up. Once I noticed that I looked at the bearings to see a lot of paint flakes stuck and jammed into the operating area. Cleaned it all out and sanded it down. Haven’t had a issue ever since and runs smoother than ever!
Some 2" stainless steel exhaust tubing may be a nice fix, Sourcing it and the shipping may be a pain as well as taking the machine apart. So far we still have some bad areas with alligator skin like texture likely .02-03 V-roller interference. We have the machine limited to 300ipm part to part rapid advance to avoid re-works/scrap. until we scrape rework the rails on our new machine.