I have had my crossfire running for a while now without issues. In the past week, I started have intermittent issues with the X-axis motor. It will sporadically stop moving (loosing position) or invert the direction of travel. I was trying to cut a part this morning with several holes, and you can see the failure resulting in the machine instead cutting an “S” shape when the x-axis motor inverted the direction. I have had the same issue occur when manually moving the gantry from the user interface. The first time this happened, I left the machine off overnight and rebooted my computer and it went back to working without issue the next day. I haven’t been able to get it resolved this morning, so I am worried there is a deeper issue. I don’t seen any obvious issues, the machine hasn’t moved, and the connections are all solid. Any troubleshooting suggestions would be great!
Can you move the X carriage manually without issues? Does the Y direction move smoothly also?
Does your table pass the ohms test in the instructions?
It could be EMI, but it’s hard to say now.
I would also Check the internal power supply for 36 VDC. Ensure all your cables are routed correctly; check the X motor connection at the control box.
Adjusting power supply voltage.pdf (1.8 MB)
Yes, I can smoothly move the carriage in both directions by hand when the machine is off. I am not sure which ohms test you are referring to? The one to ensure the electronics enclosure is grounded?
The x-axis motor cable is connected, but when handling it there is a slight change in sound from the motor itself but I am not sure how to check for issues with the cable on the motor side other than that it is connected securely.
I will double check the connections inside the enclosure shortly.
Yes, the control box can not be connected to the table chassis to work correctly. Do you has a good quality multi-meter? I will post the instructions in a second.Grounding Considerations
Due to the fact that THC signal voltages can be sensitive, it is important to make sure that USB ground is not connected to the machine frame. This can result in lower than expected voltage readings which can negatively affect performance. Before cutting, we recommend using a multi-meter or continuity tester to check for continuity between the USB plug shell and the gantry tube as shown below. Before performing this test, be sure that:
Machine Power cord is plugged into the electronics enclosure.
USB Cable is plugged into the electronics enclosure and your powered-on computer.
Plasma Cutter is connected to THC VIM and electronics enclosure.
Work clamp is connected to the machine frame.
If you are using a laptop stand, make sure your laptop is sitting on it while performing this test. (Its possible the laptop stand fasteners can conduct through your laptop)
Continuity Test
If you detect continuity in this test, please message us at Langmuir Systems Support for steps to resolve.
I agree with @Bigdaddy2166 on maybe the power supply has gotten low and X axis is acting up after it warms up. Check the voltage according to the link he provided. Also double check the wiring for the motor. If the connector has unseated then you’ll get an intermittent directions and stalling.
If that isn’t the problem then maybe it’s binding on the lead screw.
If that isn’t the problem, it could be a faulty stepper driver. Usually they fail pretty completely, but if it’s weak then you might get the kind of problem you’re seeing.
Those are the classic signs of arcing between the pins of the DB9 connector, where the stepper motor connector plugs into the control box.
Pull the connector and look for burnt pins. If it’s not burnt too bad, you can clean them and push the plug in and out a few times to clean the mating socket.
Don’t tighten the screws on the connector. Some of them were shipped with screws that were too long and push the connector out when they are tightened. This leaves enough gap to eventually cause issues.
Thanks for the recommendations! I do not see any signs of burning or arcing in the connector sides.
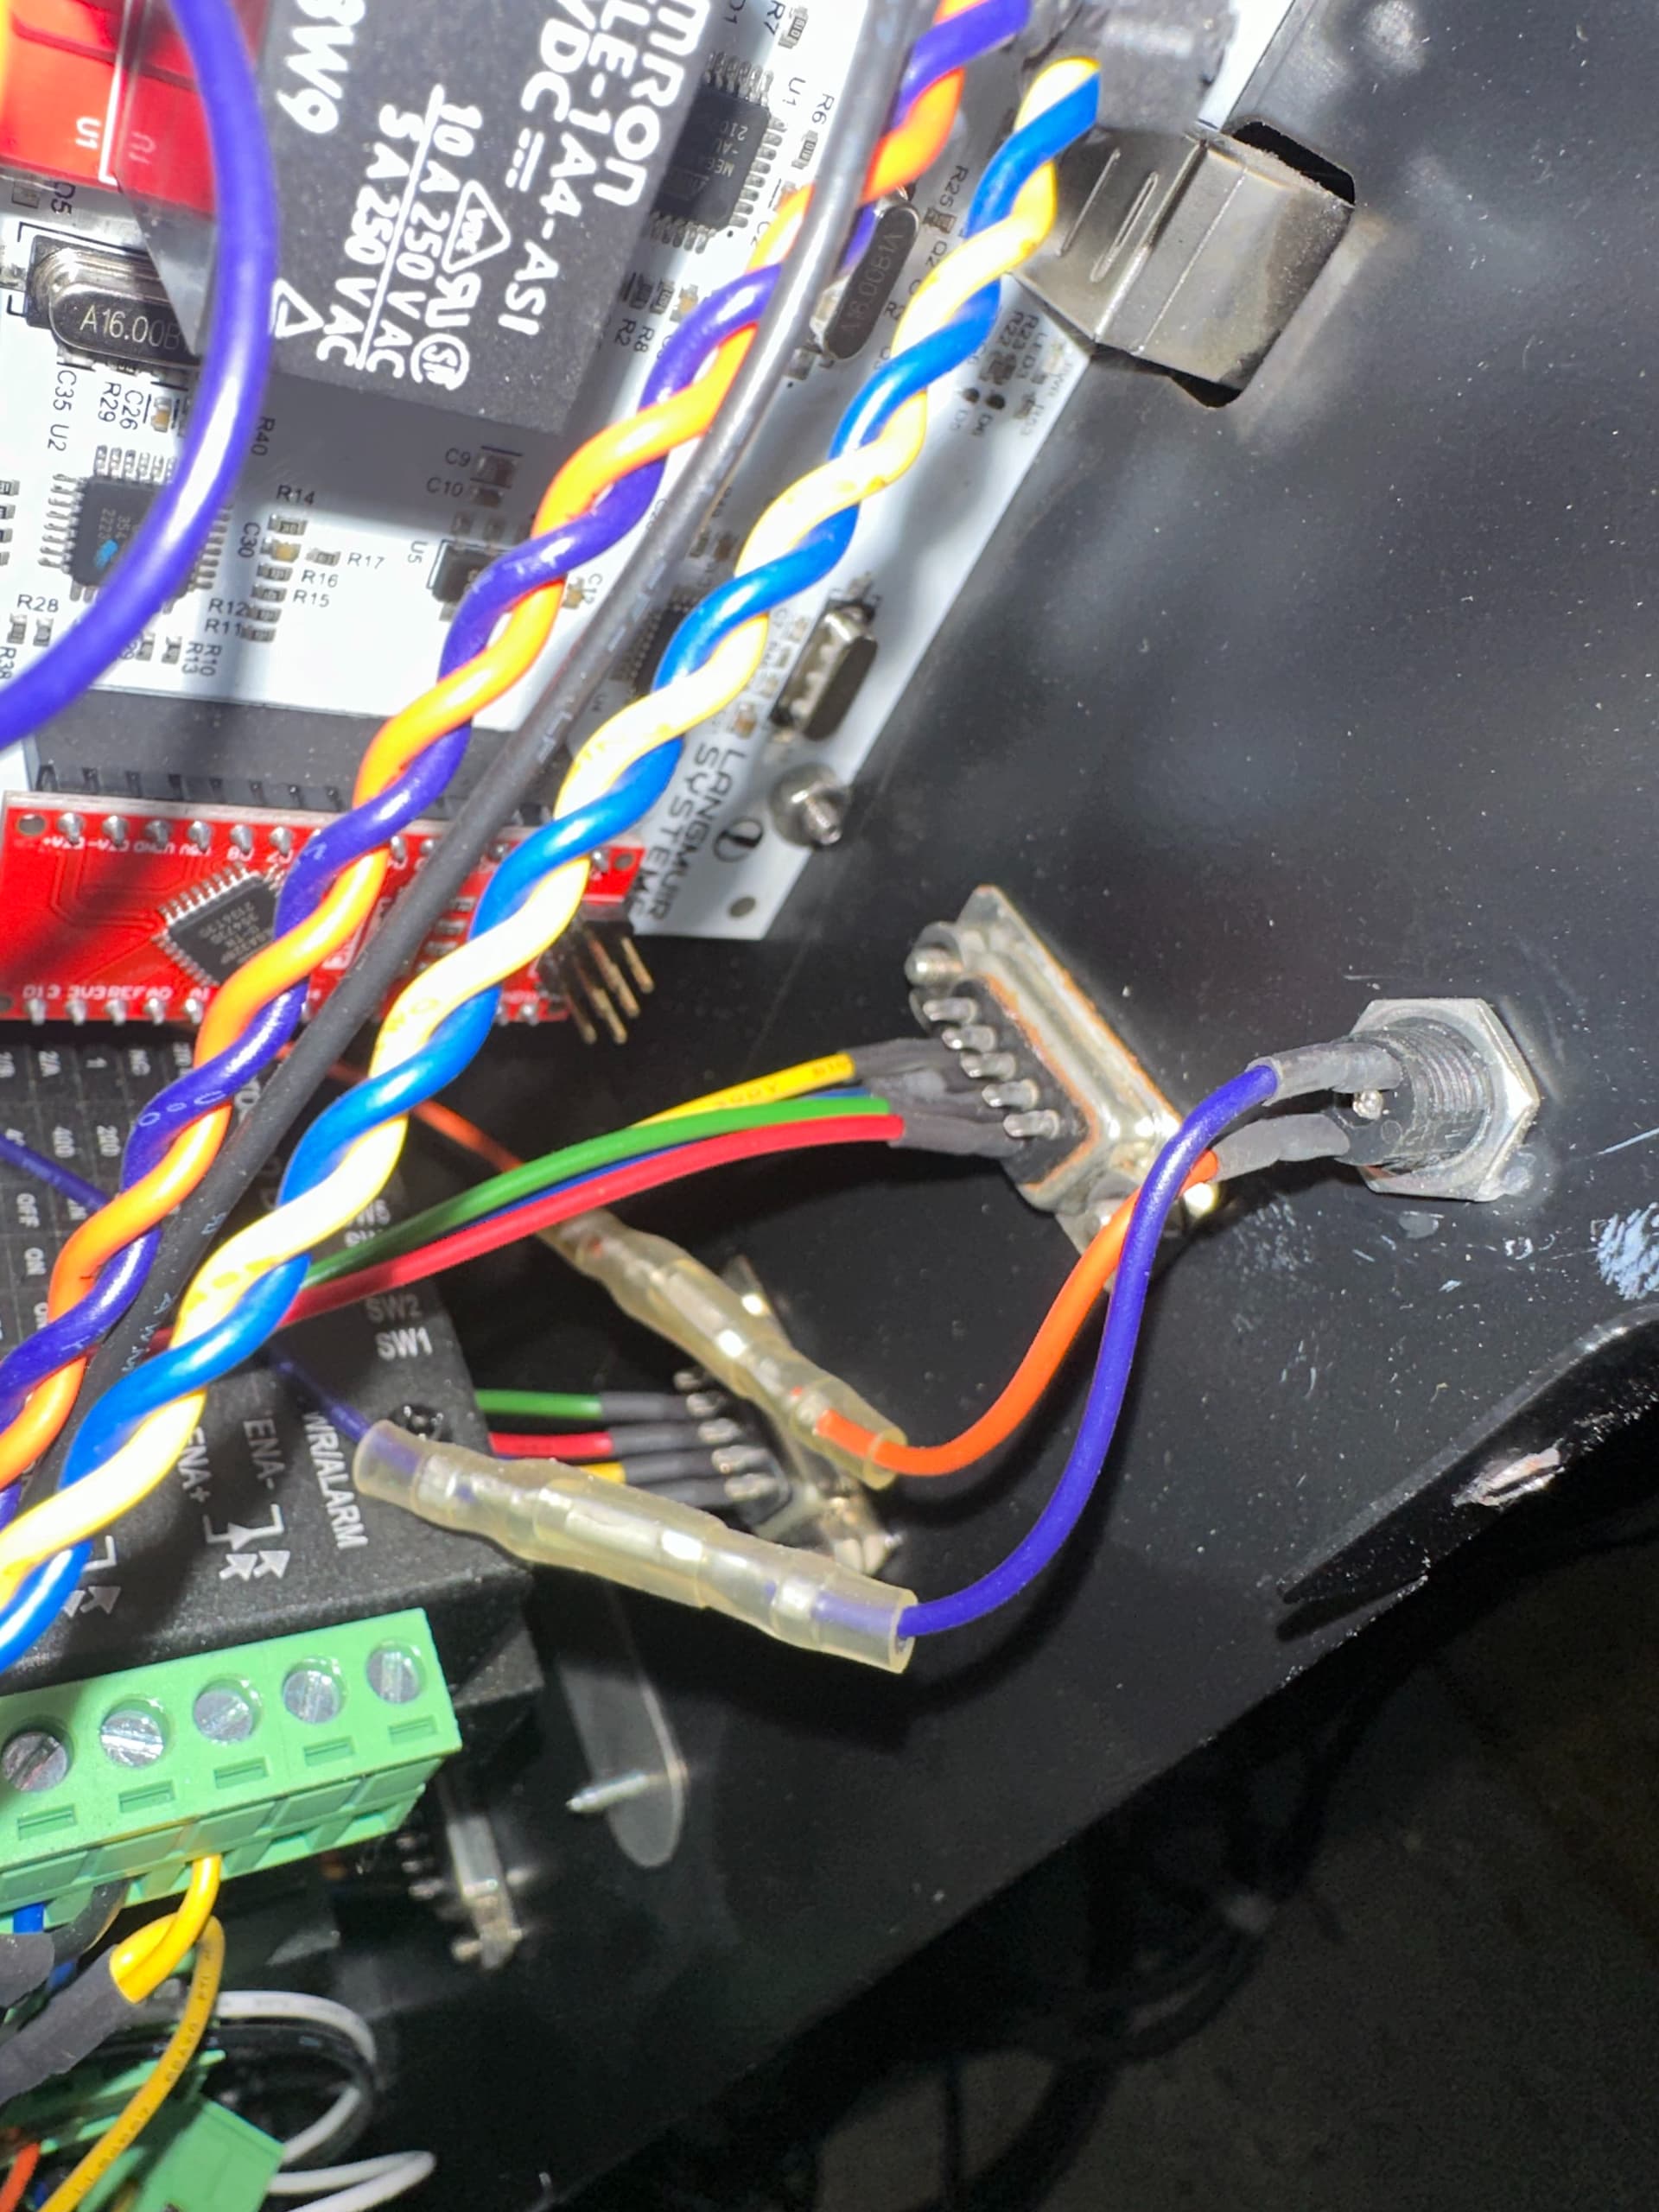
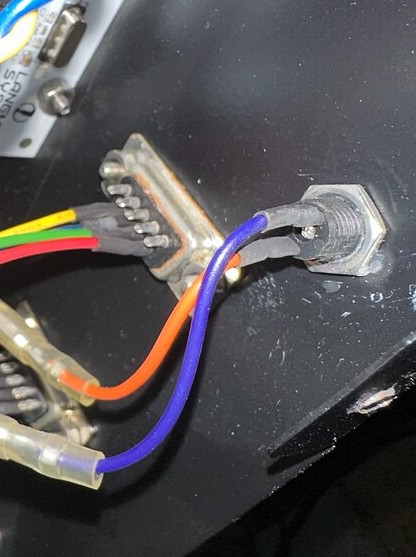
I did notice what appears to be some corrosion on the back of that DB9 connector that wasn’t present on any others. Nothing else appeared odd internally. I also checked that the electronics enclosure was isolated (it was) and that the power supply was outputting adequate voltage (it was at 36.28V).
I did re-clean and cycle the connector a few times. The screws do appear long, but I attempted to carefully adjust them without over-tightening. After reassemblying the machine worked briefly before the issues restarted. It does seem like manipulating the connector while jogging the machine can trigger the issue. This would suggest either an issue on the motor and cable side, or something inside the connector that is more subtle?
Any suggestions on something I missed or on next steps? Replace the panel mount DB9 connector? Thanks!
It appears as if two of the pins have some residue on them and that would cause your failure mode.
Personally, I would replace both sides of that connector. There must have been some spill on it to rust like that. If you don’t have replacement connectors, then use an emery board to scuff the pin on all sides and use a twist drill, the same diameter as the pin, to clean the socket.
I agree several of those pins don’t look so good.
It does look like the control box took a bath at one point.
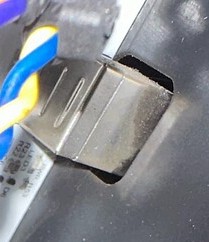
That USB connection has a nasty build-up on it.
It has gotten wet more than once.
Thanks for point those issues out! I didn’t see any other obvious signs of water (or mistook it as a coating of dust and grime from use). It does have a water table, but I don’t think there have been any spills while I have owned it.
Replacing the panel mount connector should be easy enough. How would you recommend replacing the motor side of the connector?
Any suggestions on how to better protect the enclosure when there is a water table?
It should be a simple wiring issue. Just match the colors to the correct pins. I would love to know if it is the problem first. Maybe a small wire brush and some contact cleaner.
Or if you are going to replace it, just cut the wires and butt use connectors till the connector gets there.
lkelyonwey® Db9 Solder Type Connector Adapter Kit Gold Plated Joints 9 Pin Female to Male D-Sub Connectors Assortment Couplers with Plastic Hoods 4 Sets of Male and Female Amazon.com