I am having a similar issue. I have let the silicone dry for well over 24 hours, however I have still got some water leaks, and that annoys me very much. I also thought that it was caused by the silicone, as it might be of a very bad quality, however it was ok, as I have used the same silicone for some other things and it was ok. So, I had no freaking idea what was causing those leaks, and I had no idea how to fix it. I have even called for the services of plumbersingapore.org as they are the best plumbers that I know.
search the forum with the little magnifying glass on the top right…you will find some people who have used different methods…epoxy…welding…
Well… One would HOPE so. 
1 Like
What should I use to weld this type of stainless. My Google-fu is not very good so what do I need for filler rod?
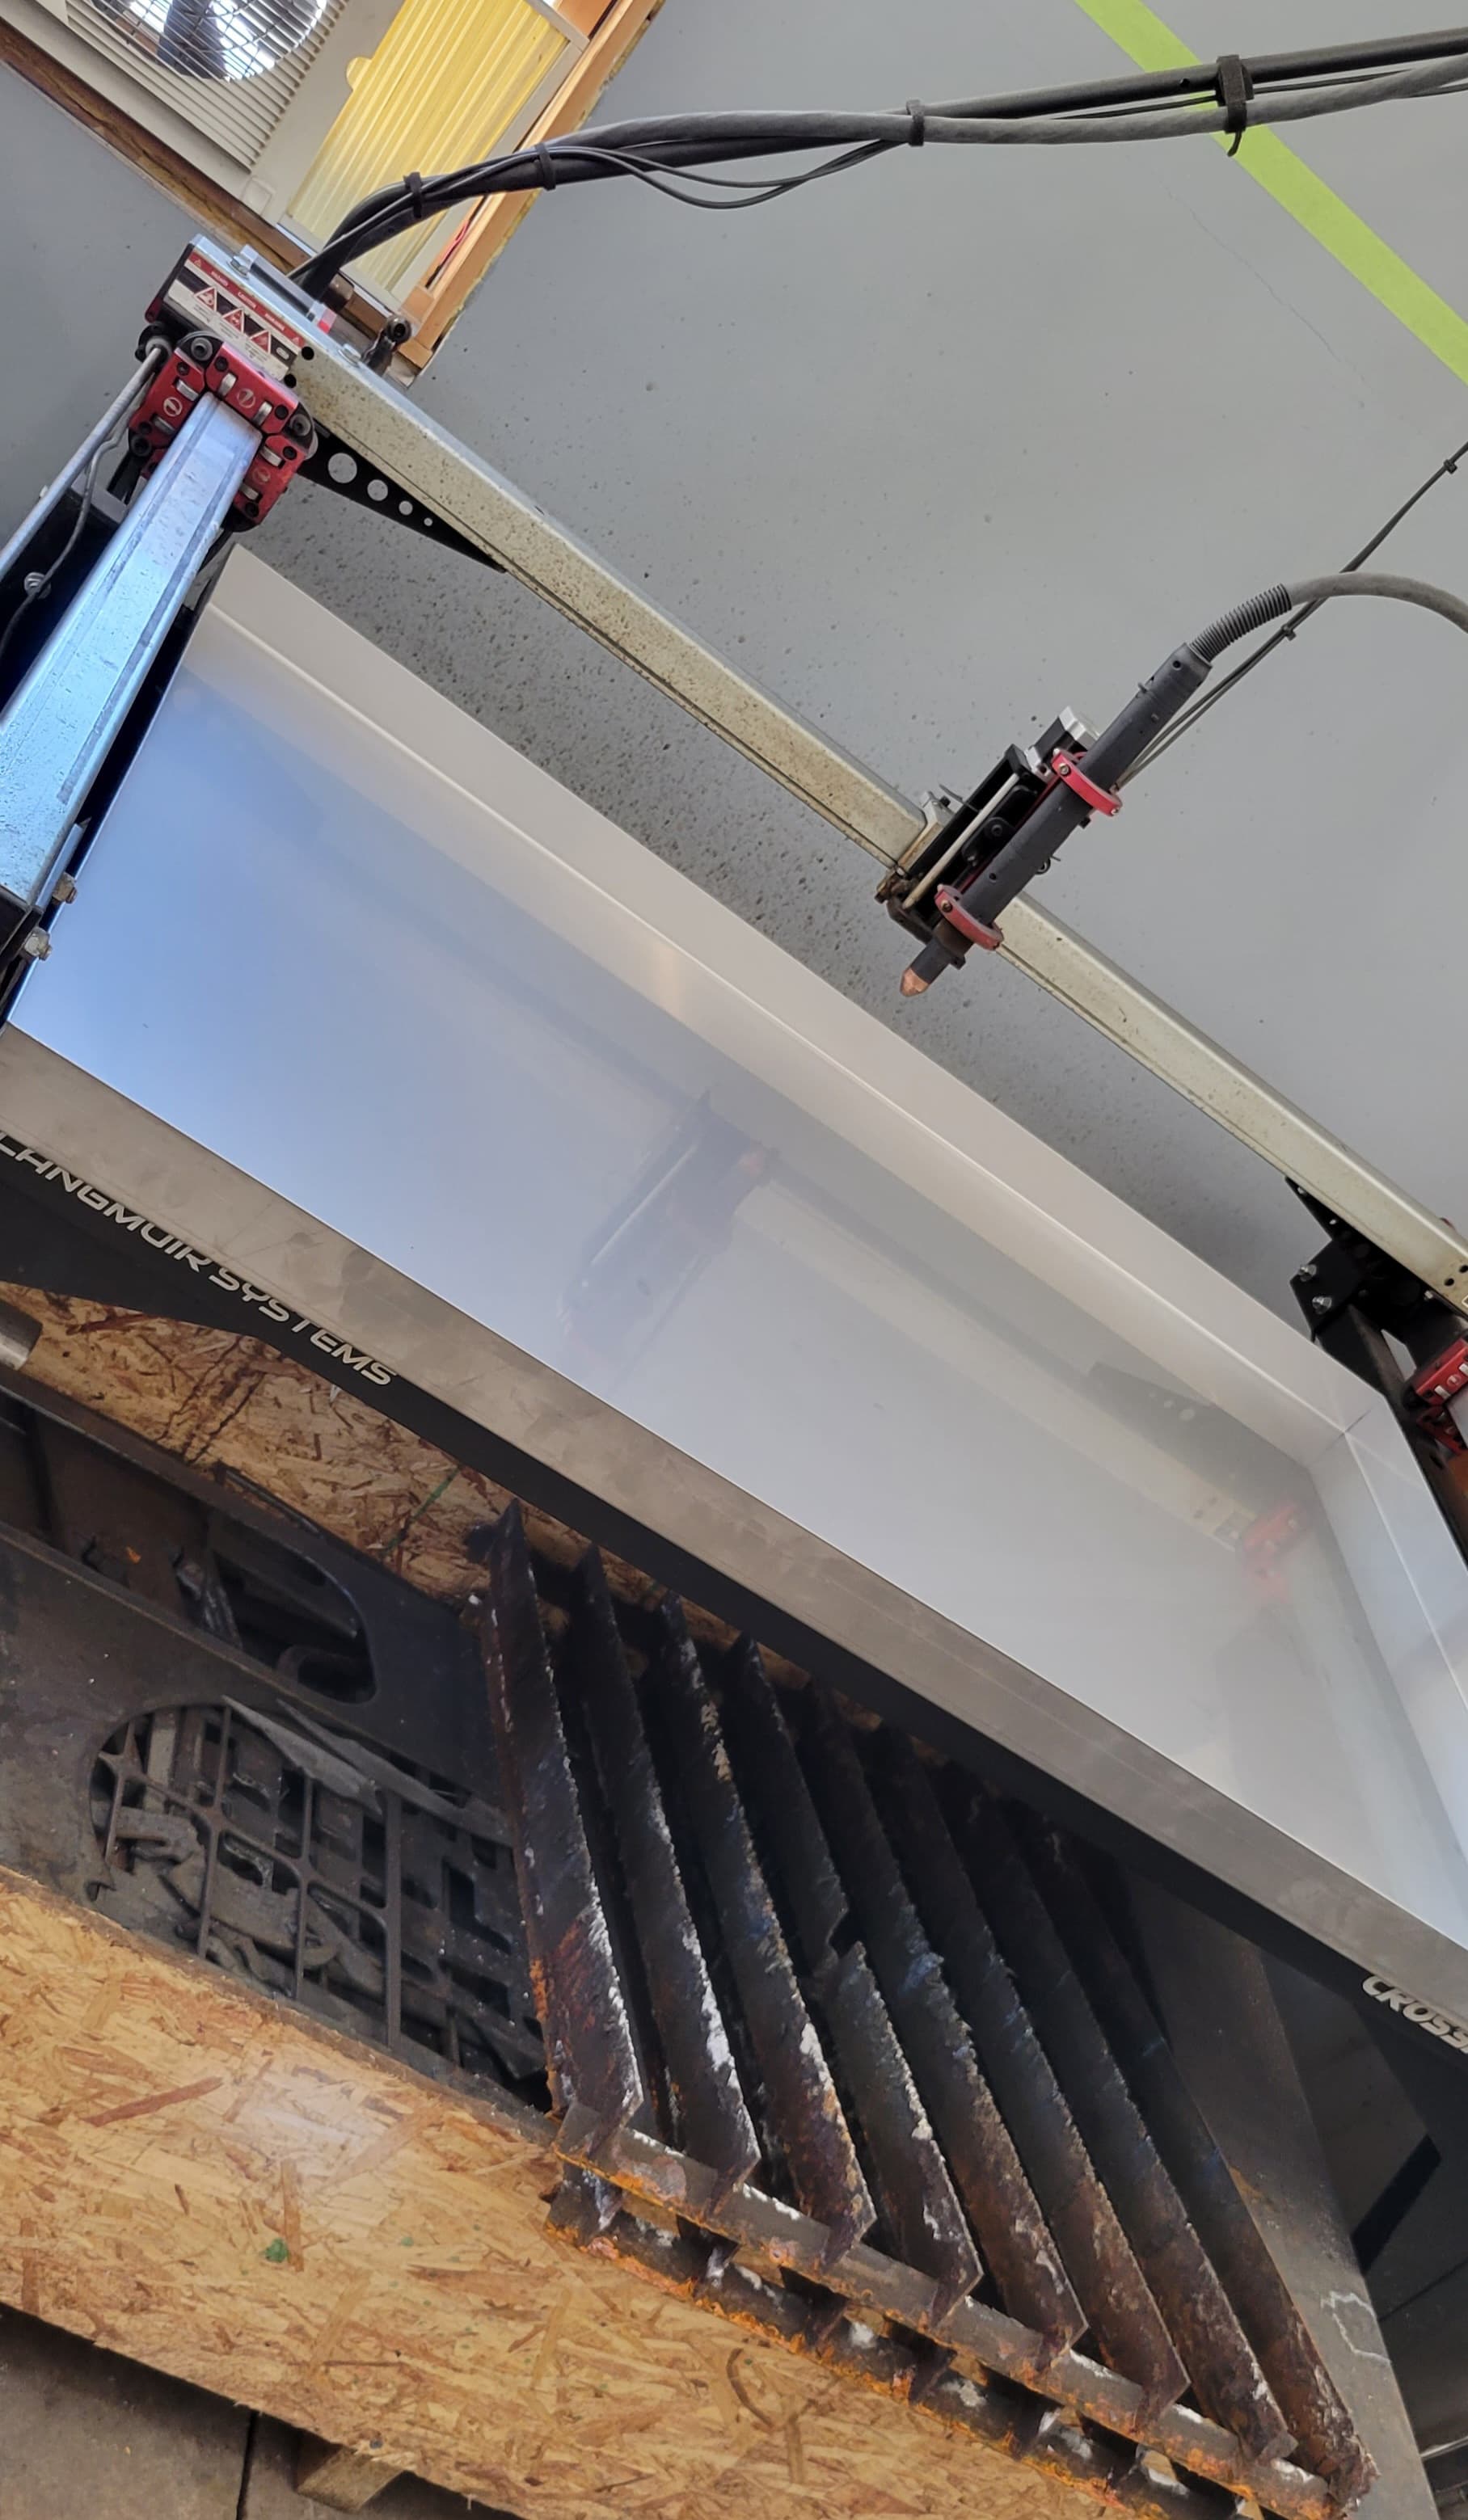
all I did to weld the table tray together is clean both halves…bolt them together …then put about 1/4" of water in each tray…then melt the two flanges together with a TIG welder…
no need for filler rod…just melt the inside flange.
1 Like
You should be able to just fuse it, but if you do need filler, 308 or 309 will work fine.
1 Like
Just did my table this weekend… TIG’d it… No filler worked just great…
Getting the “U’s” for the bolts was a bit challenging… Later I read where some guys opened the “U” shape to more of an open “V” shape… That seemed pretty smart in hindsight…
Won’t know for sure if she doesn’t leak until I get the rest of my parts and can actually start putting this thing together… Passed the flashlight test tho!! So, that’s a good start…
put it up on some saw horses…put abit of water in it…run a air gun along the bottom with the fine rubber point along the weld…if bubbles show up…you will have a leak…
2 Likes
I haven’t fired my CNC up yet . But on the water pan I used silicone and sprayed the crack on the bottom about 4 coats of flex seal. To fill in the joint. We will see !  . If it fails I go with tig welding
Don’t waste your time. Tig it now.
2 Likes
I had a similar issue. I ended up using some Flexseal spray which worked well.
I sprayed a couple coats across the center divide and on the self tap screws as well.
I started out cutting all kinds of stuff in my own endzone with no leaks other than the very slow trickle from the drains themselves.
The first time the arc moved the ball past midfield it began to rain.
I know this is an old thread, but my water table leaked since day 1. I’ve re-sealed it and then the stupid drains leaked. Gave up, threw the old water pan out into a snowbank. Built my own out of 16ga
2 Likes
welcome to the forums…nice work on the table…as for a drain…I installed a simple kitchen sink / bar sink drain…I cut the hole with the actual torch on the table…then installed my drain…never leaked…easy to do and is low enough there is very little left in the pan.
1 Like
Just to add validation to an old thread, going on 2-1/2 years, multiple freeze cycles and the 3M 4200 is still leak free 
Do not use 5200 tho just 4200
5 Likes
I ended up with a SS bulkhead fitting and SS ball valve with 3/4 garden hose threads. Should make draining faster and less messy.
So, I do not know if this will help anyone or not, but I will post it anyway.
I just got my machine together a little while ago, I am still in the learning phase, but I tackled the pan immediately based on what I had read here and elsewhere.
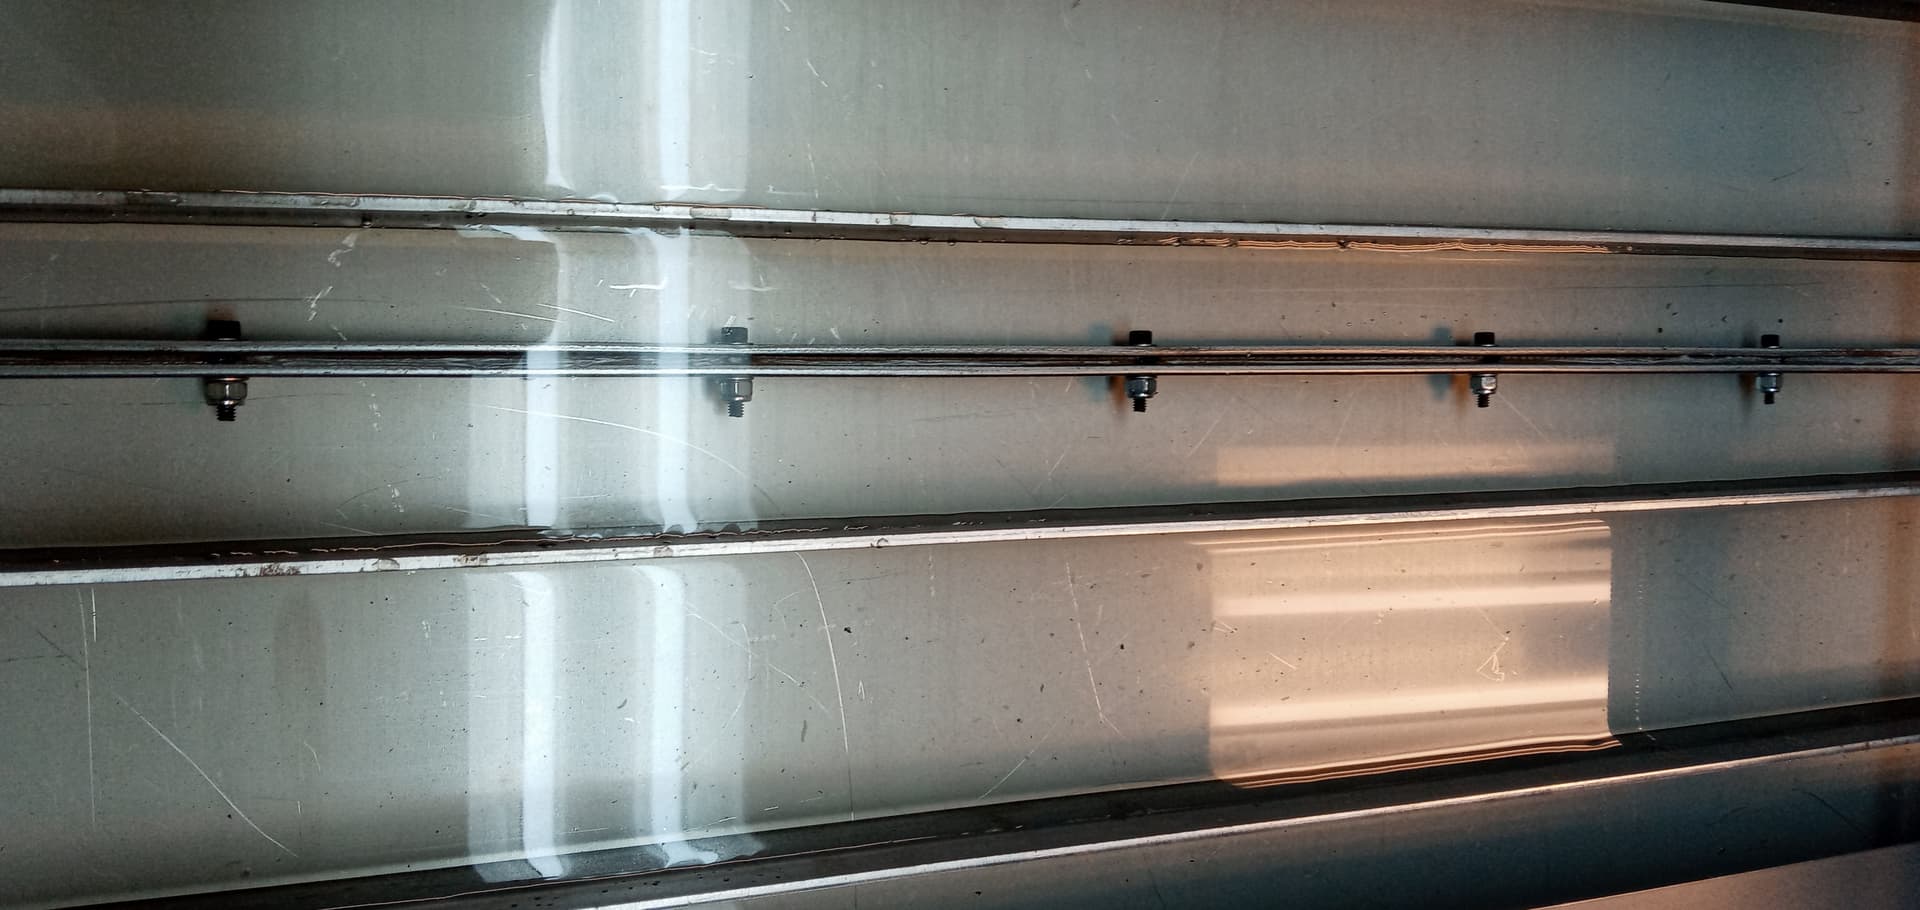
I went to the hardware store and purchased 2 - 36" x 3/4" x 3/16 strips of steel and basically made a clamp to help spread the load out. I also picked up some gray gutter sealing silicone and 1" long screws (either 8-32 or 10-32 - can’t remember - it has been longer than 20 minutes since I did it, and some stainless steel larger washers and lock nuts.)
I cut the strips to match the length of the pan flange and drilled them to match all of the flange bolt locations, then siliconed the snot out of the flange and clamped them together.
Leave the clamping straps in there, it is no different than the slats and really it helps support the flange. I don’t think this thing will be leaking any time soon.
That seems to have worked like a charm and it is something that anyone with a hand drill and some time can do, for those who may not have access to equipment like a welder.
Anyway, I hope that this helps someone.
1 Like
I had tried the silicone,…leaked. Tried my hand at TIG melting w/no filler rod,… got one very small leak down in the trough of one of the cutouts for the bolts.
I ended up covering the seal with rubber roofiing and the associated sealant. Then I cut a strip of an old welding blanket and laid it over the seam so when the torch passes over, there is no risk of damage.
Been holding water now for several months.
BUT, I agree the best solution is TIG it together. If from bottom, use filler. If from top, someone above already described a great method W/O filler. Also, if welding top of seam, might be a good idea to just remove the “U” shaped troughs before welding. That was my downfall not getting my electrode down in deep enough to seal it.
1 Like
Mine is leaking - worst design ever - Making a new one - longer and deeper - I will post pics when I am done.
1 Like
Yeah I’m going to tig after so many tries with sealant. I’m sure the design was primarily for compact shipping purposes.