That has got to make you feel really good. Nice job problem solving your issue as well. We are probably about ready to mark it solved but we will wait.
1 Like
Definitely a victory.
I try so hard not to ask for help, as I like to believe I’m very thorough in my troubleshooting.
I will ask a technical question, then proceed with my troubleshooting, but after all options are exhausted then I’ll ask for help.
Guess that’s why I was a little frustrated before coming here finally.
No one on the Facebook group wanted to take 30 seconds to measure their VIM box ![]()
2 Likes
That is one reason I tell people to come to the forum…FB has a place but does not always work well when looking for information as peopel do not tend to read the whole thread or answers already given…here..people are more technical minded and will read all the comments and offer advice based on what has and has not been tried…
Also you get people like the Techs from Langmuir here…
3 Likes
the raw and divided circuits utilize the same board inside the cutter and share some of the same components i believe. It’s also not truly straight RAW voltage since it it going thru that board so the voltage gets “stepped down” some, as opposed to hooking up straight to the lugs and letting the VIM step it down.
2 Likes
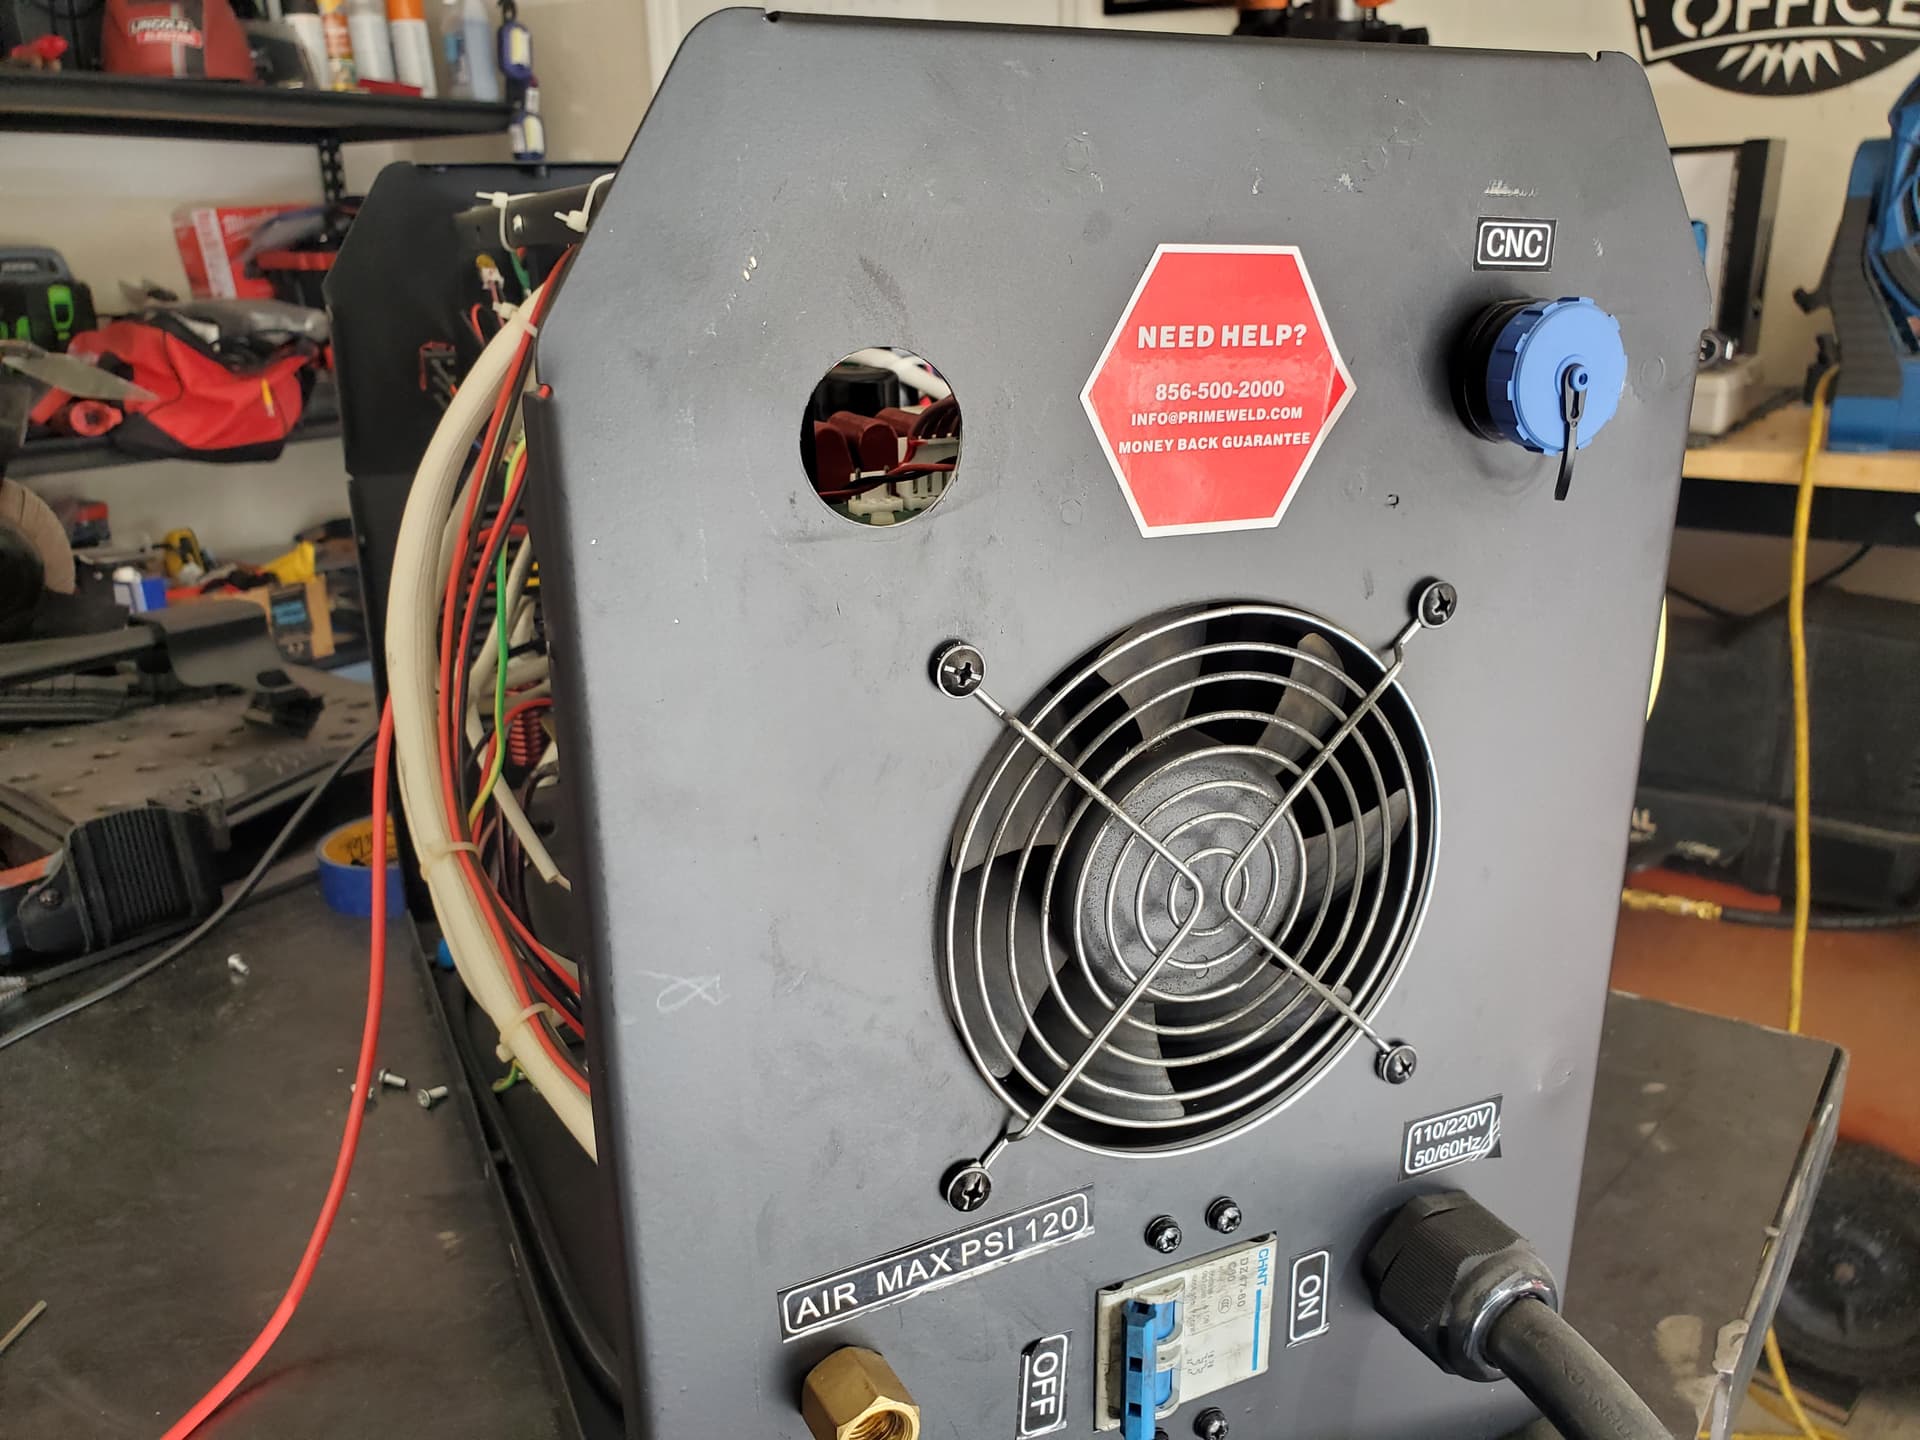
Ever since I was forced to run raw voltage, I hated the ‘look’ of wires poking through the vents.
Sure I could’ve used grommets or the sort to run them through the side or rear but I didn’t want to do that.
I wanted a solution that was clean and tasteful.
You’ll want -
Your favorite cable sleeves (optional, not required)
Heatshrink, you probably have a bunch from other jobs or at least when you first wired up your CPC plug
Soldering iron
Power cables; you can reuse the one’s provided by Langmuir but I chose to cut these ends off (as I tapped into the ground and torch already) and used an extra set I had from one of my Klein multimeters
Two pin connector of your liking; I went with the heaviest duty variant I could find
Small pilot hole, followed by the appropriate step bit makes easy work of this -
Wire up and install your new port -
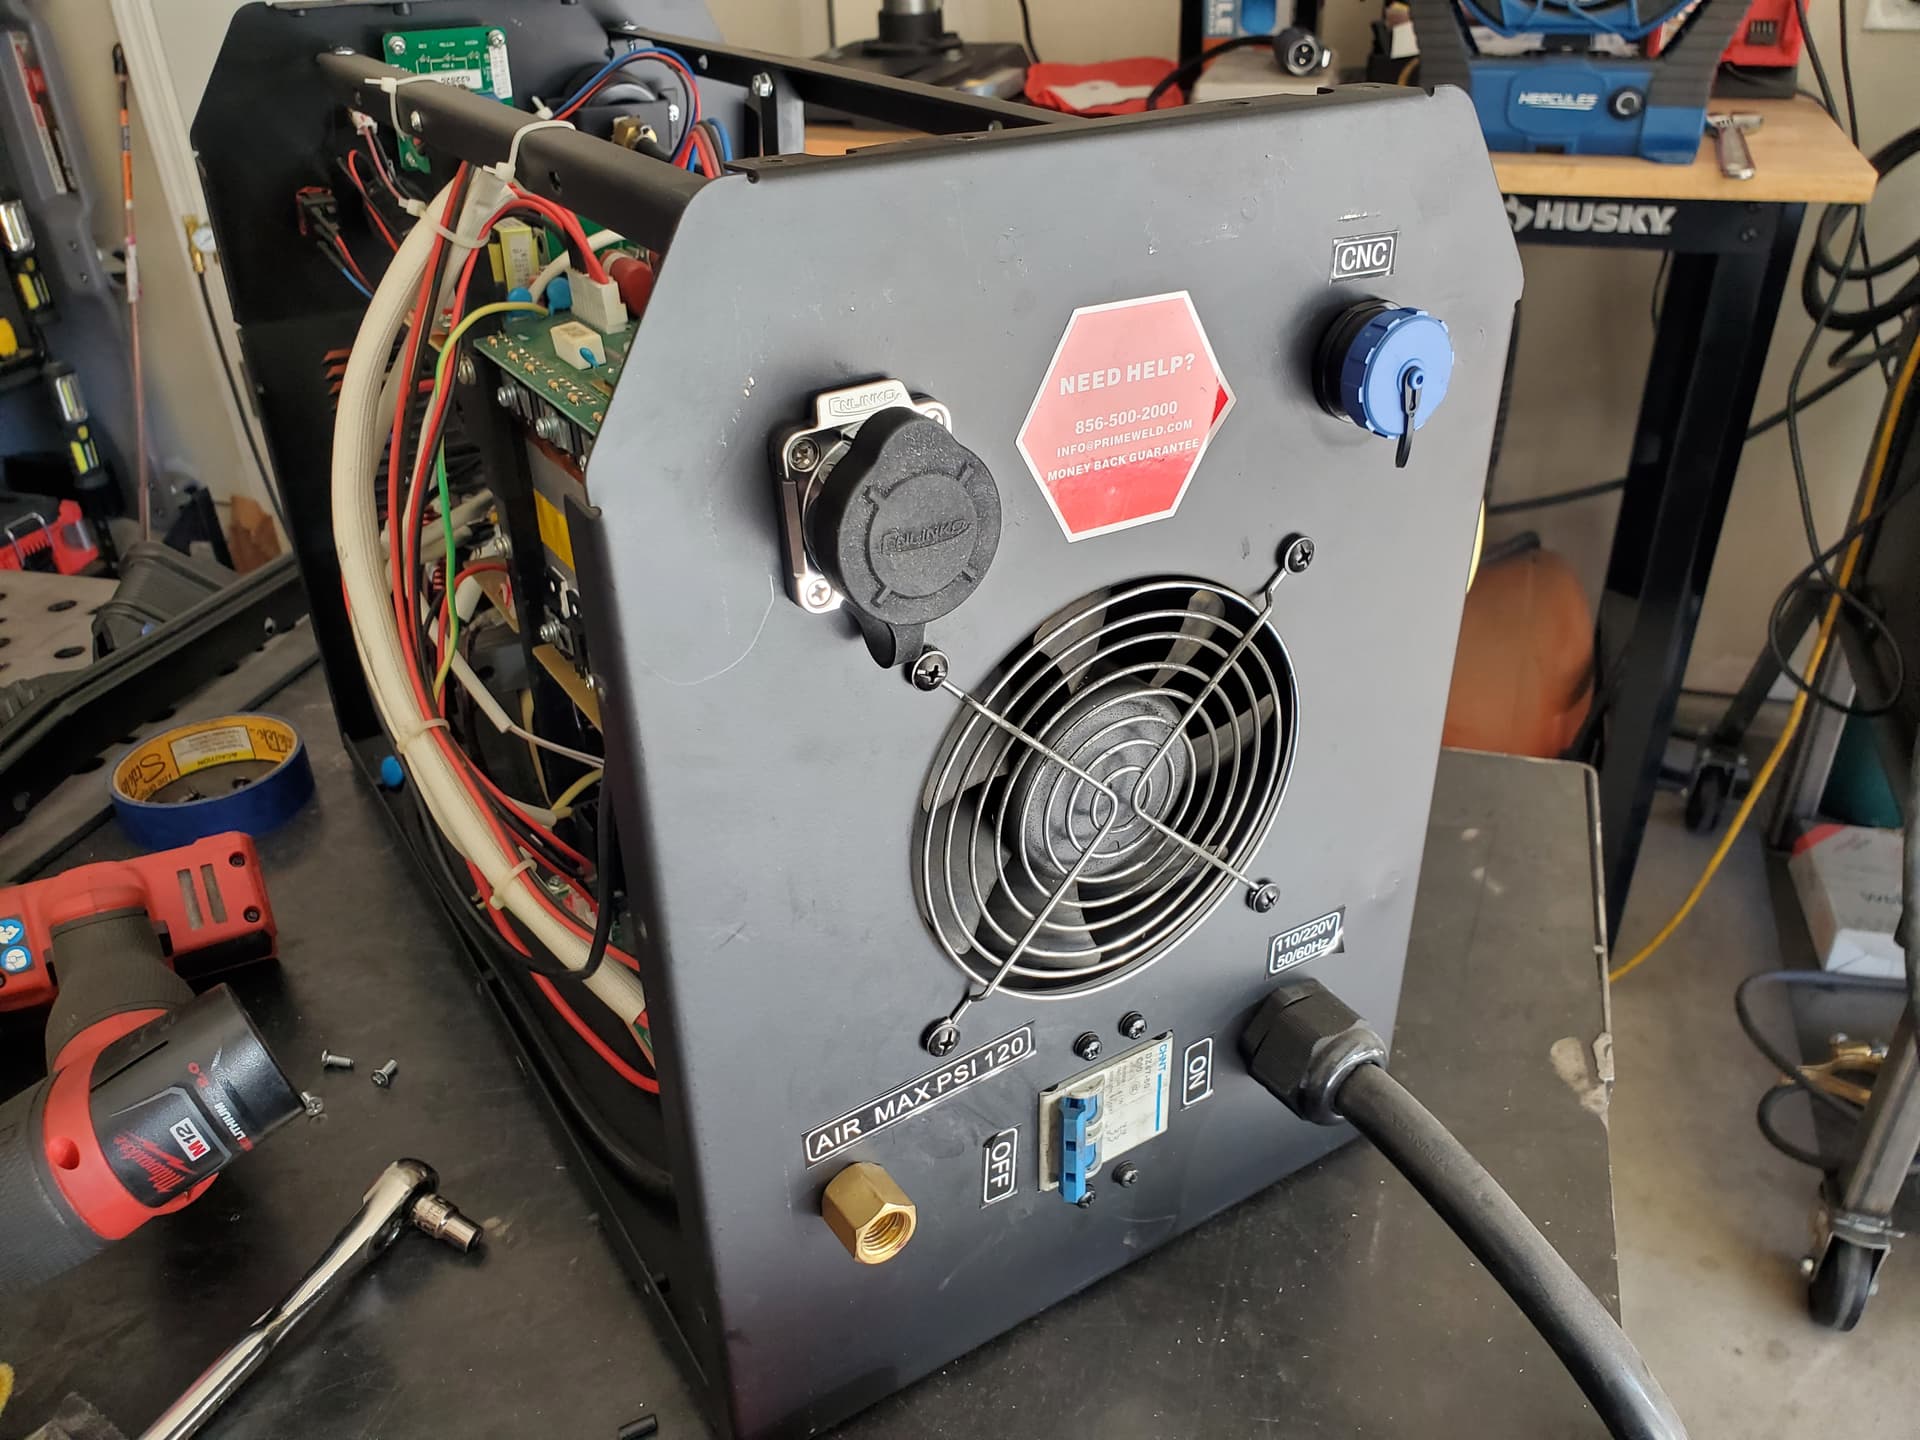
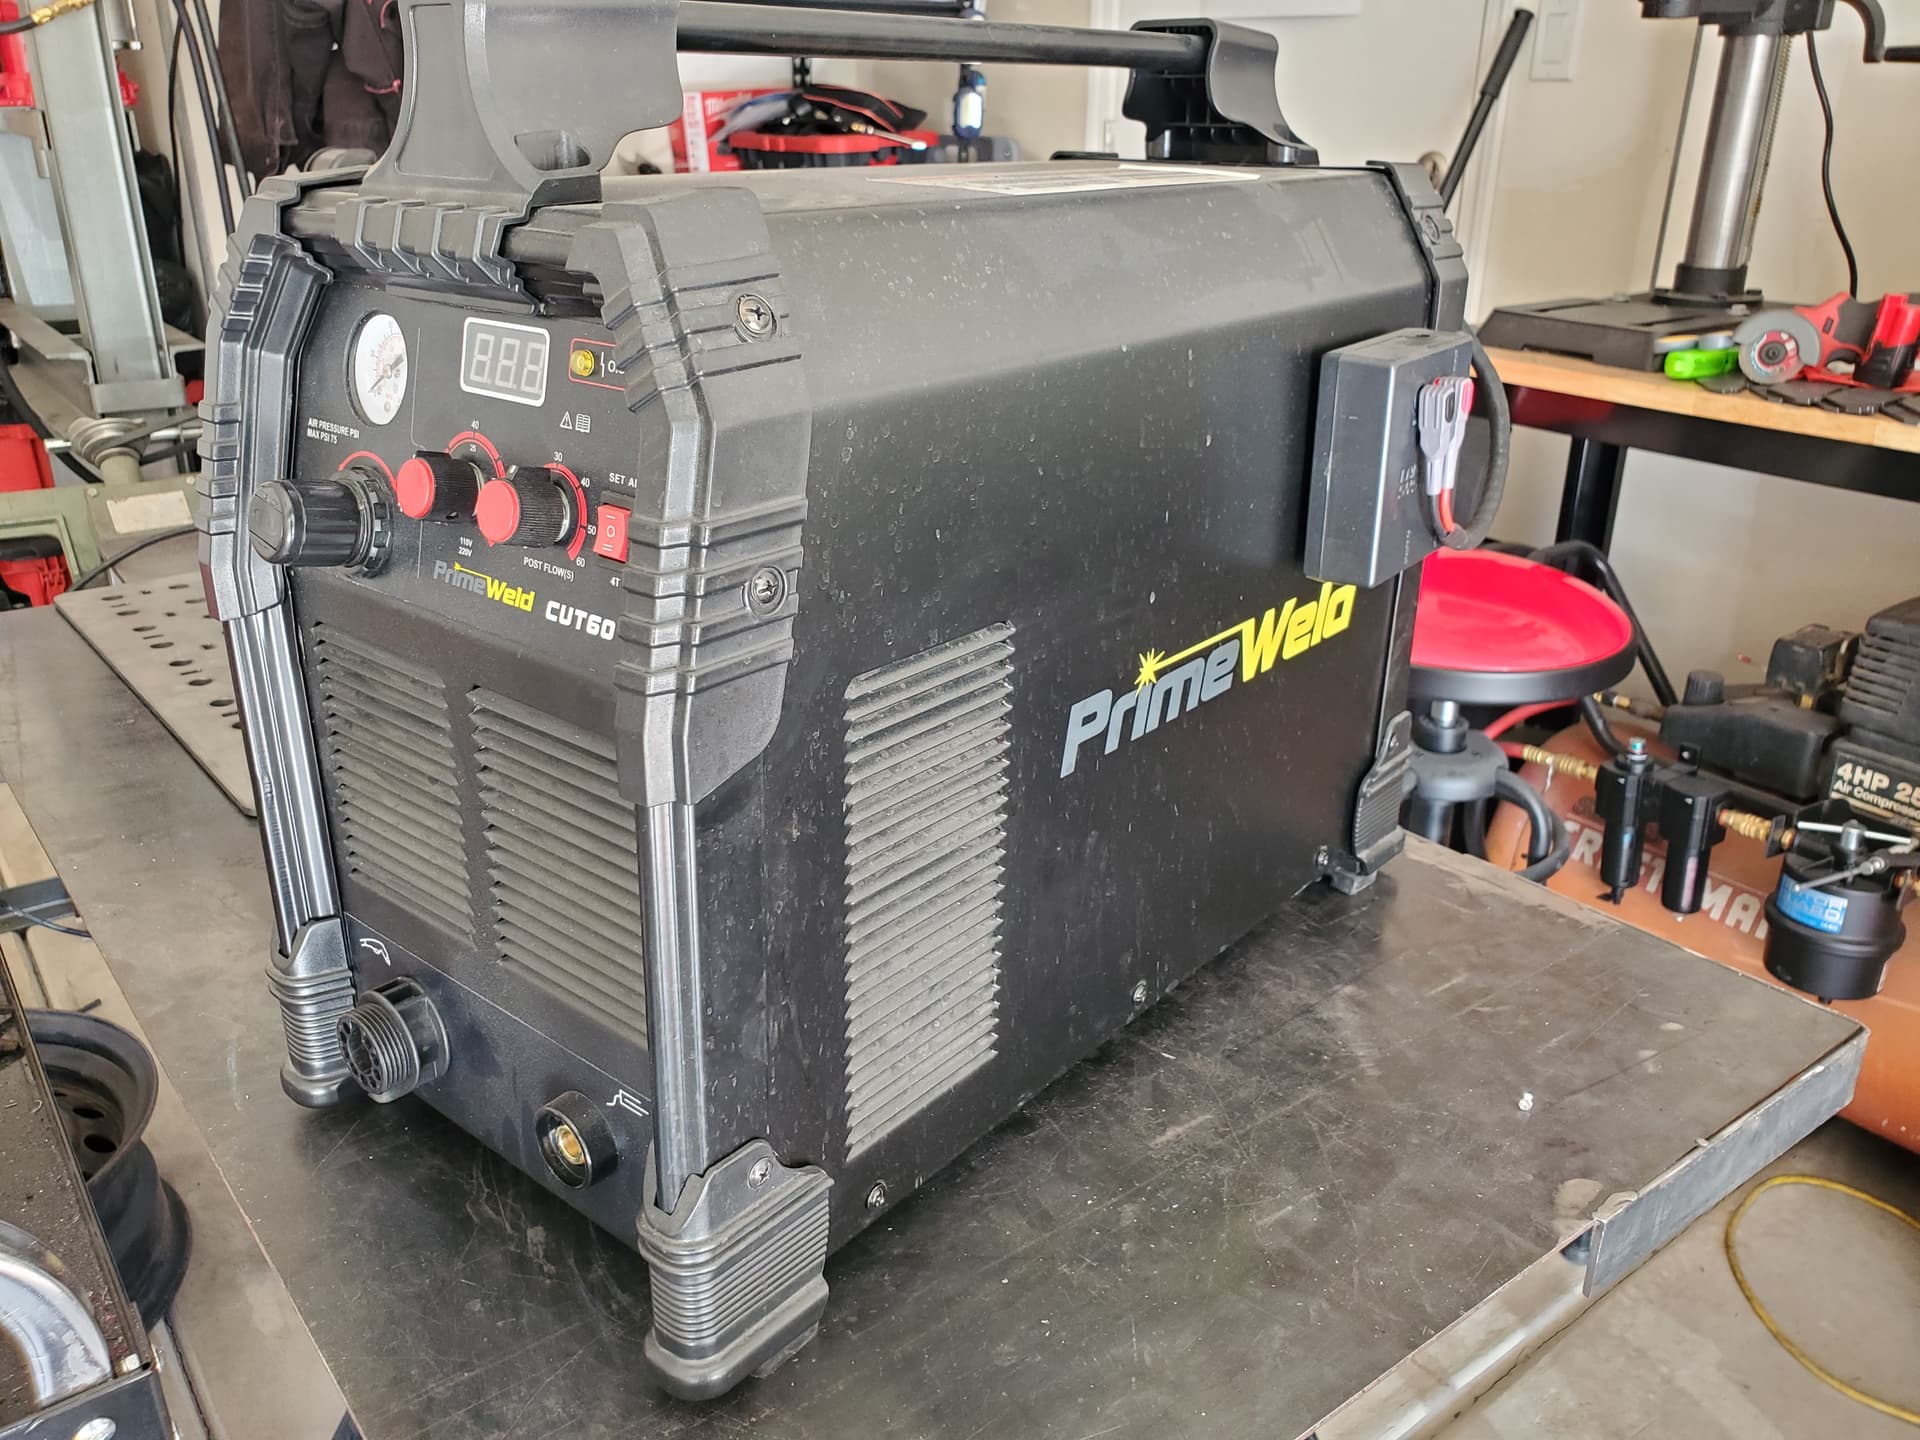
Put it back together and enjoy the new setup -
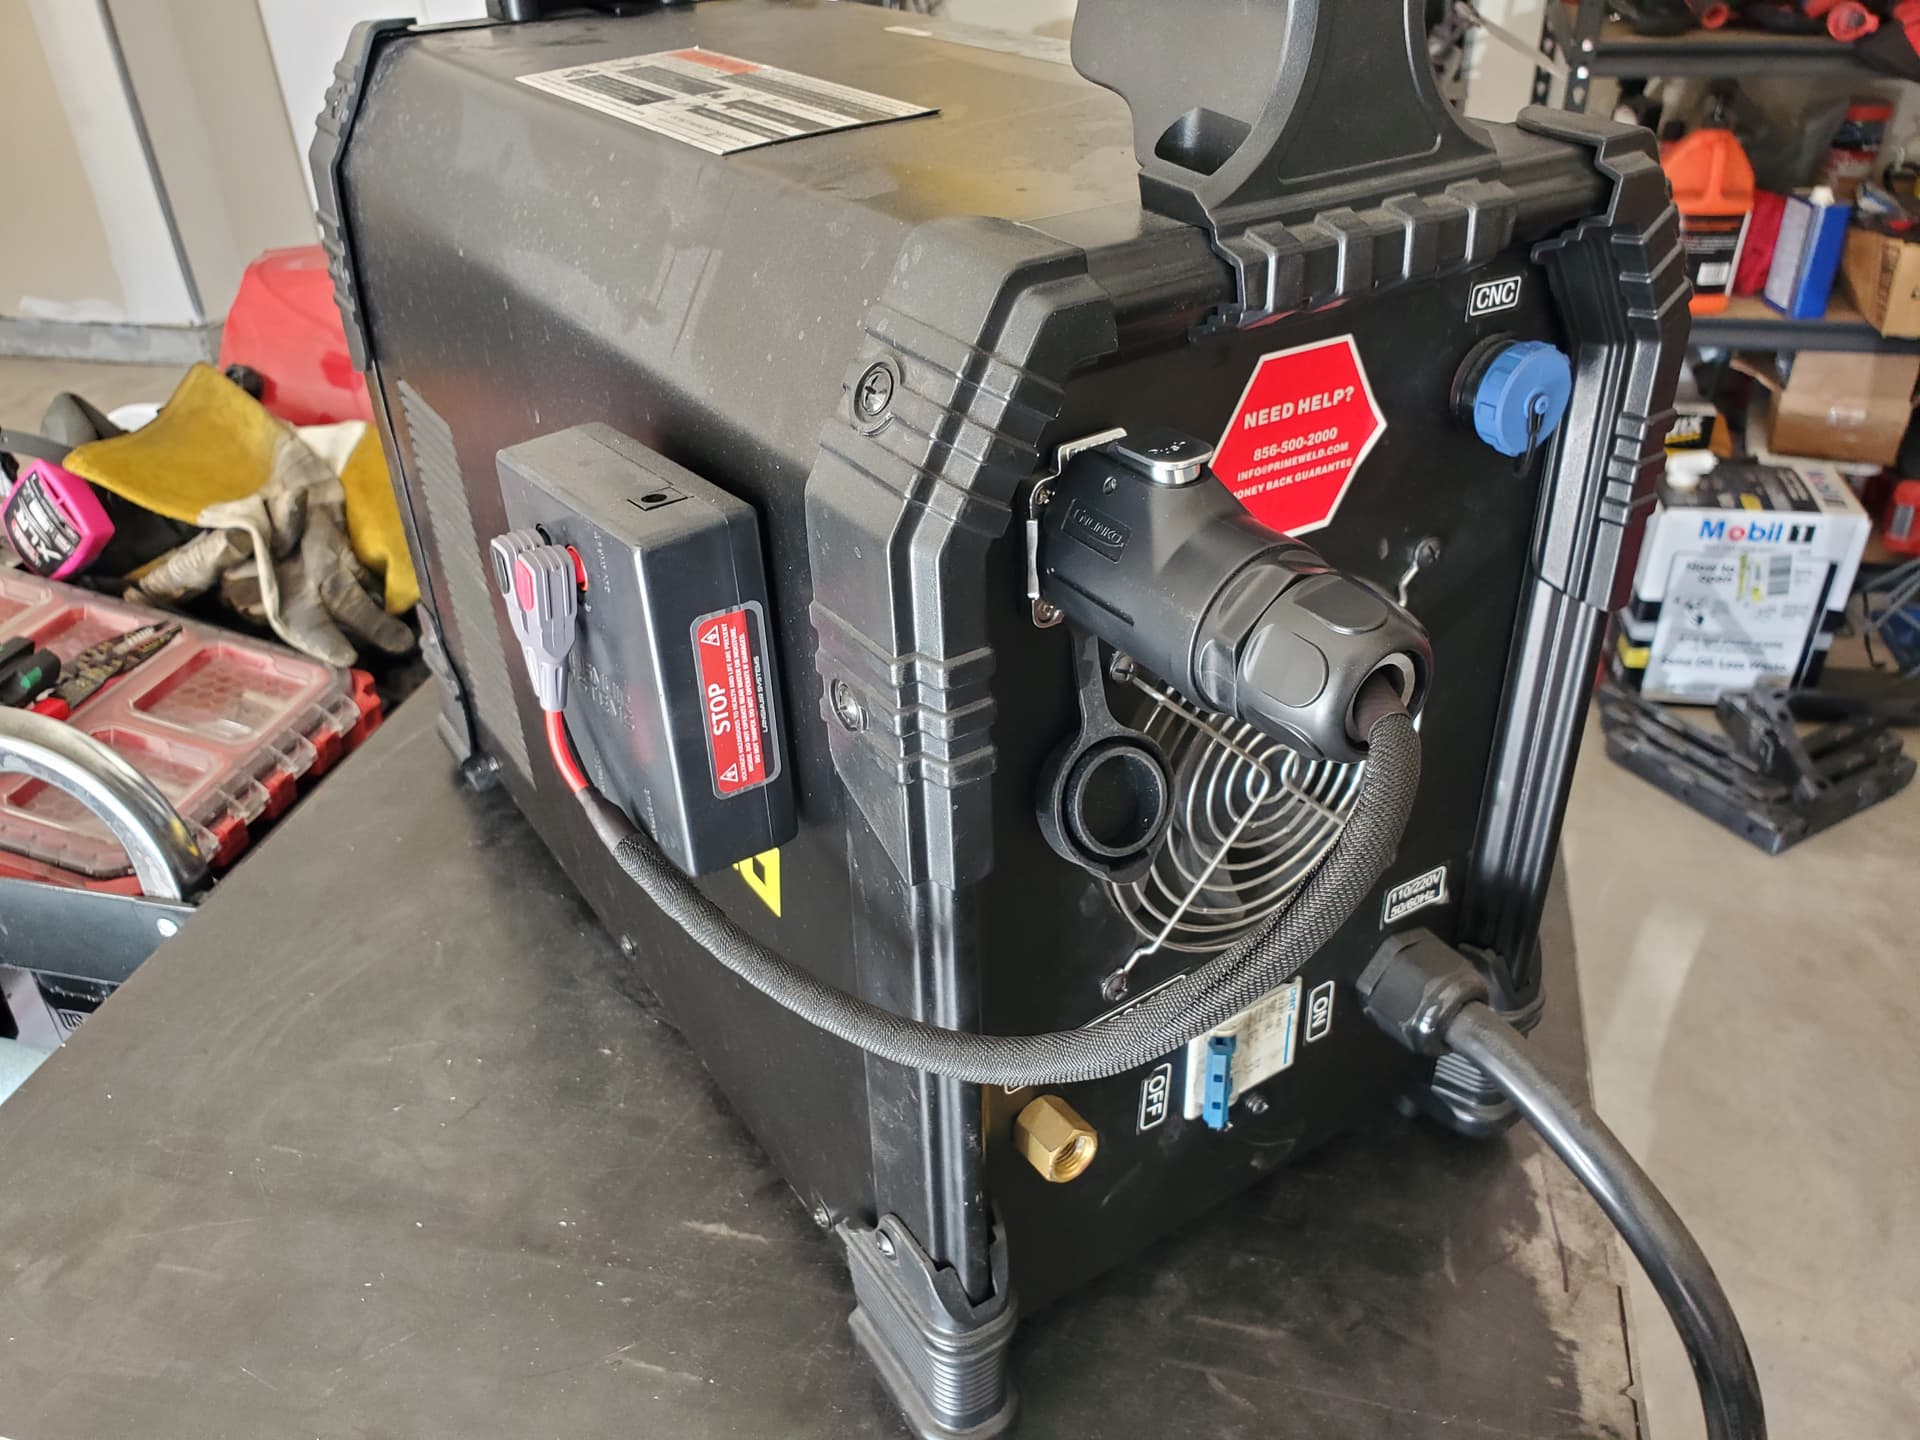
And when you need to pull the plasma cutter off the table and take it somewhere, you don’t have to worry about cables dangling -
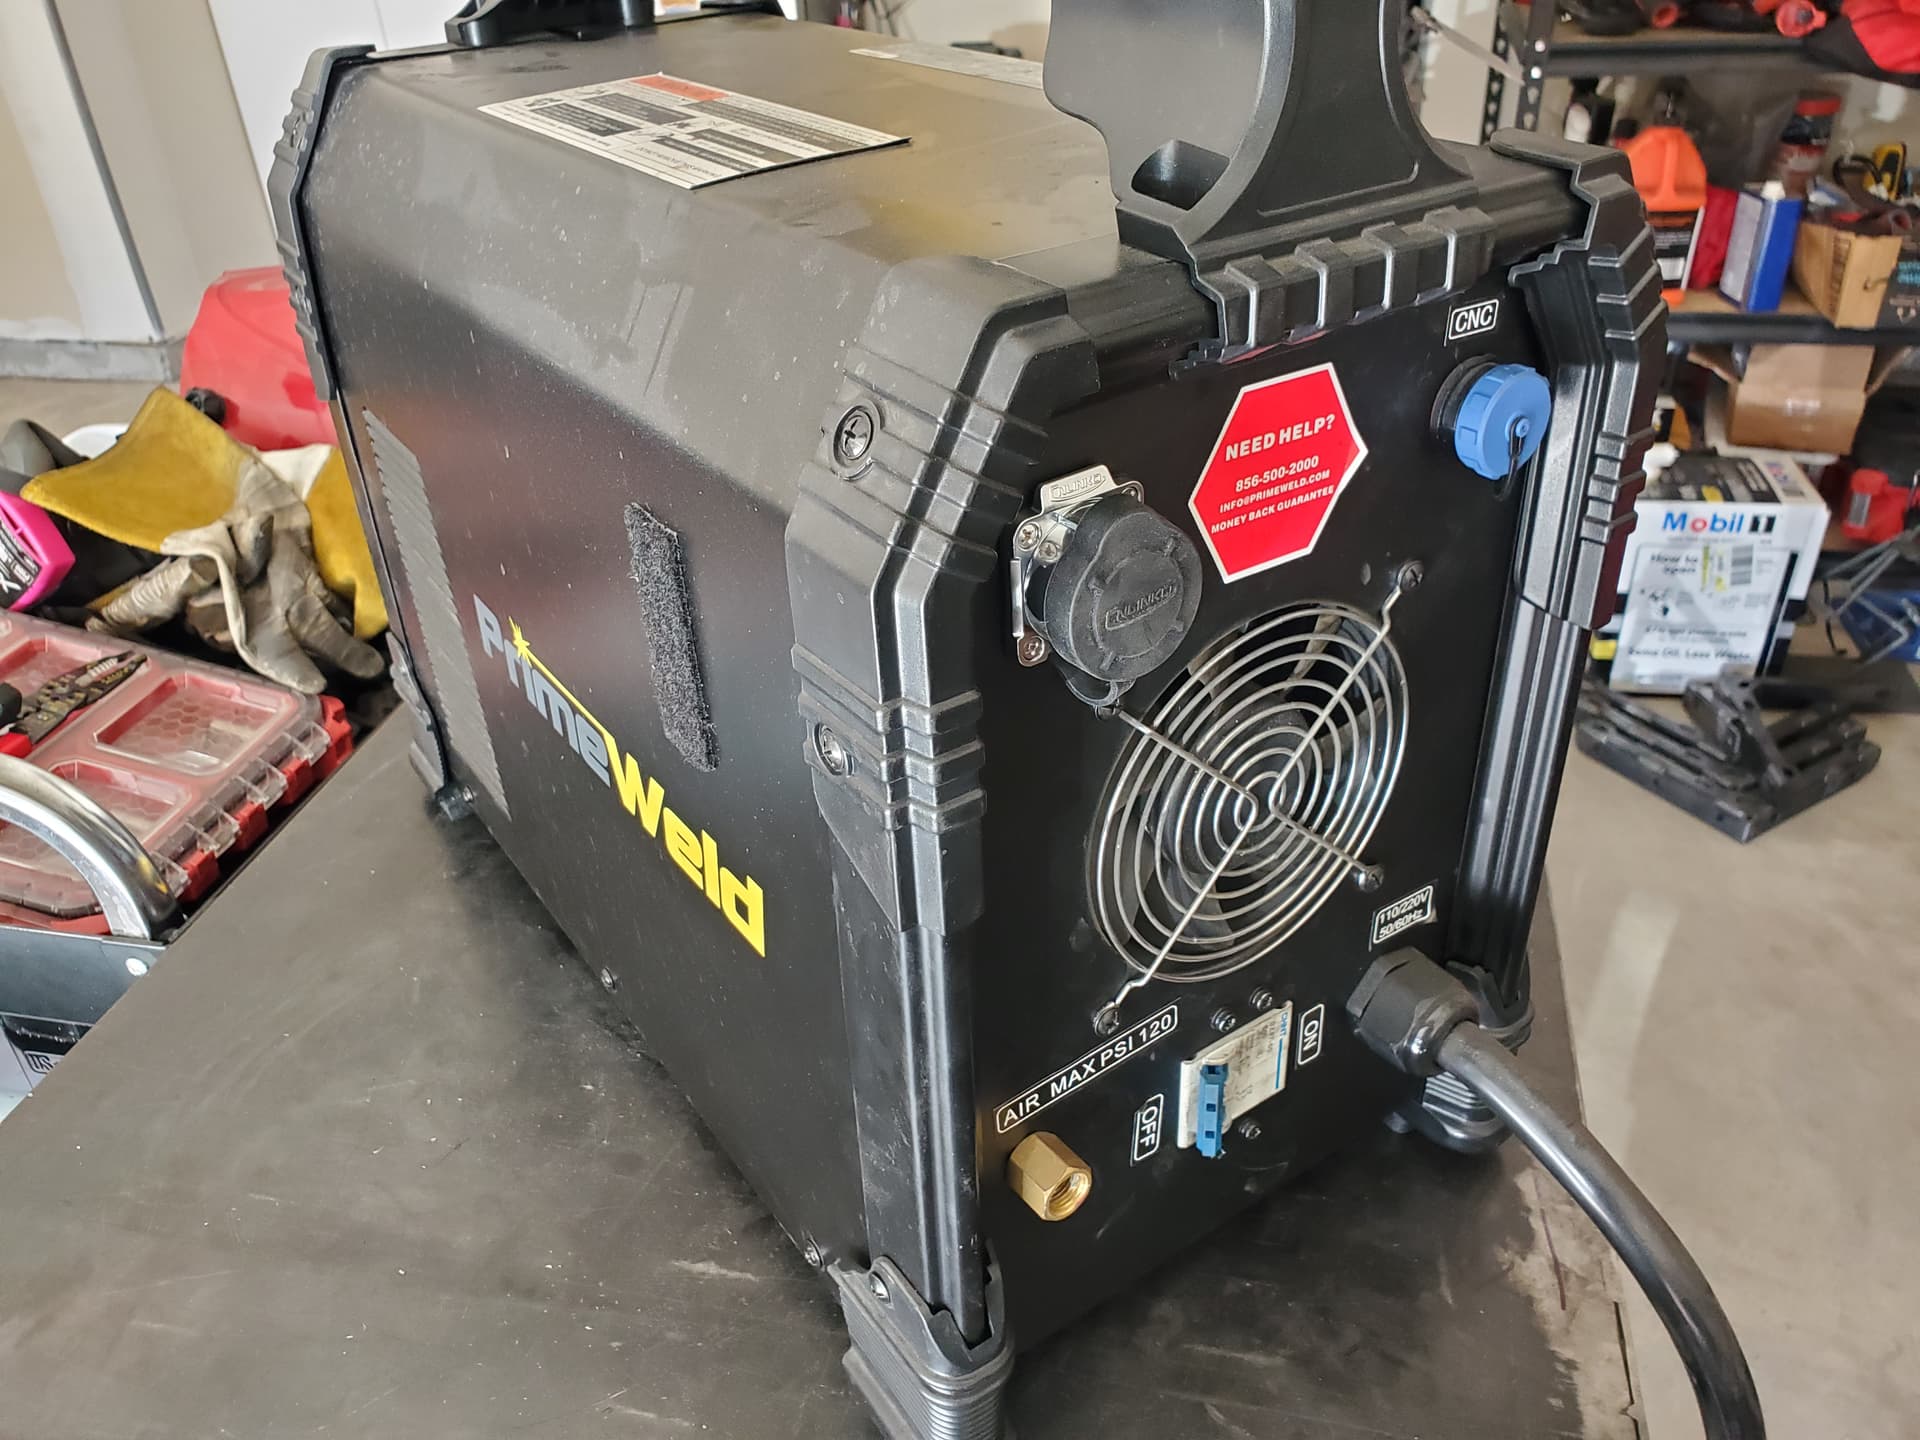
I’ve dubbed this the Port Mod.
5 Likes
glad to see you posted this amazing mod here in the forum…Glen from FB
1 Like
Shit, good to see you on here!
been here a LONG…LONG…time…
other will say way to long!..lol…
1 Like