I want to have the chips be able to go down my drains. What are you all seeing as the larger chip sizes for your operations? Just wondering if there is a reasonable size drain that can allow all chips to go down or if I should expect some chips that will just be too big / long for that.
When drilling steel I often get tangled bird’s nests that aren’t easily going down any drain, but which you could collect to make steel wool (j/k). Very short peck cycles would probably fix that, but they would have to be extremely short. You can see them piling up around the drill bit in this video:
You can also see typical size chips on the table there. The length is based on the depth of cut and helix angle of your endmill, but I’d plan on chips around 1cm long.
ah, ok… that shouldn’t be a problem then. I was going to do a PVC drain that was much bigger than 1 cm diameter. Thanks!
Don’t underestimate their ability to clump and create a bigger blockage. I often have to clear jams when vacuuming using a 1.5" nozzle. My prior machine with flood coolant had a 1.75" drain and that would occasionally clog with smaller chips (that machine was less rigid and I had to take shallower depth of cut).
I personally don’t run flood on my MR-1, but tons of other people here do. It seems like a 2" drain size should work pretty well.
ok, yea, 2 inch sounds reasonable. I’ll also have some suction going on from it. I’m going to give this a try:
https://forum.langmuirsystems.com/t/shop-vac-compressor-flood-idea-for-chips-drainage/32857
I have a single part design that should work to get the cyclone effect for automatic separation of chips from the fluid.
Hmm, I’m curious to see a cyclone that can separate the chips from coolant. The density is close enough that it seems like it would be hard to tune. Please share videos when you have it tested!
Will do. It may be a little bit (I’m doing it in my spare time) but I’ll post my results when I get them.
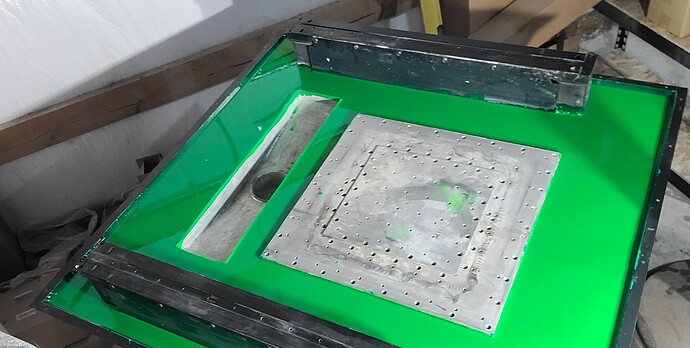
That is a massive drain, lol.
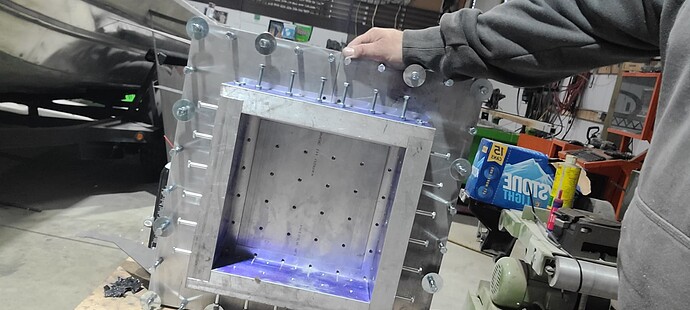
What’s up with your two layer table?
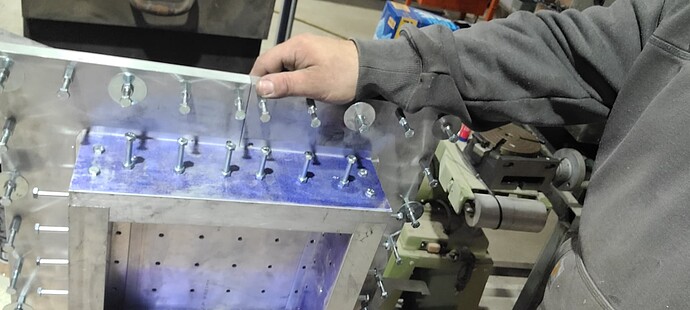
Center 12 x 12 is removable, torqued down prior to machining . Makes a 10.5 x 10.5 pass through with the same fixture patterns on the walls of the pass through. Center plate is 1 inch thick . When machined down should be roughly 0.800thick. The pass through walls are made from 1.5 x 4" aluminum. Drilled and tapped with anchore bolts.
Oh very cool. I remember when you were pouring the concrete last year and always wondered what happened with the rest of the build. I’d love to see some examples of how you are using the center hole.
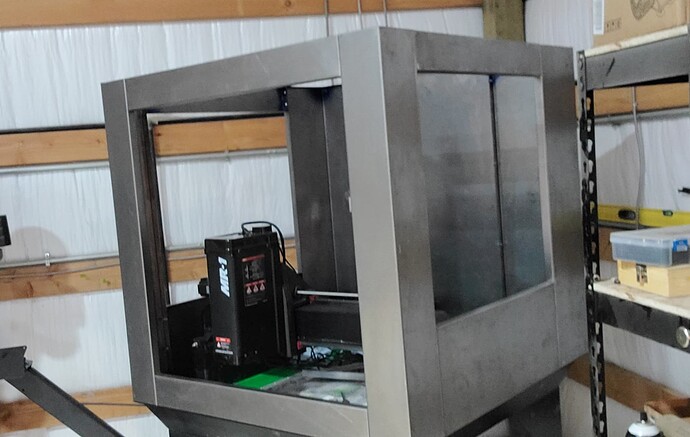
I actually had to put the build on hold until recently im working on the enclosure at the moment will have folding doors up front and a door on each side for service
Also using cable track instead of hanging the wires


