I’m curious as to those of you that have your machine up and running what your process was to get a good tram. Did anyone using any of the traming tools that are out in the market place such as the Edge Pro Traming Tool?
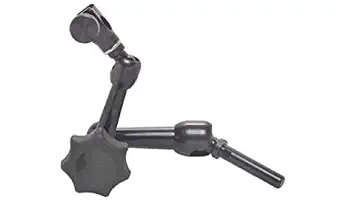
Seems to me it’s a better value to get a higher quality and more generically useful tool. I’ve used this Nogaflex 1018 with a mitutoyo 513-4xx dial test indicator. That Nogaflex can go straight into one of the ER20 collets.
the edge tool makes it easier to read but considering this isnt an adjustment youll make more than a hand full of times youre better off buying a test indicator. which you can use for tramming vices, centering on holes. etc. First link is the indicator and then you dont absolutley need the spindle clamp but it makes tramming the spindle much easier as well as some other operations.
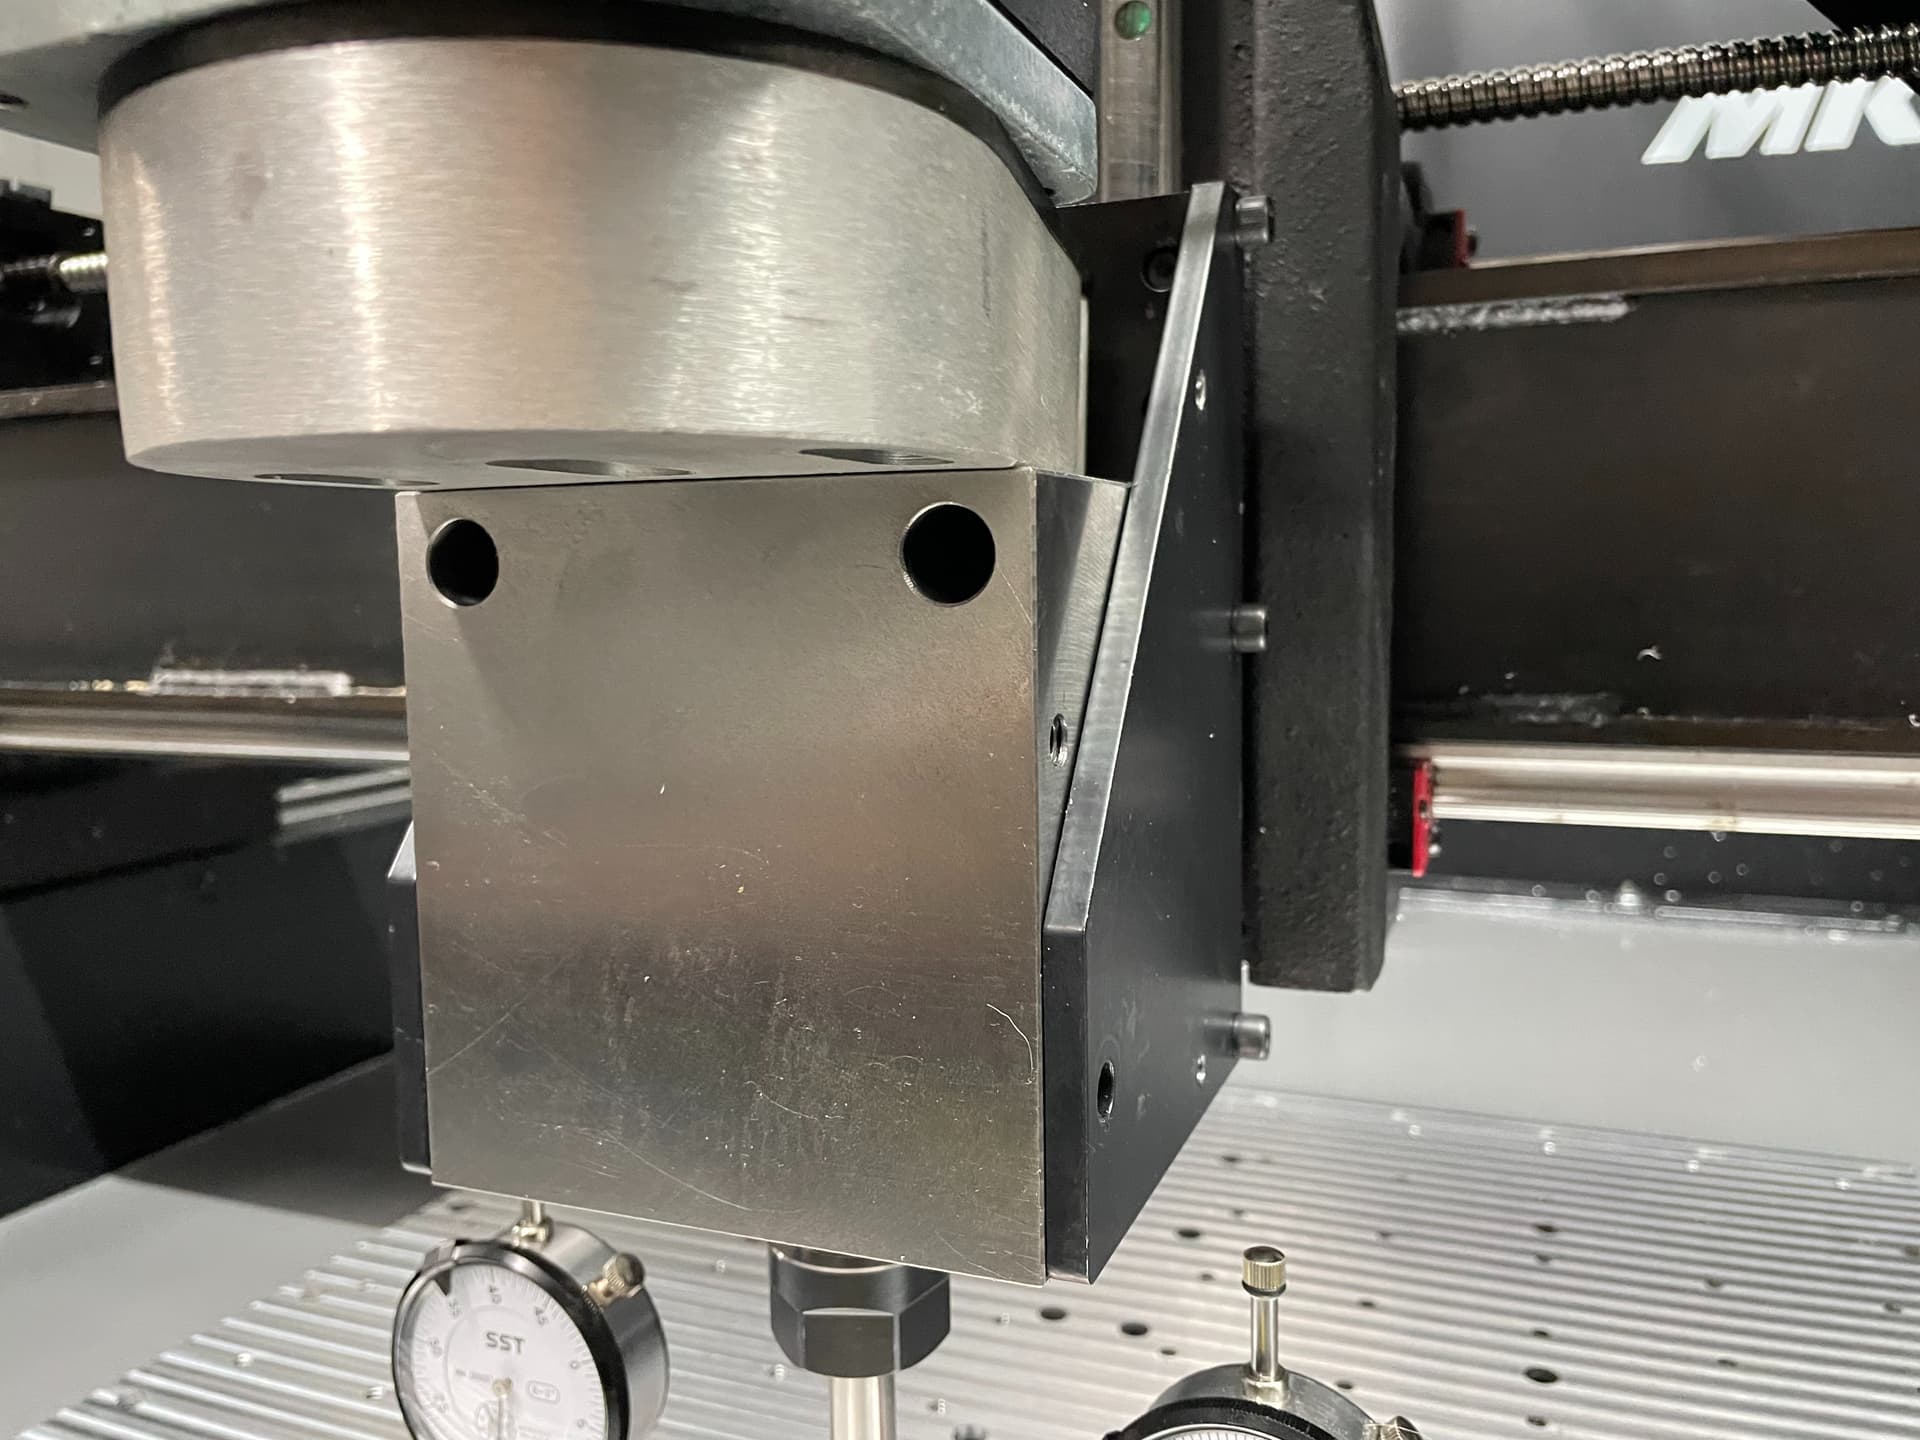
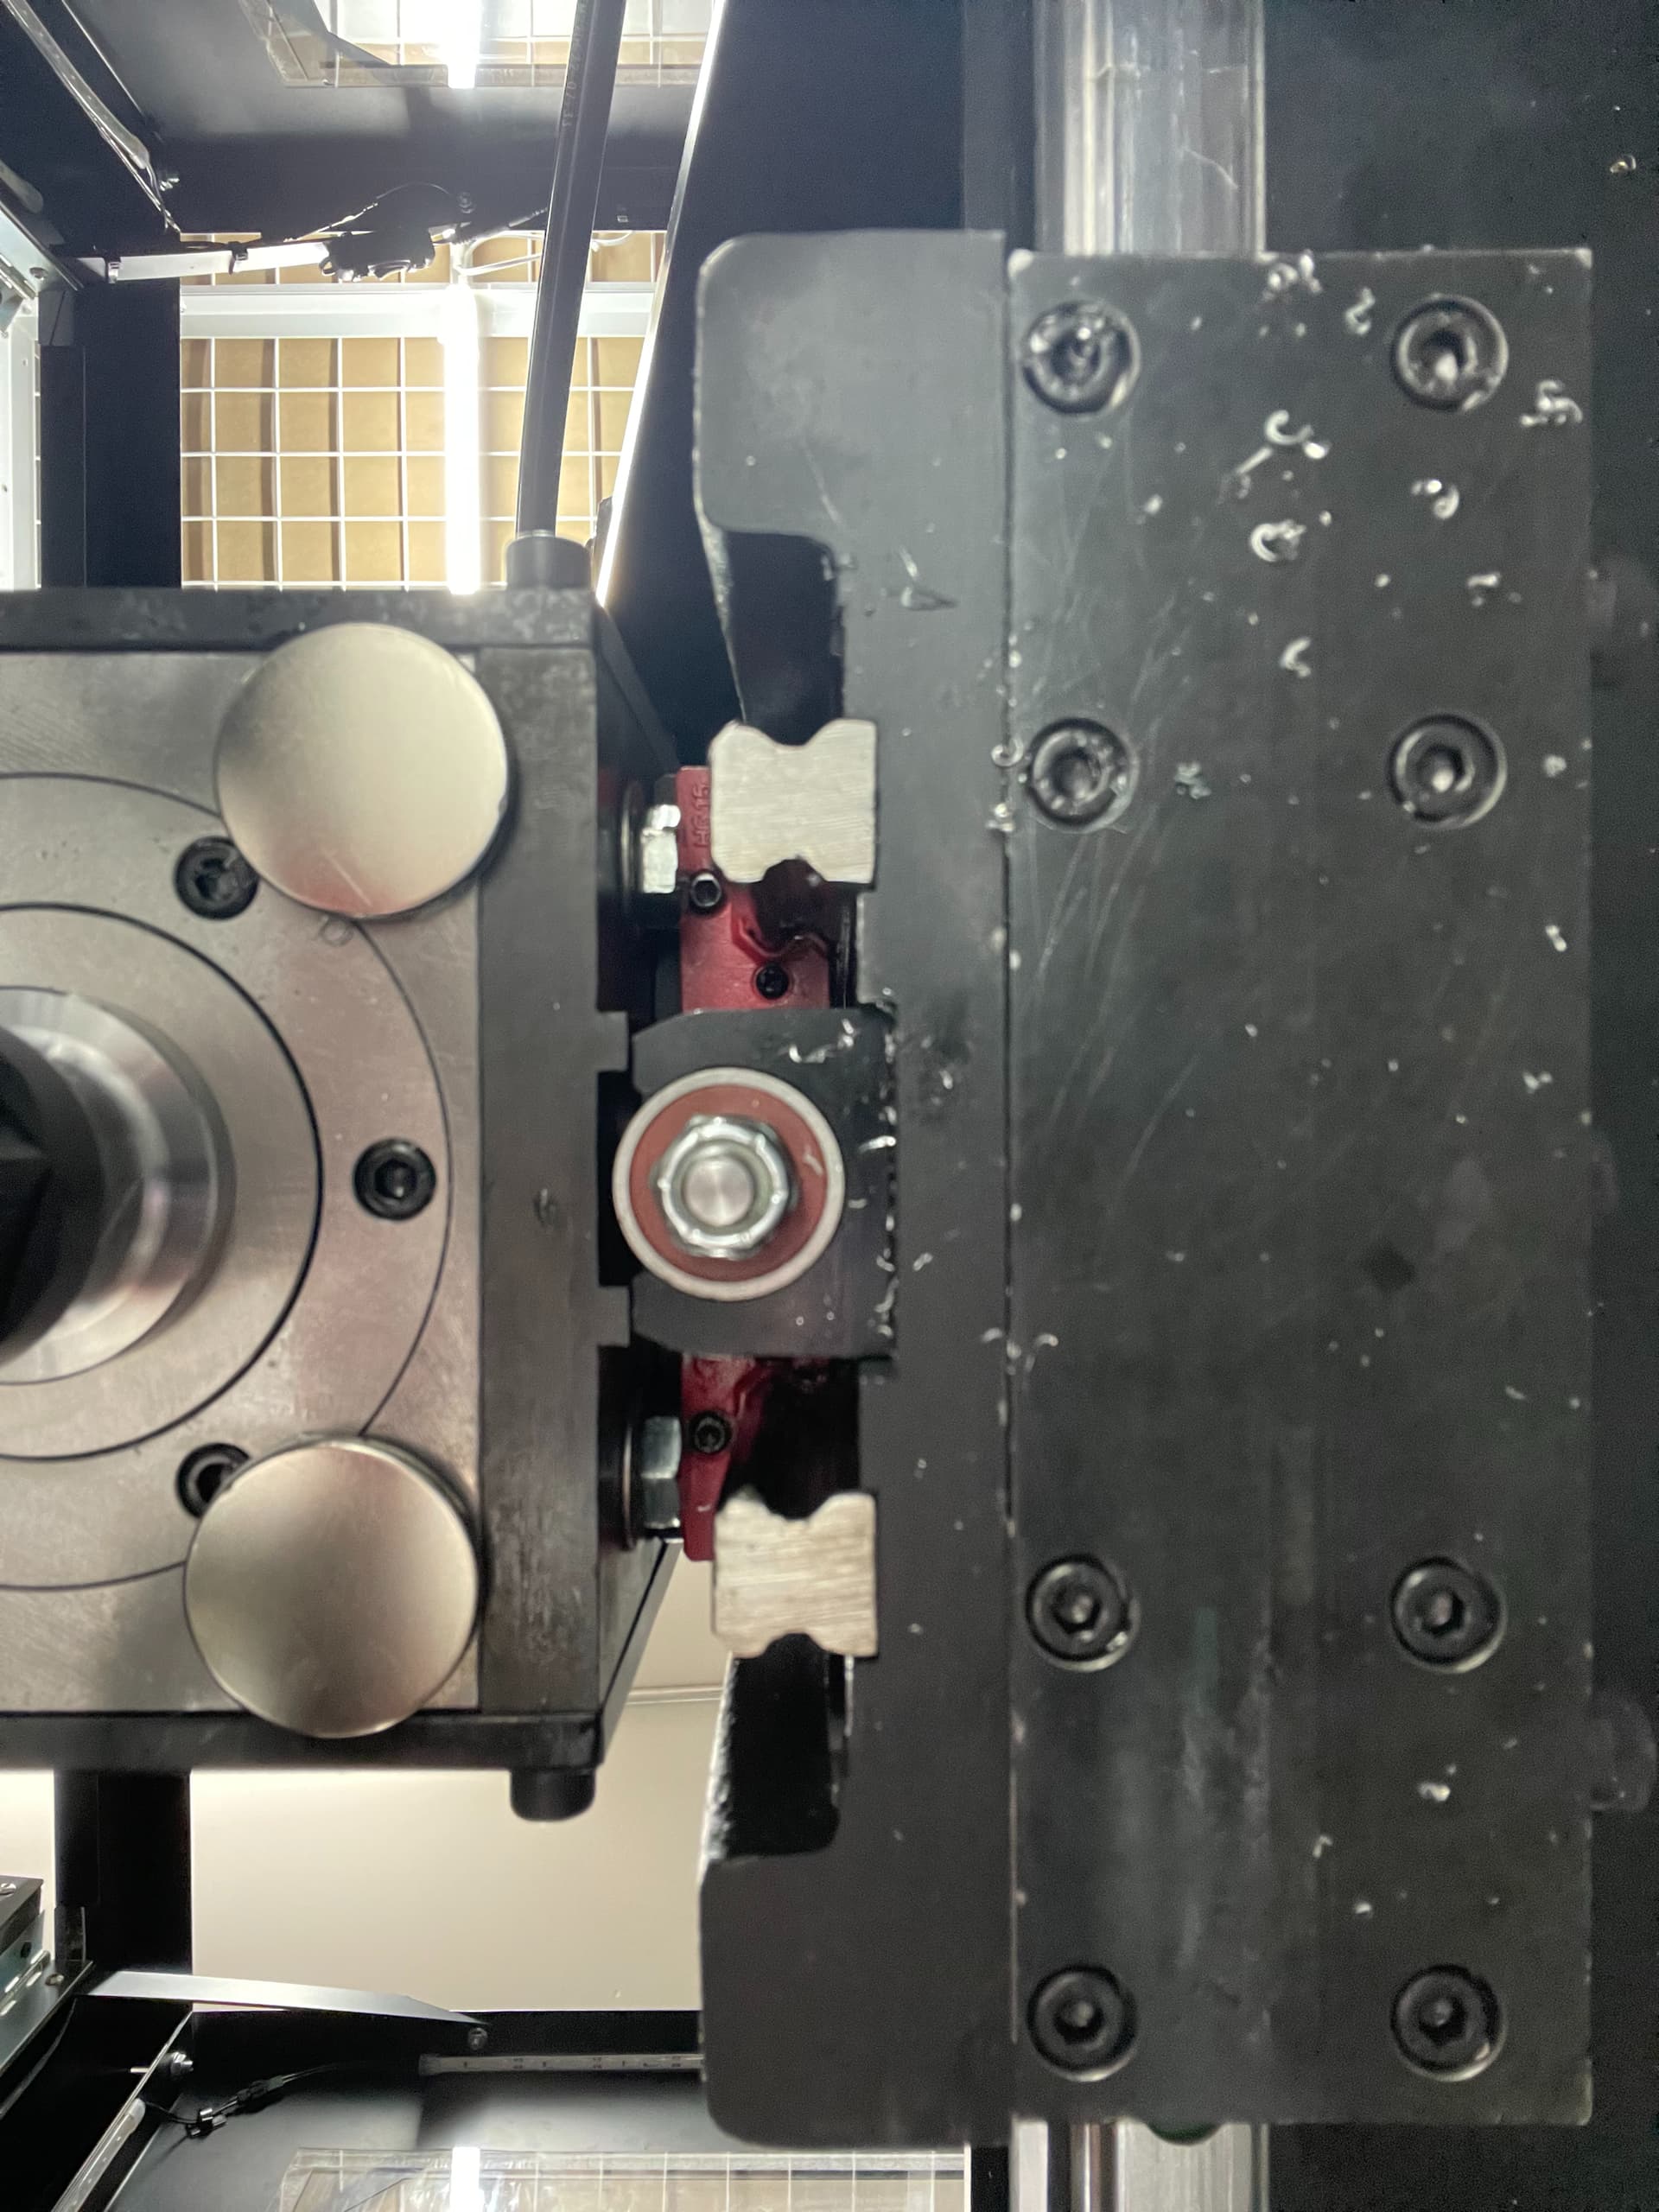
I’m starting the tramming process. Back to front I’m at .0007 which I’m fine with but on left to right I’m all out of whack as you can see in the picture. How do I go about fixing this? I haven’t seen LMS release a video on this yet so asking you guys that have been thorugh this.
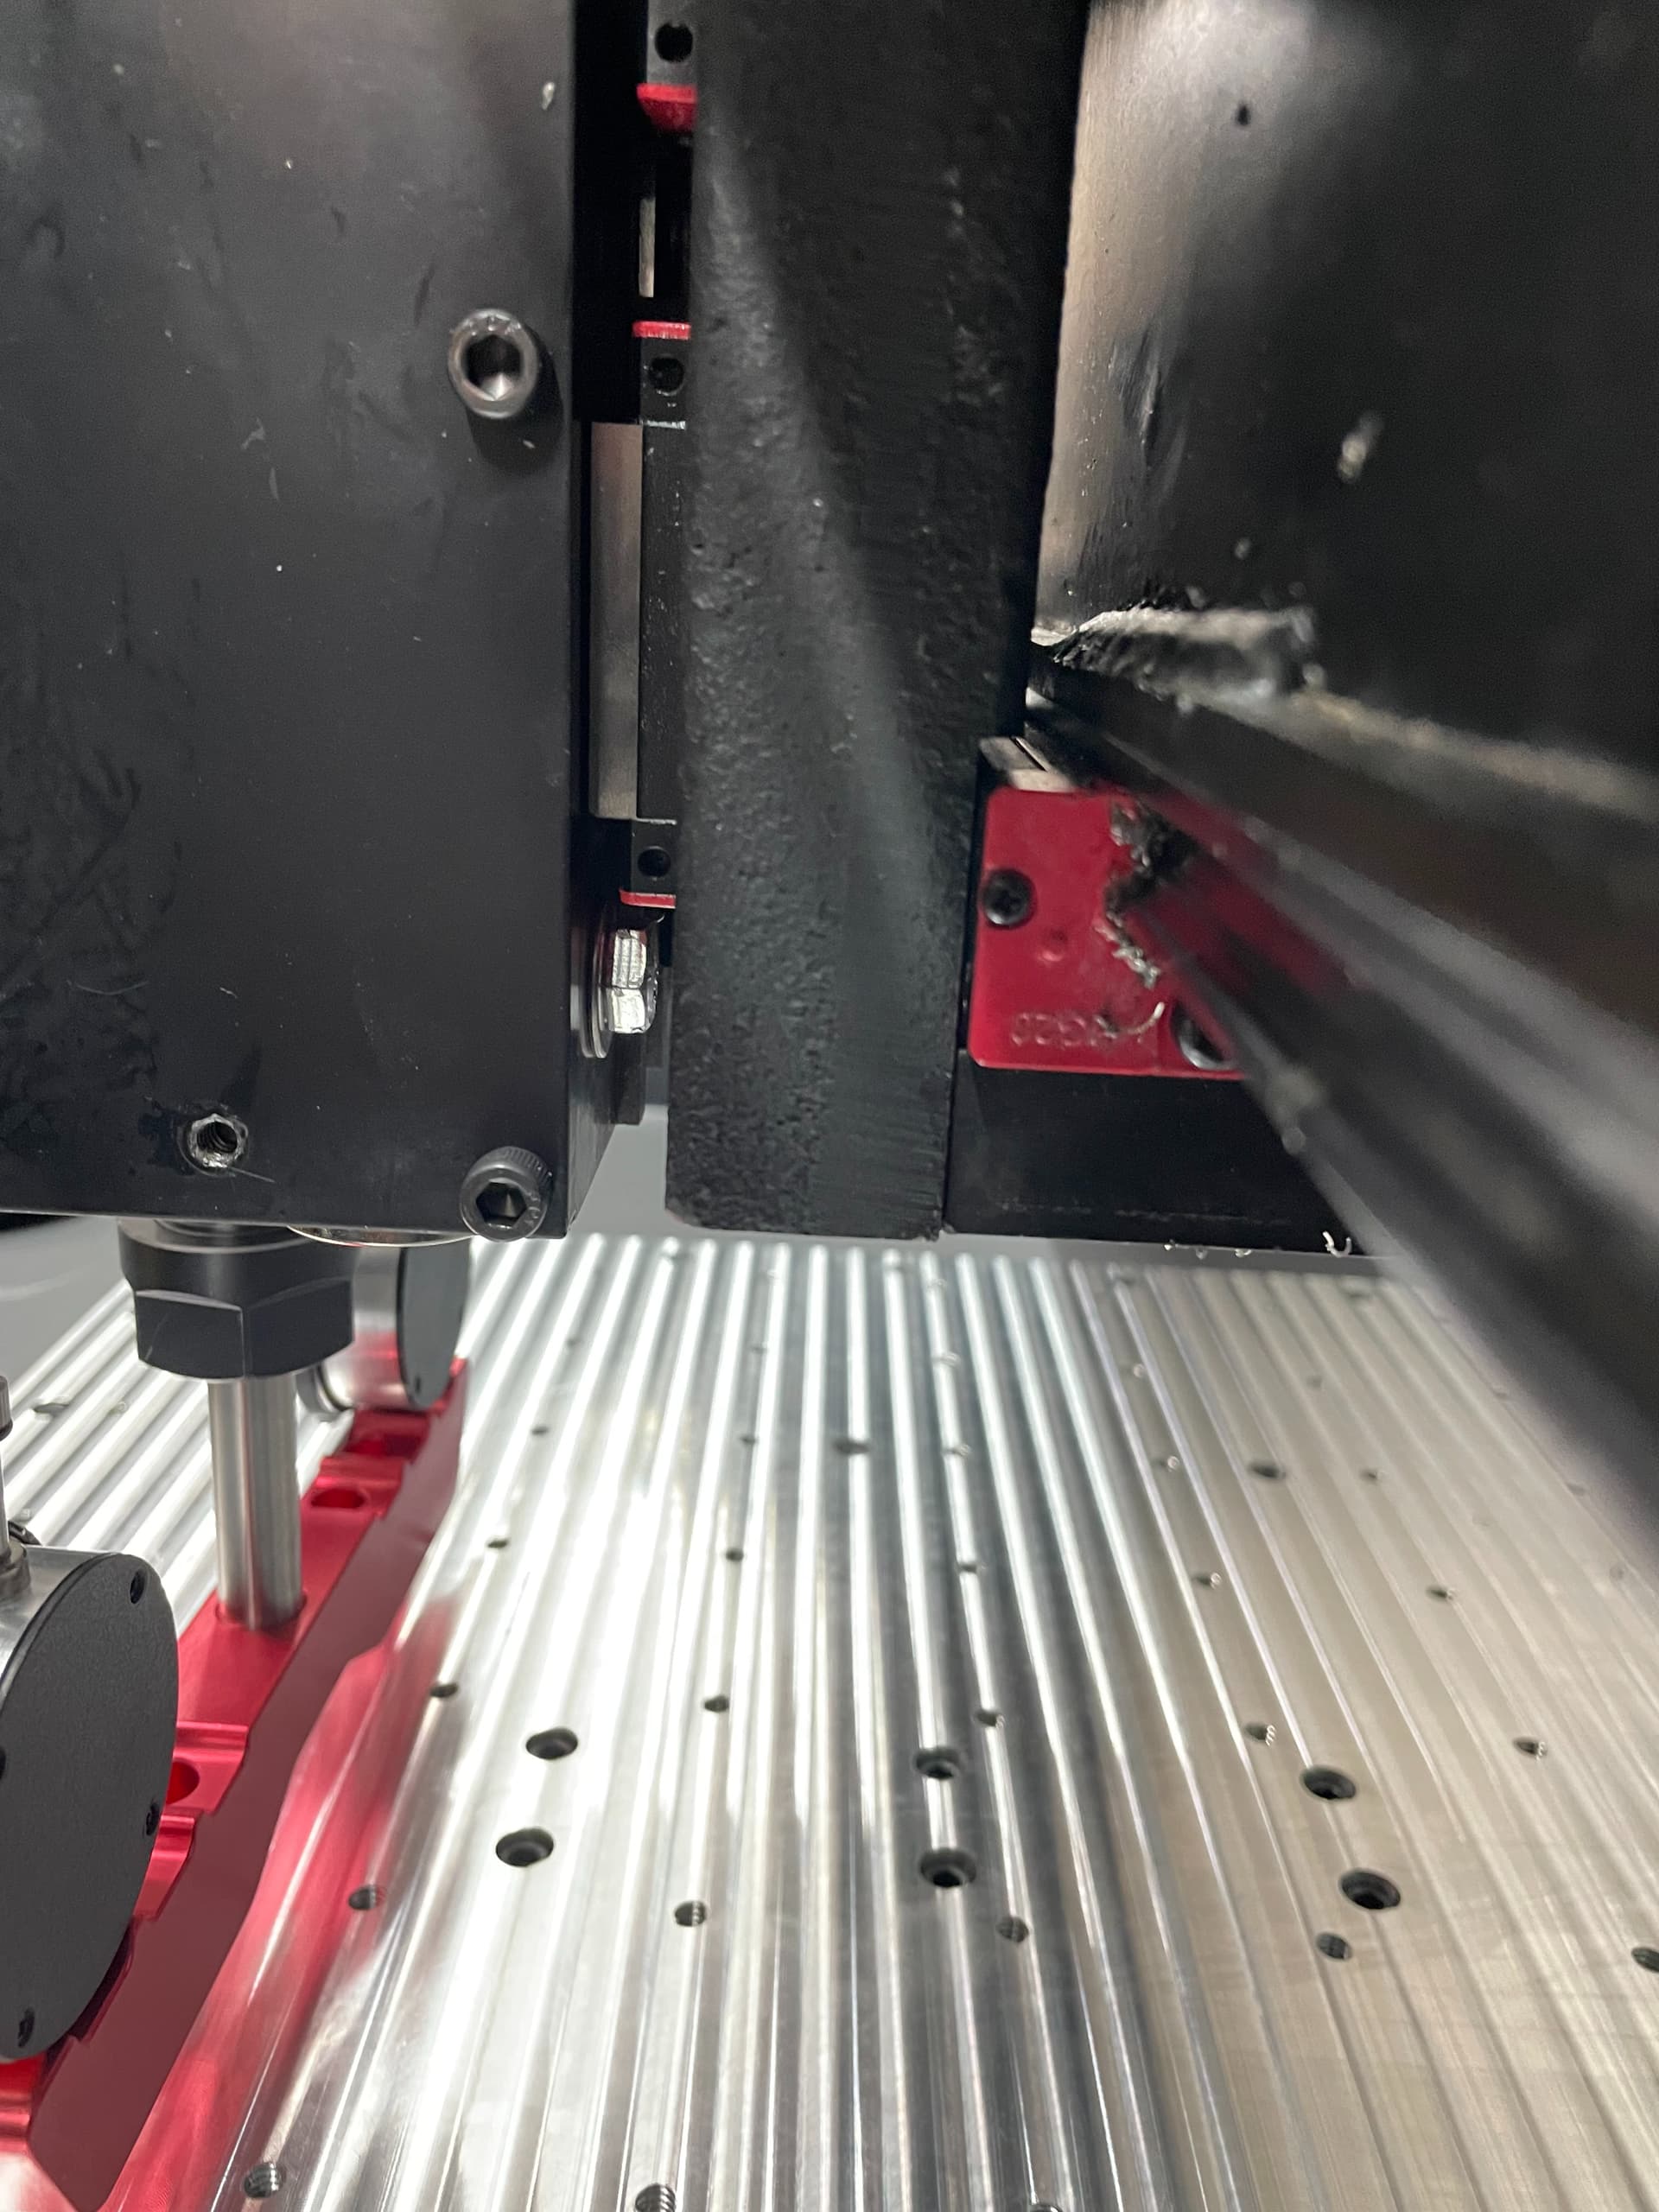
Loosen the bolts that secure the spindle housing and manually adjust the spindle alignment so the tram is as close as possible. Then retighten the bolts.
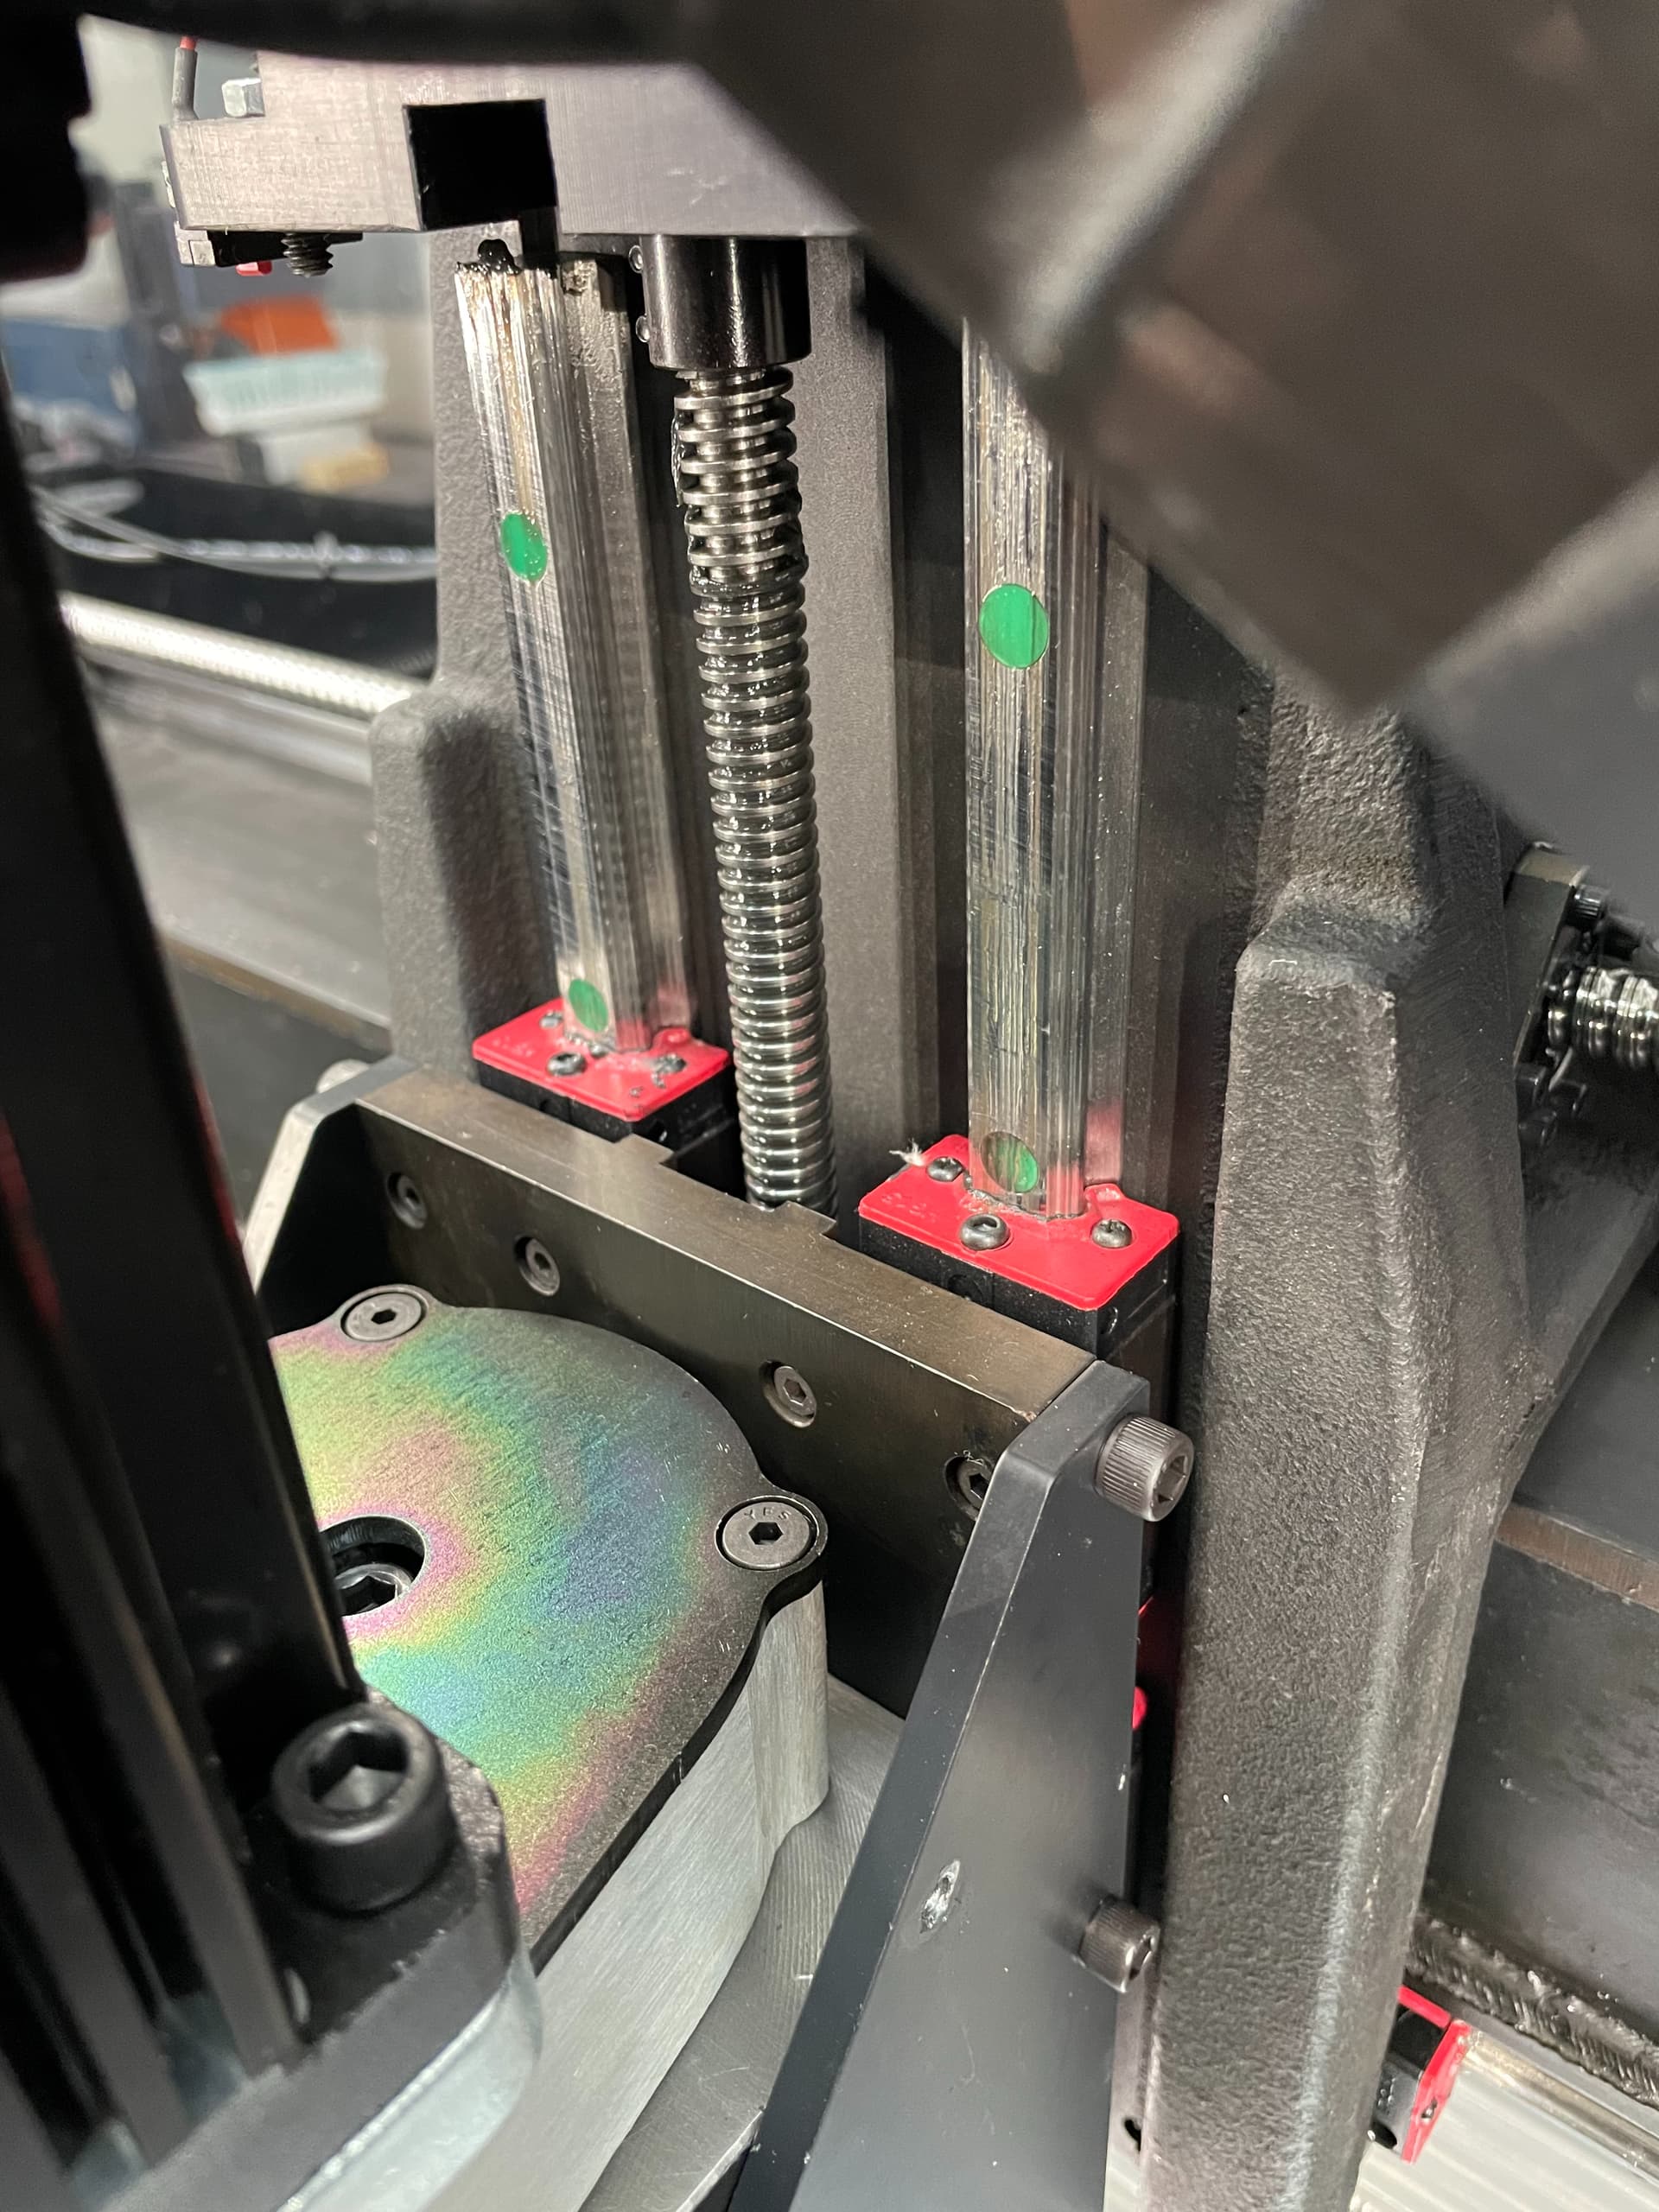
The assembly guide left me with the impression that the only option was to re-shim the X-axis linear rail blocks. It would be greatly appreciated if there was A) STEP files of the spindle assembly and B) mention of the proper way to tram along the X-axis in the assembly guide.
Adjusting the tram in the x direction with the spindle bolts is tricky to say the least. If you’re hoping to really dial it in; you’re best bet is to follow suit of another user here and drill and tap a couple set screws in the side plates of the spindle mount to make fine adjustments with. I tried the “loosen and tap” method and that process was quickly a no-go here.
There’s four bolts that secure the spindle housing. Two hex bolts at the bottom (accessed from the back), and two socket heads accessed from the top front.
First I just want to thank everyone that has provided input. This forum is full of so many helpful people and much perfer this over the facebook group.
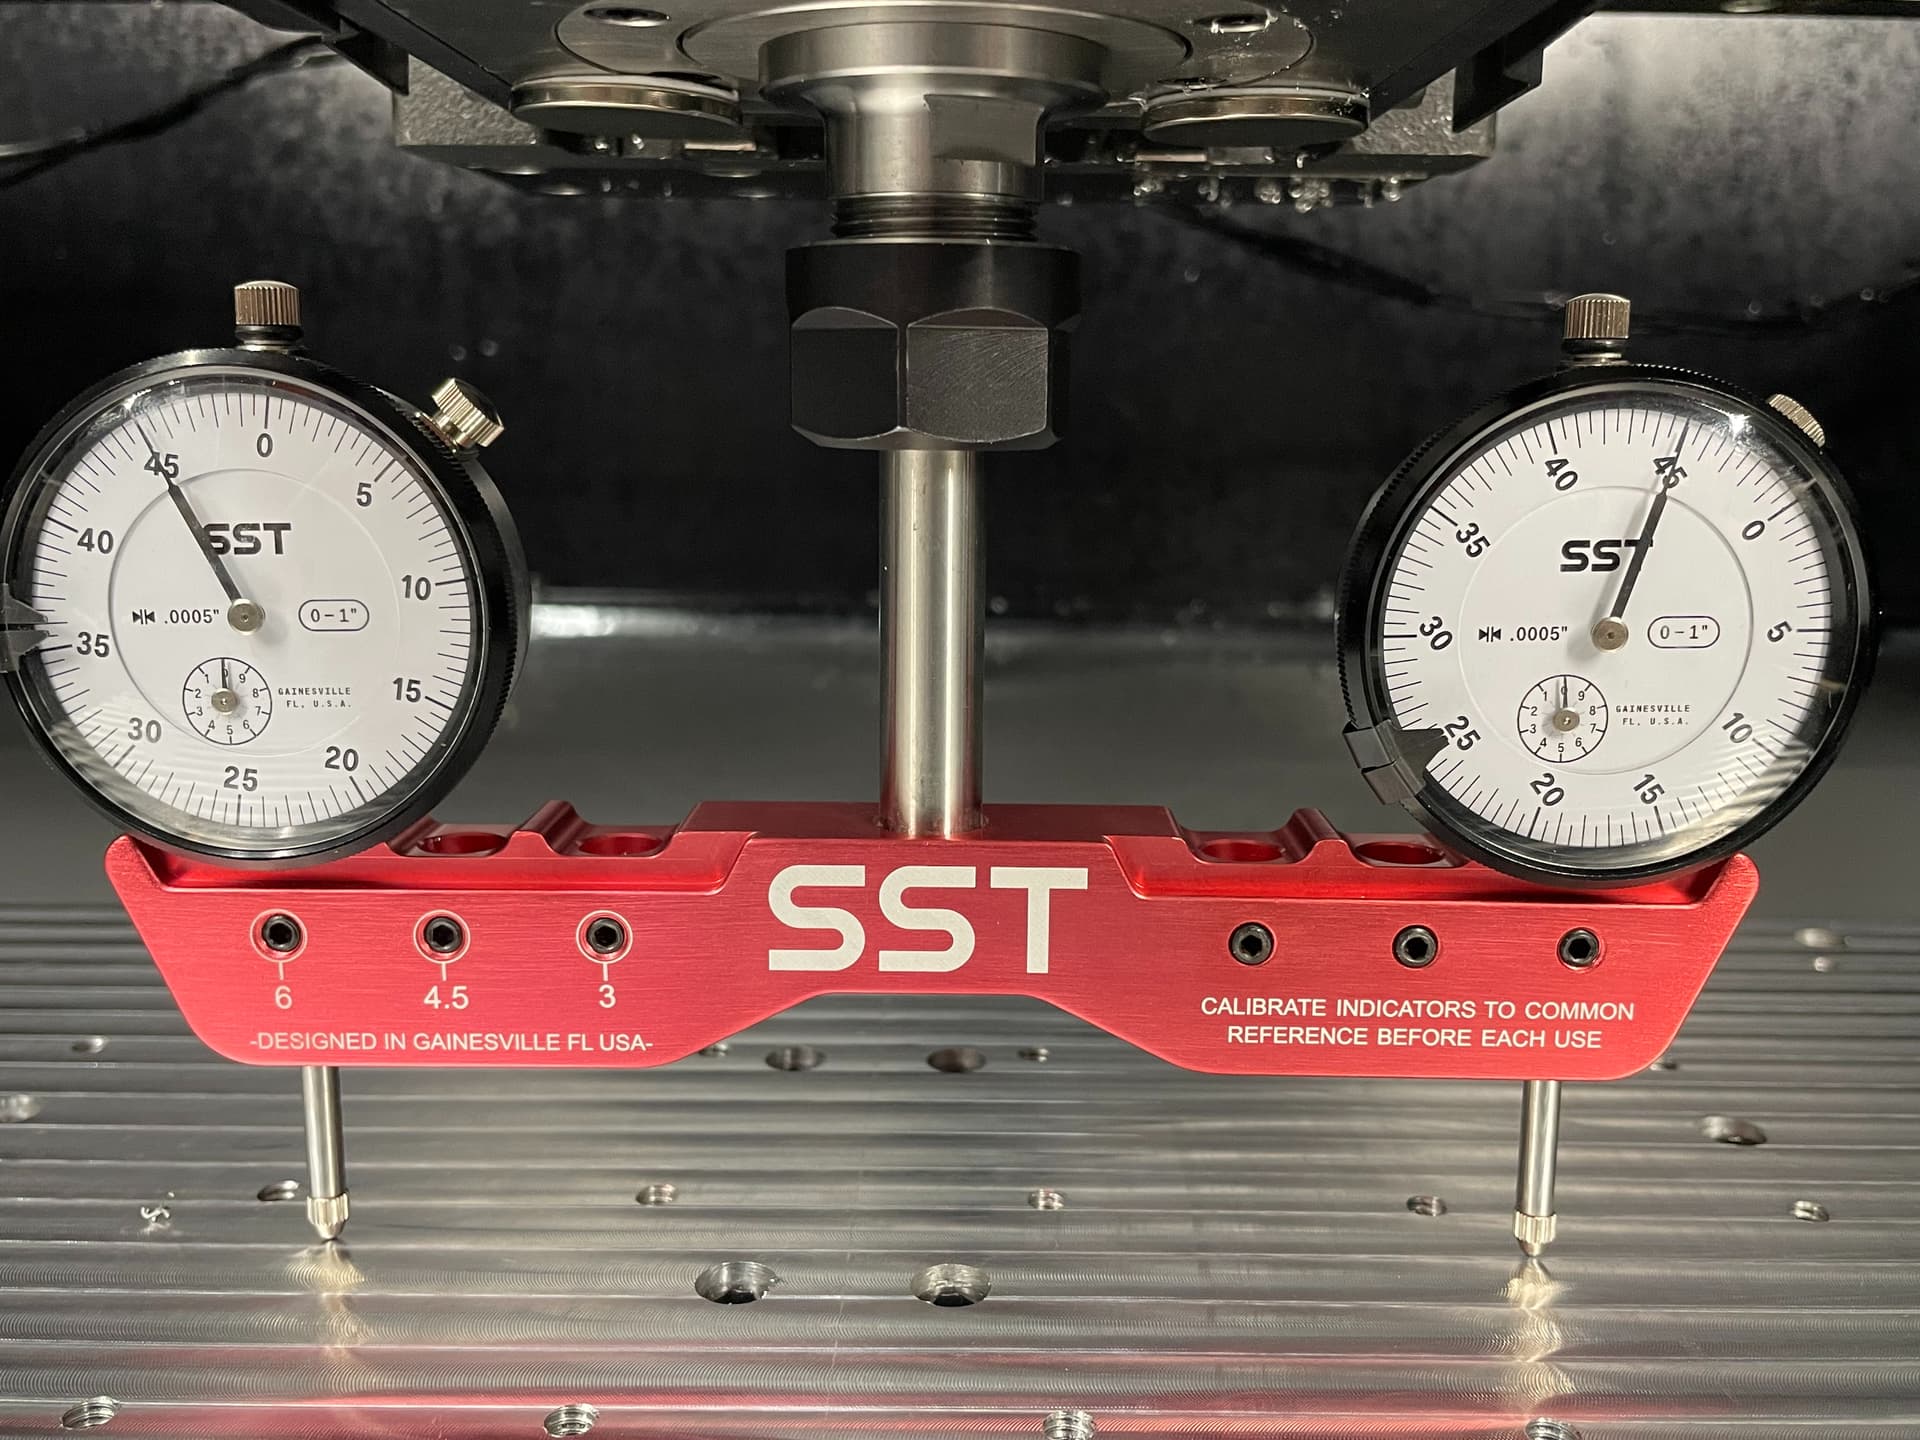
I think I got lucky and took all of 5 minutes to get left/right dialed in. SST tool made this super simple. I can see where the set screw mod will be helpful and will end up doing that at some point for fine adjustment in the future.
Yes I did mean PITA, forgot the T in my orginal post