I am hoping someone can help me out with the bevel issue I am having. My titanium 45 has 75psi internal pressure and 120 on the compressor. I have squared my Z axis multiple times and it is as squared as it could be. The cut quality is actually pretty good when cutting 1/4" but I can not seem to get rid of the excessive beveling. I tried adjusting the cut height from .060 to.059 even all the way to .038 and it seems to make no difference. The bevels are the same no change. Any guidance would be much appreciated. Also, I have the plasmadyn machine torch.
Have you tried writing in voltage? I assume you are using smart. What is the condition of your consumables? How dry is your air?
I have not tried writing in voltage. Haven’t figured out how to go about doing that. Consumables are good. I actually replaced them just last night as I thought maybe that would help but it didn’t. I have a desicant dryer and filter along with a motor guard filter. Could be better I suppose.
At the thc section of fire control. Click settings then you can write in what you want the voltage to be start out about 128. Cut a small piece I usually do like 1 inch circles or squares the adjust 5 or so volts til you find what you are looking for. There may me a few members that could give you some numbers.
If you cut height isn’t right even programed correctly smart voltage get the wrong readings can make bad cuts.
1 Like
Awesome. Thank you for this information. The bevels seem as if my torch is a bit too high. I’ll go try this now and see if I can get some better cuts.
1 Like
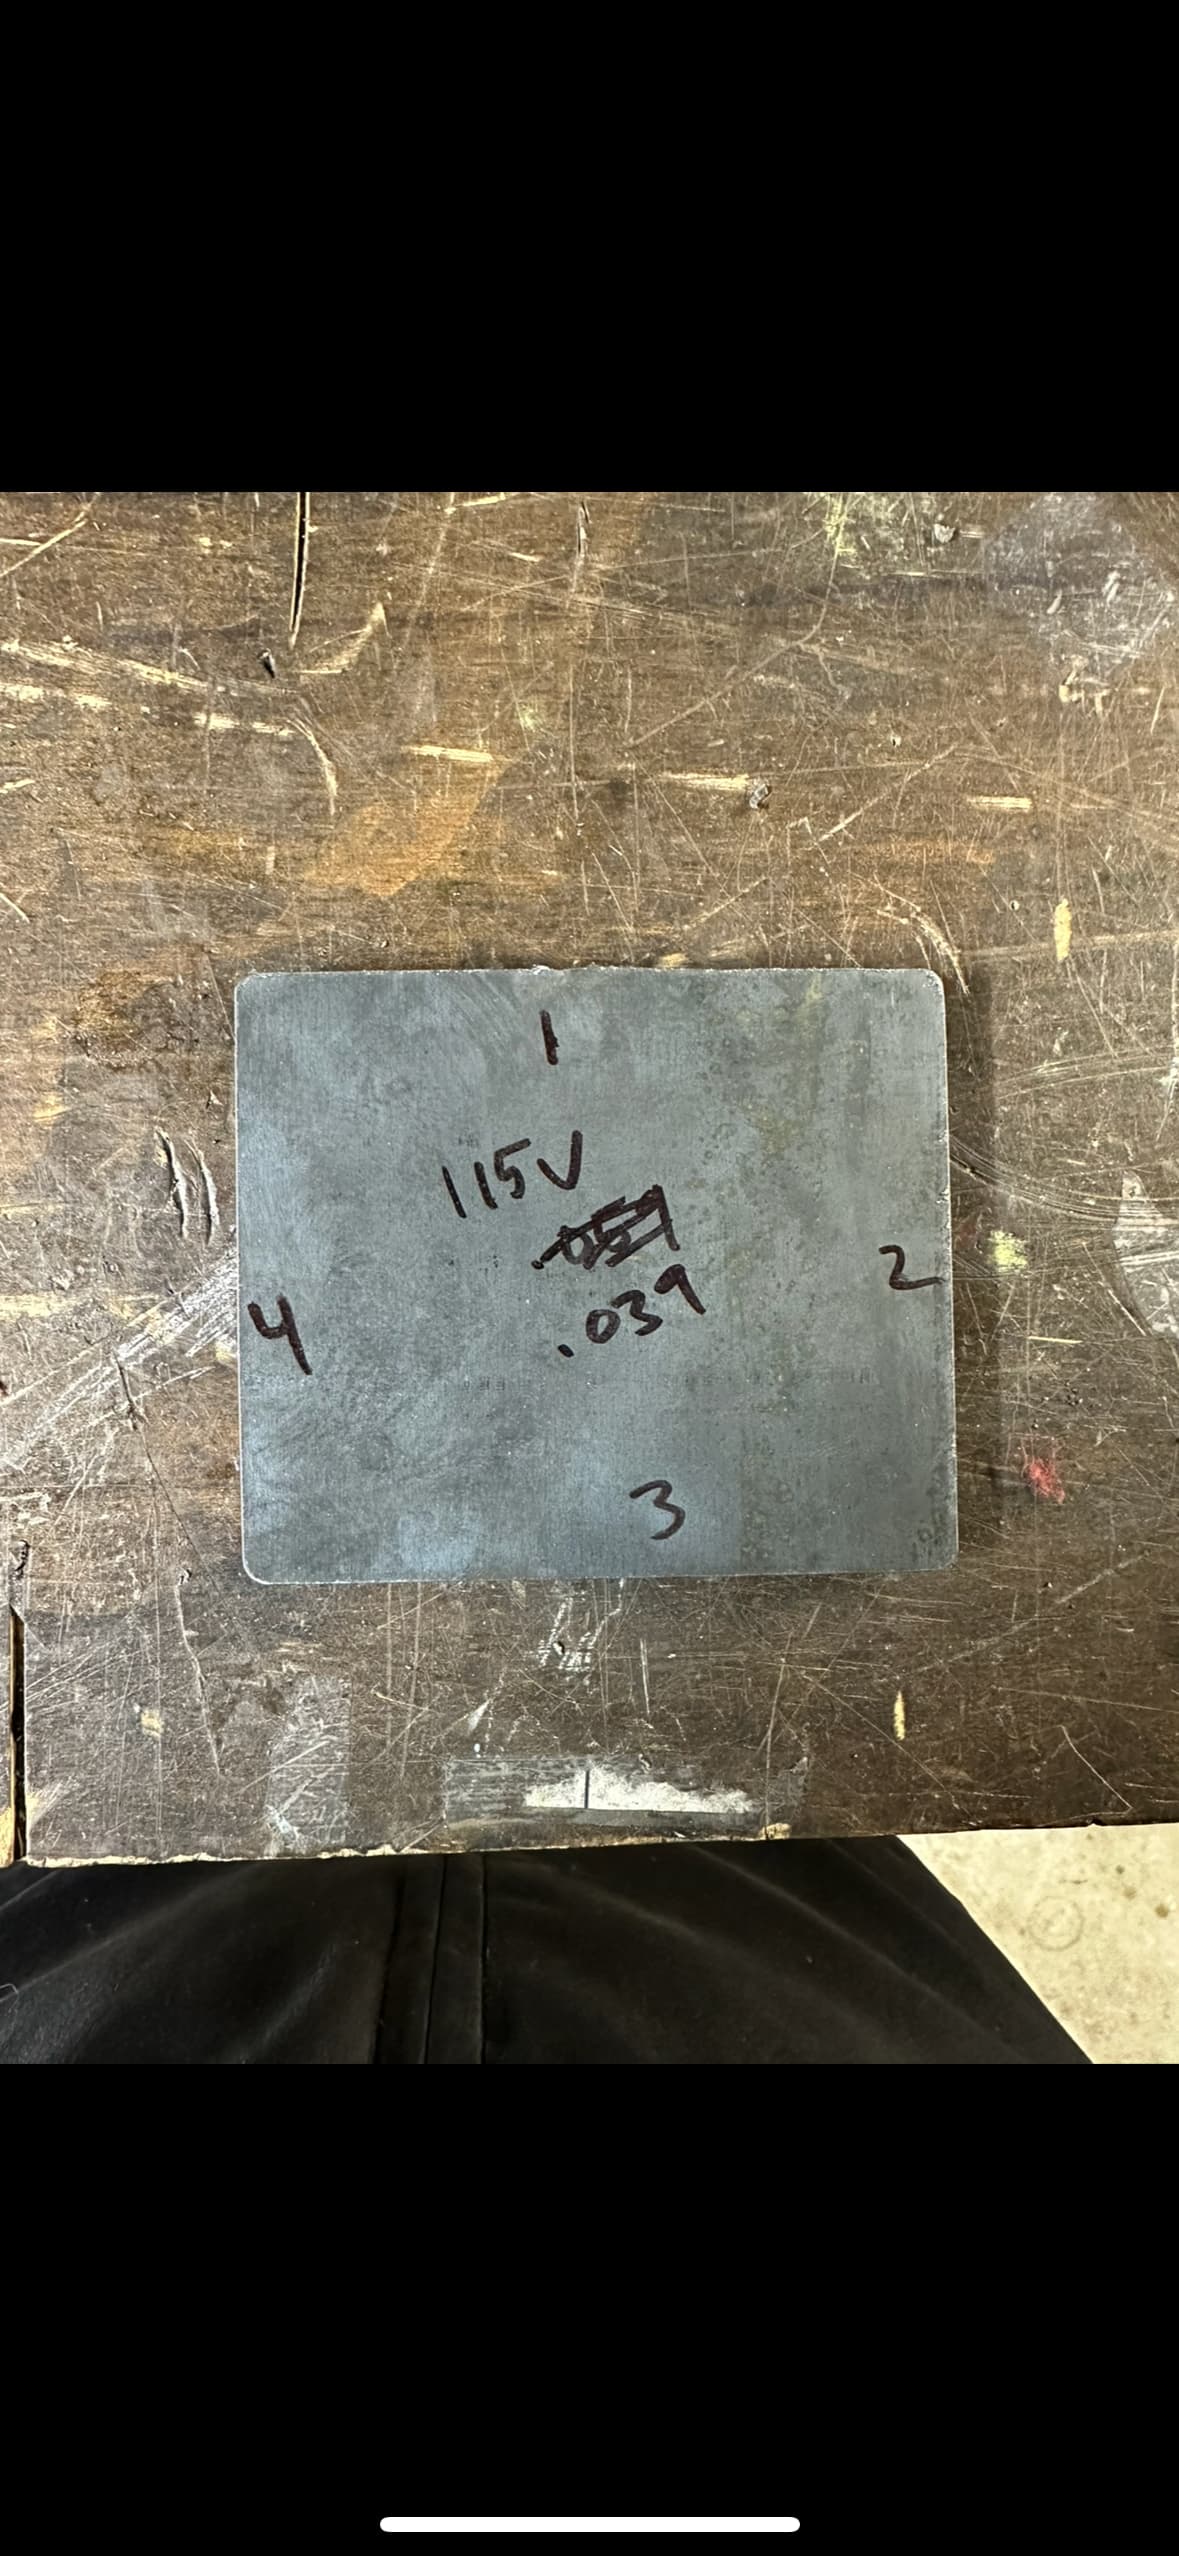
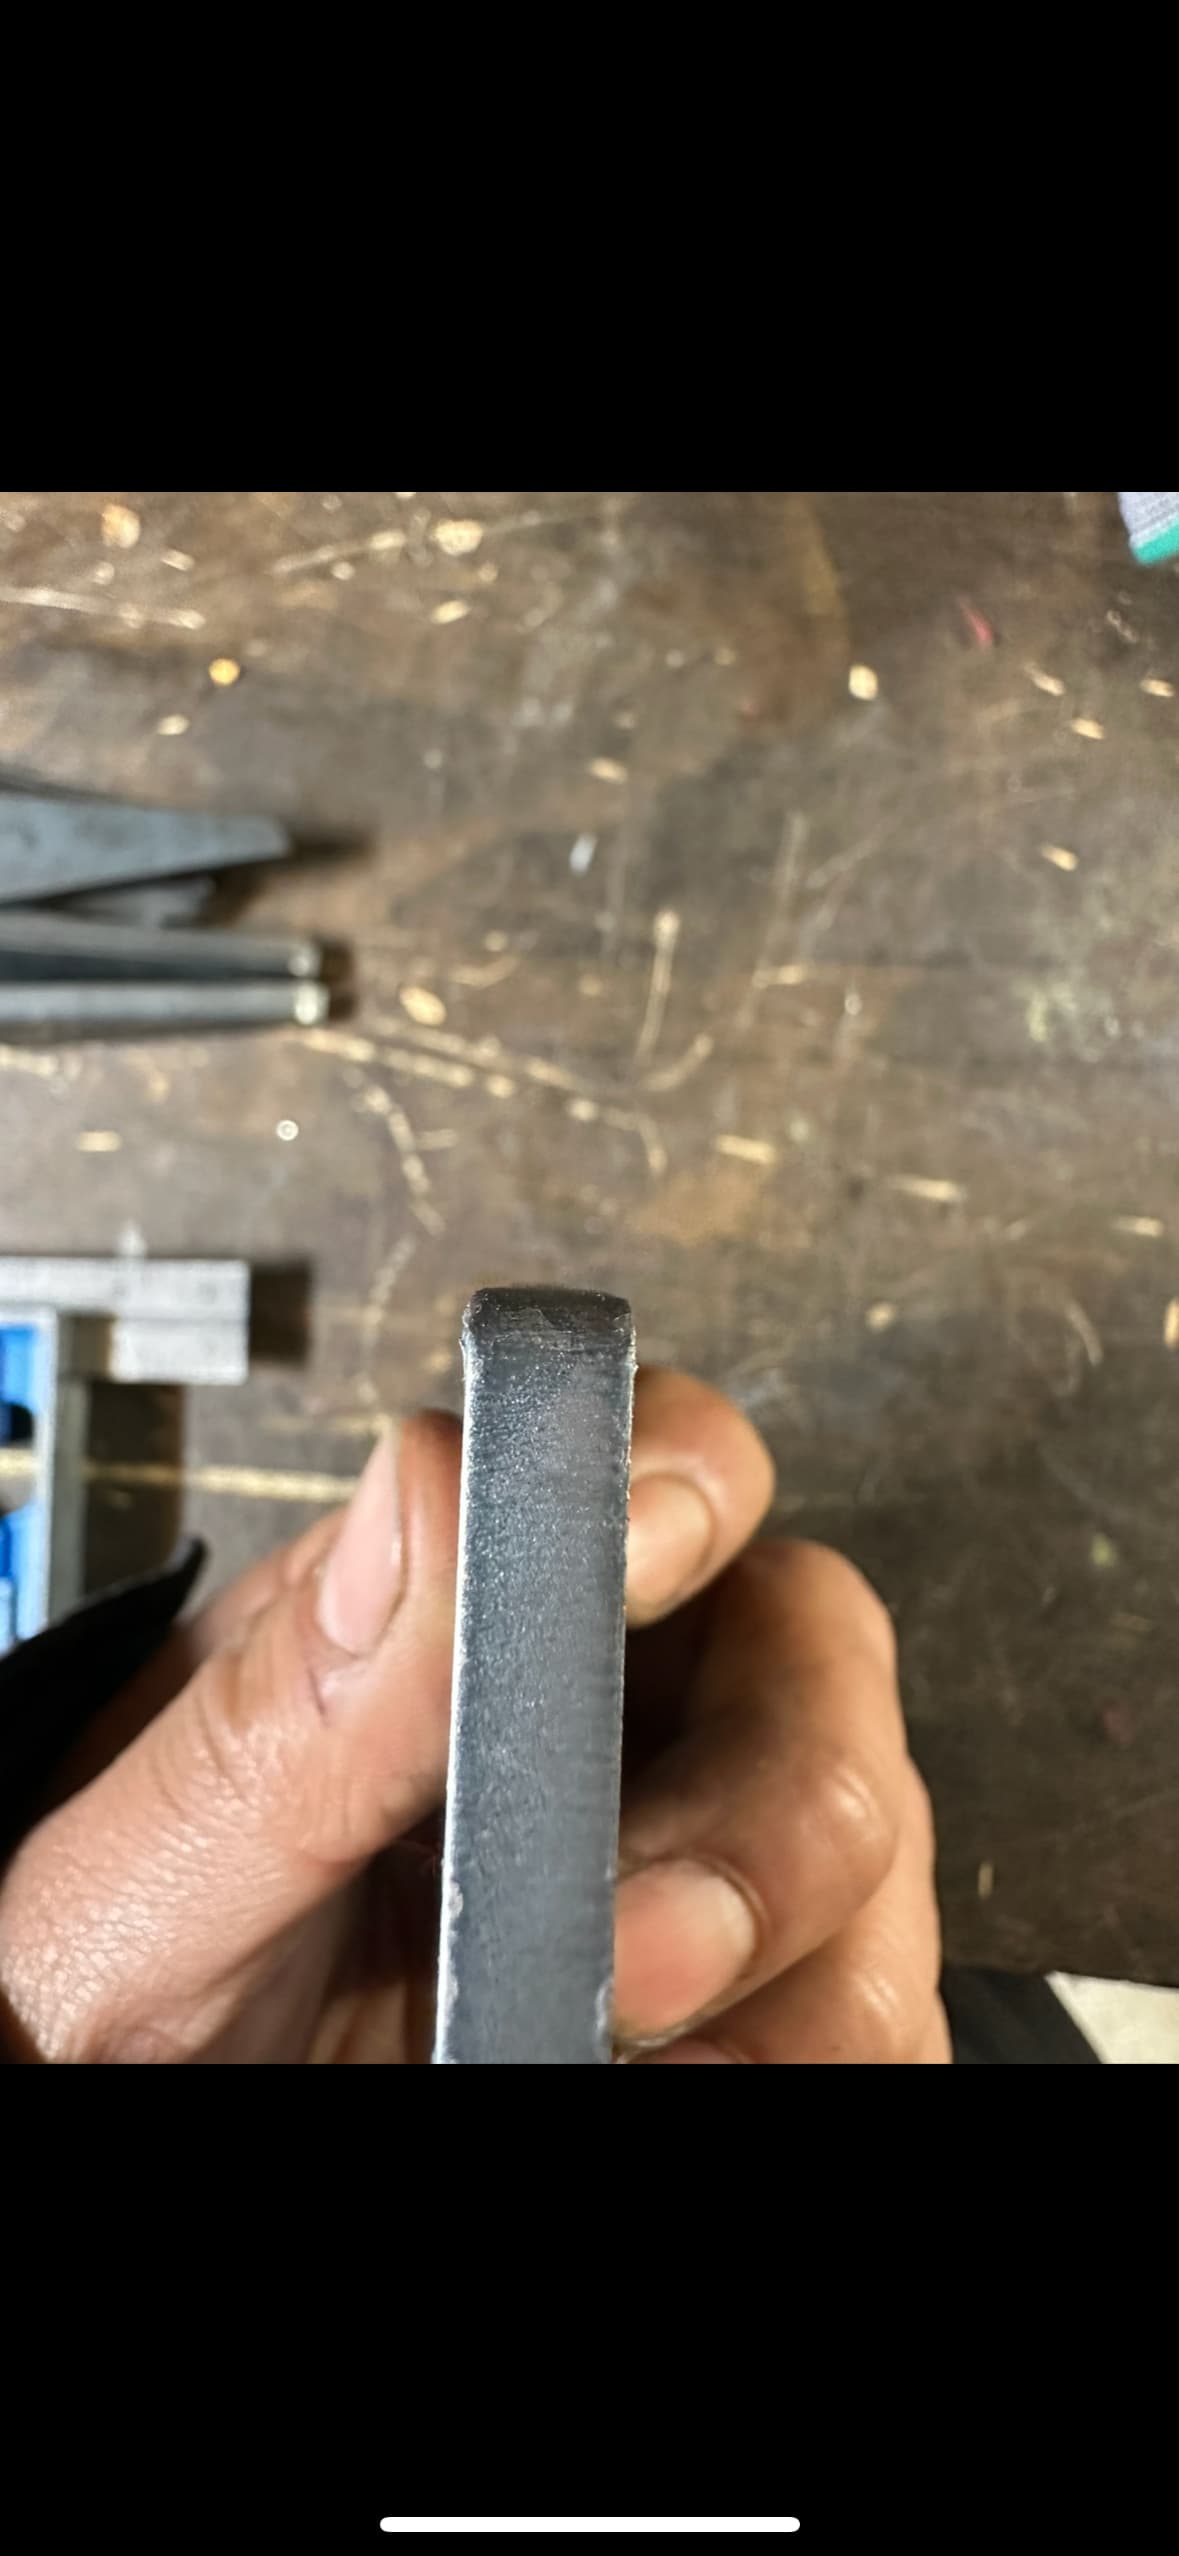
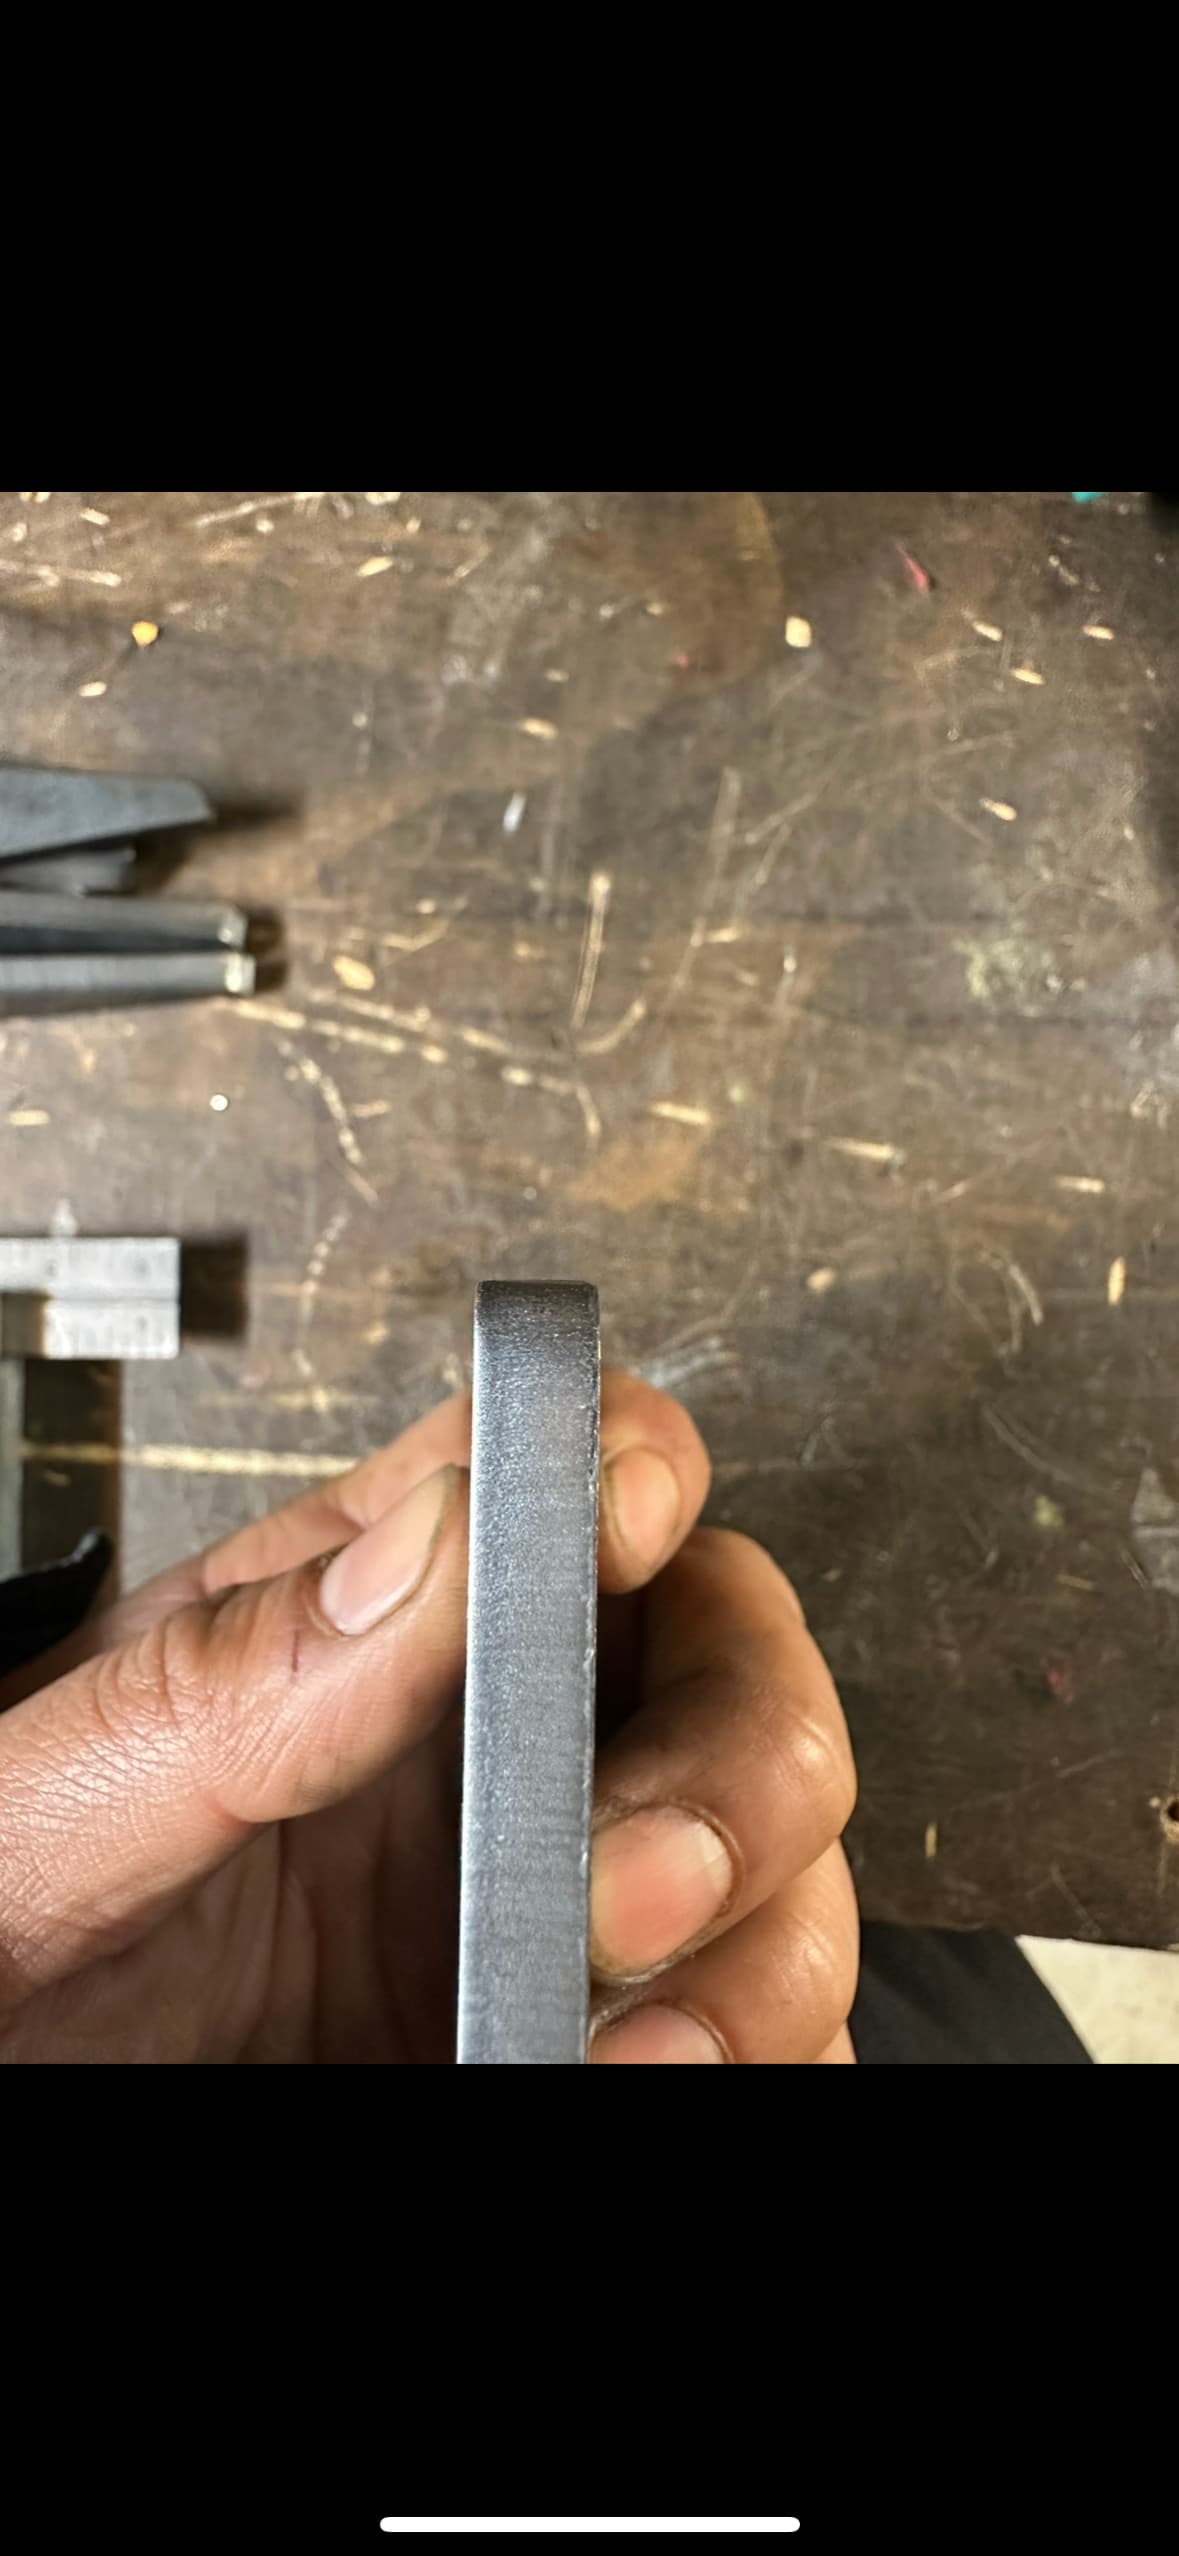
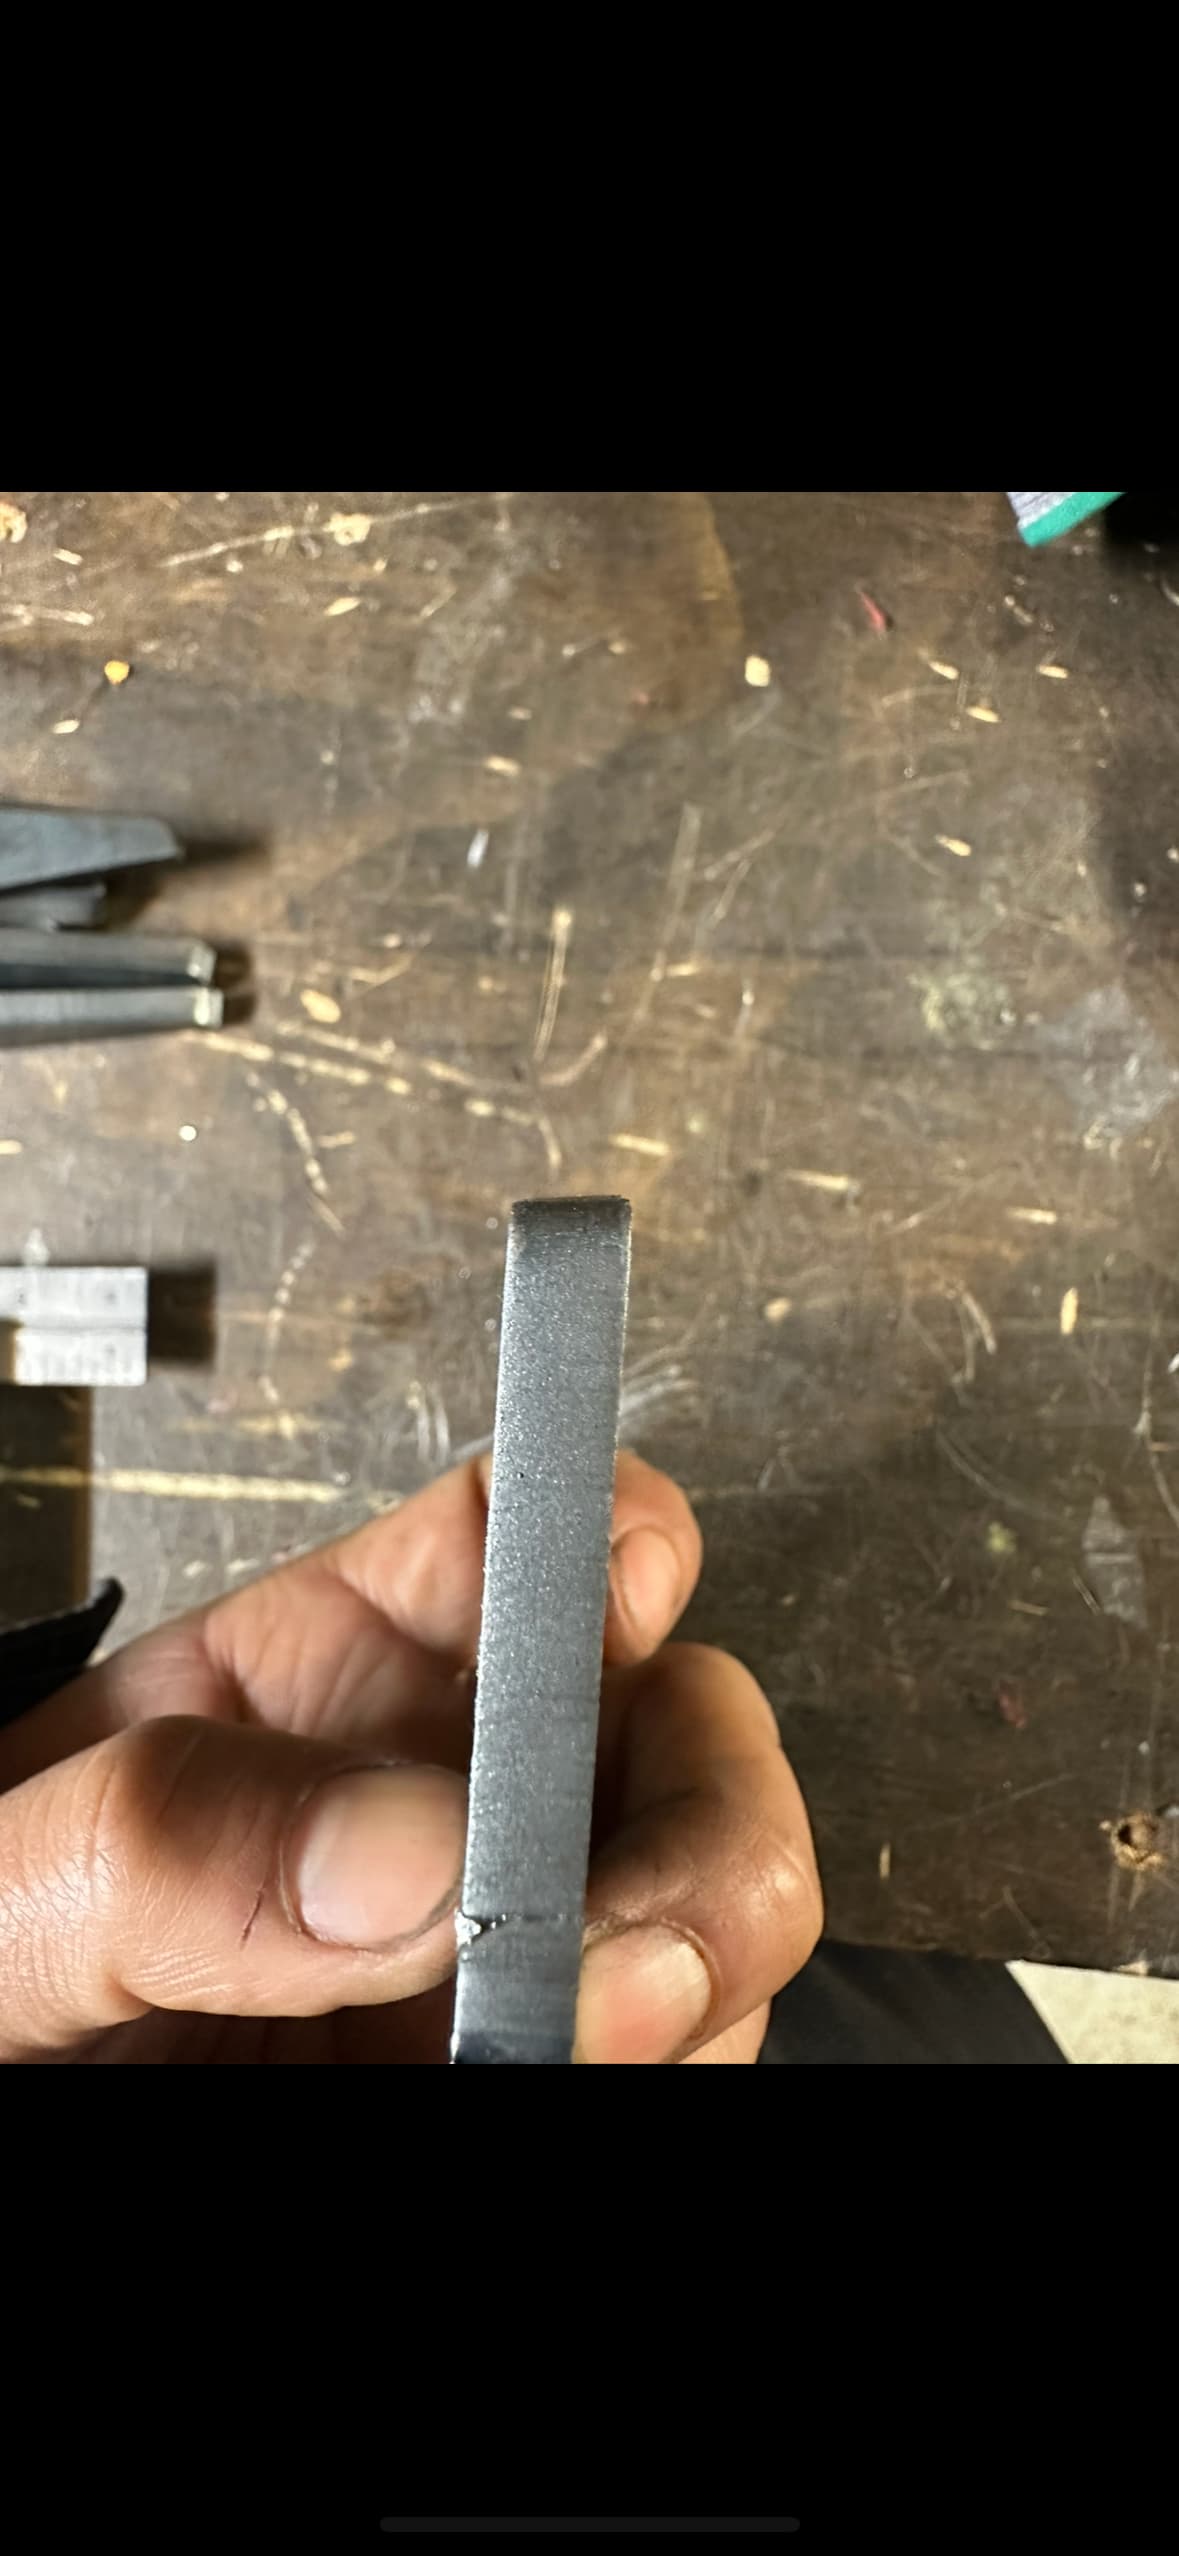
I tried different volt settings. 113-115v is where I was able to get good cuts on side 1 and 2. Side 3 and 4 not so good. Side 3 is the one that has been giving me the most bevel. I’m using Fusion360 and I set cut height at .039. I tried .059 but it was just as bad. Could it be that my z axis is still out of square? I must have squared it like 5 times.

1 Like
Which direction are you cutting? It should be counter clockwise for inside and clockwise for outside.
Usually out of square you will have equal and opposite on the other side.
Grab a picture of your nozzle if the hole isn’t square you can get the same.
I have one I made and there are a few programs floating around which cycle your z axis so you measure your actual cut height.
As far as square I put a level on my z axis torch holder and got it level not square with the slates. Then when I cut thicker material like you are I also level the material.
1 Like
Sometimes the weight and/or tension of the leads going to the torch can pull around the alignment of the Z axis
I did take that in consideration when I squared my Z axis this last time. I unscrewed the drag chain and removed the ball screw. I also used a square, digital angle finder, and a level to get is squared with the table. I did notice that the tip on my torch is not centered. I changed the consumables thinking I had a bad batch and it still looks the same. Also, I had to be mindful when tightening the shield cup because if it was too tight it wouldn’t fire. Not sure if that has anything to do with it. I did loosen it incrementally to see if there was any change but none.
Below are new consumables after about a few cuts. One of the cuts I did was way to close to the materials when I was trying out different volt settings.
those consumables pictured are complete trashed.
What amperage consumables and amperage are you running them at??
you have a water issue or running the wrong amperage for the consumables issue.
what pierce height, time and plunge rate are you using??
3 Likes
Dang you’re good. I just looked up the consumables and they are 20-50A. I’m running my plasma at 45A. Pierce height is .15. How do I find time and plunge rate? Those consumables also may have been destroyed on one of the cuts I did at 95V, I noticed the torch was almost touching the material.
Are you writing nominal voltage in instead of using smart voltage?
Pierce delay is the time that the torch remains at Pierce height performing a pierce before moving down to a cut height.
If you’re using Fusion 360 The plunge rate is automatically set to 100 if you’re using sheet cam the plunge rate you have to set manually yourself in the settings.
How are you getting these voltages and why are you applying this voltage to this cut? Why not just set it to zero and use Smart voltage?
Unless you performed to considerable amount of testing to dial in what the voltage is for those particular settings.
I was using smart voltage initially. It was suggested I try nominal which I did. That kind of gave me an idea how nominal voltage works. When using smart voltage I was getting the same bevel on the same side. Pierce delay is .5sec.
1 Like
Pierce delay is definitely not long enough for quarter inch material. Not that I think it’s adding to your bevel but it’s definitely hurting your consumables trying to drive it down and start cutting before a hole is cleanly pierced through the material.
2 Likes
Got ya. What would be a suggested pierce delay for 1/4"?
1 second ish.
Hopefully some other titanium users can chime in with settings.
1 Like
Thank you. I will try a longer setting.
1 Like
we have the Razer 45 that we bought with the machine and 1 sec does great for us on 1/4"
2 Likes
I may have found what has been causing bevels and not so great cut quality. When I initially bought the machine torch from Plasmadyn, the instructions state that the shield cup should be snugged not tighten, which I did. I could not get the torch to fire so I ended up loosening until it fired. I’ve been running it like that since I set up the table. The contact tips that I ordered with the machine were 70A but what I actually was sent was 20-50A. They were mislabeled. When I re ordered another set of 70A I noticed that they were different that is how I noticed the mislabeling. After installing the correct 70A tips I ran some cuts and still no improvements. Finally I figured that when running the correct 70A tip I can actually snug the shield cup with no firing issues, however when running the 20-50A tips I did still have to loosen the shield cup. If anyone is running the same set up, please let me know if you ran into any firing issues when tightening the shield cup.
2 Likes
Thank you. I have the PlasmaDyn x45 machine torch running with the Titanium 45a and the 10-50a nozzle… most of what I’m cutting is 3/16" plate and cuts are good. Gonna have to research if/why I should be using the 70a nozzle on this 45a machine. I have the cap relatively snug… I felt the instructions and warning was for people that need to snug down everything to what their hand strength allows.