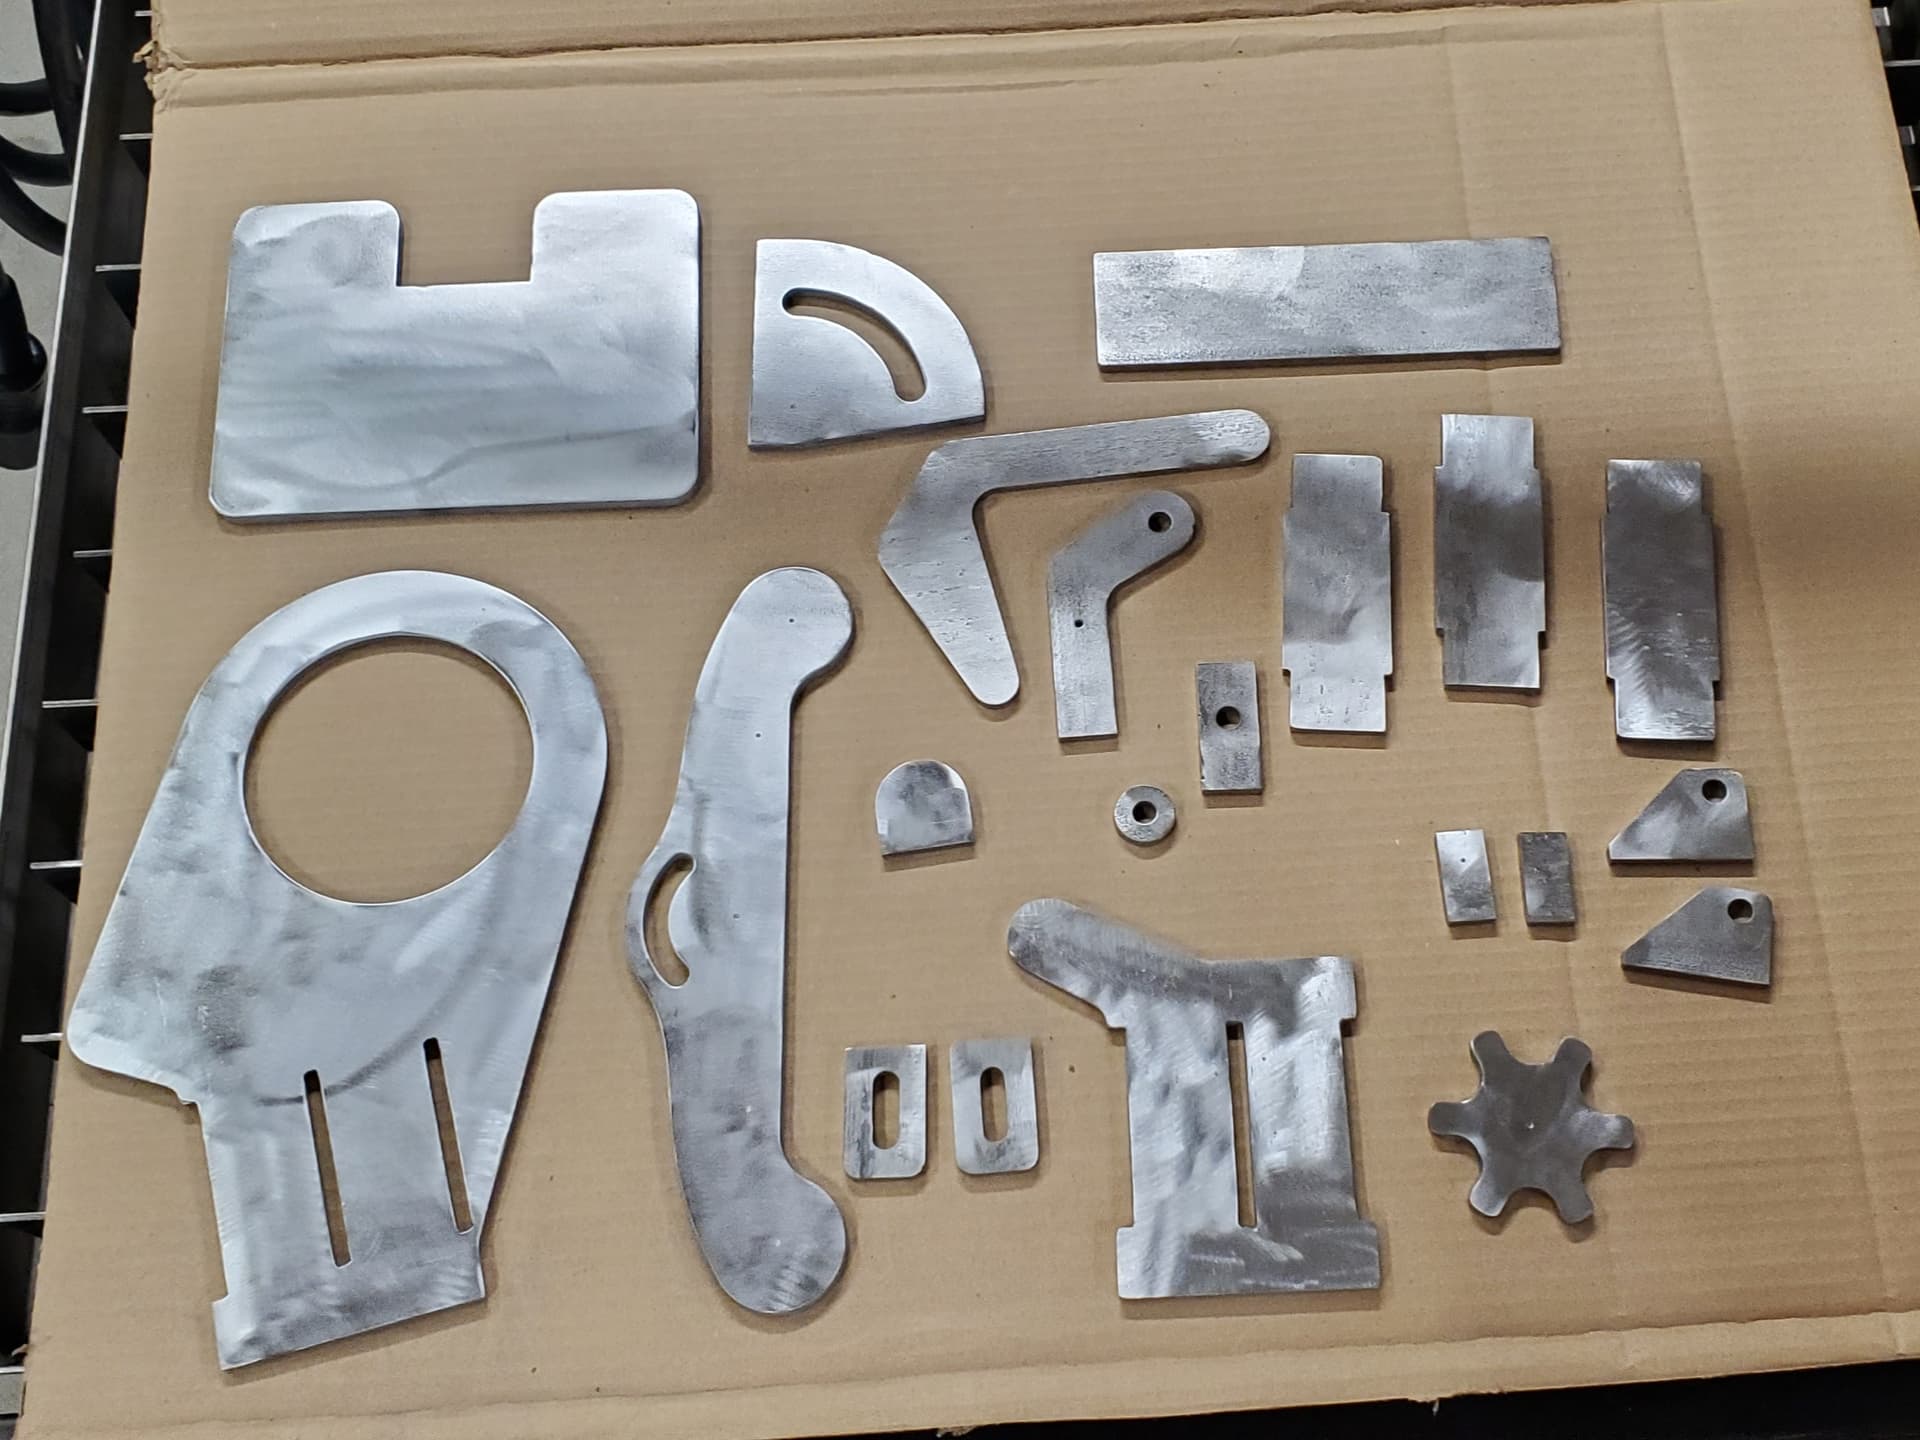
I started my 2 x 48 belt grinder built yesterday, well really last week when I bought a VFD and 2 HP 3 phase motor. I got the DXF files from a YouTuber TimWelds.
And like David @ds690 said in his thread, the 2 x 72 was just to large.
I started my 2 x 48 belt grinder built yesterday, well really last week when I bought a VFD and 2 HP 3 phase motor. I got the DXF files from a YouTuber TimWelds.
And like David @ds690 said in his thread, the 2 x 72 was just to large.
I really like the 2x48 belts from Combat Abrasives. They are more expensive than the Amazon junk, but they last a long time and cut much better. One of each grit will last longer than the whole bundle of belts that I got from Amazon. I also got a Scotchbrite belt that works great on aluminum.
Benchmark Abrasives make really good belts, alongside Combat, and Red Label does as well.
Now that is interesting! Did you get that at Combat or Amazon? Is the scotchbright bonded to a cloth belt?
I use these non-woven surface conditioning belts. Reminded me that I need to order another “fine” one.
Although Benchmark has them @ a lower individual cost
It is not on a cloth backing. It’s not actually Scotchbrite, but a non woven belt that has the same appearance but more durable. They work great for removing dross and putting a nice finish on smaller aluminum parts.
This is the one that I have. I think I have the medium. 2" x 48" Surface Conditioning (Non-Woven) Belts | Combat Abrasives 2" x 48" Surface Conditioning (Non-Woven) Belts | Combat Abrasives
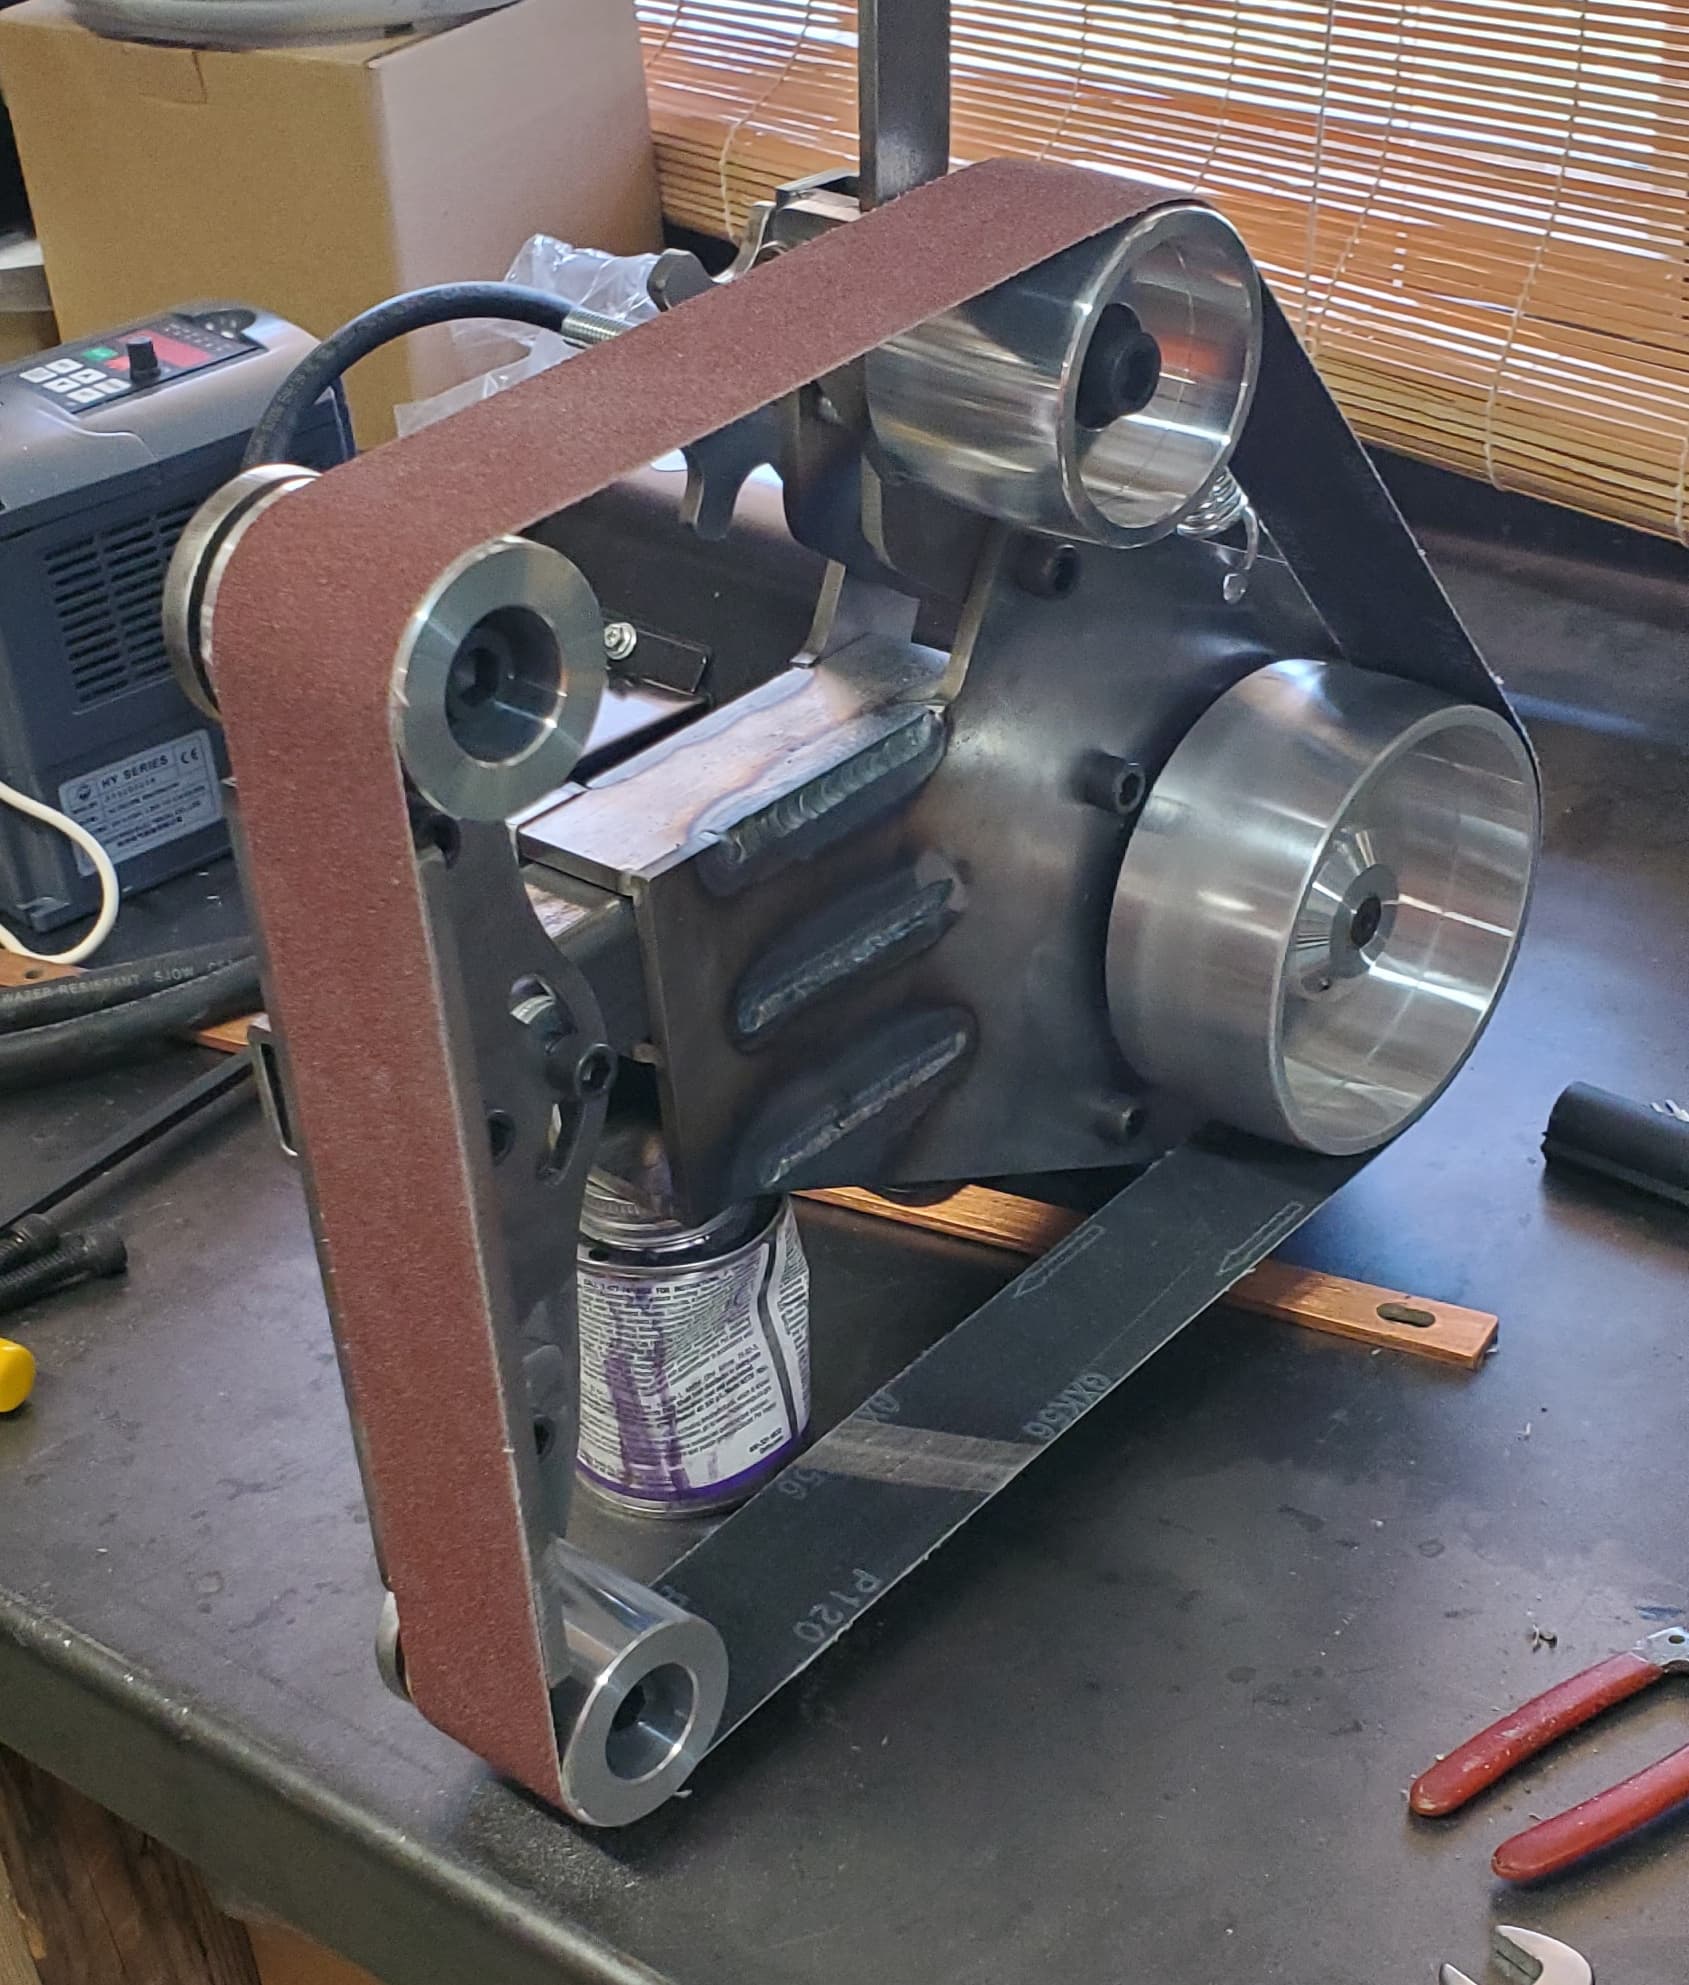
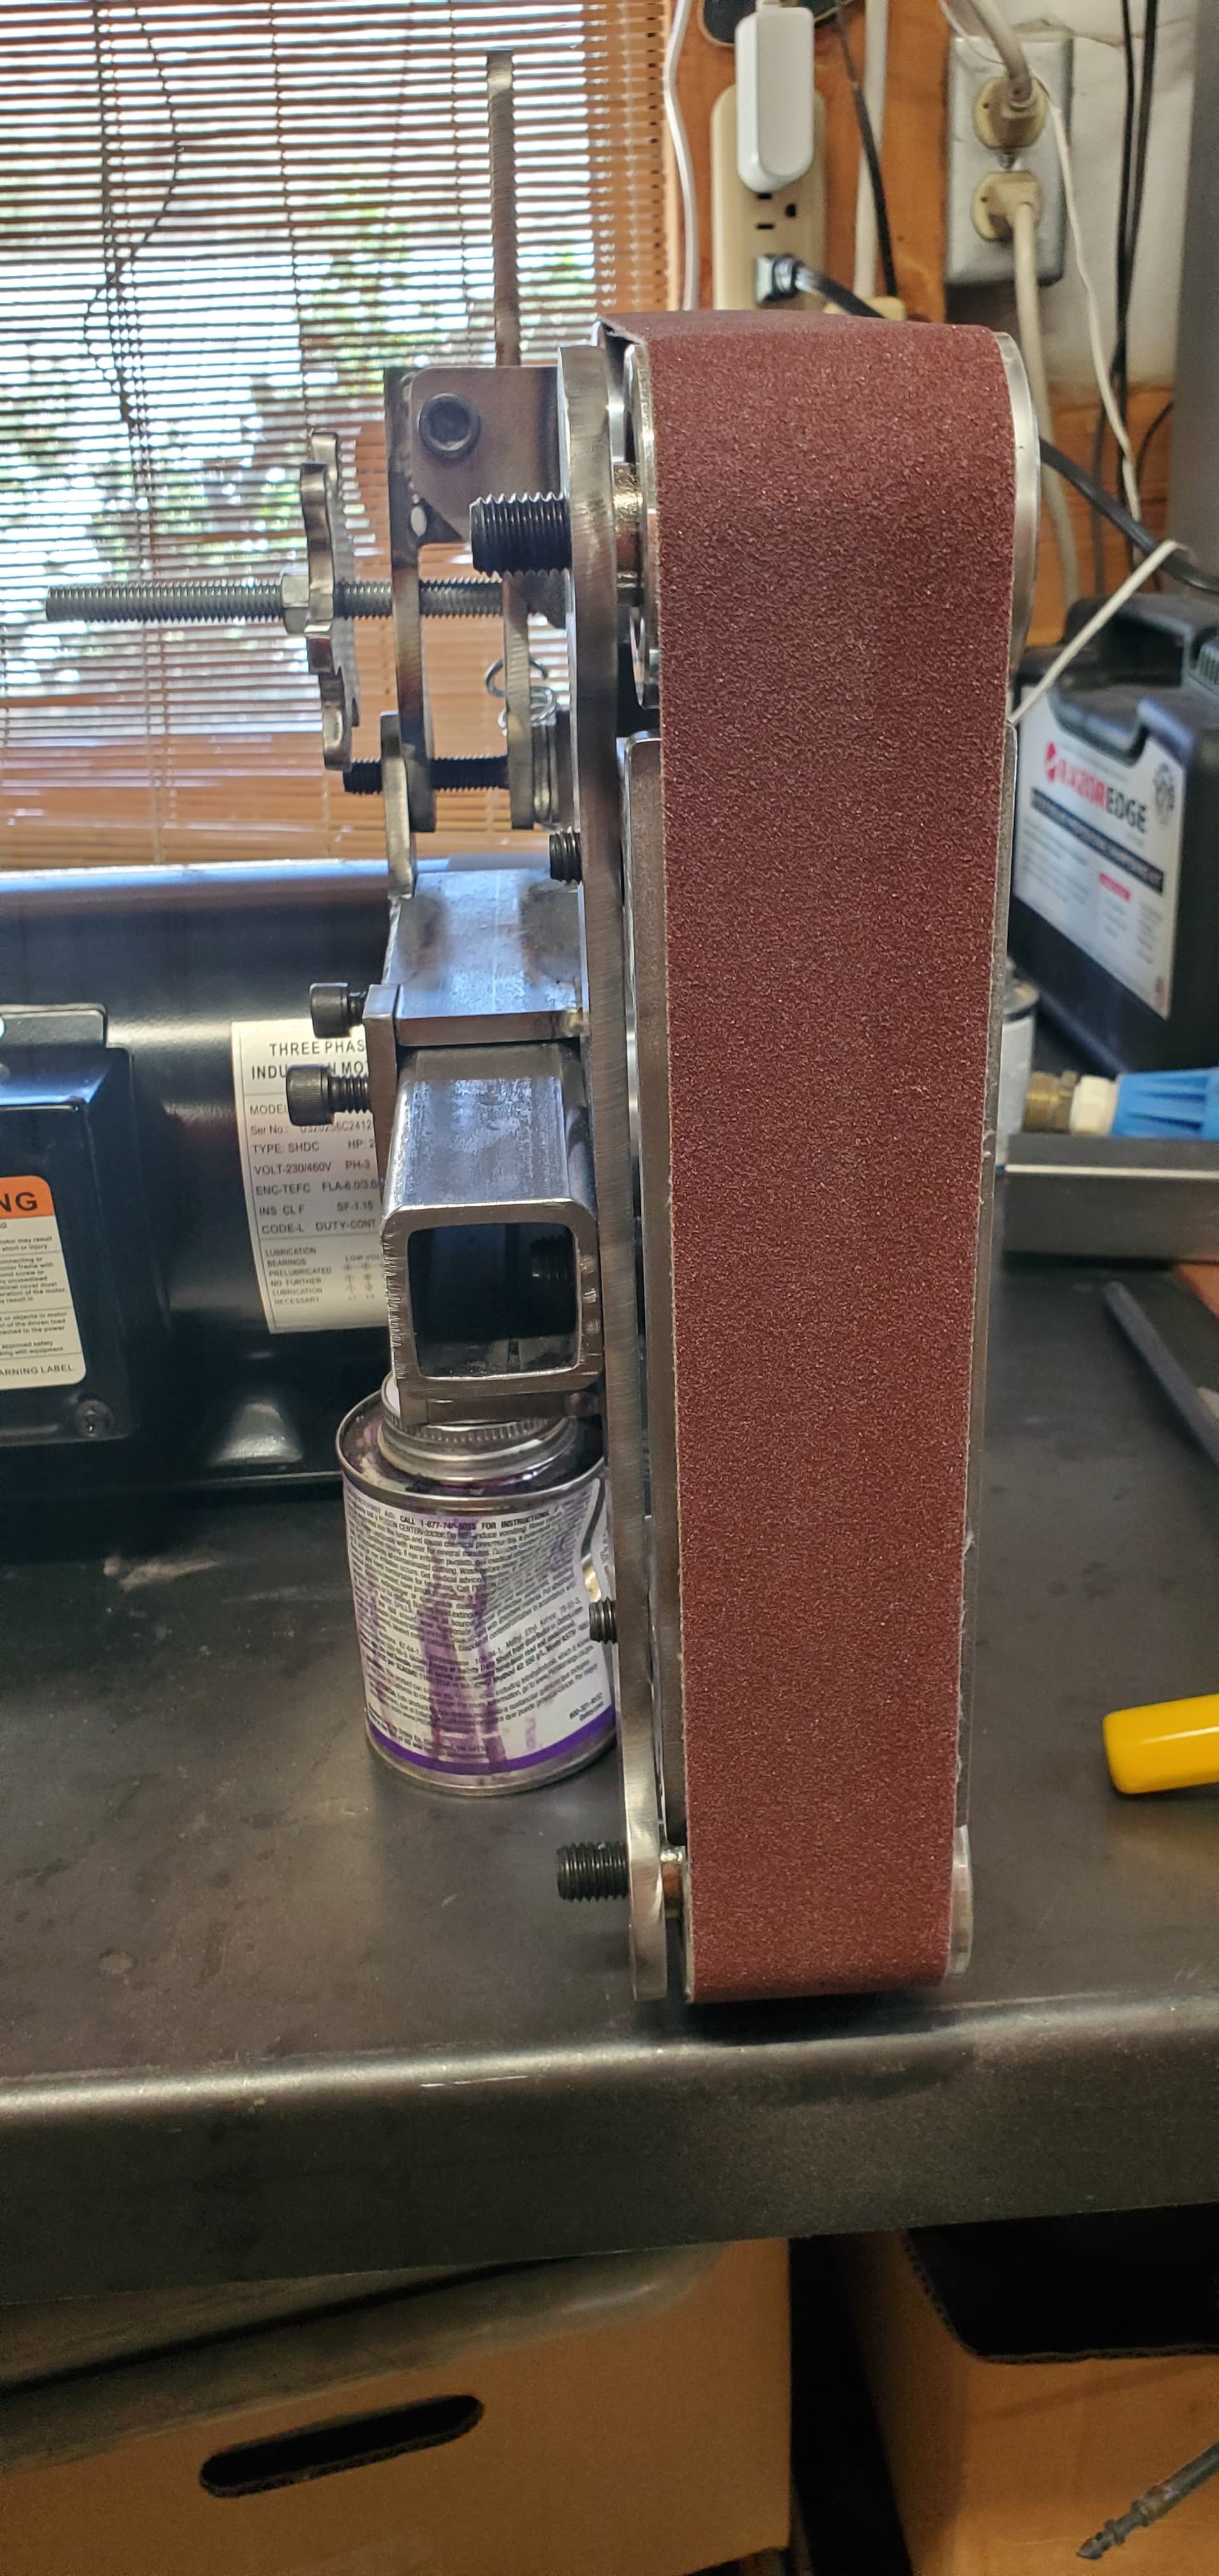
I have the main grinder together to check everything for fit. I must have missed something as the two idler wheels and the platen need to be spaced 1/4" so the belt runs in the center. Without the spacers the belt would rub the frame at the motor end when lined up on the platen. My guess is that the tracking wheel is not square front to back? I don’t see that as a major problem, so I will make a 1/4" plate so I don’t need to use a stack of washers. Other then that it seems to work.
One thing that really shined it’s ugly head is the cut quality. I should have spent more time dialing in my table before taking on such a project, my cuts were not as good as they should have been. Everything had a bit of a bevel to them, lots of work getting things to fit like they should. Post processing if you will.
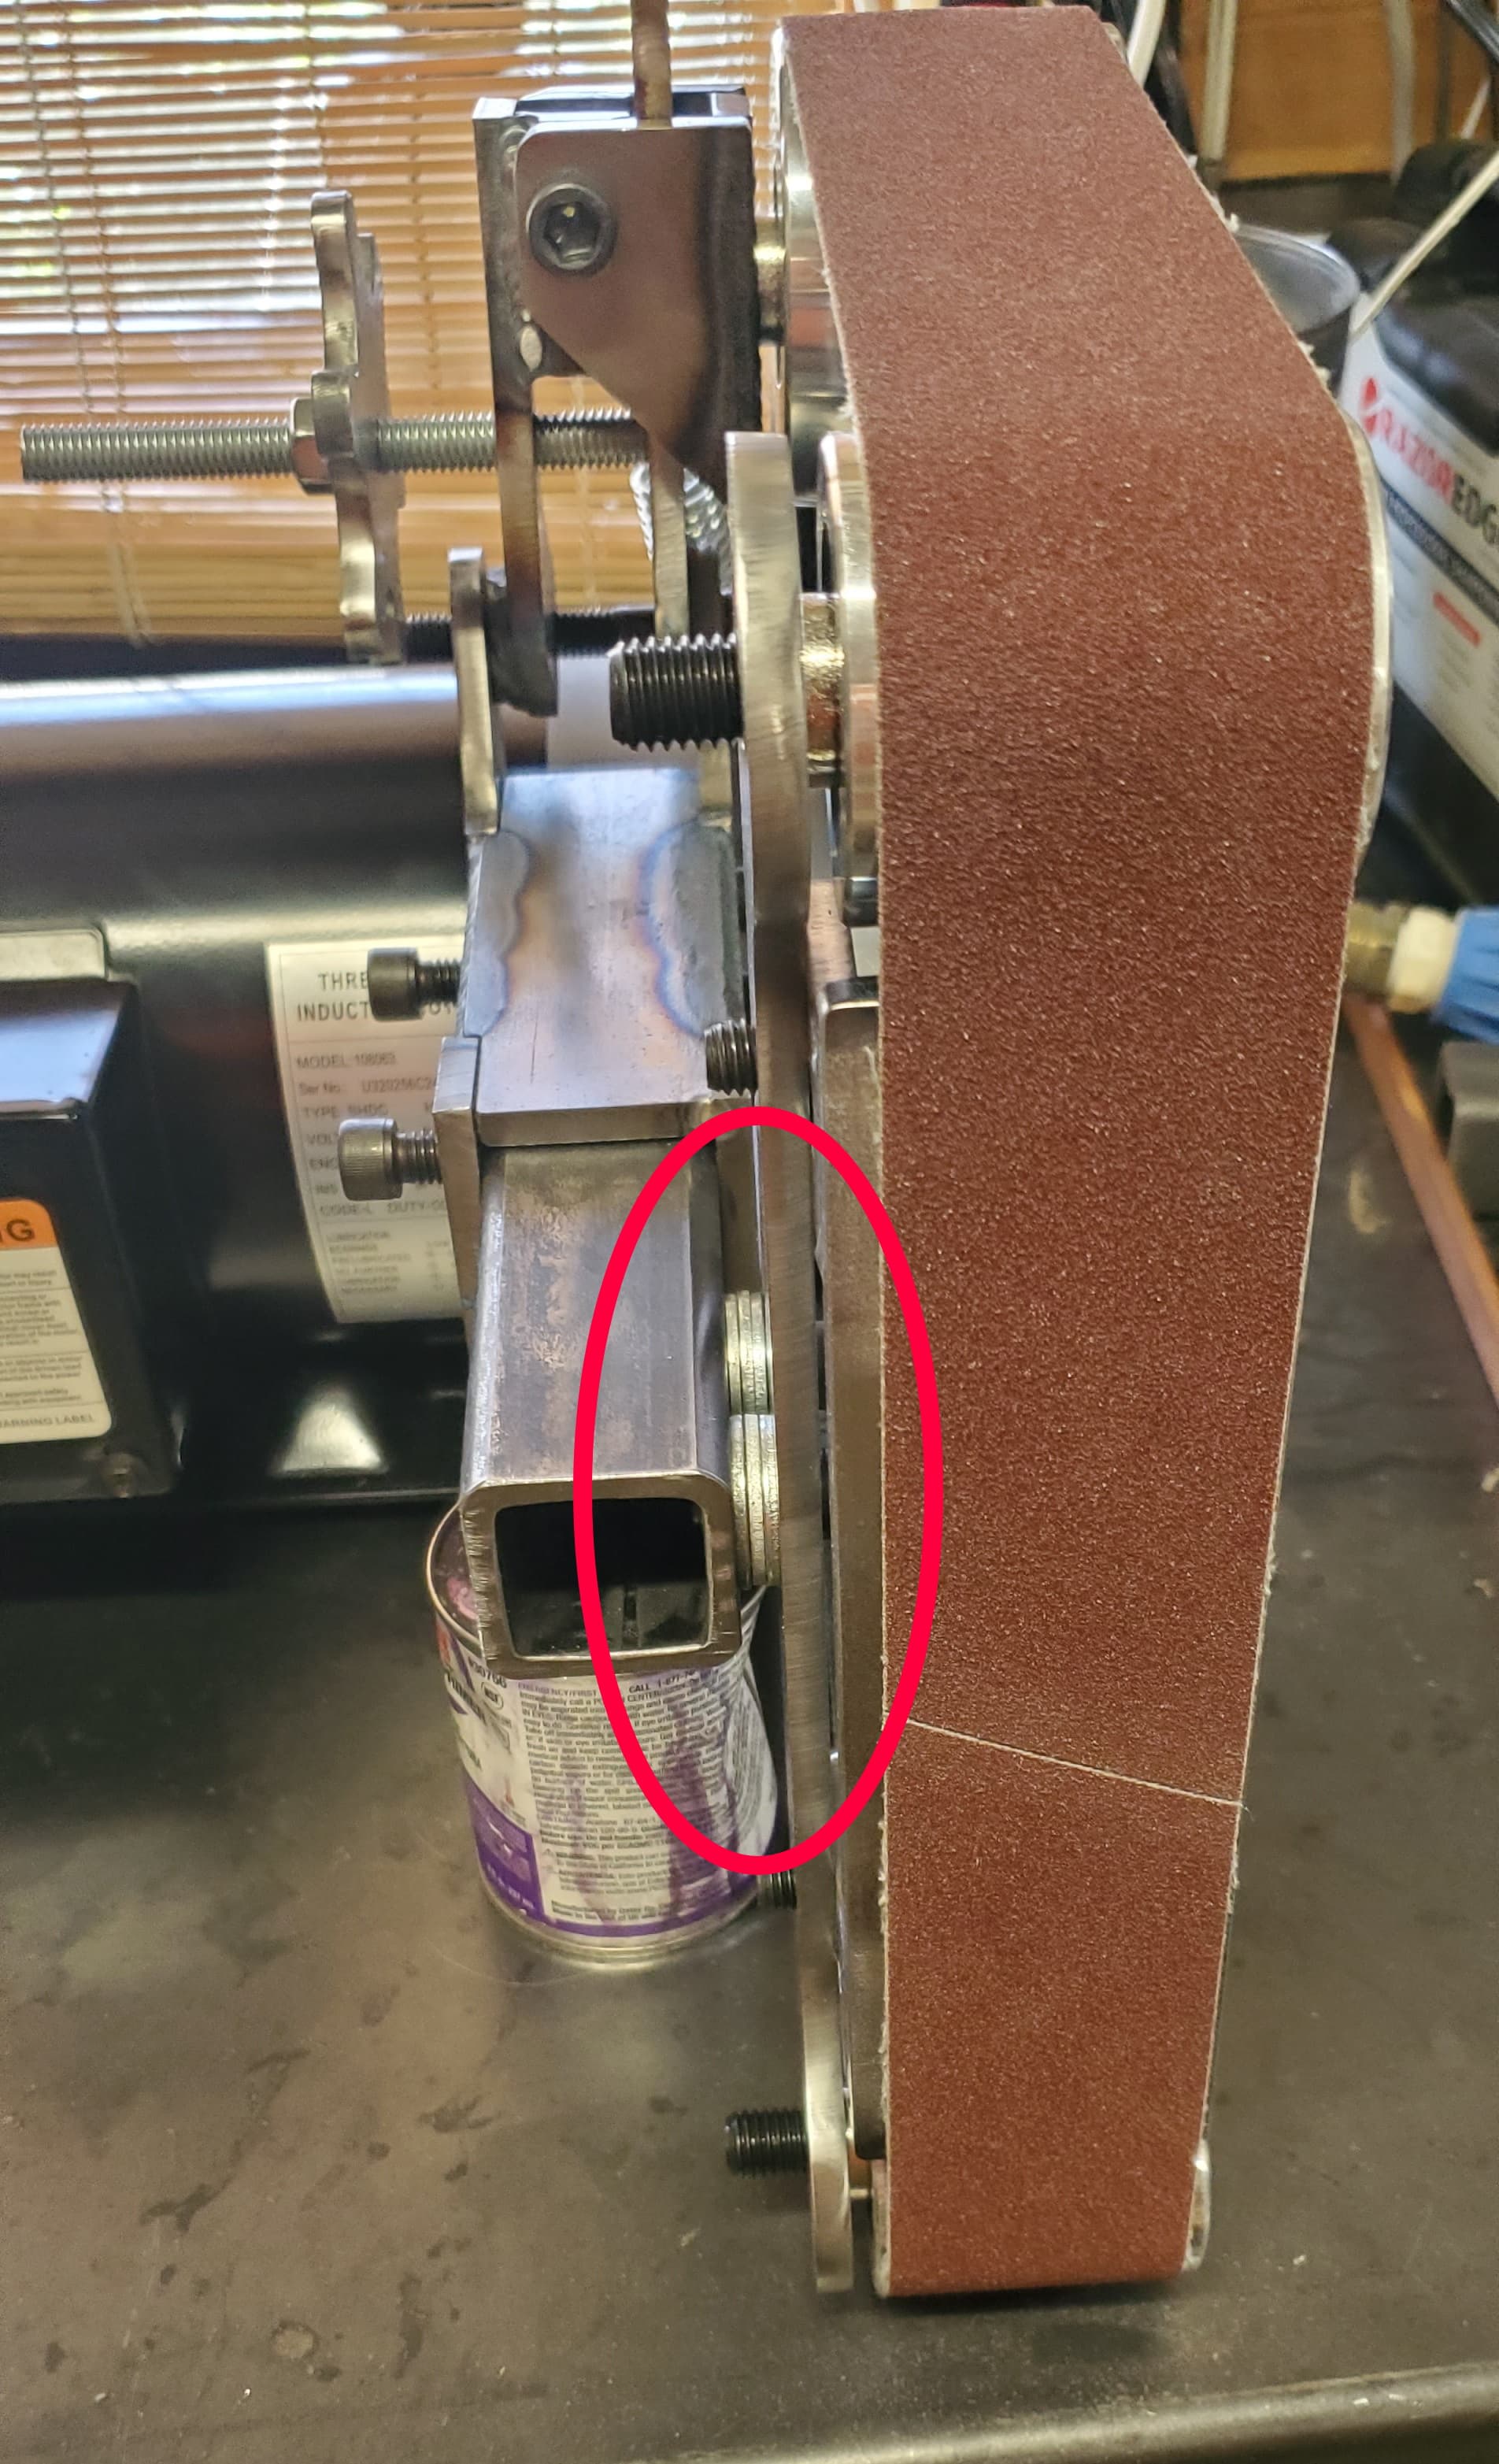
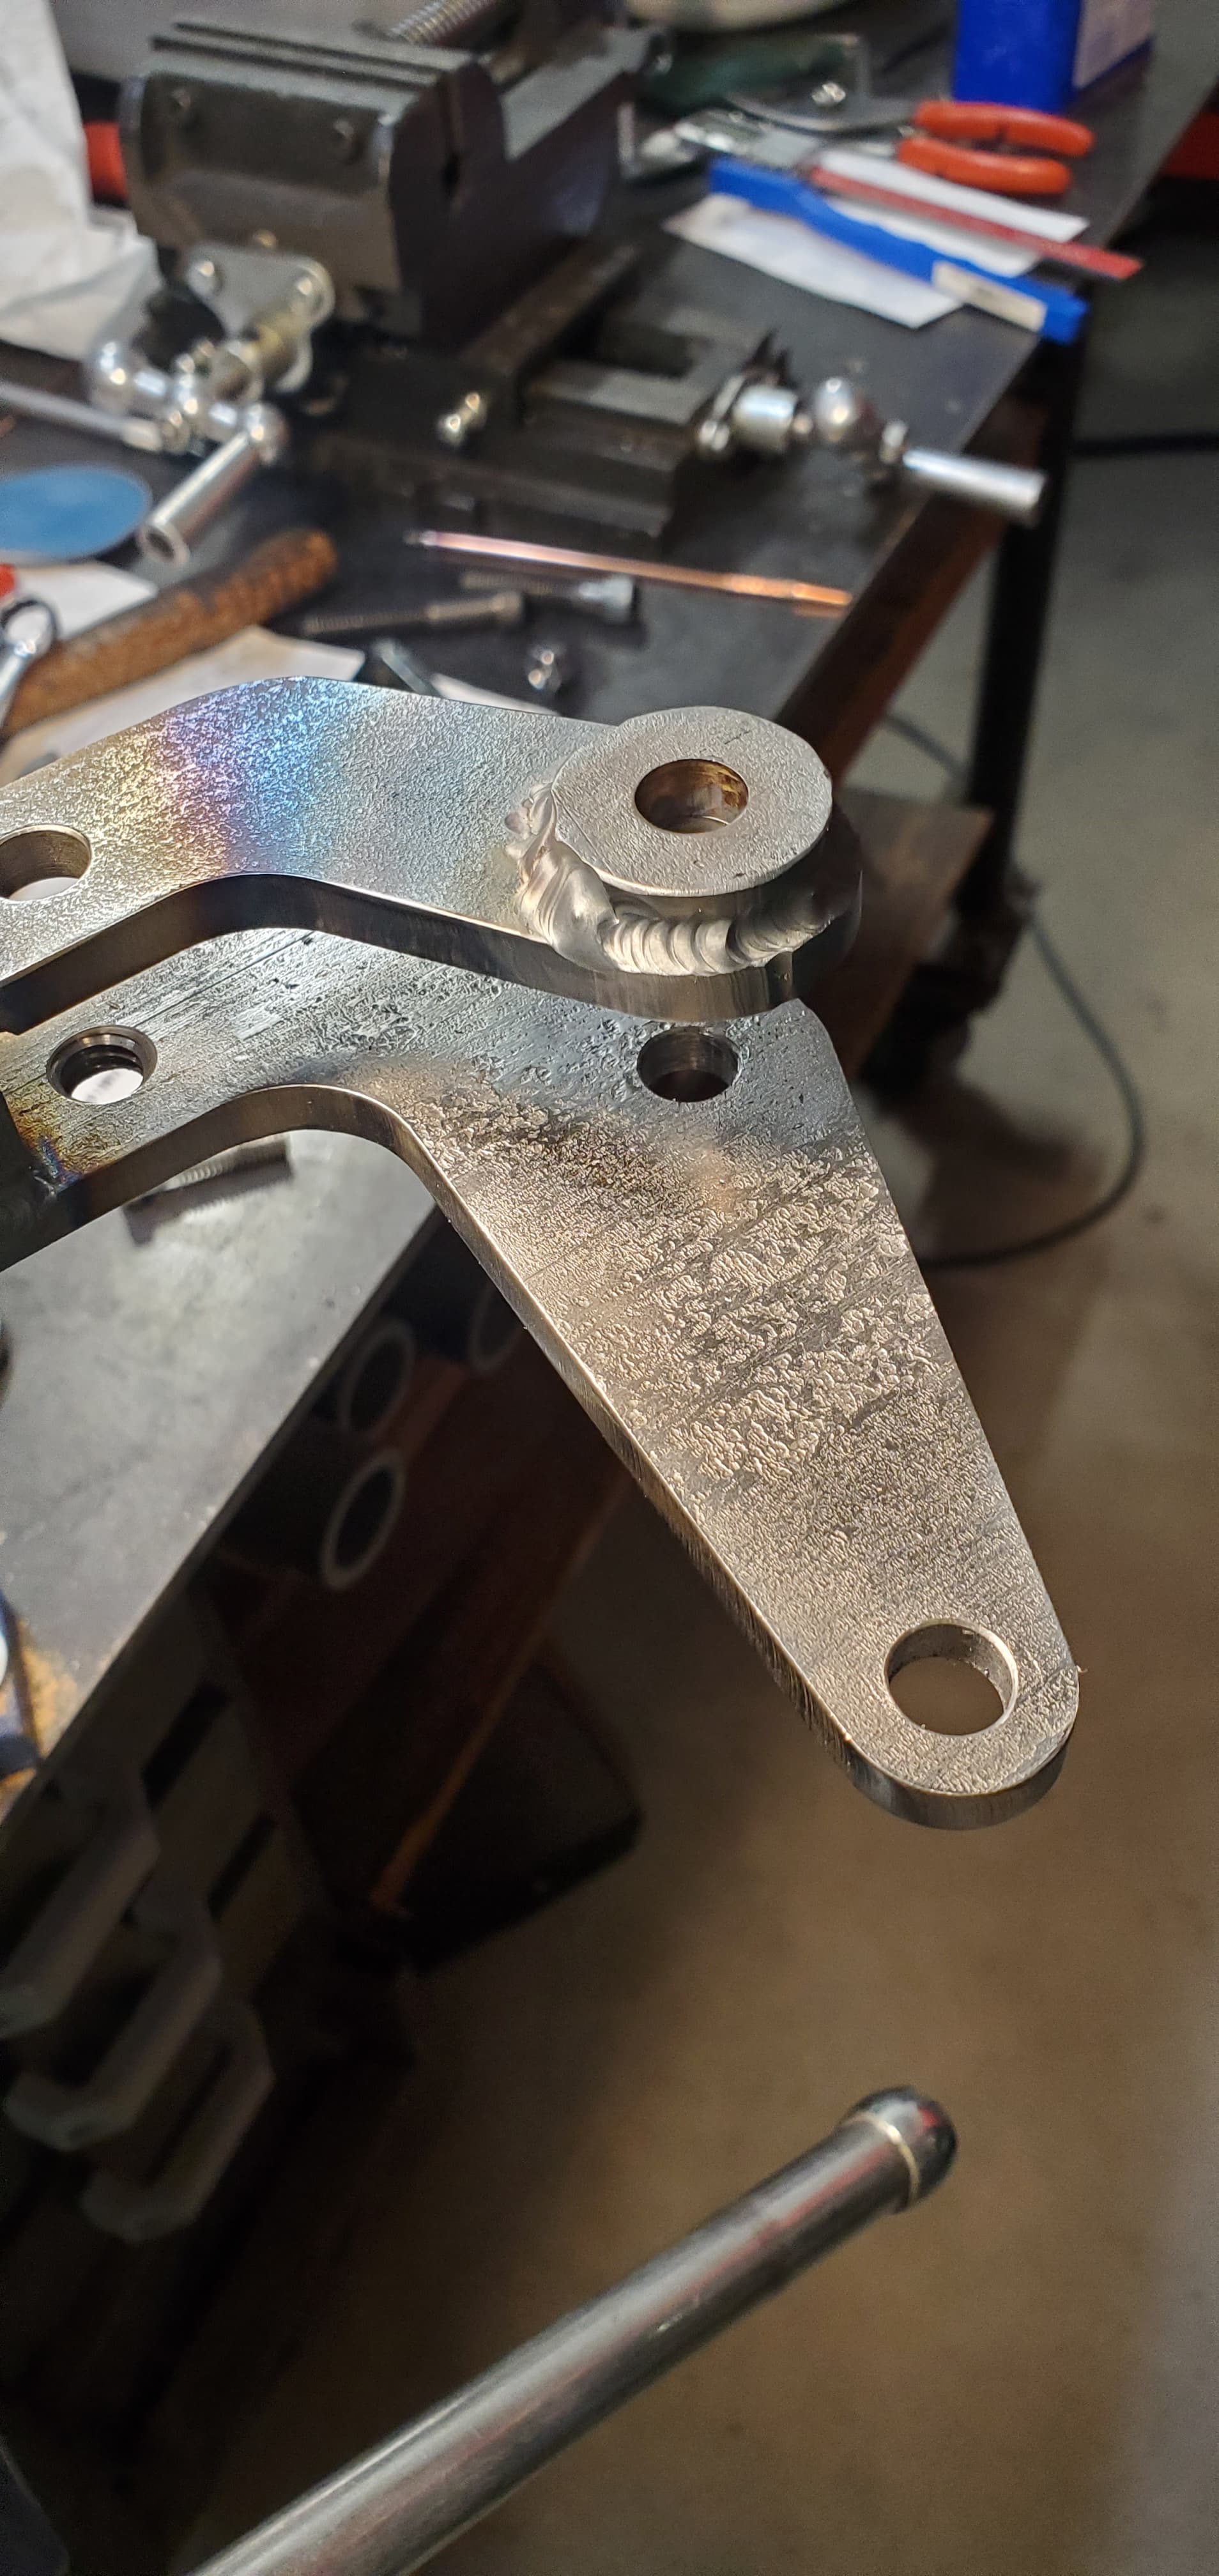
That idler wheel assembly is tricky to figure out when assembling it. It looks like you have the round 1/4" thick washer type spacer welded on the wrong side. It should be on the spring tension handle side, closest to the idler pulley.
Oh Shoot, Yep, that’s it. It’s too bad I did such a good job… I mean lousy job of welding that spacer on.
At least I can make new parts and make it right!
Thank You
Yeah. It’s just a few small parts and you can still use the grinder as is.
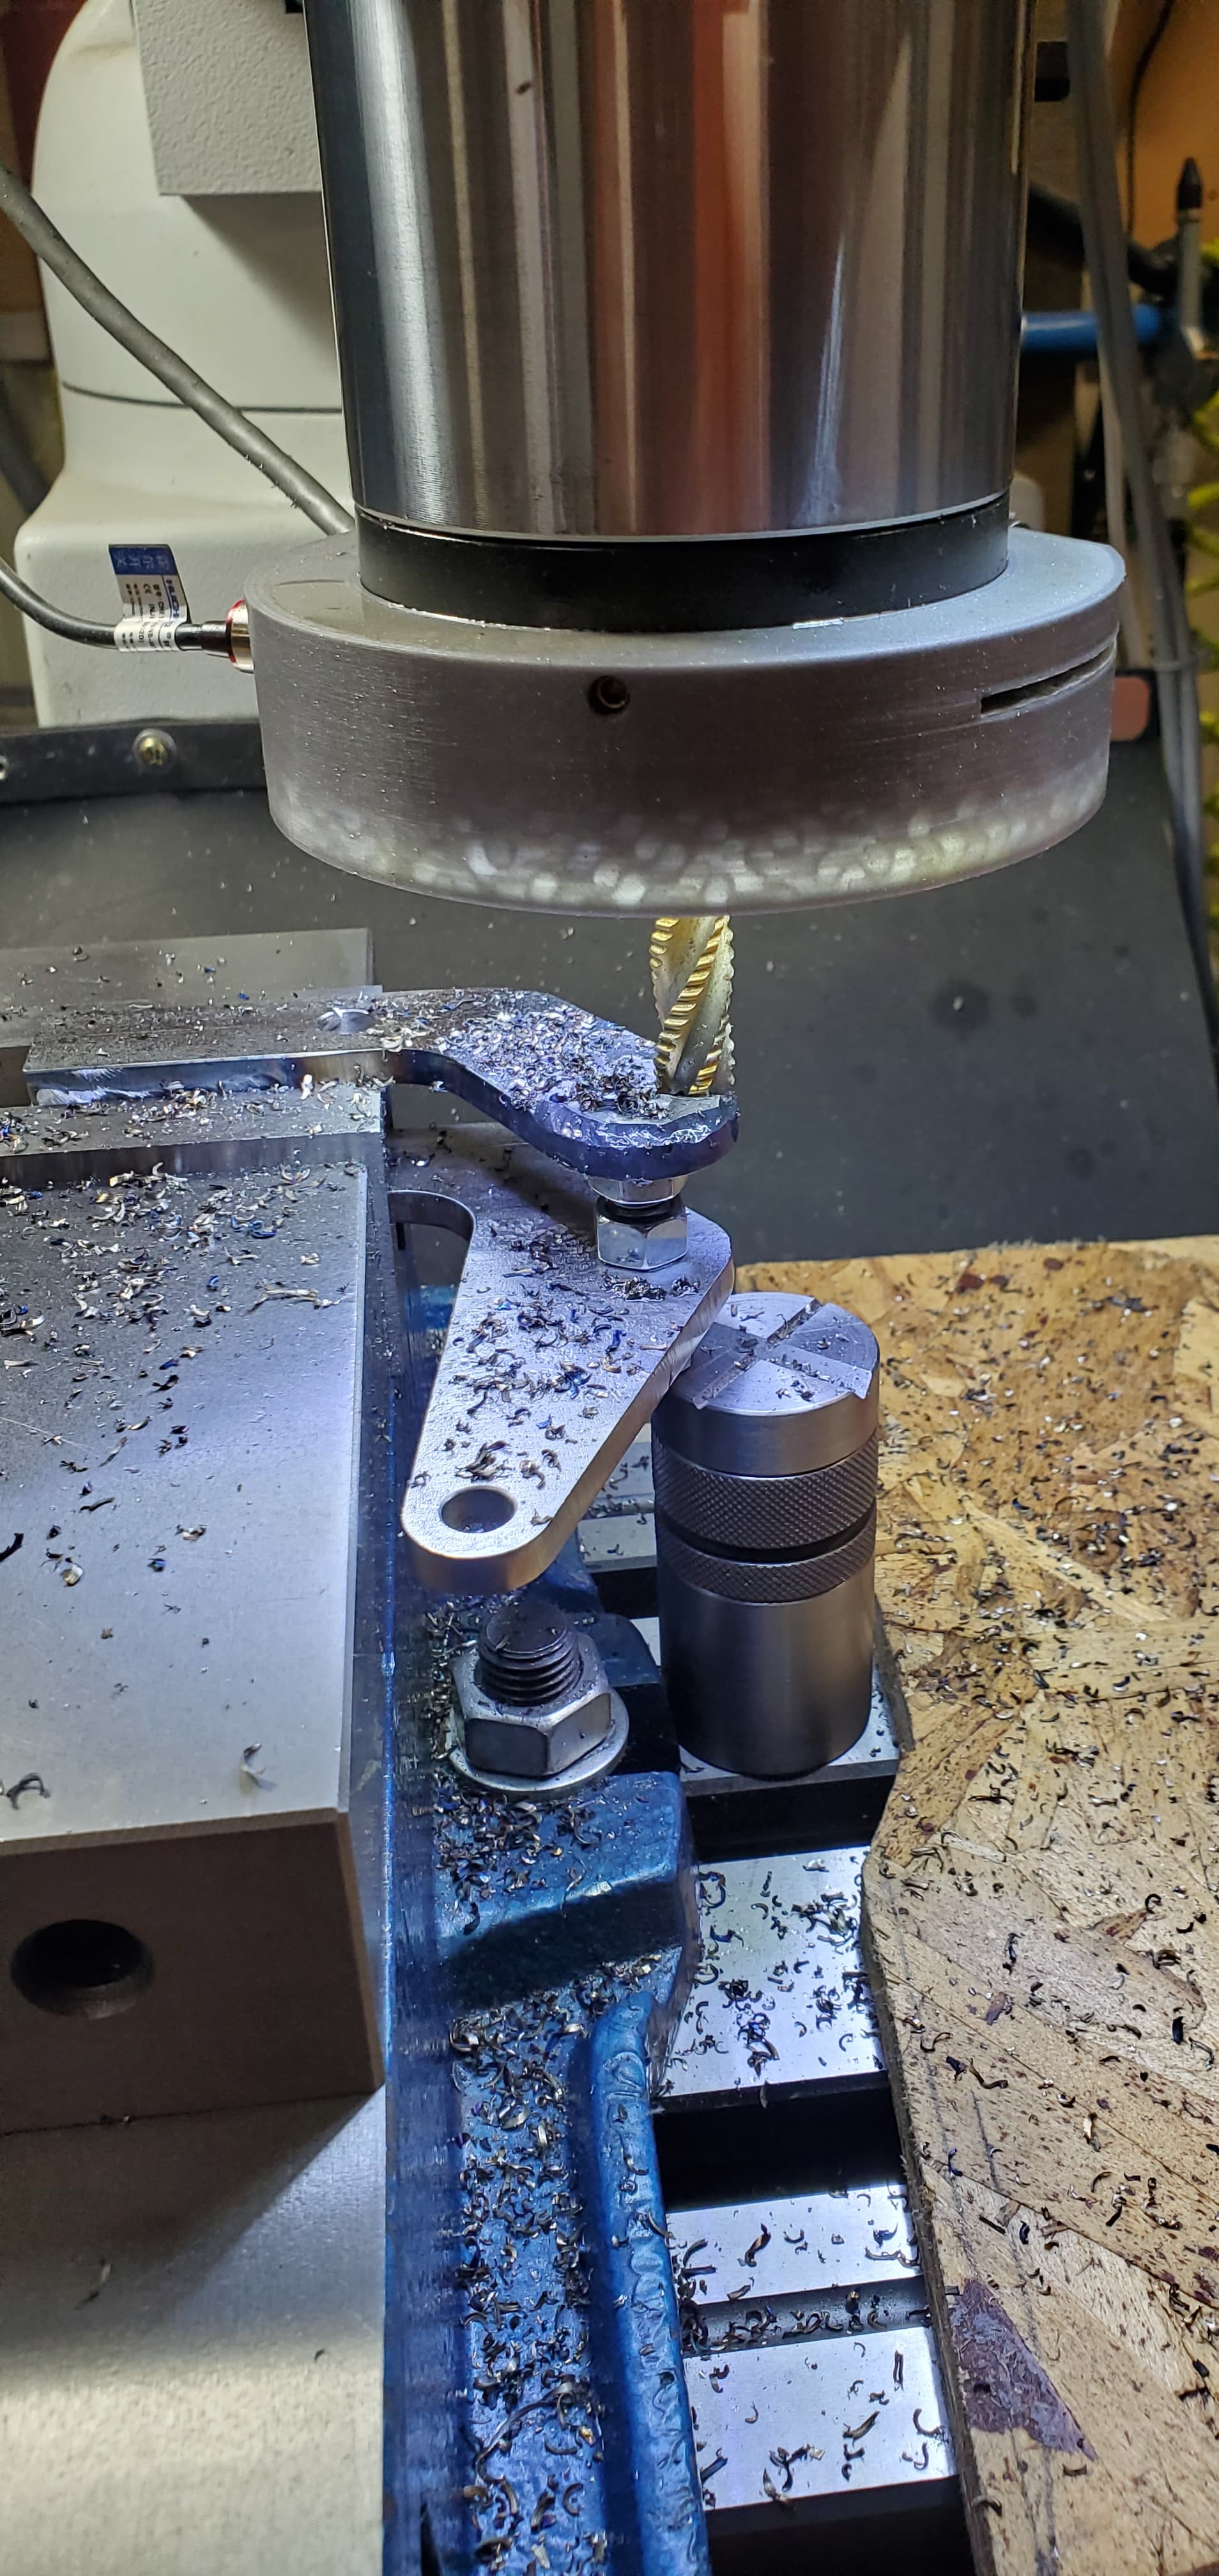
Got the boss/spacer removed, moved the stack of washers to the tension arm. Now I need to uncover my CNC table and make a new one and a couple other parts. Maybe this time I can do a better job welding it on.
TIG is the best option for small parts like that, but you use what you have. It doesn’t have to be pretty, it just has to work.
That was TIG, LOL, I’m just not very good at it yet.
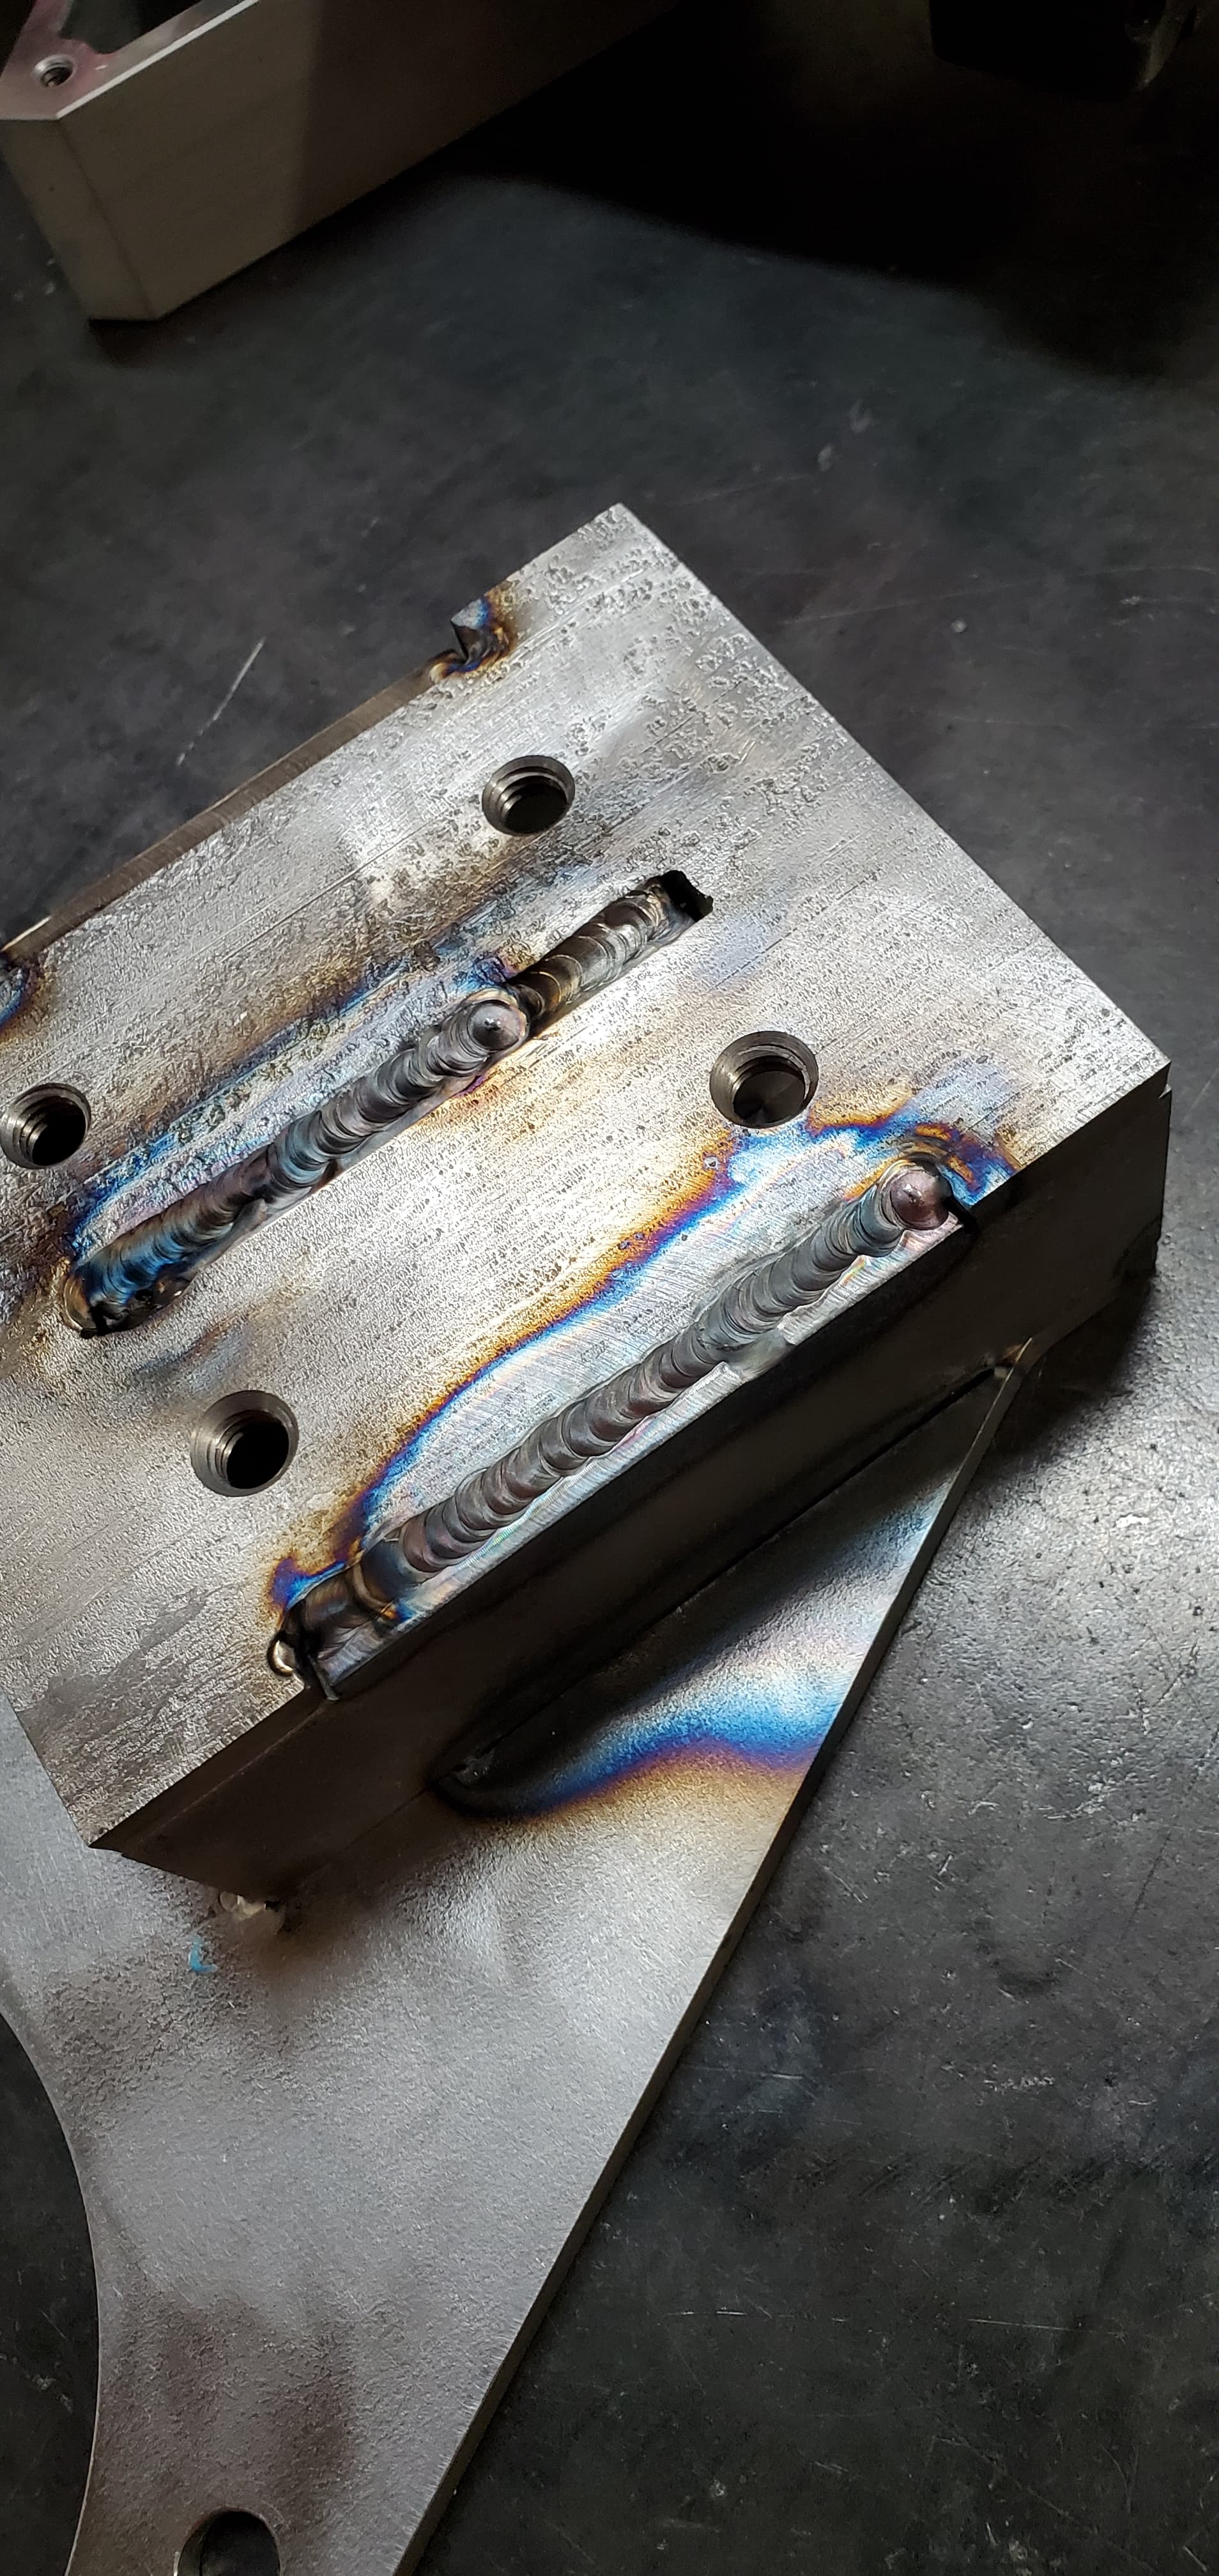
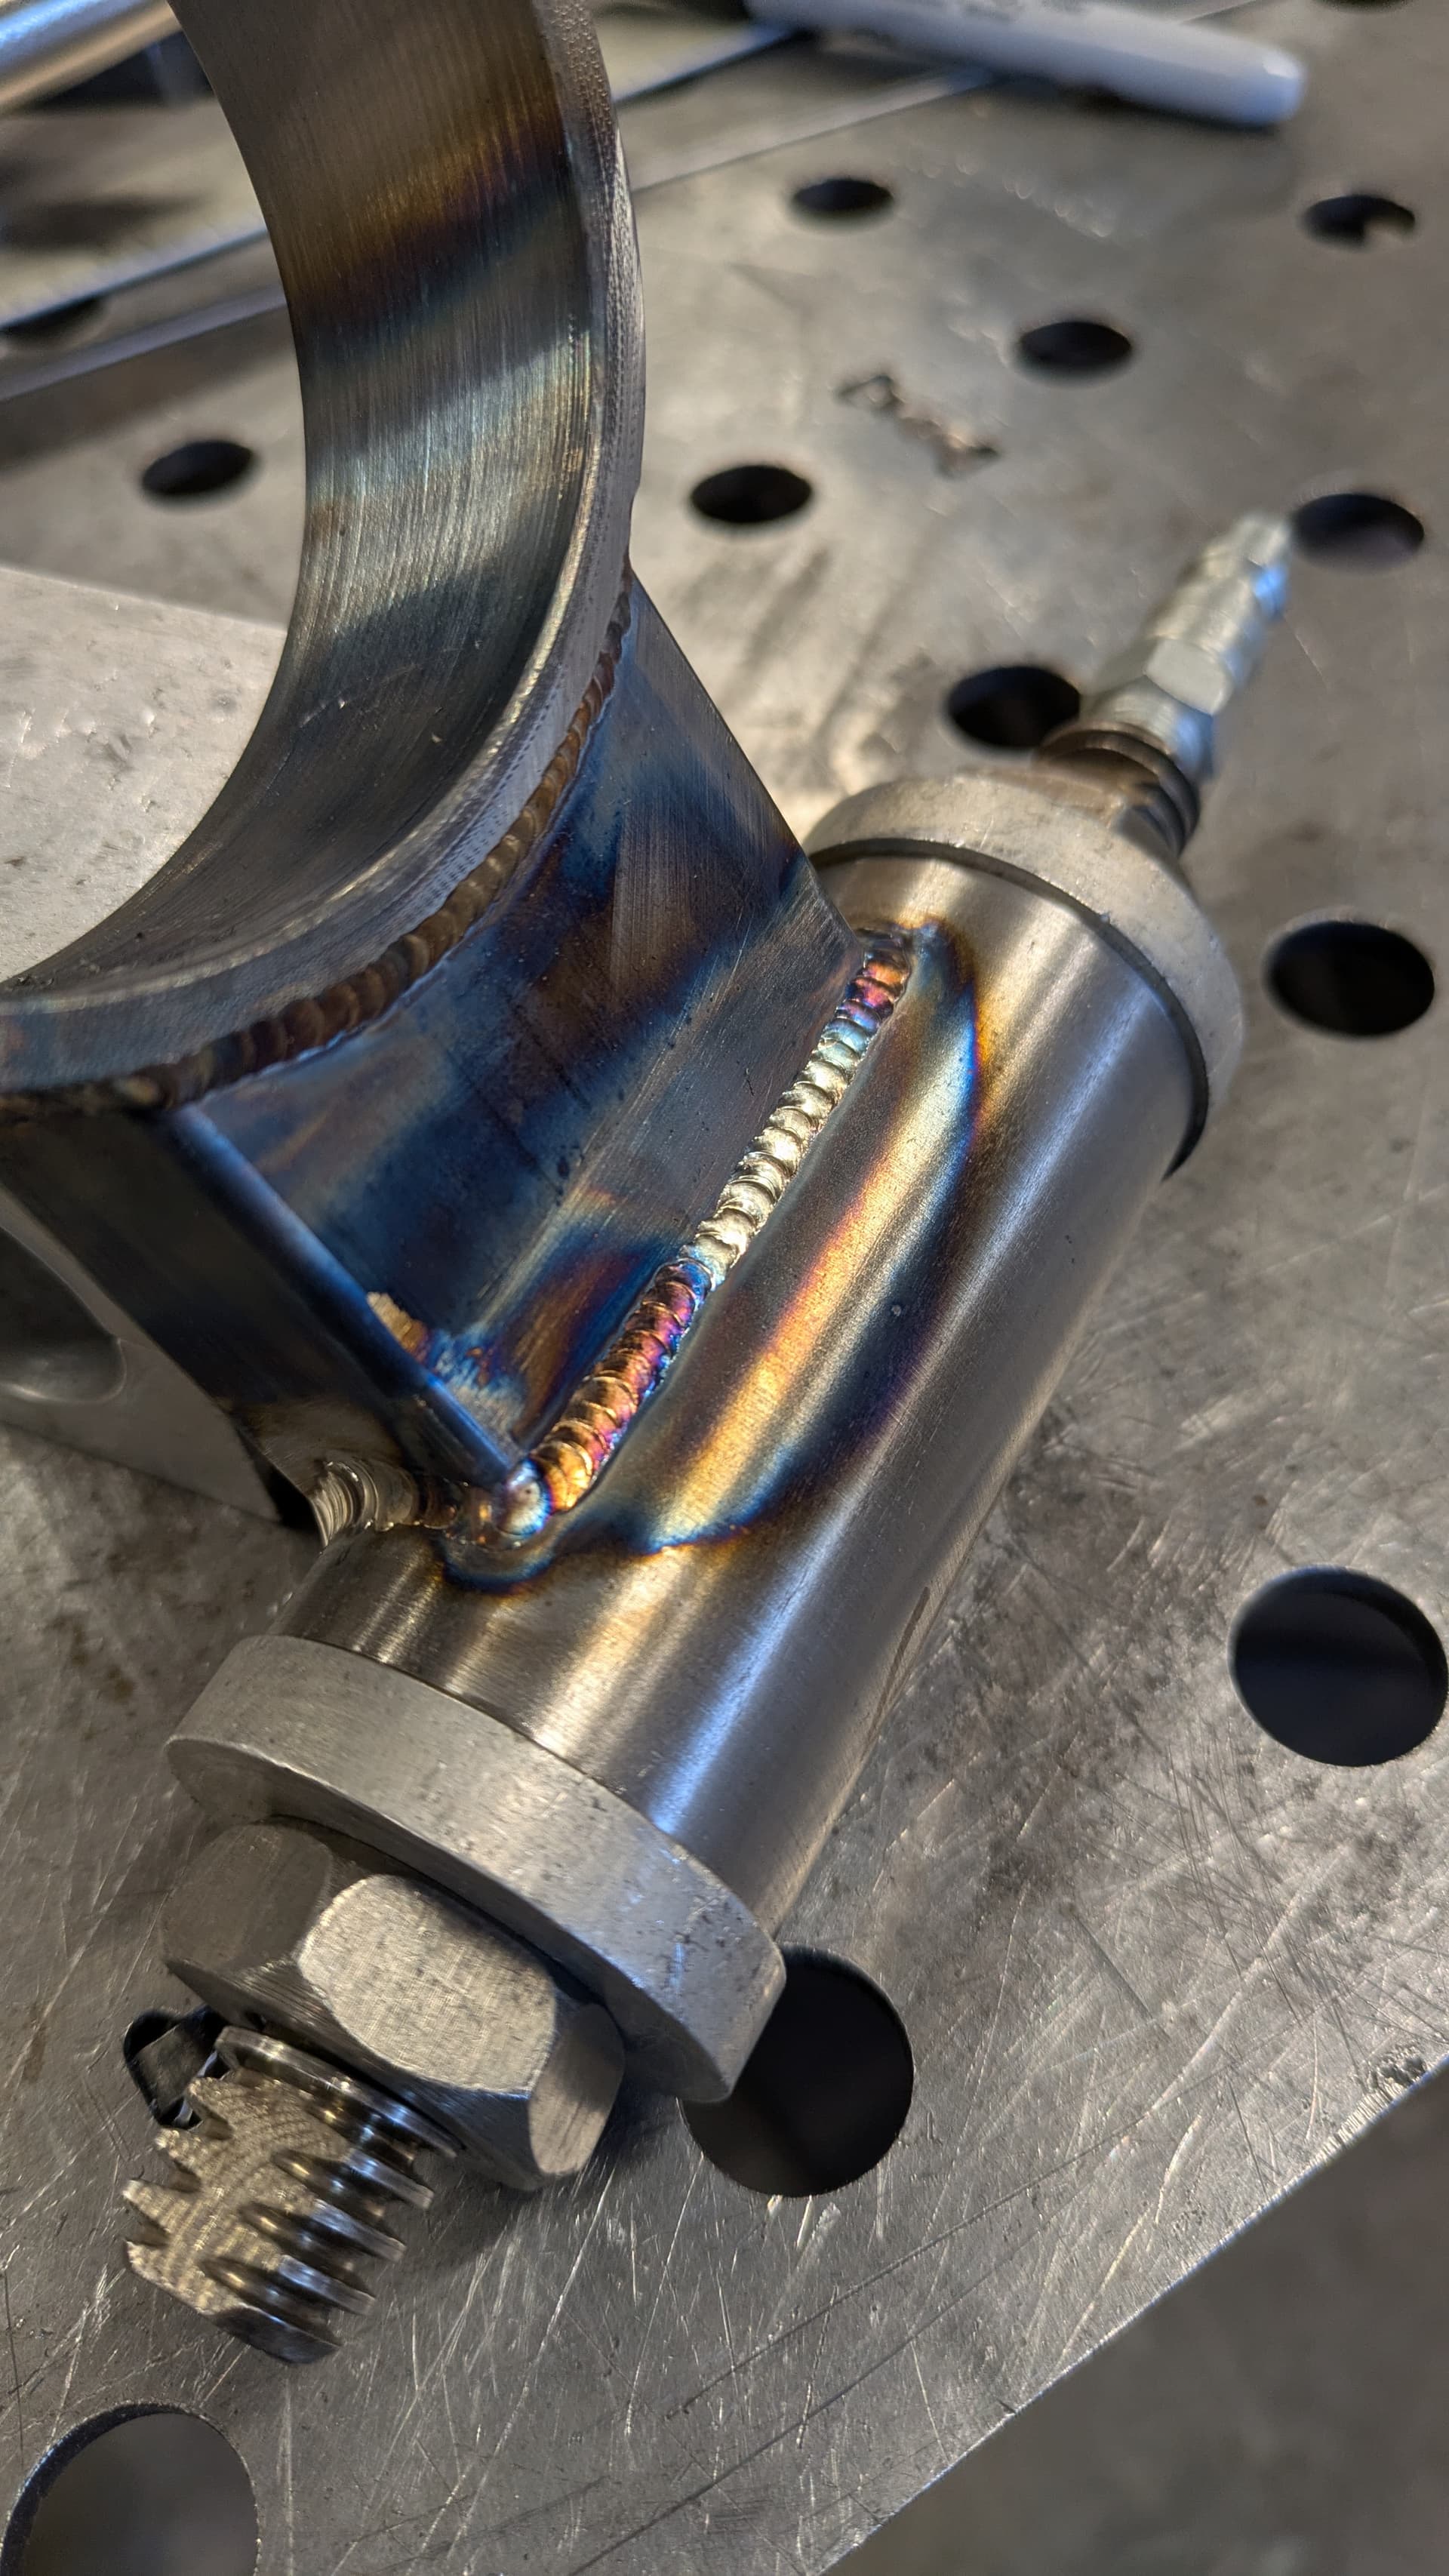
Here are a couple of the better looking welds.
Here is one problem I had. I started out welding and everything was good. I made a couple of welds, turned it around let it cool some and started again, I just couldn’t get good welds, still being green at TIG welding it took me a few restarts and failures before I figured it out. While the frame was cooling down I made an adjustment to the AC vents and it was blowing on my welding table enough to blow the shielding gas out of the way periodically. Once I turned the AC off I was back to welding like a Pro… uh. more like a first year apprentice.
You can’t have even a slight breeze when TIG welding. It will blow your shielding gas away and you’ll get fireworks.
Any time you are welding on both sides of something, you need to wire brush/wheel the second side before welding. Contaminants build up on the unshielded side of the weld and make it impossible to get a good weld without brushing it.
Your welds are fine functional welds. It take a while to get comfortable enough with the mechanics to be able to pay attention to the details that make a pretty weld.
It took me a number of years to get to this point. The biggest help was a magnifying lens in my hood.
David, Thanks for the pro tip.
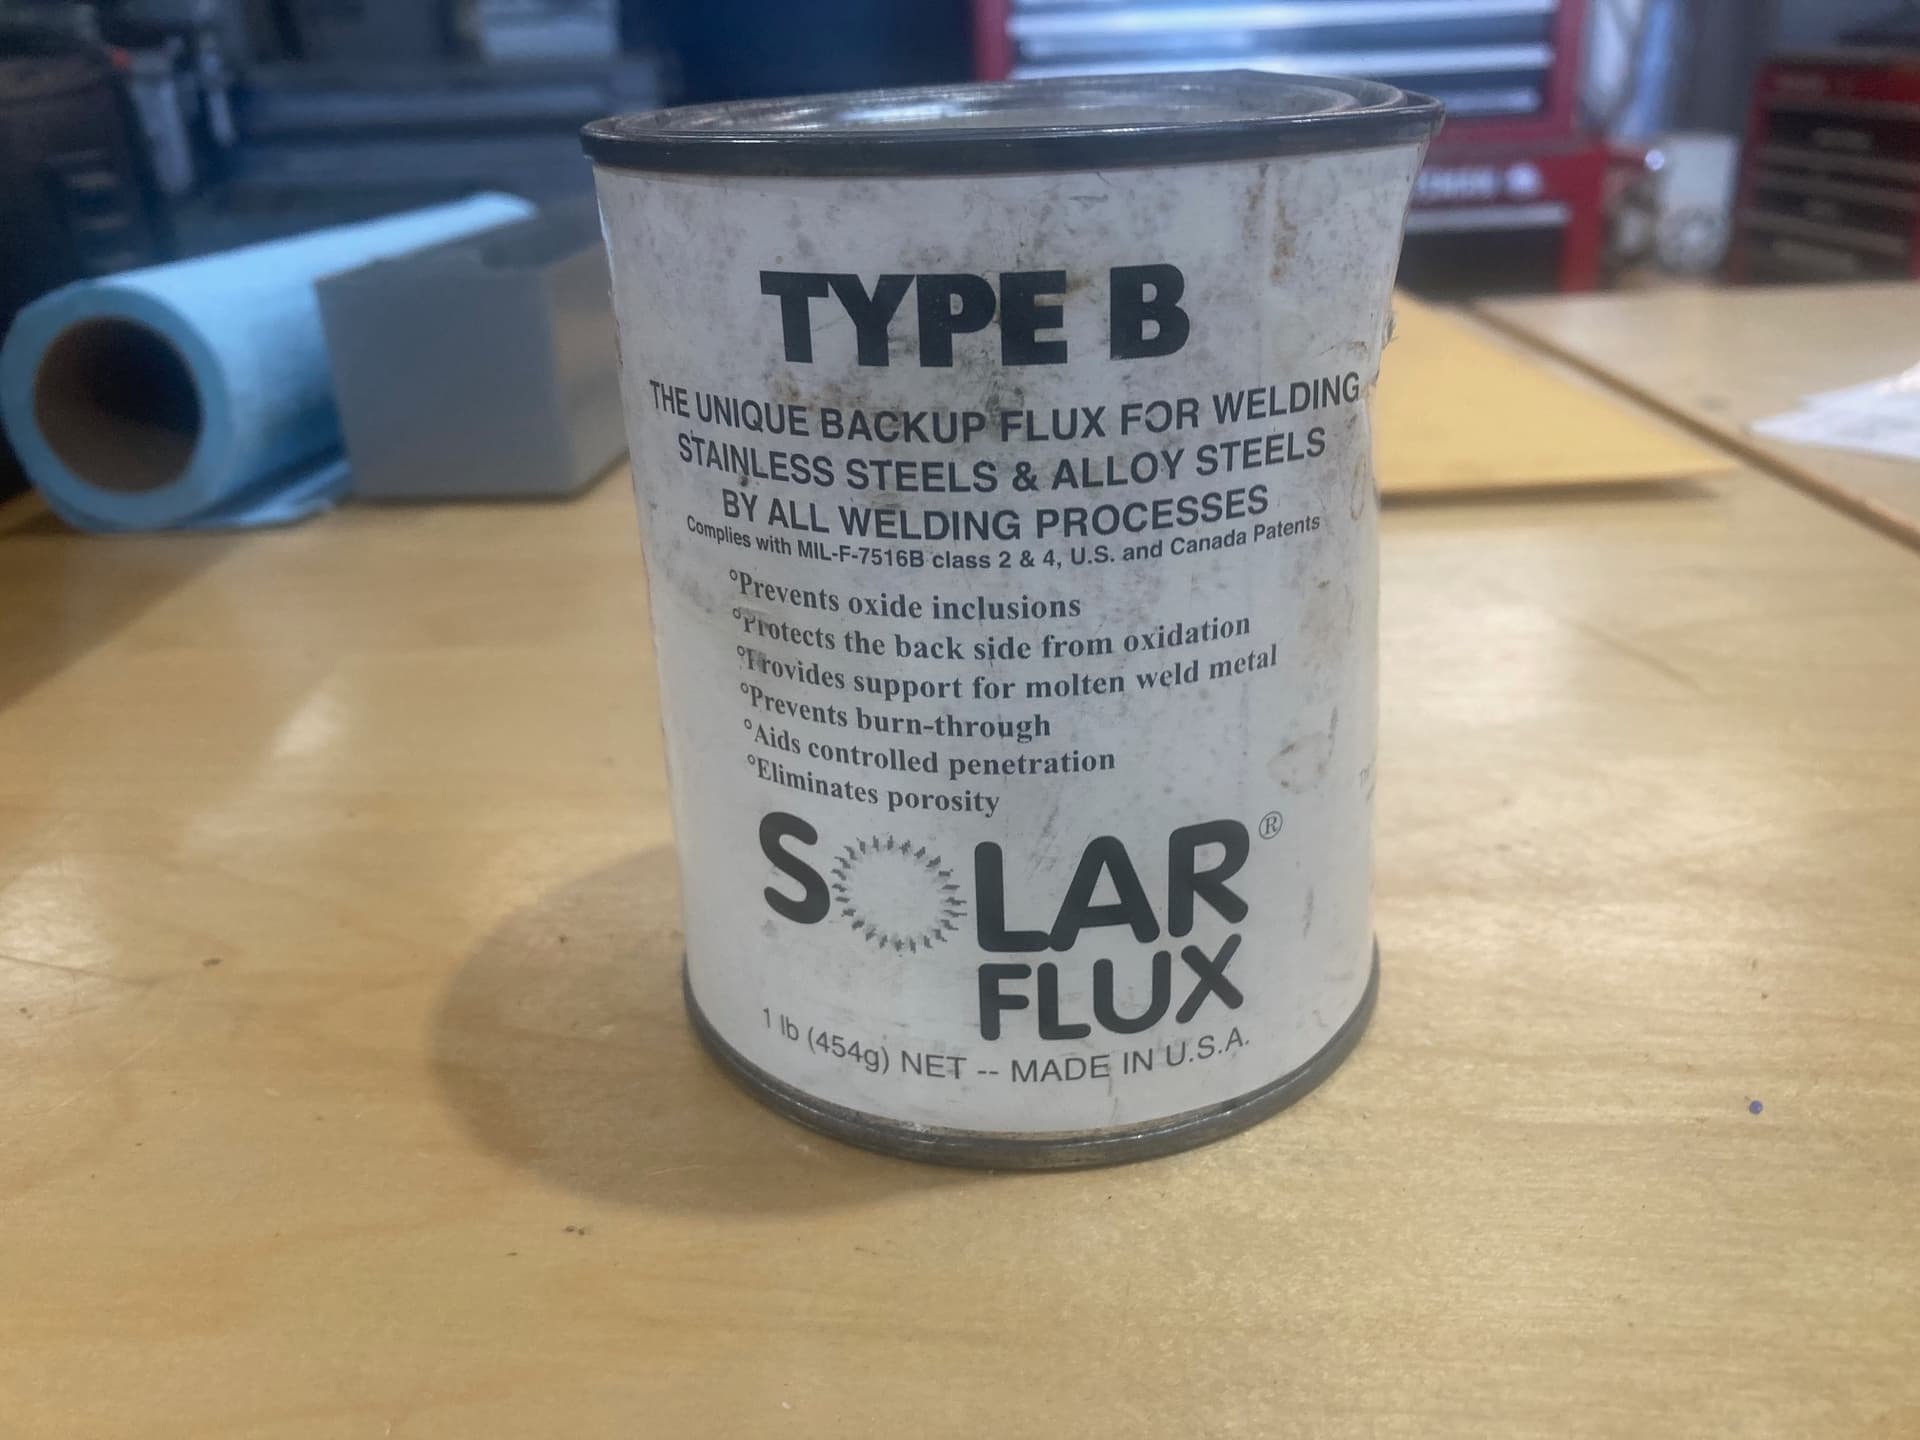
If you need to weld on both sides of thin sections of steel and need to minimize contamination on the backside, try using Solar Flux B. Works real well.
I ain’t no Pro either, but one of the BEST upgrades I ever did for my TIG setup was get Furick sized 10 (jazzy, my main go-to) and 12 (FUPA) gas lenses (and not chinese knockoffs), as well as a stubby tungsten kit so you can keep using your tungsten until you grind it all away, and get into the hard to reach places as well as getting a good grip on the torch.
That and make sure you’ve eaten a good meal to keep the shakes away.
Blue Demon also makes really good welding gear and filler material
Thanks Andy,
I just started using a Furick Jazzy #10 Glass TIG Cup, I was using a #8 Furick Glass Cup. So far I like the change.
I need a better welding table. I’m currently using a roll around bench with 1/4" flat steel sheet for the top. No way to clamp things down except along the edges.
DS690, I would be proud of that weld.
I’m in the same boat. My “welding table” is just a piece of 3/16 on top of a selection of 2" steel pipes. It works, but it’s not flat, and can only clamp to the front overhanging portion.