just to confirm your wiring. You have the red wire going to pin 4 and the black going to pin 6 correct?
those pins have polarity so if not wired that way, you won’t get any thc voltage readings.
just to confirm your wiring. You have the red wire going to pin 4 and the black going to pin 6 correct?
those pins have polarity so if not wired that way, you won’t get any thc voltage readings.
Ugh…I followed the video I mentioned in my initial post.
I’ll cut the heatshrink wrap and check; rather check when I get home before I put everything together.
Thanks for that.
Yeah, I called him out about that after I saw his video.
He now has an update on the description stating the wiring was wrong in the video.
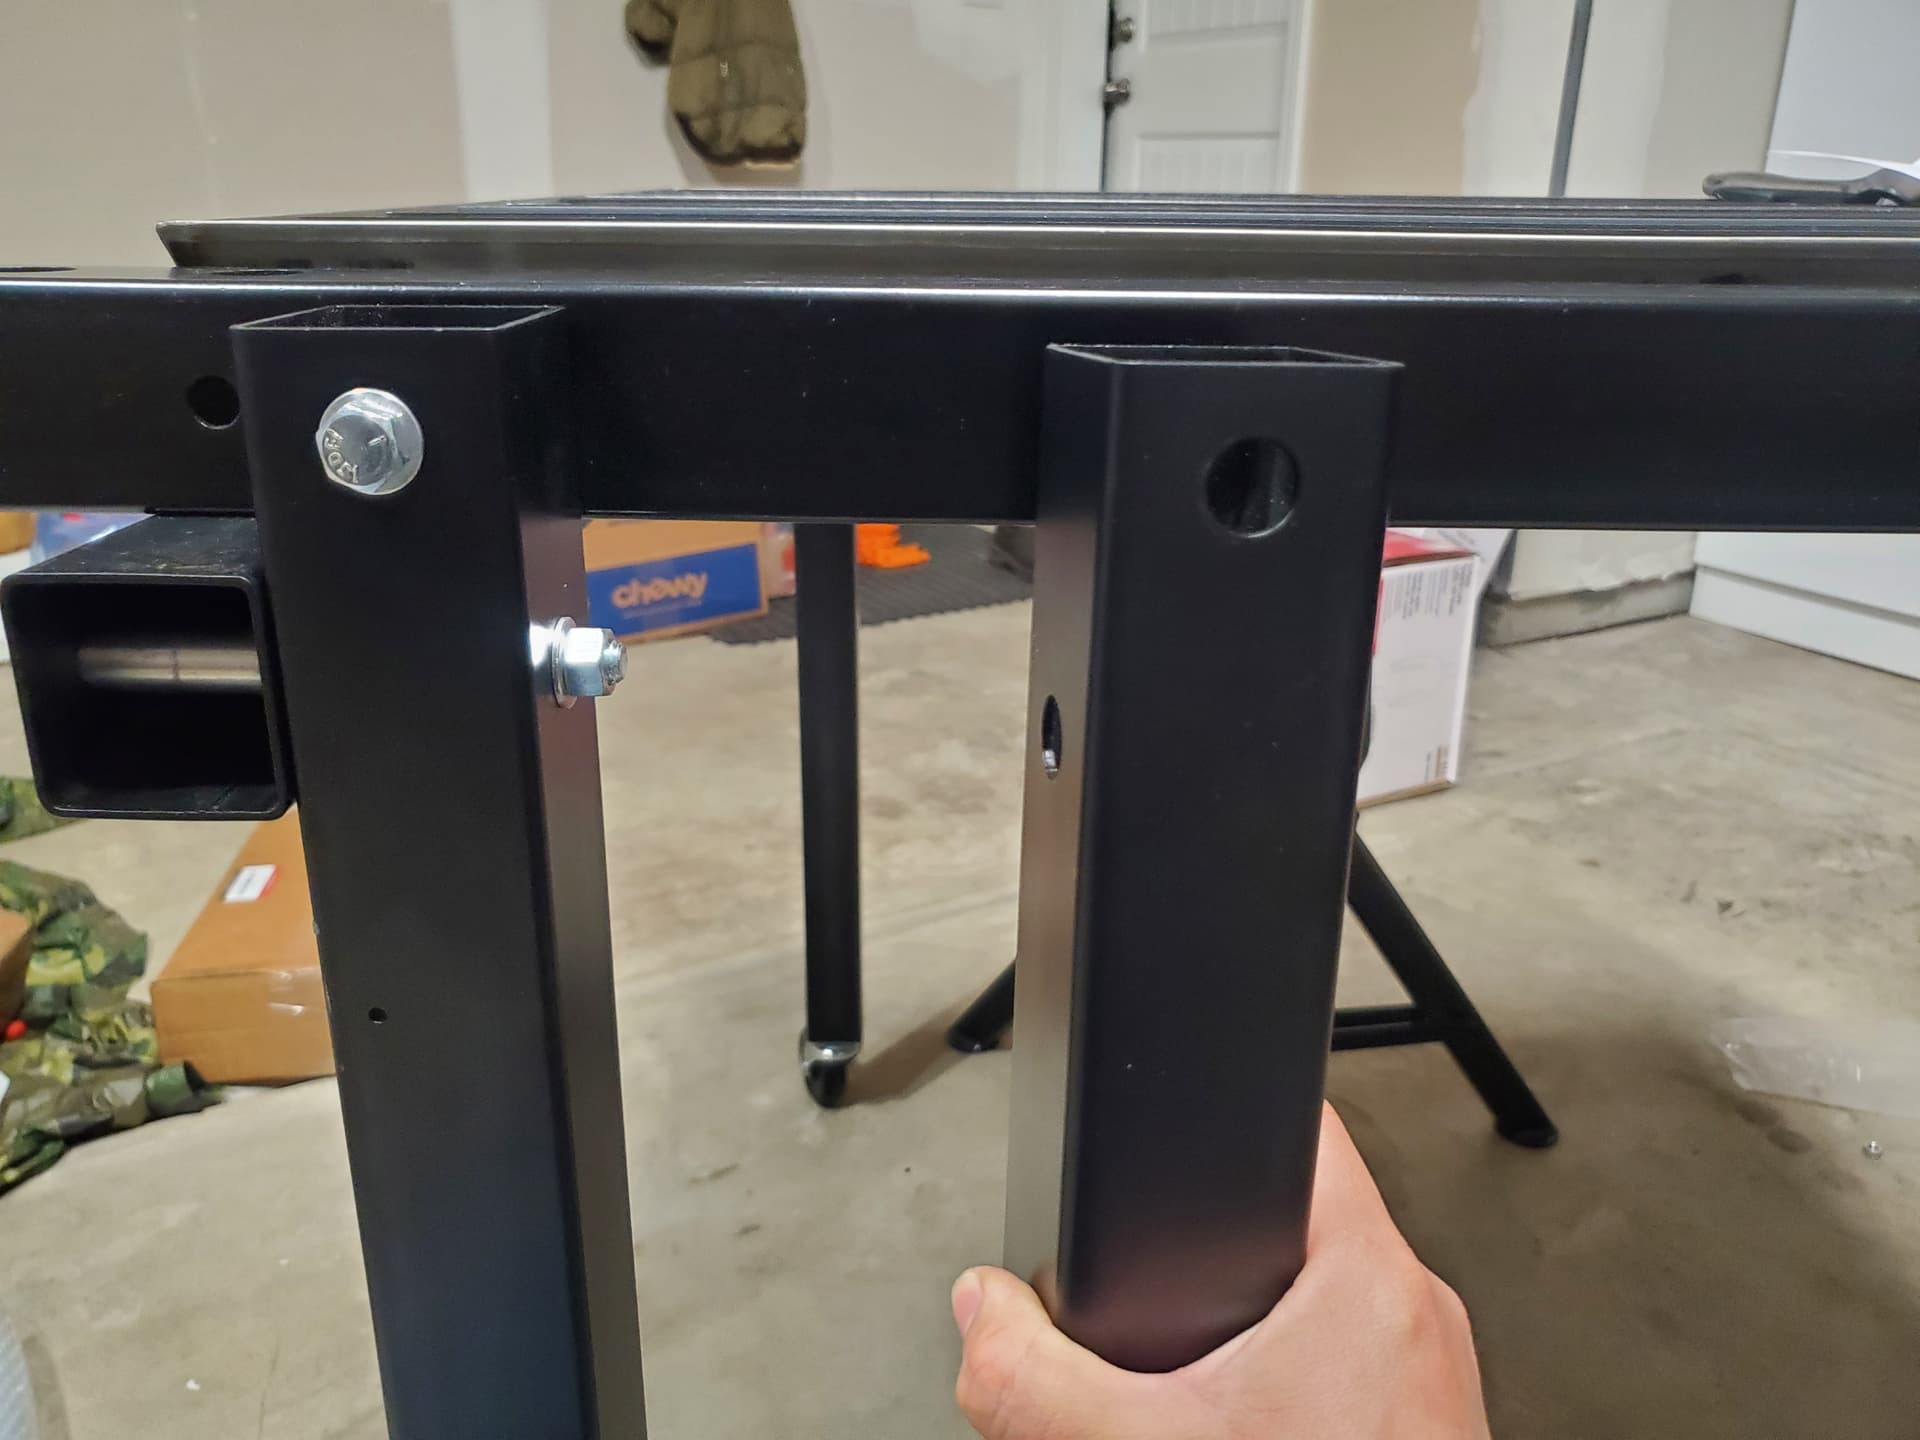
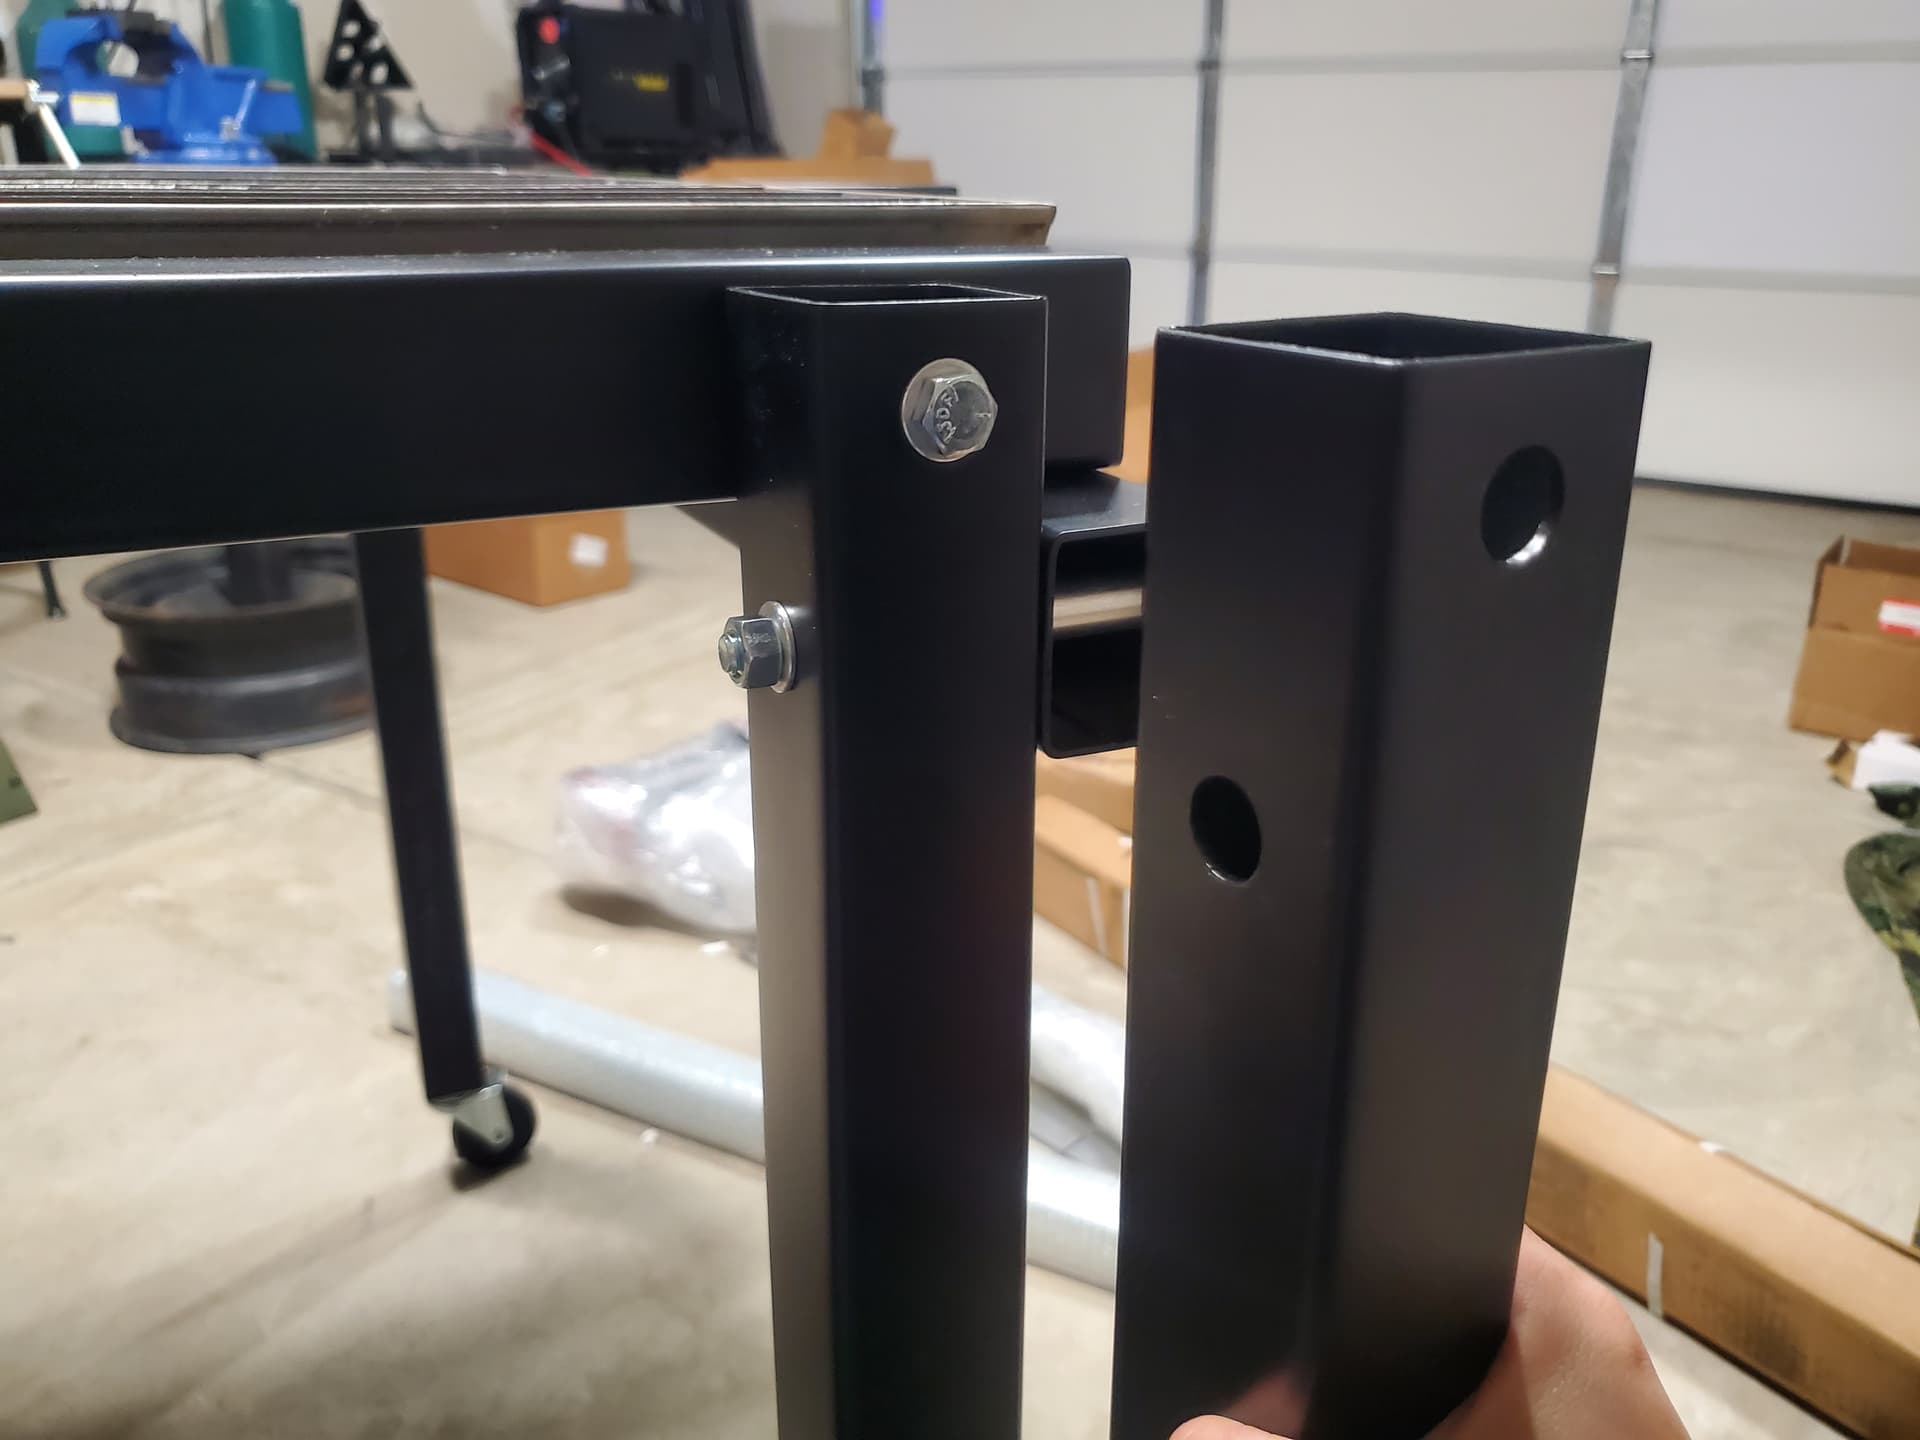
So…remember that whole “3 small holes missing” on one of my legs?
Well, remainder of my parts arrived today so figured I’d move forward with install.
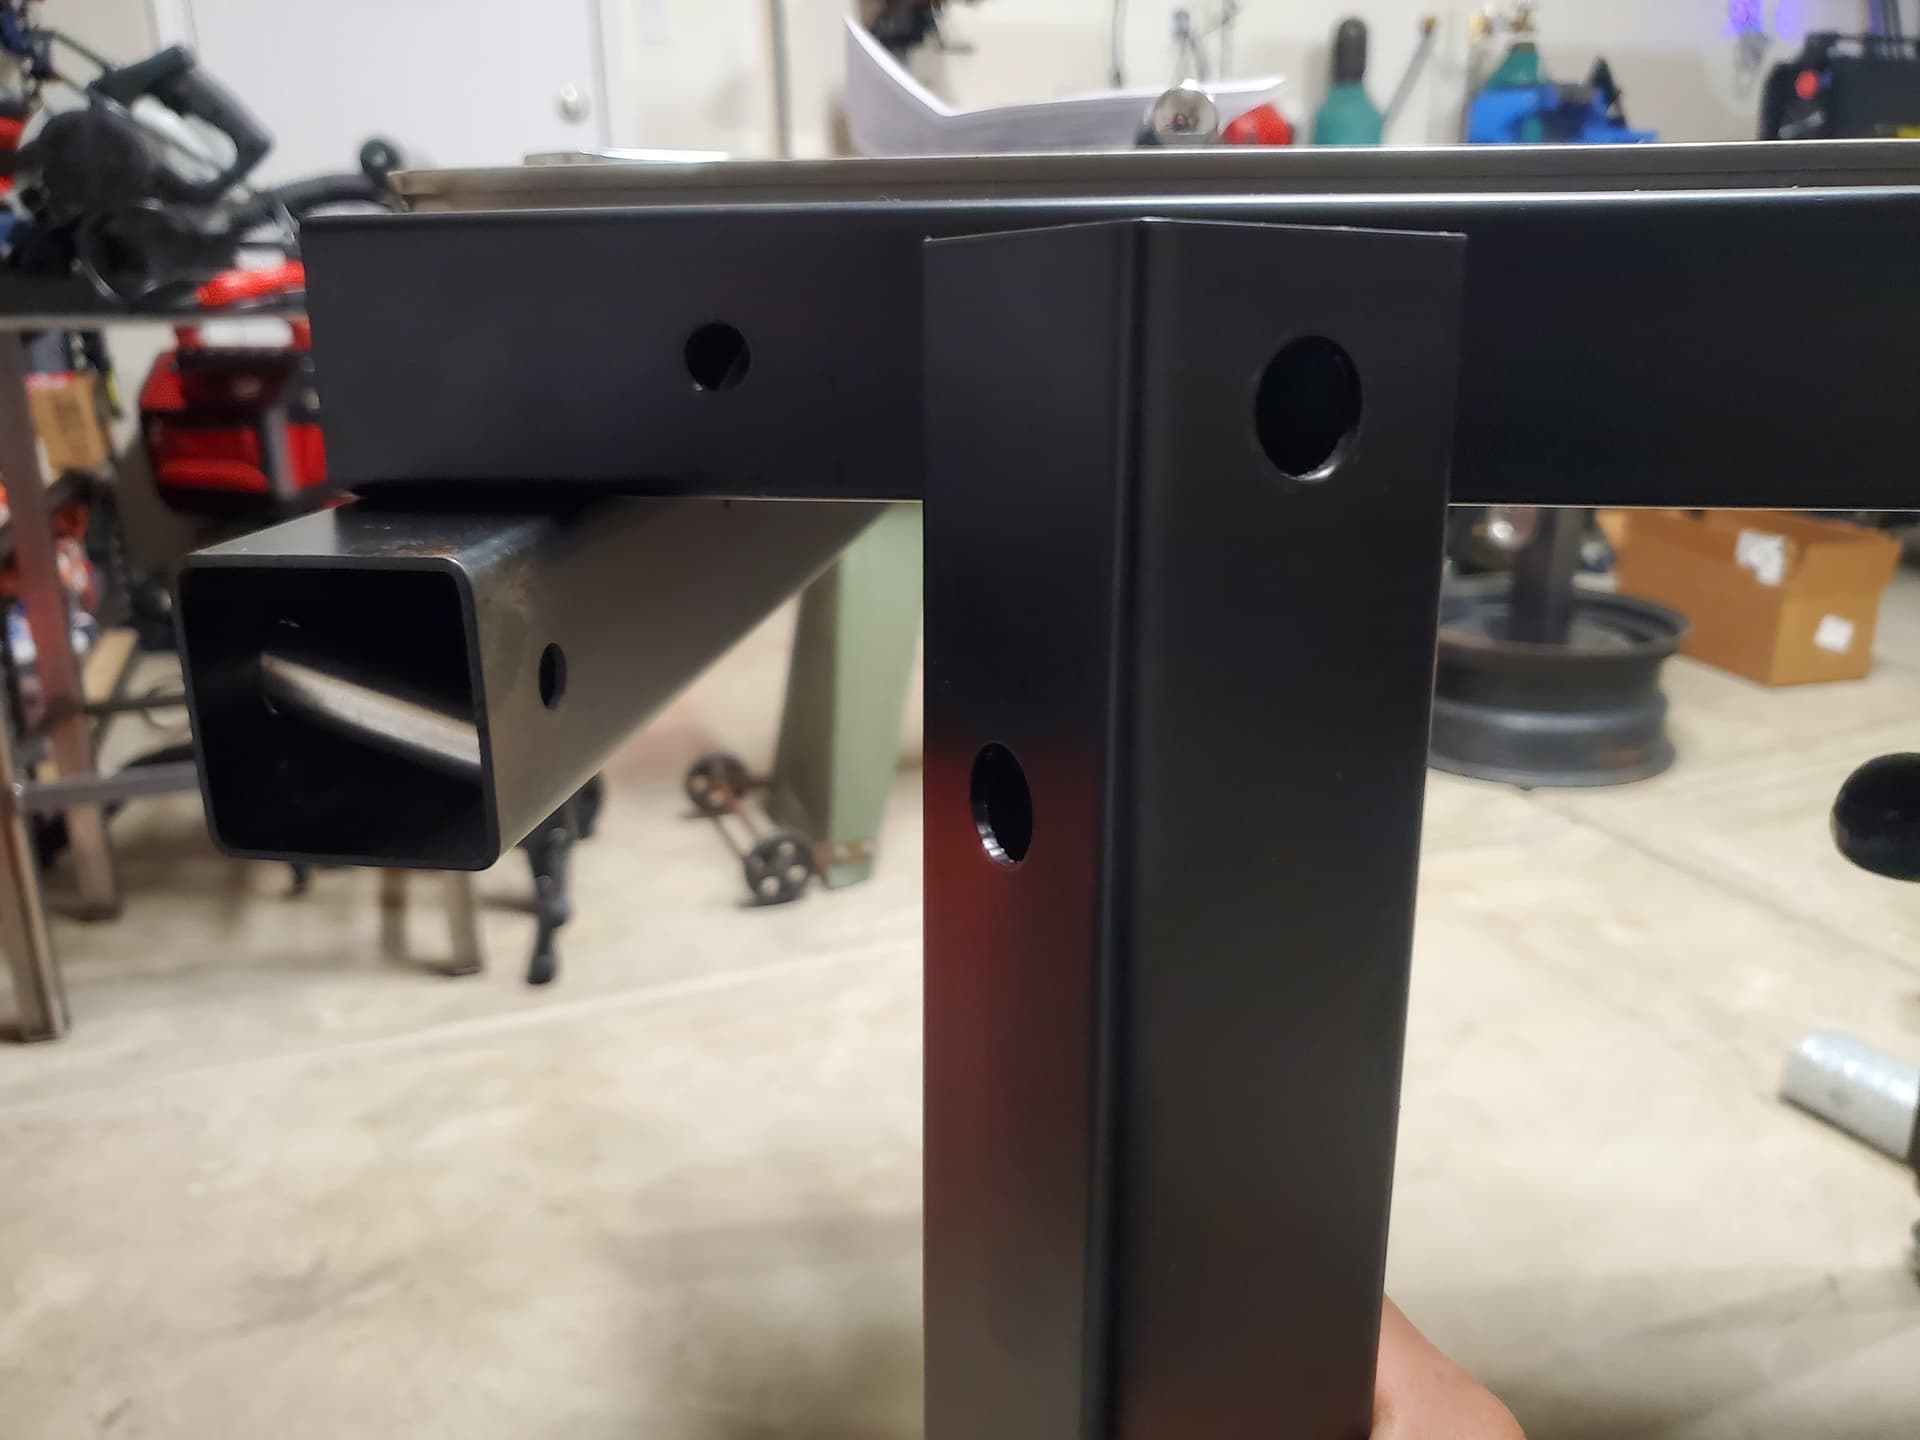
I guess there are two patterns for the large and small holes and their orientation (that bolt the entire assembly together).
What I mean is, I’m missing a leg with those tiny 3 holes and I thought nothing of it until now.
I’ll just use a standard washer since I got plenty but I couldn’t use their tube spacer for one of the legs.
I quadruple checked assembly, checked to ensure all legs go where they do (not difficult) and compared to online pictures.
Can someone just check their bolt holes on their legs for the large tube washers and confirm their are two patterns and not one so I maintain my sanity?
If you notice, my unbolted leg does not match the first pic (which I believe is the one I need, it has the 3 holes) yet matches the other two for a total of 3 with that pattern.
I found the same thing, they did not send the screws and nuts for the mounting, I just went to the hardware store and purchased them. I brought a screw and nut from the one in the cabinet with me.
What about the legs? Hardware I bought the next day but 3 legs have 1 pattern and the 4th has a different pattern.
I would just send them an email and have them get you taken care of.
Yep, leg is being shipped.
I didn’t immediately want to go to them with every little thing. I was missing hardware, so I bought it. I was questioning the leg, but before I emailed them I thought I’d ask here in case I was going crazy.
Now I’m doing it again though.
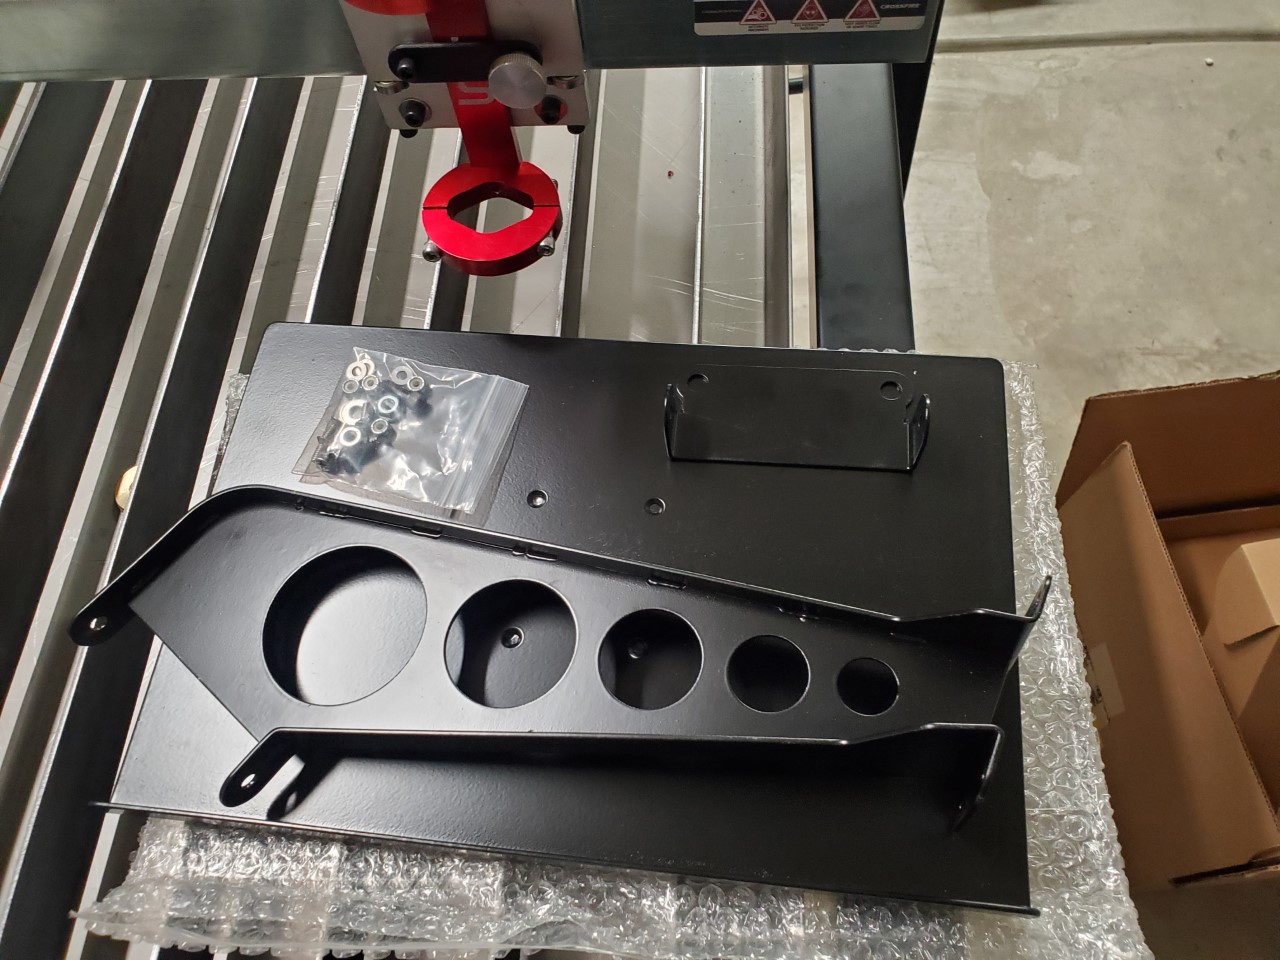
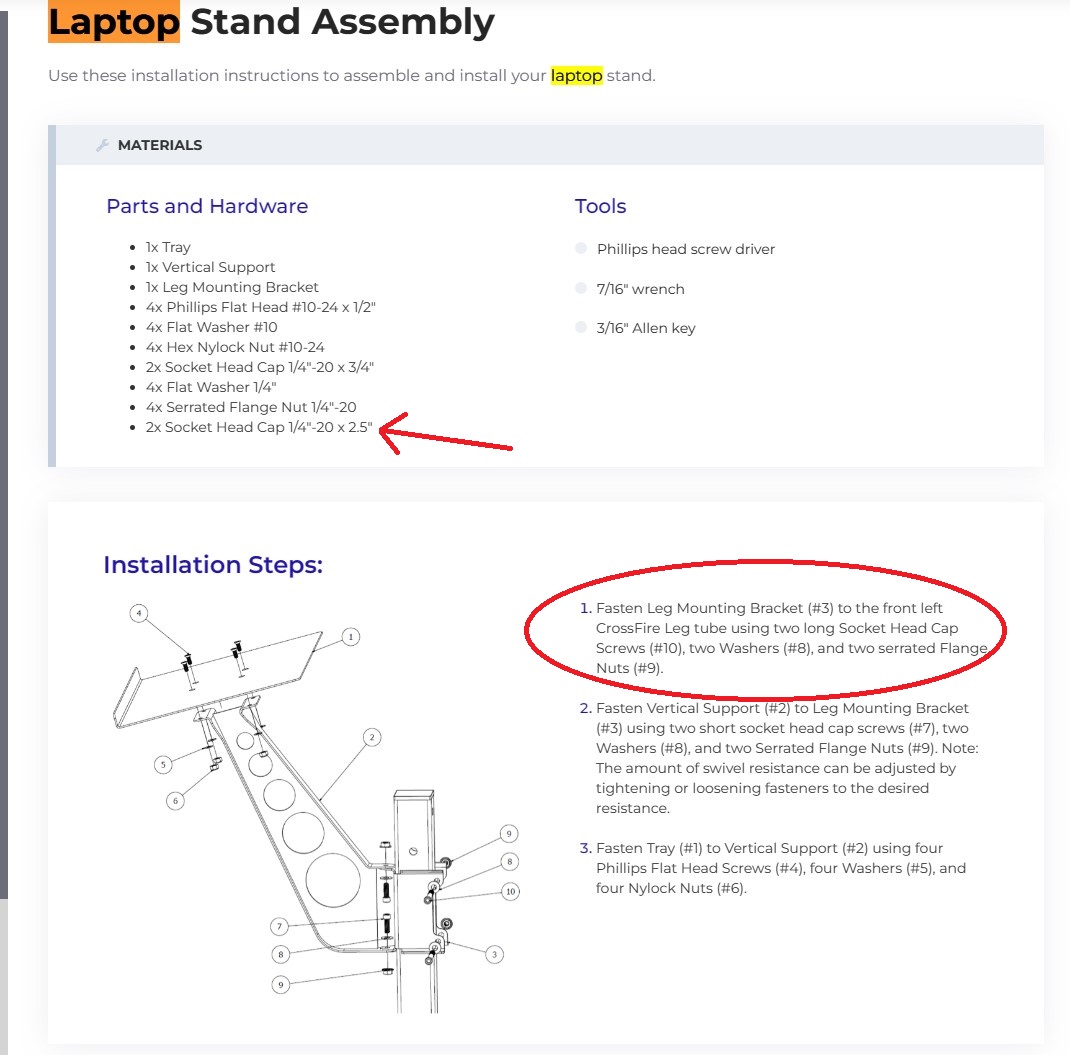
Laptop stand for the Crossfire, is it the same as the Pro?
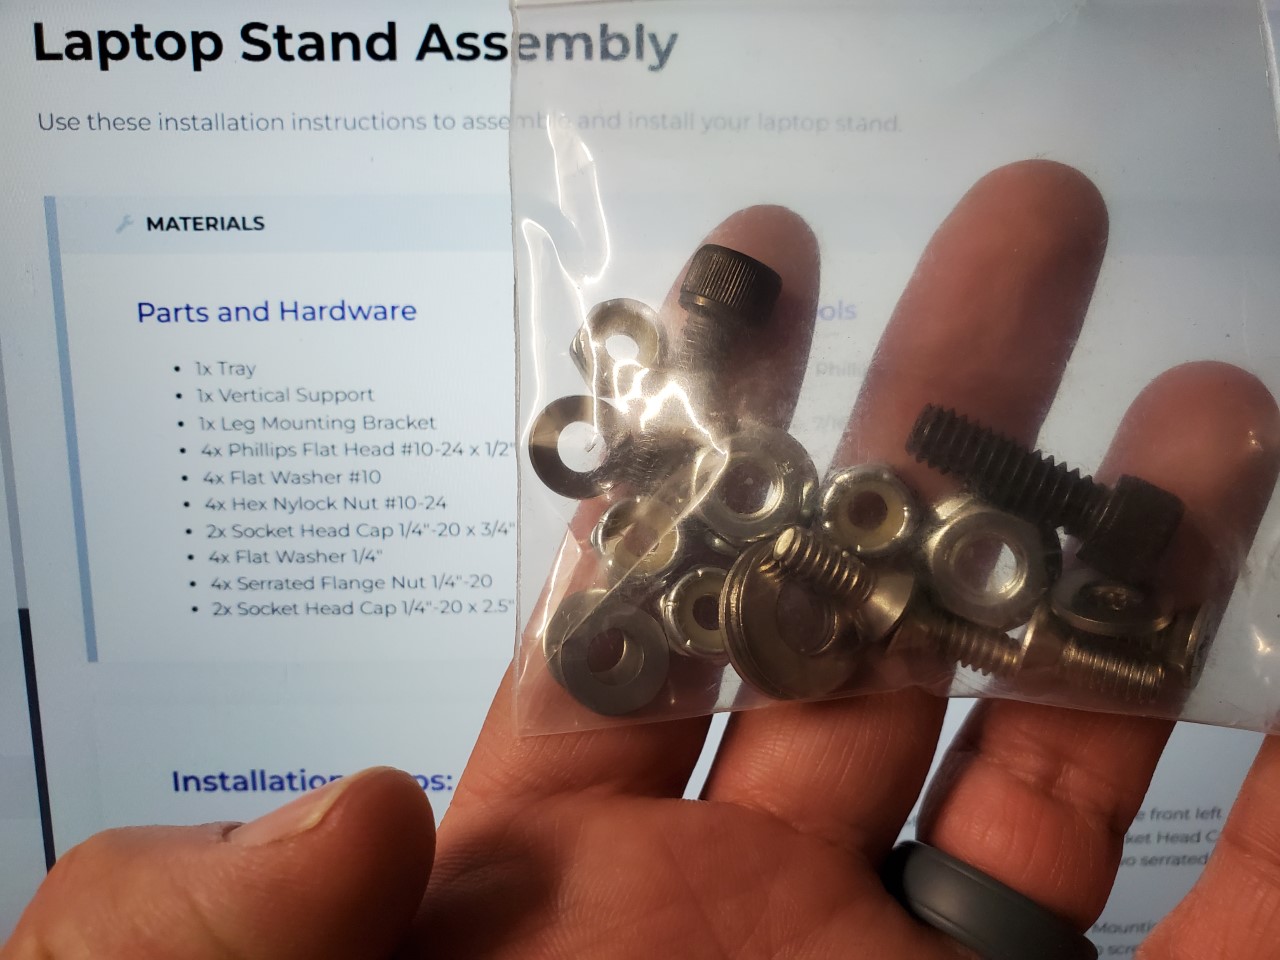
The instructions for the Crossfire state to use 2 socket cap bolts that are 2.5" long, along with washers and serrated nuts.
My hardware bag (from the white hardware box) does not include either of the 2 socket cap bolts, washers, or serrated nuts for that size. Yes it does include 2 socket cap bolts and whatnot, but those are the smaller 3/4" long variants for the other part of the stand.
If I bought new hardware (again), I cannot see how this stand mounts? The Crossfire Pro has a user remove and use the bolts that hold the stanchion plate. But this is not the described method for the Crossfire non-Pro.
Did I get the right mount or not?
We actually recently implemented a change to the laptops stands: what used to be the PRO laptop stand is now standard across both the CrossFire and the CrossFire PRO. I’ll make sure the assembly guide is updated to reflect this, apologies for the confusion!
Think Langmuir would support an issue?
Nowhere in the instructions did it state the Z-Axis motor coupler would require tightening.
Found out why my Z-Axis wouldn’t jog as I can see the shaft spinning, but the actual torch holder doesn’t move at all. Size for the allen wrench is 5/64" and after a single attempt to tighten with the appropriately sized allen wrench, the socket cap stripped.
Again, nowhere in the instructions does it state to tighten this coupler.
Am I at fault here? I’ll send them an email but just looking to see what the peanut gallery says.
Everything is assembled, ran the break-in file and everything is great. Just sucks when I move 1 step forward, I’m moving 2 steps back because of something else not stated/listed anywhere.
On them. Should have been tight.
That’s what I figured since it arrived as an assembly.
the cap screw is actually metric. #13 i believe. it’s a known issue so they should send you a new coupler or screw OR probably be easier and quicker to get one from hardware store.
I’ll go out and get metric.
I wouldn’t need a new coupler parse, the socket cap itself stripped damn near instantly since they’re already torqued down with a lot of resistance. But jogging the Z-Axis you can clearly see the motor spinning.
I’m able to rotate the coupler which tells me t’s not tightened down as it should.
Don’t mind getting new hardware, but I’ll have to disassemble the thing to get good access to these socket caps for removal.
@Kwikfab Regarding the Z coupler, if you have it pulled out, could you give me a accurate OD measurement?
I read somewhere that it might be plastic. Even if not, others have had them strip out. As a precaution, I’ve purchased steel replacements for all of my couplers. The Z coupler is in too tight spot to measure in place. I’m afraid I might needlessly strip it if I pulled out and needed to put back in. Thanks! -Steve
The couplers are a bit of a weakness on these LS machines. In various threads, people have recommended these if you get poor results from the factory units.
I haven’t tried them. My factory couplers are still holding up.
Again, 3rd time…the coupler isn’t the issue.
It’s the cheap socket cap screws that are somewhat shallow and easily stripped.
Was able to get one of the screws torqued down on each end to actually “grab” the shaft.
Well, she’s running!
Not sure how long that coupler will last with only 1 or 2 socket cap screws holding things tight but we’ll see.
Thank you to everyone listening to my rants and posting; helped a lot.
Now its time to make pretty thing dirty!
Should we mark this as solved?
Once Langmuir gives me a solid answer on whether they’ll send me a motor assembly (and I send mine back) or not.
I’d prefer this option because the coupler is barely tightened on there. I’d want one that comes from them fully tightened up.
But yeah now to learn how to draw!