Hello forum, I figured I’m not the first and won’t be the last but I could not for the life of me find out if I’m overthinking something.
I used the search feature and could not pinpoint anyone having this question though.
User AM Custom Fab does a nice walk-through on setting up his CUT60 with his Crossfire Pro. Awesome as he details what pins to use on the CNC port.
I’m setting up the regular Crossfire; I noticed I only have one cable which would be the “DVI In” port/cable.
Said user describes having this as well as a “signal wire” that goes from the CNC port on the CUT60 out to the port labeled TORCH ON/OFF.
Now again, maybe the regular Crossfire doesn’t use this cable? But the reason why I’m asking is because I’m missing hardware, which are the 2 nuts and bolts that hold the THC upgrade to the control box. I have pulled every single bag and box out, looked between the brown packaging paper, and nothing.
So maybe I am missing this second cable since I’m already missing hardware?
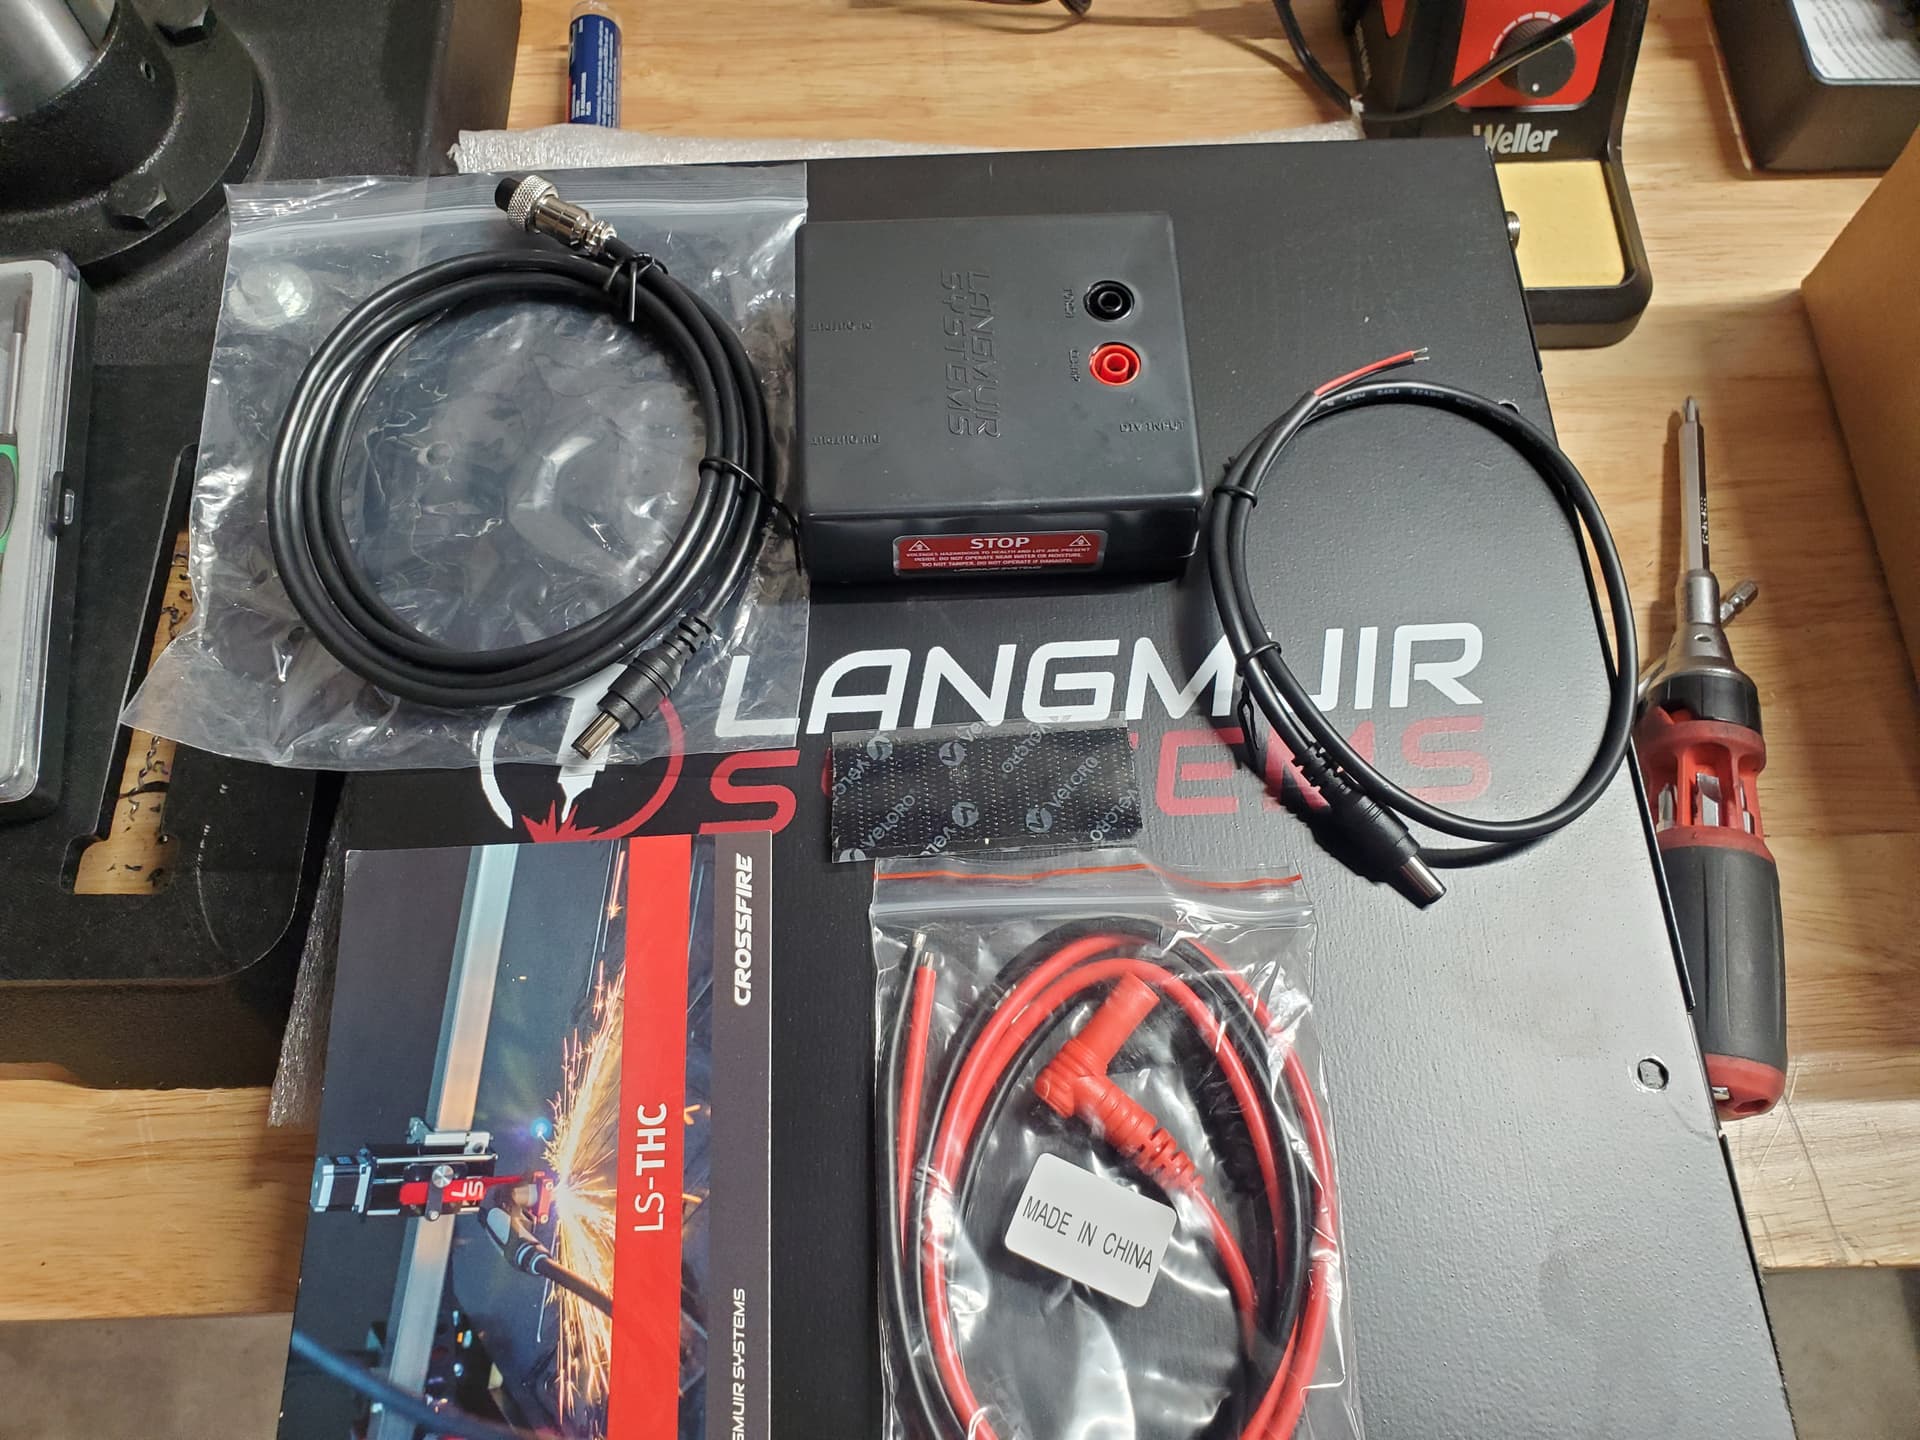
Apparently I can only embed one file being a new user; had taken pictures of all the bags and items received. I went through and found I have cables for everything needed except the one described above.
Just not sure that cable is needed or not and I can leave the TORCH ON/OFF alone with nothing plugged in.
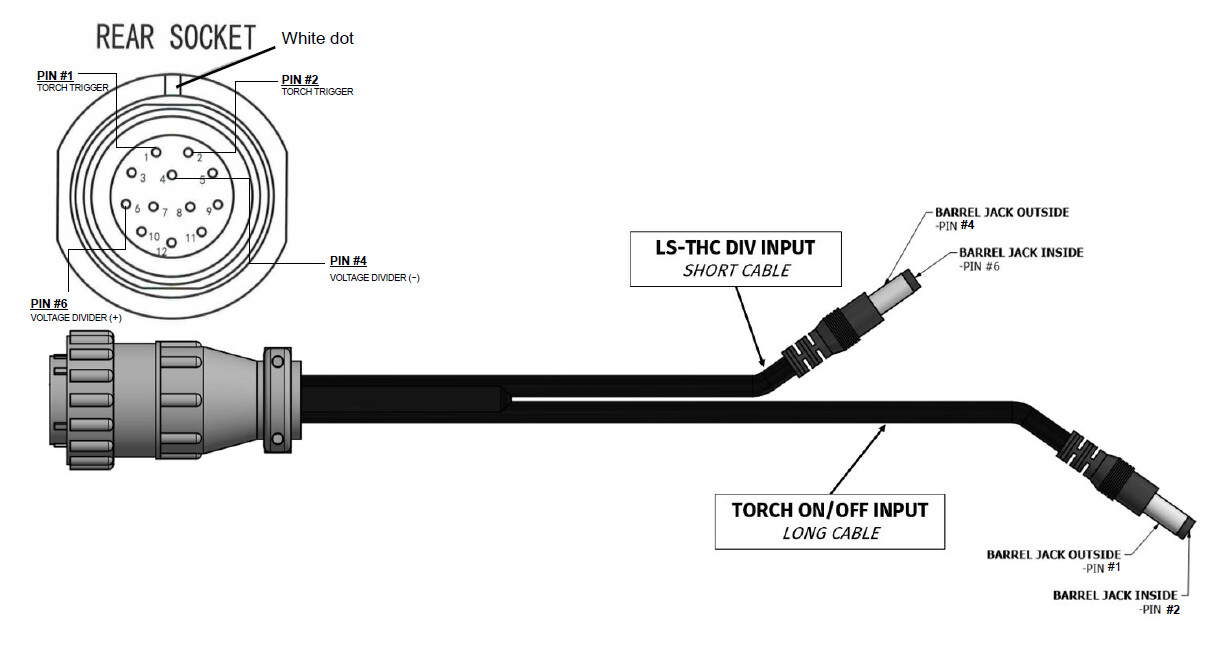
If you are using the divided voltage from the CNC port, you should have 2 wires with barrel plug ends coming from your port plug, one for the voltage and one for the torch on/off. Barrel plug for the voltage goes to the VIM box and the torch on/off plugs into the control box. When I wired my PrimeWeld and Pro table I made the CPC cable myself using this diagram as a guide. This is not the pinout for the Primeweld port, but does show the barrel plug polarities.
You have everything you need there if you were to grab live voltage from the inside of the PrimeWeld. You use the black and red leads with the banana connectors. You plug those into the VIM box.
I just looked at the kit online and it doesn’t look like they include another barrel plug wire that you can use to run to the CNC port. You will have to buy one if you opt for using the CNC port divided voltage.
Ah that makes sense, and looking back at your diagram I can see how the long cable gets it’s voltage from pin #1 and pin #2, whereas my setup would use the banana plugs.
Good thing I can’t assemble my stuff since it hasn’t shipped yet, gives me a chance to buy that cable for a cleaner install.
Cut60 works better with raw voltage vs divided voltage. people usually mount the vim box on their plasma cutter itself. The CNC connector for CUT60 is usually included with the plasma cutter.
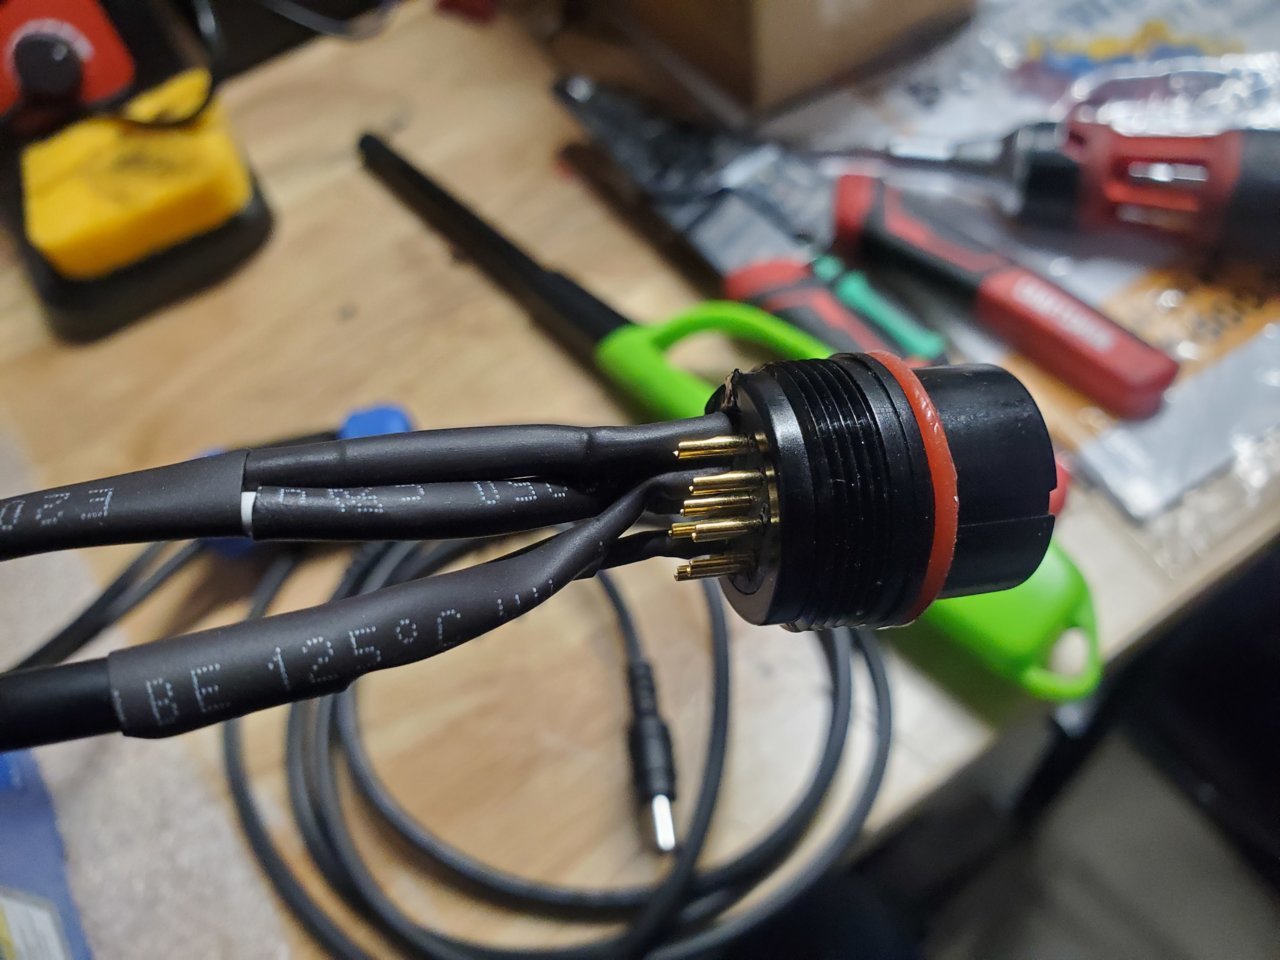
Yeah, I have that CNC plug sitting on my table as I was getting ready to solder it earlier until I thought I was missing that barrel plug cable (mentioned above).
I guess I was just confused because I am going to have nothing plugged into the TORCH ON/OFF on the control box going this raw voltage method; this all stemmed from some simple hardware missing which had me questioning what else am I missing.
You will still have the torch on/off . That goes to cpc port on CUT60 to main control box. You can also pick up your torch on/off at plasma cutter from the two wires hanging out of the machine torch connector at plasma cutter.
I prefer a cleaner install and would like to utilize a barrel plug for the TORCH ON/OFF instead.
Just sucks that I didn’t realize the cable for me to solder would not be included; don’t like the idea of tapping into the machine and using those banana plugs.
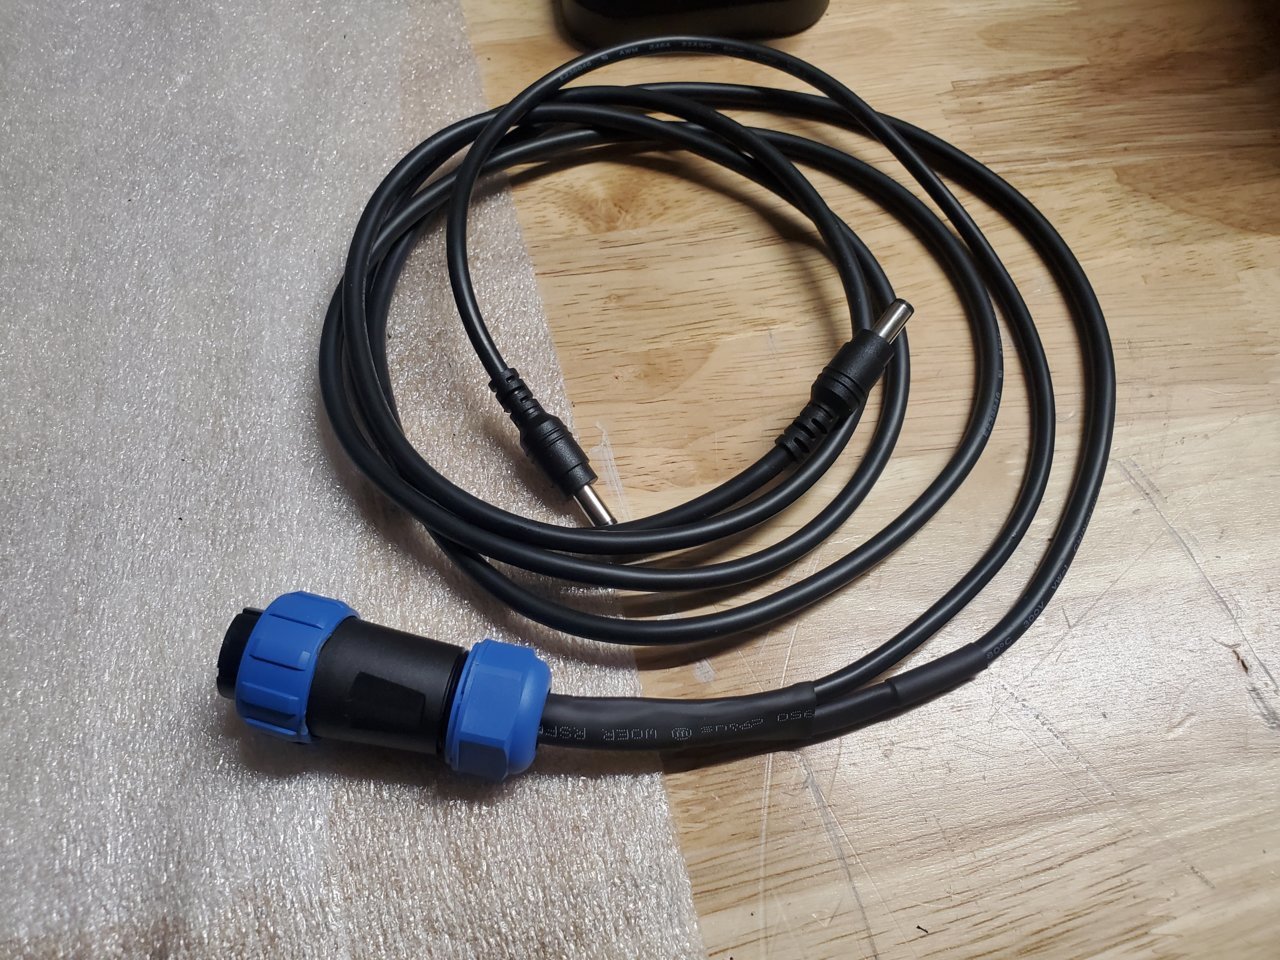
You’re definitely missing the torch on/off cable. It will be considerably longer than the divided voltage cable on the right. It is necessary to have that cable connected, in order for the signal to fire the torch to reach the plasma cutter. If you happen to have any power supply cables with a 2.1 x 5.5mm barrel plug, you can use that. I broke the connector on mine and ordered this cable from Amazon to replace it. https://www.amazon.com/gp/product/B08L6LJ5F4/ref=ppx_yo_dt_b_search_asin_title?ie=UTF8&th=1
Just cut off the female connector and hook the wires to pins 1&2 in the CNC port.
Thought I would chime in here and report that I’m a dummy; should’ve realized the torch cable was in another box considering it’s a standard item unlike the Z-Axis kit I bought.
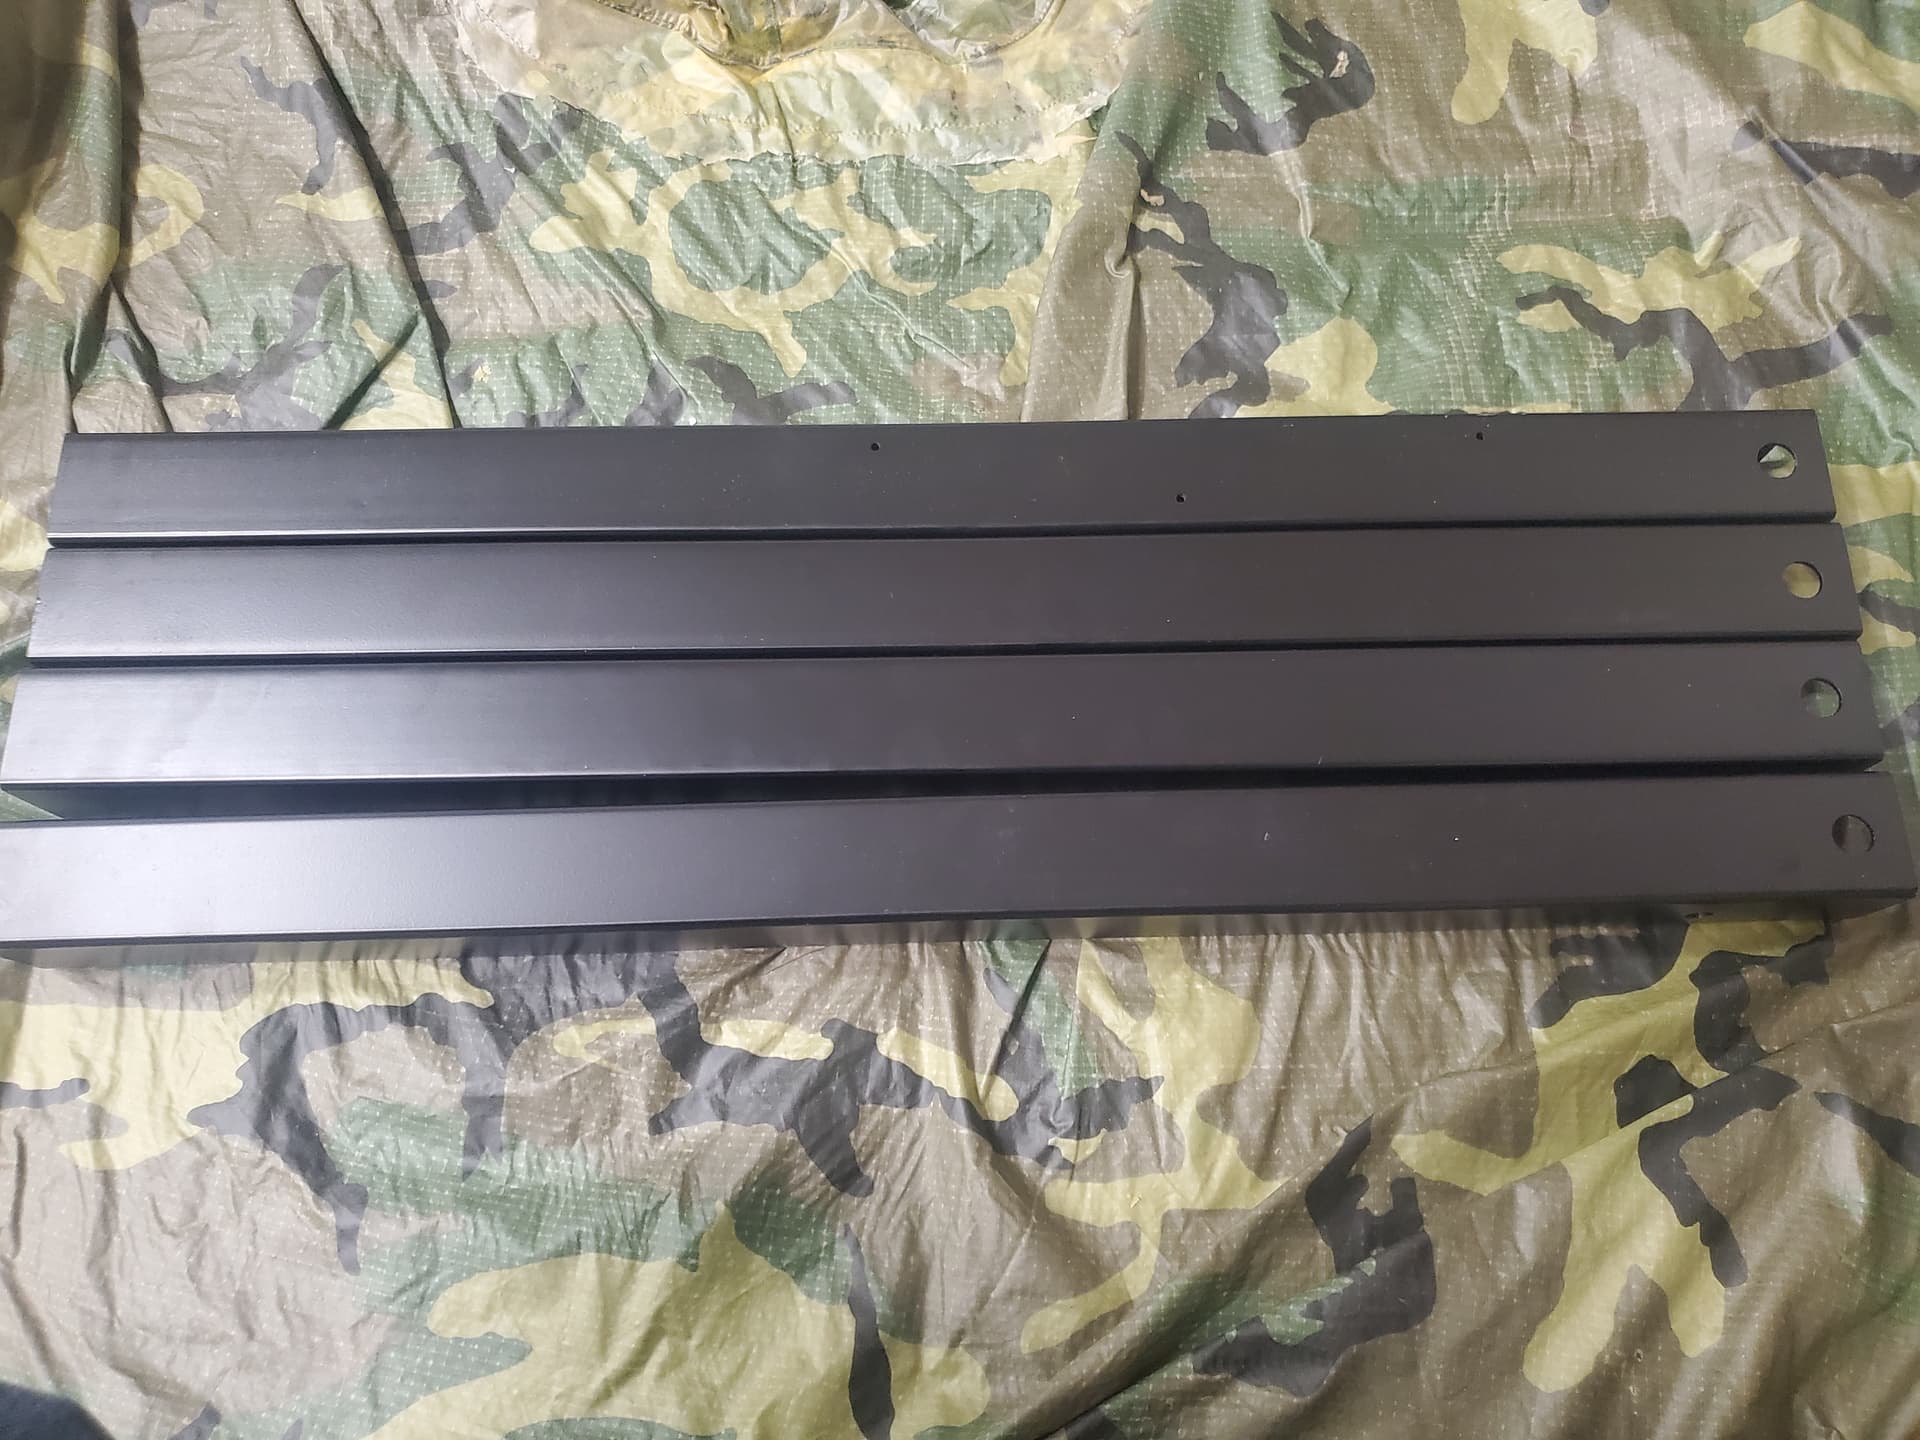
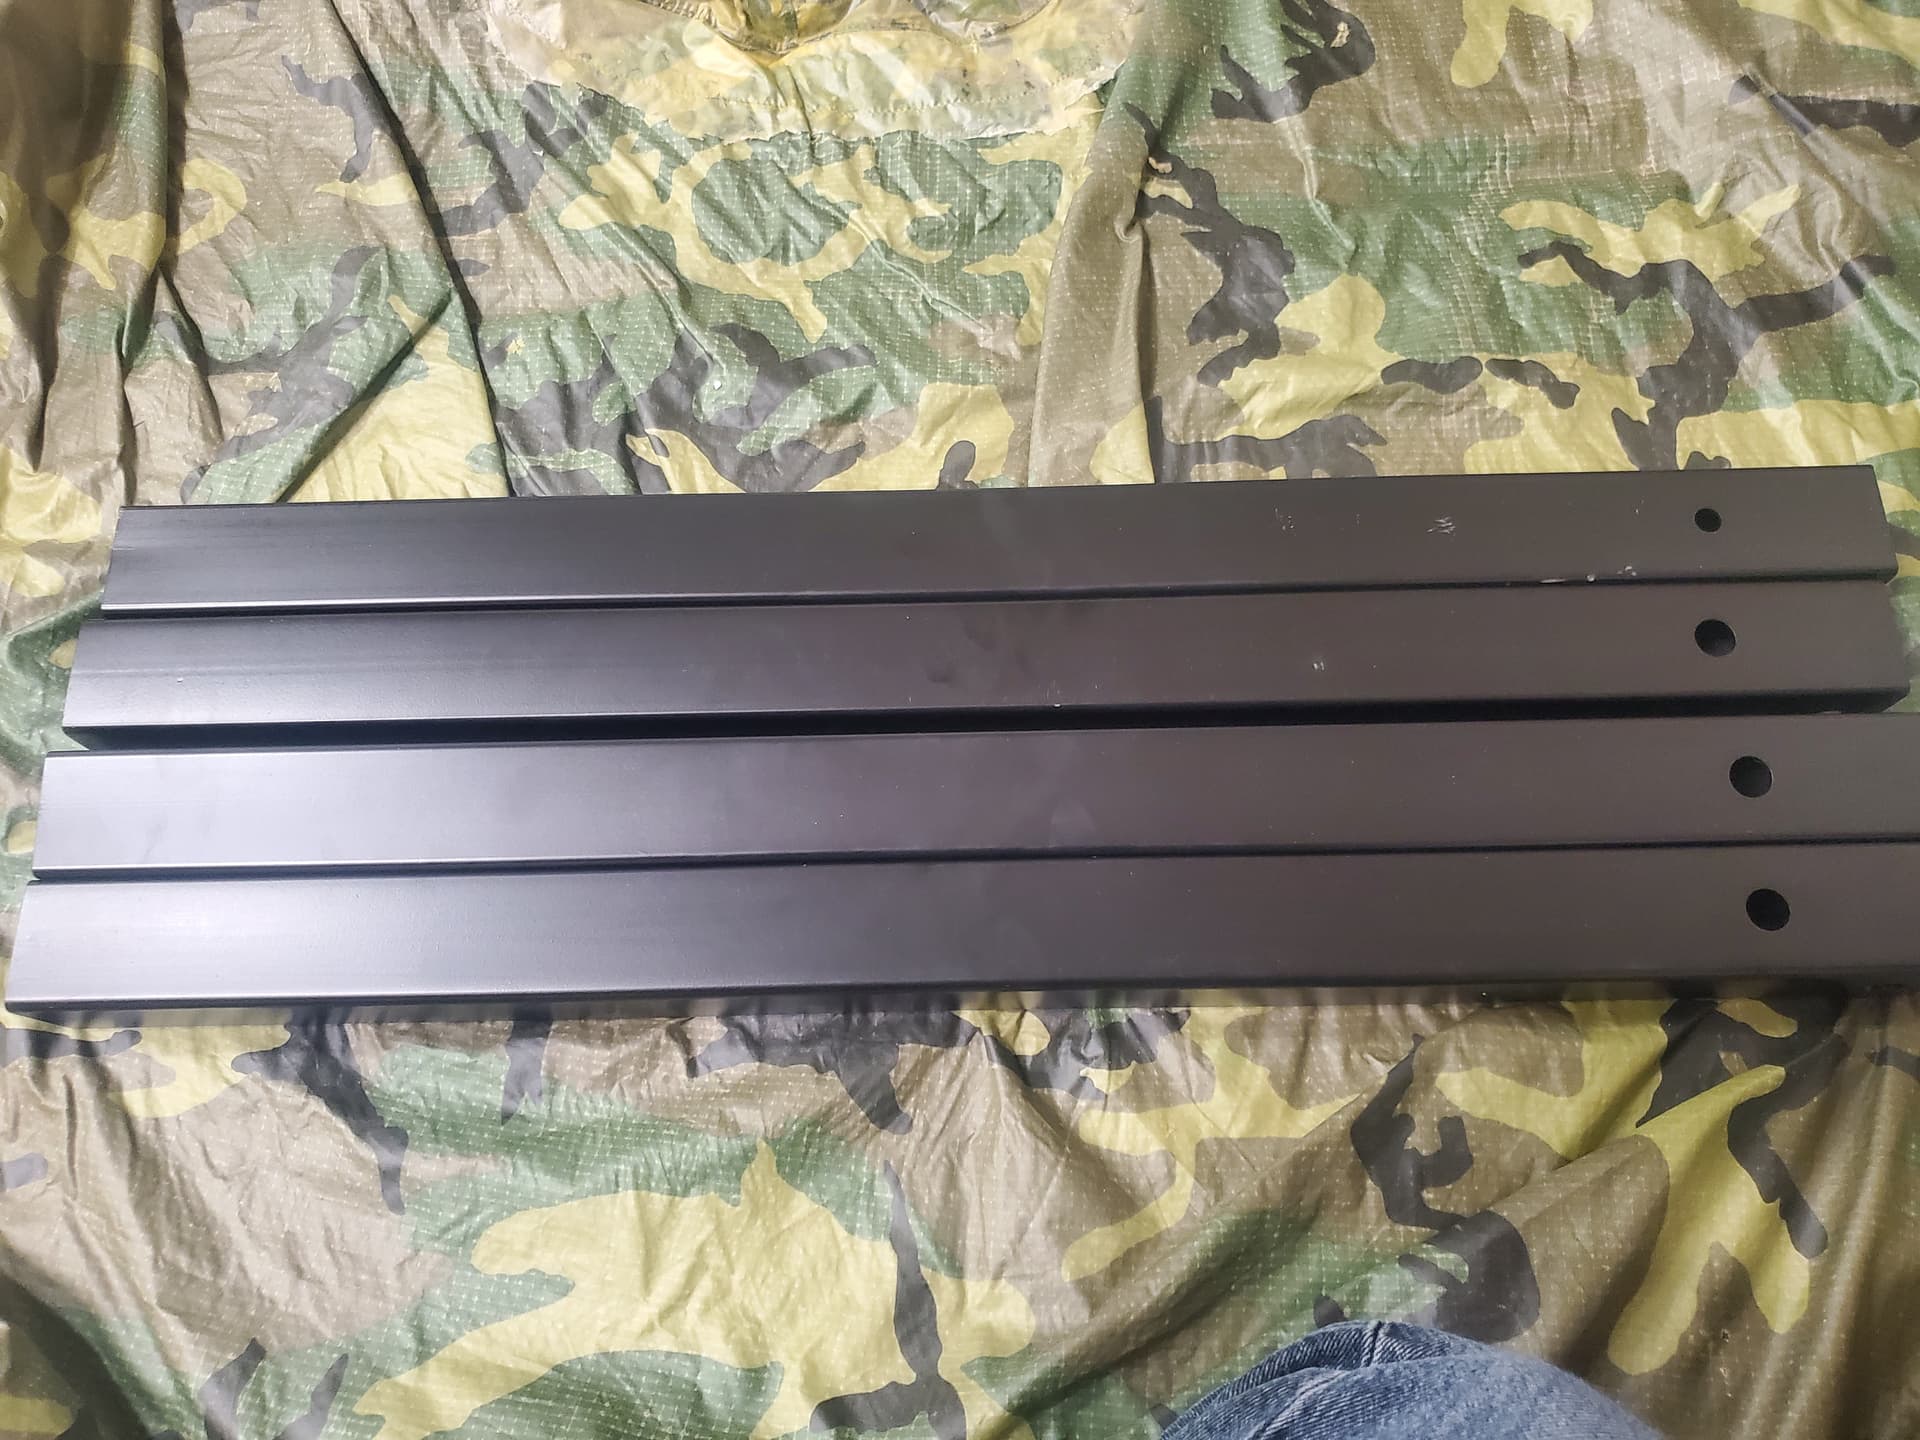
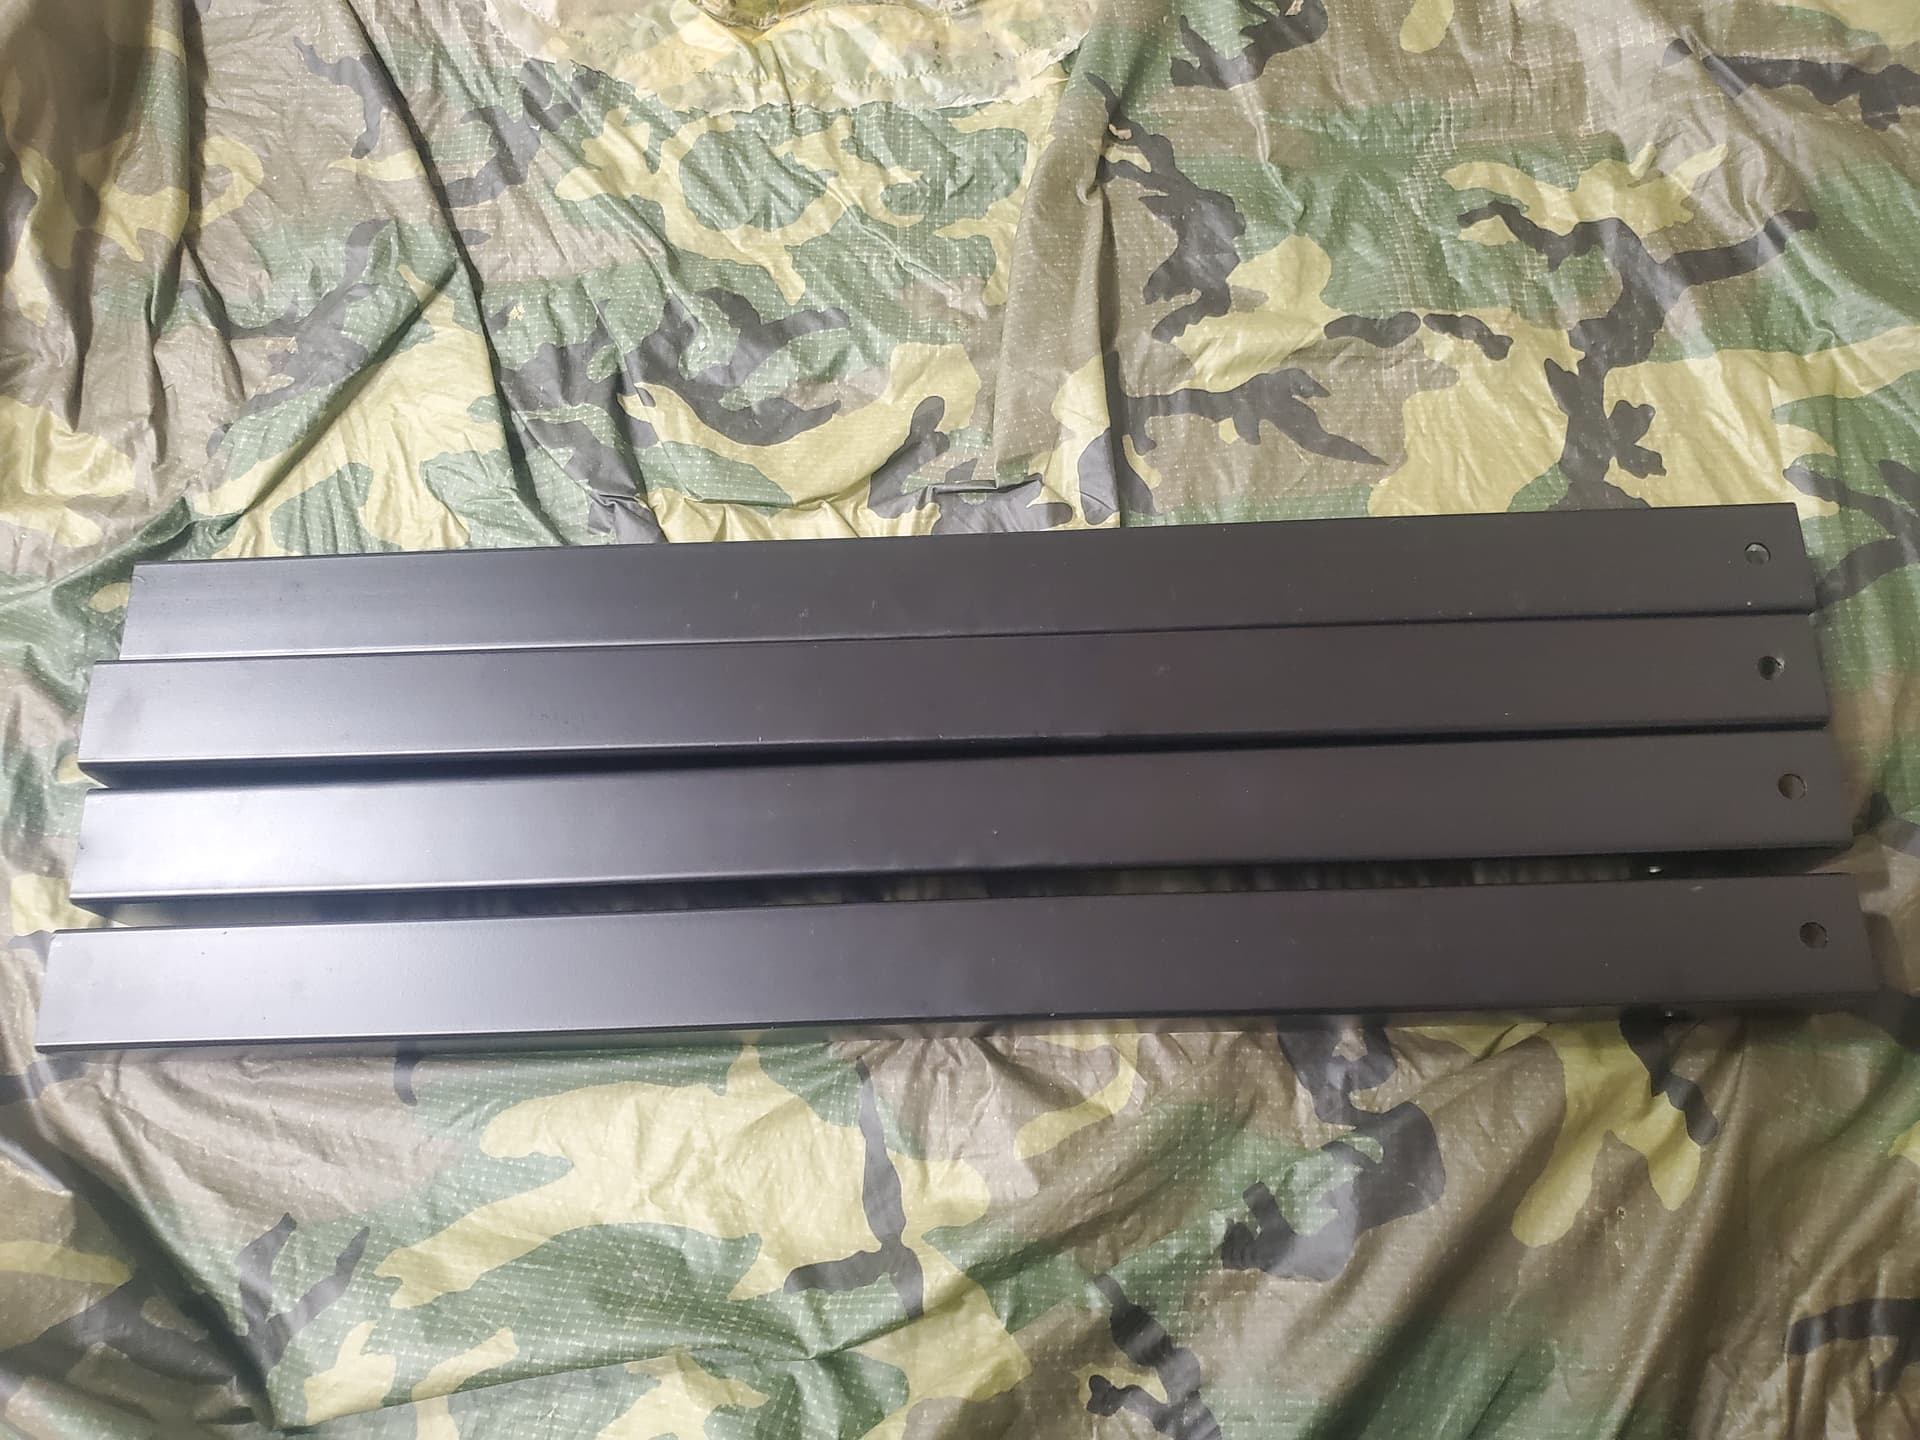
I will say, I thought it was weird that only 1 of my legs has the “3 small holes” drilled into them.
So far it’s missing hardware, and now a leg that isn’t “complete”?
Reading further, it seems I only really need one of the legs to have those 3 holes drilled for the electronics enclosure anyway. Just for anyone reading and hasn’t bought the kit yet.