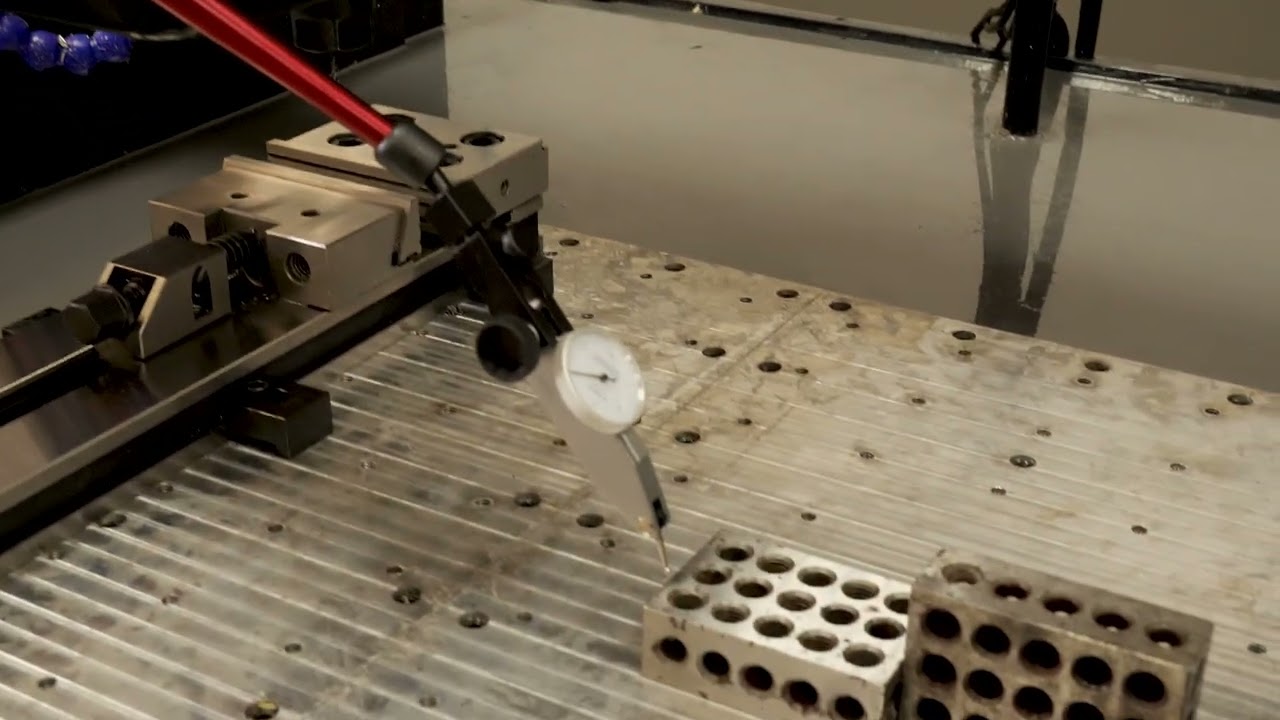
Made a 1x1 block with 3/8" hole in center. Hole turned out good but the 1" in both directions came out 1.039 and 1.042. Basically .040 out in both directions. CAD good but is the some comp or setting in CAM I missed?
Did you set the travel compensation for the X and Y directions?
This set up is super critical for good tolerance on parts.
Just ran it again and it was .002-.0025 out in each axis. It’s been updated but still wondering about the .040 difference. I did notice in fusion a axial/ radial stock to leave of .020. Maybe that’s the difference but not sure what that actually does… except leave stock.
Interesting, are you sure the end mill specs are correct in Fusion?
End mill numbers look good. Used calipers to input numbers.
Maybe it’s a probe issue. Sorry, I was no help.
Thinking the axial/ radial stock to leave in fusion might have something to do with it. Going to uncheck that and run it.
That was the problem…axial/ radial setting. It came out at 1.0002/ .9997/ .4998 thk. Can’t be any happier with that!
Yeah, stock to leave is the amount the F360 will NOT mill in that pass/operation, useful if you want to do OP1 as a roughing cut and then OP2 as a finish pass. OP1 would have stock to leave a a few thou, then finish pass stock to leave is 0, bringing you to final dimension.
I thought I could do a rough and finish pass in op 1. Same for changing from an end mill to a chamfer bit with like a pause but don’t see that working out.
No, Cut Control does not (AFIK) respect tool change commands of any type. You can post several ops to one post using 1 tool (I.E. if you want to do a rough pass and finish pass with same endmill).
If you are using fusion, try and organize your operations by tool and collet size, then when you post, split by tool (not by path).
This creates a sequence of nc files named filename1, filename2 filename3 etc that you can load all up into Cut Control. When you run filename1, it will stop and the end of the file, and if you hit start again, it starts whatever is next in the list.
I would really love it if there was a way to (optionally) have the machine auto go to front between files, and queue up the ATS probe so that the first op runs, it comes to front for tool change, then you just hit enter, it probes the tool, then starts next op.
If you are familiar with 3D printing or similar programs, this would be similar to the options users get to auto execute commands or g-code “on layer change” if you think of each op (tool) as a layer.
You have to be very careful on a machine like this one when programming a “default move” to be posted into every program. There is no safe park position outside of the work envelope. In 99% of cases it works fine but in that 1% of setups where clearances are tight, the machine will try to move a path that will snap off your tool or crash the gantry or Z carriage into a tall part. Just something to keep in mind.
An example of what I’m getting at is the way their probing cycles are written; if you probe Z and then you tell the machine to probe the tool setter, it will not retract Z before moving to the tool setter position. If the path isn’t clear it will crash your tool setter.
@Dre yeah, so long as it did a G53 Z0 and then xy to the front position, it would work that 99% of times.
Maybe the simple solution is to to simply have separate posts - 1 that auto adds the move to front at end of a program and a ATS routine at start of next program, and another one that leaves as it is today.
