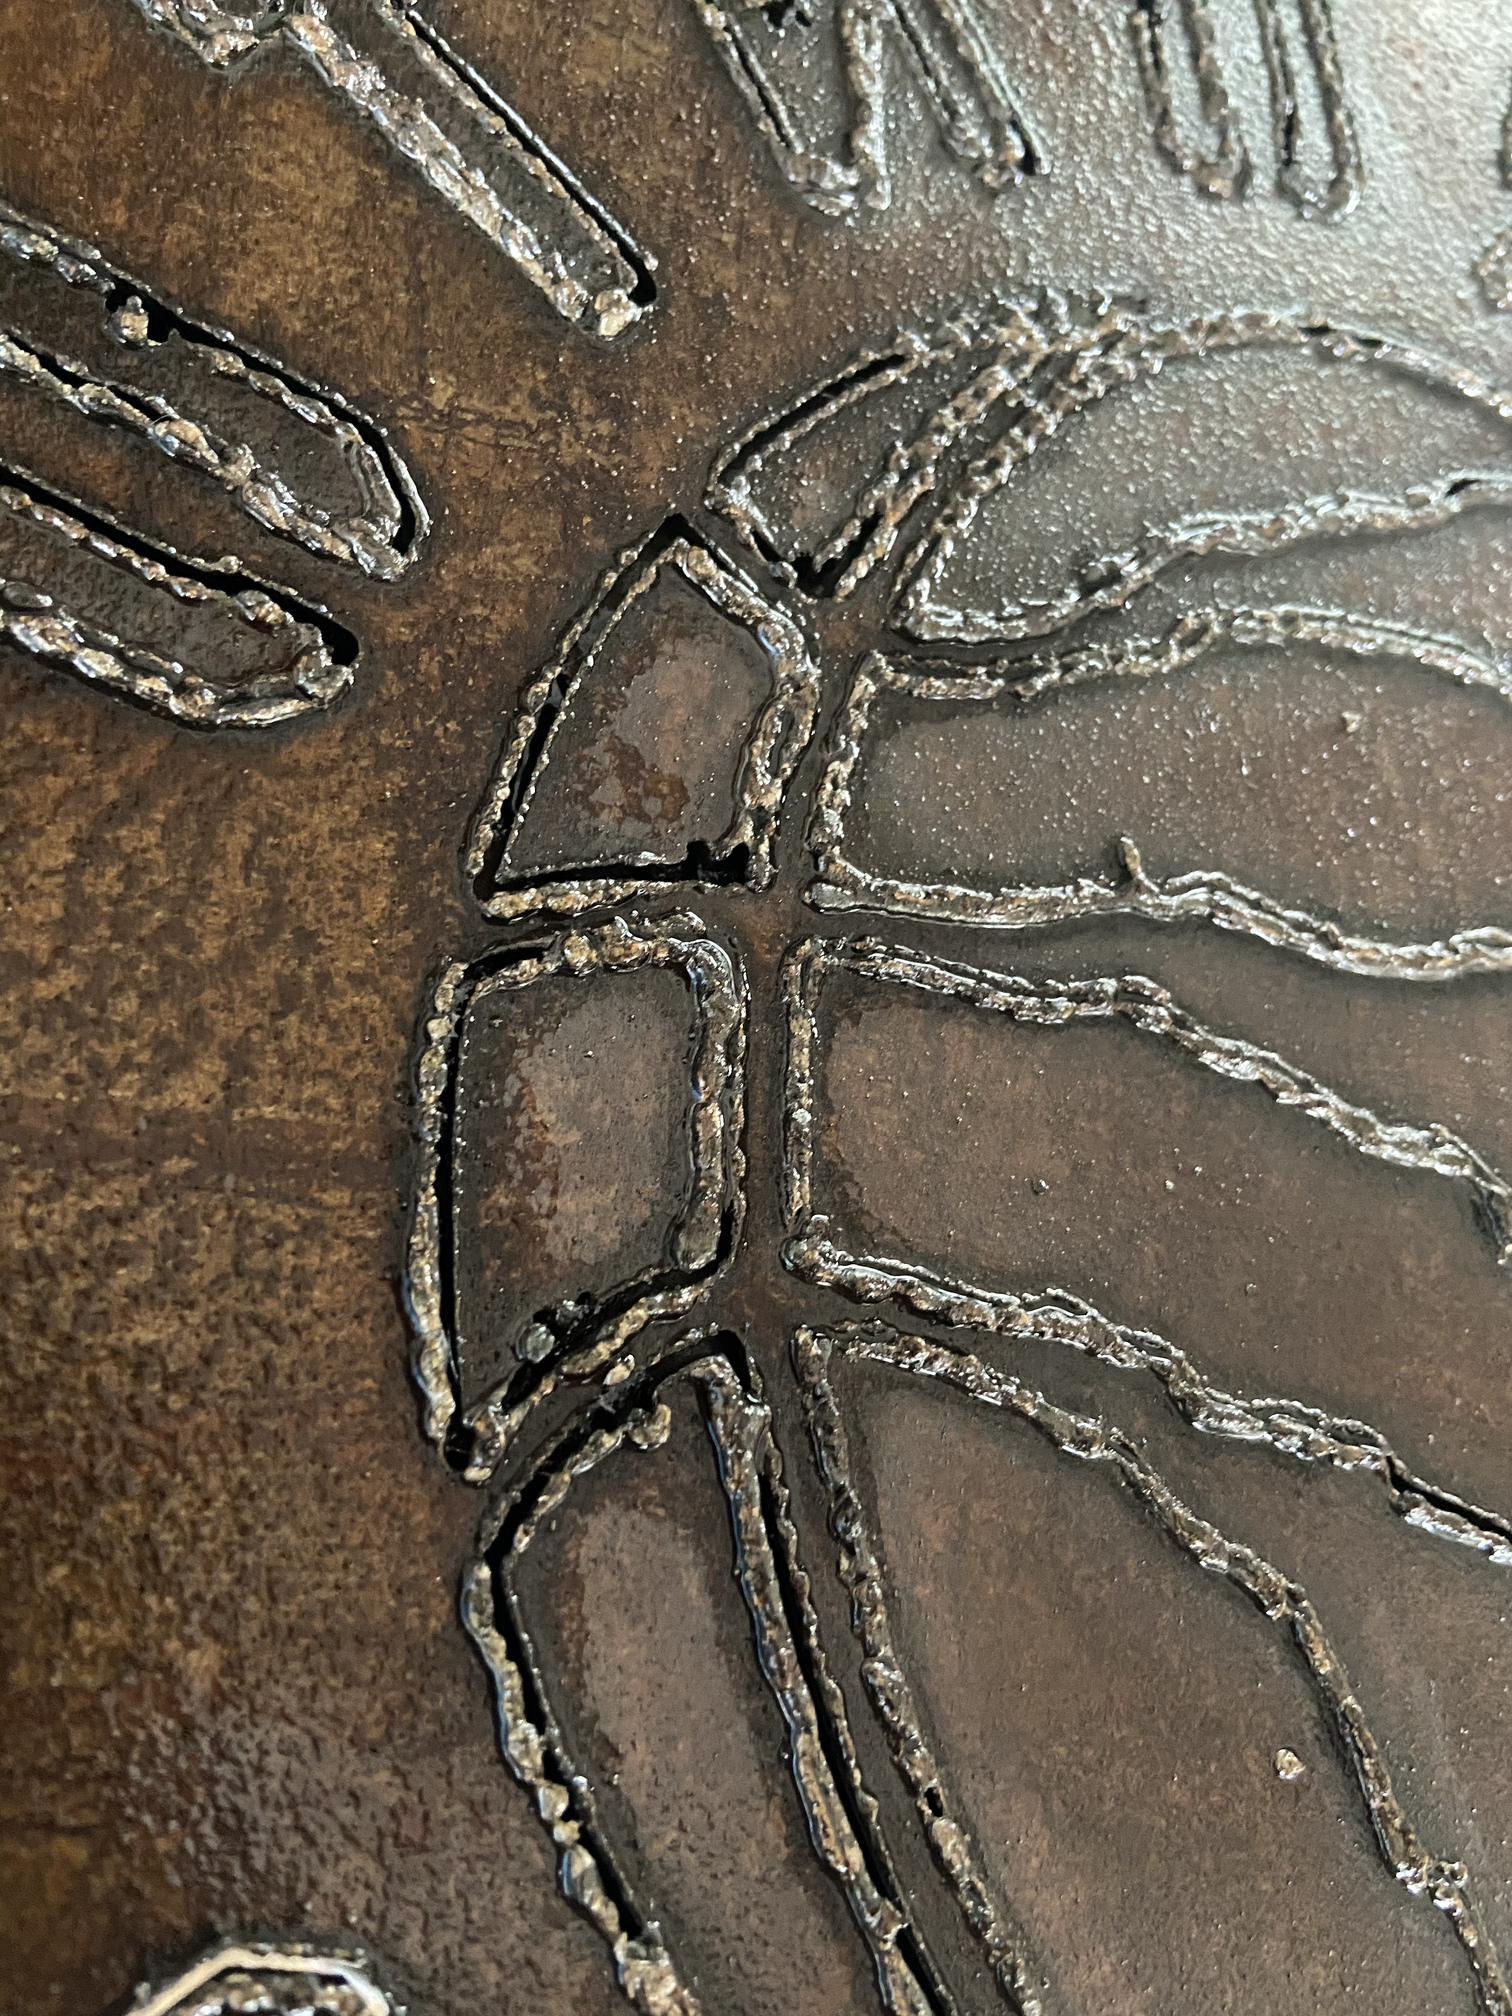
Looking for advice from people who have had terrible cuts like the picture below. the weird part is
The same air setup and similar settings (adjusted accordingly) leaves me with perfect cuts on 1/8th steel.
You’re right I’m just beyond confused. Everything you asked is to follow. (On this steel it doesn’t cut but an old scrap I have it does same settings & program… must be the steel they are giving me???)
Settings: 100 ipm, 37 amps, 65 psi
Machine: 52i machine torch
Consumables: new 1.0mm from everlast
Work to torch .04 (tried .025, 03, .04, .05)
Torch control is raw voltage
Pierce delay is .05
Pierce height is .011
I have toyed around with basically ever setting but if you have some more things to tweak I gladly will.
The worse part is an old piece of scrap I have it works, but on this stuff it doesn’t?
I would venture to guess that you are not getting a proper electrical return connection “clamp” on that material. Clean (grind) the area where you are clamping. On my setup (CUT60) for 14g I am running 38A, 98ipm, 80psi, pierce height 0.12, no pierce delay, cut height 0.060
Wow lots to dig into! Thanks for all the knowledge. I have smaller consumables but I’ve been running higher ampredge to cut faster. (thought it would give me less dross) I will dig into this tomorrow I appreciate it!
I get good cuts most of the time out of my rw45 but I leave all settings the same and leave it on 40 amps unless I’m cutting 1/4" or thicker then I bump it to 45 amps and just adjust the cut speed. Here’s a cut of 5/16".
Clean mate! And yea I’ve been running beautifully until this new batch of steel… out of curiosity I even kept all my settings the same used a piece of scrap from my old batch and it worked so I’m lost.
I liked what @TinWhisperer said though lots of great info I’ll try in the morning
I got a piece of 14ga here while back that didn’t cut worth a flip and the place I got it from blamed mill scale. I flipped it and the other side cut a lot better go figure…
A lot of people tend to over think it and I try to use the KISS method Keep It Simple Stupid works for the apps I create at my regular job and it works for me at home too…
I would try to start at about 50 inches per minute.
The book also talks about using a cut height at least with the hand torch starting at 16th and no more than an eighth. 1/16-1/8 (0.0625-0.125)
I would set your cut height to .06
Pierce delay at .5s
And the vast majority of the hypertherm cut charts the Pierce height is 250% of the cutting height (.6*2.5=.15) so we’ll go with that for now.
Pierce height .15
Starting at 50 in per minute see what it looks like.
Just start by only moving up or down your inches per minute, leave all the other settings alone to find The Sweet spot.
I know it’s not recommended to use Smart voltage on 14 gauge but I would in this case cuz we do not know what to use as our voltage.
Be very observant during The cutting process to what the smart voltage is running out write it down. If you end up with settings that are working good wright down that number and start using it as your nominal voltage for those settings.
14ga mild steel
.6tip
20 amps
50 ipm
.6 cut height
.15 pierce height
.5 pierce delay
Smart voltage till a nominal voltage can be determined…
Take notes of your parameters and results!
If you’re steel quality is at all in question while you’re trying to set this up go buy a chunk of cold rolled or figure that out with your metal supplier.
You don’t need another variable.
You’re welcome, good luck.
Please keep us updated with your results and if you come up with good settings post them please.
Verify metal type. Looks different in sheen. Everything works, then you change metal and you get a part that looks like a beattle pooped it out… I’d get a known material for dialing baseline settings
You may want to do the magnet test on the 14 gauge. Take a piece of the 1/8" and 14 gauge clean it well. If the magnet sticks real good to the 1/8" but not as good to the 14 gauge it has a lot of stainless and crap metal in it and most likely came from China.