Switched Plasma Cutters - Bevel

I did a little more playing around, sticking to 126v, and found myself messing with one additional setting and something else.

I noticed that even with nominal voltage, there were some large fluctuations performing a 0.625" radius cut on the outer edge of a 2" x 2" square.

Now I do understand how THC cuts off with speeds meeting or slowing down below 85% of the programmed cut speed, but feed optimization was not enabled for the outside profile.

What I found to help was by lowering the voltage tolerance from 1.5v to 0.5v.

After which I found it was still fluctuating (albeit less), so I slowed my programmed cut speed from 85ipm to 80ipm.

Here are the results.

The part has only a tiny bit more dross than it did at book settings, but the part is much more accurate and square all the way around.

3 Likes

Oh and for kicks, finished this up.

Since I don’t have the correct pitch for the nuts needed on the backside, using a clamp to hold it up here temporarily.

Just need to get more M14 hardware to replace the M12 used on the other clamp holder here.

3 Likes

What is the target dimension of the hole, actual measurement of top, and bottom?

I’ll have to check the other side again, it’s too hot in the garage but I was 1.9990" on one side with a hole size of 0.06245". I fumbled slightly with measuring across the other side due to the small lip caused by the lead in/out.

CAD calls for 2" per side with 0.0625" for the hole.

I ran the outside for 80ipm and the inside for 42ipm.

1 Like

The above information can be written off for now.

Troubleshooting an issue with beveling - I won’t go through it all here as I’m currently working through it with Langmuir support, as well as two friends.

It’s an odd situation I’m dealing with for sure. More troubleshooting tomorrow!

I want to know. I want to know now.

3 Likes

If you and others want details, I’d be happy to share once I get home.

The short version is, pronounced bevel on one side, and altering many different things results in the same bevel.

I thought your last example photos were pretty good. Did something happen?

@brownfox Your reply came in as I was typing, so I am adding this as a response to you, then you can continue reading below.

After the last cut posted there was done, I proceeded to run the same exact file again, and see if I achieve the same results.

I ran the next test piece within 2.25" away from the last cut piece shown above meaning, in the same spot on the same piece of steel and every other variable being the same, just a good two inches over.

This resulted in a test piece with a perfect bottom edge, great squared edges on the left and right side, and beveling up top.

This was not an issue with my CUT60 and UPM-105 combination.

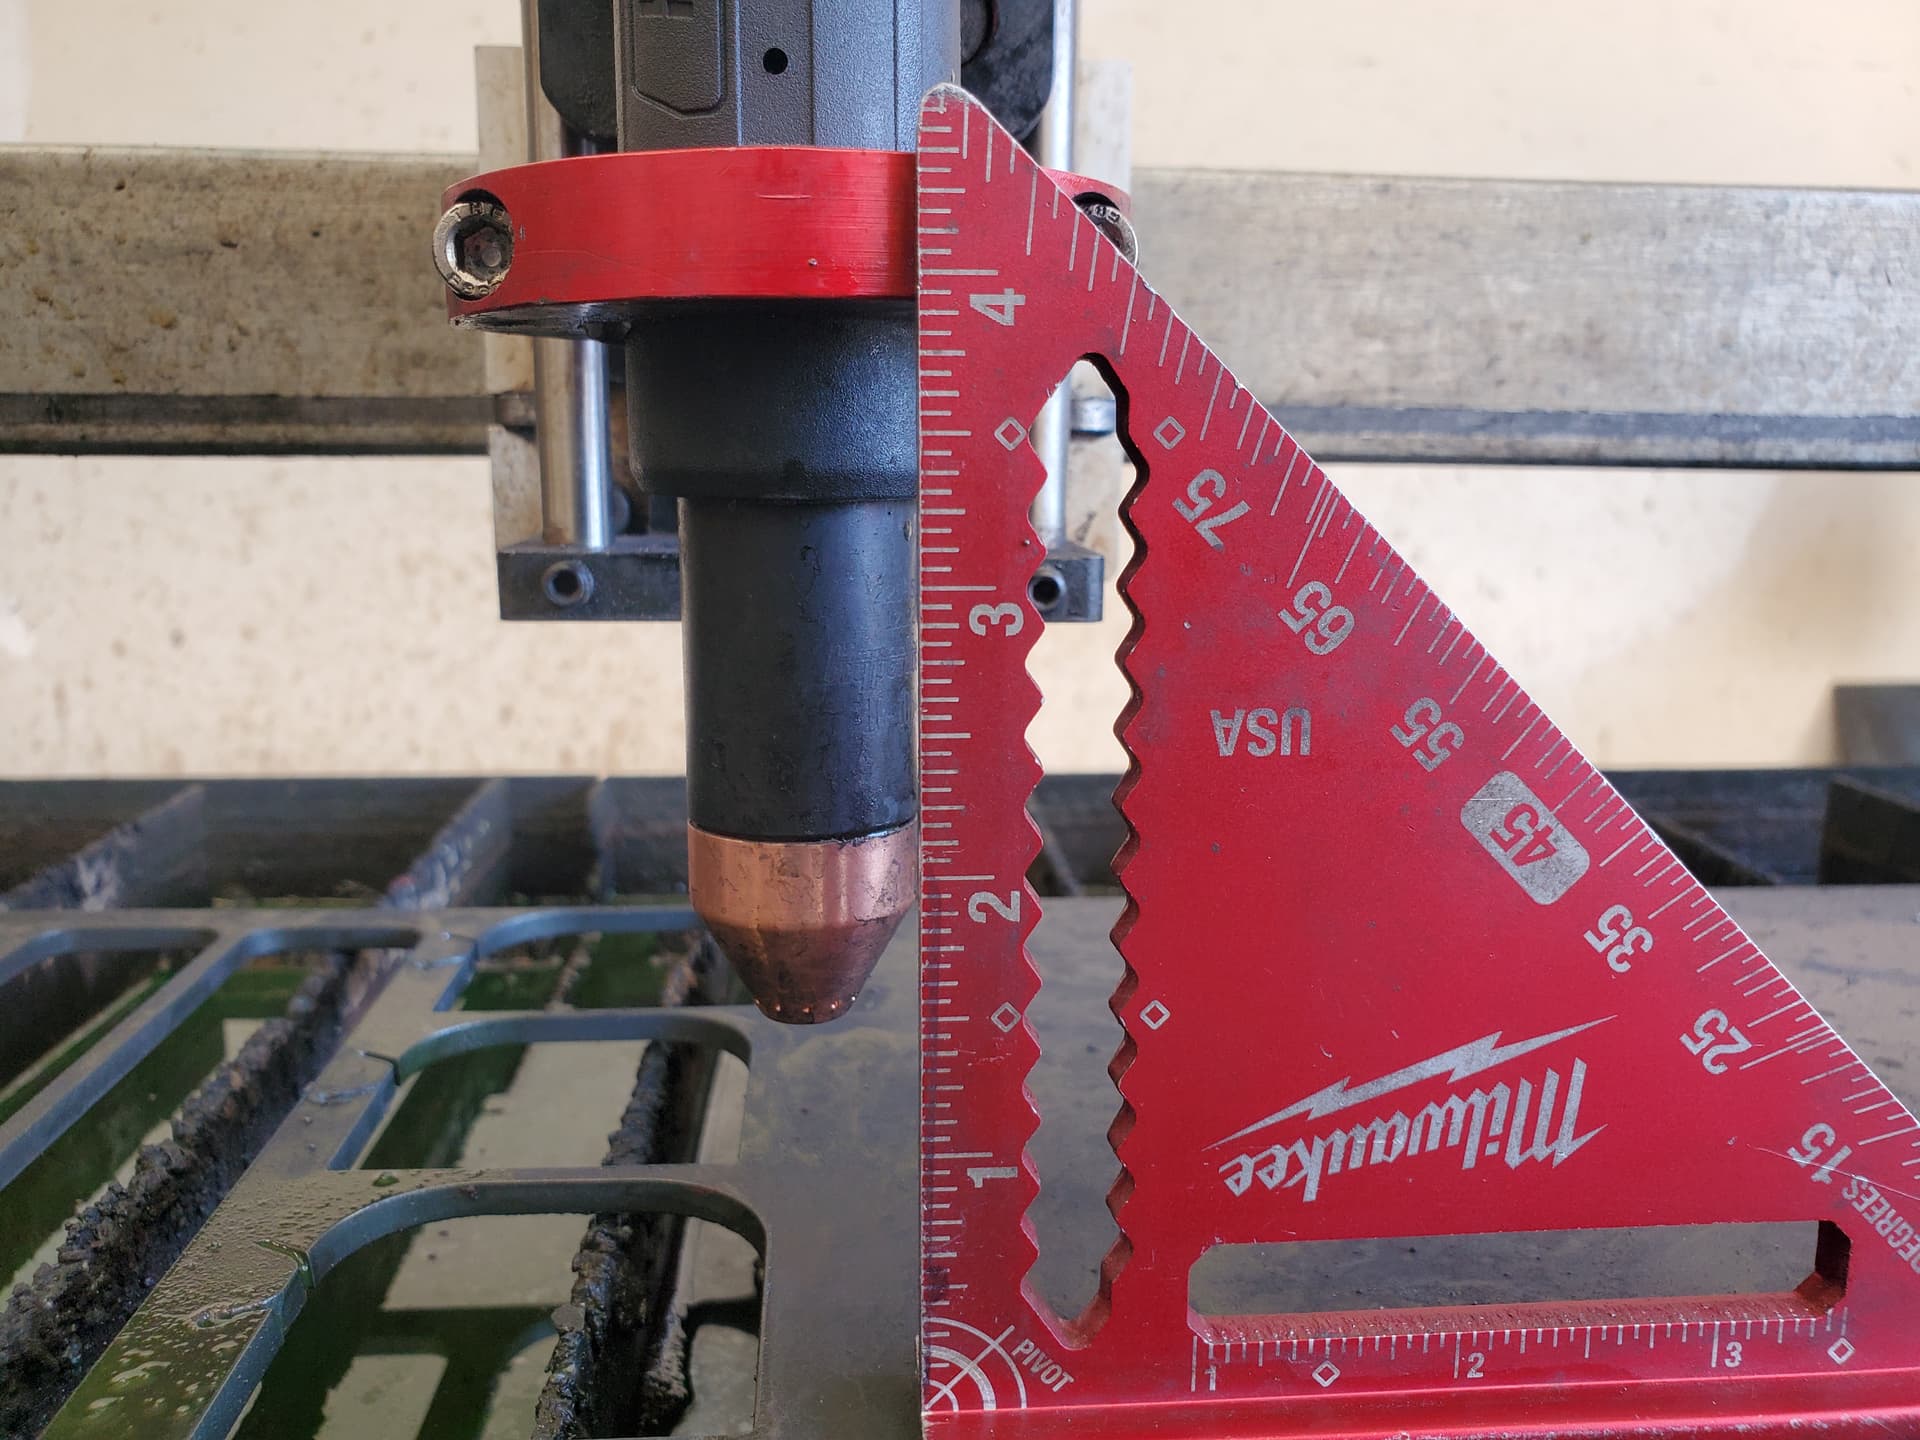
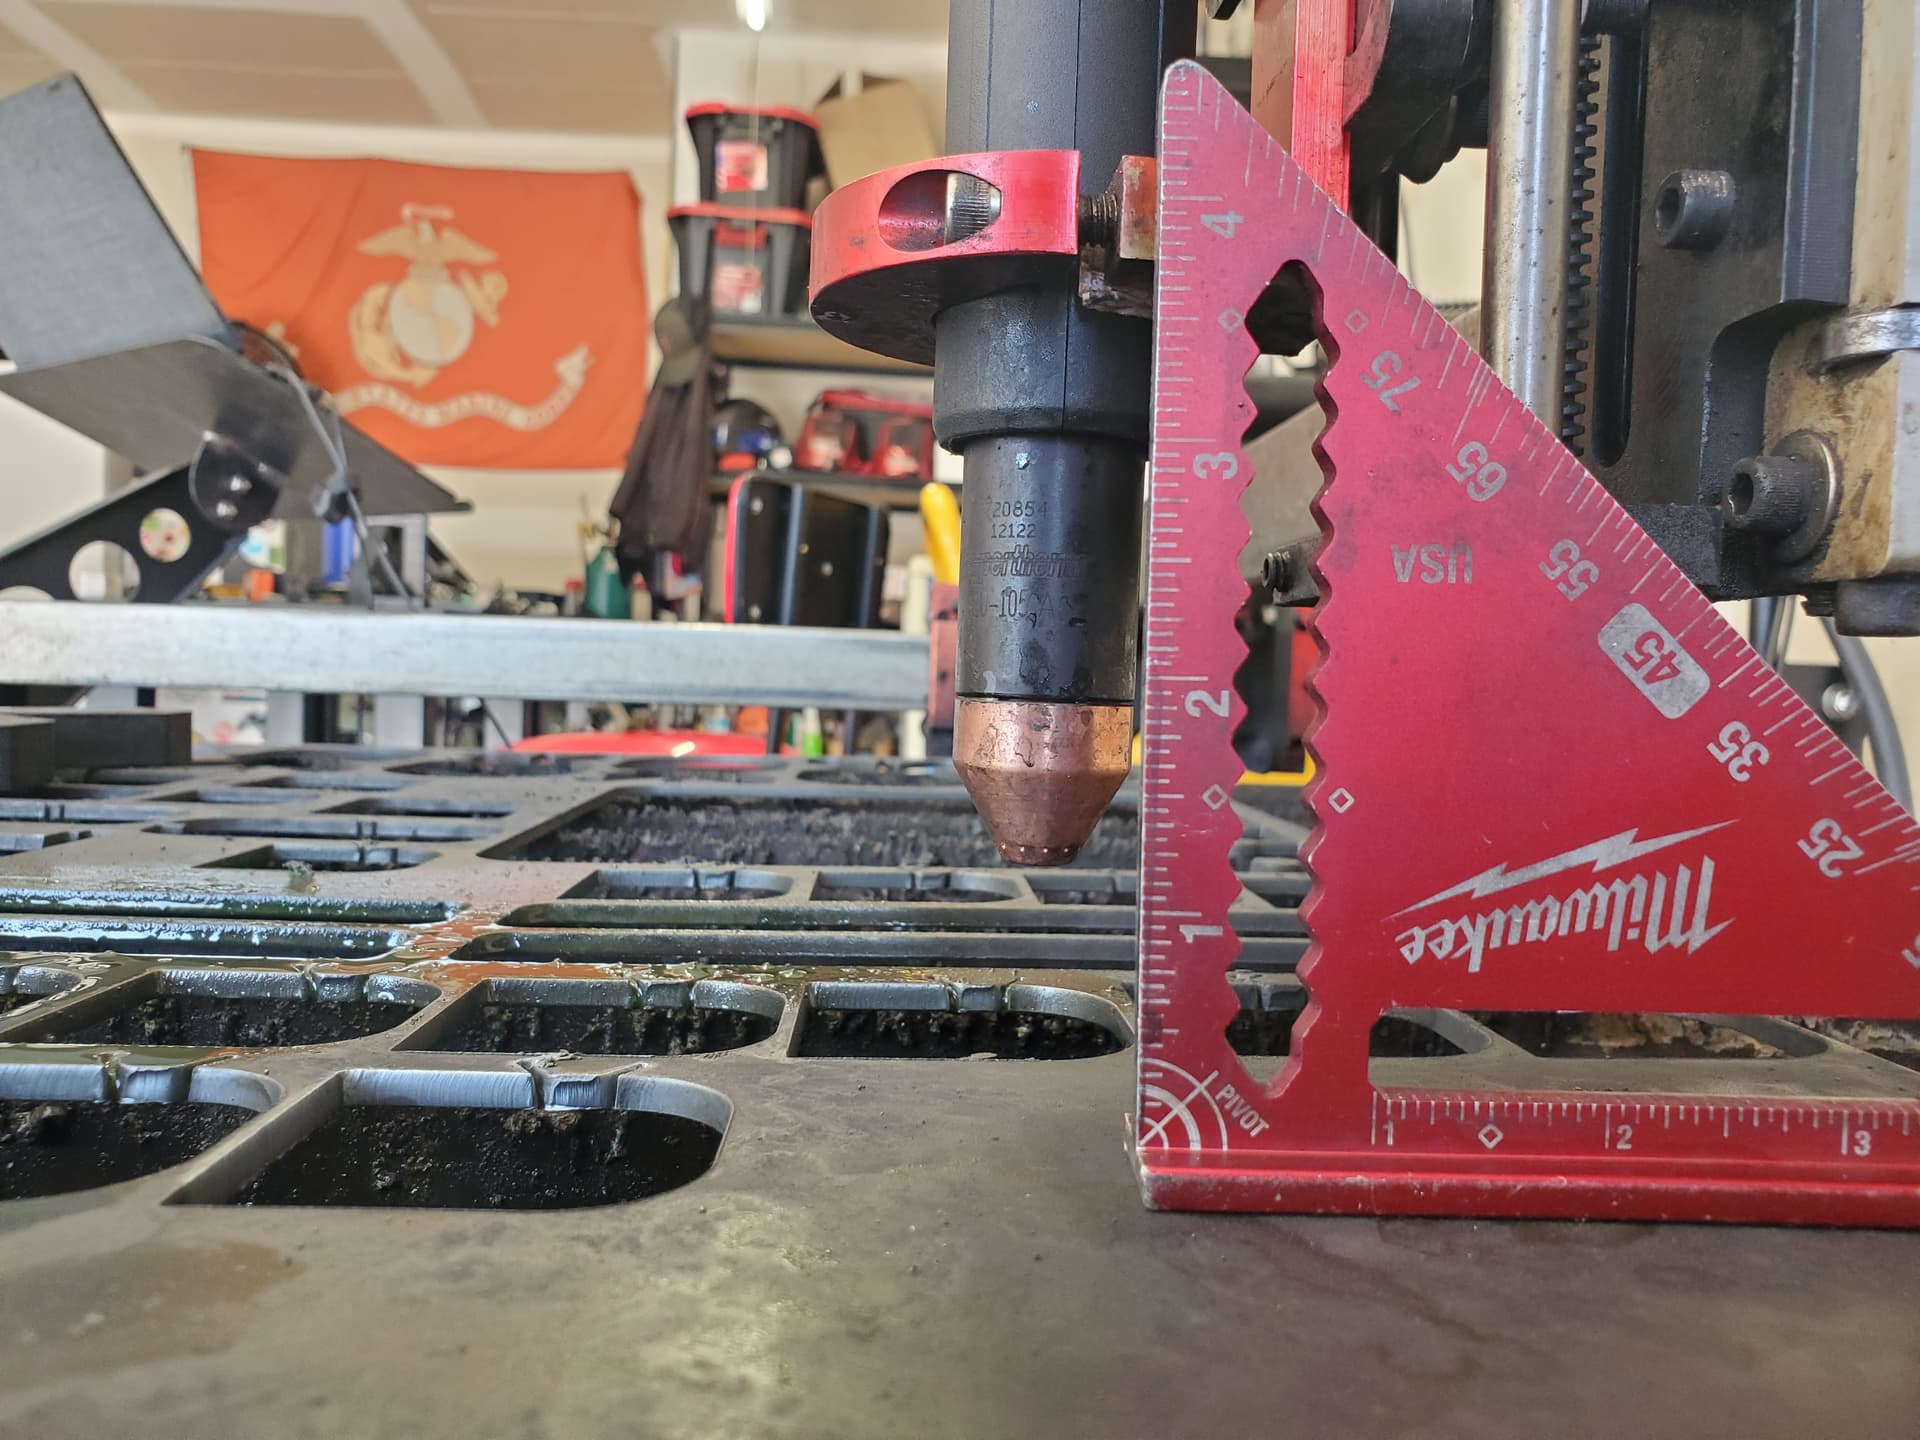
The torch mount itself is square, eccentric bearings tightened correctly, and running as it’s supposed to which you would know if it wasn’t because the Easyscriber would easily point out those flaws.

Anyway, moving forward.

Removing the CUT60 and UPM-105 was as simple as cutting the zip ties holding the torch cable, and unbolting the clamps on the torch mount; everything else remained untouched.

After installing the 45XP (new) with Duramax machine torch (new), I performed many test cuts all dating back to Friday or Saturday as shown above in this thread.

The common reoccurring issue as of yesterday is the pronounced bevel on the top edge of a cut out. It occurs in the X axis, and only on the top edge. Meaning, if you cut out a square, the opposing edge (bottom) is square even if the top edge is beveled.

This lead me to believe my torch and/or mount was canted in some way.

Torch was dismounted and remounted over 15-20 times, going as far as undoing the bearings (multiple times), and following the order of operations for tramming the Z axis and ensuring it is completely square. Even after having done so, I would proceed to run a test cut, dismount everything, loosen the bearings, undo the set screws a bit, and redo it all over again.

After troubleshooting various methods yesterday, I called it a day.

This morning, I removed the freshly used (and genuine) Hypertherm consumables, put in new Hypertherm consumables, and decided to start from zero once again.

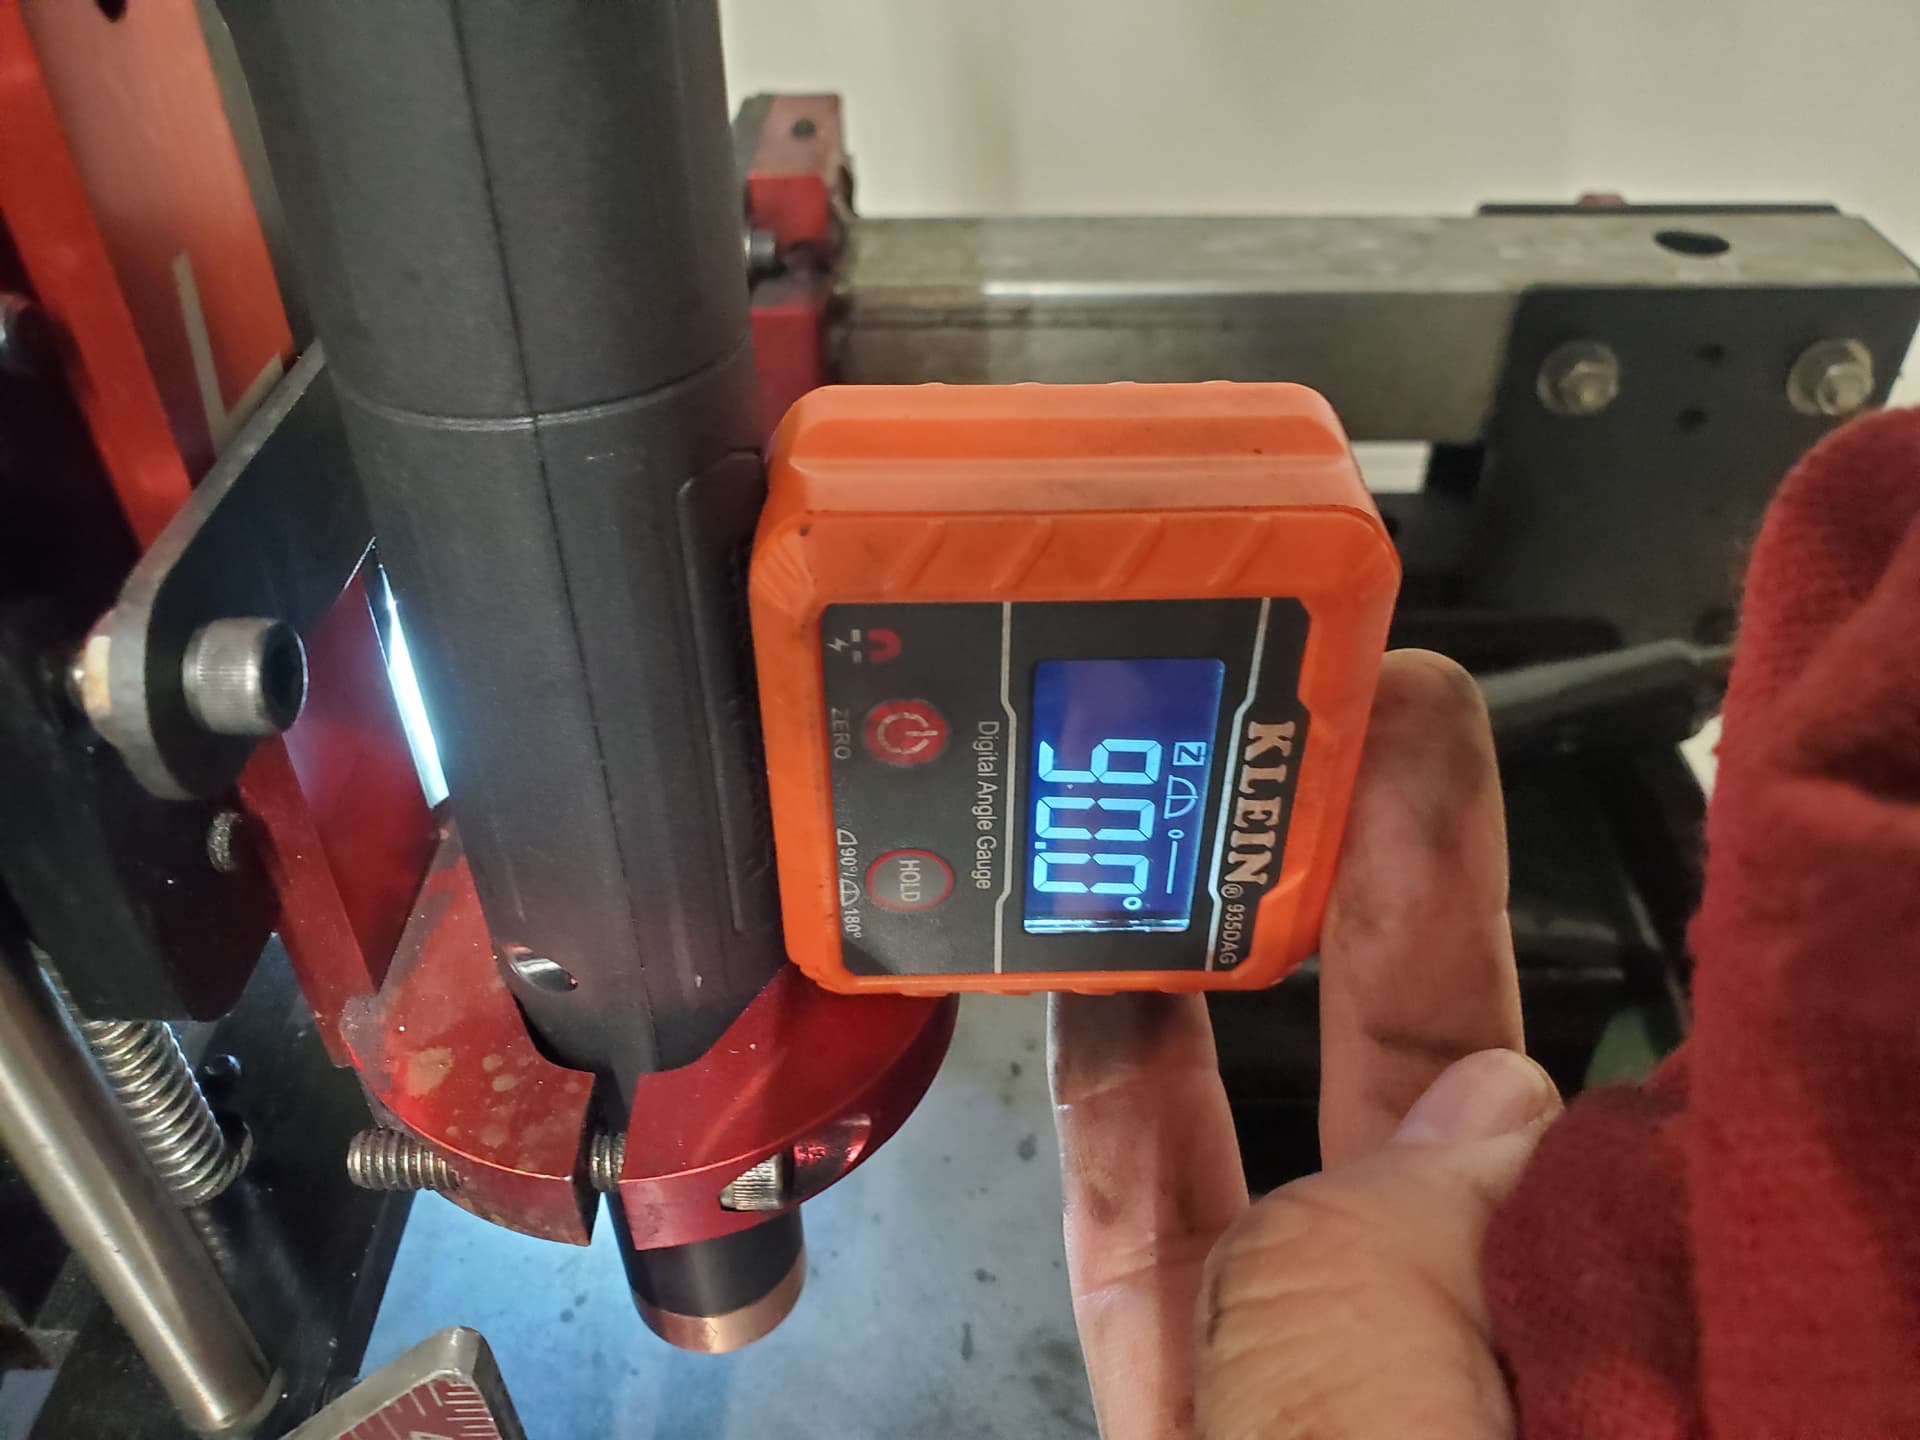
So back to torch squaring (this is after having redone the bearings AGAIN)

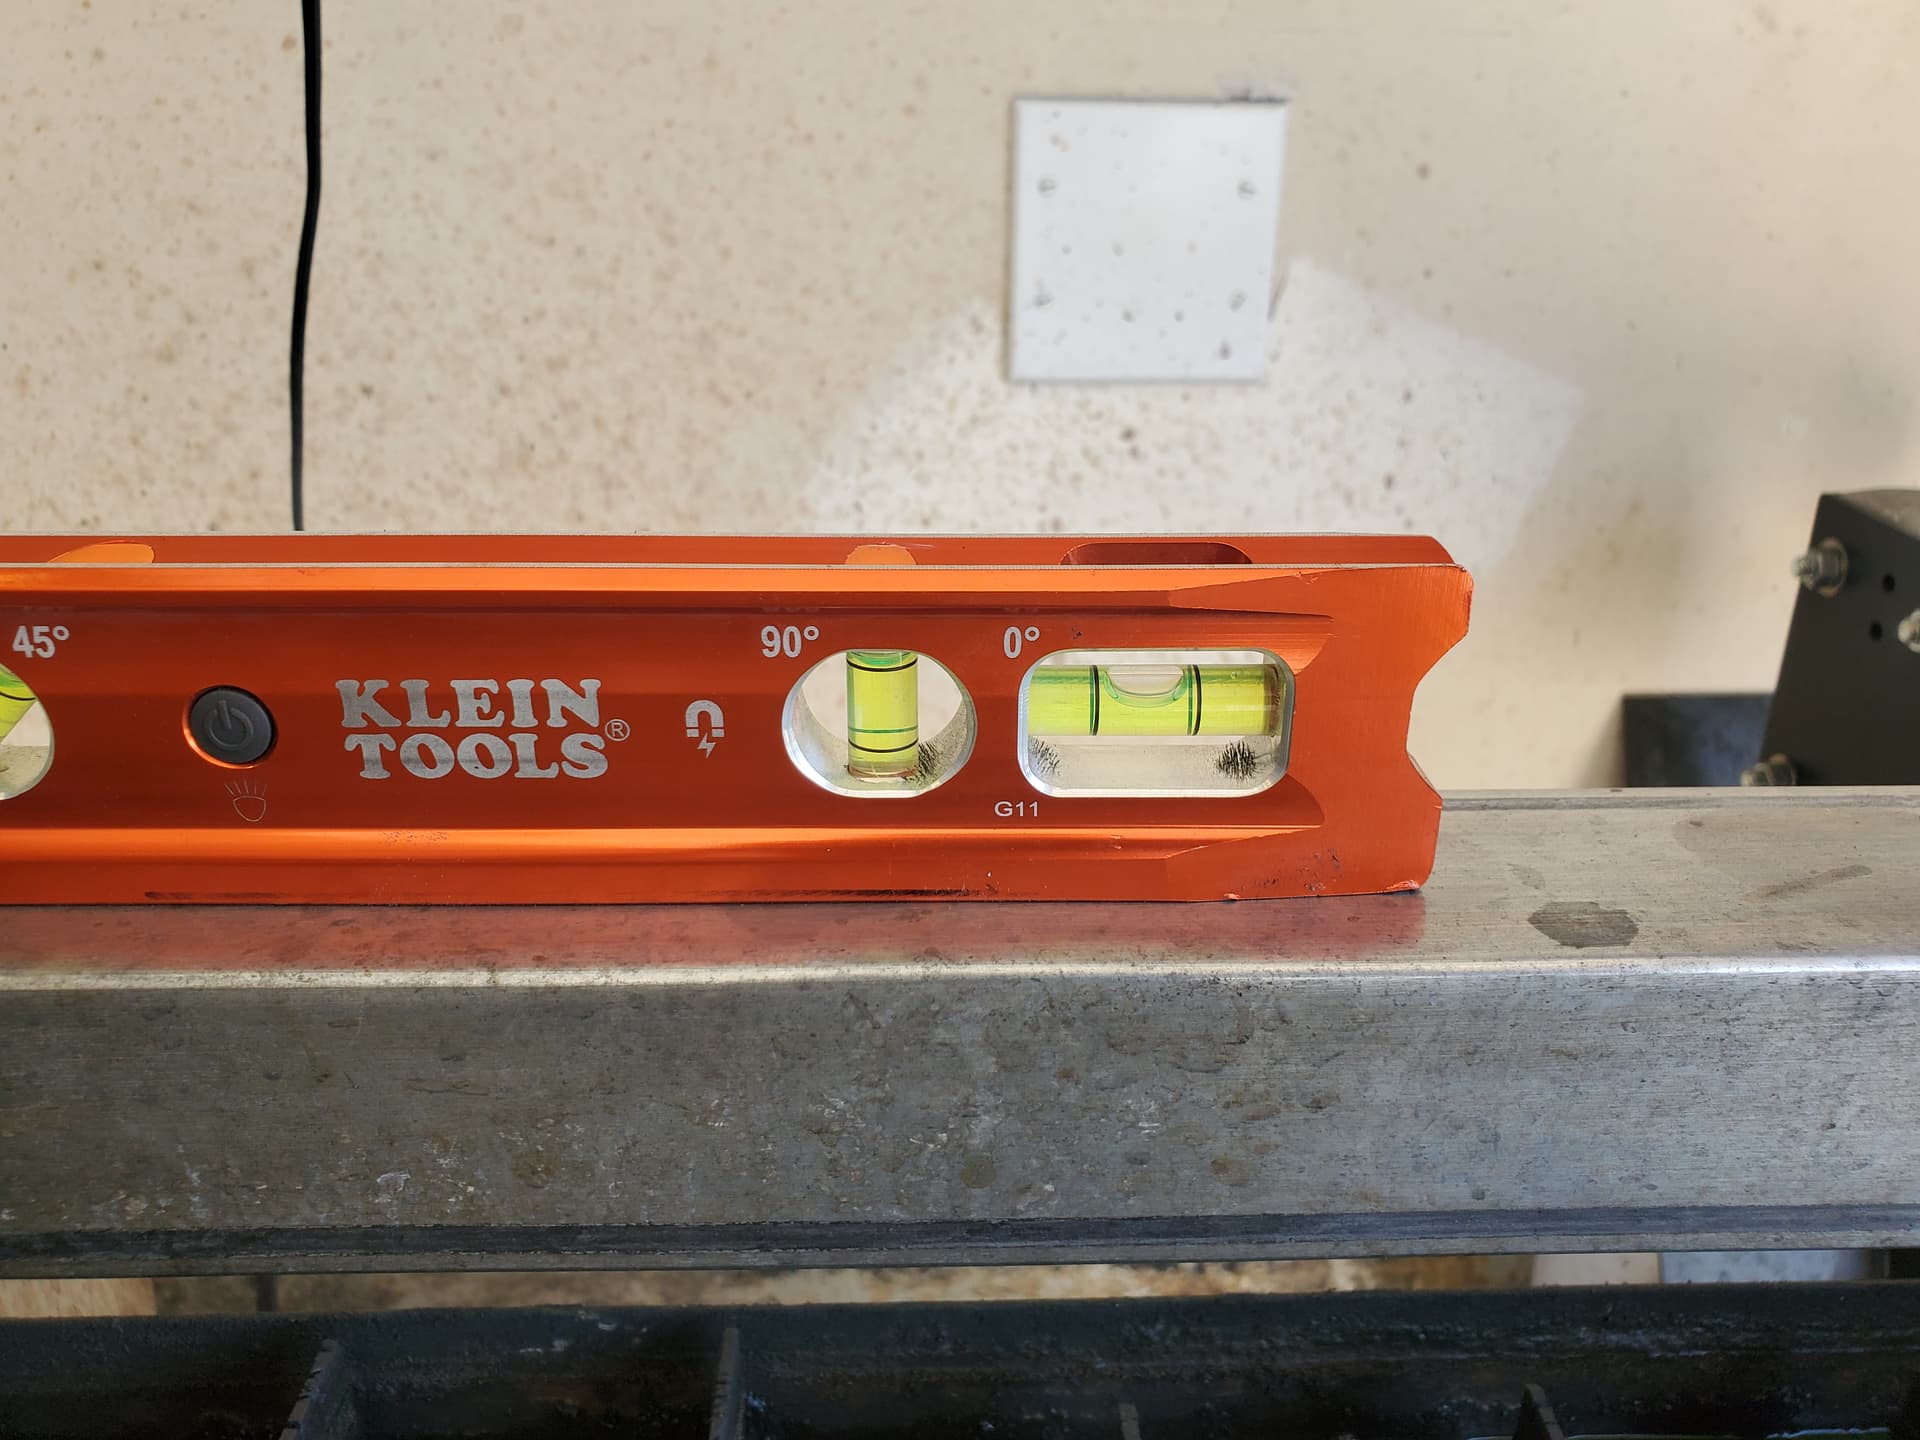
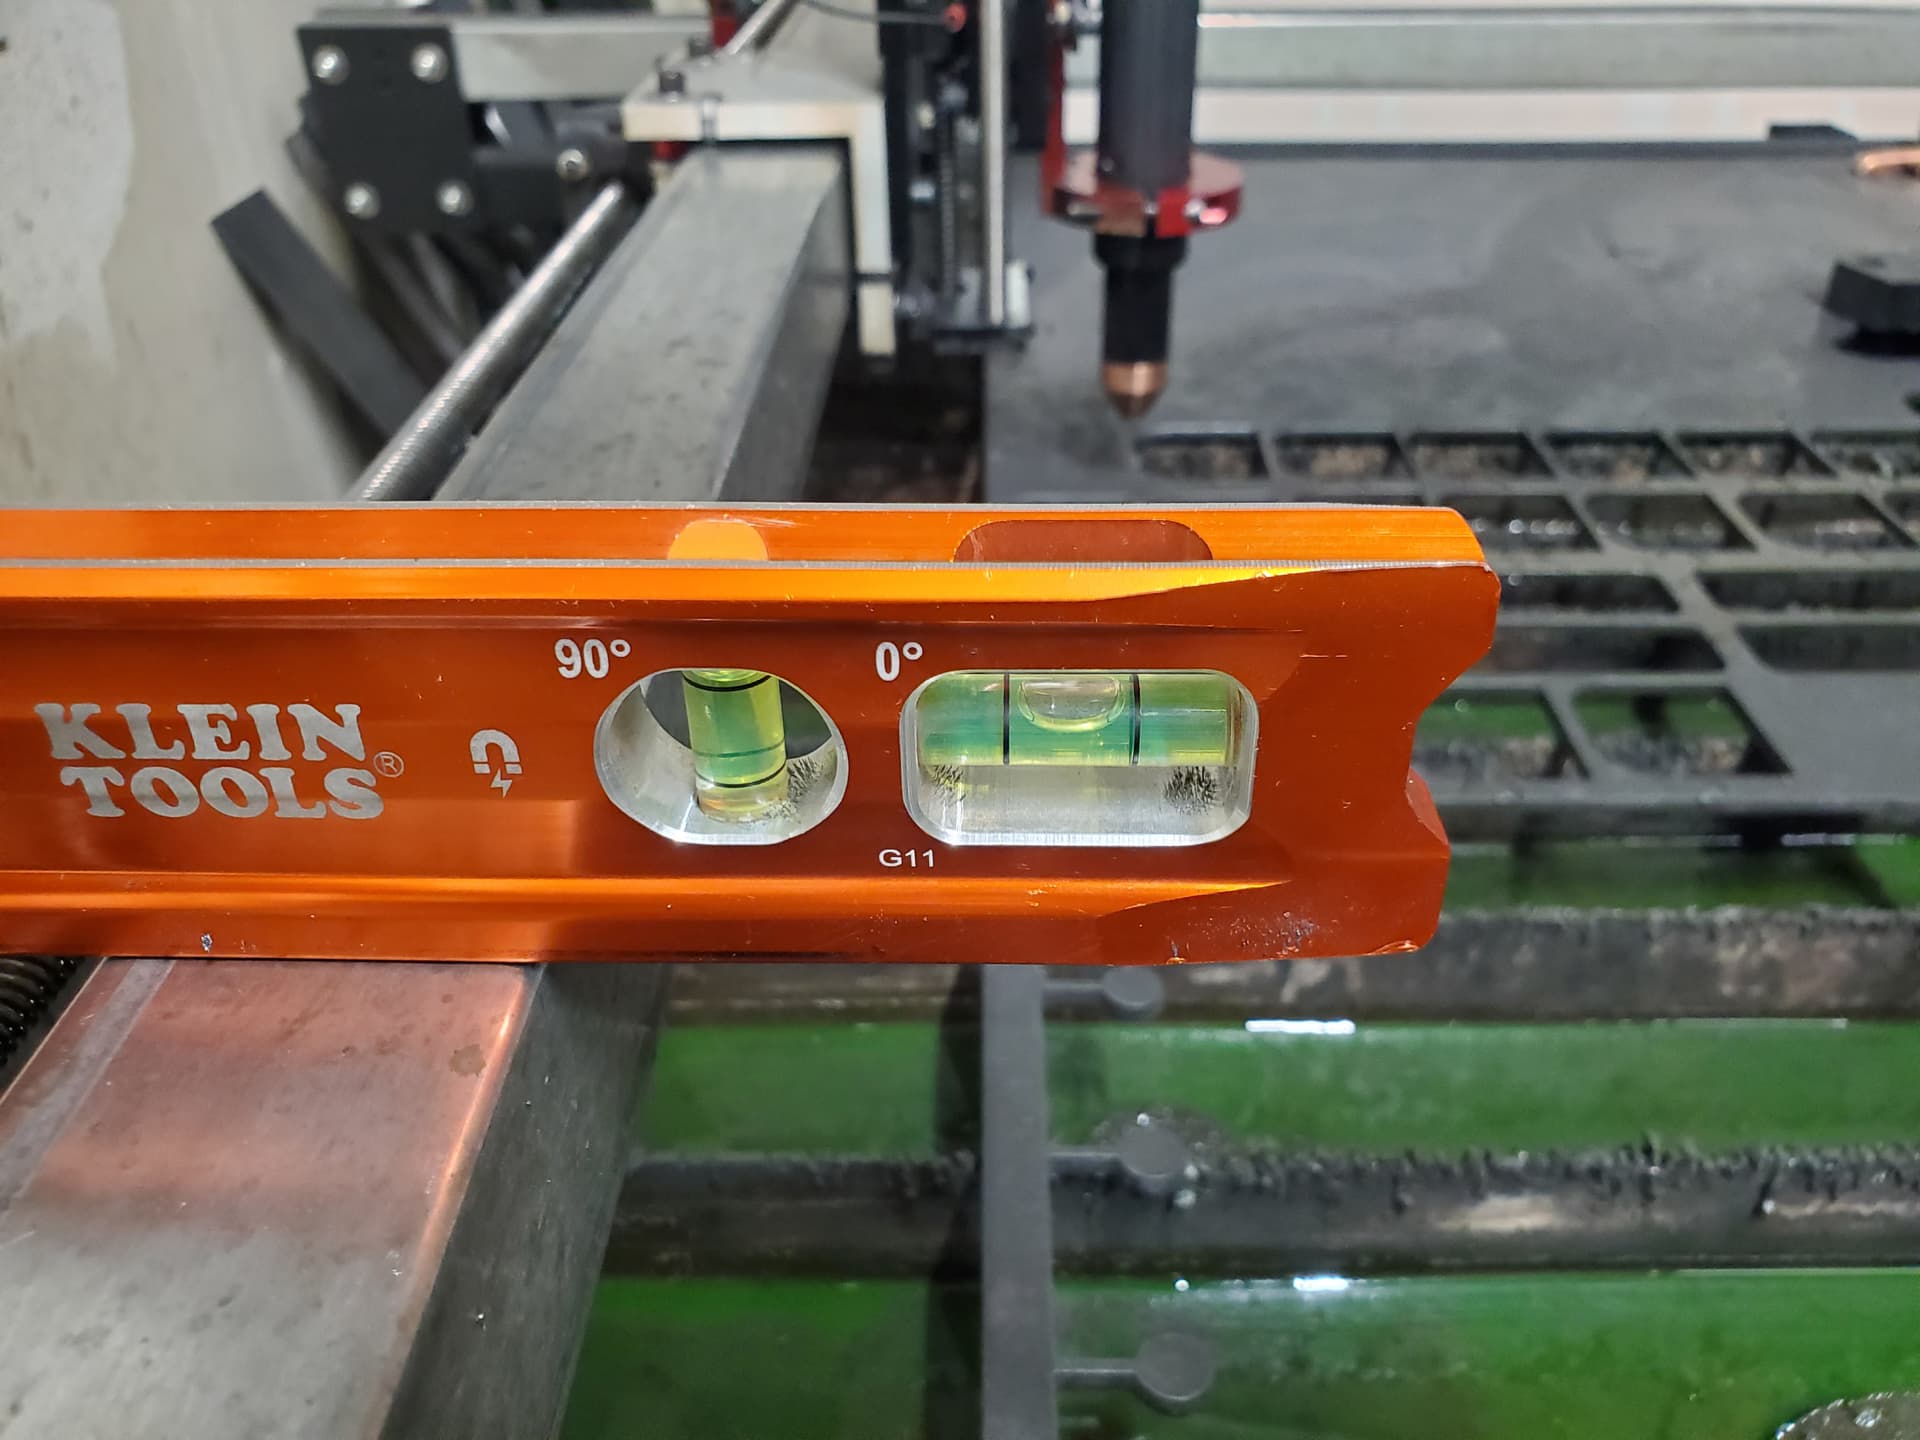
Ensuring the gantry was level both ways as well.

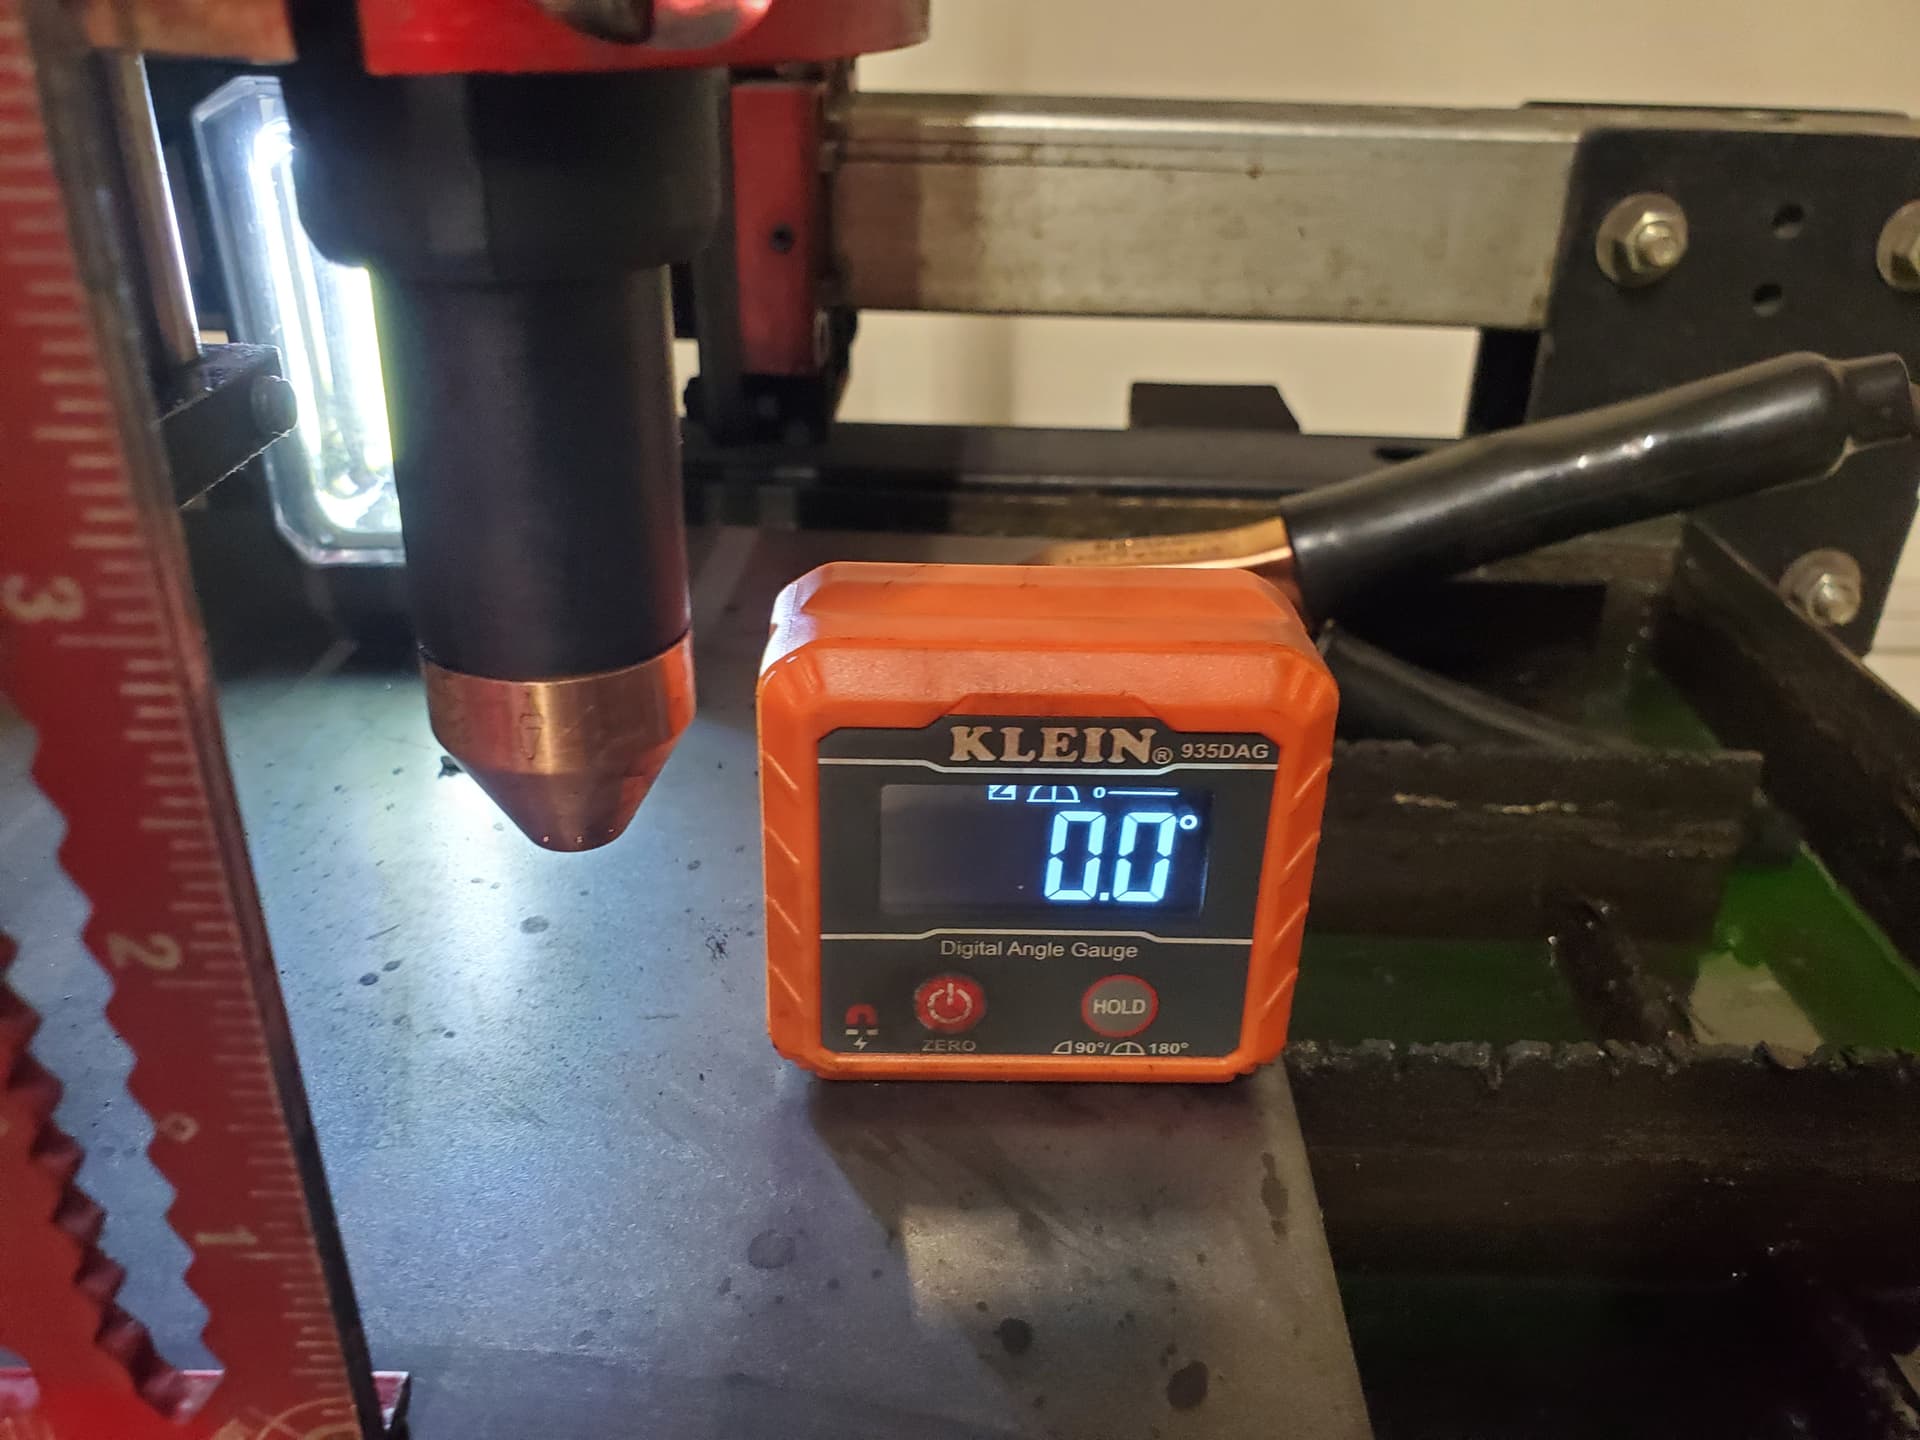
As well as the other tubes.

Even the work material matches that of the table.

And even though I didn’t take pictures (hard to), I had also checked for square on the front and rear portion of the torch assembly (with torch removed).

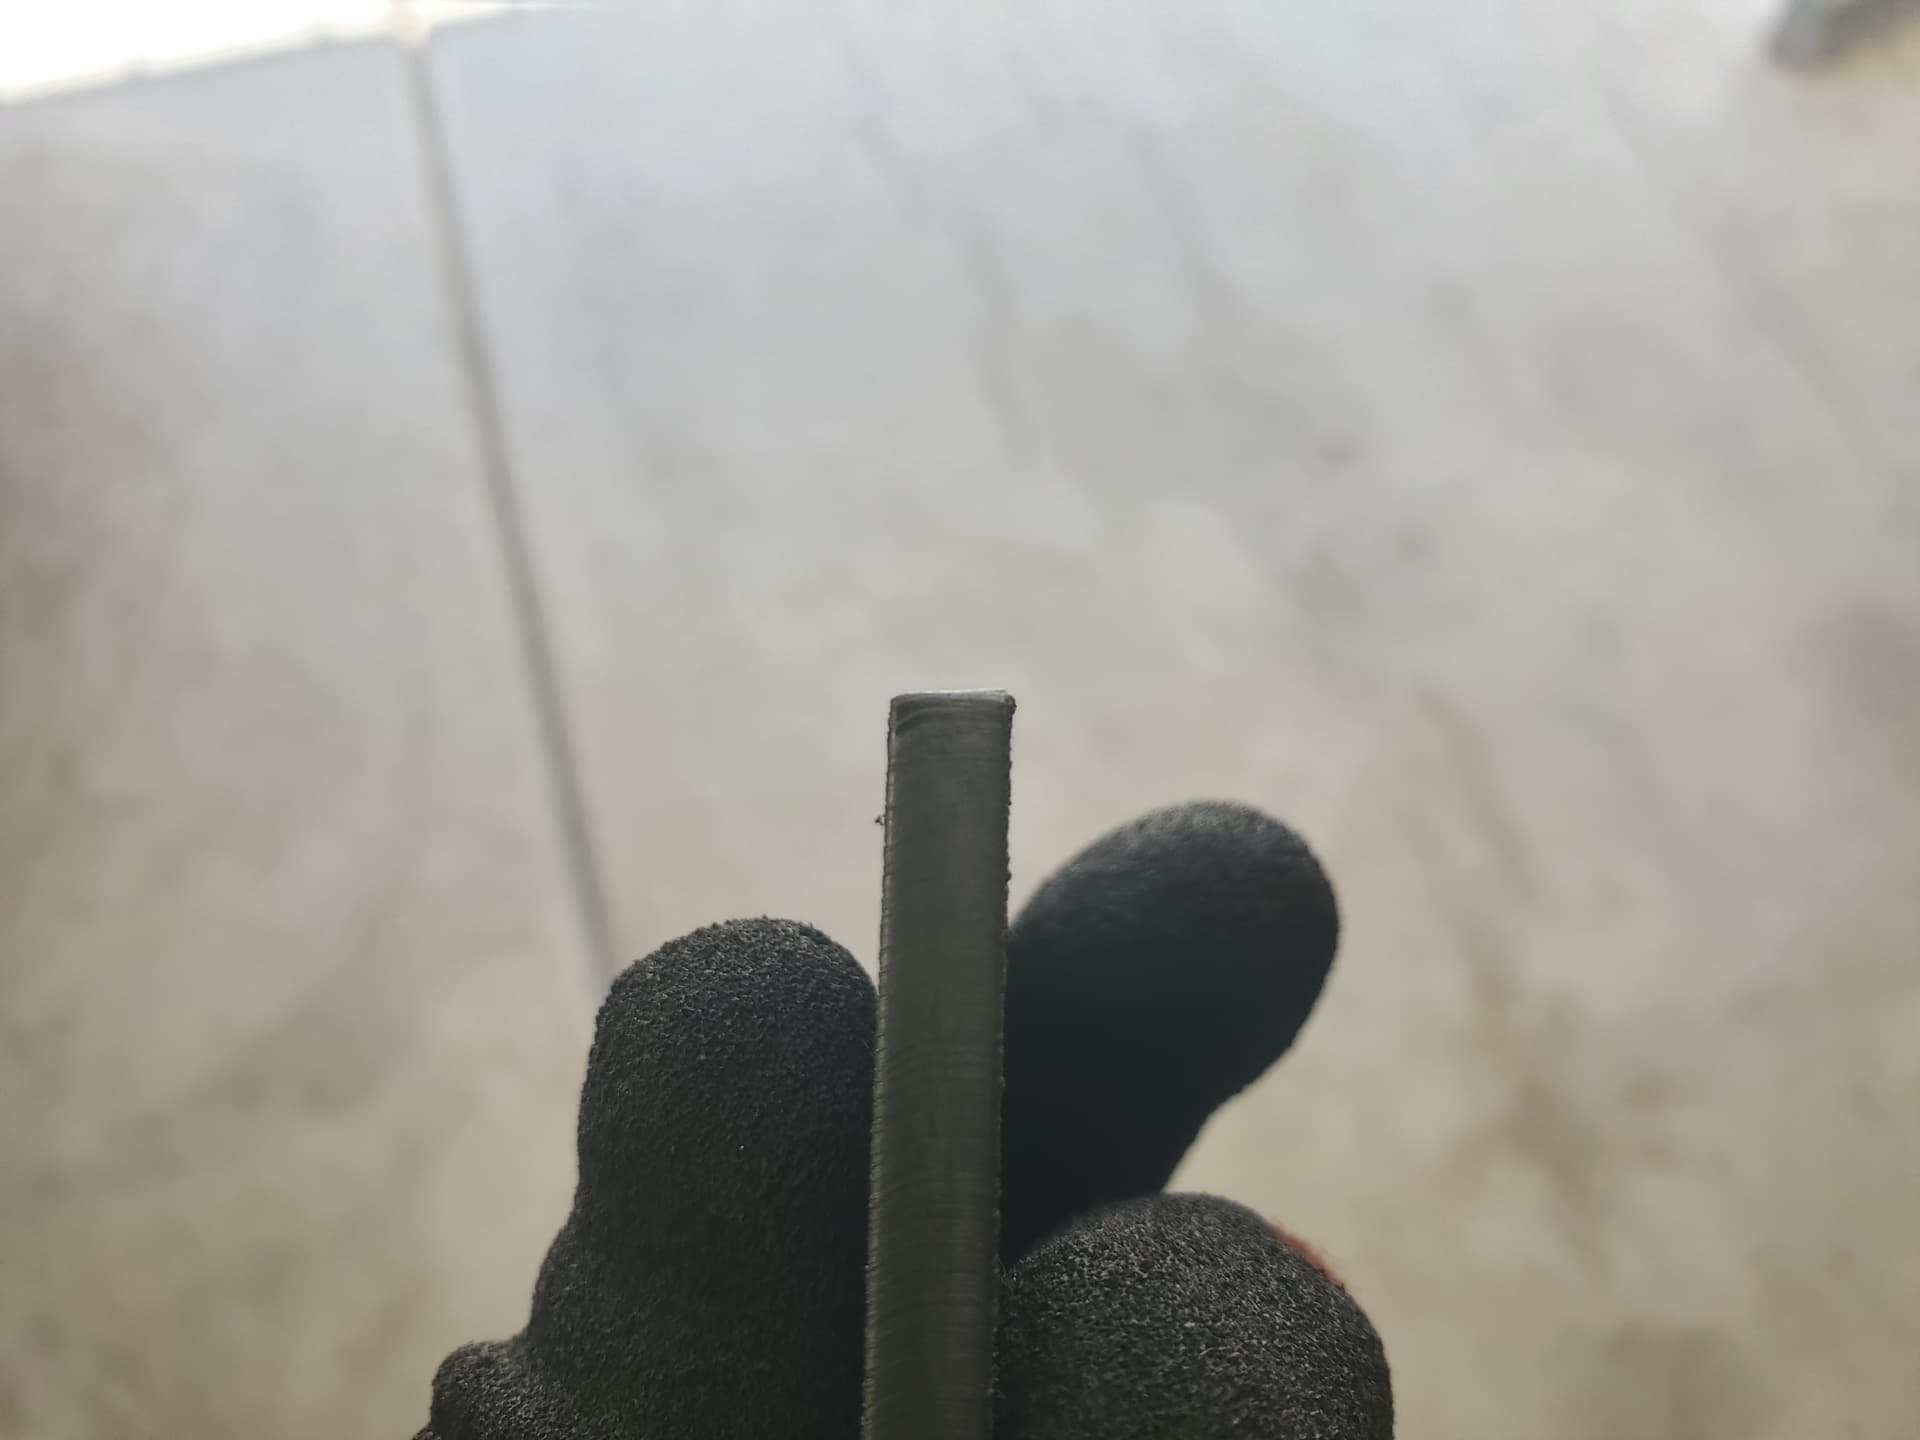
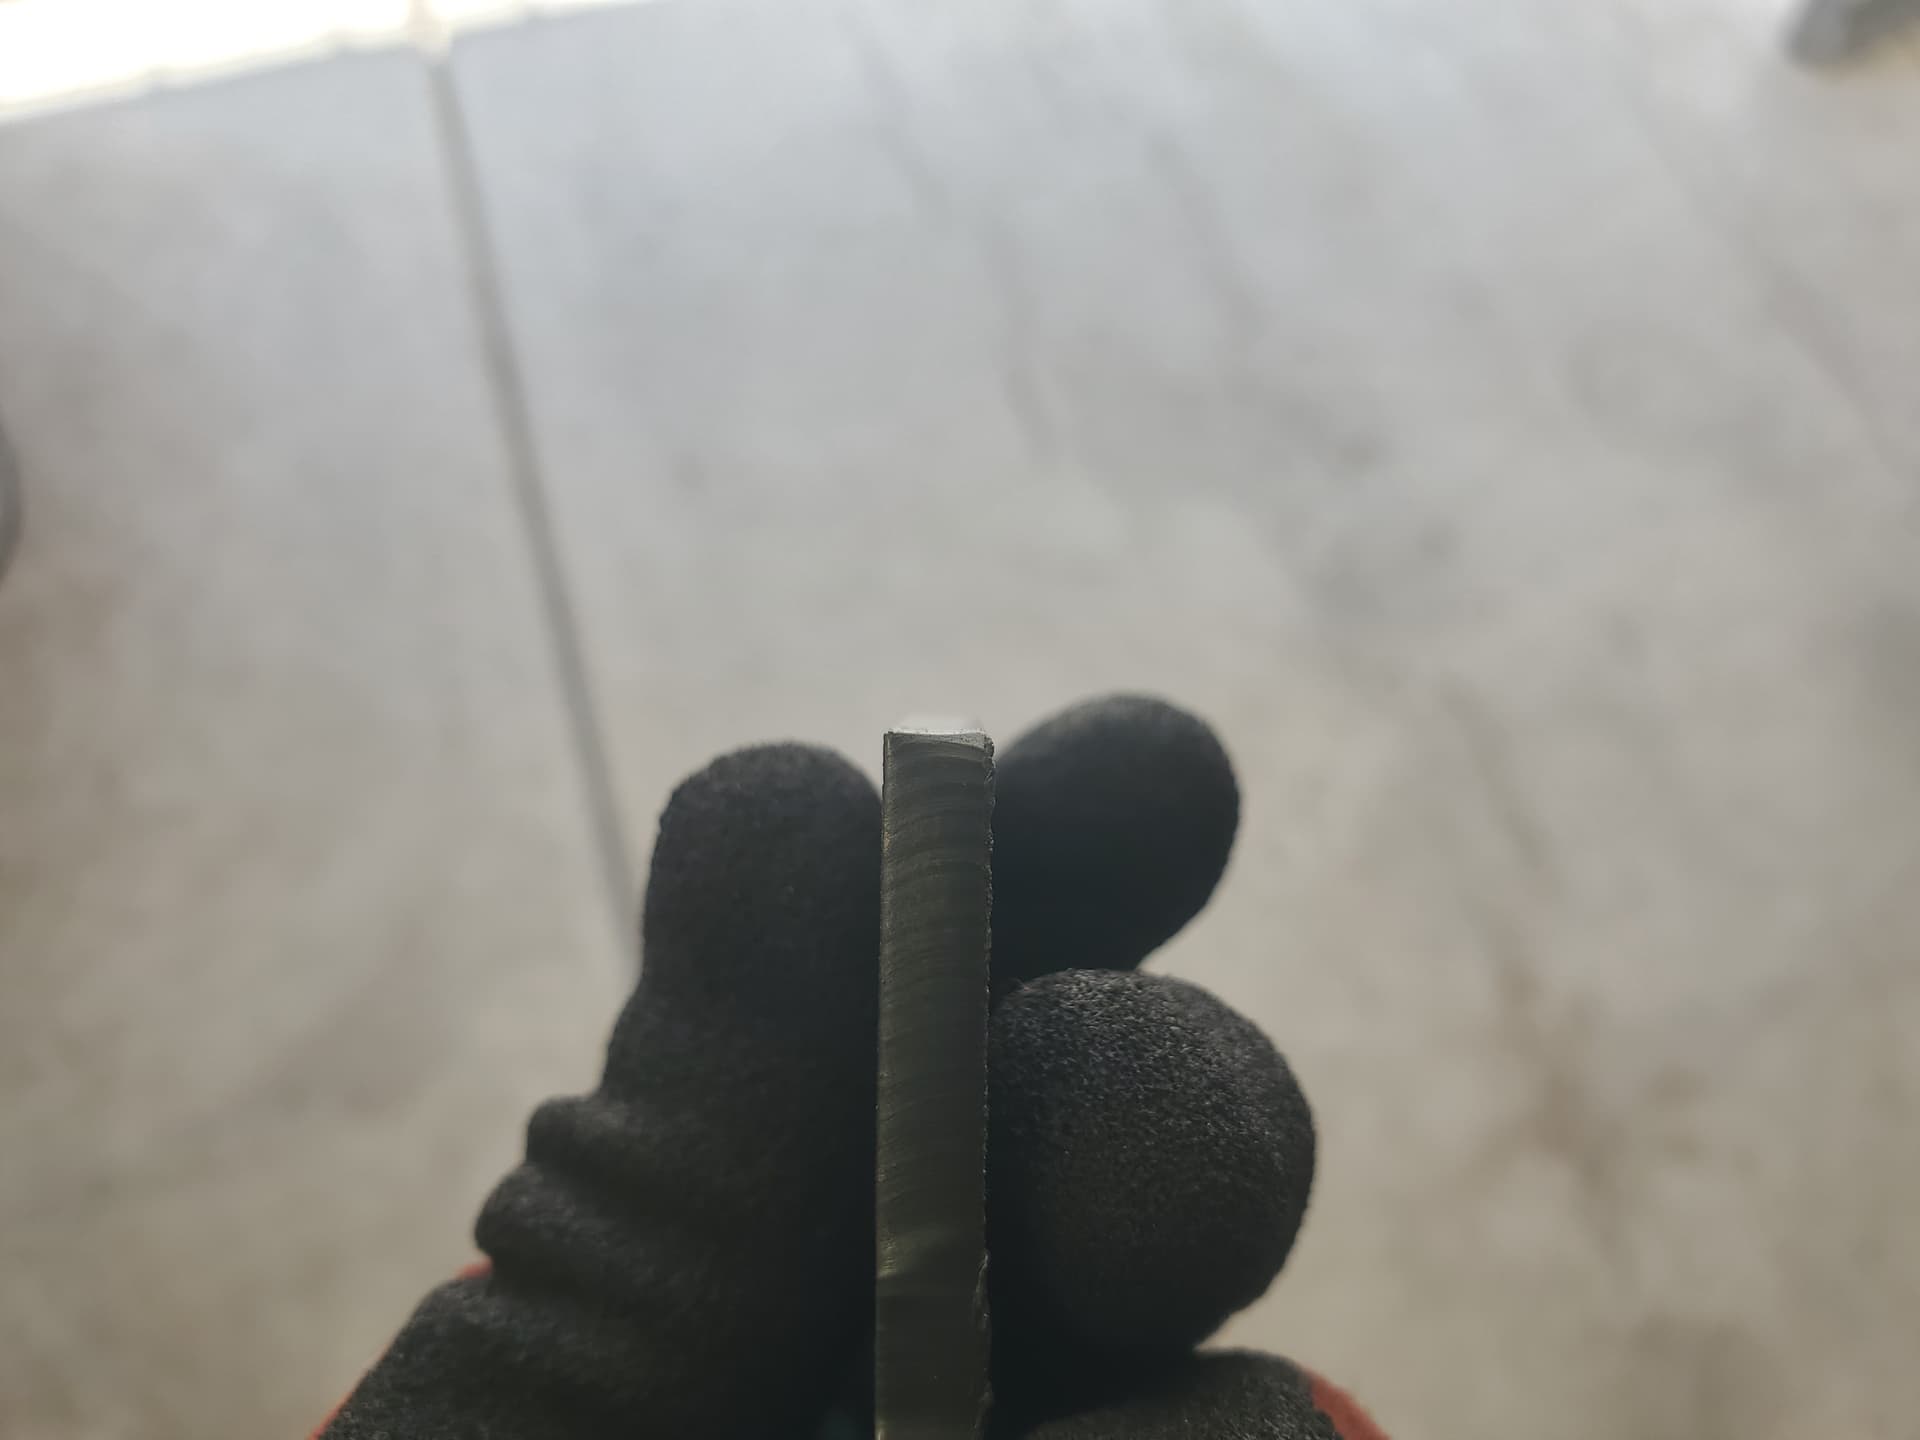
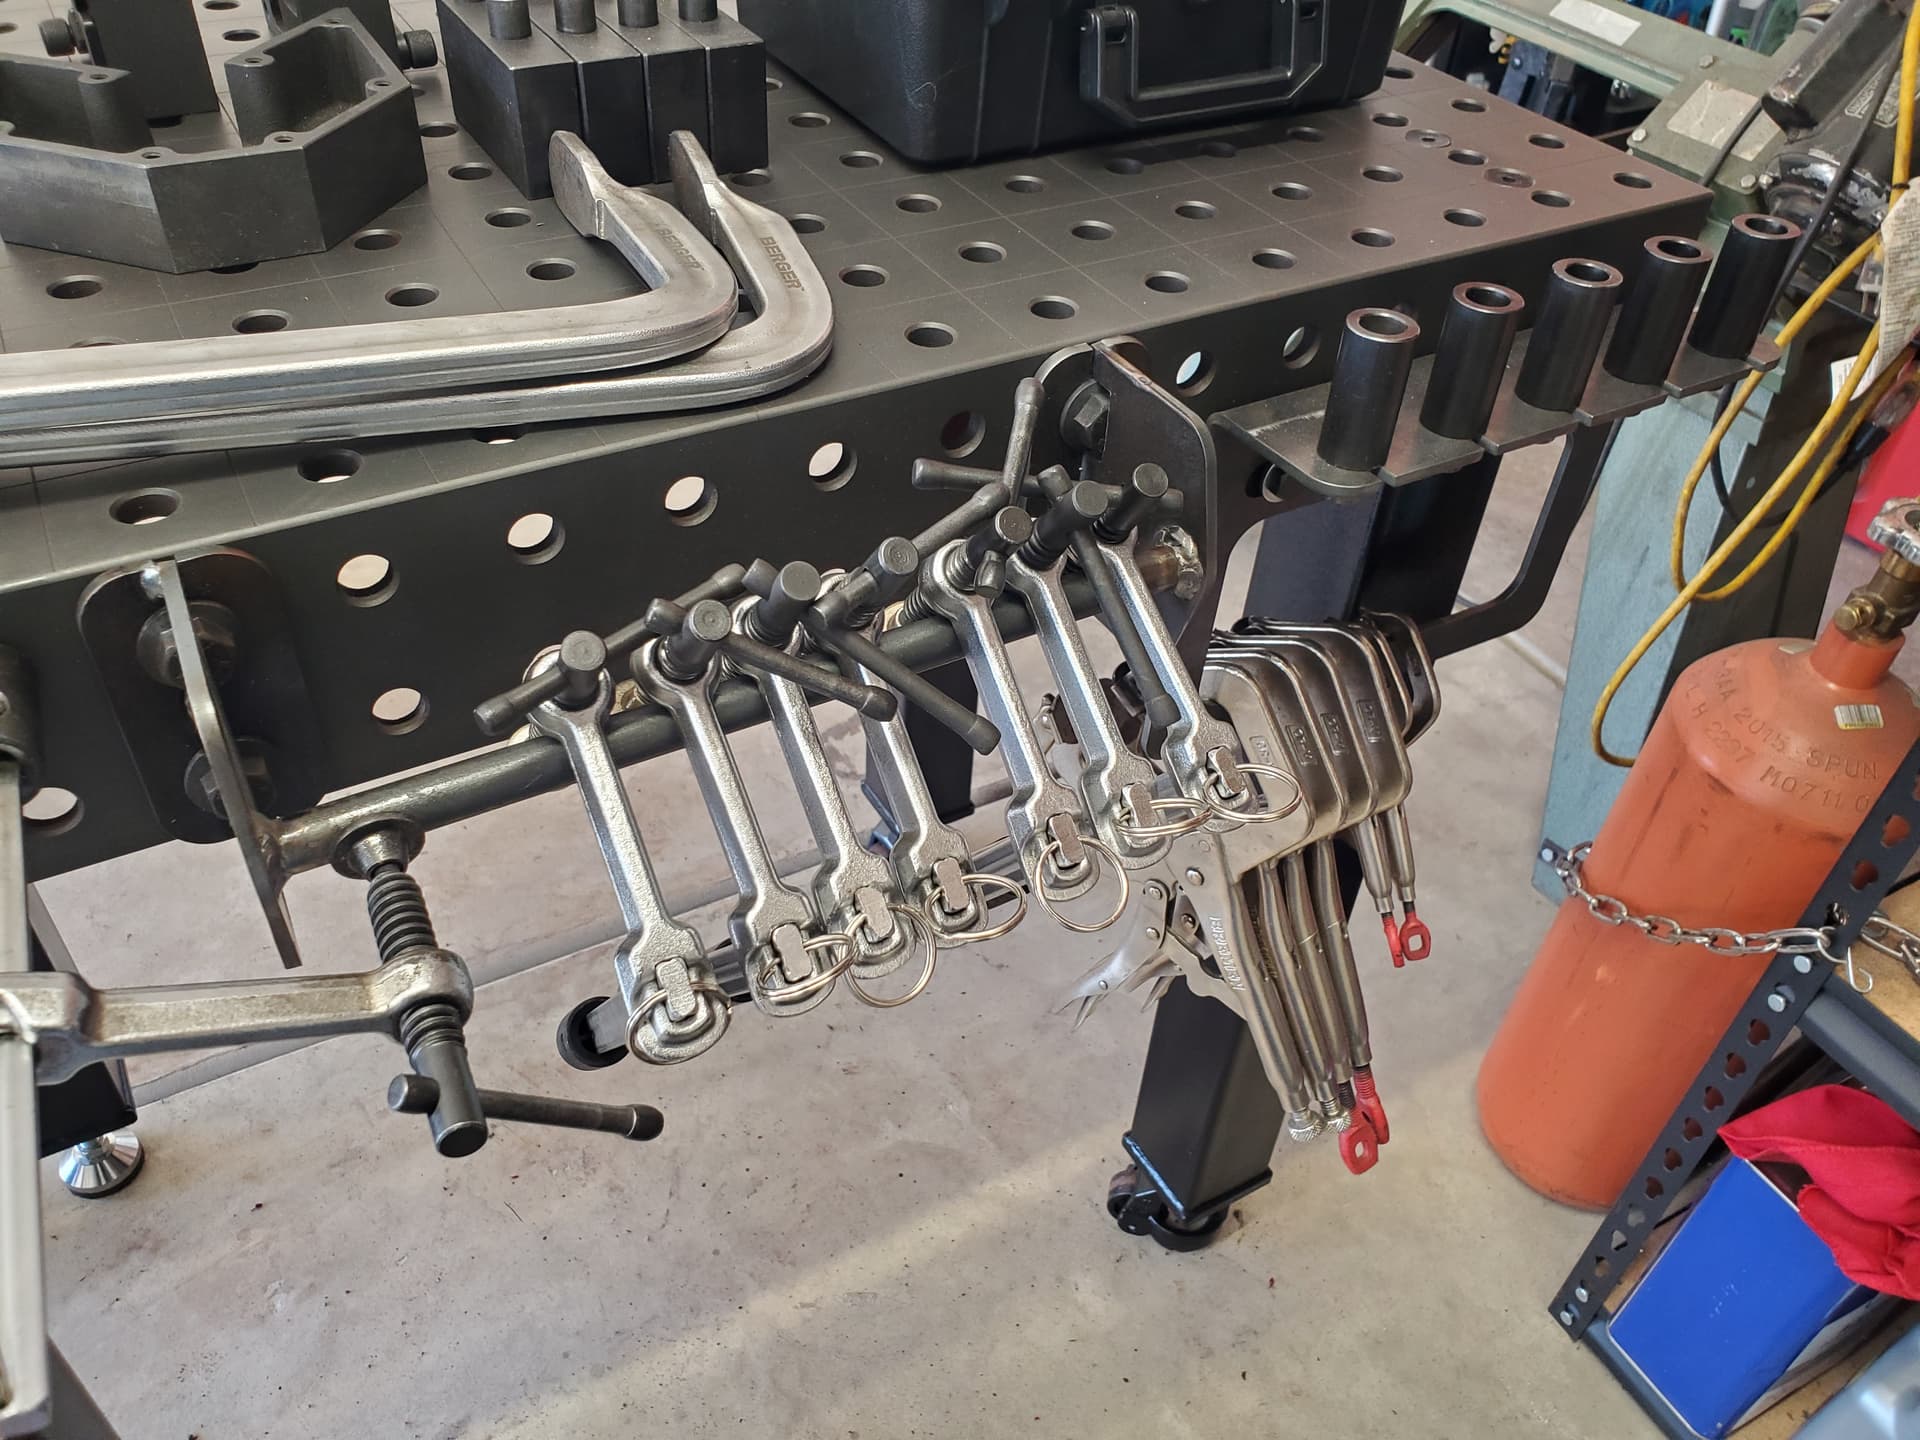
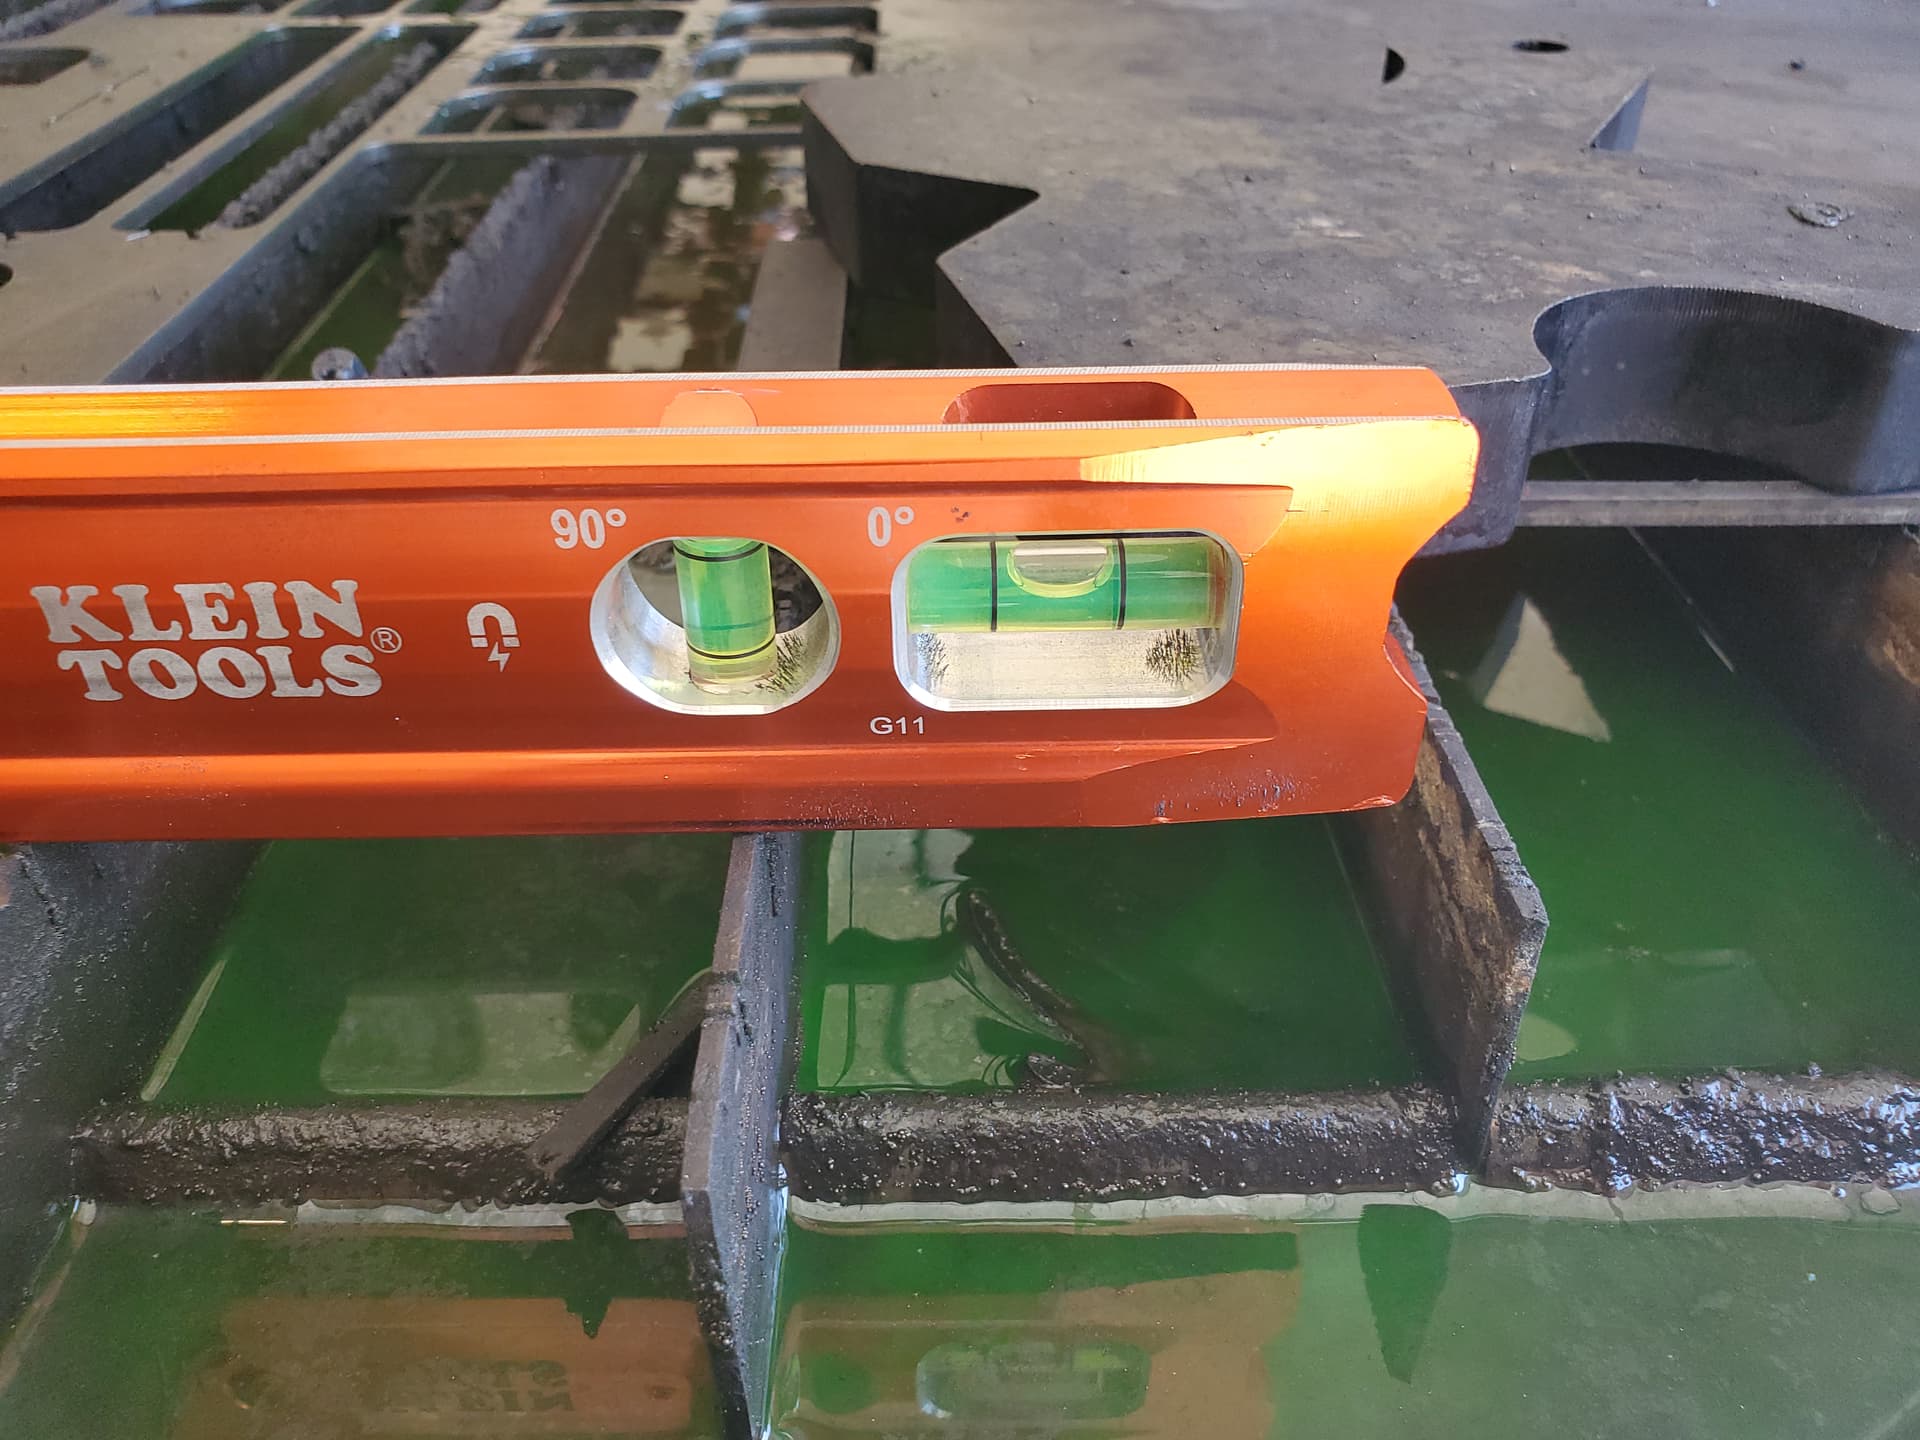
In this picture shows the top edge of many different pieces which include -

*THC having been turned off

*Machine torch having been rotated (ensuring the torch itself wasn’t causing the bevel)

*The CAD design having been rotated (that’s the 3rd piece from left to right, the bottom edge was perfect, top edge still beveled even though it’s now a different geometry)

*As well as a few runs in nominal voltage ranging from 123.5, 124.5, 125.5, 126, and 129, as well as speeds from 60, 80, and 90ipm

*As well as Langmuir themselves taking the DXF of this same item and performing post processing for me to run which I did - the unique thing to add is that in MY post processing, the top edge is the second edge being cut out in a clockwise direction however, Langmuir did post processing ensuring the top edge was the last edge being cut in a clockwise direction

*Oh and also including having run smartvoltage as well for a confirmed height of .06"

Not all the pieces I described being cut in that manner are the pieces in my hands, just a handful but they all experience the same pronounced bevel up top

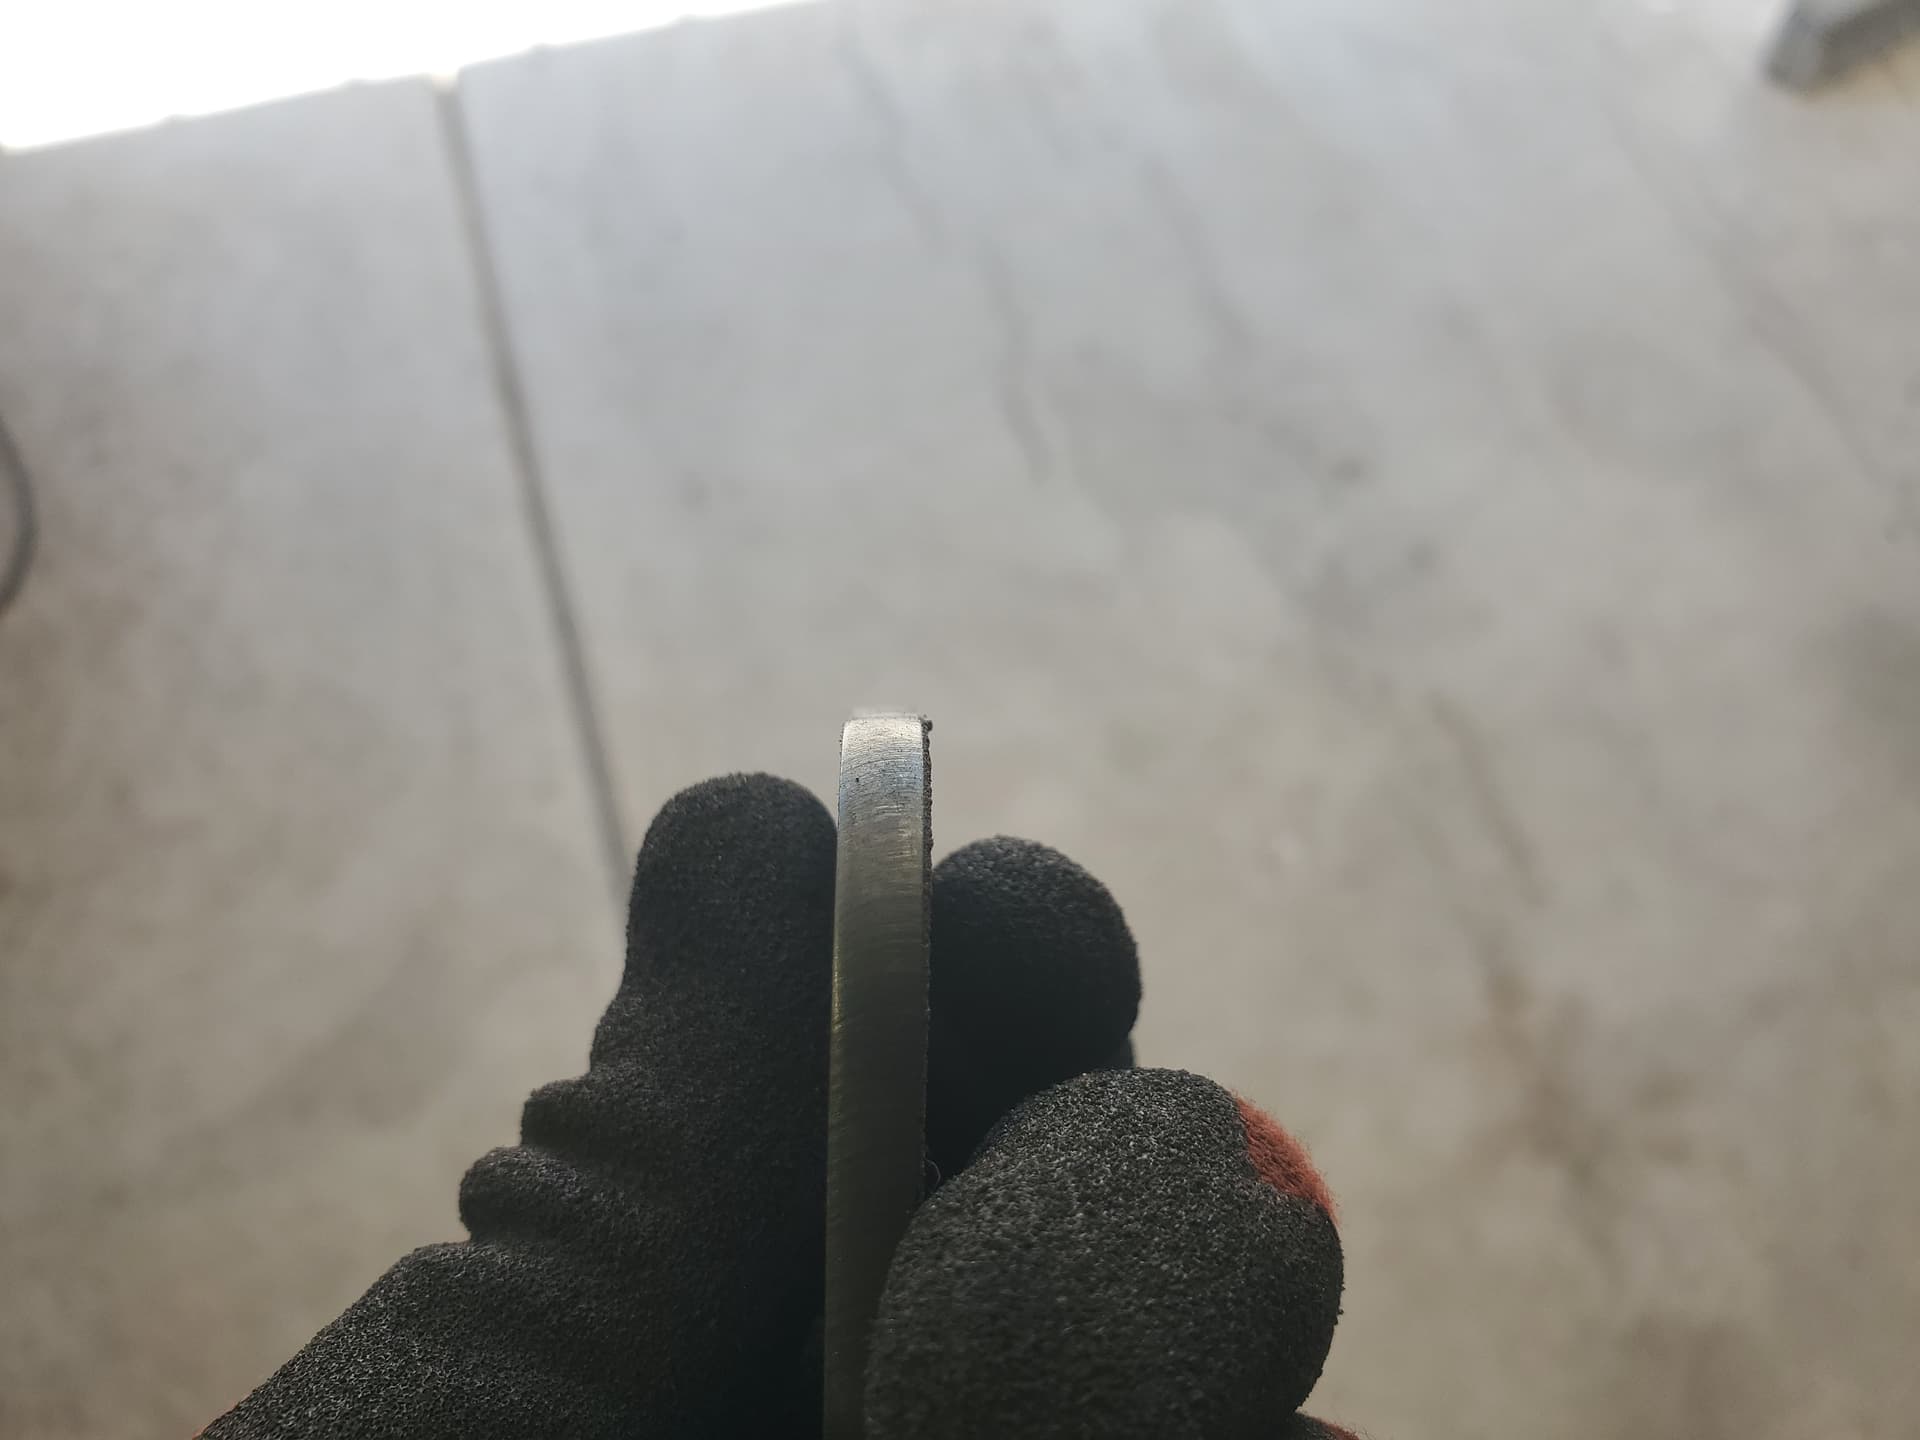
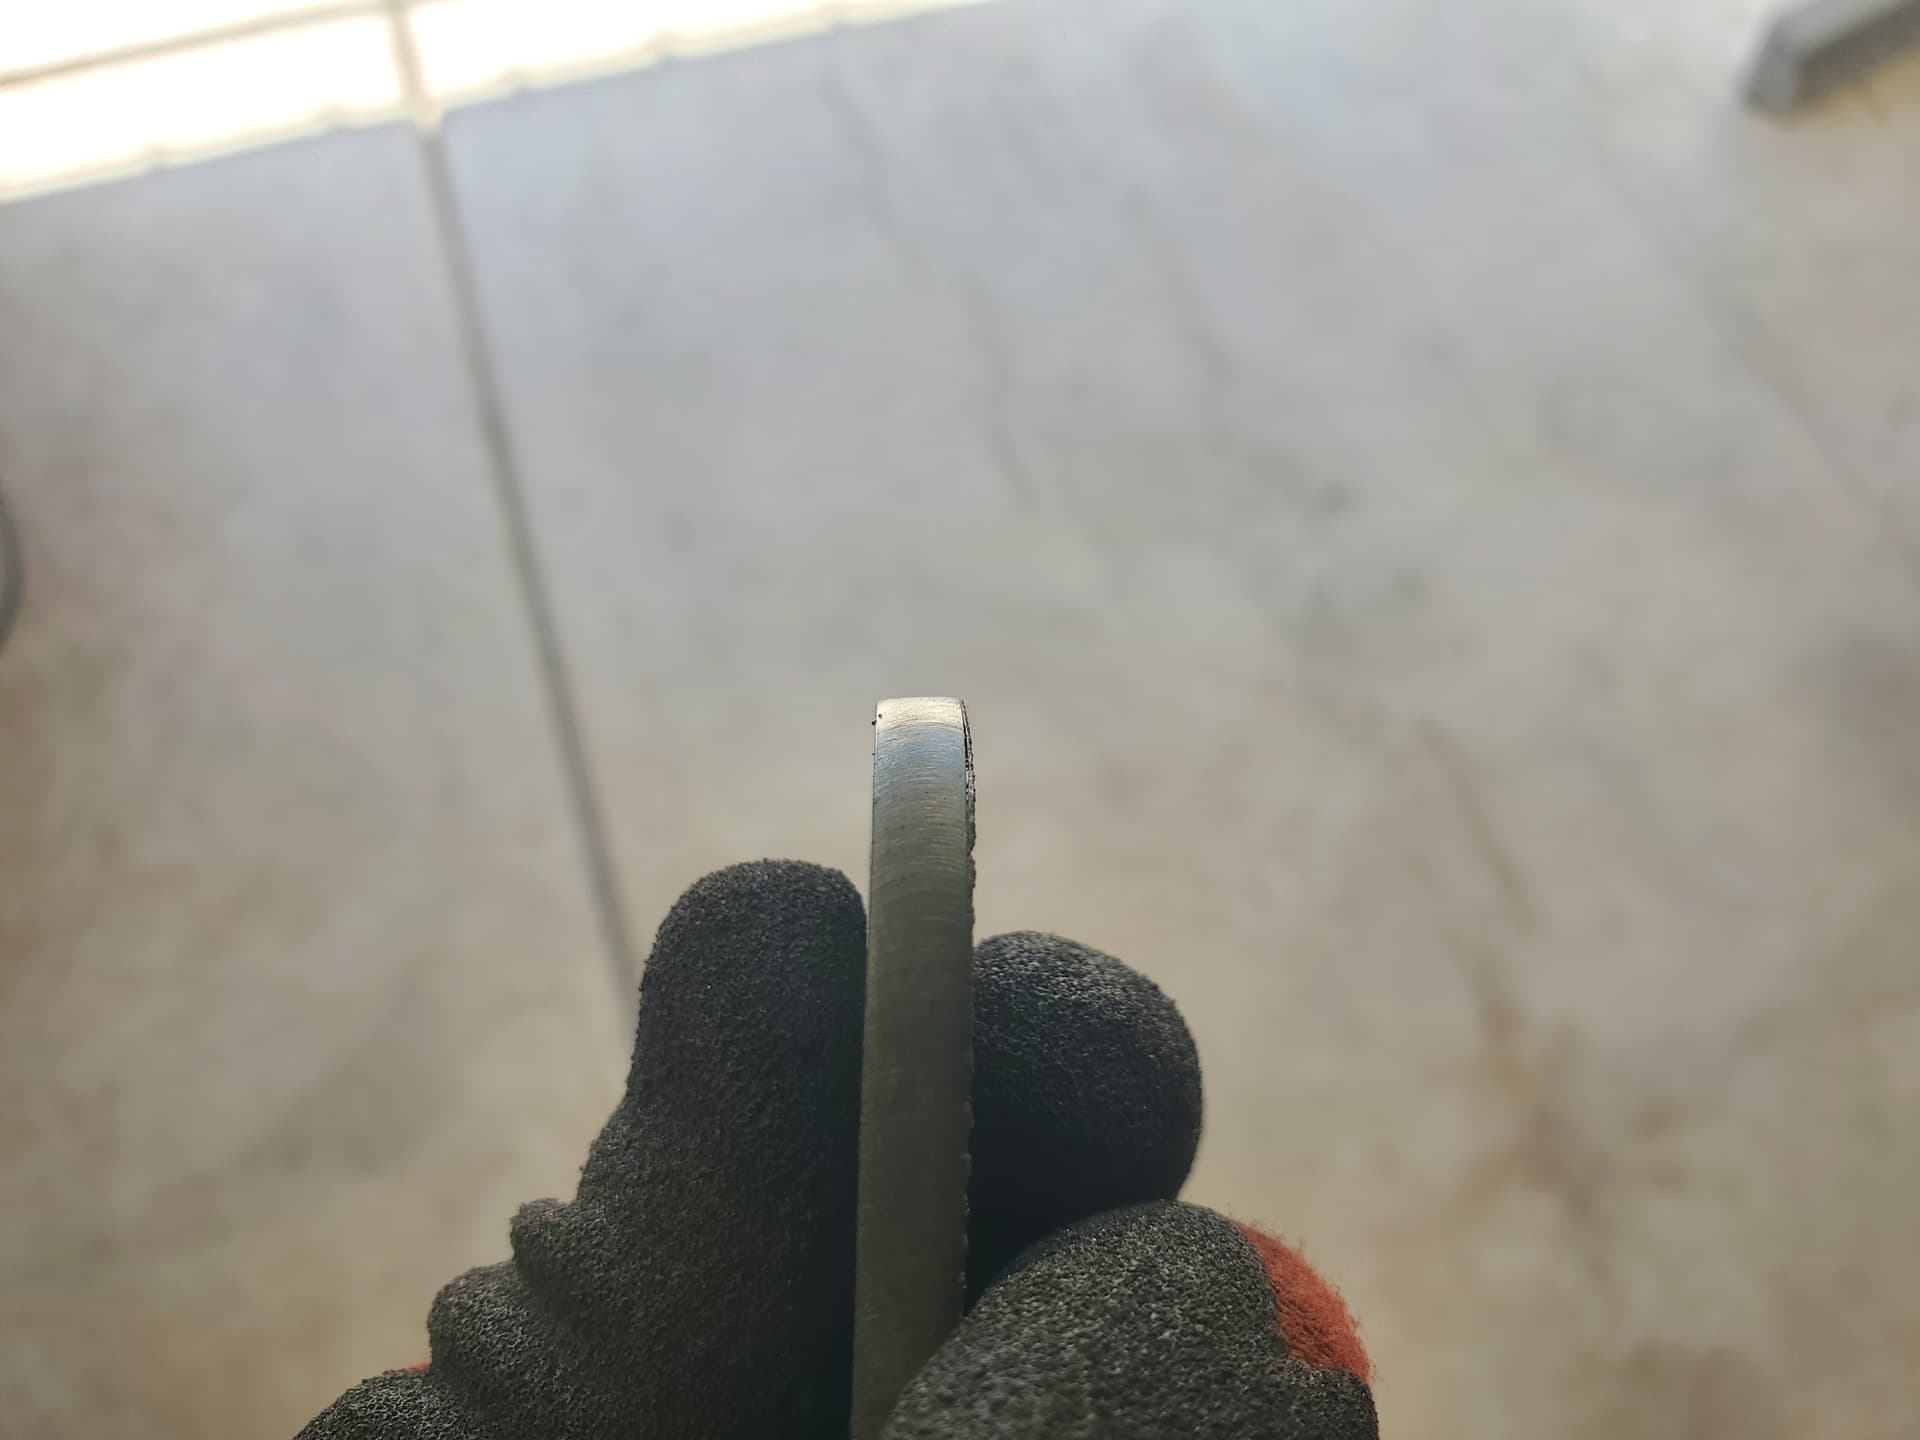
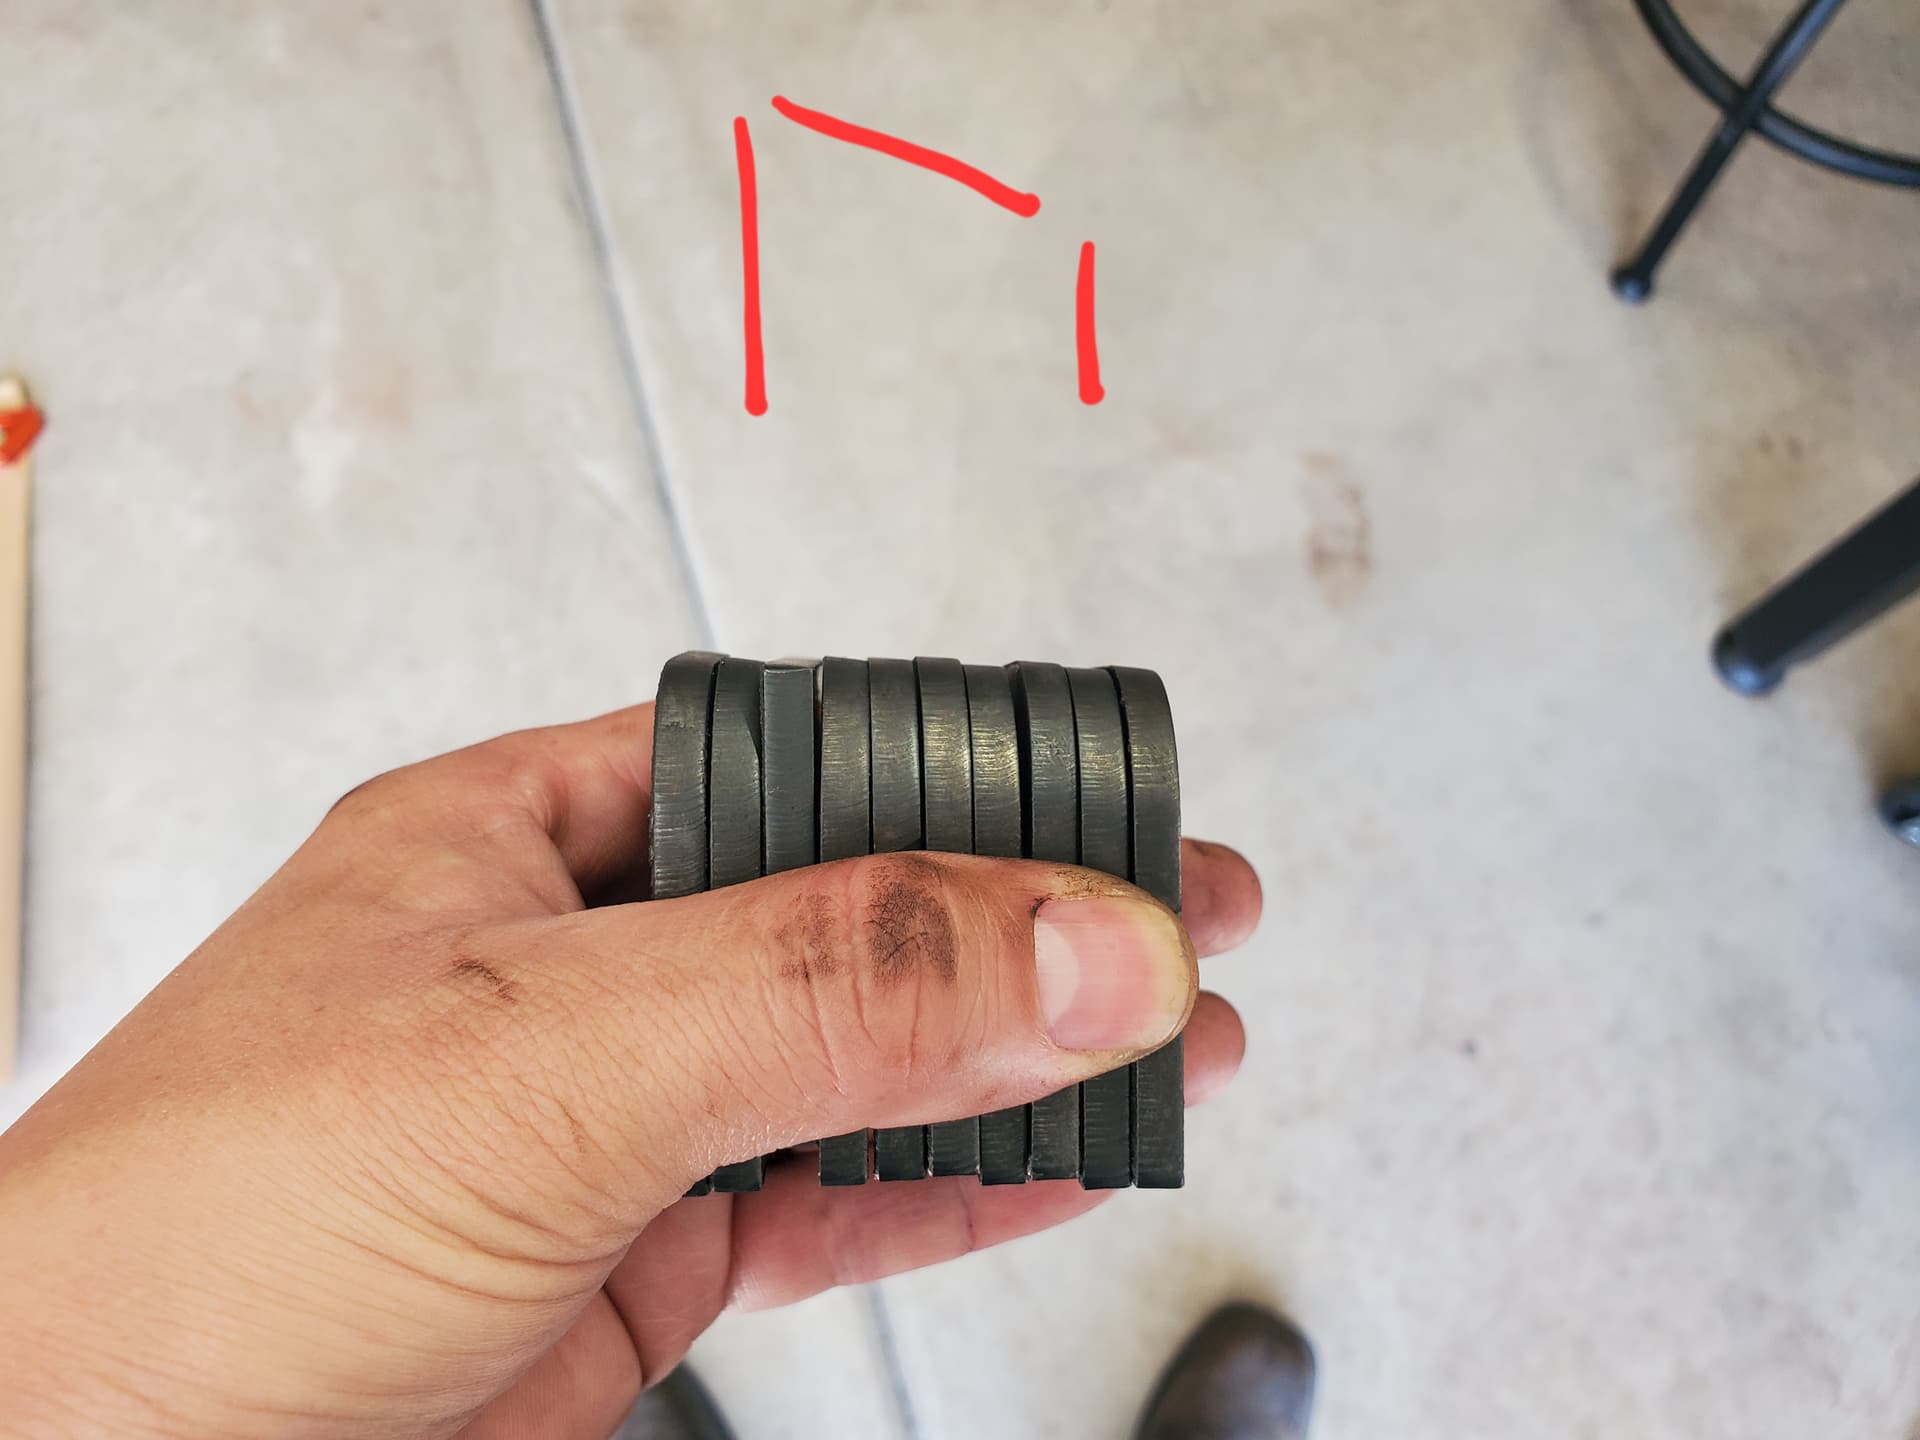
I also intentionally ADDED some cant to my torch by shimming the torch itself once, then a bit more a second time

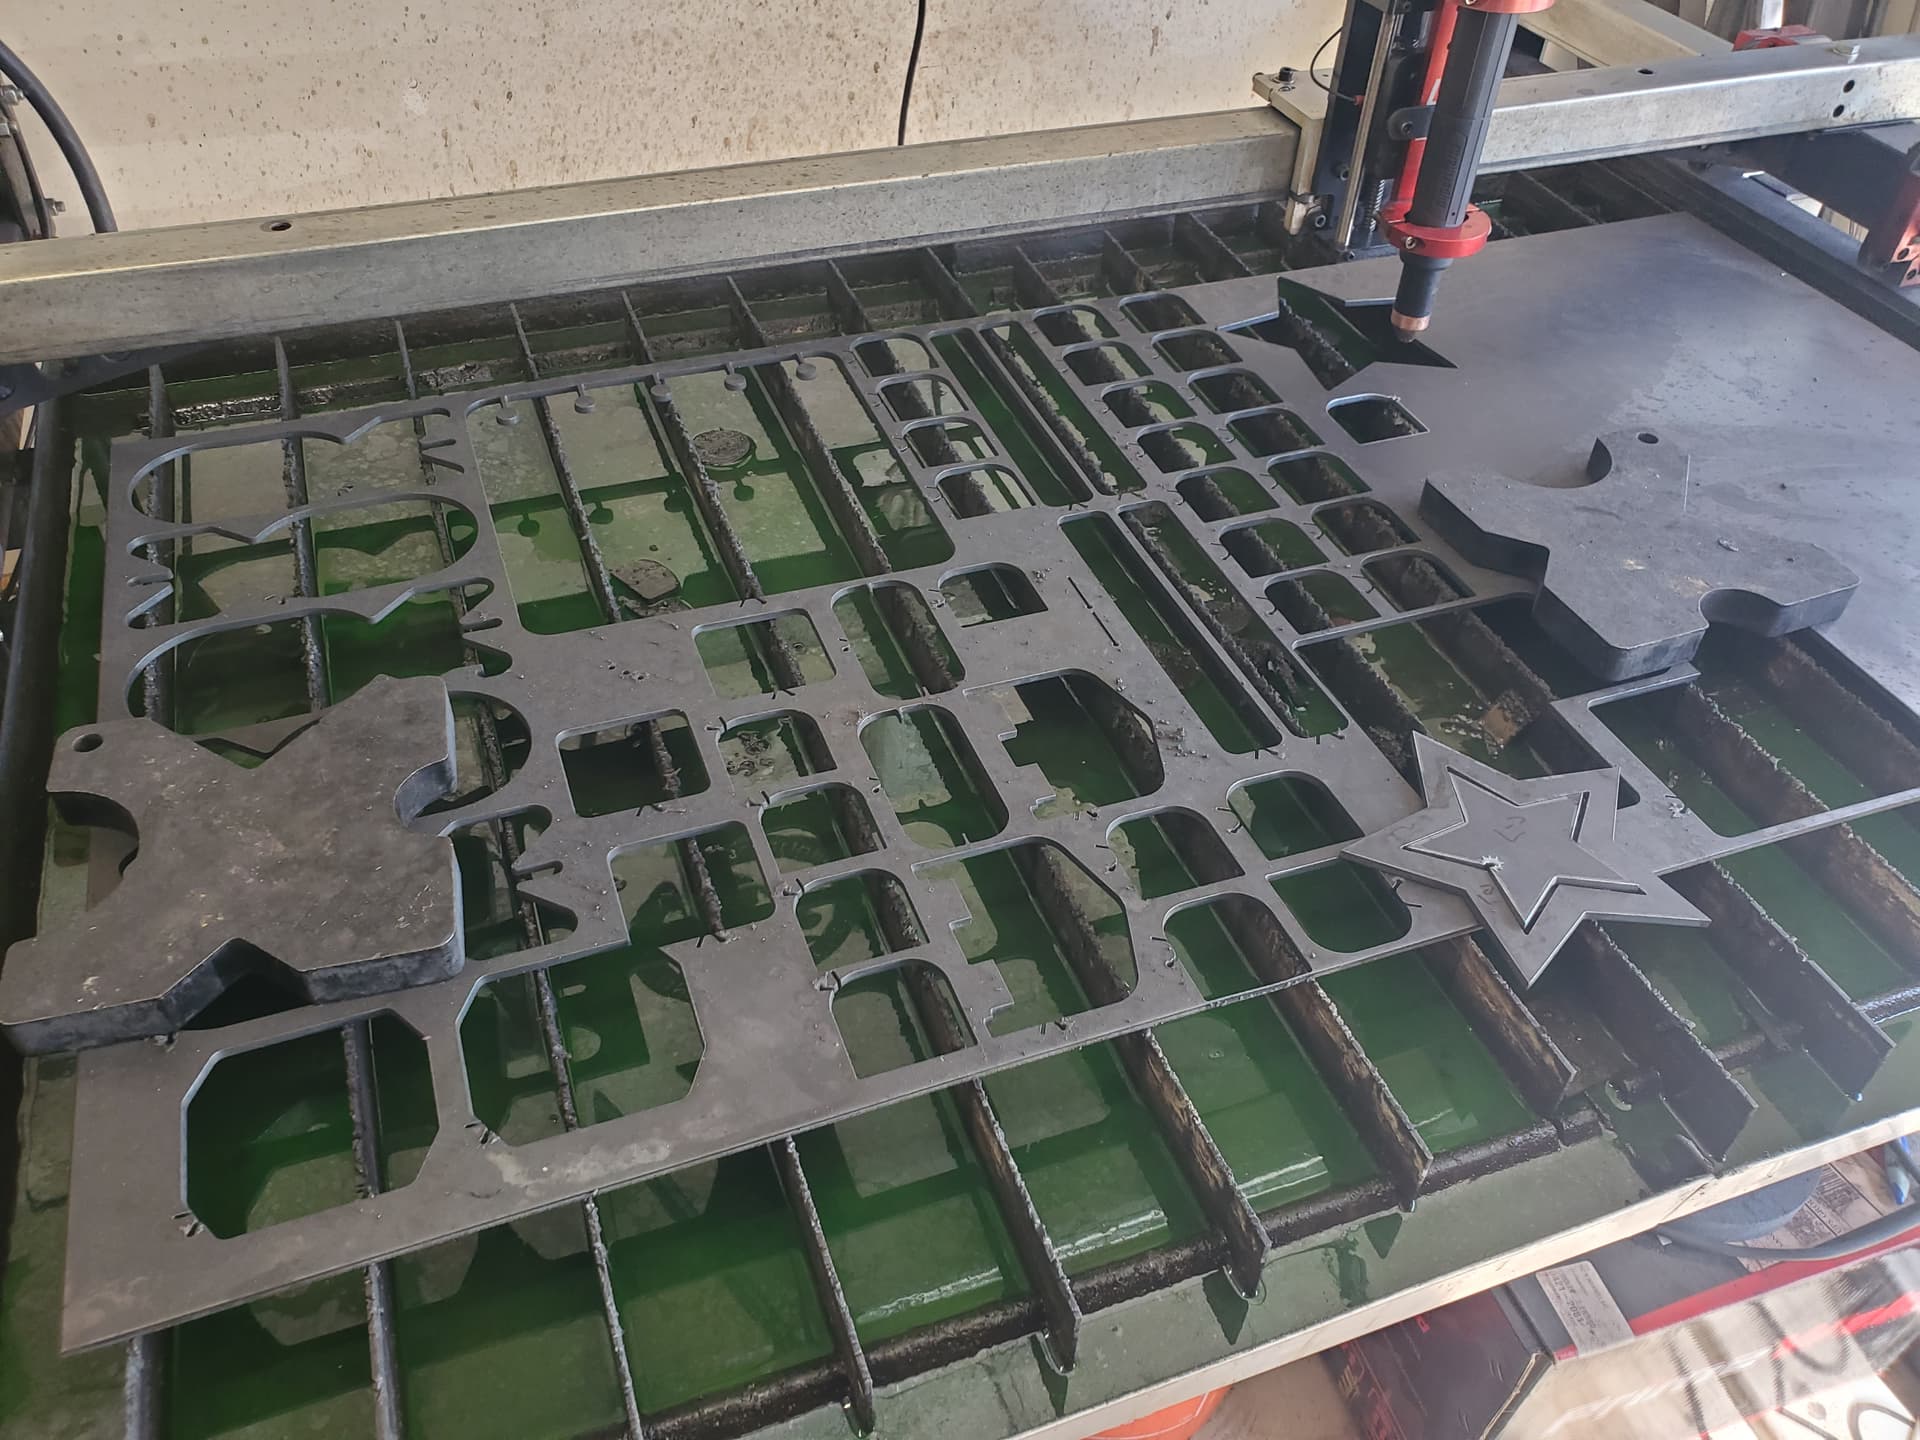
Here you can see that I’m cutting in different areas of the table with the same issue.

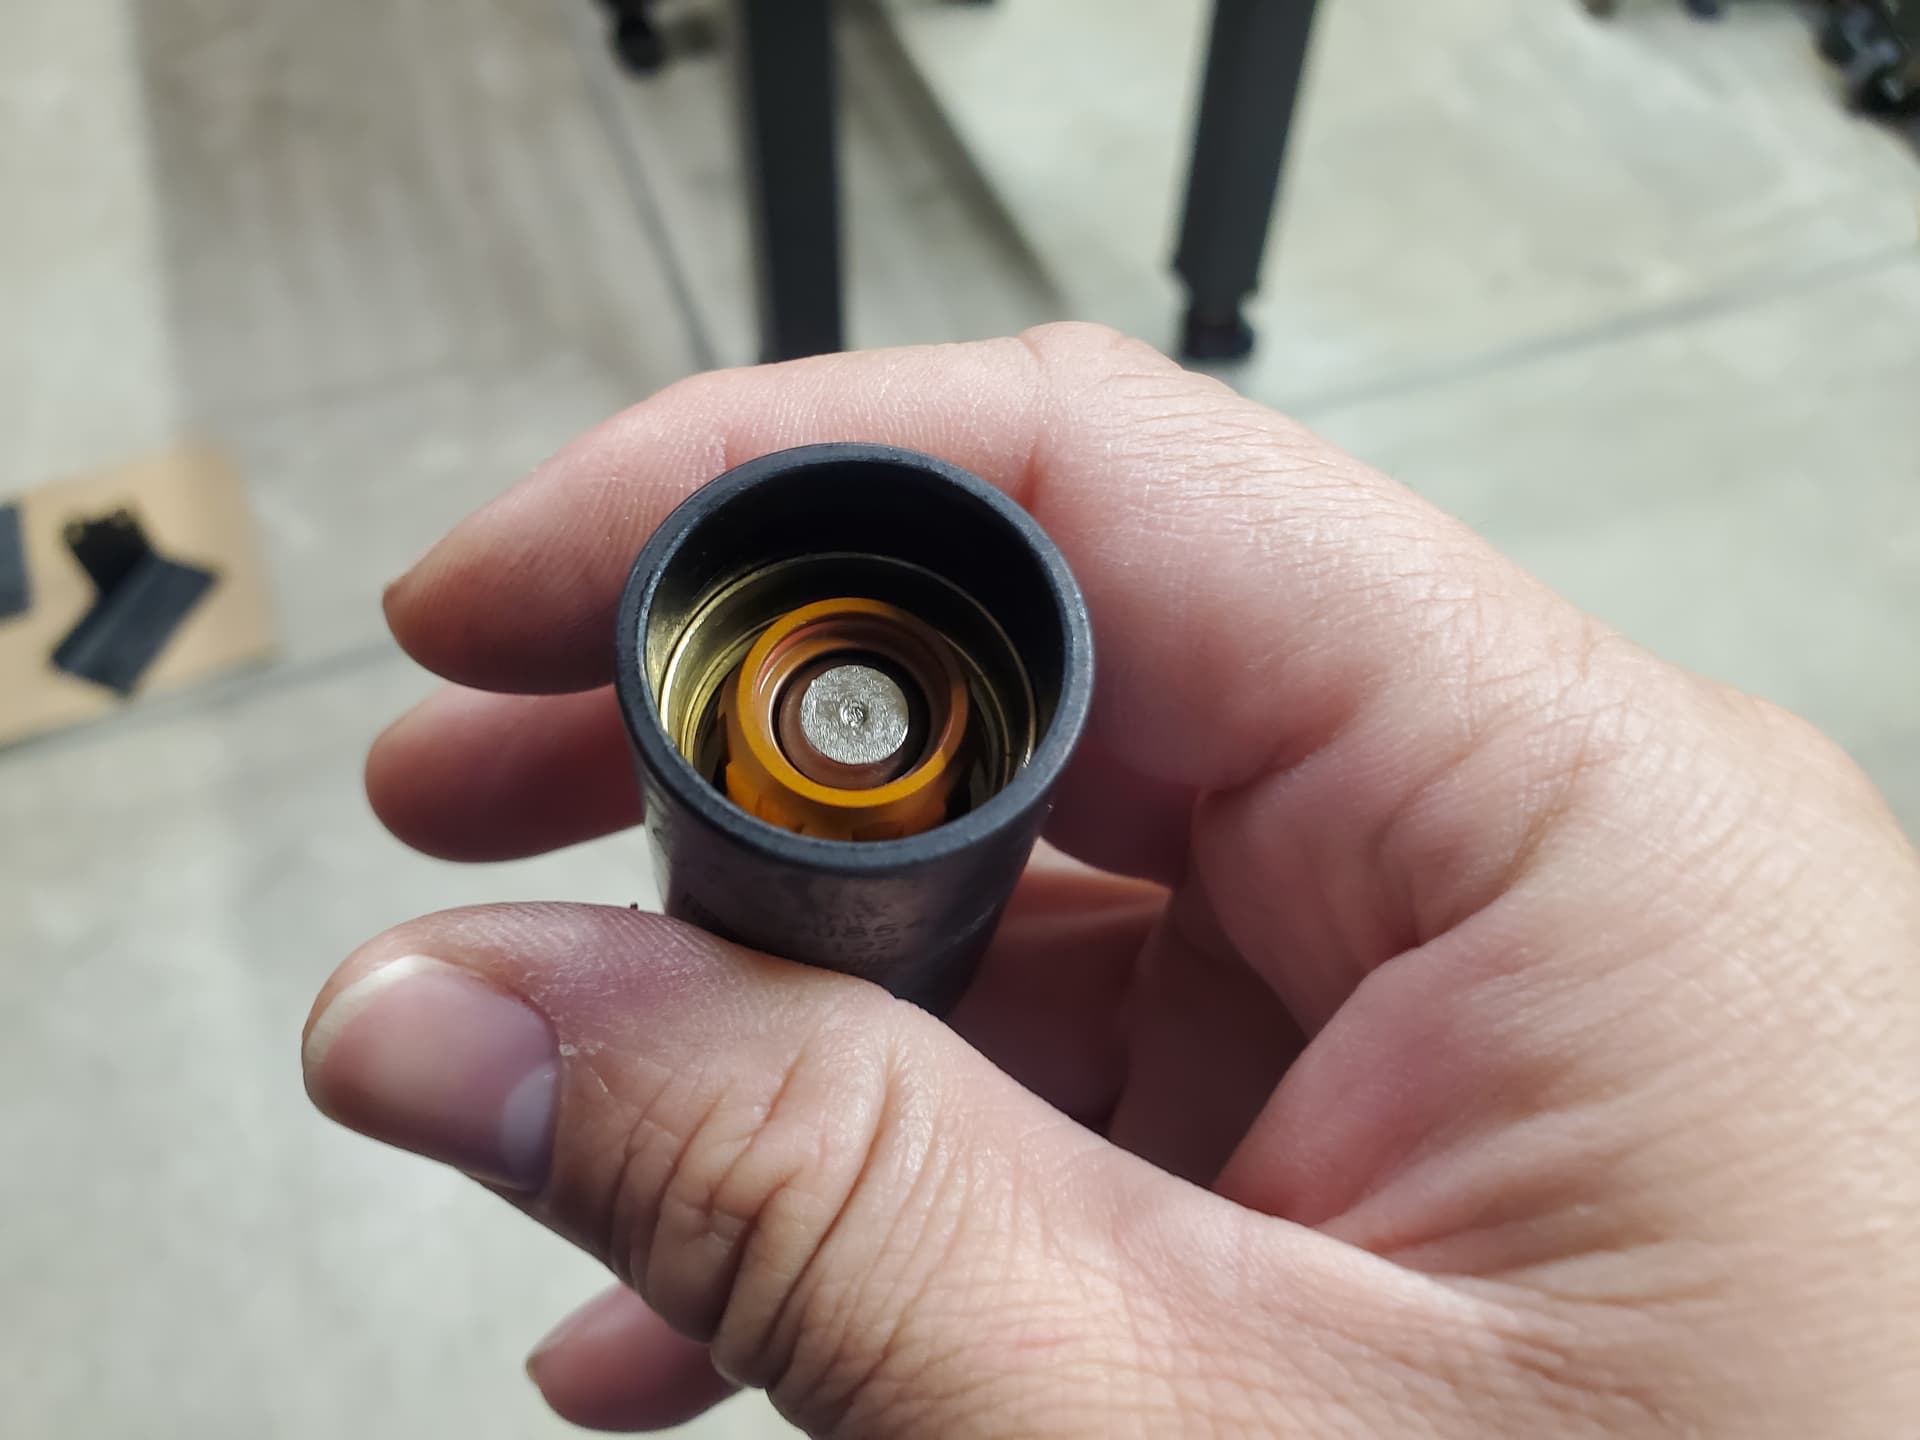
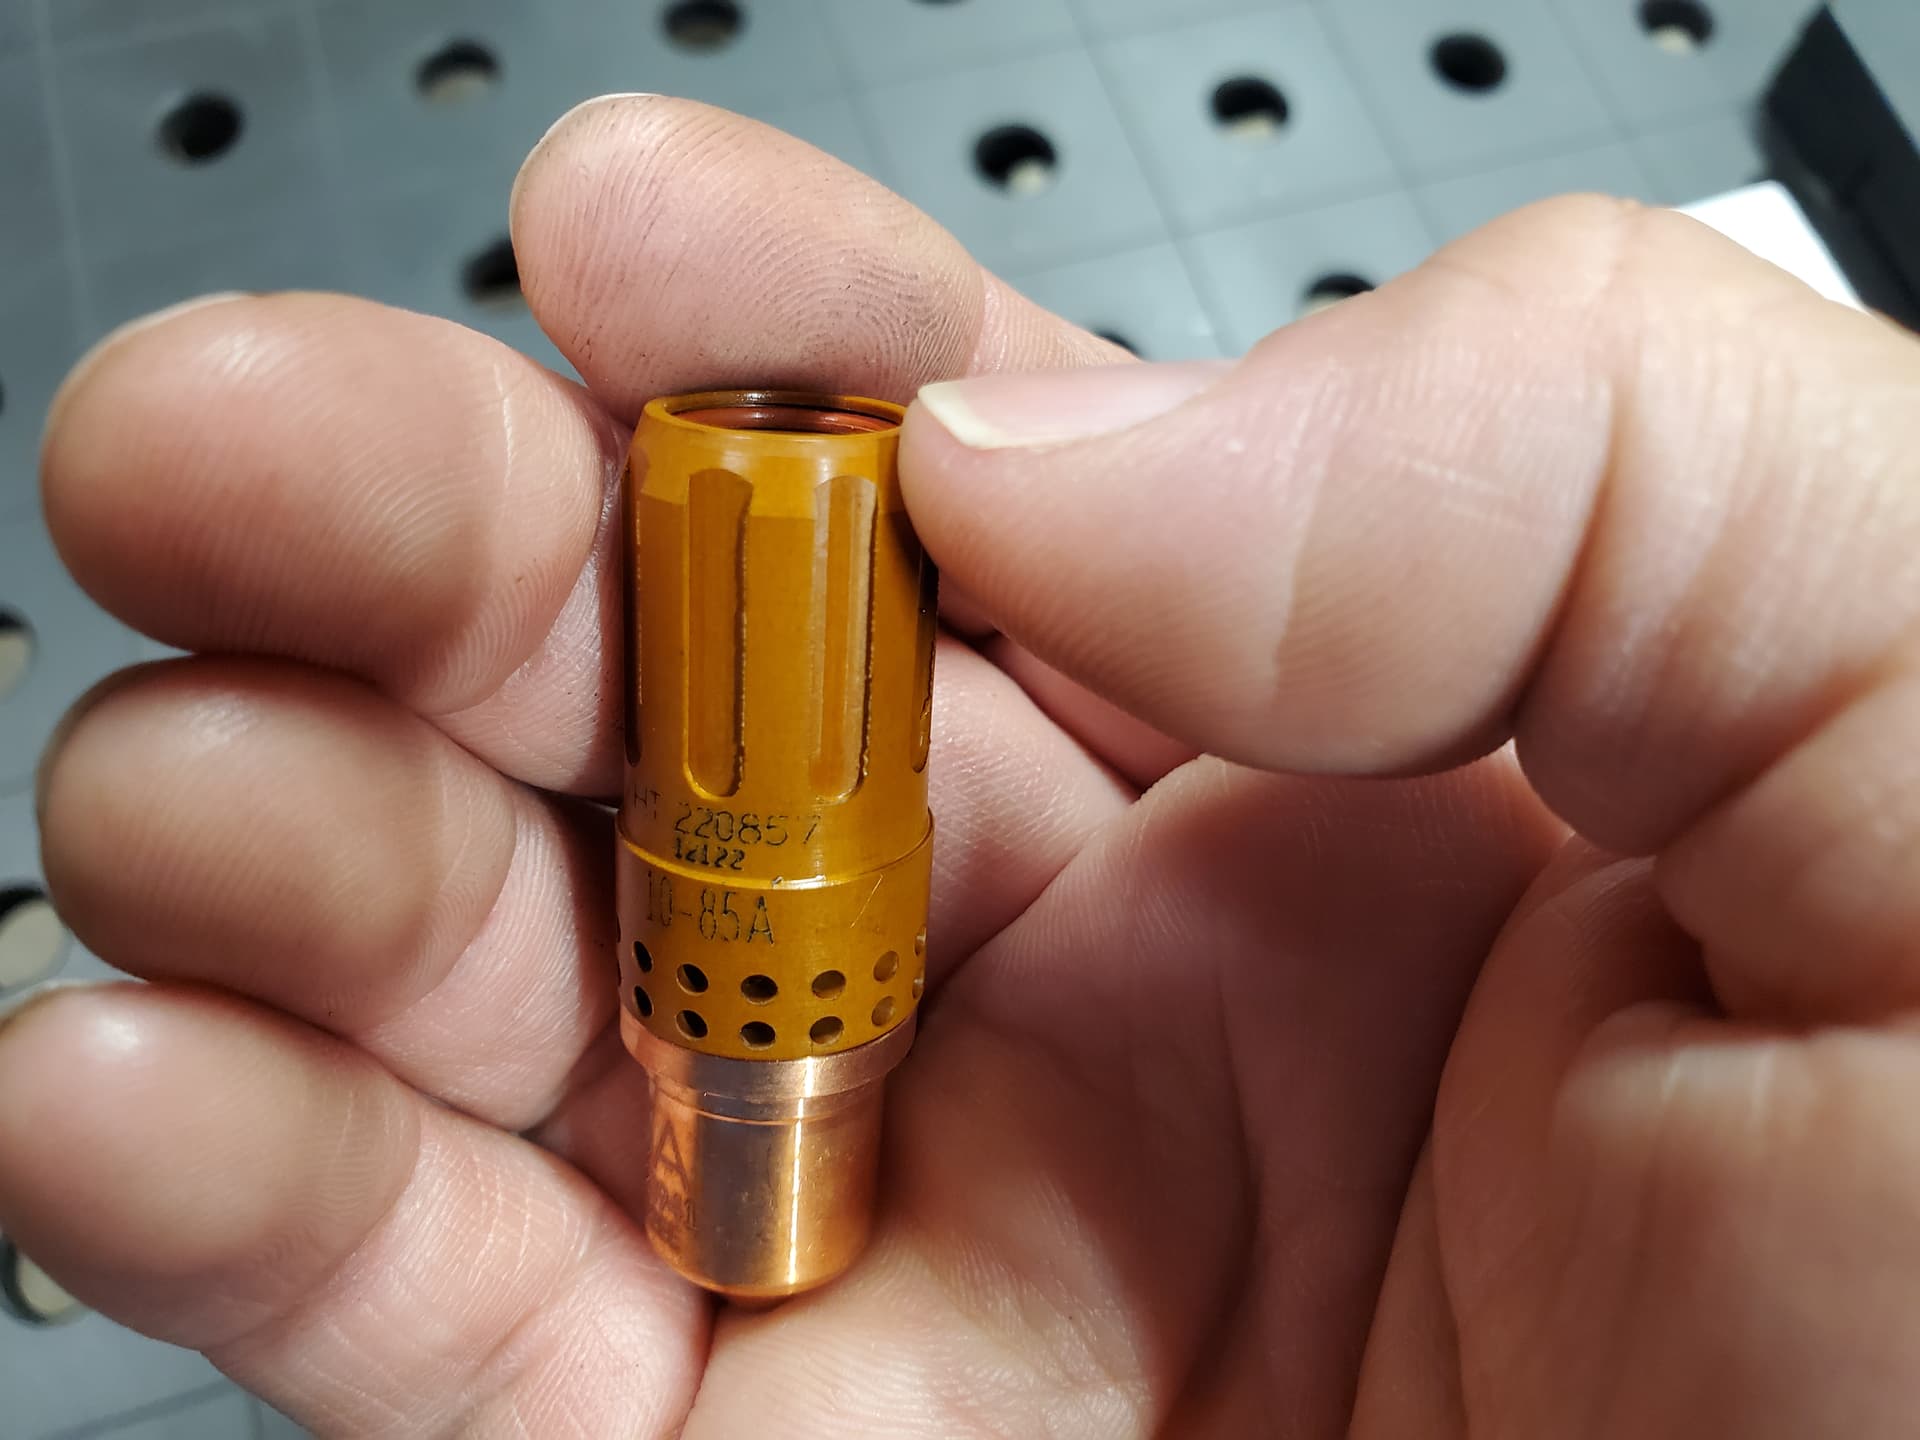
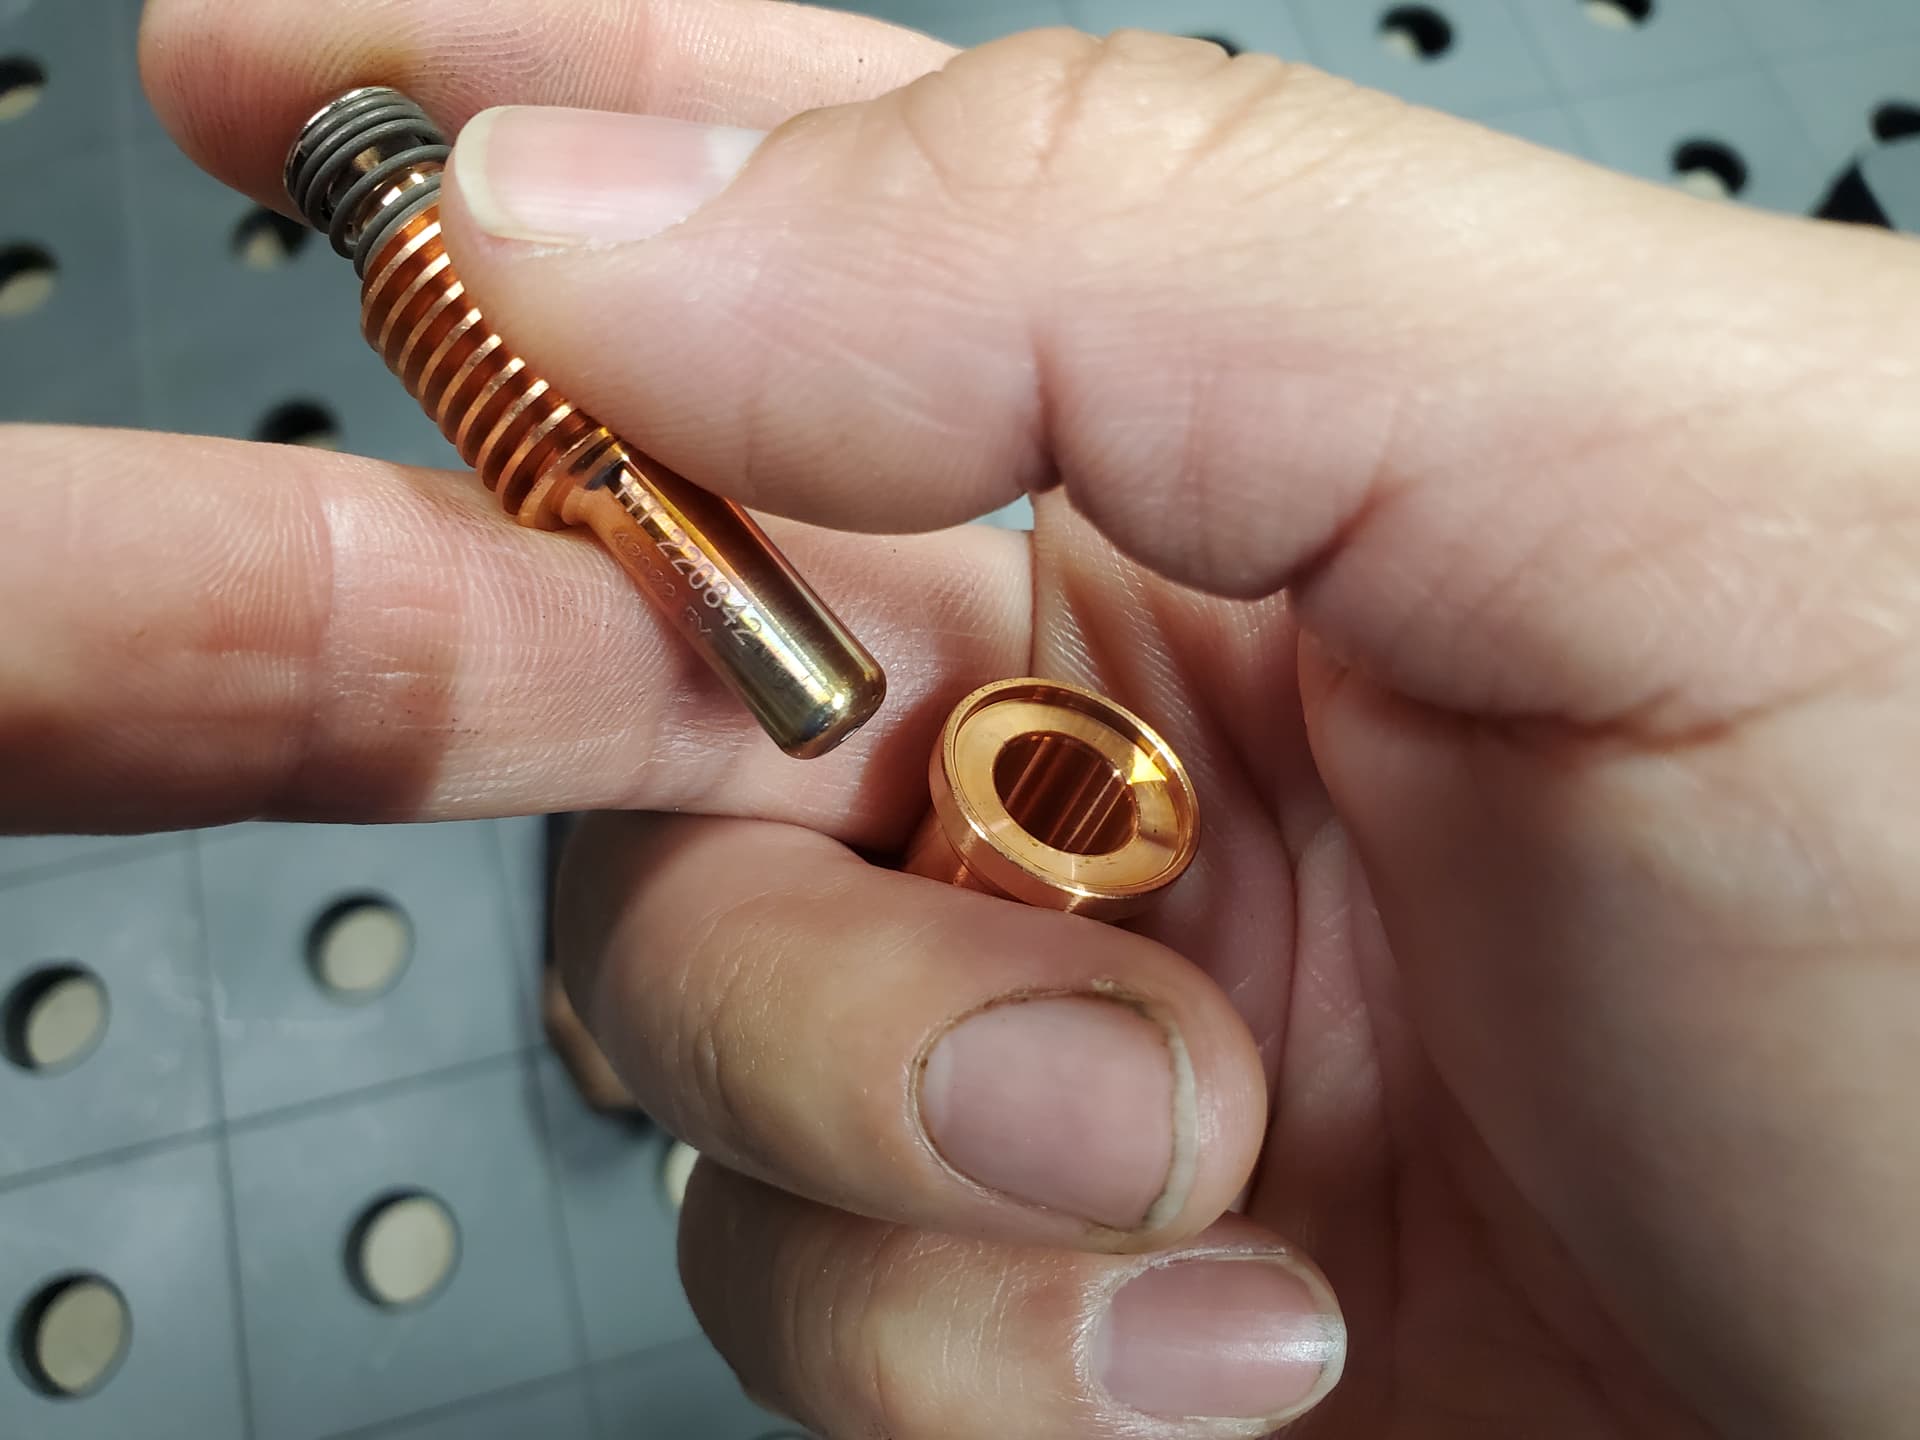
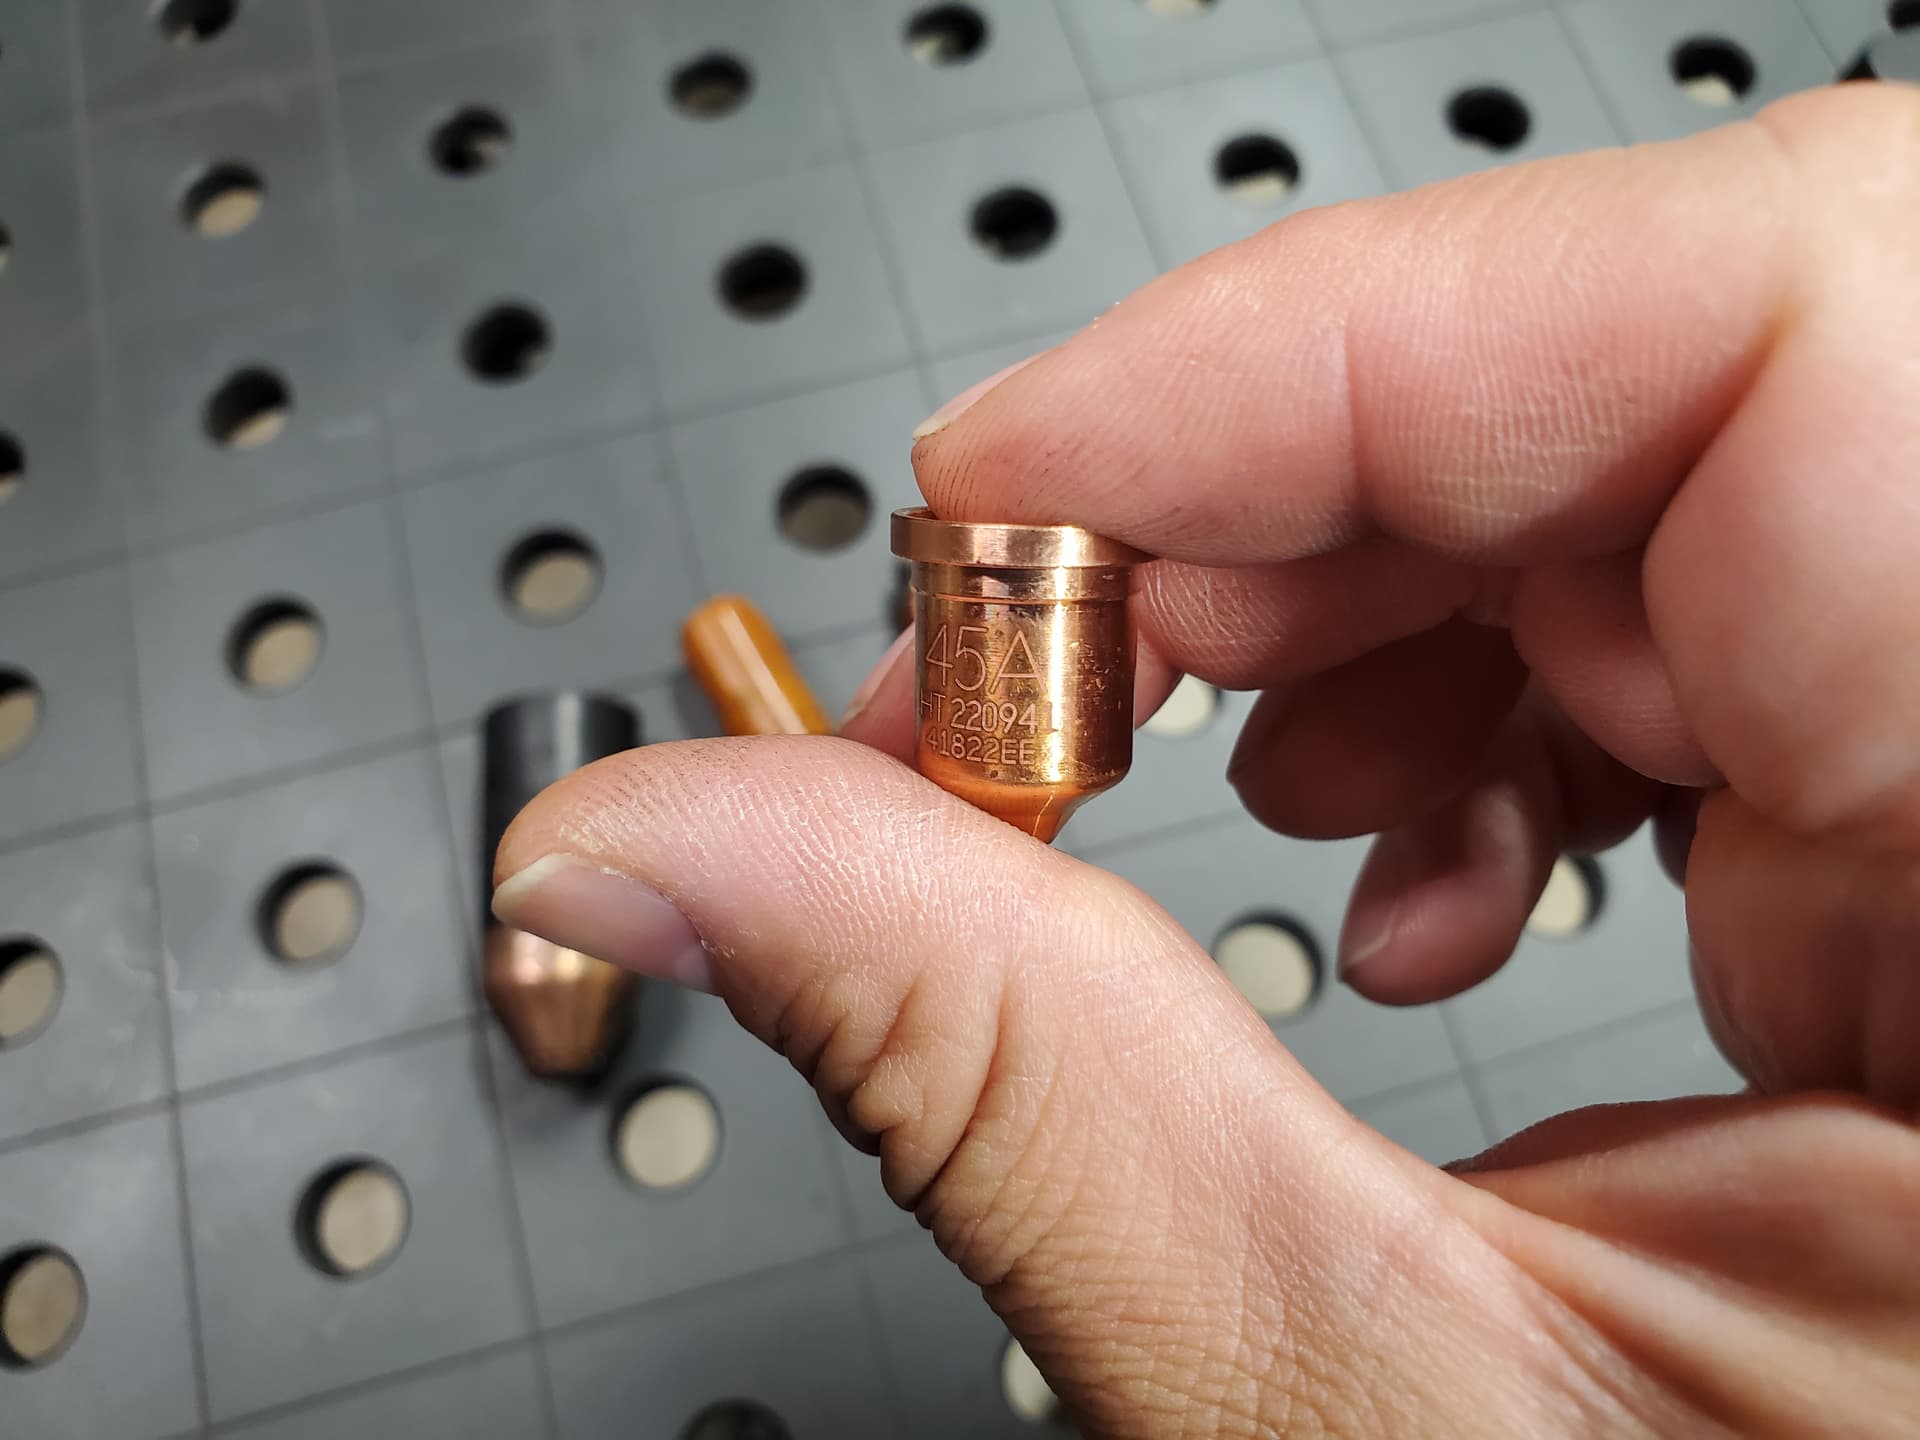
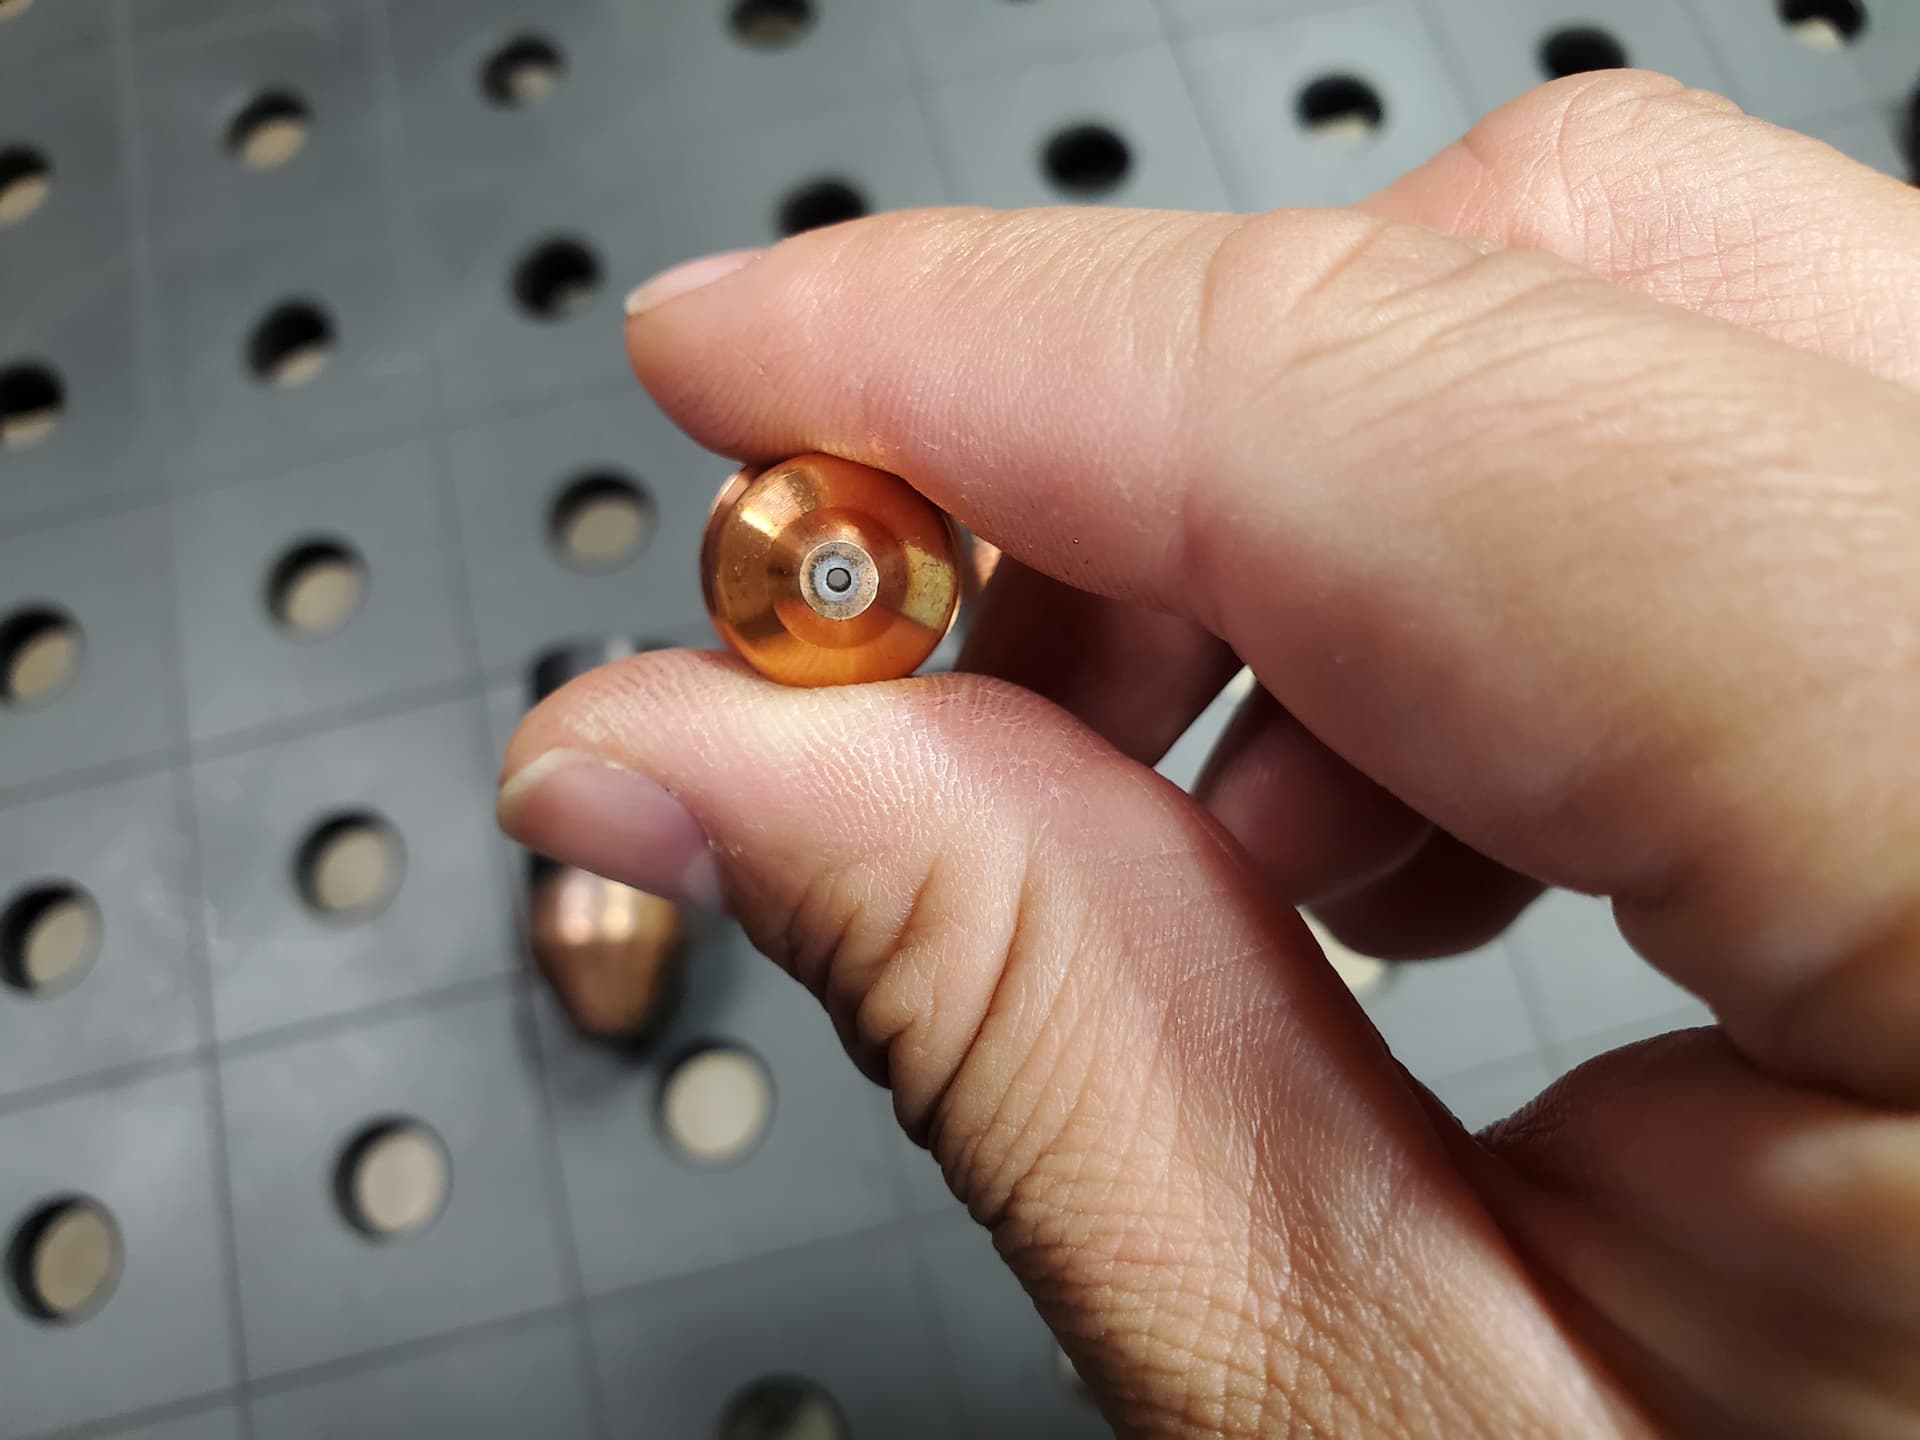
As well as pictures of my genuine consumables with part numbers shown - these are new as of today and all pierces are just for today’s test cuts.

And lastly, I’ve tried 100psi, 110psi, and 120psi to my Hypertherm and still had the same results.

I run a refrigerated air dryer, desiccant filter, coalescing filter, and a motorguard filter all before it reaches the water separator on the Hypertherm (which is dry to the bone).

So to summarize, cheap plasma cutter with cheap torch gave me square cuts all around. Install expensive plasma cutter with expensive torch and expensive consumables, lots of beveling on the top edge even after altering many variables and confirming everything is good.

PS The square cuts done on the CUT60 were as recent as a day before the Hypertherm was put to work.

1 Like

Most peculiar. This is going to bug me. Probably not as much as it bugs you, but I’m intrigued. You seem to have covered every single troubleshooting step that would apply given the circumstances.

I was helping someone via zoom a couple years ago and they had one spot on a sheet that just wouldn’t cut. Everything around it cut, but not this one spot, until they ground off some millscale.

Not that it really helps your situation but I wonder the percentage of gremlins that just exist at random.

One item I forgot to mention, as this came from a rep over at Hypertherm (my friend called Hypertherm while I was on the phone with Langmuir today).

I measured resistance from the dinse connector to the work clamp - this was done carefully, and I mean leaving the wiring exactly as it sat, because I was told that if I get a reading of 4ohms or more, that could make things susceptible to interference.

I measured 0.1 ohms from connector to clamp on my Klein meter.

And to answer your question, in the +2 years I’ve been cutting I have never once removed mill scale on any steel I’ve ever cut.

It’s why I mentioned nominal voltage, changing the tolerance to as little as 0.5v, and ensuring it was cutting as I demanded.

If mill scale was the factor, I would think I wouldn’t have achieved a good cut like I did 2 days ago, and suddenly get all bad cuts all over the same piece of steel with the issue occurring only on the top edge.

Yeah I agree on the millscale thing, I was just saying that was a completely crazy solution to a problem I had never seen. Wouldn’t have believed it if they hadn’t shown me. Perhaps your potential solution is equally as insane and unpredictable.

1 Like

Those were my thoughts when I pulled yesterday’s consumables with only 62 pierces; I was like man, these aren’t cheap but it’s part of the process.

After today’s results, nope.

So really here’s what’s planned after today -

Wait until I hear back from Langmuir before making any changes anywhere

Call Hypertherm, and explain everything

If whatever suggestions made by both parties don’t work, next step is to install the hand torch

Then lastly, put the CUT60 and UPM-105 back in place

If all that fails, then it’s surely the table and I’ll dismantle it completely and reassemble it again.

1 Like

For what it’s worth, I have the EXACT same problem. You are playing with .250 steel. Imagine the results you get with .500 up to 1.000. Three beautiful edges and a door jam.

What I don’t have is a noticeable problem with .250 and lower when I am cutting at 100a.

Also I am using an old Hypertherm 1650 G3 with a retrofit duramax torch, OEM, not aftermarket. Import consumables.

I accept bevel as a fact of life with plasma. Frustrating, as I can get better vertical cuts by had, but the overall quality on the CFP is the acceptable tradeoff since it does curves better than I could dream of doing freehand. Also soooo much faster.

1 Like

I don’t know the structure of the torch head, so these questions may make no sense but is it possible there is a slight deviation in the threaded barrel that the electrode screws into? Basically, is the electrode maybe not perfectly perpendicular to the cutting surface? Or maybe the tip sits slightly askew? Anything there in the end of the torch that could deviate the plasma stream?

Sure would be nice if you knew someone nearby with a system compatible with your torch so you could run it on a different table.

1 Like

Bret has a good idea with the way the consumable is held having an impact. It is a long shot but I recently replaced my shield and it made a big difference in the quality of my cut.

You could always do a test cut with all new consumables including the shield, swirl ring etc. If no change put the old ones back on the torch.

1 Like

Everyone knows that if you get a Hypertherm plasma cutter you will have no issues with cuts, you will get 20,000 pierces and cut 4 1/2 miles of metal perfectly on one set of consumables all the time.

And if you have any trouble you never post it on the forum or the innerweb. :rofl: :rofl: :rofl: :rofl: :rofl:

Now lets see here. From the picture of the plate with all the cut outs all the bevel is on the same side. This would tell me there is some kind of movement, something lose or maybe the torch cable it pulling on the torch causing this. Also it most likely not be the consumables as it would be on all side if it were.

2 Likes

Beveling is natural on plasma, we all know this.

But the bevel occurring is more than natural, as in it’s quite a bit excessive on every piece just on this one edge.

I think it was missed but, a cheap plasma cutter that was used on the same exact table produced square results.

This theory was debunked already.

Torch itself was rotated within the torch mount several times as well as the consumables having been replaced.

The consumables only fit one way and it is not possible to have the electrode go in at an angle.

1 Like