As we step into the summer season, I wanted to invite all of our talented yard tool enthusiasts to participate in a friendly competition to design your own yard tools and yard tool storage solutions. The goal of this contest is to foster creativity and share innovative designs with each other.
Here’s how the contest works:
Design and create your own unique yard tool or yard tool storage solution using any materials of your choice.
You can either come up with completely new designs or remix and improve existing designs. Feel free to submit as many designs as you like.
Upload files of your design to our “FireShare” website along with a description of your project. You can also post your design in the comments section of this post.
Encourage fellow participants by liking their posts and sharing positive feedback.
The contest will run until the end of July.
While there won’t be any official winners, the true reward lies in the wealth of ideas and inspiration we can all gain from each other’s designs.
If you decide to build any of the submitted designs, please share pictures of your final projects with the community. We’d love to see what you create!
Remember, the focus is on yard tools and yard tool storage solutions. This can include anything related to gardening, landscaping, or general yard maintenance. Be as creative as you like, using materials and techniques that suit your vision.
If you have any questions or suggestions, please feel free to share them in the comments section
Were you a Cheerleader in High School or something? I’m struggling to imagine you in a short skirt, kicking your legs up high, but, I suppose it’s possible…
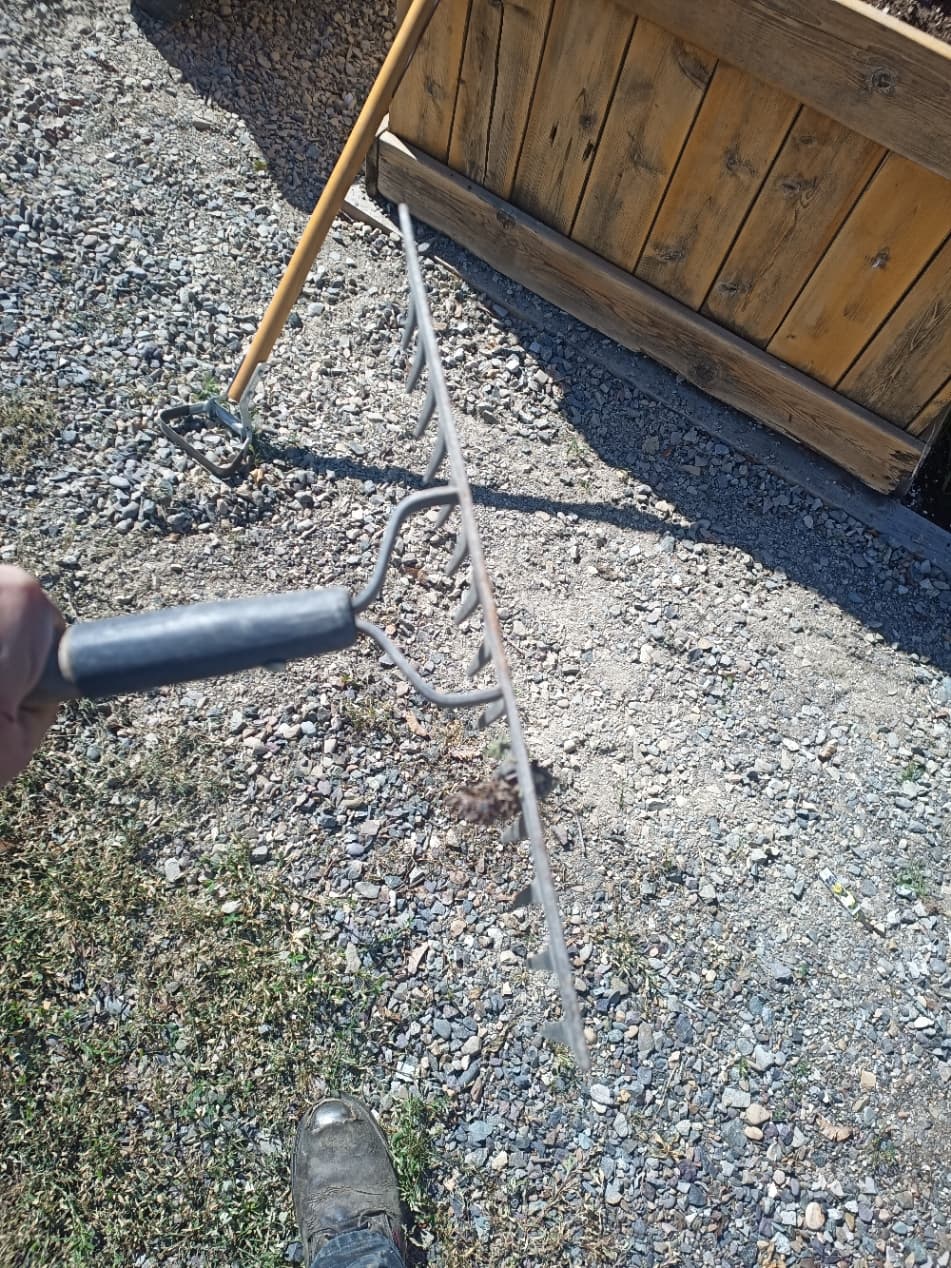
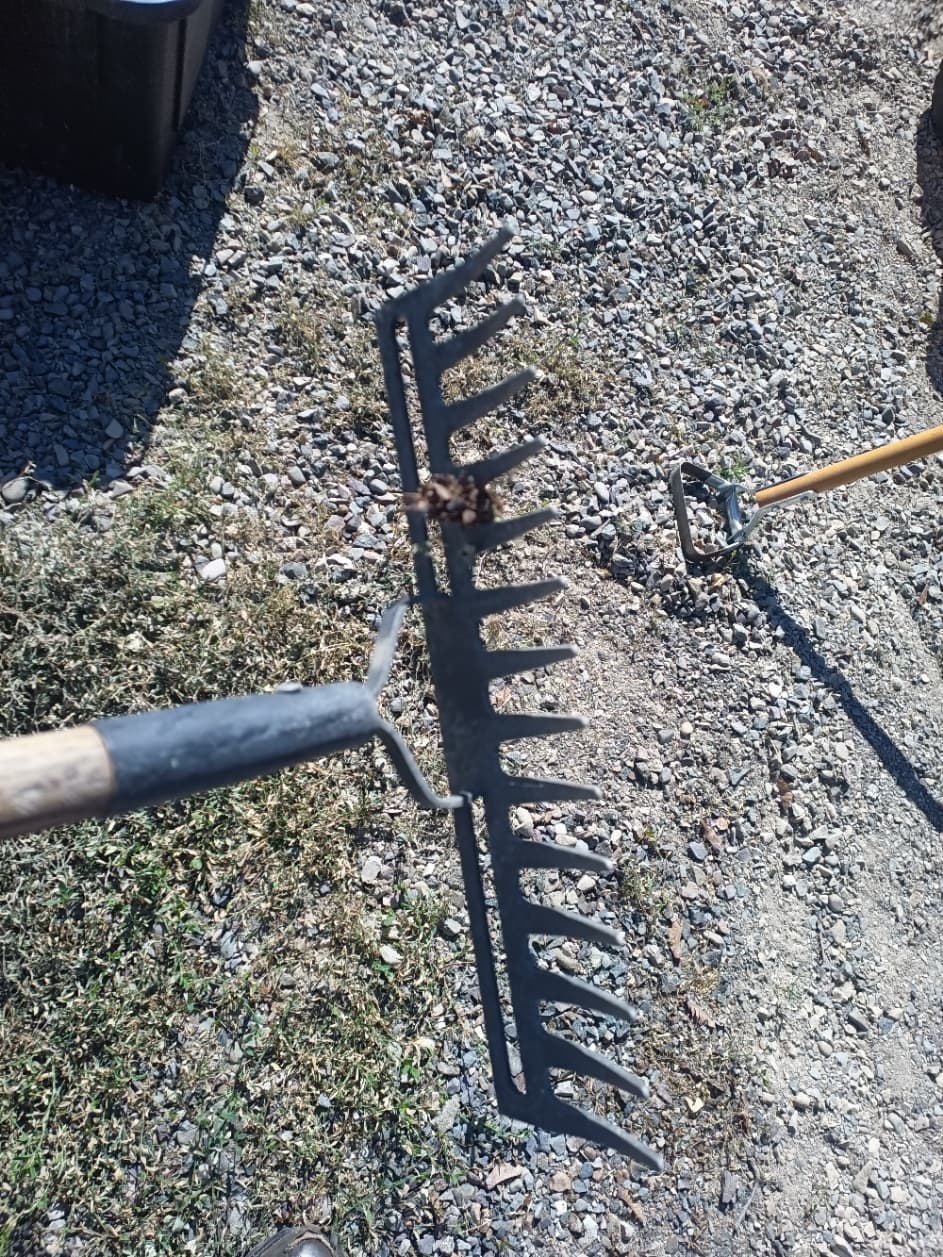
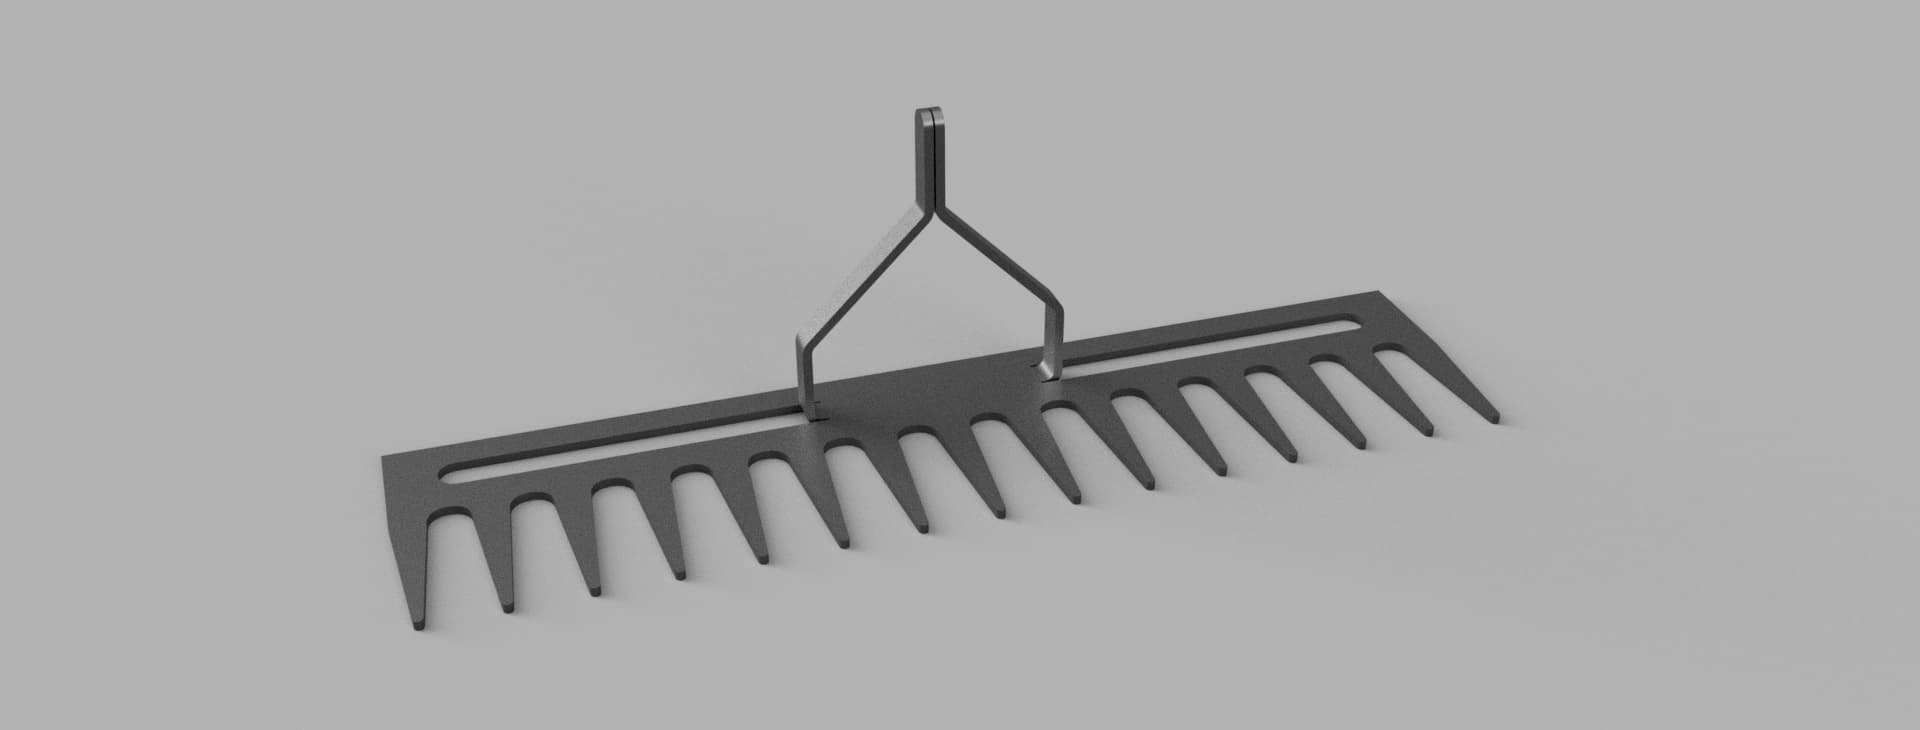
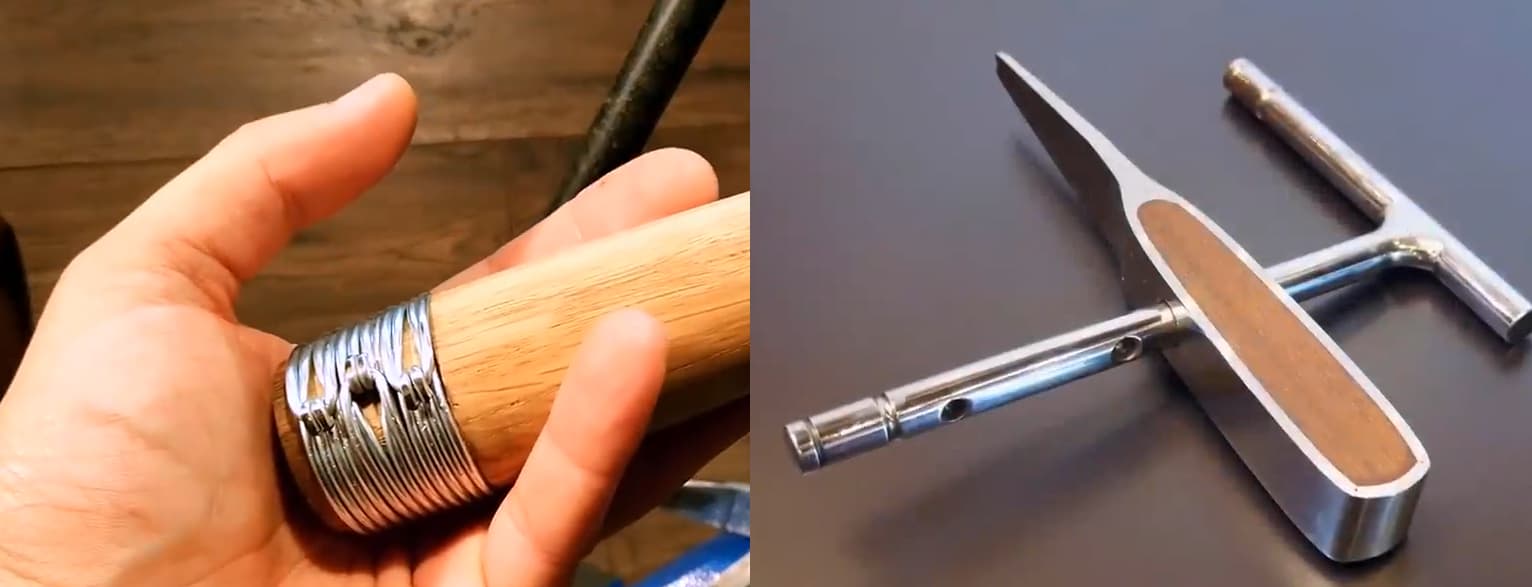
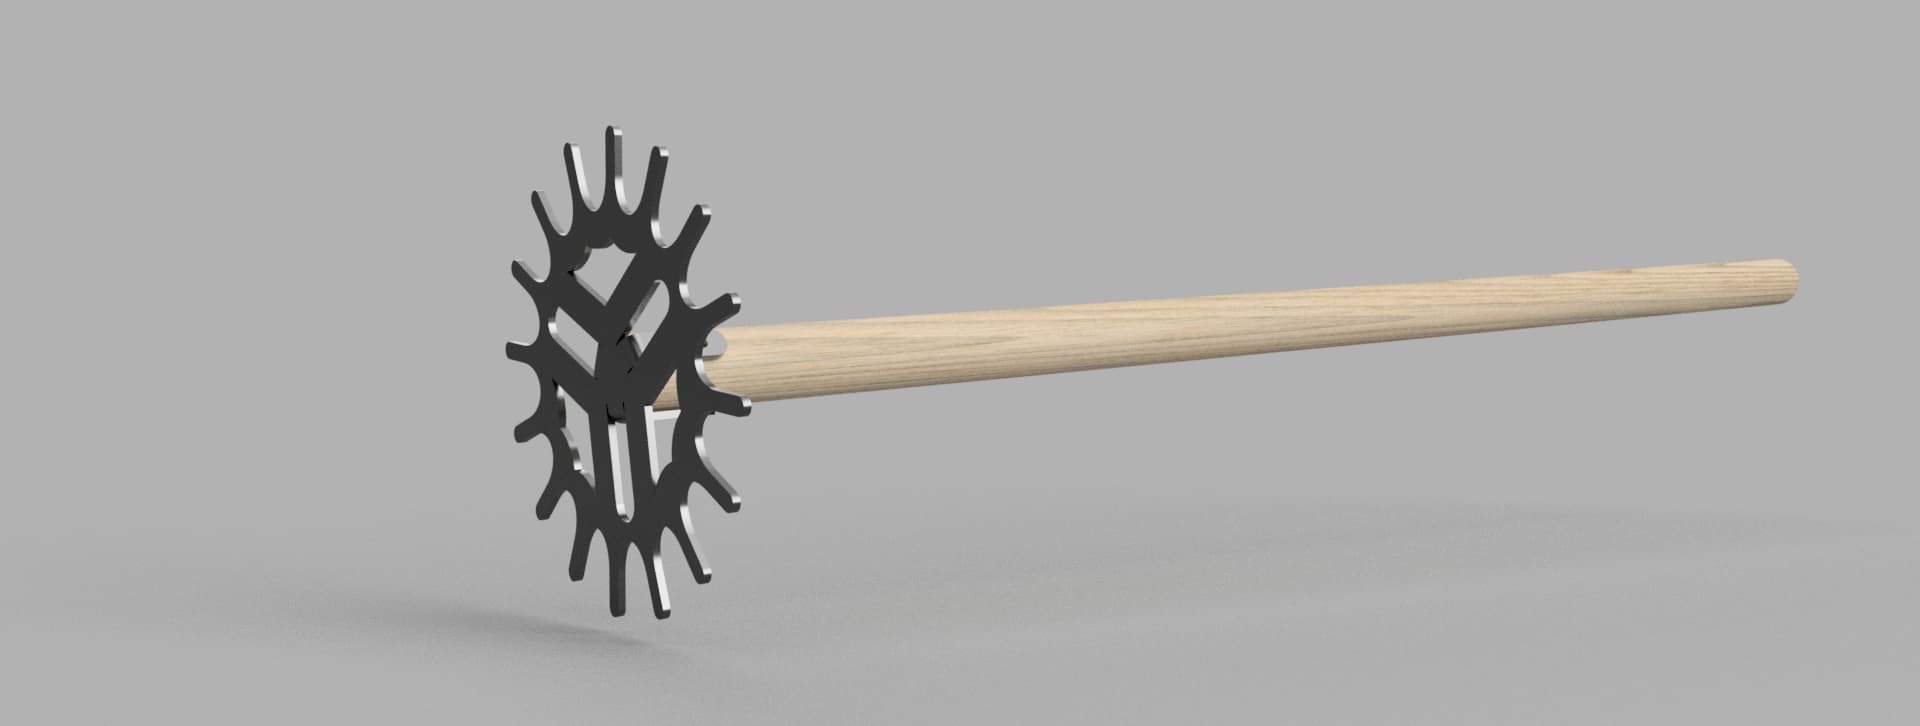
It took me a minute to understand what you planned on doing but that is such a great idea. These rakes cost a lot of money in the stores. Great project!
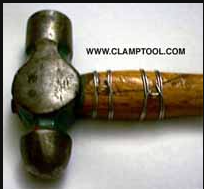
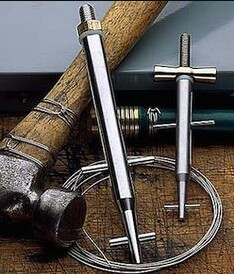
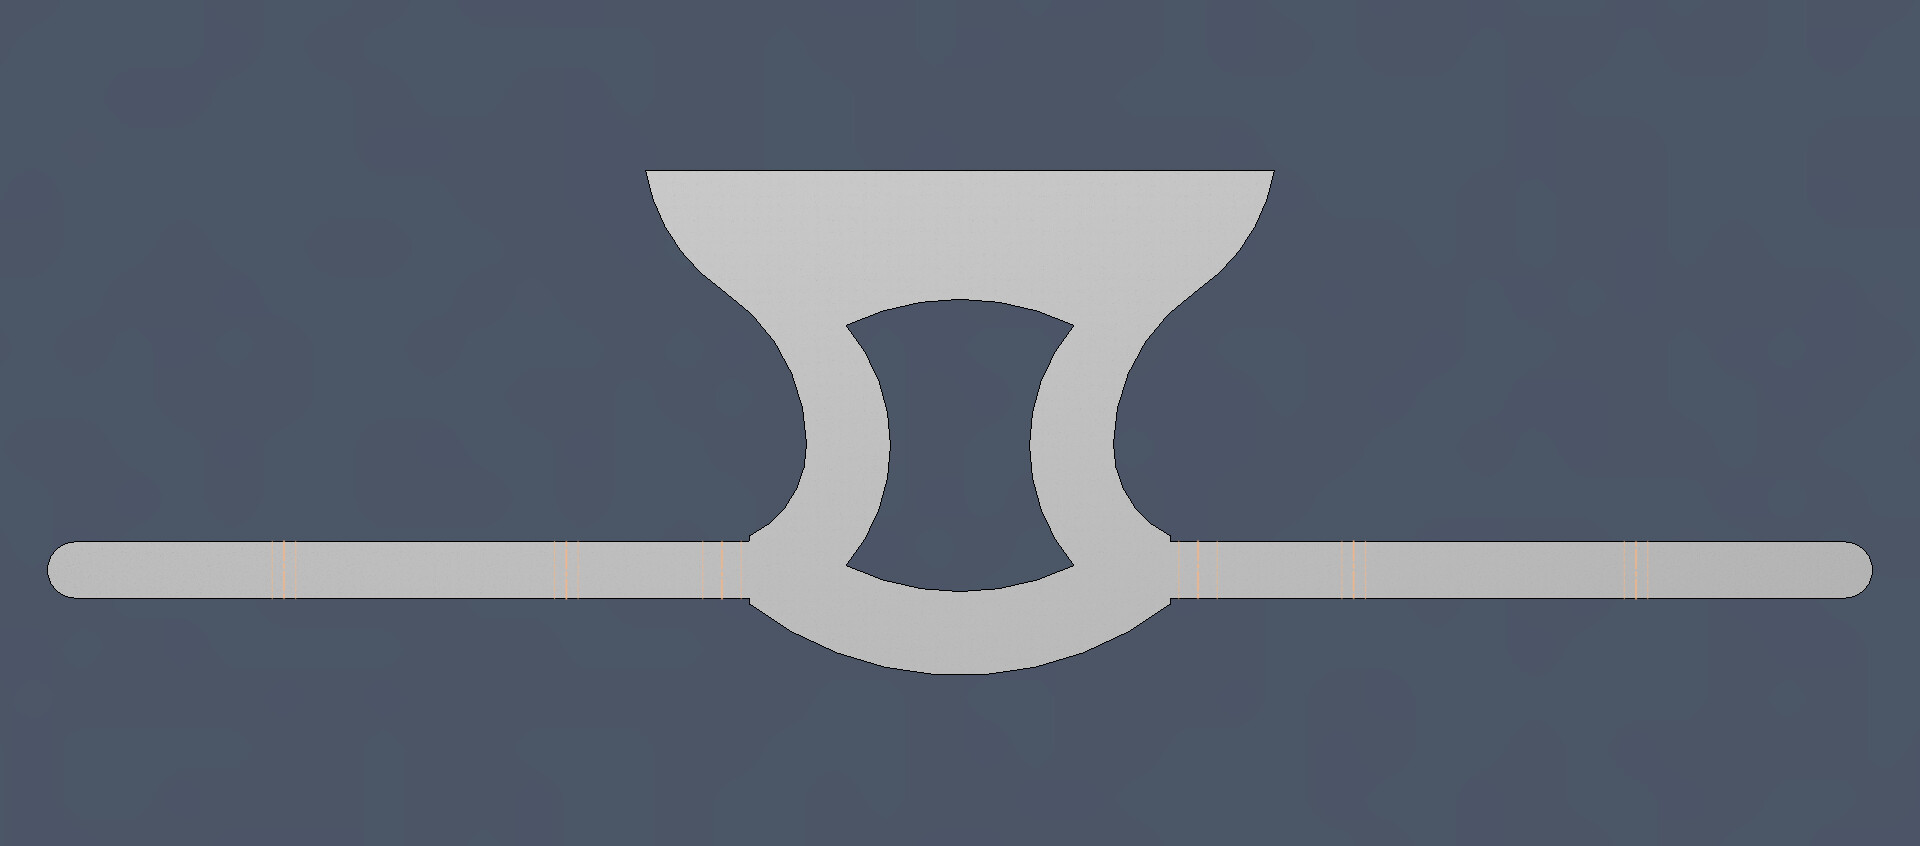
If you are looking for other ways to secure to the handle, or to reinforce the handle, this Clamptite device would work. (I know it sounds like I am a plant for this wire tightening device but they really are very cool).
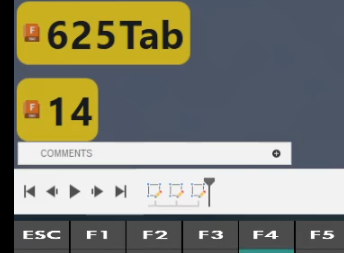
Thanks. The first set of videos I made on LOOMa couple years ago I used the exact same software. It wasn’t jiving with the setup I had befor, I rearranged a few things and got it functioning again.
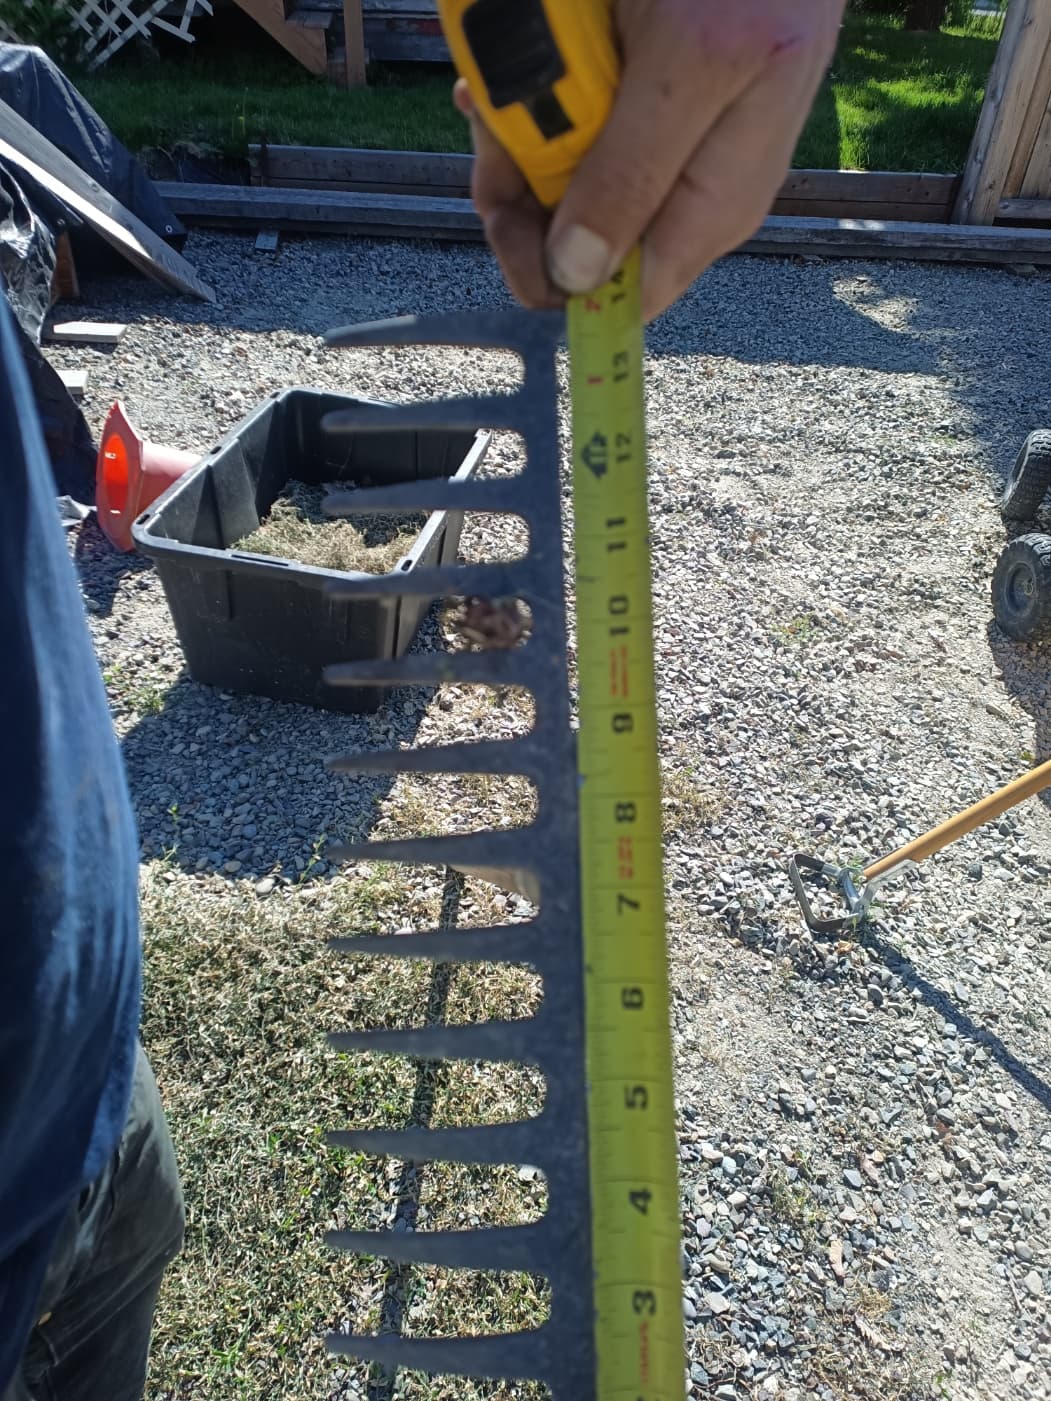
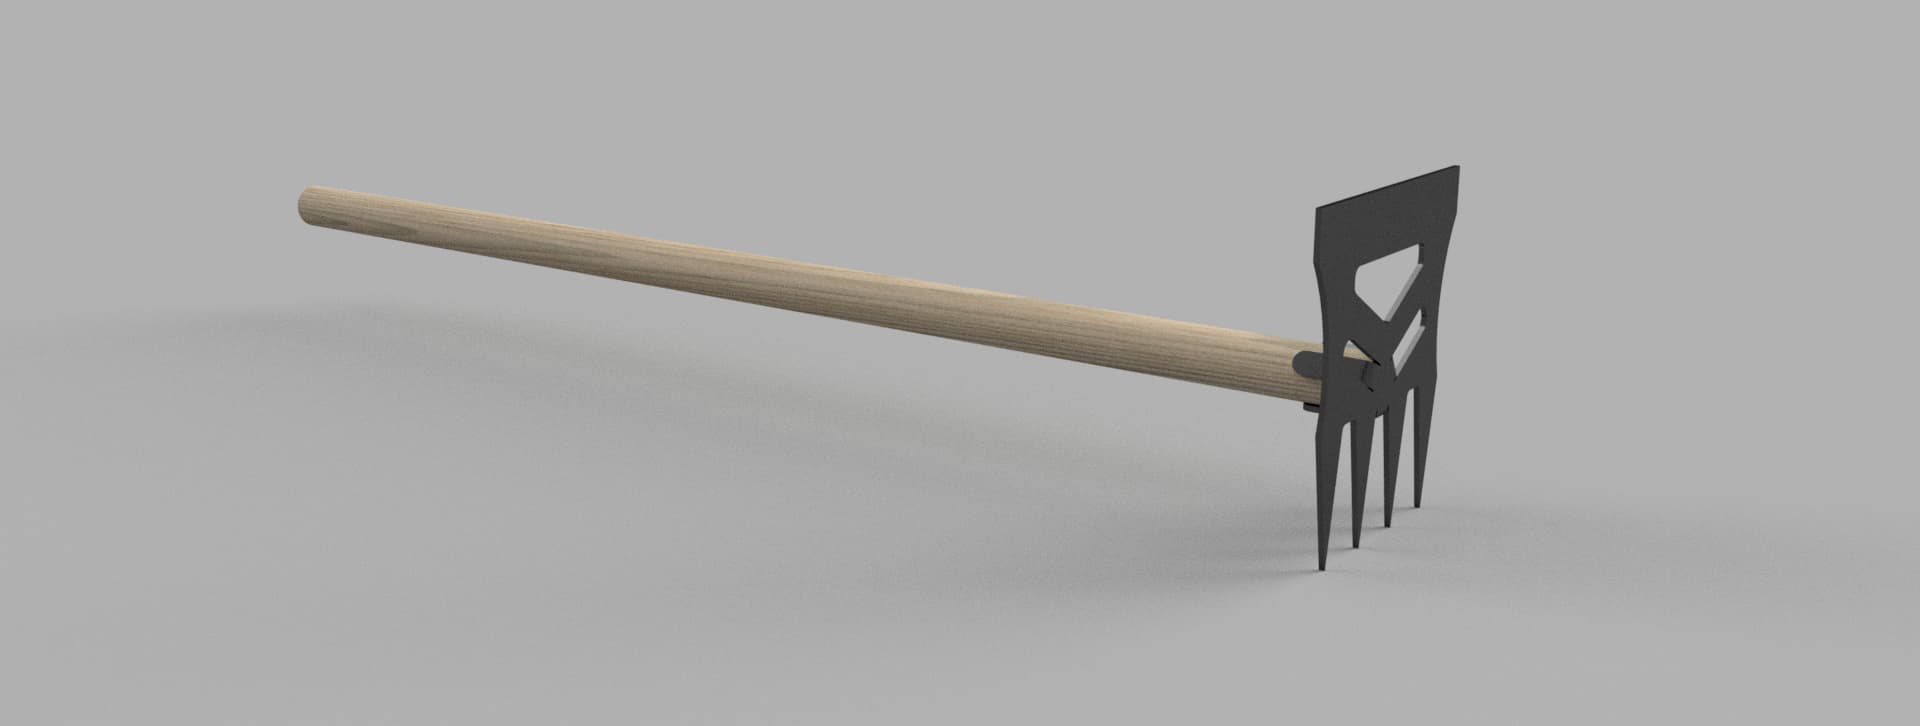
Something to consider with these tines is some heat treatment.
My bootleg efforts have had some success but others can weigh in:
If you are wanting to grind/sharpen the steel that has been hardened, you will have greater success if you first anneal it by heating it up red hot and allowing it to air cool. This will soften the metal. You will find that a hand file grabs the metal much easier after this stage of treatment but it will not hold the edge.
You can’t always have access to the typical “hardening” by quenching but you can still have some decent results by skipping to the tempering phase. For this, I carefully heat the metal up to the blue color and try to keep it there for a few minutes. I then reduce the heat of the torch and continue to wave it over the metal for as long as I have the patience (usually about 5 to 10 minutes more). Then I allow it to air cool.
This makes an amazing difference to strengthen the metal. It is not perfect: just better than untreated metal.
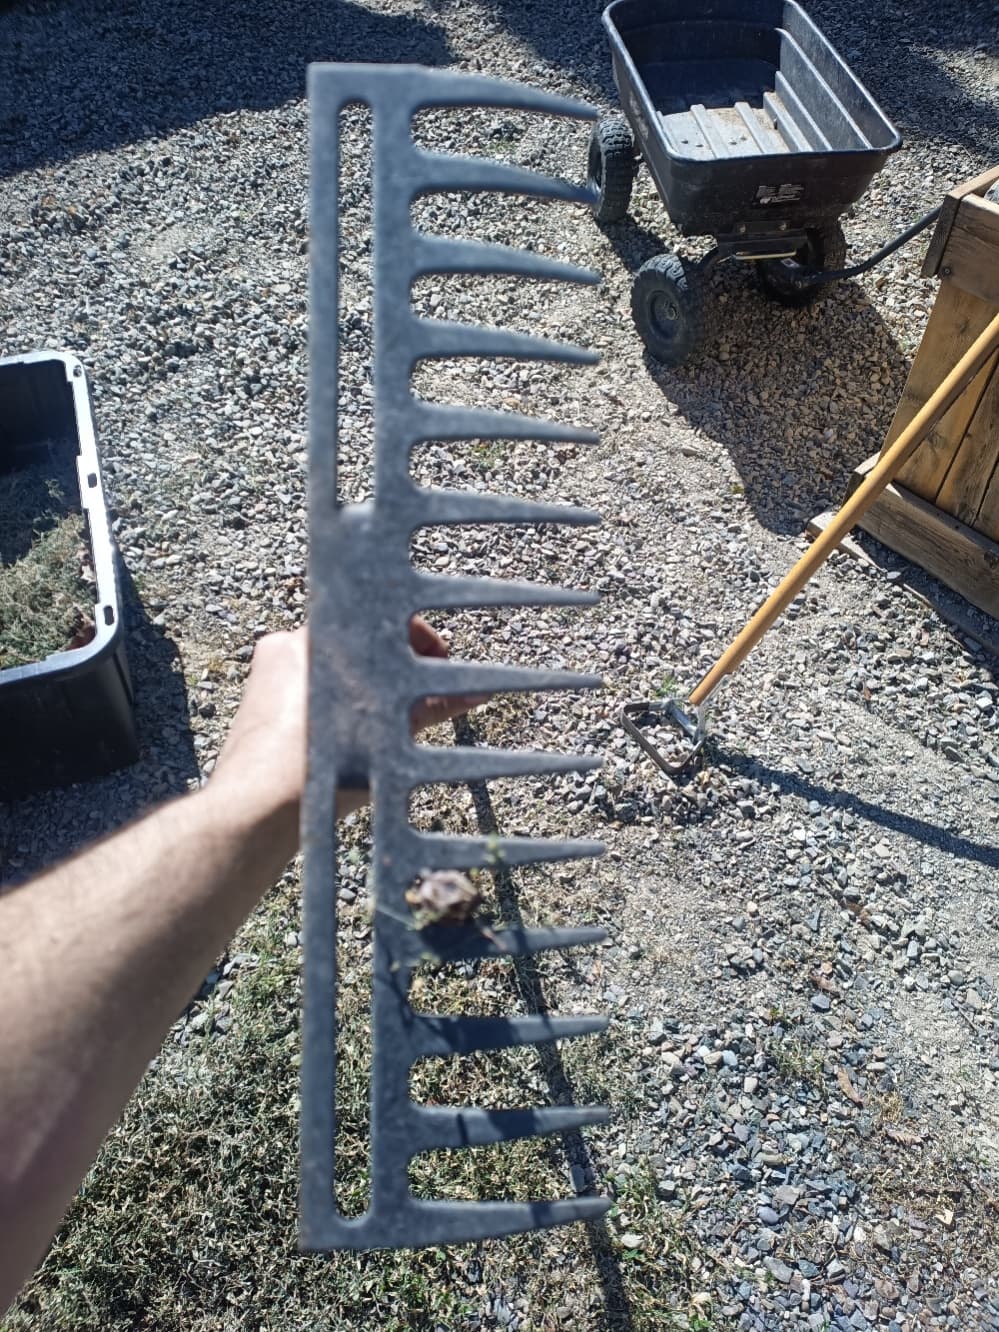
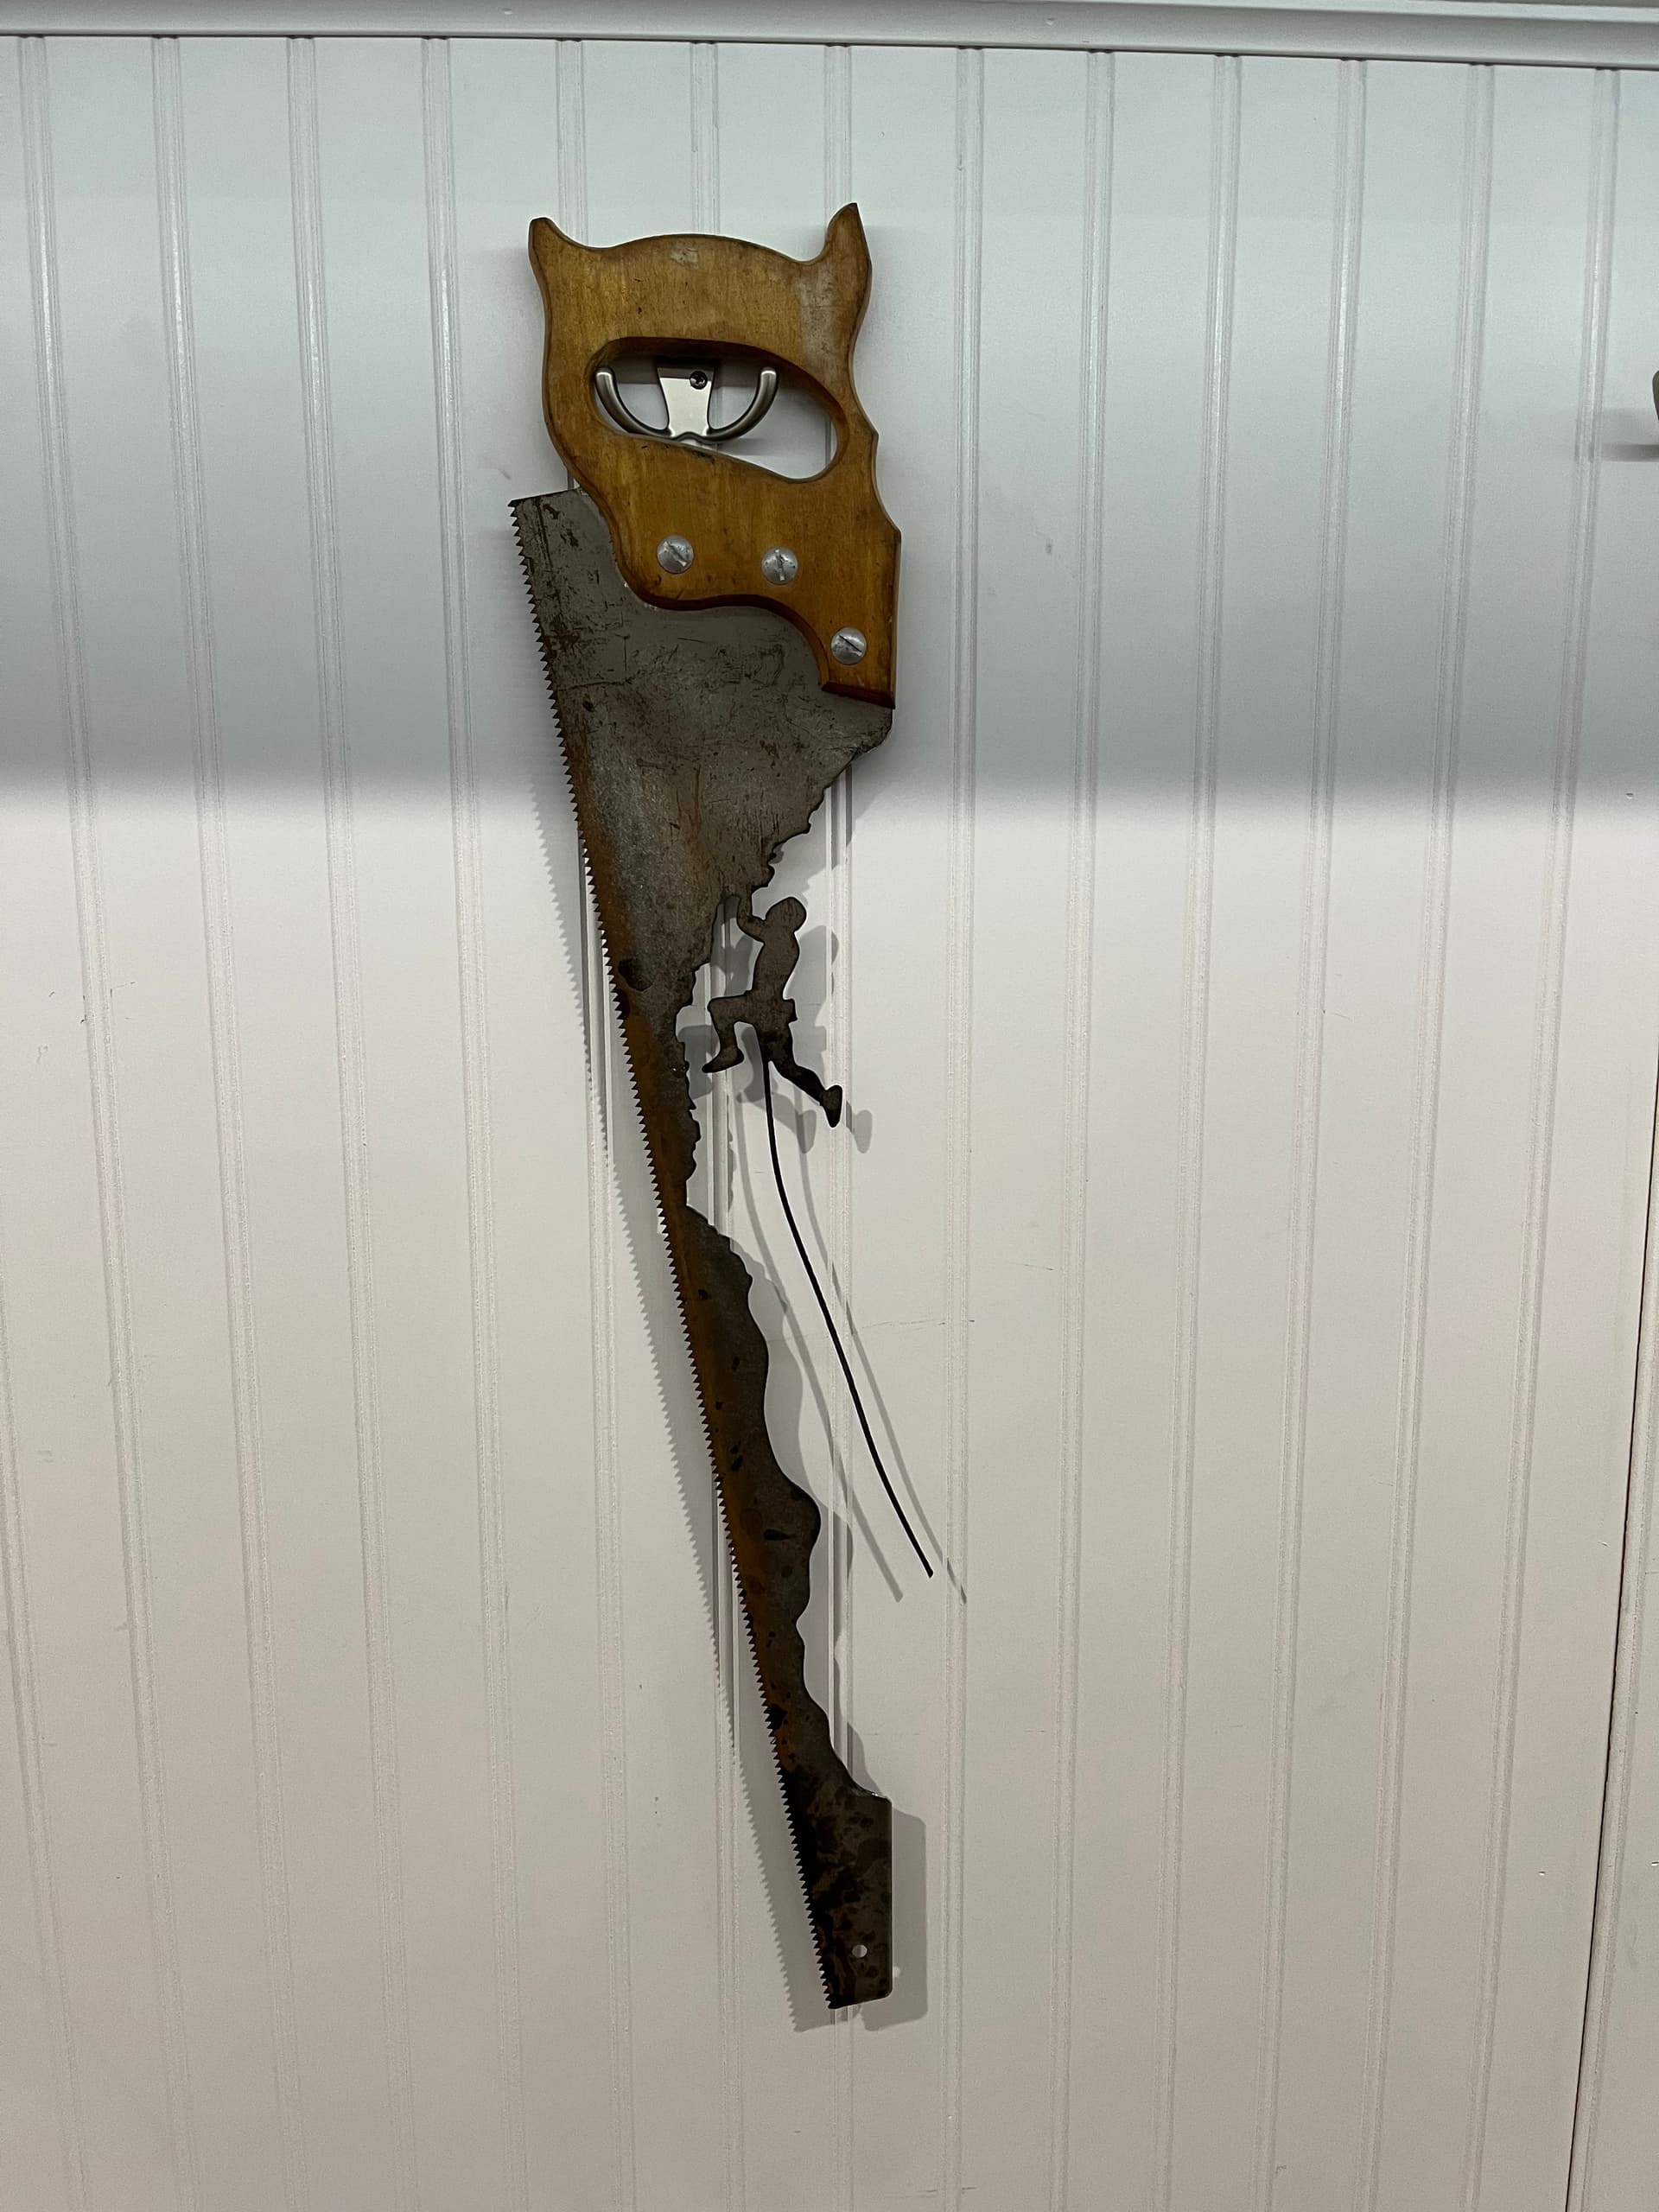
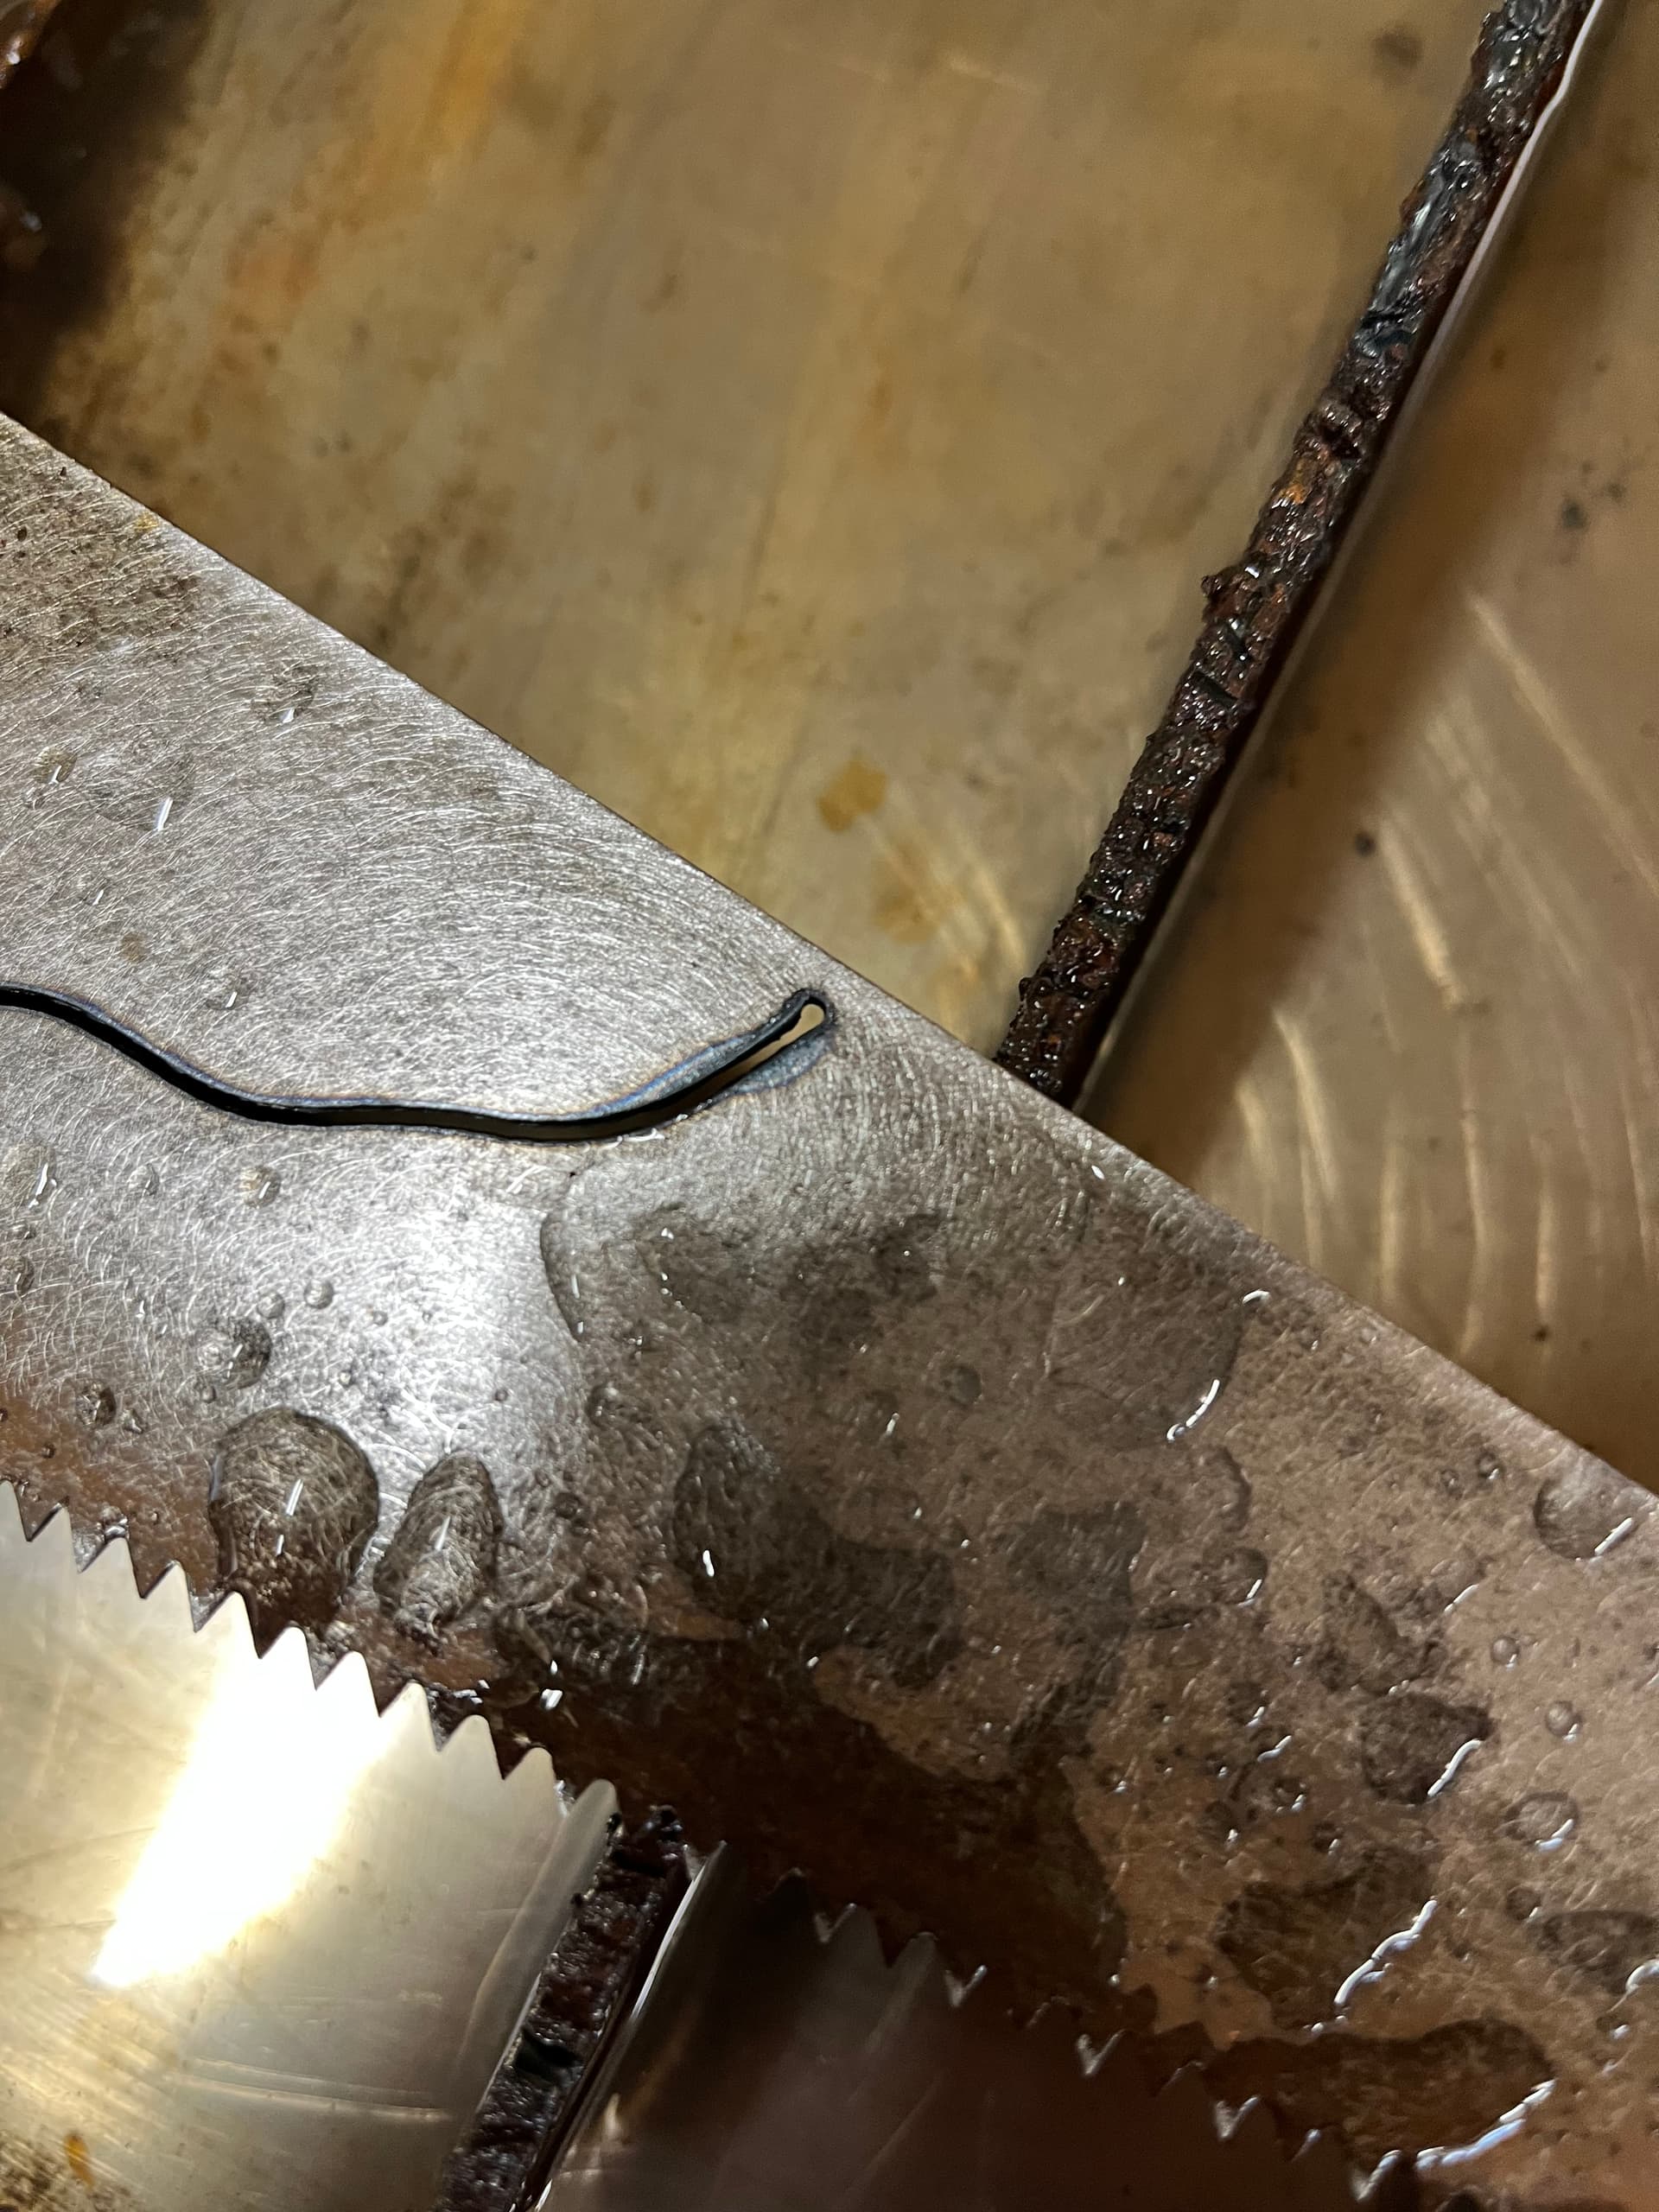
I still have couple more saws to play around with from garage sale. It’s been posted to fileshare and feel free to change or modify however you want to improve. i added rope just to give a little more climber feel to saw but can always cut off. I also posted how i do the open chain cuts paths but maybe @TinWhisperer has a video on it if others haven’t did this type of cutting. If you select line and double click it should highlight all or most of the line so you don’t have to select every single line section. Good luck and post if you cut it.