So followed all of the procedures for lining up the ball screws at each end, got them nice and centered, got the end caps tight. We can run the table at 400 ipm through the middle but when it gets down to the ends it will shift and start binding and we have to reset it (turn the machine off, rotate the ball screws until the Y1/Y2 are even distances from the end caps) and it will run. Only binds at the ends but it does it at BOTH ends of the Y travel.
Tension on the timing belts is the same and the threaded rod feels about the same tension in the middle on both sides. We ran the gantry to each end and have the lead end caps lined up with the bearings in the gantry. We pulled the felt strips off in case we had those over tensioned.
HELP!
I’ll call support tomorrow but I’d love some insight from folks who have maybe had this problem. It will rack a full inch.
Unrelated. Kind of weird that home 0 is in the back left corner instead of the front corner near the monitor where you’d set stuff up I guess.
Might have to go back and check measurements on y-rails and make sure that the stabilizers measurements are set right. Check the carriage rollers for proper tension, if to tight will bind in spots.
We were thinking that too so we took the ball screws out of the motors and ran the gantry back and forth and it felt pretty good. When we took the ball screws out of the motors they definitely aren’t centered so we readjusted those.
We just redid the end caps of the threaded rod and ran it back and forth a few times. The motors are REALLY hot already just from 2 trips and then when we changed directions the right side of the table (when standing next to the monitor stand) would bind up both directions.
If so, these need to be straight and parallel with each other.
The gantry will roll back and forth very easy and no binding. You will need to remove the ball screws to check. Also make sure your frame is square.
When I di mine I just followed the instructions then I use a string to make sure the rails were straight.
After reading some posts here and the Facebook groups I have a small list of things to check when I get up there today.
I’m going to pull the gantry off (support it with my forklift) and check gear reduction nuts to make sure they are tight and quadruple check the belt tension.
The table is very square (checked it several times yesterday) but I’ll probably redo the guide rails just to make sure they are square to the table and to the gantry and evenly spaced.
Also read that maybe the electrical connection is bottoming out on the Y2 motor? Not sure on that one since it binds in the same general areas each time but I’ll check it.
After checking those things if it’s still doing it I’ll call support and hopefully we can get this solved. I delayed a pretty good sized customer order for a while so we could use the big table versus my OG table so absolutely worst case I can use it but it will add quite a bit of time knocking out signs.
Still happy to hear ideas if I haven’t thought of something?
So using some of those resources I got it sliding really nice and got about 3 minutes of run out of the break in before it bound up again. I did have one of the guide rails off a smidge and that seemed to help a good bit. Recentered everything and feels a lot better. After adjust it back and running it again I got about 3 cycles of the break in again before it racked.
With the power off I can spin the motors pretty freely on the X and Y axis but the Y2 motor has a ‘sticky spot’ (for lack of better term) where it feels like it’s notchy like it’s under power just less severe. I wonder if there is something up with that motor?
Realigned the guide rails again, realigned the screws again, realized I had the X and Y2 limit switches swapped so I fixed that, finally got it to home peacefully. Now it will run 2 or so back and forths with the break in program before racking. Actually got it on video this time.
Your x axis is what stops the program, spray a little wd or machine oil on the x axis bearings. Might have to reset bearing preloads on x axis if you run break-in at 200 imp with no issues then you know bearing preloads are to snug.
In that example it stops because I hit the stop button. Looks like Y2 just straight up stops but Y1 keeps going. When I’m up there tomorrow I’ll tighten the lead screws a little more firmly to see if that helps.
(I know I made another post about this but I’ll share here too)
I am very happy to report that we are up and running!
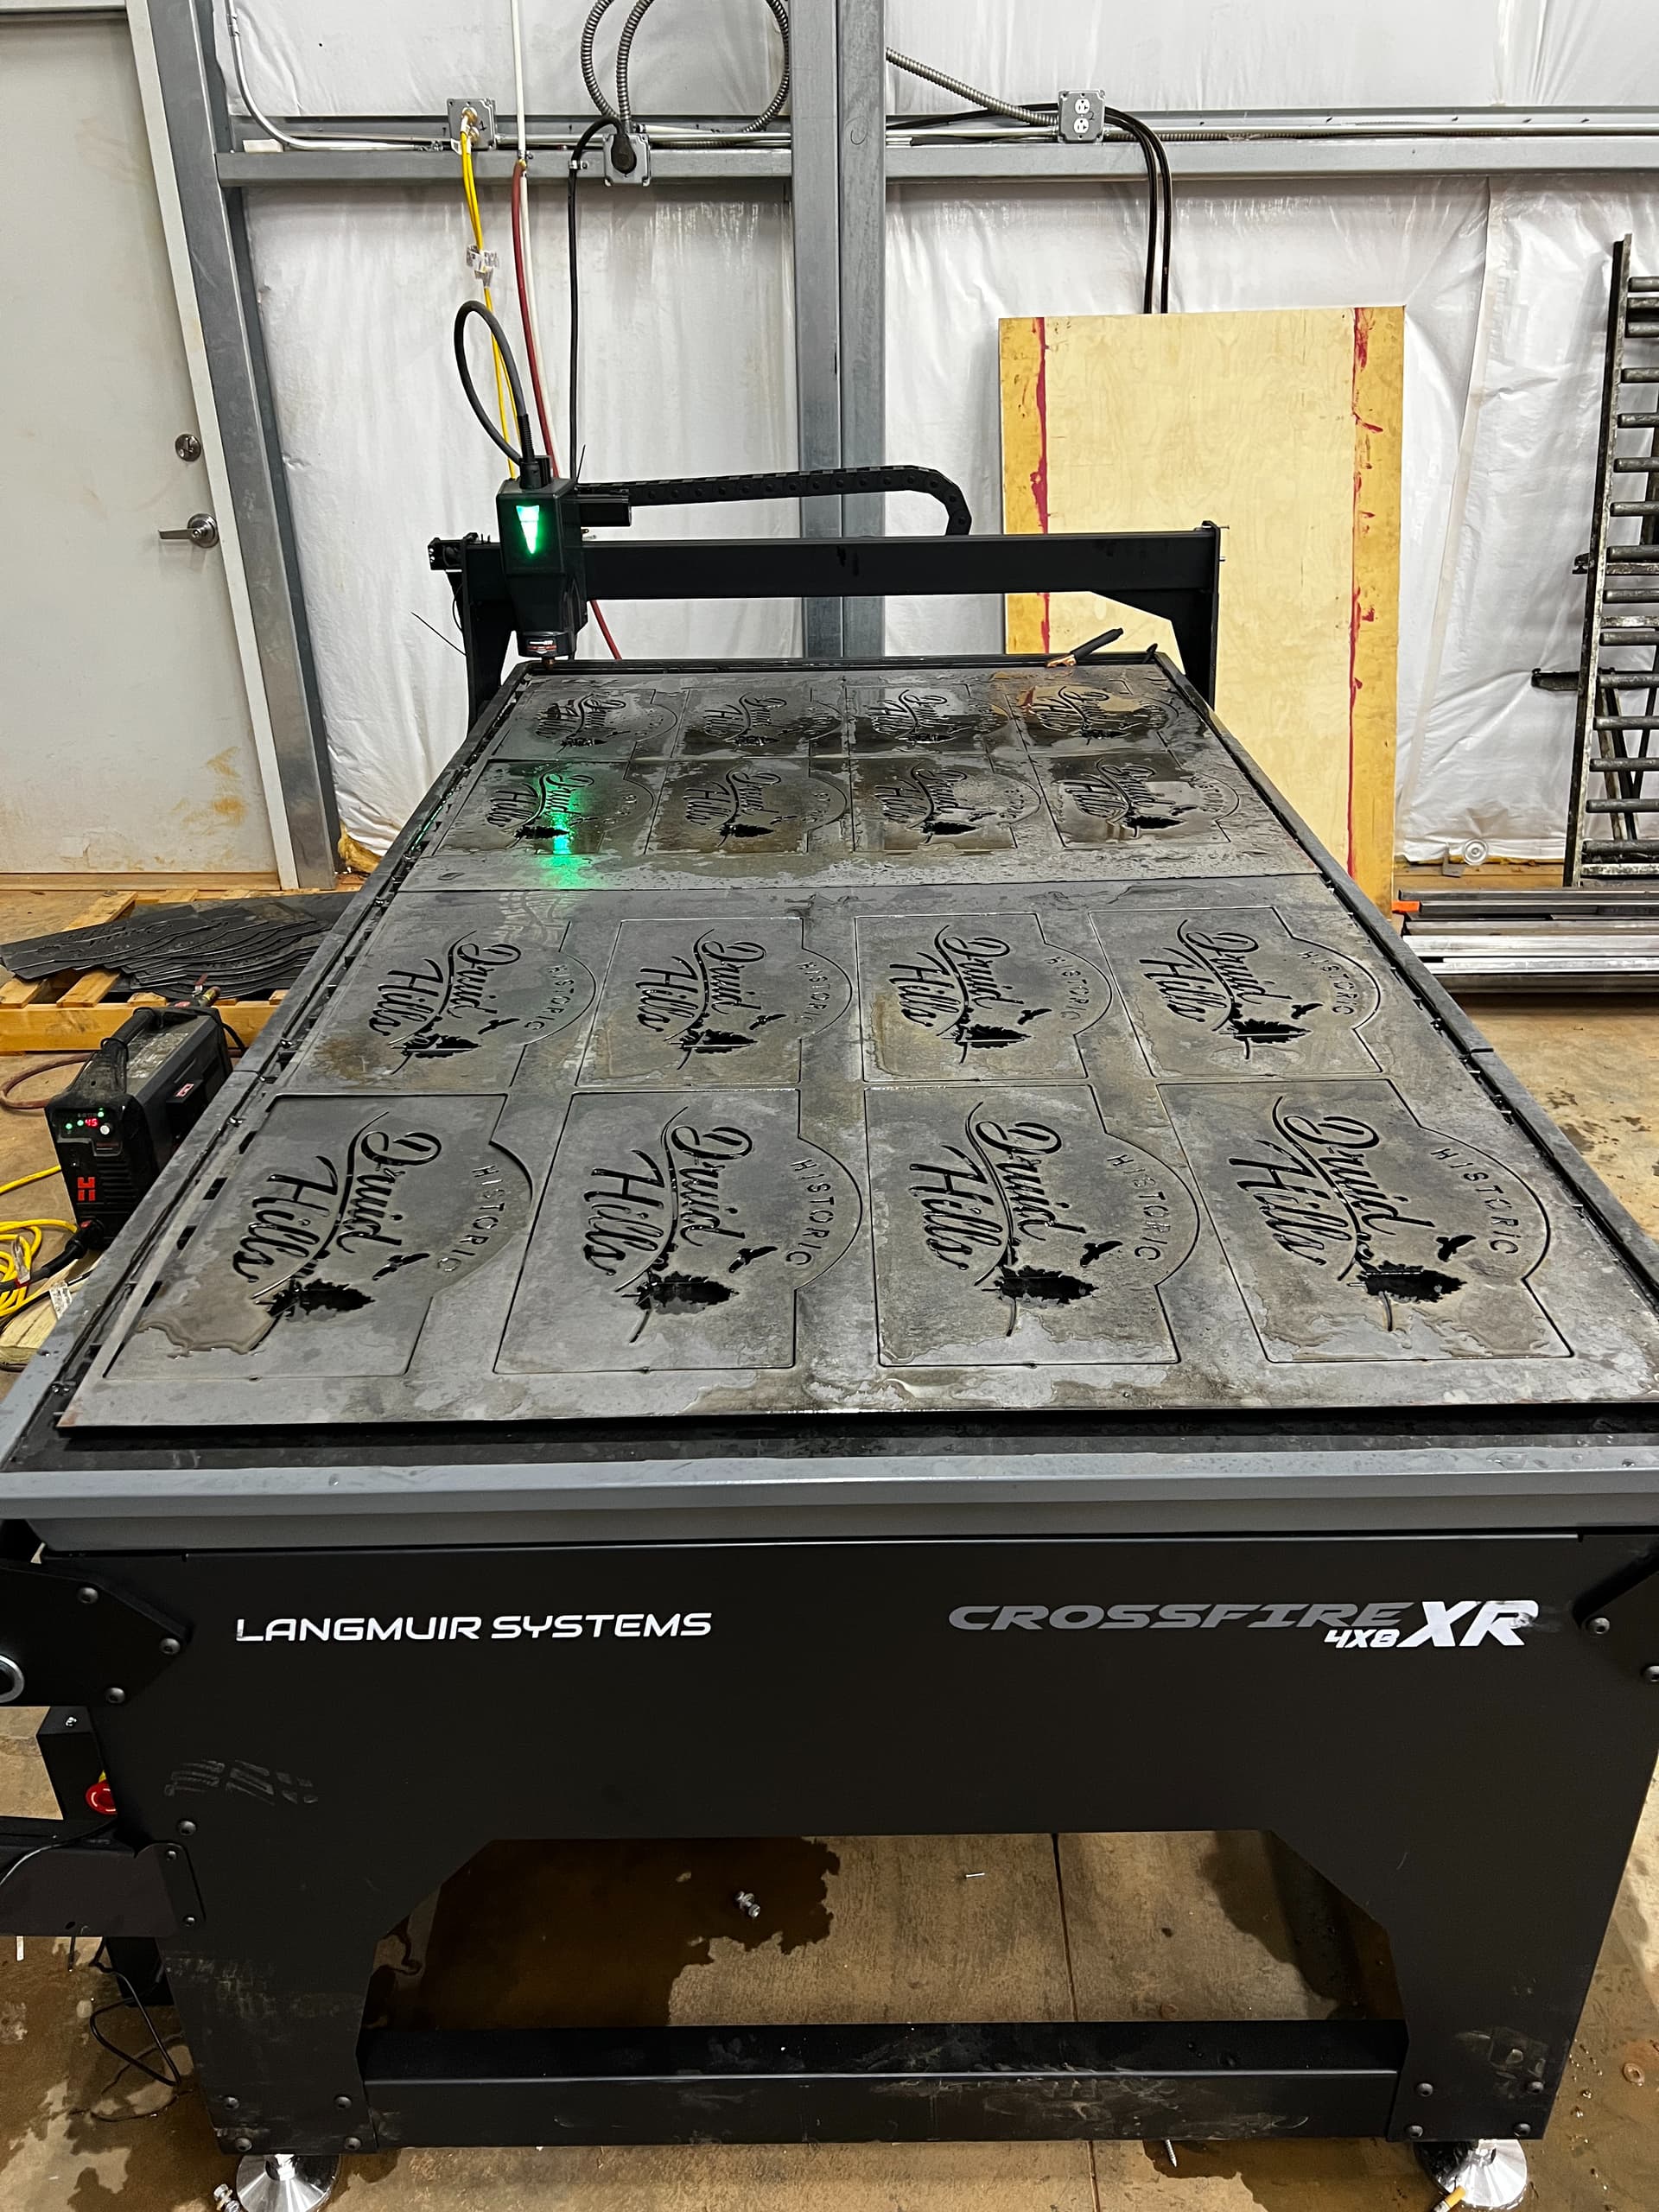
Not sure which solution actually fixed it but I’m pretty sure it was a combination of belt tension on the drive motors for Y1/Y2 and tightening the lead screws. They still have some kind of vibration/precession when traveling quickly on the opposite side and I’m not sure if maybe they are TOO tight now and it’s causing some kind of harmonic problem but I know it works so I’m not touching it until this order is complete. We ran a total of 29 signs yesterday (of the 37 ordered, we are doing 45 just in case because I know they’re going to want more) with the only problem being an almost collision from a piece not falling through (which is not a table problem so much as the nature of the universe and how things align).
When I last bought steel (regrettably at the height of the steel price per ton last year) we bought 4’ x 10’ sheets of 16 gauge and trimmed them down to 4’x4’ so I could get the most out of the OG table so I couldn’t do a full sheet on the machine. These were cut at 320 ipm with a Hypertherm Powermax 45 XP with machine torch. Dross was pretty damned nice overall and the cut quality was way better because we could push some speed on the machine.
Thanks again to everyone on this forum and the Facebook groups who had suggestions. I think the community is what makes these machines even better and I’m eternally grateful for the support!
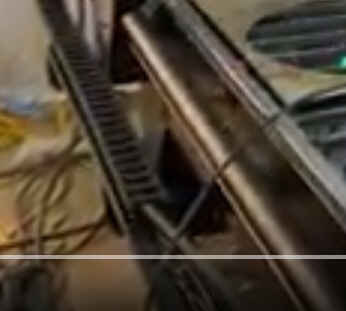
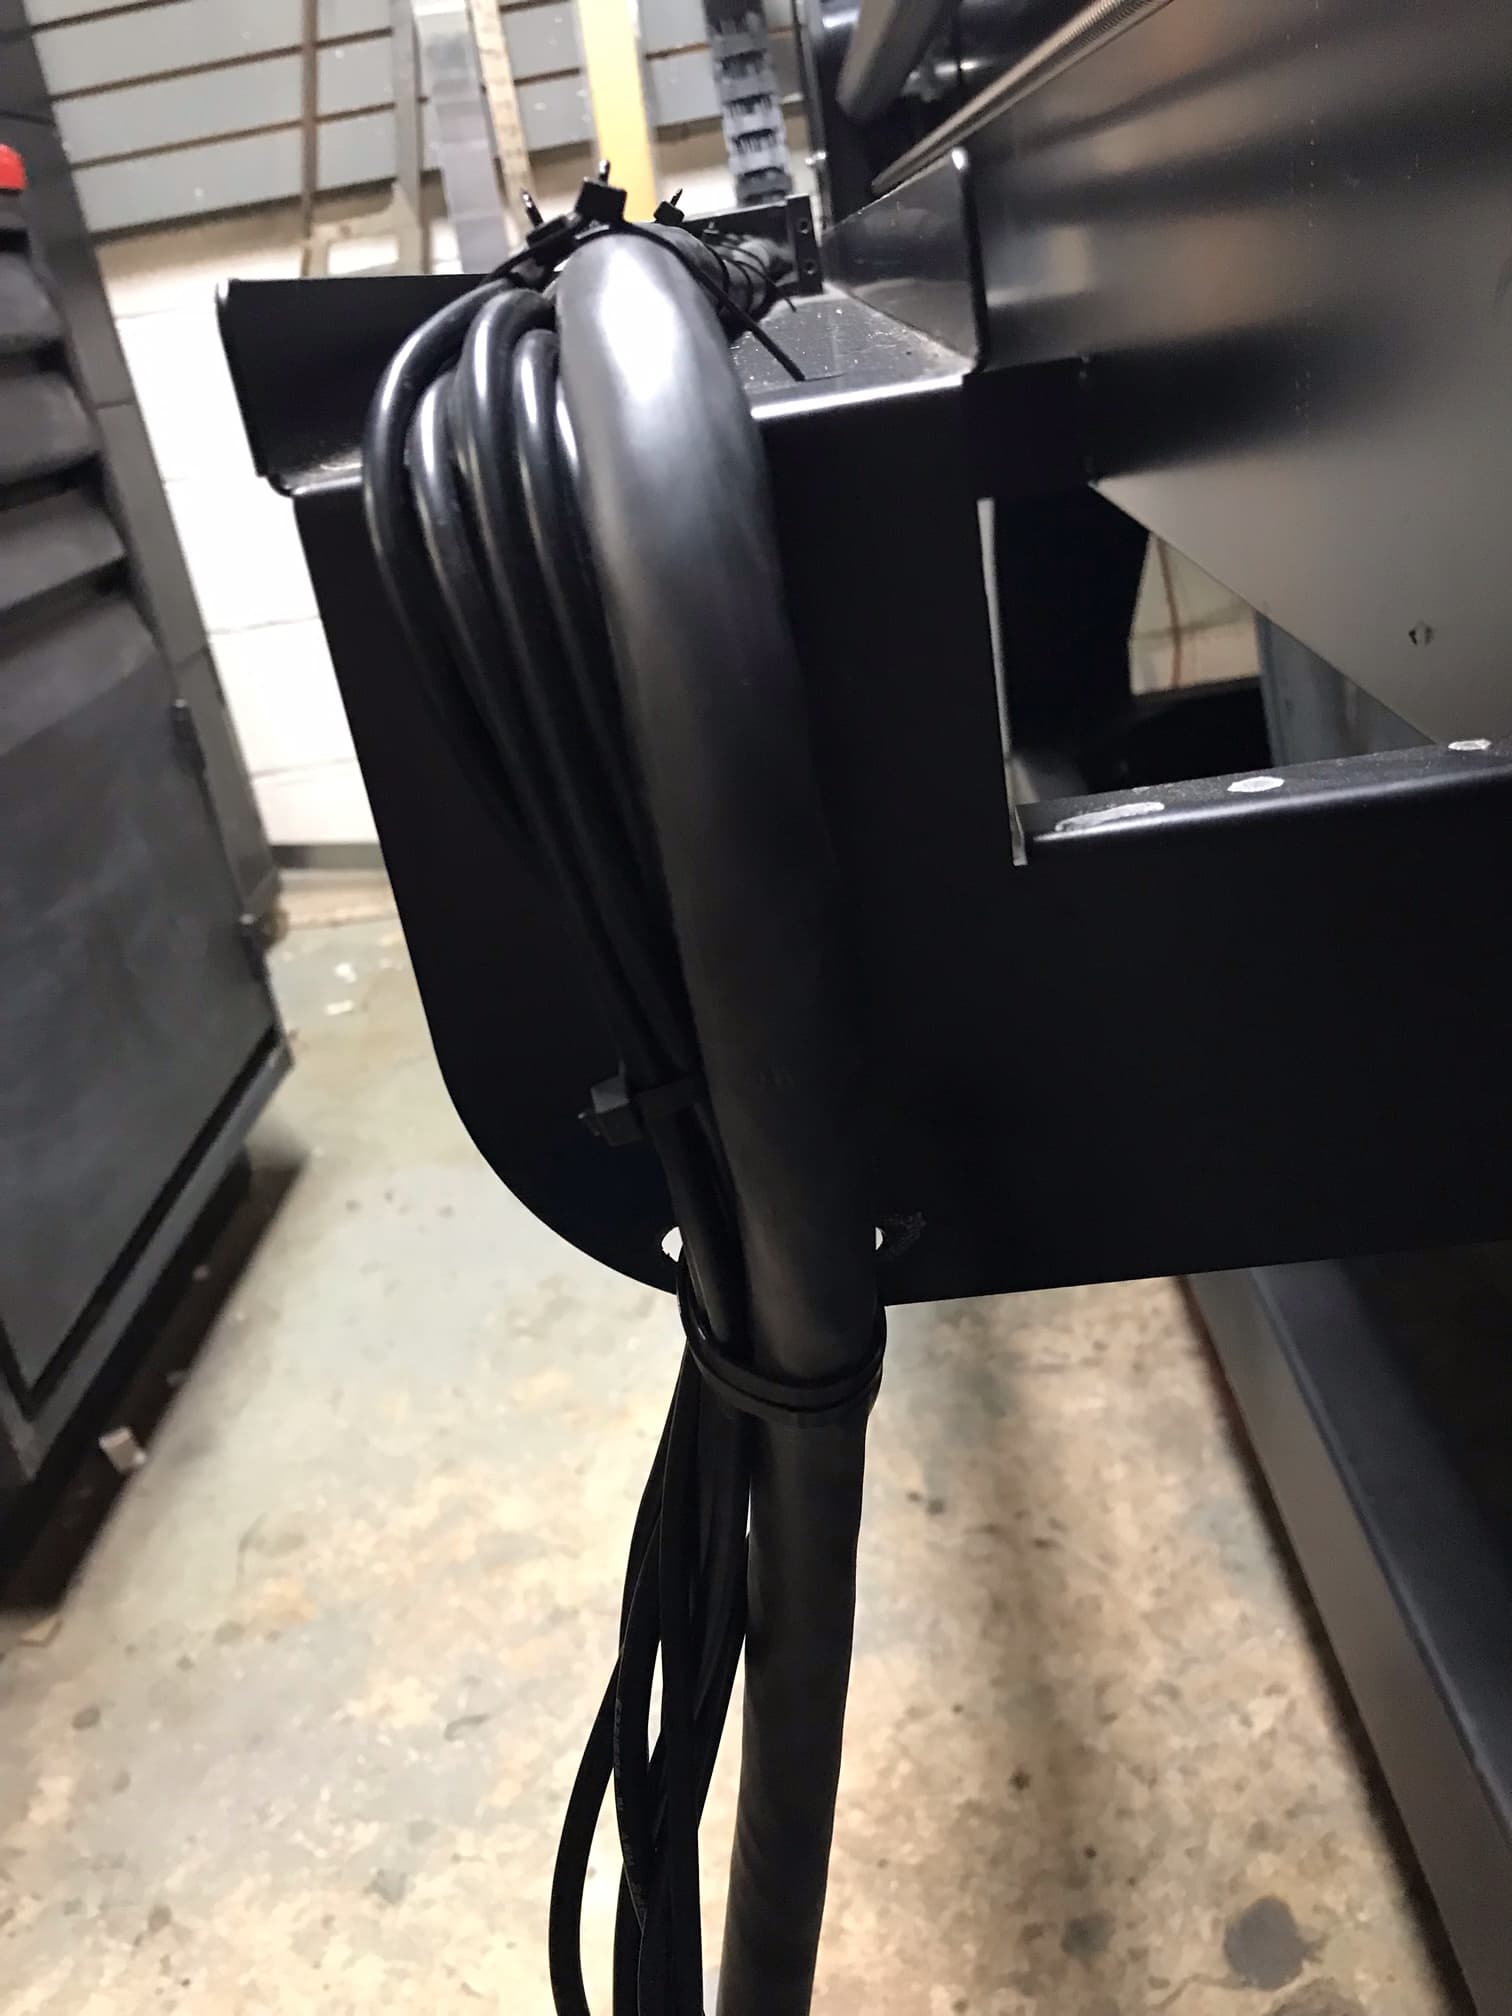
Chris In your video I saw that Hypertherm cable coming off the Y cable tray was bending toward the table .
Ours was routing like that as our Powermax 65 is under the table. Yesterday the Y side carriage was full extended and in returning contacted the Hyperthherm cable and dragged it into the area the cable tray mounts binding the Y axis and making that Hypertherm cable look like a mess being bent 180 around the sheet metal edge of that wire tray. Had to power down and pull Y back to get the cable unbound. It seems okay but have not fired the touch yet no air leaks anyway. I would recommend to anyone to drill two holes and secure the torch cable so it cannot get snagged by the Y1 side carriage .
I need to finish zip tying everything down and cutting the tails off of them anyway. This looks like good cheap insurance so you don’t end up eating a rather expensive machine torch hose.
As well as potentially scrap a 1/2" thick plate cut profile in the same Y axis shift. I had to look twice and still don’t understand why they didn’t burn the 2 holes in that bracket to secure the torch cable.