You could also add a mention to the Montgolfier brothers if you really want to throw her off the trail…
1 Like
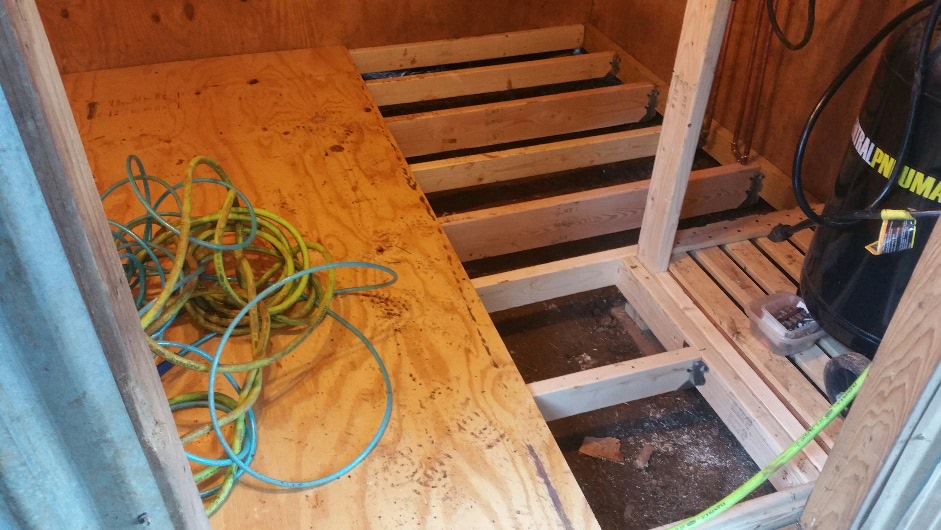
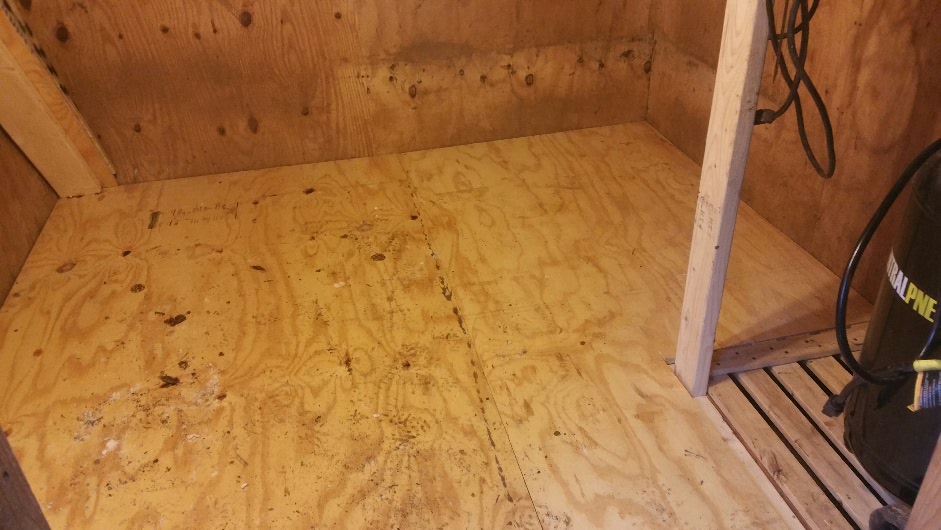
So, I now have a floor! I recycled some wood from old chicken lot…and 2 pc of plywood…
[10|690x388](upload://rltnGVkroTDLCApSx1fH4to1YCy.jpeg
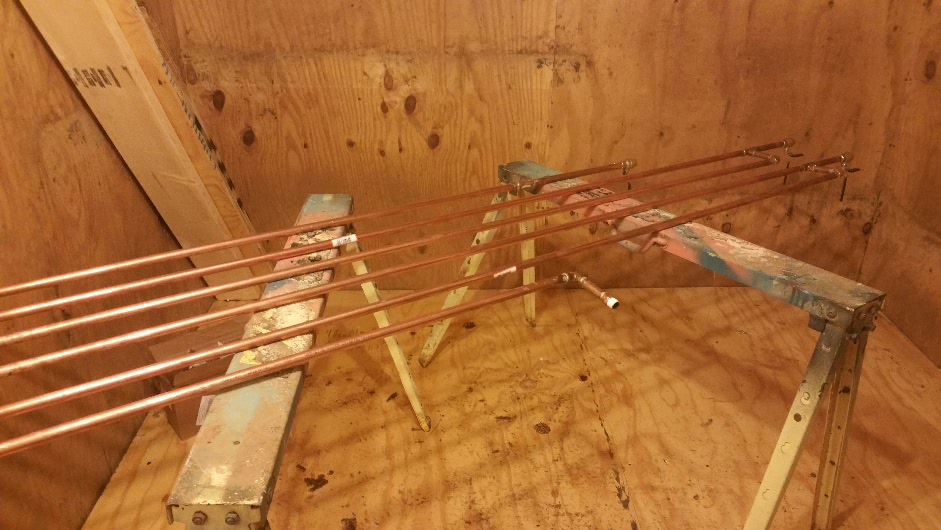
Started working on poor mans radiator…
2 Likes
Yes…it is small…
Dang man, your moving right along!
Looking good!
So…todays update from this weekend. So starting off the weekend with mimosas, hotub, fire pit and a 8 x 8 workspace with a splash of makers mark in the coffee…
equals…yup…DD…taking us to the pool hall for a couple hours last night, and since everyone woosed out and didnt want go on the lake today!! Seriously it was blue skies and 50*…yeah it was cold as hell.
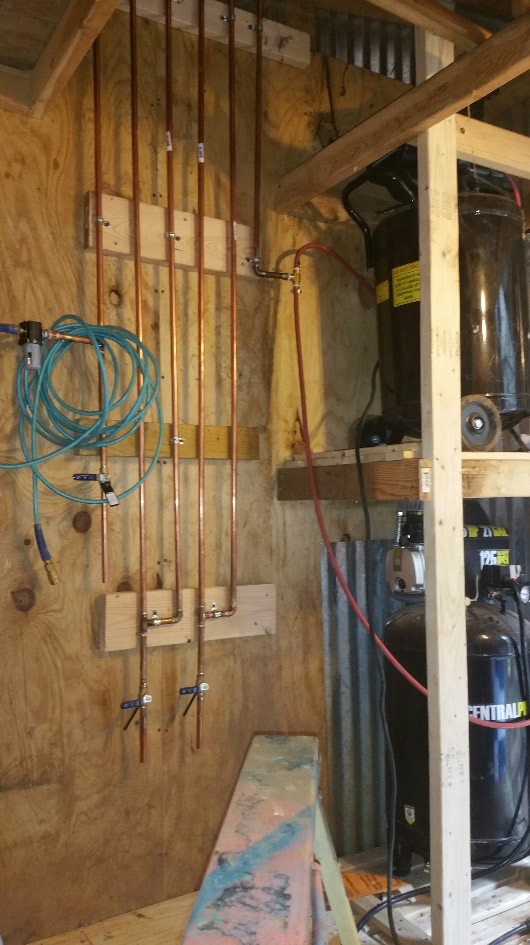
34 solder joints and misc other taped ones…NO LEAKS!
Radiator is almost done, minus a few nipples…can never have too many nipples…no leaks and drops will hold about 1-1/2 cups of water.
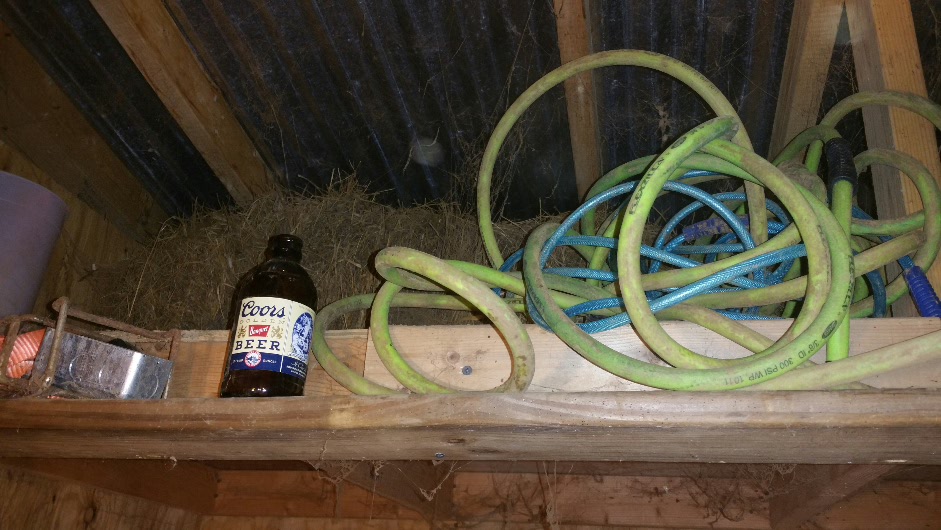
Also found an old square of hay, still smells good, alfala
1 Like
28 ft of tube or so…
looks good, I’m anxious to hear how that air dryer works out for you, I am thinking about doing that in my shop.
Looking good! Its come along way. You better hope the goats dont get a Lawyer and Evict you when its done.
2 Likes
Hate to say it bud but I think you built it bassackwards, the valves are supposed to be at the bottom of the runs to trap the air before it takes a turn. The idea is to catch the moisture as it condenses on the pipe while the air flows along.
Not sure how much difference it will make though. Some of the water you catch dribbles down the pipes after you shut down for the night, it needs to run streight down to the valve.
This if I see that your feed is on the right on your pic and the air flows out on the left.

1 Like
I don’t think it would really matter what leg the valve is on. Like you said, after shutting down for the day, water will fall down the vertical pipes to the bottom. But its going to do it with both vertical pipes. If you are really concerned, maybe mount the system on a slight angle so the short horizontal sections on the bottom angle down to the valve area
2 Likes
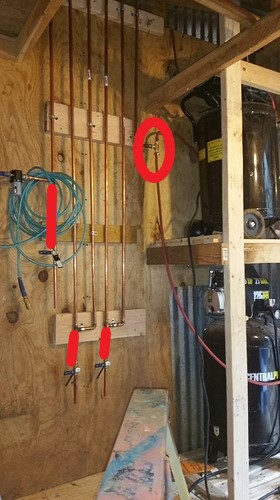 The 3 red verticle lines are “storage” for water before I drain them, I wanted the water to not be bubbled with air from compressor possibly moving the water along, I think I will be fine. ( we both have about same amount of “water storage”)
The circle is still missing a fitting, I pieced this end together to check for leaks, it will have a leg dropped down also
1 Like
Spoken like a TRUE maker!
“Kitchen? More like… perfectly good realestate for shop/studio expansion! Plus it’s got a BUILT IN water supply! Why haven’t I thought of this sooner?!”
(wiggles former kitchen table and nods in satisfaction as OP “sizes it up” for use as a work bench)
1 Like
Nope, I stole the toolbox out of the bedroom 
Forgive me, I’m new to plasma cutting… (I am building a Crossfire Pro, and I’ve never used one before, so I’m trying to learn)… What does the radiator do for plasma cutting? If I understand it correctly, I’m guessing it condenses the moisture in your compressed air, and allows it to flow to the bottom where it can be drained out by the lower valves, but is this necessary for best results when plasma cutting? Is this better than/equal to a standard desecant style air dryer? Or how about just your standard bowl-style dryer?
I was expecting to need to install some sort of dryer on my setup, but until now, I thought that the commercially available dryers were the only option.
Last question… if I can afford it, am I better off just going with a desecant dryer? Or should I build a condenser/radiator like this one along WITH a desiccant dryer? (Am I spelling that correctly? Lol) or is there something else all together that I’m missing that’s better? Thanks!
The drier the air the better with plasma cutters
I have used these in the past limited and they just make water with their design
99.999% of people don’t need or use these radiators. I know that with these 2 types of compressors they run really hot because of how small they are, plus where I live there is a lot of moisture/heat/cold/dry and everything else PLUS I am doing this on a very low budget. I will only be using it here for a couple years until we move to the lake.
As for best way? When I build my garage I will have 1 big air compressor and a drier that uses refrigerant to dry the air, those 2 things would cost as much as this Pro did, if not more
I will have maybe $50 out of pocket when I buy the last fitting, most of this has been in the basement for repairing my wifes parents house over the years
OTHER WILL CHIME IN I HOPE WITH MORE WISDOM ON THIS
ETA: I am using a cheap water separator at end of radiator, I haven’t seen good results with desiccants, some last a week others a year, if you get them make sure they are bagged and can be dried in the oven on low
I am running a 5 stage air dryer that uses desiccant to remove the moisture, it holds about a gallon of desiccant which can be dried in the oven. I haven’t had any moisture in my lines/tools since installing it about a year ago.
1 Like
How often do you have to dry it out, relative to on time? do you have a link?
Thanks for posting!
I looked in the indicator window and it has not changed color yet… Though I only use mine as a hobby currently. So this is not in a production enviroment. But this also feeds my small blasting cabinet, and die grinders, paint gun, and CNC mill. Its been zero maintenance so far.
1 Like
Wow, that is a hell of a desiccant drier! thanks for posting
So, what did I get done, in the ![]() shop?
shop?
So first off it was like 15* ![]()
Come on in…grab a beer…
SO I picked up a $25 yard sale type tool box
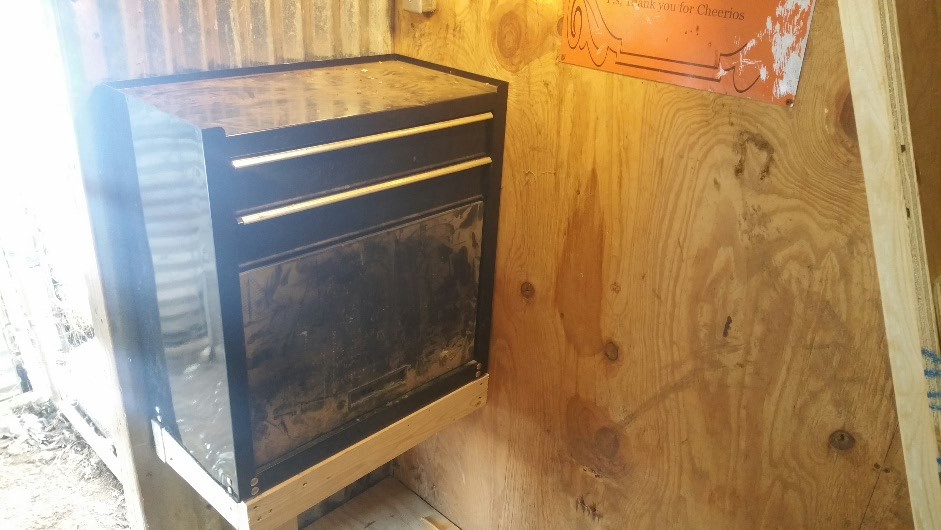
It will hold the computer, key board, mouse and the 2nd drawer will have consumables and related tools.
First thing we need to make the freebie computer fit!

Safety 1st !!!

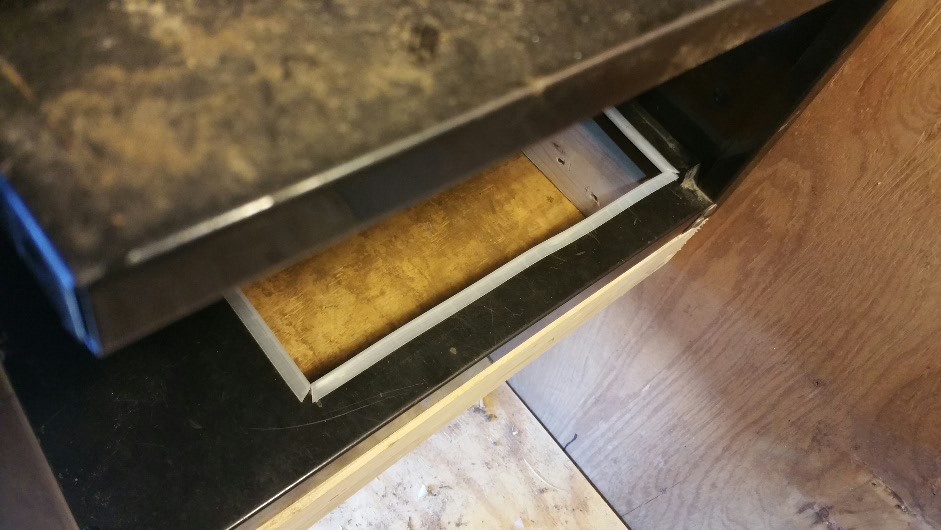
make a hole to sink it into box so it fits
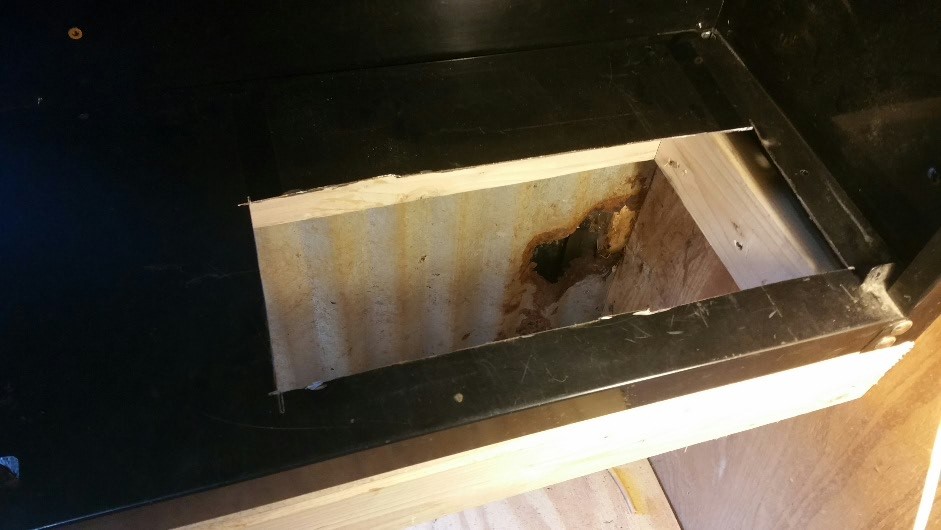
The hole in the wall is from where the bowl of salt would be licked up the wall
So I added edge protection (left over discards from saw blades at real job)
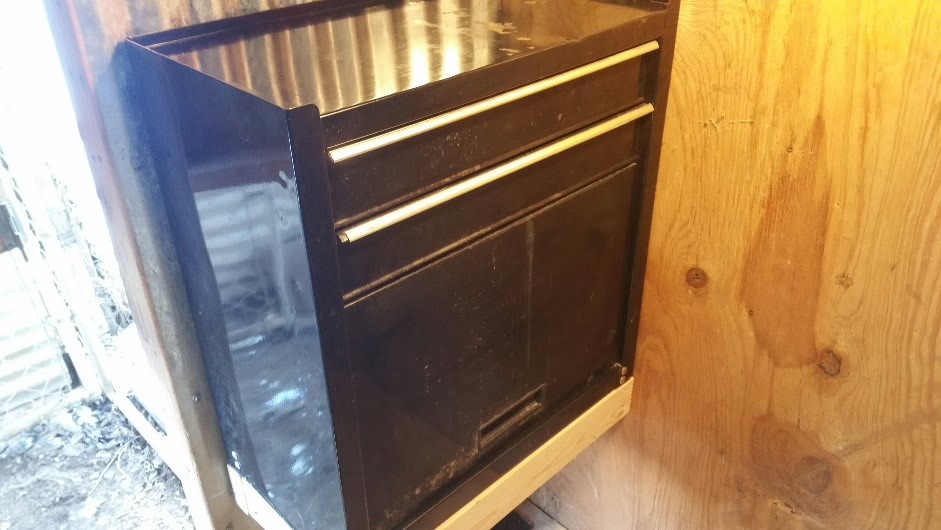
Also installed a shelf to support the computer, I can still open the cd drive
New home for stuff
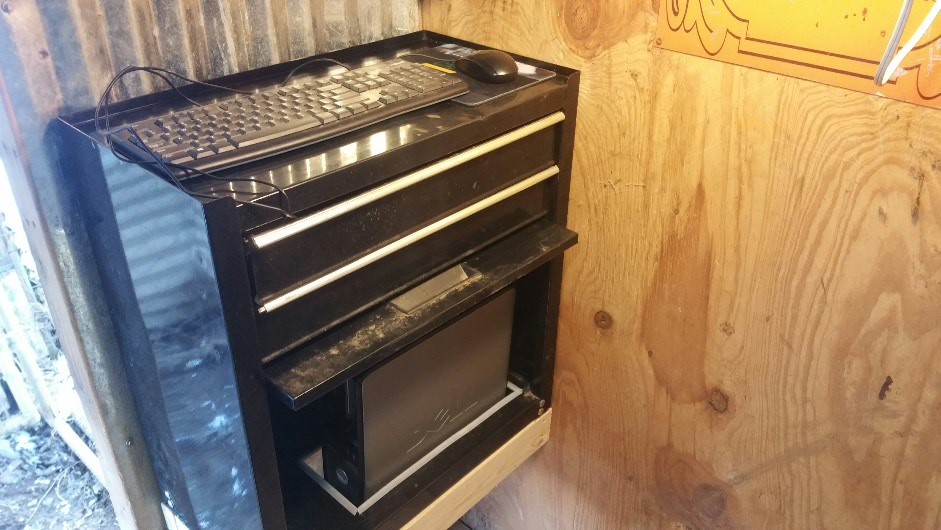
And closed, it is screwed to the wall and I will add a lock later
Also removed and moved the existing lights and wiring, I kept hitting my forehead and I needed to move the light source,
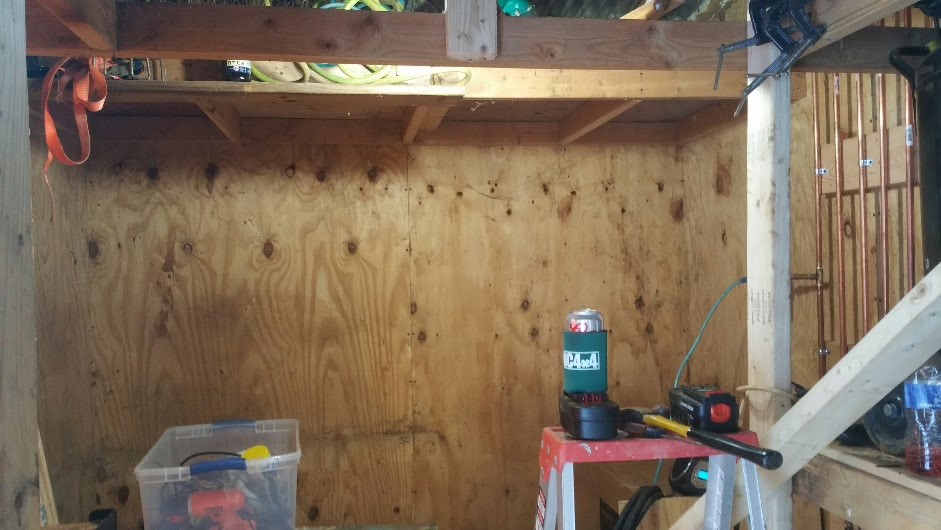
I still need to run power (210/220 whatever it takes) to the building and add more lighting and exhaust fan etc
That should be a fun adventure, just might entail a Hamster and fun wheel…
EDITED before spelling Nazi’s
1 Like