Laser Guide For UPM 105.stl.pdf (69.6 KB)
just delete the .pdf and use the STL file
2 Likes
Printed last night. Works great, really appreciate you sharing with the community.
That’s what makes forums like this so great, when members, help and share with each other.
3 Likes
what filament did you use?
That was transparent, GratKit PETG. I tried a few other GratKit colors (white, gray, black) but they did not print as consistent. I use it by default for everything that the color doesn’t matter
It is a very cheap filament but the spools will not work in the AMS. I rip them off and put on a different spool.
1 Like
I used Bambu PETG-HF
1 Like
TU 4 this also, I just made one for the cut60 and one for my router.
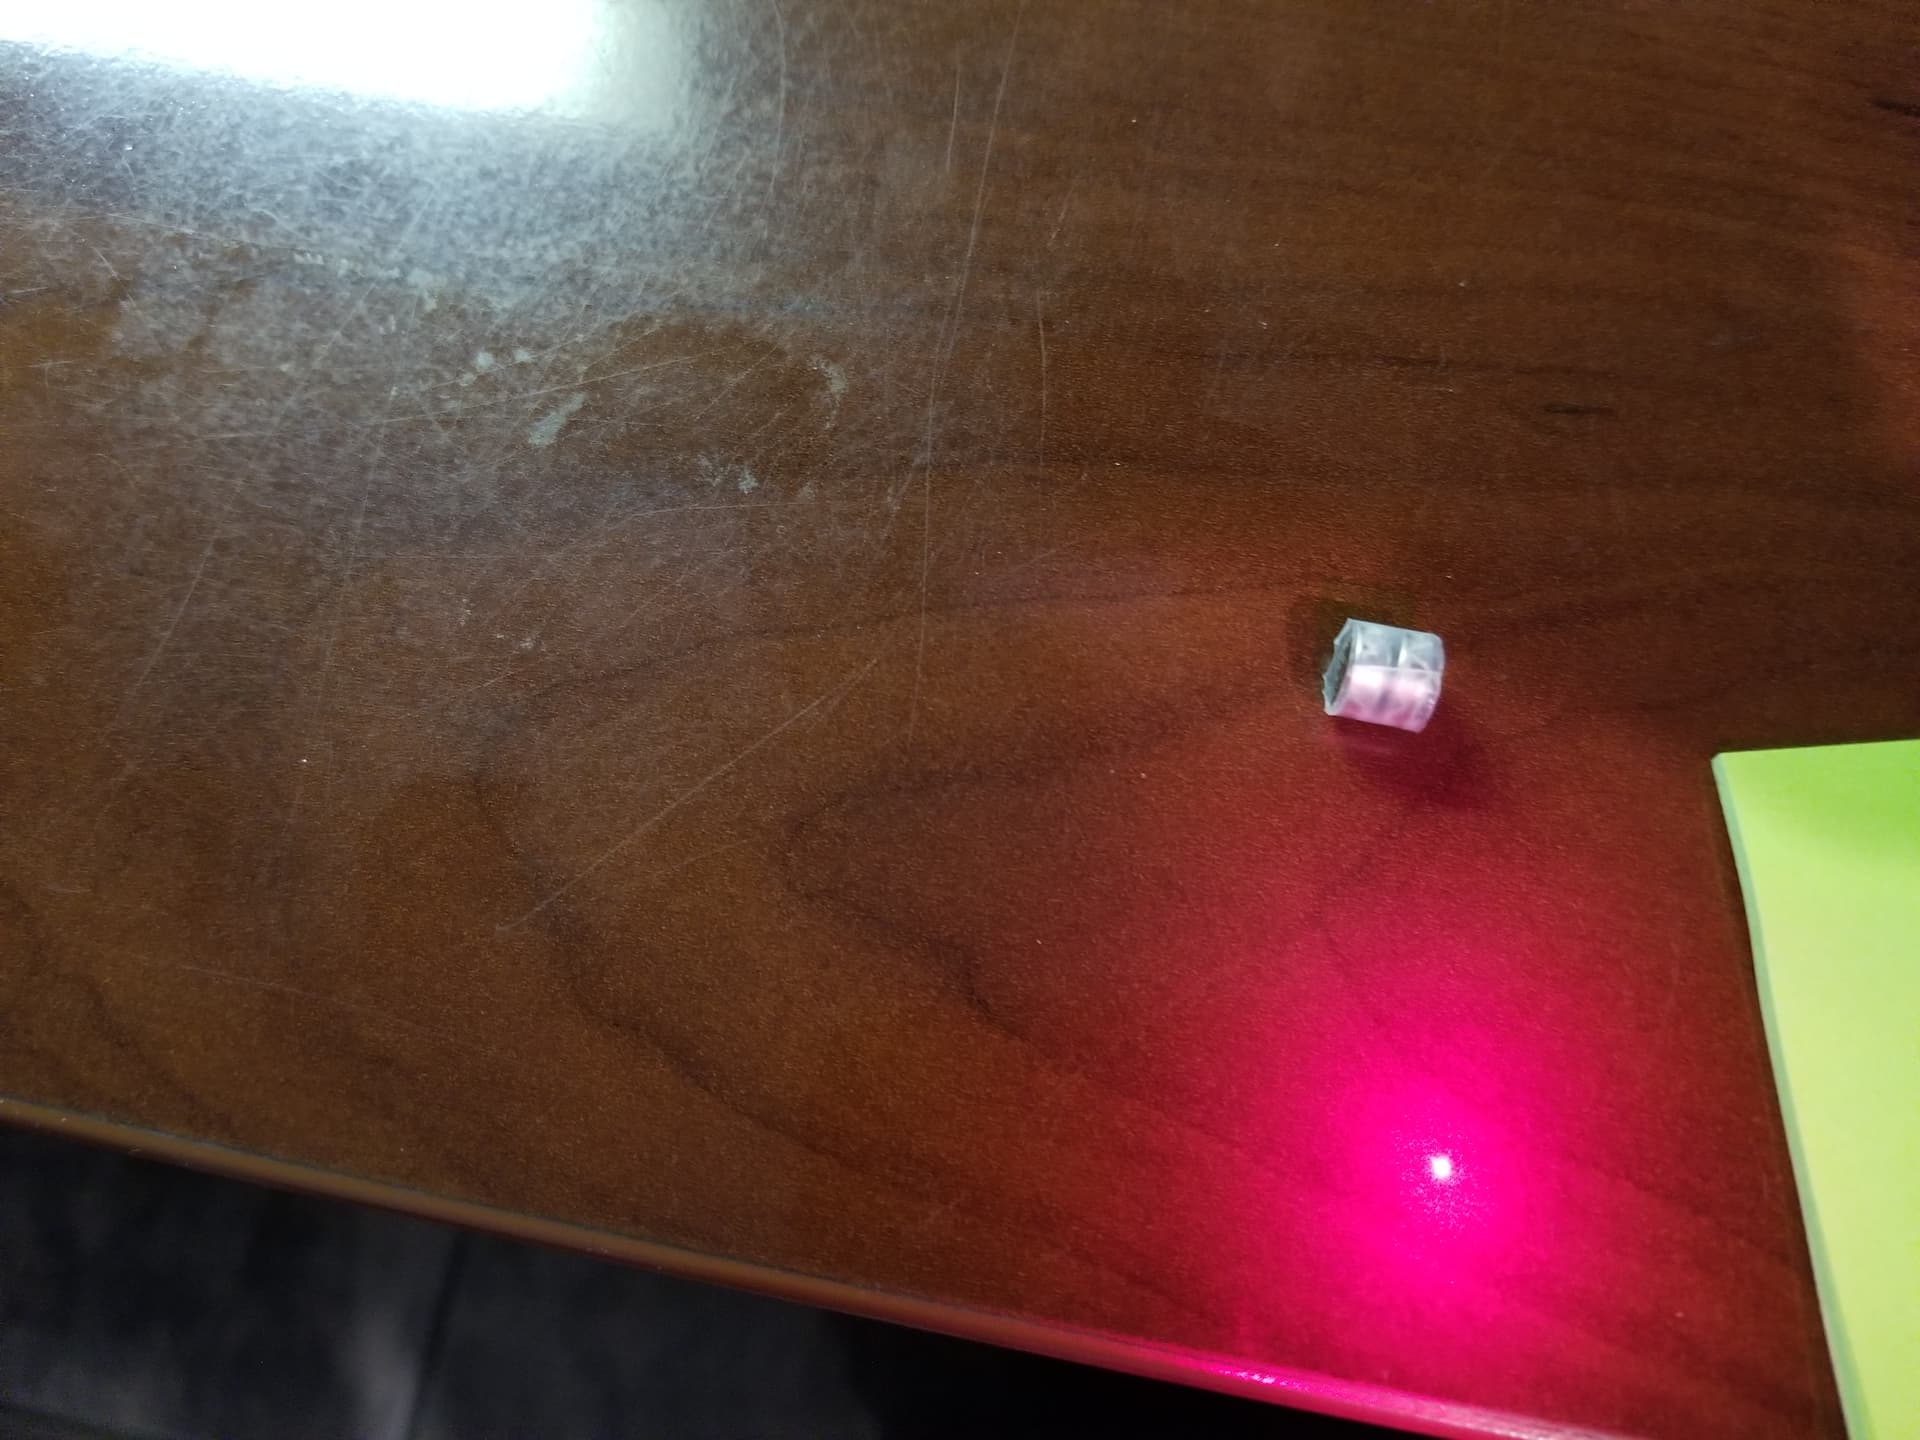
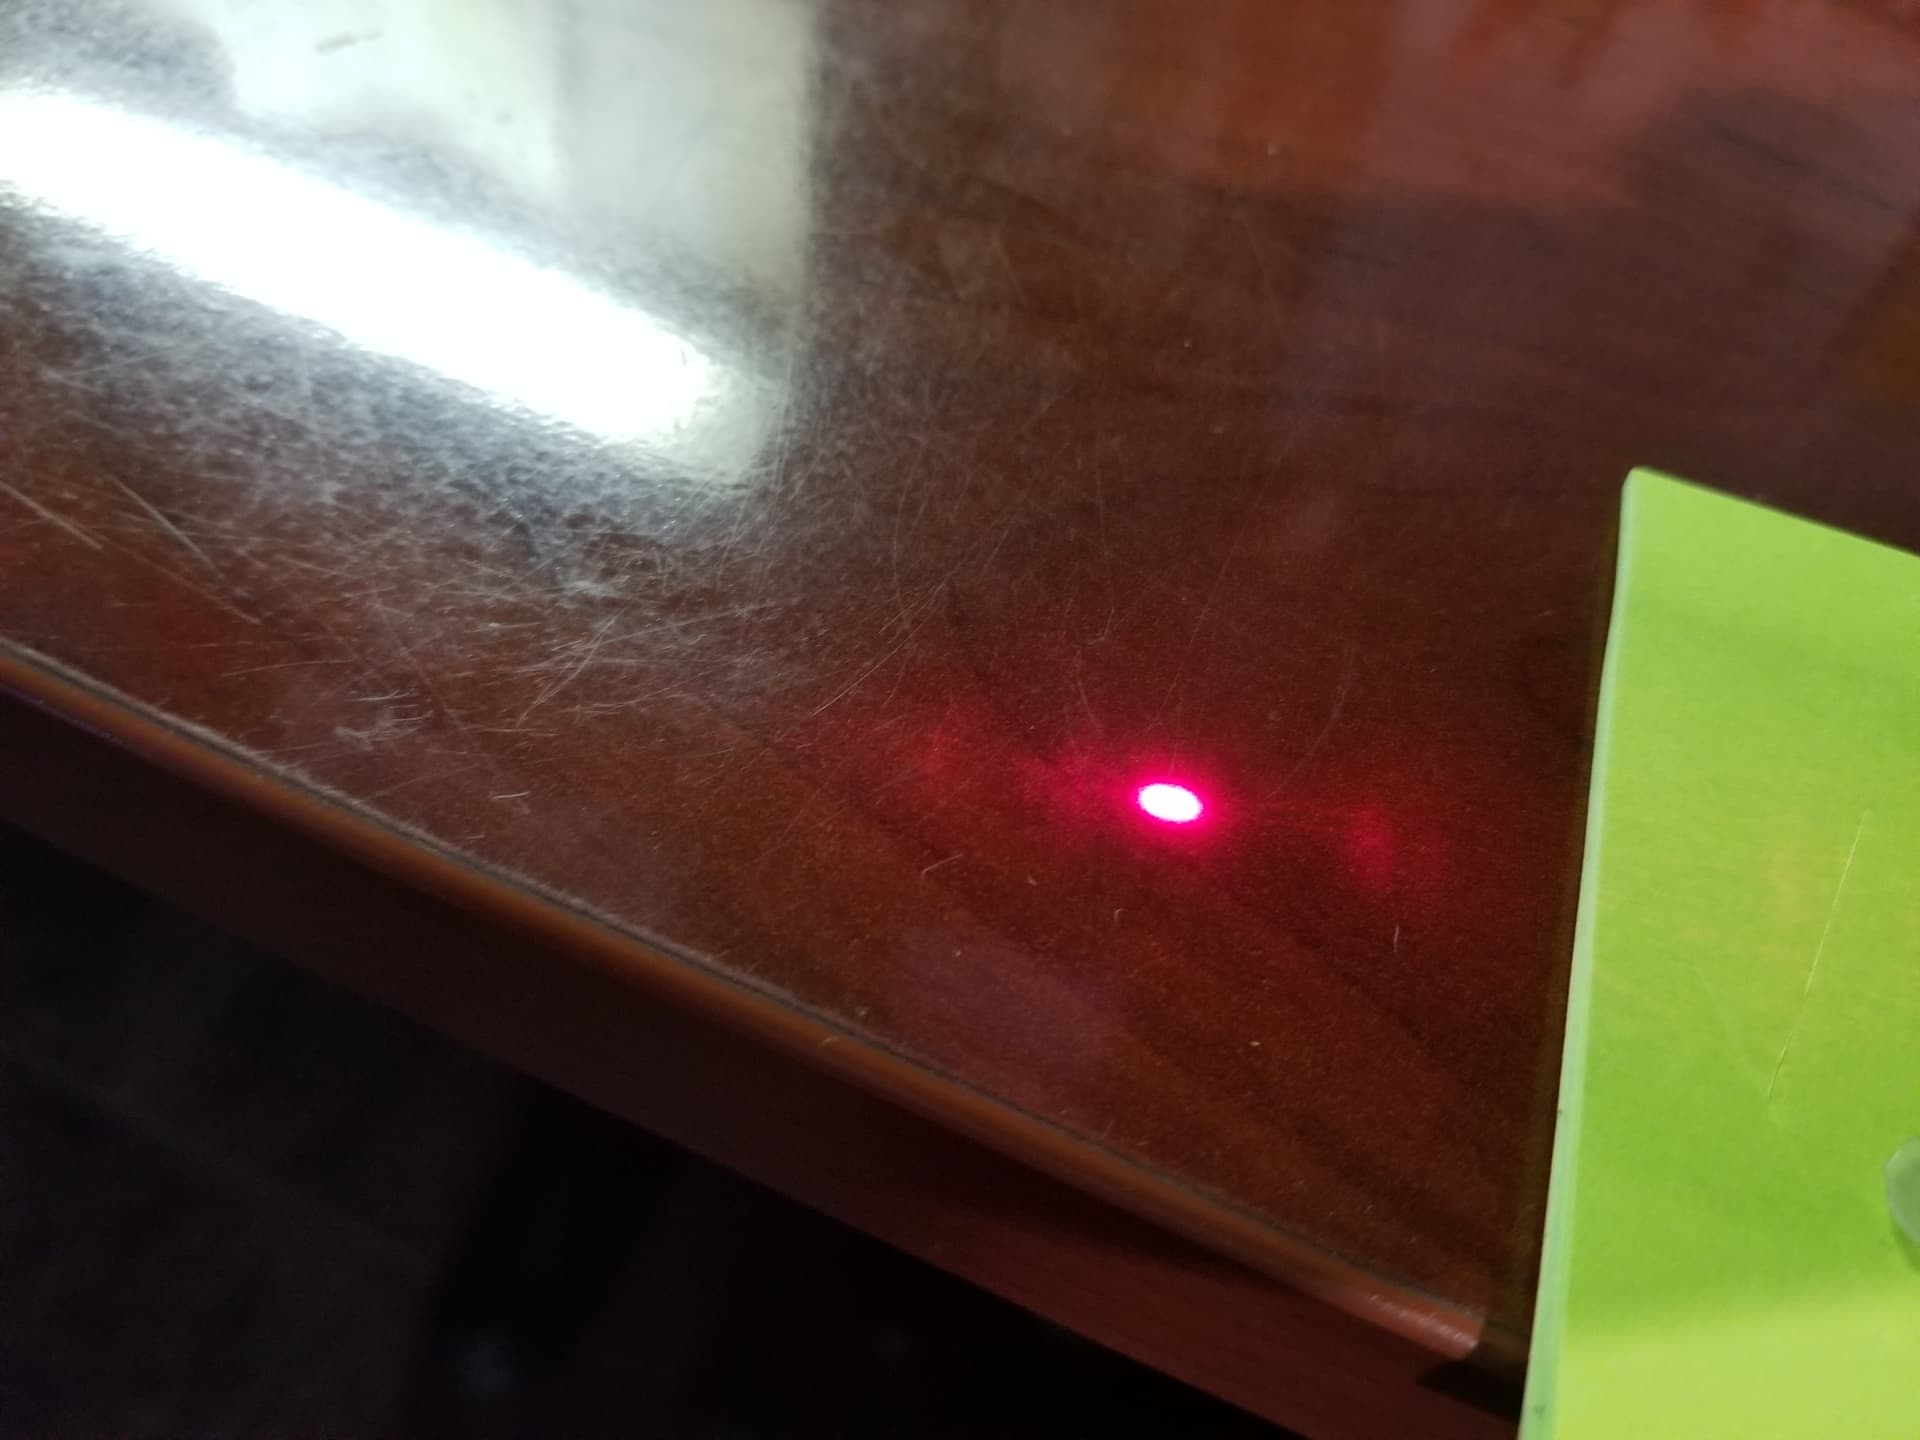
The lasers i got are more of a fat slot than a circle, I added a piece of tape on the end and poked a hole with a pin to make it “pin point”.
Also added tape around the 2 batteries and now a slight turn turns it on or off.
@ptollini How much would you charge to make and ship one of those to me in Southern Cali? I don’t have a 3D printer.
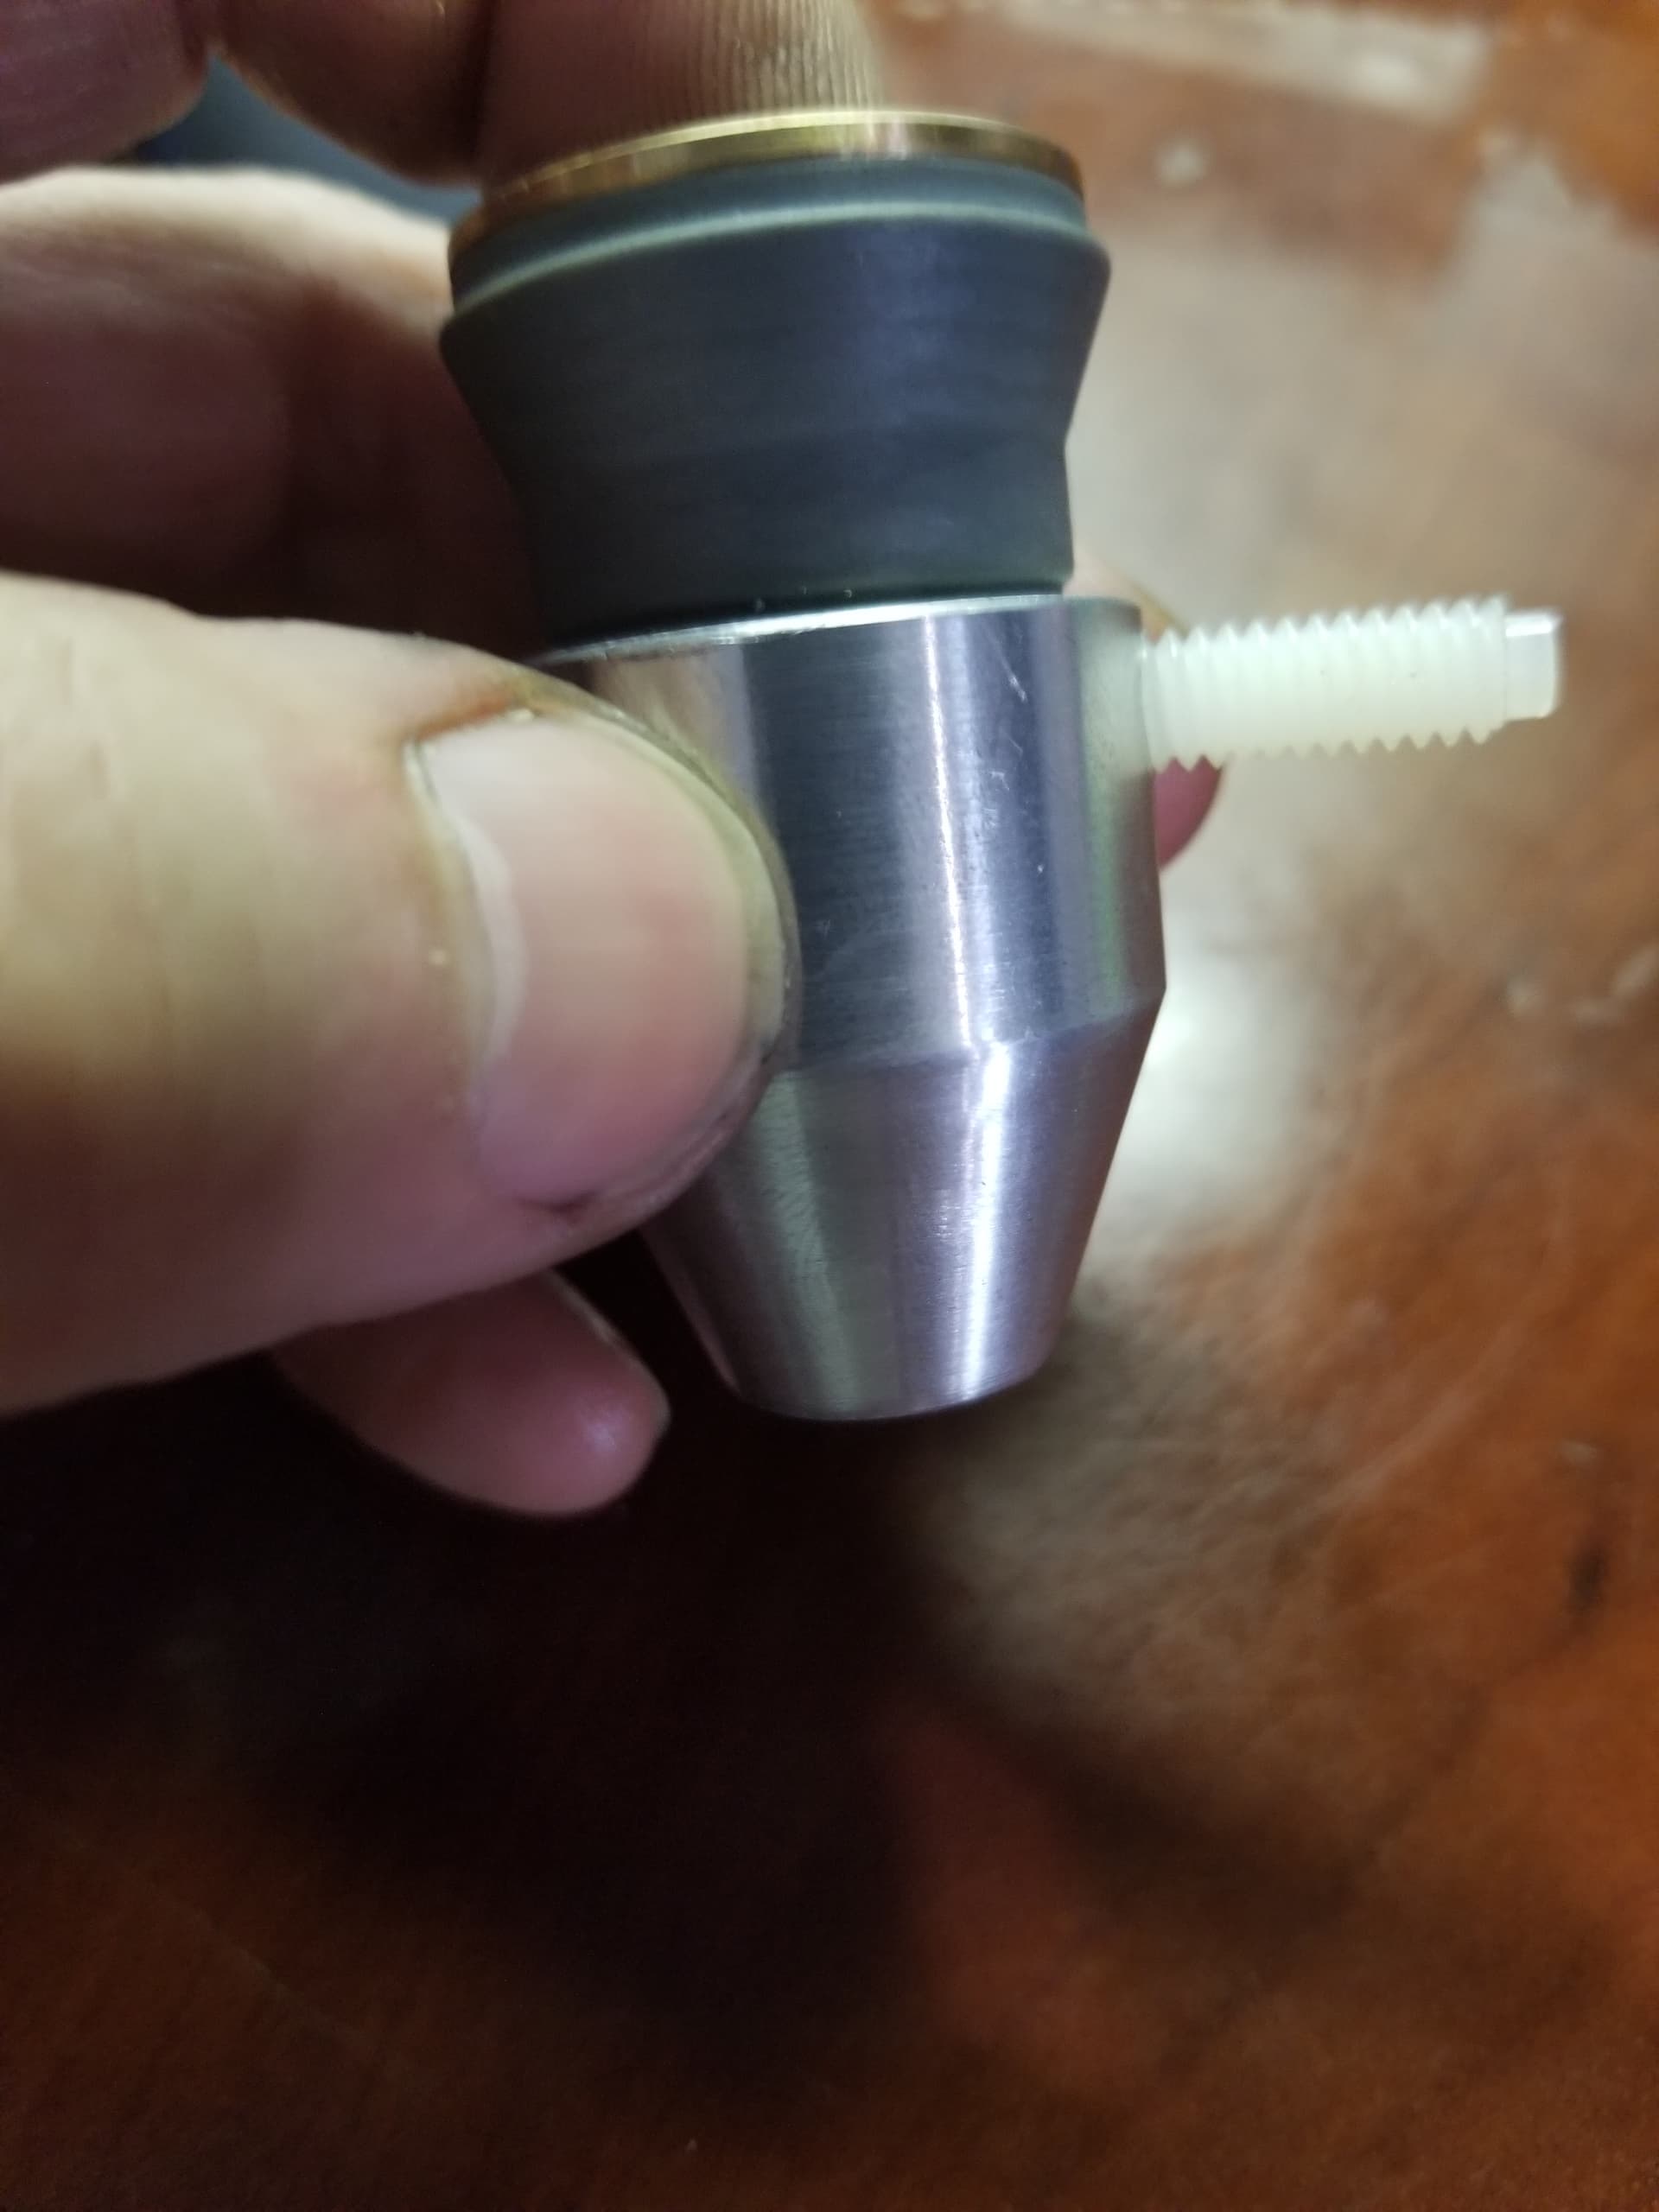
Does it go over the whole nozzle/shield or do you have to remove everything to put it on?
so do you have to remove the laser to turn it on and off?
It slips over the nozzle, you have to pull the cartridge out to turn it on and off.
2 Likes
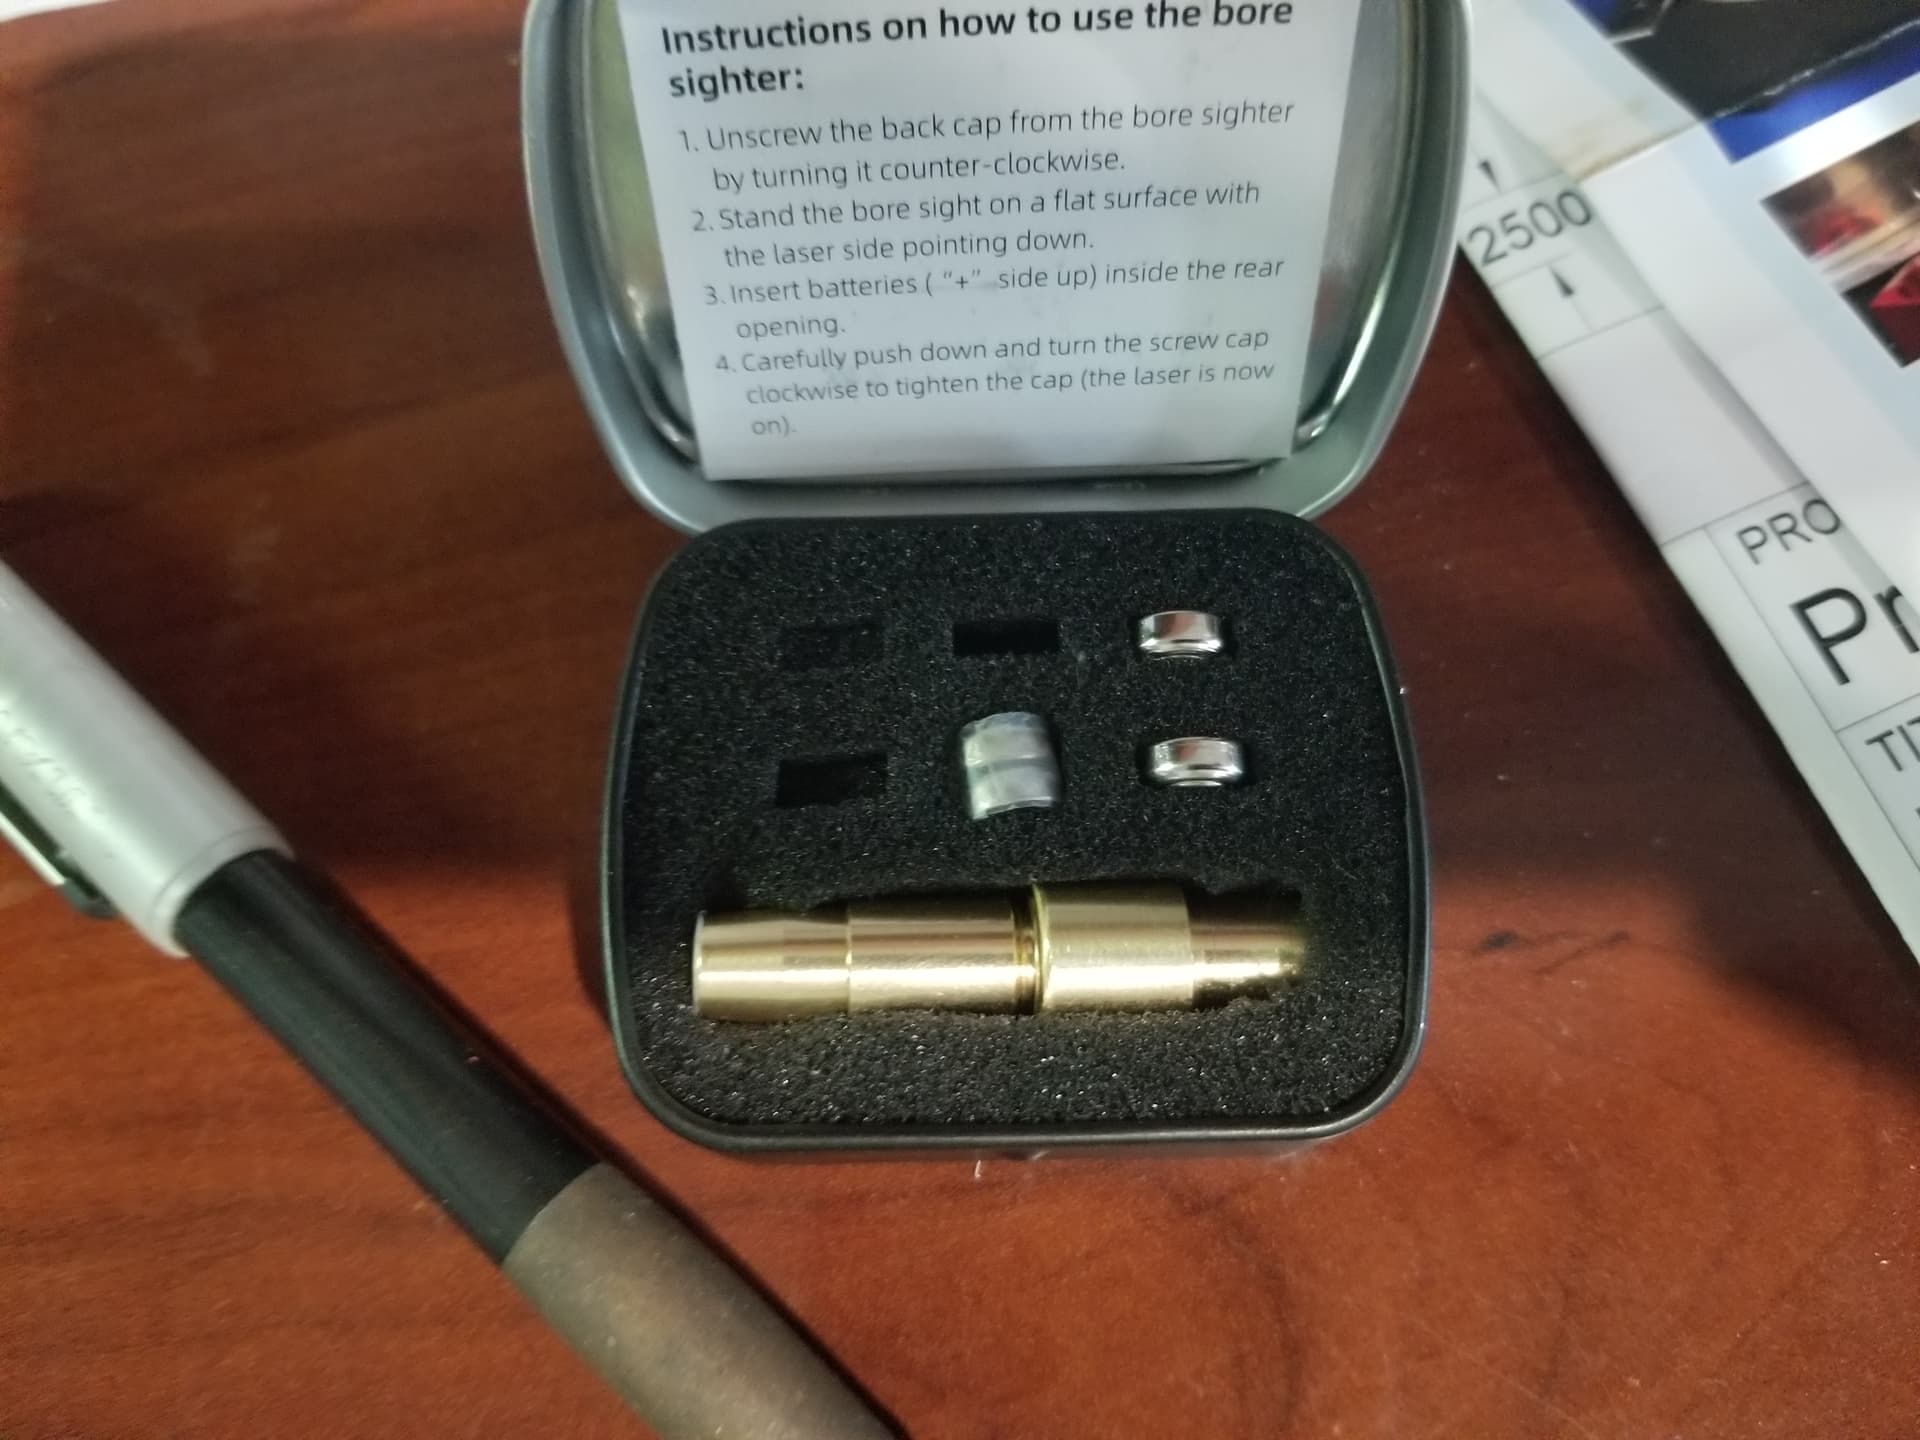
Dude! I love the laser idea for lining up parts and such. I dont really ever need it but I like gadgets so I went down the bore laser road.
Complete credit and kudos to the OP for this idea and taking the time to post it.
I didnt like the idea of unscrewing the end of the bore laser and wanted a switch and have to dig the laser out of the adapter wasnt appealing to me.
So I redrew the adapter and ordered the .223 bore laser as its larger and easier to handle, if needed. I realized after that being larger wasnt necessary but I just stuck with my choice.
After printing one, I realized that more length was needed for stability on slipping the adapter over the torch nozzle. BTW I have an older Powermax45 with a Duramax torch (non sync) and the torch tip body is exactly 1" in Diameter.
The dimensions I normally add for shrinkage on most of my 3d printed parts is 0.01 and they come out to a good friction fit. Oh and I use regular old PETG as filament for this.
The laser can be left in the adapter, slipped on and off at will without doing too much work and the laser can be turned on and off with your finger on the push of a button.
One cool by product of the whole thing is when you slip it over the torch nozzle you can actually turn on and off the laser by clicking the switch on the end of the nozzle… at least mine does… ![]()
I hope this adds value to the conversation and the files are listed on printables.com here: Hypertherm Torch Laser Adapter by Itsnotlevel | Download free STL model | Printables.com
And the laser I bought is here: Amazon.com
They offer a 9mm and while making it shorter in overall length, might be harder to handle in or out of the adapter.
PlasmaLaserAdapter v4.f3d (76.5 KB)
3 Likes
Add some more batteries and you might cut some metal. ![]()
4 Likes
Wish I would have seen this earlier, turning on off would be easy with that one.
Thanks for the link. Just ordered a 9mm with a switch to replace the one that I used without the switch.
I have not thoroughly fleshed out all of the options with the on/off of the one I bought but it will turn ‘ON’ without the cap if the battery touches the side. The cap just ensures that the contact to the complete the circuit.
I had figured that something as simple as a piece of foam on the back of this laser “Boresighter” (or a piece of aluminum foil) will cause adequate contact when the assembly is slid onto the end of the torch and makes contact with the torch shield.
I gotta try this out on my machine.
1 Like
Thanks to guys in this forum, I was able to make a different version based on what you guys posted.
Up until the other day, I had not used the one I made even since the date of my post. I had been using the keyboard to move my machine around and that was ok, but I still had to look at x and y to make sure I was zeroing where I needed to be.
I went back to using my touch screen and not using the keyboard but I found myself walking back and forth from table to pc to make sure i was in the right spot, not thinking about my laser pointer. Honestly I didnt think I was going to even use it at all, but then…after going back to the touch screen I needed to locate myself on a piece of steel across the table and I thought wait a minute.
I put my laser piece on, jogged over to my start point AND also adjusted my piece to square by jogging the laser down the edge of my material, it was square. Set my zero, jogged back to me to remove the laser pointer and back to zero and never left the pc once… Whammo!
Just a short little story…Feels good to use something you made…. thanks again guys for the input, or idea rather!!
1 Like