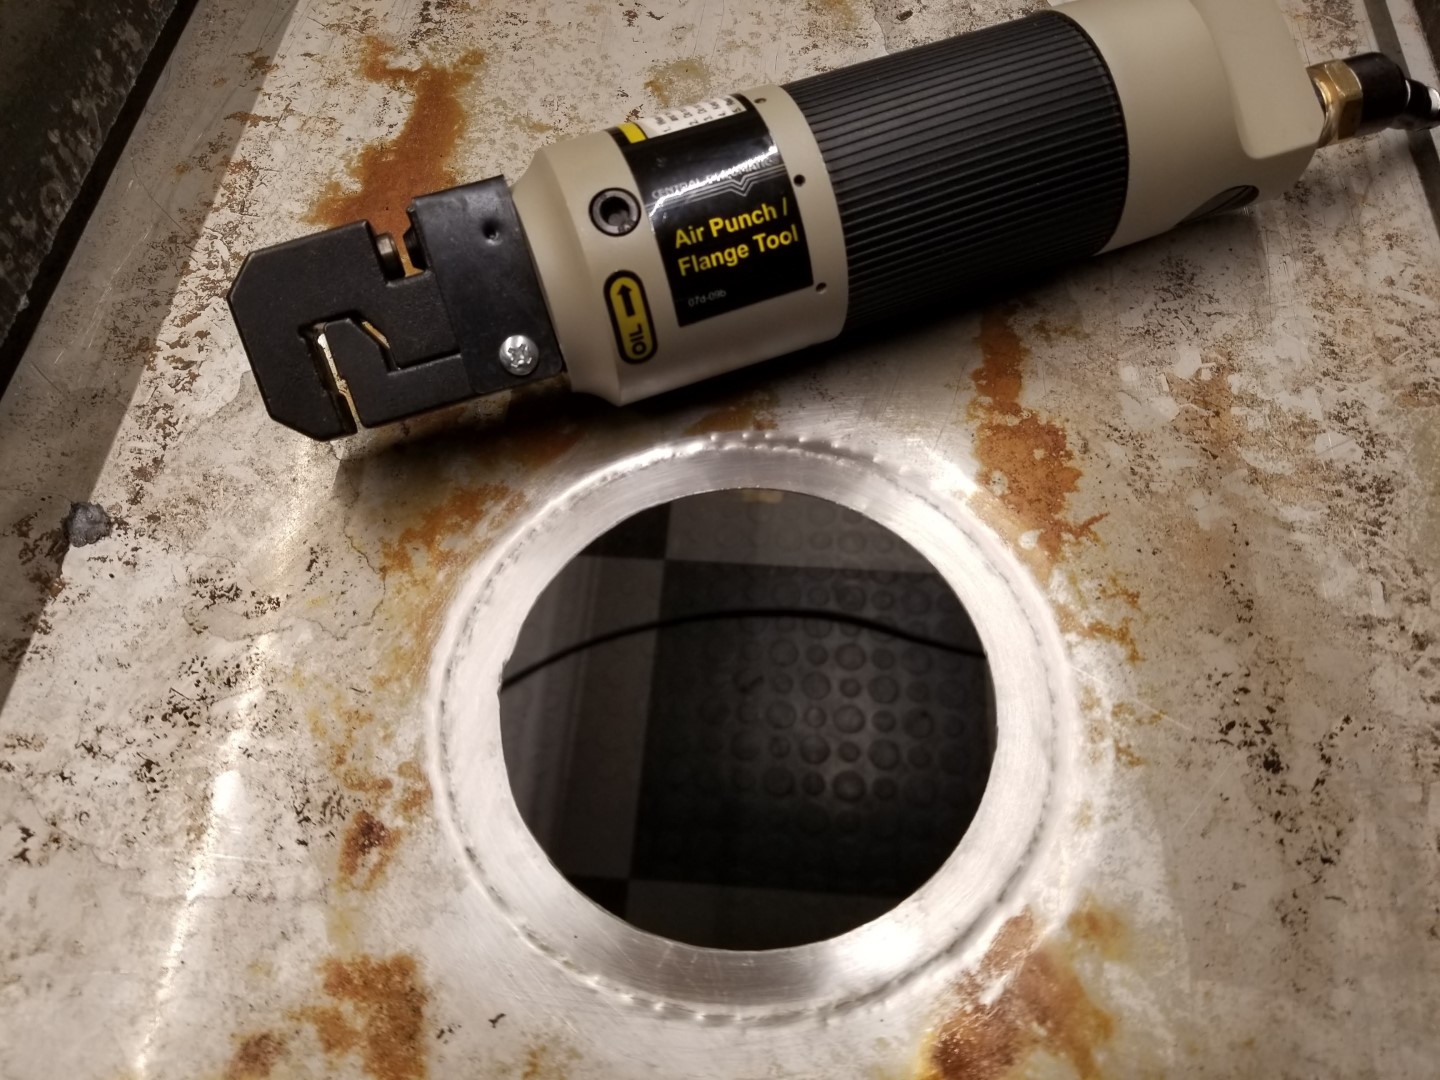
Like others, one of the first modifications I made to my water table was a much larger drain. I decided to use a stainless steel sink drain with removable filter basket to make catching and removing the slag easier, as well as letting the water drain very fast. I’m sure the last 1/8" of water left standing in the bottom of the pan wouldn’t hurt anything, but I really wanted to get it as flush as possible. Due to the size of the drain, a dimple die wouldn’t really be feasible, so I decided to try a pneumatic punch/flange tool.
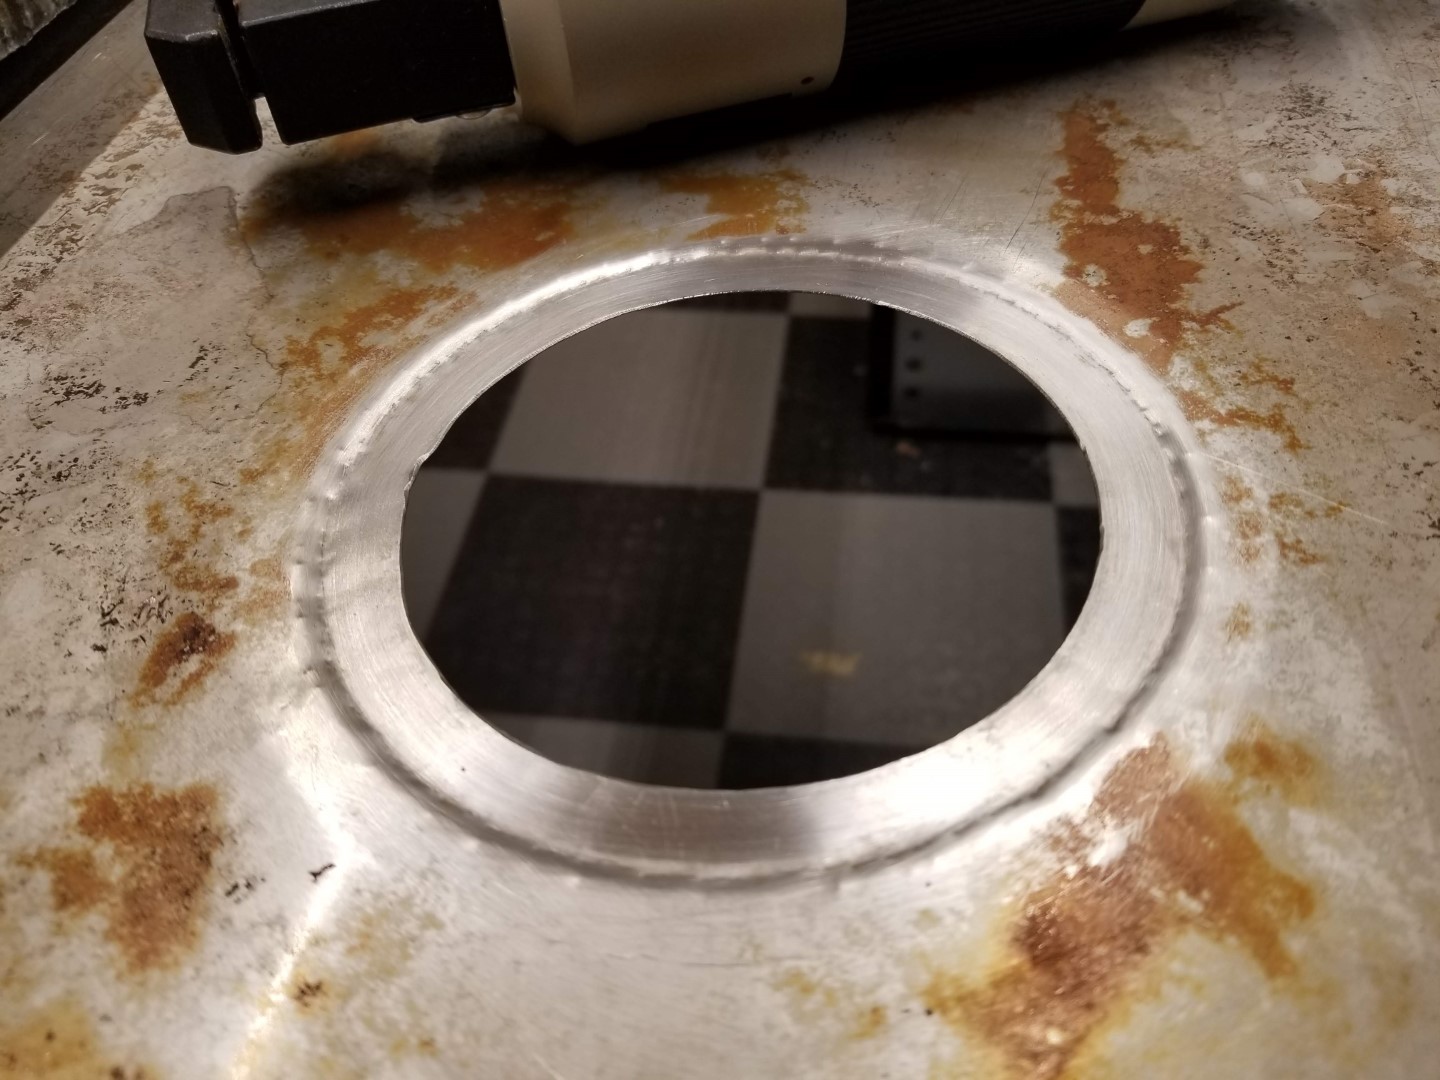
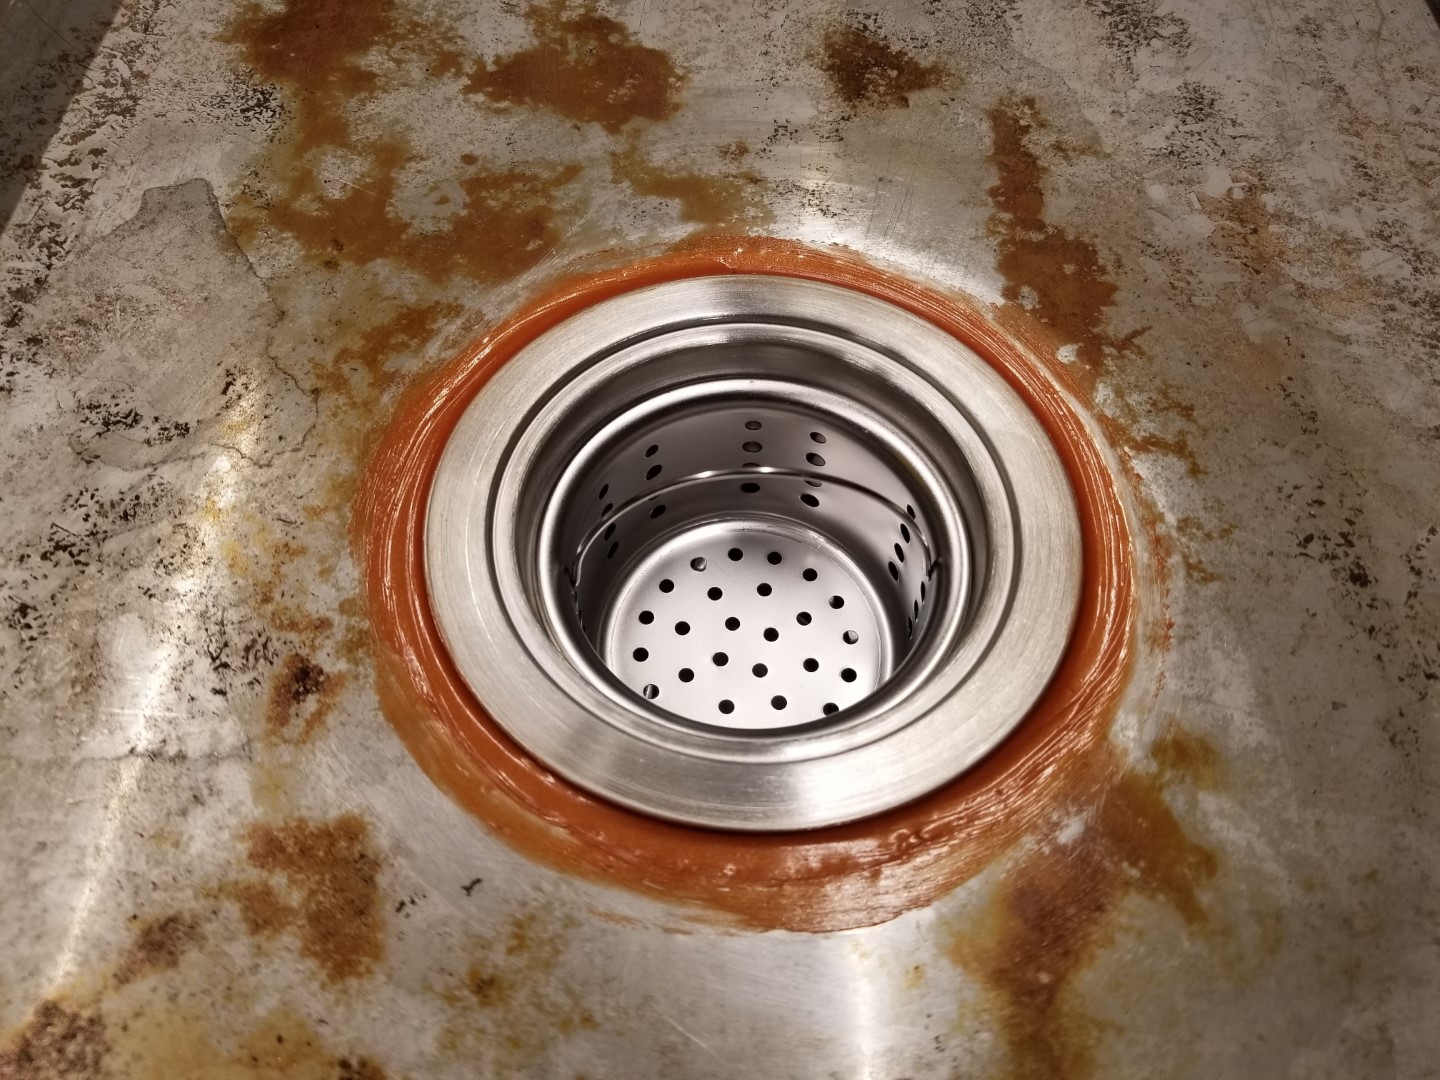
I was dubious, but after using the plasma cutter to cut the larger drain opening, I purchased a cheap air flange tool from Harbor Freight (this one here), and gave it a shot. To my delight, it actually worked quite well! I made a few passes around with it, trying to ensure a uniform recess, and it did the trick. I applied some Permatex Ultra Copper between the bed and the drain, tightened up the drain nut on the bottom, and it’s been working a treat. I also put a layer of Scotchbrite-type pad in the filter basket to catch the finer sediment, and haven’t noticed it slowing things down yet.
Hopefully someone else will find this helpful, but I’m betting I’ll find some more uses for the flange tool too as I cut thinner sheet metal projects on the Crossfire. Cheers!
that is fantastic. I installed the same drains on my table without doing a flange and it fully drains…there is less than a couple of teaspoons of water left. I put a little tension on the bottom of my pan to create a minute slope…and with the 1-1/4 drain…gone in 60 seconds…or less…hehehehe.
I also only used the gaskest that come with the drain…and I do not have any leaks.
I also installed a cheap home filtration cartridge system to filter out the rest of the fillings…my fluid is clean…
Yeah, I figured it probably varies from table to table, but mine seems to have a little bit of upwards bow in the middle. I think I may actually make a weight/collar to slip around the drain under the table to provide that downward tension you mentioned. And you’re right, I actually get a little whirlpool going when it drains!
I’m curious how long your filter will last before it starts impeding the flow noticeably - I was worried about it fouling too quickly if it was too fine. I’ll probably post some photos later of my whole reservoir/pump setup, but the drain actually empties into a colander that is further lined with filter material (obviously much courser than an actual filter), so I’m interested to see how clean the water remains.
I tend to let my table sitr for a day before I drain it…allows 90% of the filling to settle…then I have a 5 micron filter…pretty fine…but I get them free…so it is hard to tell right now how often I change it.
Gotcha - that makes sense. I guess I’m taking the opposite approach in an effort to keep evaporation to a minimum (both so I don’t have to add water very often, and to keep the air dry). I drain it as soon as I’m done with it, filter out the larger particles, and then let it settle in the tank/tub where it stays enclosed. My water pickup tube is also raised off the bottom of the storage tub so that it’s only pumping clean fluid, but depending on how much I start seeing make it through the pump, I may add a filter like yours too.
when I mean a little tension…I mean a little…not enough to distort the pan…but just enough to create a bit of a low spot.
I have my water tank under the table on a shelf fixed to the legs of the table…I strapped the drain line from the table to the top of the tank.
then when you place the slip joint /tail piece of the drain together …you put a little down force on the whole assembly and tighten the compression fitting.
to make it interesting…here is what I also did to my drain line…
I put a valve on the line going to the tank to be able to turn off the drain line.
I put a “T” in the drain line with a valve coming from my return pump.
so I close the drain line…open the valve coming from the pump…and turn on the pump…this fills my table from the same place as the drain…simple and easy.
How has your valve been holding up? I’ve seen others mention doing the same thing (and maybe even in one of your other posts), but I was worried about the valve seals getting gritty and becoming difficult to open/close. The PVC valves I looked at were already quite stiff to turn even when new, and I wanted something that could easily be actuated with one hand. After some deliberation, I ended up using a short section of layflat discharge hose and a toggle clamp to create a simple, easy-to-actuate “valve.” Nothing to foul, and it gives me flexibility to take the lid off my storage tank/tub without undoing any rigid plumbing.
love the simplicity of your shutoff valve.
the only problem with that is the wear and tear on the edge and it cracking over time…and a chance of a puncture if metal fillings get in the line…and then you have a major water issue.
the PVC valve…I used a copper ball valve will last a long…long time…will almost last forever…
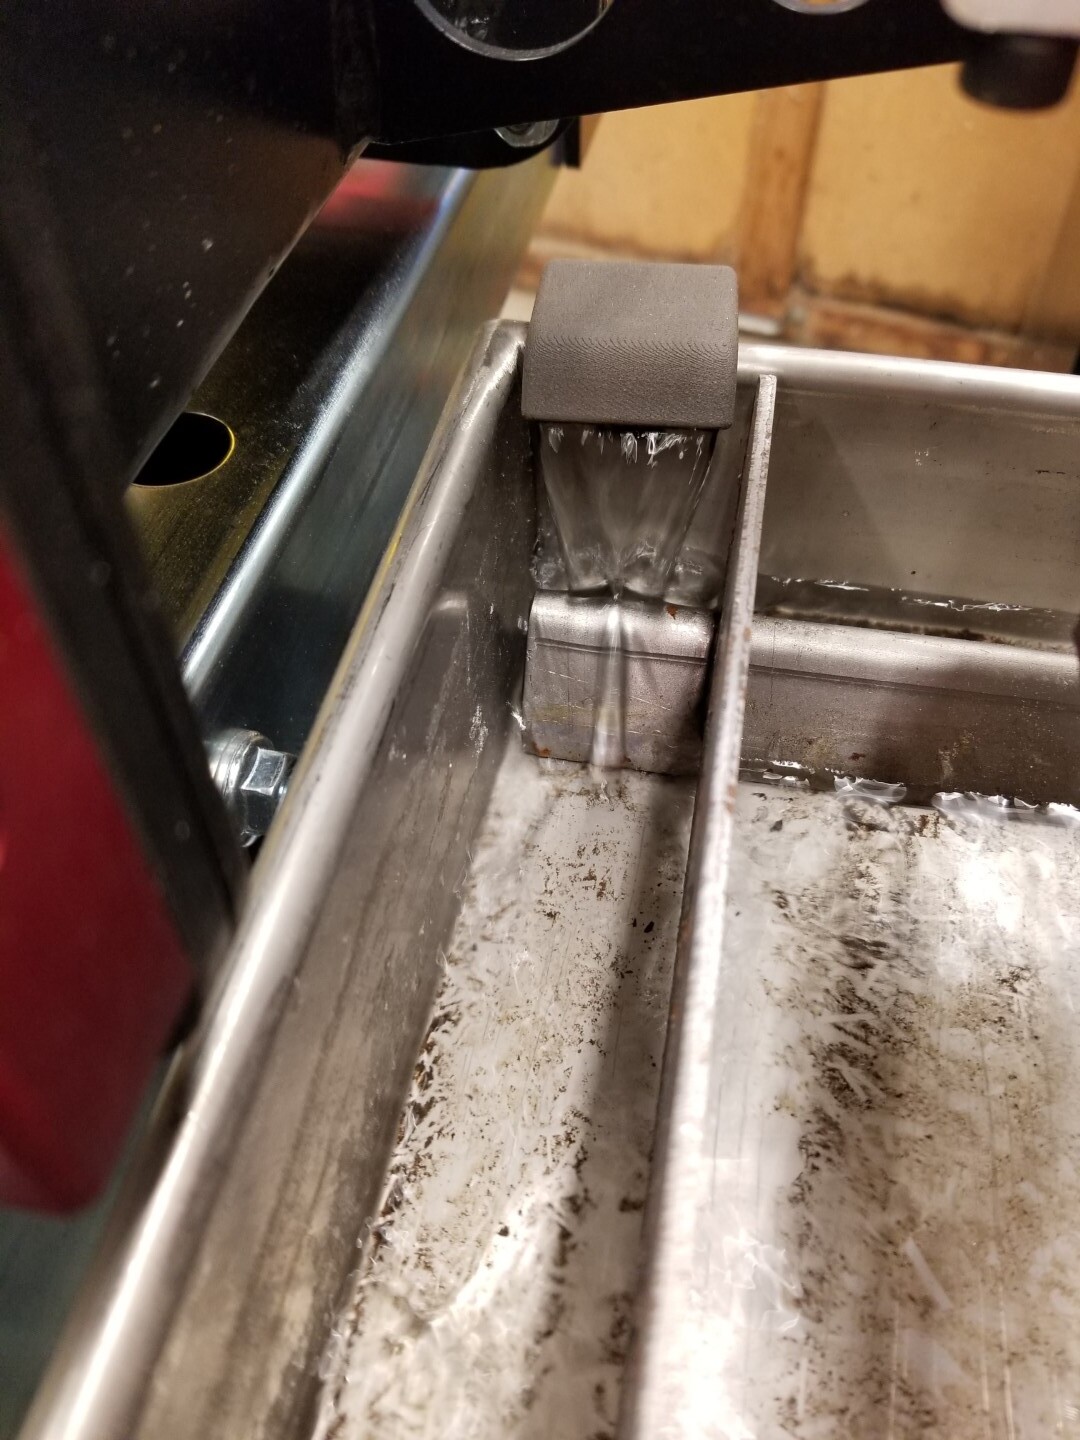
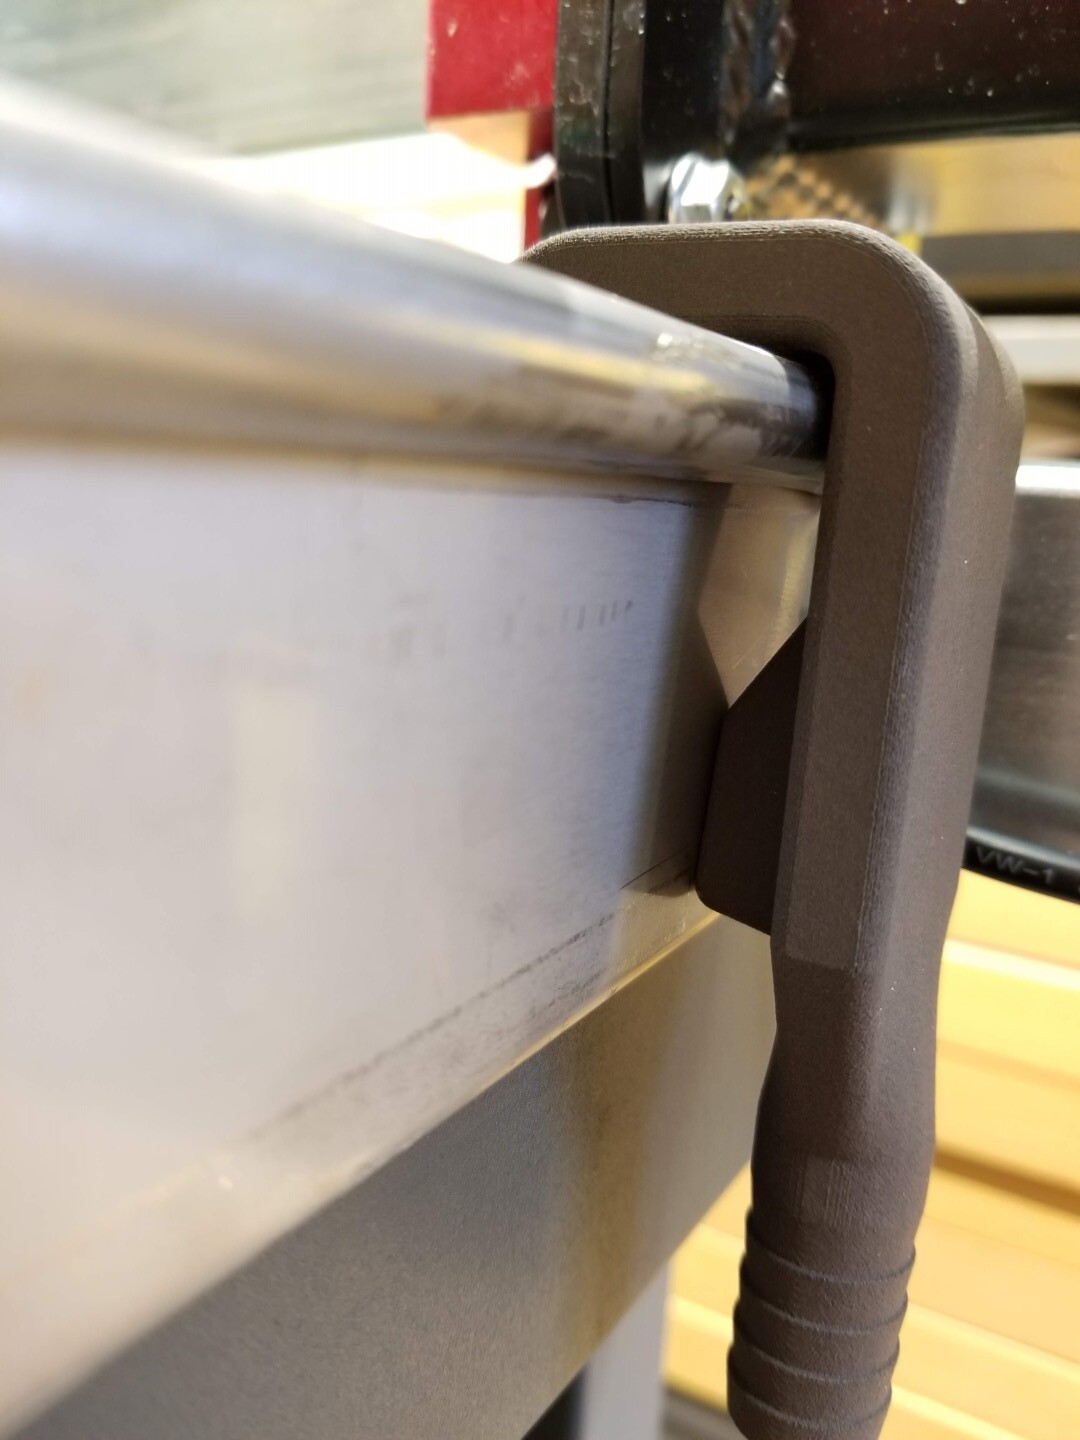
the only problem with the filler you have…is if it sticks over the top of the slats at all it will rub on the metal sheet…what is the splash like?
Yeah, I’ll be interested to see if there’s any fatigue at those edges over time too. There shouldn’t be any metal filings getting in there since I’m filtering it at the table. However, the lid of my reservoir (the yellow part in the photos) is also recessed and has a drain hole, so worst case the water would leak out and go right back into the tub.
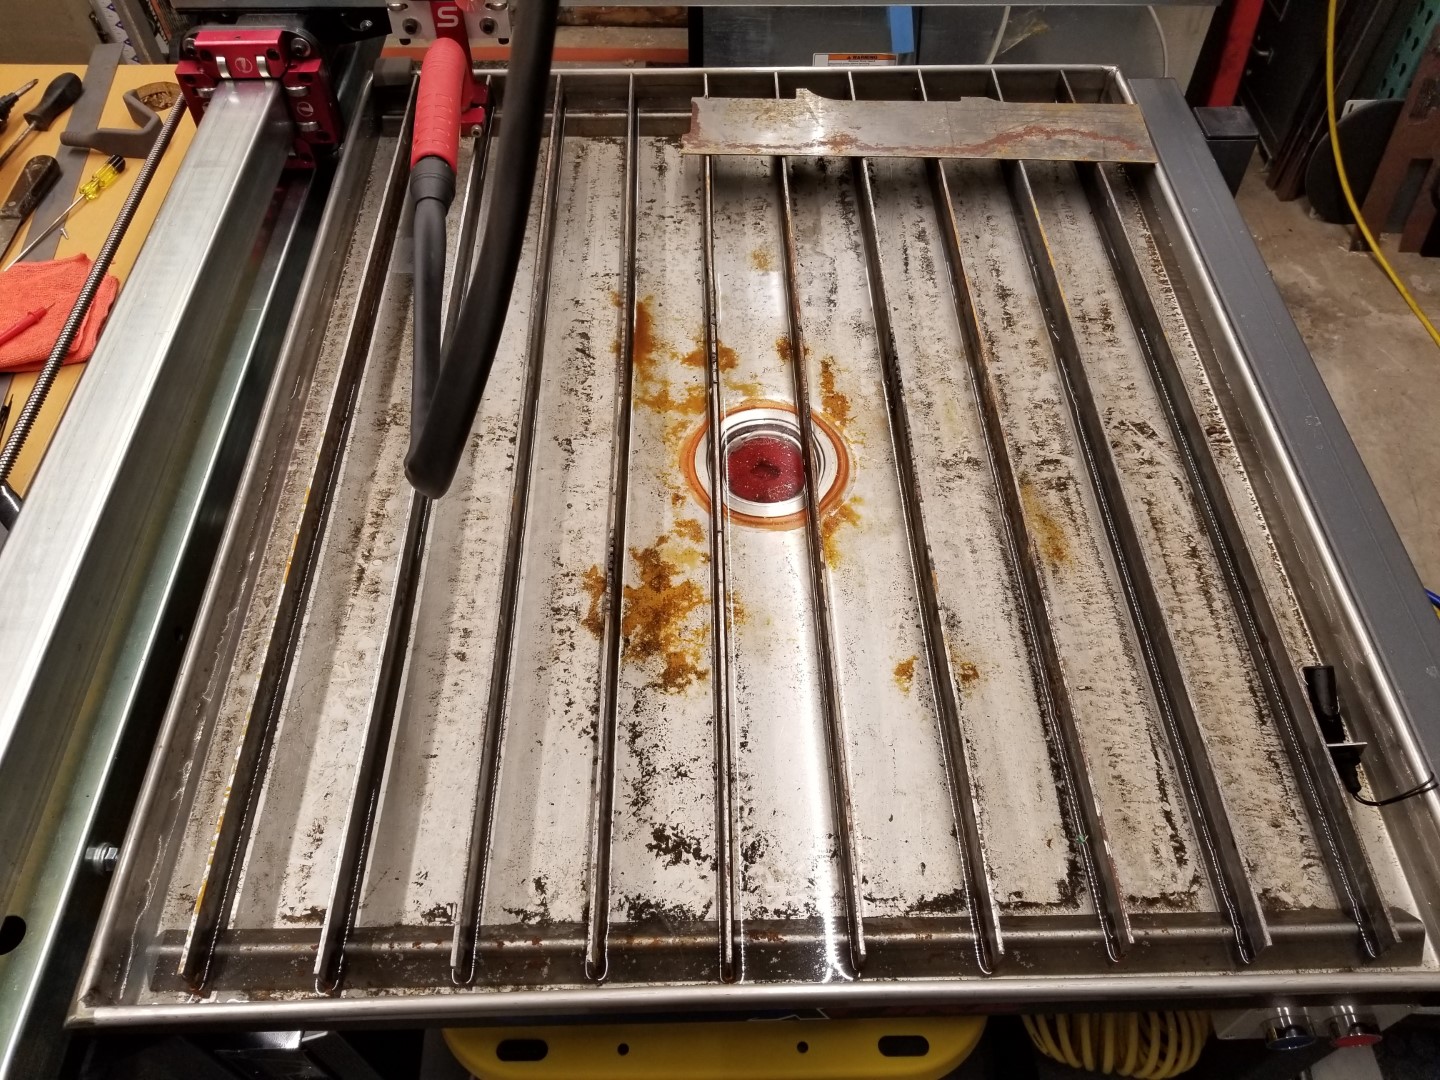
No splash at all right now with the filler. It does stick up slightly higher than the slats, but with it positioned at the back left corner, it’s actually outside of the extents that the torch head can reach so it won’t usually be in the way. If you look at the last photo of my initial post, you can see it installed in the back corner (and the torch is positioned almost as far to the left as it will go - within an inch, anyway). If I really really need that extra inch for some reason, I can always unclip it.
It was made on an SLS 3D printer, but almost any 3D printer should work (as long as it can print a watertight part). I added the design to the FireShare portion of this site, along with a link to download the 3D part files: https://www.langmuirsystems.com/fireshare/water-table-filler
That should be able to handle it no-problem! I’d suggest printing it on its side so that it can print the rectangular portion without any supports so it’s not a pain to clean them out (it should be able to bridge that short distance easily). If necessary, you could leave supports in the hose barb portion, since that will stay easy to access.