Try a longer lead-in distance and a shallower angle. That will let the pierce happen far enough from the line not to touch and the shallow angle let’s the torch slide into the cut instead of having to slow and make a hard turn.
I usually use 0.12" for the distance and 30 or 60 degrees for the angle.
Thanks I will give it try…I understand why they want us to use fusion 360 … I think. But it’s a lot to take in … more controls than what’s needed . I say I am in the wrong forum for this conversation… anyway thank you will give it a shot
True. But until they finish their custom app any general use tool will have features that aren’t needed for any specific tool. The Langmuir written software should take care of that similar to how FireControl only has the options needed for the Crossfire and not all the extra stuff Mach3 has.
Thanks for the help by changing the entry angle and exit it seems to have resolved the problem … Fusion 360 is a good program … just have to figure out what the important controls are and when to change them and not to change them … following the video led me to believe that the 90 degree was the angle of the torch head , knowing that some cnc plasma tables have that option … not realizing that was curve entrance angle… anyway Thank You !
I have been using this chart for a while but now I’m venturing into new territory: I’m planning on cutting 1/2" mild steel with the RazorWeld 45. I’m thinking I should go back to 1.0mm tips (currenly on .8) due to cranking it up to 45 amps. Only one example on the chart lists 15 ips but no details and no pictures. I’m skeptical that 15 ips is slow enough.
Anyone have any feedback on cutting 1/2" steel using the RazorWeld 45?
Give it a longer than normal lead-in from the outside of the cut and put your 0,0 just off the edge of the plate. It’ll start right on the edge and then move in with enough room to stabilize the arc.
I have nested cuts, multiple arc starts, so I don’t think that method is going to work unfortunately. Any thoughts on speed? I feel 15 ips may be too quick.
Maybe. My Hypertherm says 20ipm for 1/2" steel with an edge start recommended - 3/8" has a .9 sec pierce delay and 32ipm. It says 11 ipm for 5/8". Your RW cuts a little slower than the HT (I never tried 1/2" with my RW45 but I know when I switched I had to speed my cuts up).
I’d try a 12ipm with a 1.5 sec pierce to start. Just run a series of lines with some different settings - try to get a good pierce and then work on the cut speed.
remember when the torch has to turn it will inherently slow up like Hatch mentioned above. in FUSION you can change your LEAD IN & LEAD OUT ipm speeds higher then your set ipm speed to help compensate for the divot youll get when it slows turing into the cut prfile to begin your cuts. I speed mine up a bit faster then the set ipm cut speed. if its thick sheet youll just have to increase you pierce delay slightly to make sure you full through and established before it leads into your profile for cutting…
a lot of users tend to blast through this setting and just copy what Langmuir does in the tutorial and just set all 3 the same like 70 70 70 .
the 1st one cutting feed rate which is you nominal feed rate once you established on you profiles, the other 2 are your lead in & lead out feed rates when your coming into and out of your profiles.
So after working through some frustrating issues that ended up being caused by a defective hand torch (it melted internally, see my post in the plasma cutter forum), I ended up upgrading to a PTM-60 machine torch and getting IPT 50A (1.0mm) consumables from George.
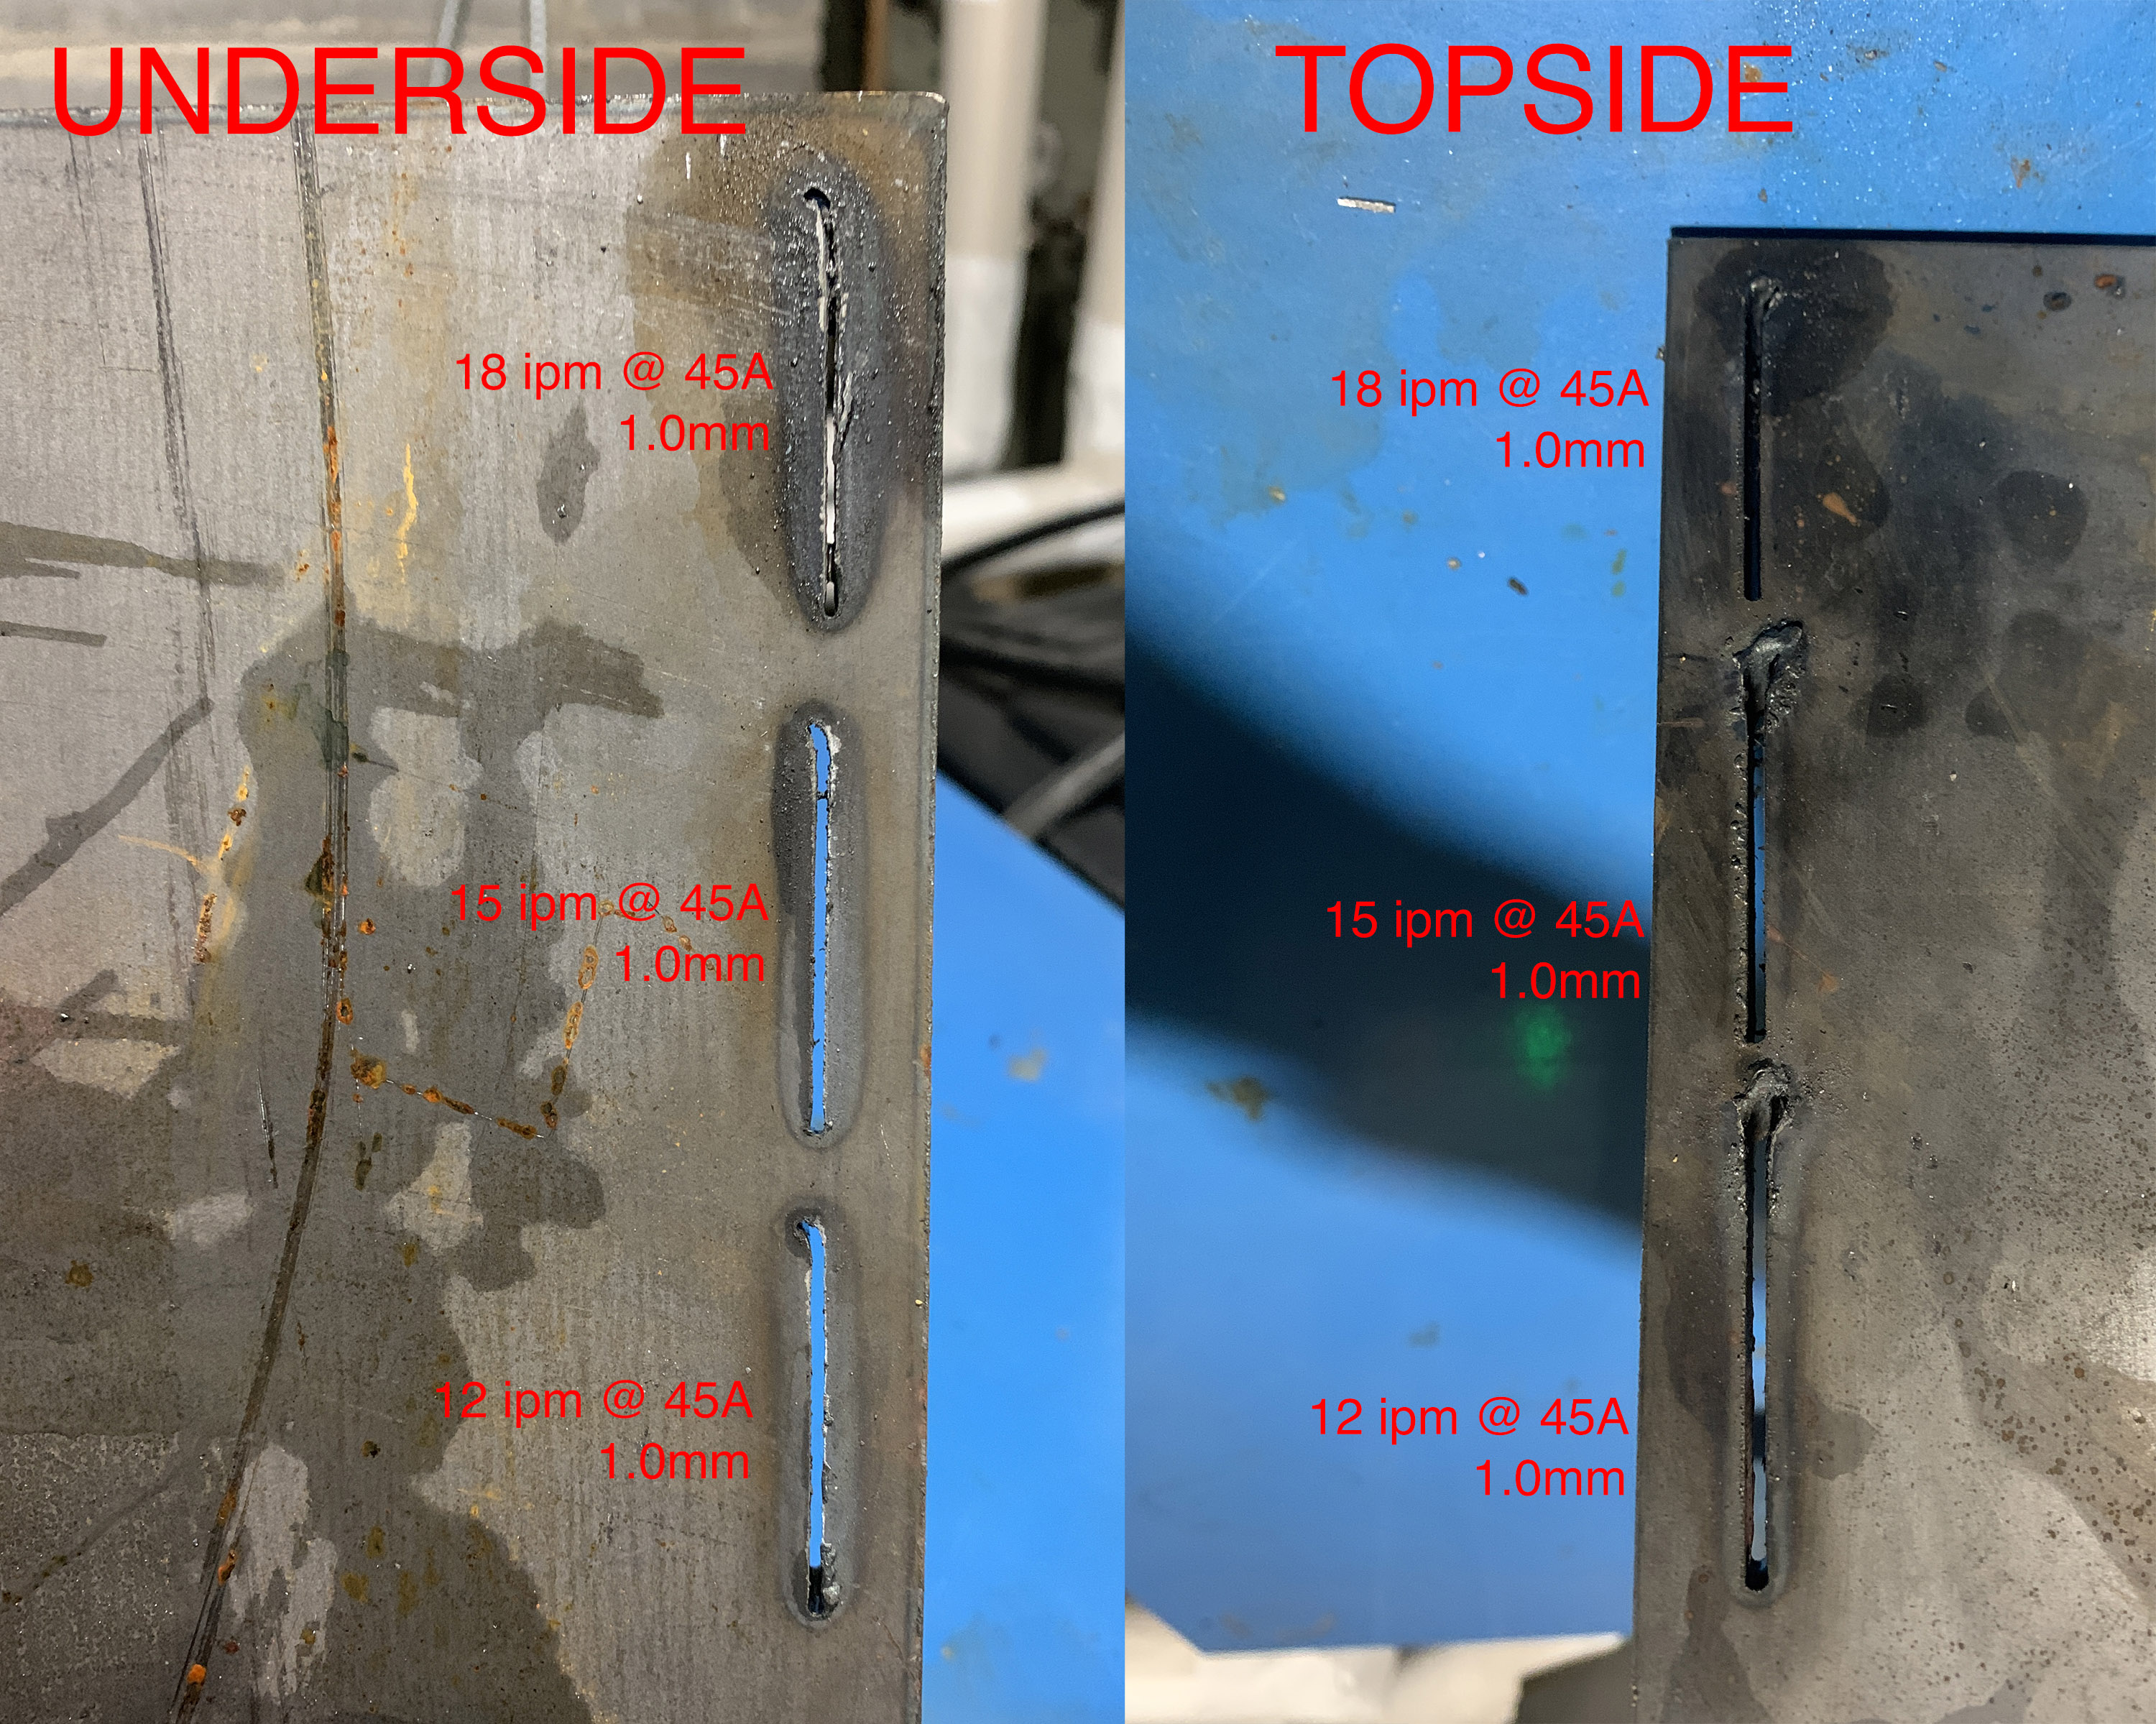
I found that between a 1.5 to 2.0 second pierce delay at 45A and 0.06 shim works best, I’ve been siding on 2.0s for my cuts, although the linear test cuts in the picture were all 1.5s. RazorCut pressure gauge reads a hair under 60 psi.
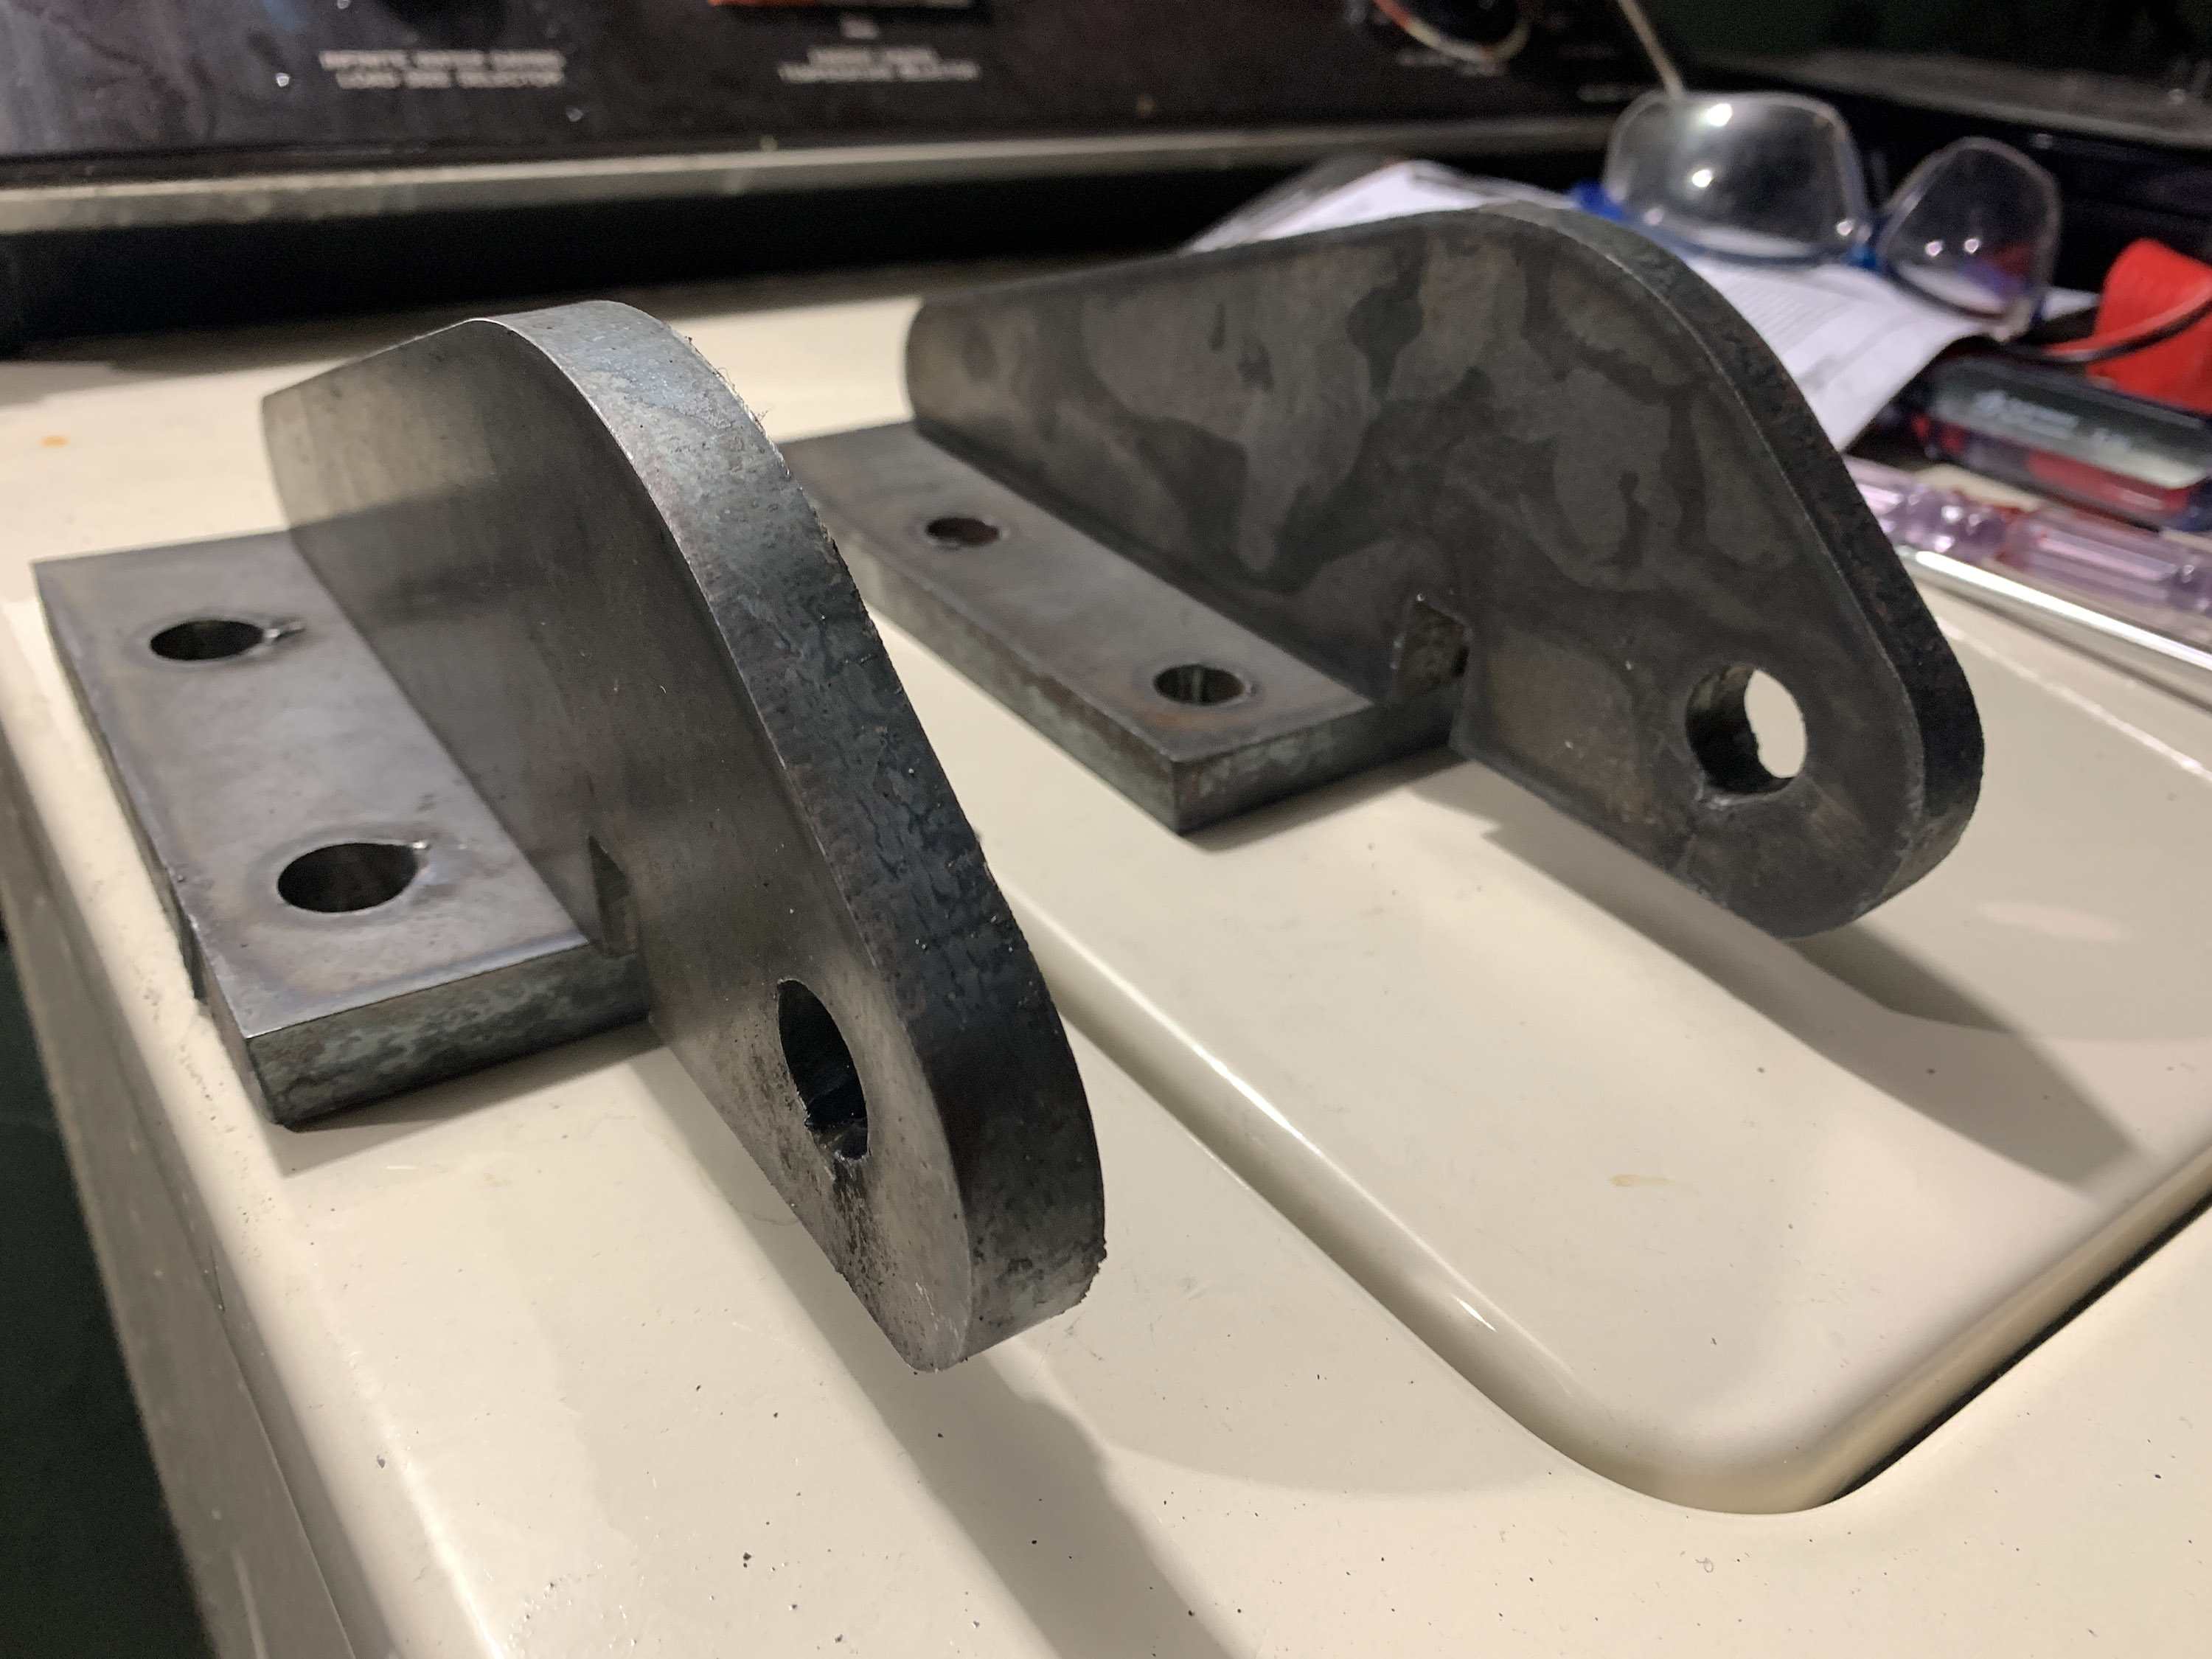
I ended up cutting one part at 12 ipm and while good, I was not completely satisfied satisfied with the result, too much angle around corners, especially in the 5/8" holes which ended up being a bit conical. So I slowed it down and found 7 ipm worked best for the 5/8" holes and 10 ipm worked best for the outside profile.
There is definitely dross at these slow speeds, but it chips off cleanly with a good hammer smack. 1/2" steel is certainly pushing the RazorCut 45 to its absolute limits.
Hello, I just got my CrossFire Pro set up and had some questions on your cut chart. What does the tip type mean? Are there different kinds of tips I will need for different materials? Where it talks about the shims, if I have the powered Z axis can I ignore that part? Thank you in advance!!
The different plasma manufacturers supply different tips to handle different power & so to some extent materials as well. Typically they are based on tip orifice diameter so you’ll see for Razorweld tips like 0.8mm, 0.6mm, 1.0mm, etc. The larger the orifice the higher the power they can take. At the same time, the larger the orifice the wider the kerf. So typically if you’re doing fine work (art projects with intricate designs for instance) you would use a smaller tip, lower power and possibly slower speeds.
Hypertherm doesn’t define theirs by physical size - they use descriptors like “fine”. That’s part of their marketing & special sauce.
As for the shims, that’s a holdover for the Crossfire original table without THC/Z-axis control. With the Pro you can ignore that. You set the height in the tool definition in Fusion or Sheetcam.
Hi!
Well, as you indicated; having a compressor that’s just at the machine spec limits causes it to run almost continuously.
Do you have a recommendation of a good compressor? Preferably one that runs on 110V. I only have 2 220VAC outlets and cutter is plugged into one and my welder into the other.
Thanks in advance.
So with the new Razercut x45 torch comes with a1.0 tip and looks like its the only one for this torch.
So is this cutting sheet even accurate for the new x45 torch? or just use it as a quick guidline?
Is there a new chart anywhere for this torch and tip? Just wondering, my crossfire is ordered so cant even do anything yet. Just researching.