Has anyone came up with a cut chart for the razorcut45 yet? Would this work as a starting point http://eagleplasma.com/cutters/cut-chart-pm45.pdf ?
2 Likes
I’ve been wondering the same thing. I contacted Razorweld and asked them for a cut chart as well. I’ll post here when they respond.
Some of us on here have been posting out cut info to try and make a cut chart for everyone.
1 Like
Just click on the red hyperlink
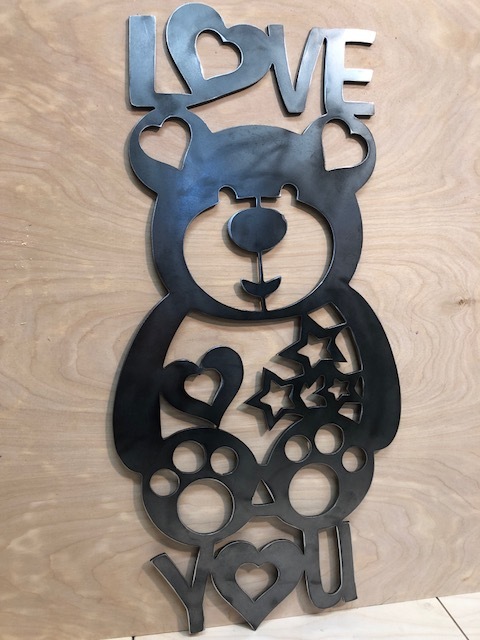
The 1/8” aluminum is dialed in really well. This is exactly how the parts came off of the table, no cleanup. I bumped the ipm up to 45 and seemed to be Just fine.
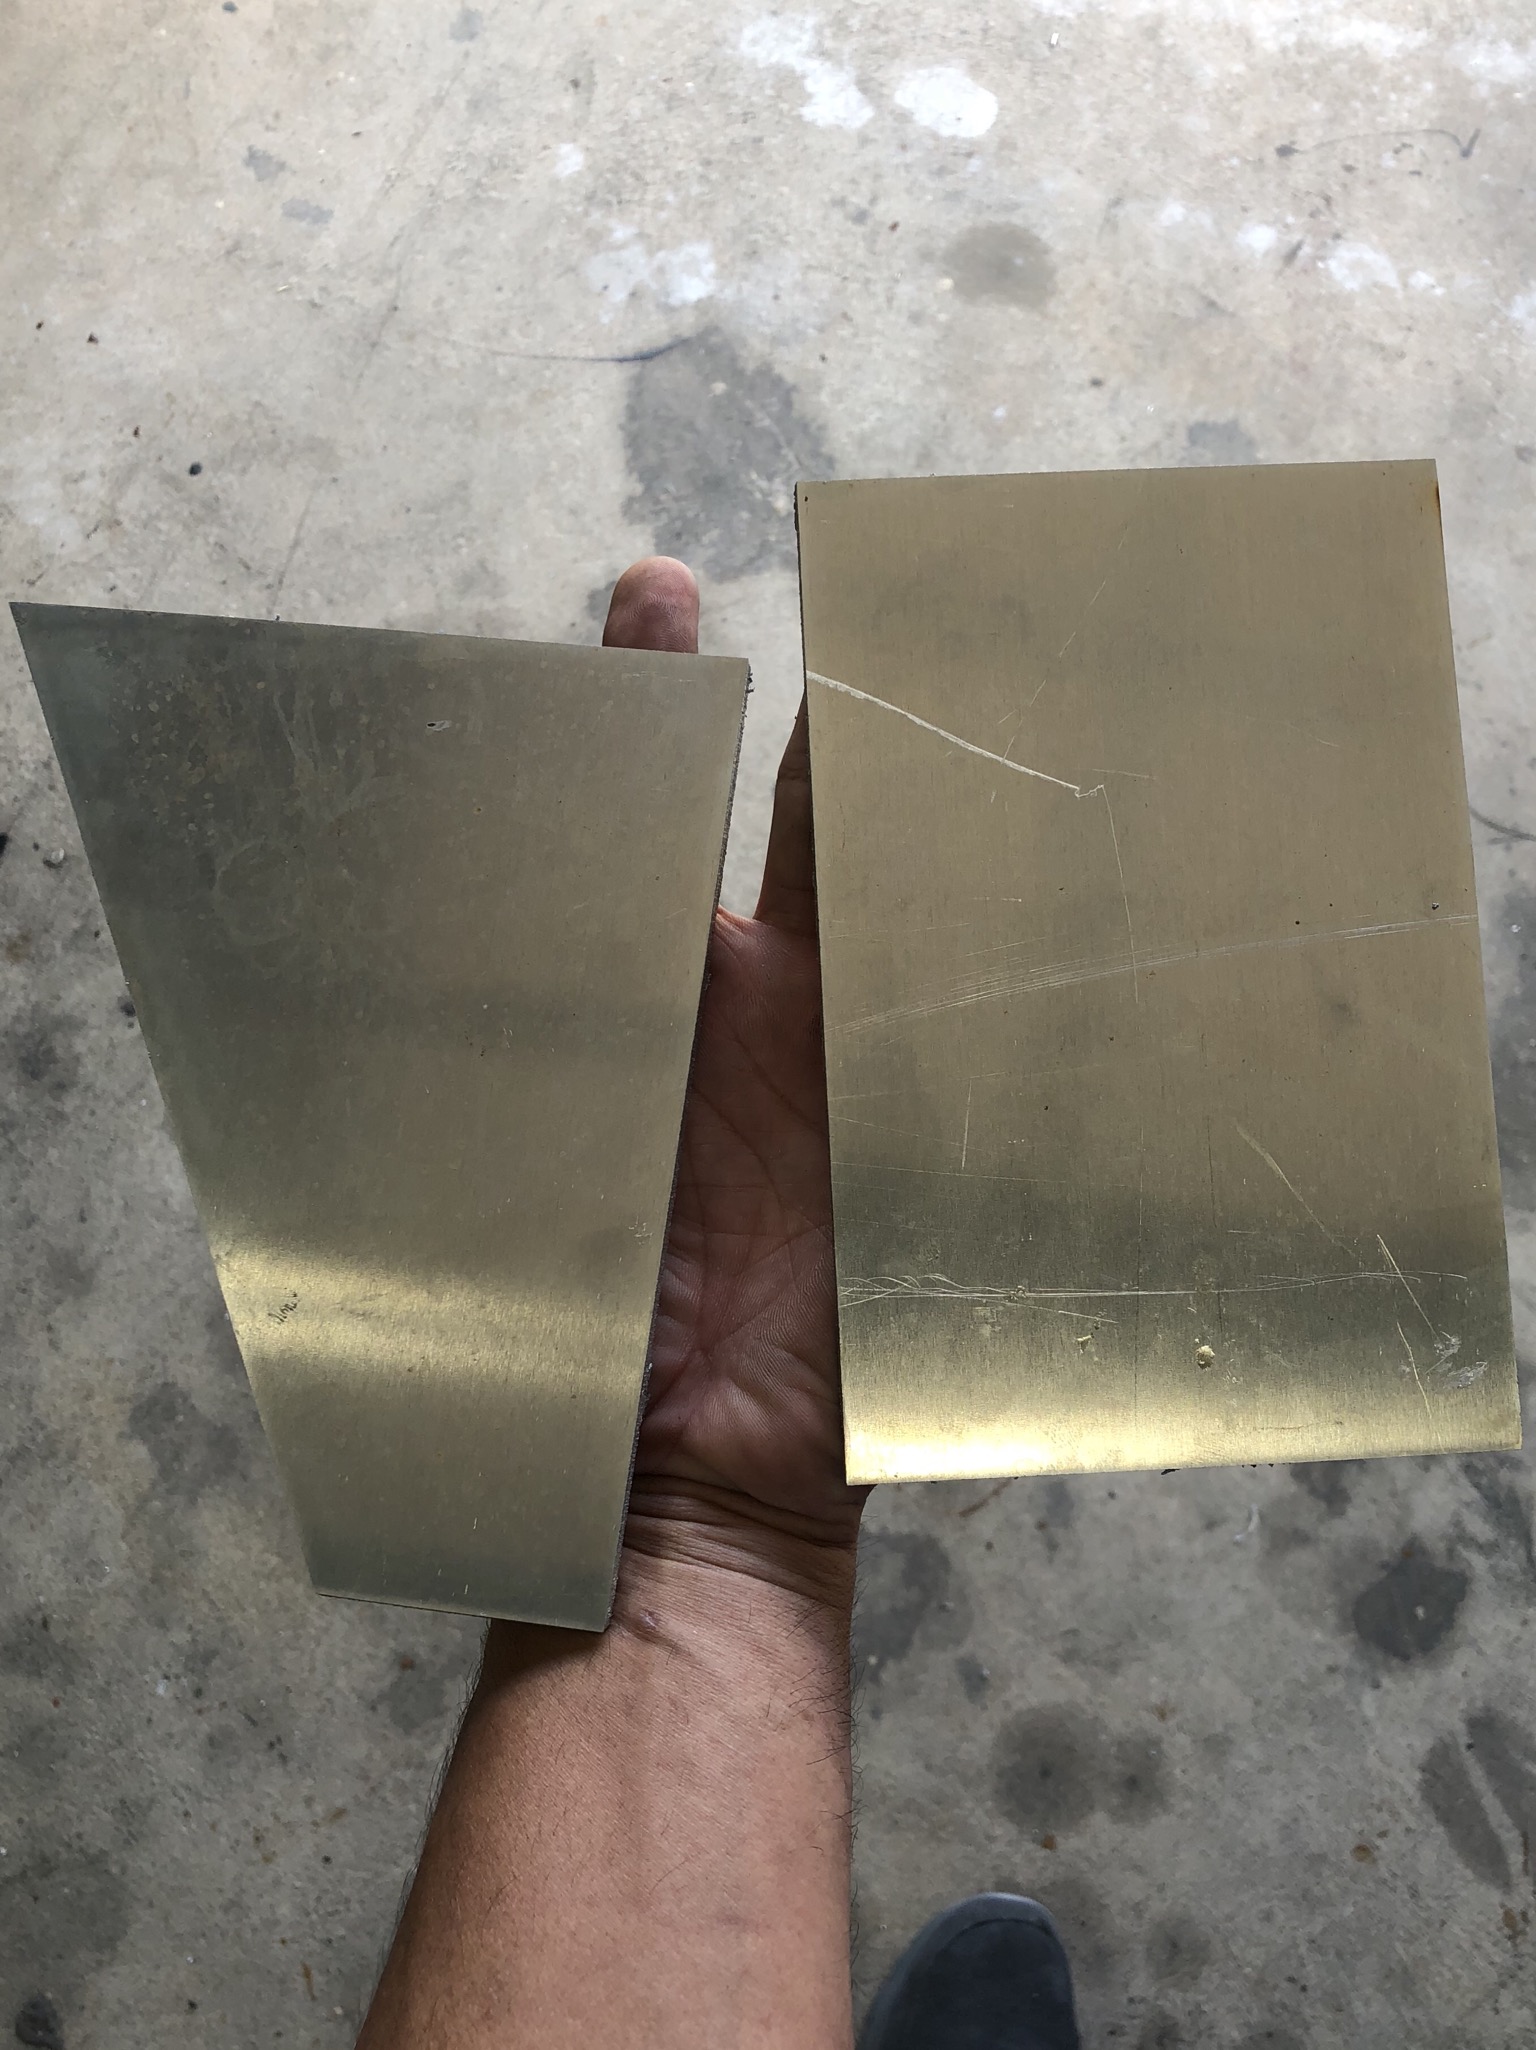
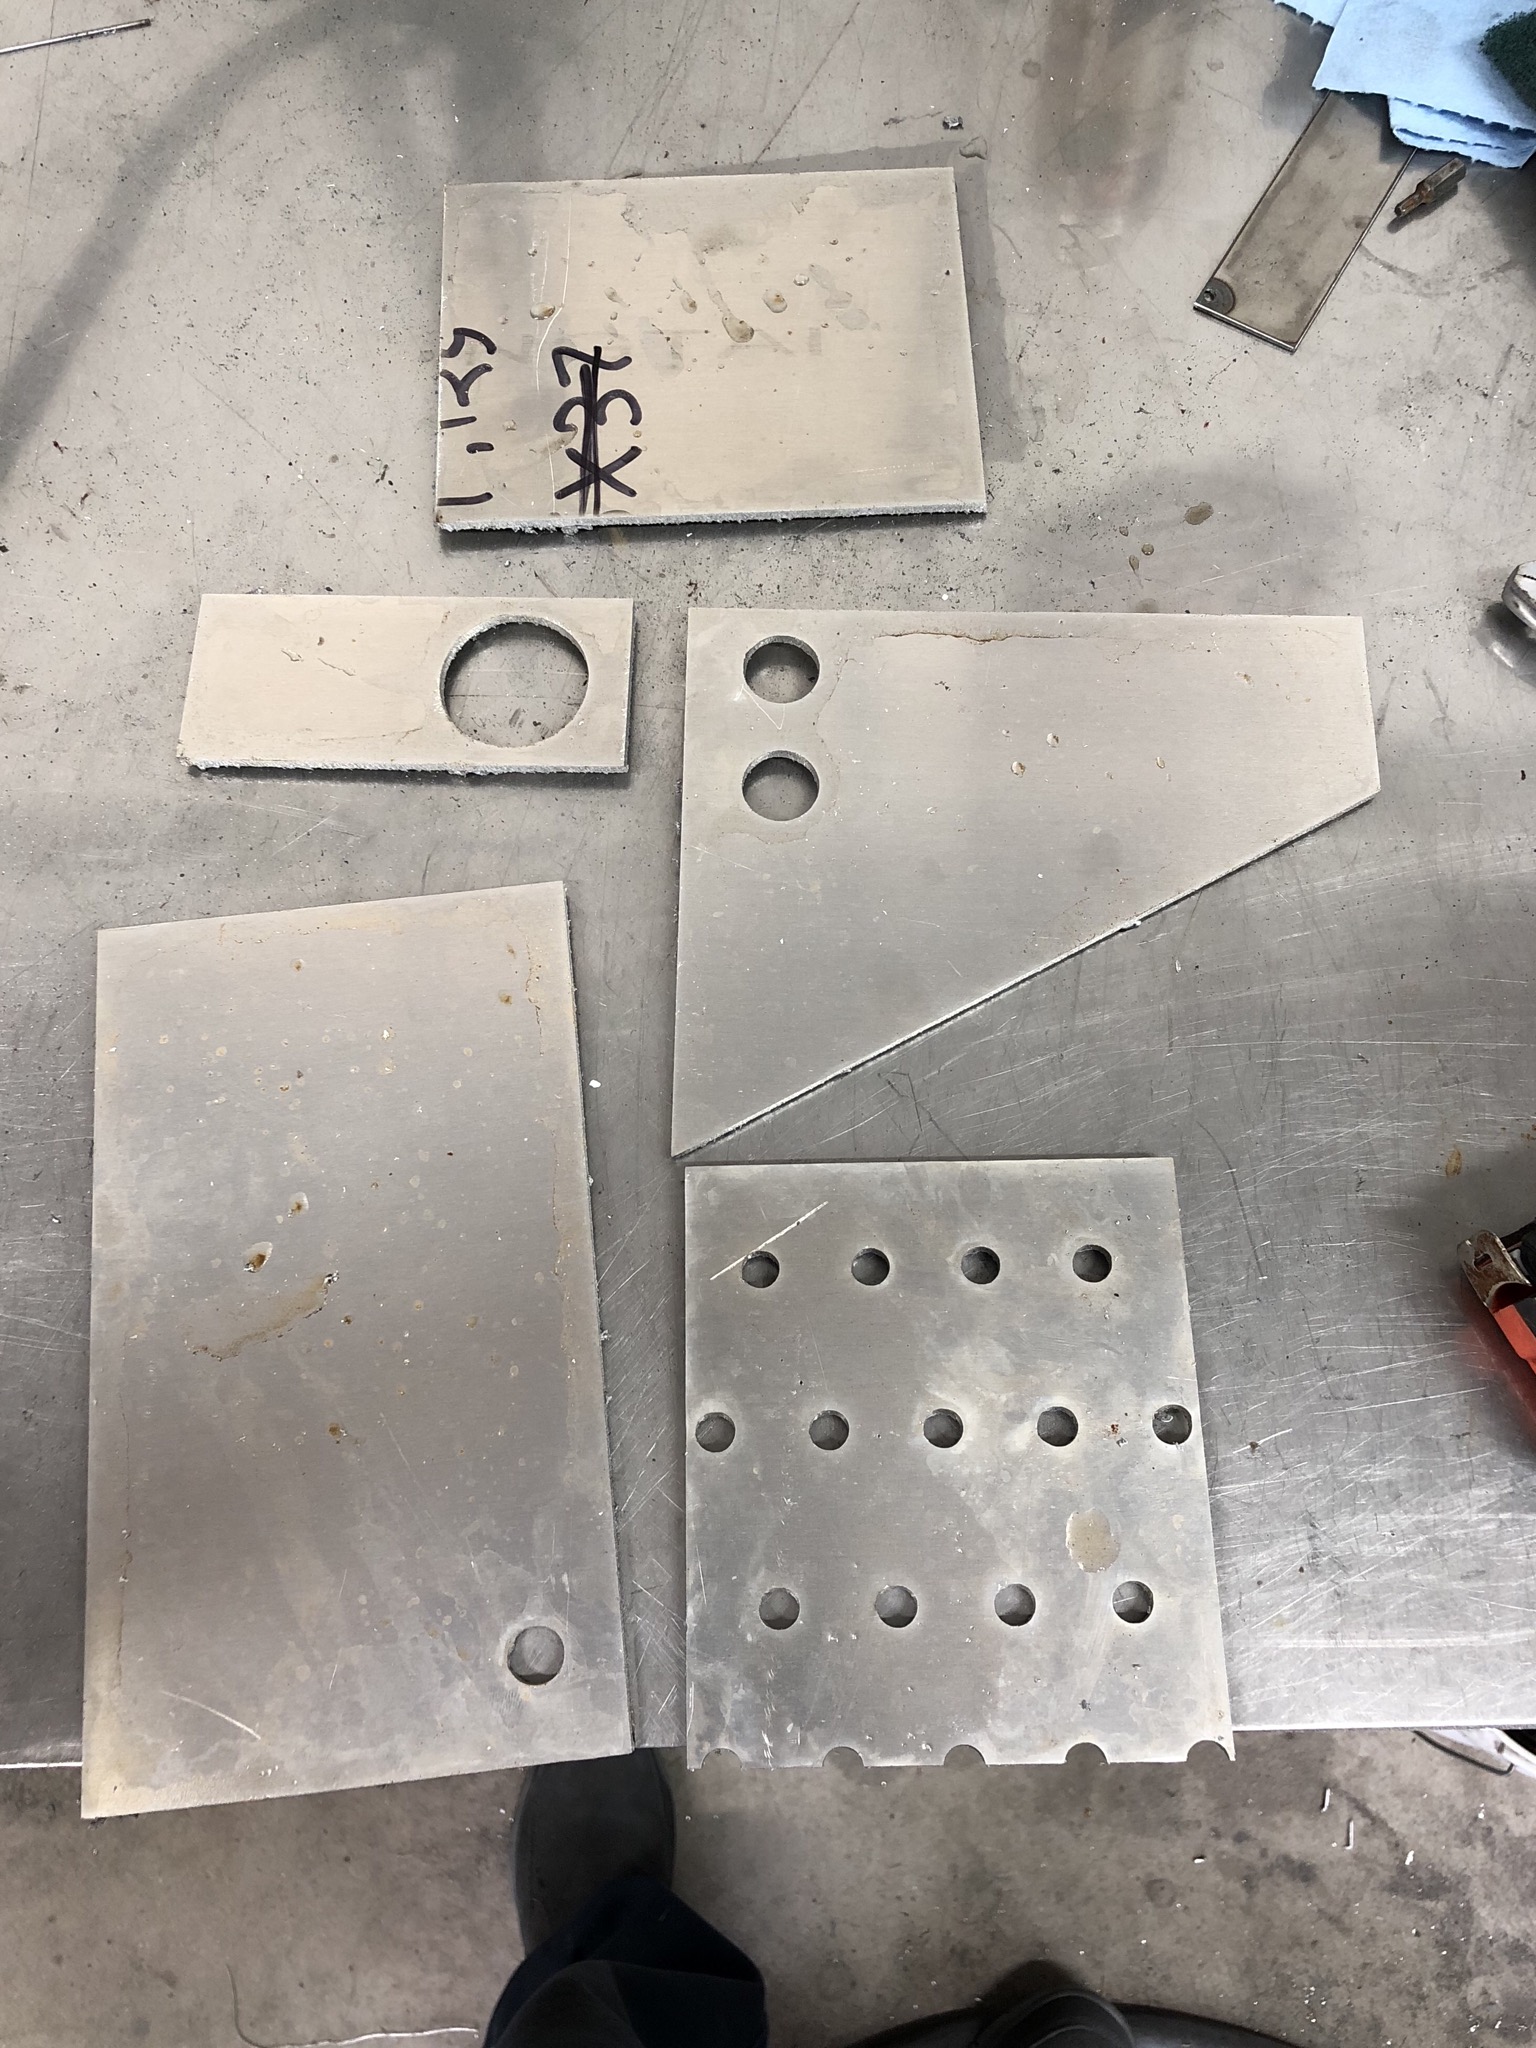
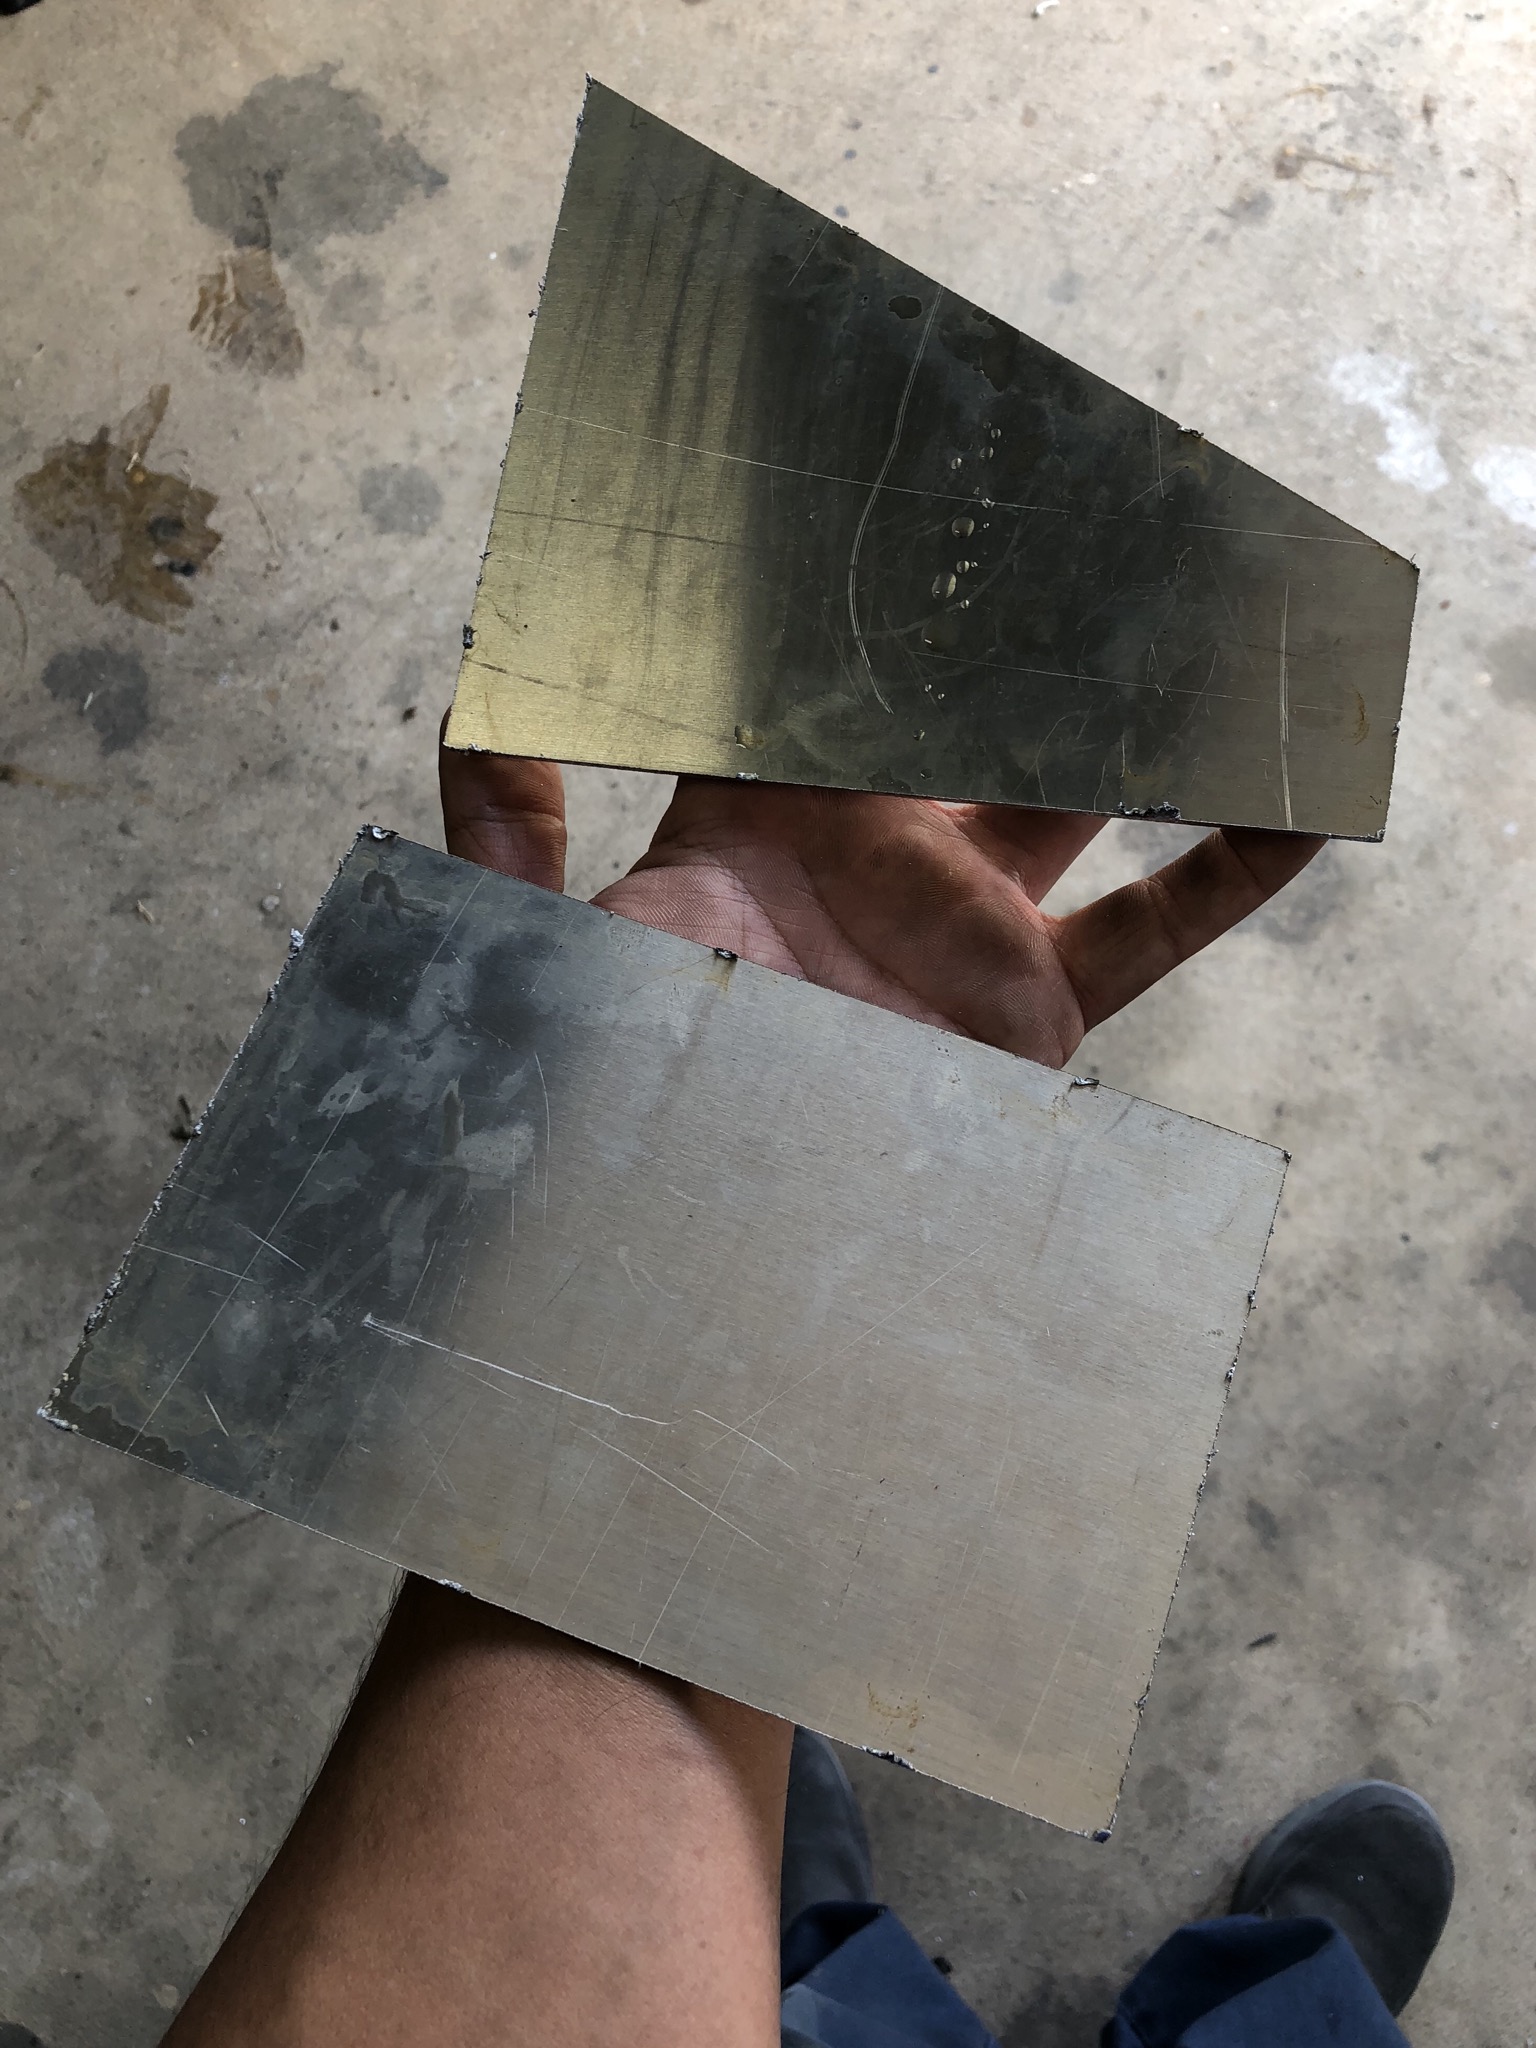
2 Likes
My assumption is 45 amps @ 45 IMP on 0.125" (1/8)
1 Like
JHot rolled steel
0.84” thickness caliper measured
.6 mm nozzle fine kerf nozzle .024” est. kerf
66 ipm
25 Amps
.6 pierce delay
Cut with water table & 1/4 thick slat 4” wide layed across work area to help with any warpage,
But didn’t have any even cutting @ that speed.
This resulted in near perfect cut.
Edges really nice and straight
Dross came off back with wire brush and finger nail.
No dross on front at all.
1 Like
Looks good. I updated the spreadsheet with your settings.
0.075" hot rolled sheet 16 Ga.
.6mm nozzle
0.070" - .075’ nozzle to sheet clearance
72 ipm
28 Amps
0.001 pierce delay:joy:
cut quality was incredible!
nothing on the front at all
this was a big cut that took awhile and had 43 chains to cut.
dross on the back came right off with a wire brush and finger nail.
3 Likes
Really, that little for pierce delay? I’m surprised it made it thru - but I haven’t dialed mine down that far when I’ve done thin gauge metal. That setting is virtually zero wait time for a pierce.
I’ve updated the Google Sheet with your latest info though.
Yup
Not one problem
Been reading a lot about the guys cutting thin gauge with a lot of detail
And it’s seems to be slow steady even though 72 I’m still moving pretty good
Cut a piece before that at 70ipm and .6 pierce delay 25 amps
Wasn’t nearly as nice as this.
Used and long low arch leadin by the time it gets to the cut geometry it’s slicing
None of the edges had any blow out either.
I was impressed.
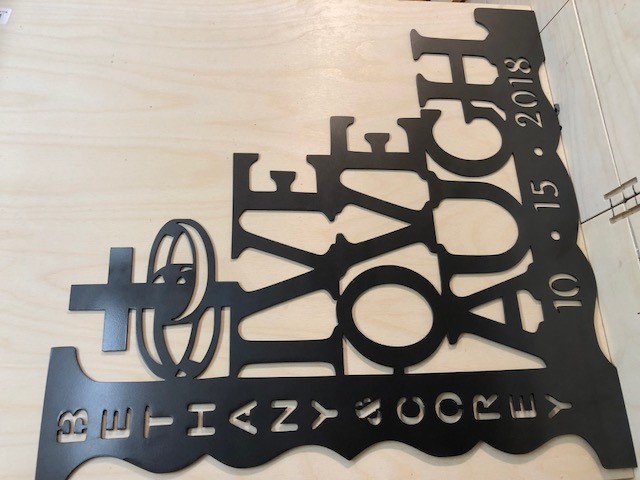
Have a customer project I’m gonna cut on the same gauge at the same settings and compare the quality.
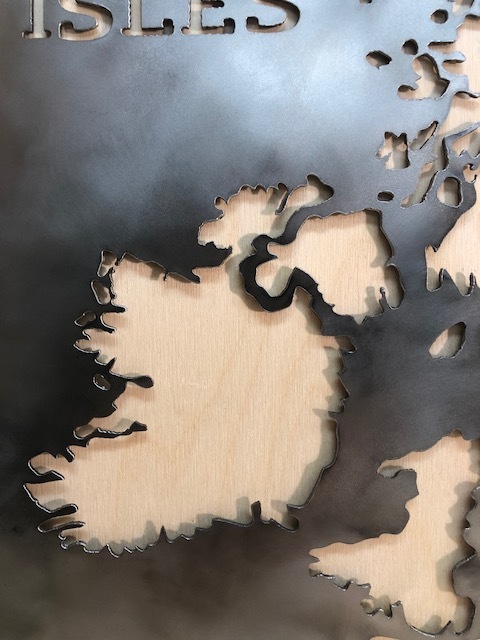
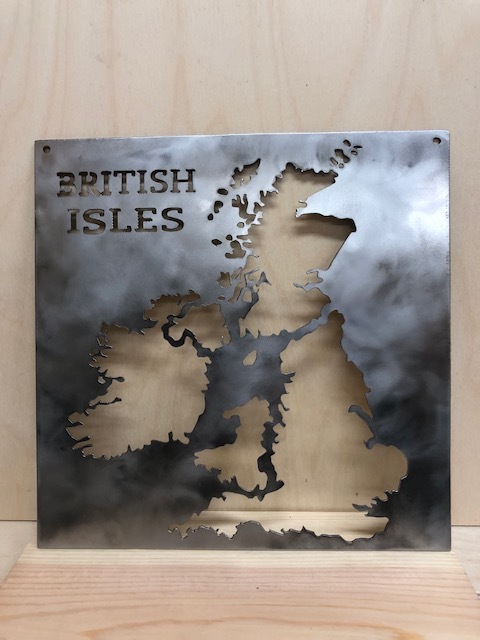
It’s a British Isles outline wall display. Should be cutting it tomorrow
The o.o70” to 0.075” height seems to yield better cut also
Since it was a long cut time I was spraying the sheet with water here and there and kept the cutter going from one end to the other to minimize the heat and warping
1 Like
0.062” steel sheet cold rolled from LOWES
11.5 X 11.5”
70 ipm
28AMPS
.3 pierce delay
Water table
0.073” cutter to sheet height.
.6 nozzle
Test cuts on a straight line and measuring the KERF
Yielded 0.021 - 0.026 on the KERF WIDTH
Very fine detail on this customer price
Came out great!!
Seems 0.065”. To 0.073” torch height is the sweet spot for me on steel sheet from 0.065” - 0.075”
5 Likes
Great looking piece. I’ve updated the cut sheet with your settings. I like seeing the smaller pierce delay (cuts down on the lead-in required) and the kerf width for the .6 nozzle - I have some but haven’t started using them yet.
1 Like
thanx for sharing guys, my question is why does Langmuir supply us with the .06 shim between work piece and tip if the values seem to be different. I’m new to plasma cutting so i’m just trying to understand. Does this depend on the material used? Does anyone have a chart for different material? thicknesses and settings? thank you in advance
The two shims are the commonly used standoff (1/16-1/8) values. The height is a trade-off between establishing a good arc (further away requires more power as the resistance is higher) and flashback (too close and the arc can damage the tip).
You can use feeler gauges if you want to try dialing it in tighter as the previous post noted. But you can spend as much time chasing the perfect settings as you will cleaning up a little extra dross 
I don’t use the thicker one until I hit 1/4" or more for material as that’s when I have to have higher power which is more likely to splashback because it’s going to take longer to pierce.
1 Like
James,
Thank you for the details, do you recommend anywhere to go to learn more about plasma in general before i start cutting, i got everything put together and plasma firing, but i’m a perfectionist but you’re right about time wasted trying to dial in perfect setting. i’m going to cut my first piece with it tonight and see how it goes.
Hypertherm has some pretty good educational materials & videos. Also some (not a lot though) YouTube stuff that can be helpful. I think Amazon has like 1 book  ️
️
I’ve done a lot of CNC work with lasers & routers so I was pretty comfortable with that side of things just needed to play on the plasma side. You can try doing some manual cutting (a drag tip is helpful for that) so you get the hang of what the machine is going to do. I drew some stuff using sharpie markers so it wasn’t just a freeform design (I’m not that artistic ).
Thank you, i’ll check them out! I’m a manufacturing engineer but never had a plasma before, i actually teach CAM & CAD software (solidworks and mastercam) so i’m comfortable with machining but this is a new real to me, was easy to setup the whole thing and fire it up, just want to make sure i don’t damage anything trying to do my first cuz, trying to take the right steps. I’ll check out the hypertherm website for sure!! thank you.
my website is vtpros.net if anyone is interested in mastercam or solidworks training!
Moussa Sleiman
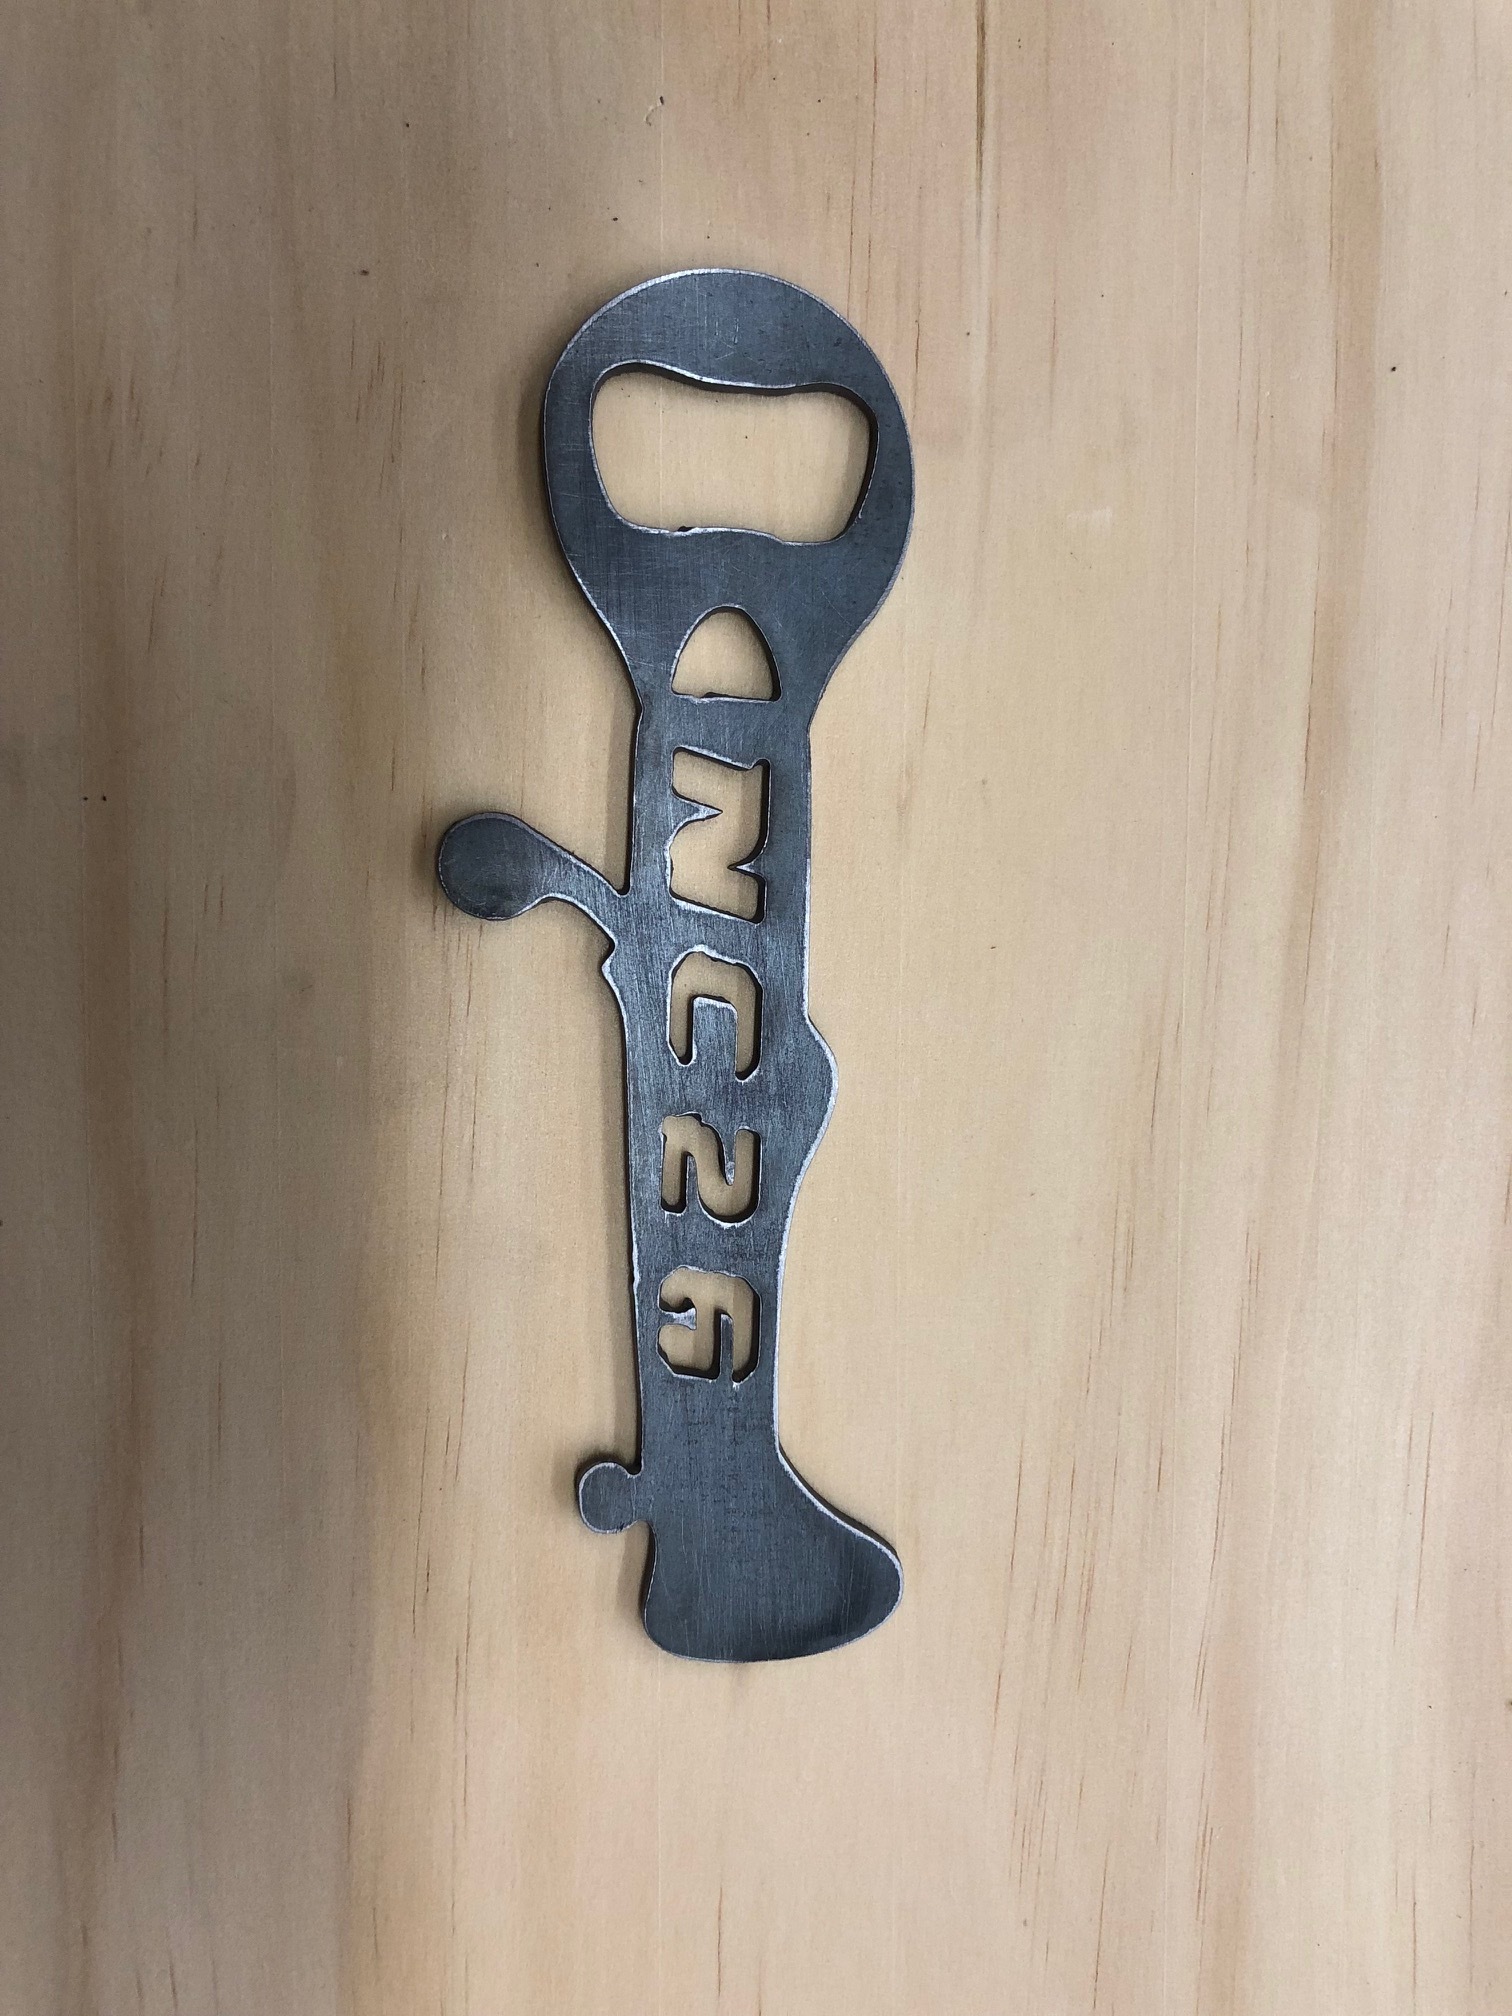
0.111” hot rolled steel sheet supposedly 14 Ga. but I always measure the sheet, ALWAYS!

0.072” torch height - I use the Langmuir small shim & a .012 feel blade/Gauge
.6mm nozzle
70 ipm
33 Amps
.2 pierce delay
Water table - had 0 warpage
Dross on back came right off! Took about 1-2 minutes to clean up.
Another 1-2 minutes on the front with a fine bristle pad
7 Likes
Those are some really great looking cuts!!