I want to be able to occasionally make cuts on parts that are too tall to fit under the spindle or gantry so decided to make an opening through the baseplate and chip tray. I’m sharing my experience to assist anyone else doing something similar.
The biggest challenge appeared to be getting the baseplate into the concrete or the concrete under the baseplate but the method I used worked quite well. Pictures below.
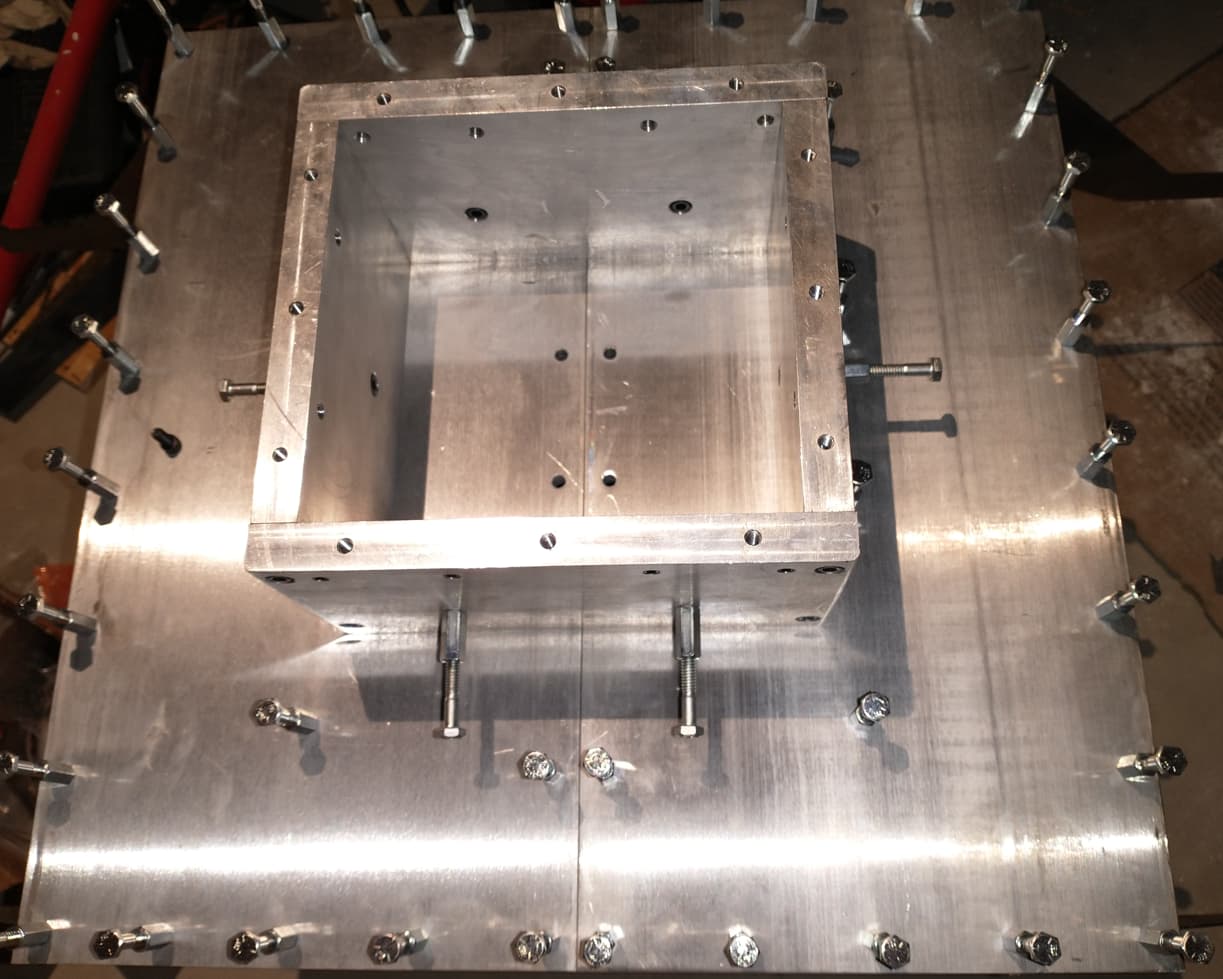
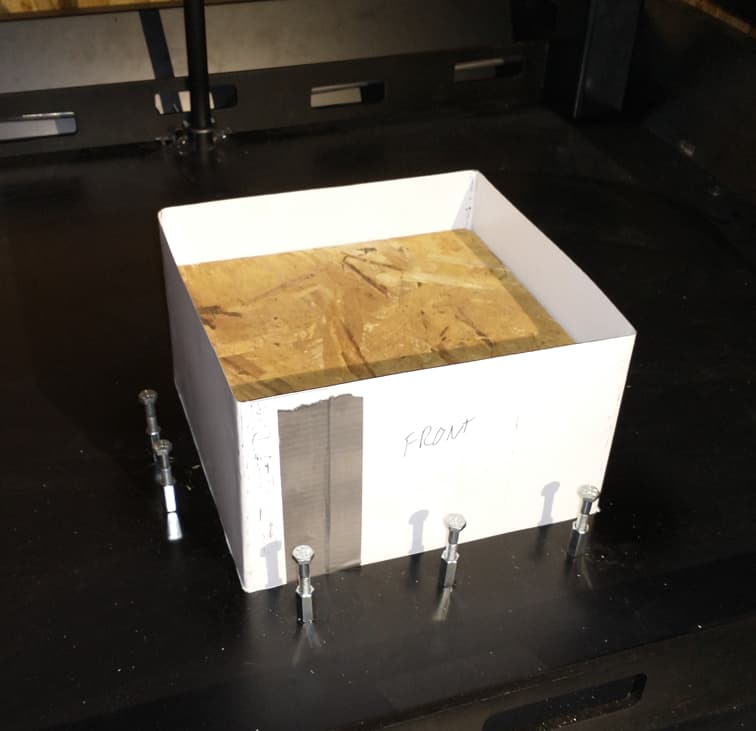
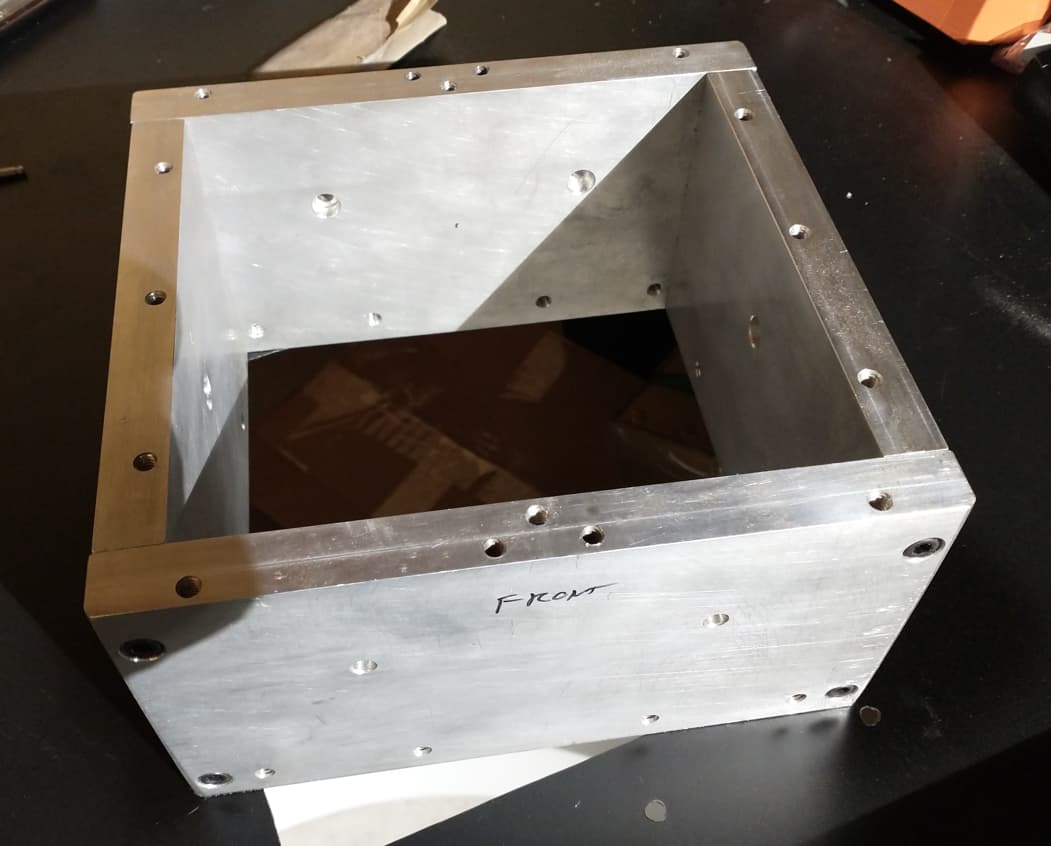
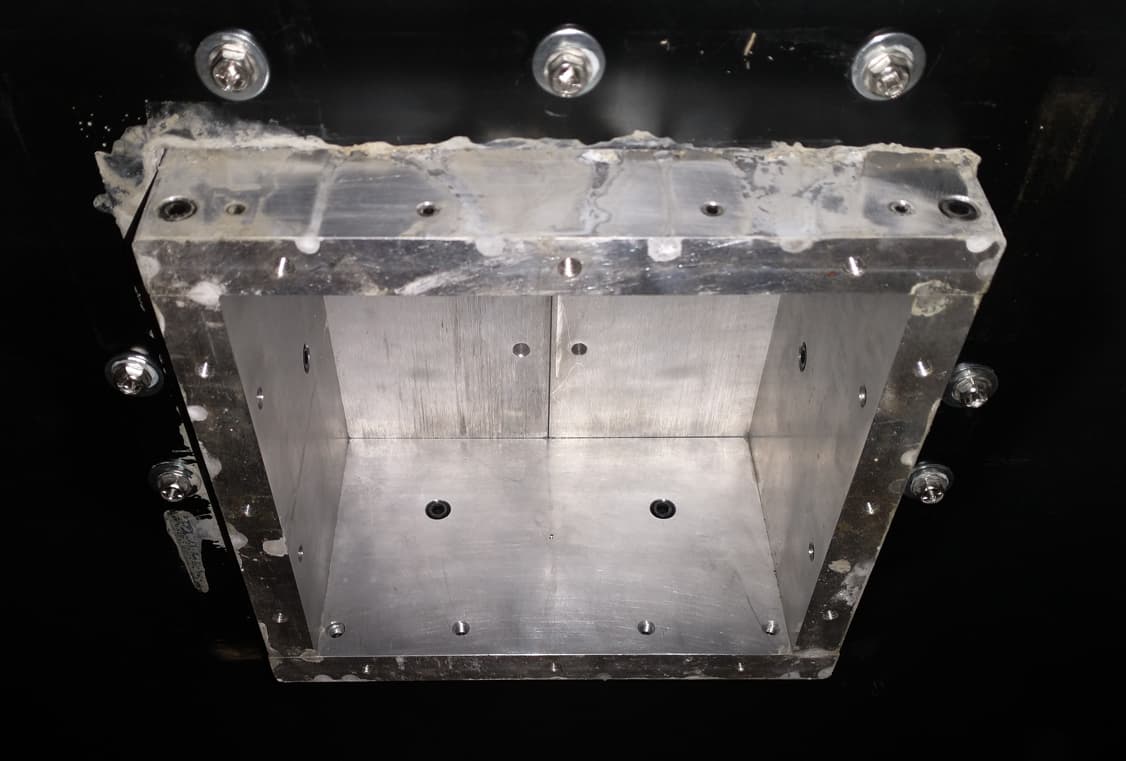
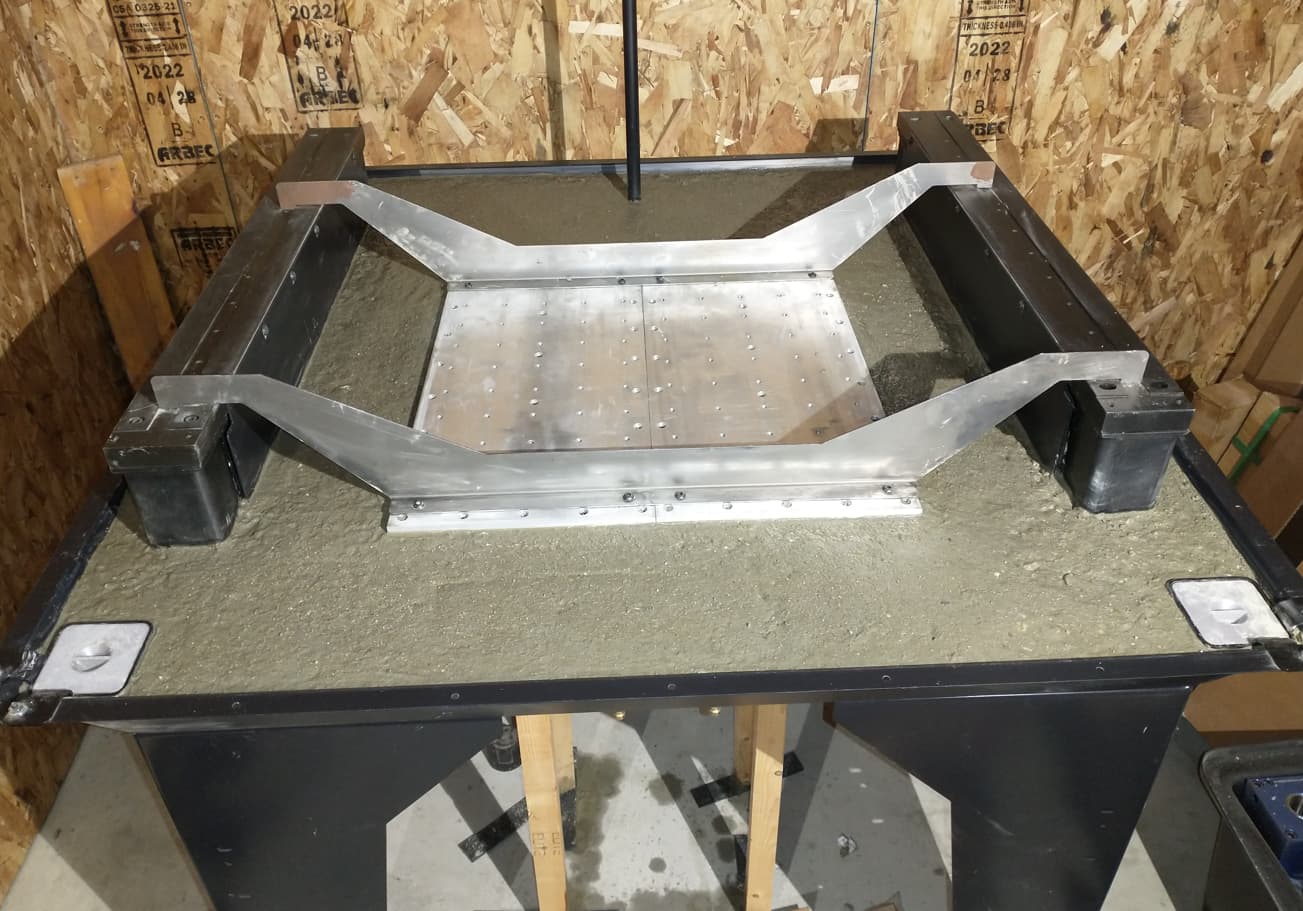
I built an aluminum rectangular assembly that bolted to the bottom of the baseplate using existing anchor holes and was tall enough to extend a little over an inch below the chip tray. After taking careful measurements I made a matching opening through the chip tray with about 0.10" of clearance per side. I then fit a flanged sheet metal rectangle up from the bottom that extended above the concrete fill height, just large enough to fit around the aluminum box, with wooden filler blocks to prevent any flexing. I added anchors to the chip tray around the opening and additional temporary supports. Before adding the concrete I test fit everything and used JB Weld to hold the Y-axis rail assembly in the correct location.
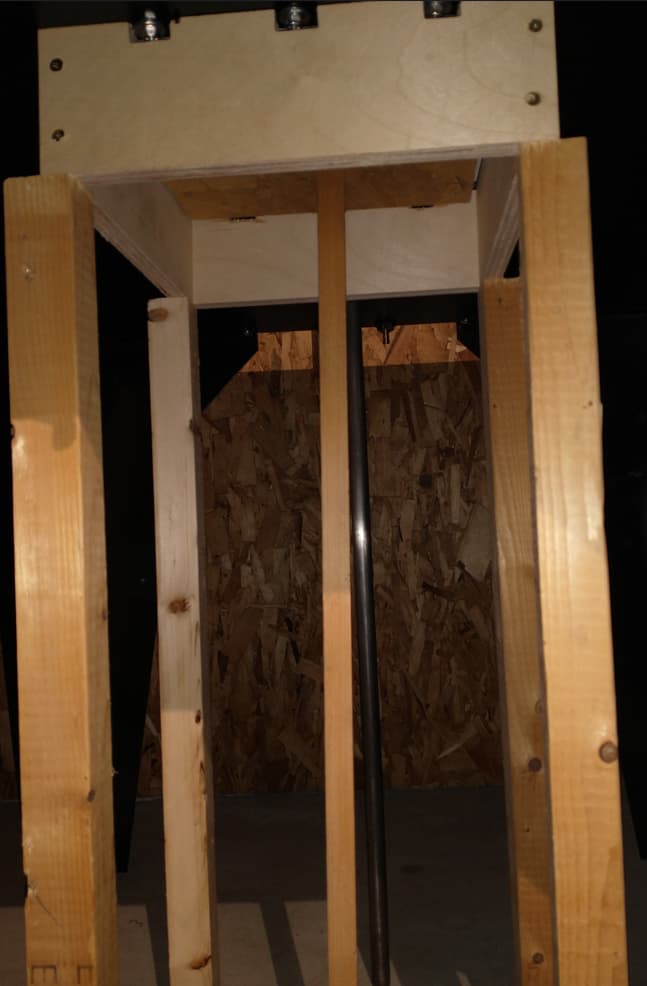
The pour went about as expected. I used the suggested water ratio. The setting in of the baseplate assembly was more difficult than the Langmuir video showed but with hammering and vibration it settled into place. I didn’t immediately fully remove the sheet metal guide, and it was hard to remove when I did, about 20 minutes later. Some water did drip through but very little concrete. I left it a week before removing the supports, everything looks fine. I did round the corners of the box and used crack resistant concrete to hopefully prevent cracks forming in the corners. I was going to add some light rebar or wire but had so many anchors sticking out I decided not to.
A few other notes. I think a laser level should be a required tool when setting these machines up. Much easier to check and adjust the machine and the concrete. I also leveled the Y-axis rails, so that the baseplate would sit parallel to the leveled epoxy. I had to add about 0.155" to the rear Y-axis rail contact point and a little to the right leg. Maybe Langmuir intended the plate to be sloped to drain better and I messed that up, made sense to me, and yes, I understand that baseplate to spindle is what really matters.
The massage gun suggestion from another post was a big help, worked really well to fill the corners and settle in the rail stiffeners and baseplate. I would also suggest using the laser to mark the final cement level on the baseplate and rail support posts to make it easier to get the correct level. I put in too much and had to grind a few spots down. I also didn’t notice that one of the drains had tipped up a little and will have to trim that down to the correct height before epoxy.
I had three capable teenage helpers and that was almost enough. I had two mixing trays to speed things up, and it was still over an hour to get all the cement in and settled.
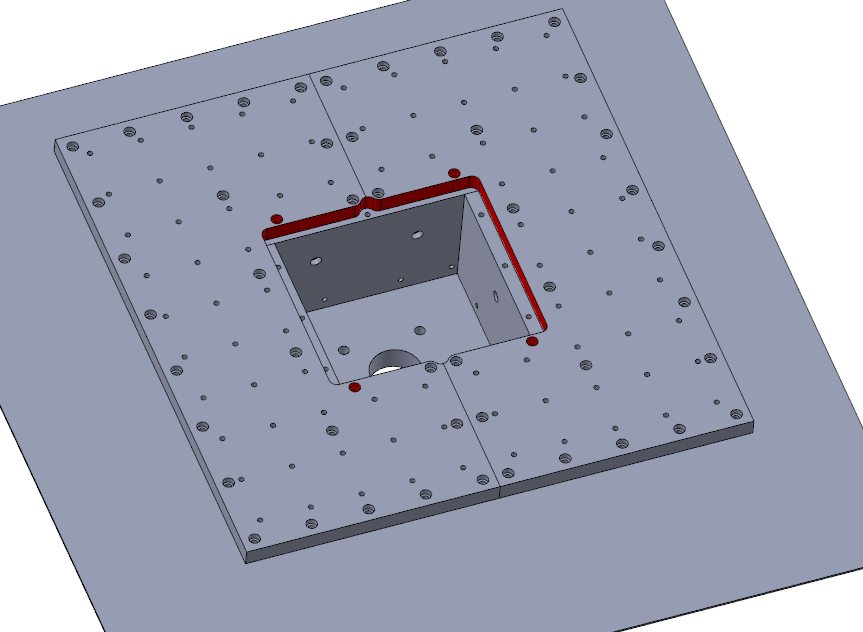
Eventually I’ll use the mill to cut the opening in the table and make a plate that fits in place, as well as a baseplate for the bottom. I added holes and anchors for attaching something to contain coolant and chips. I chose the opening size based on my anticipated projects, the existing bolt pattern and room to put a pneumatic 5C collet block on the bottom plate.
It will probably be a couple more months before I start cutting chips but as others are assembling now I thought I share this before finishing. I can provide more detail about a particular area if that would be helpful.