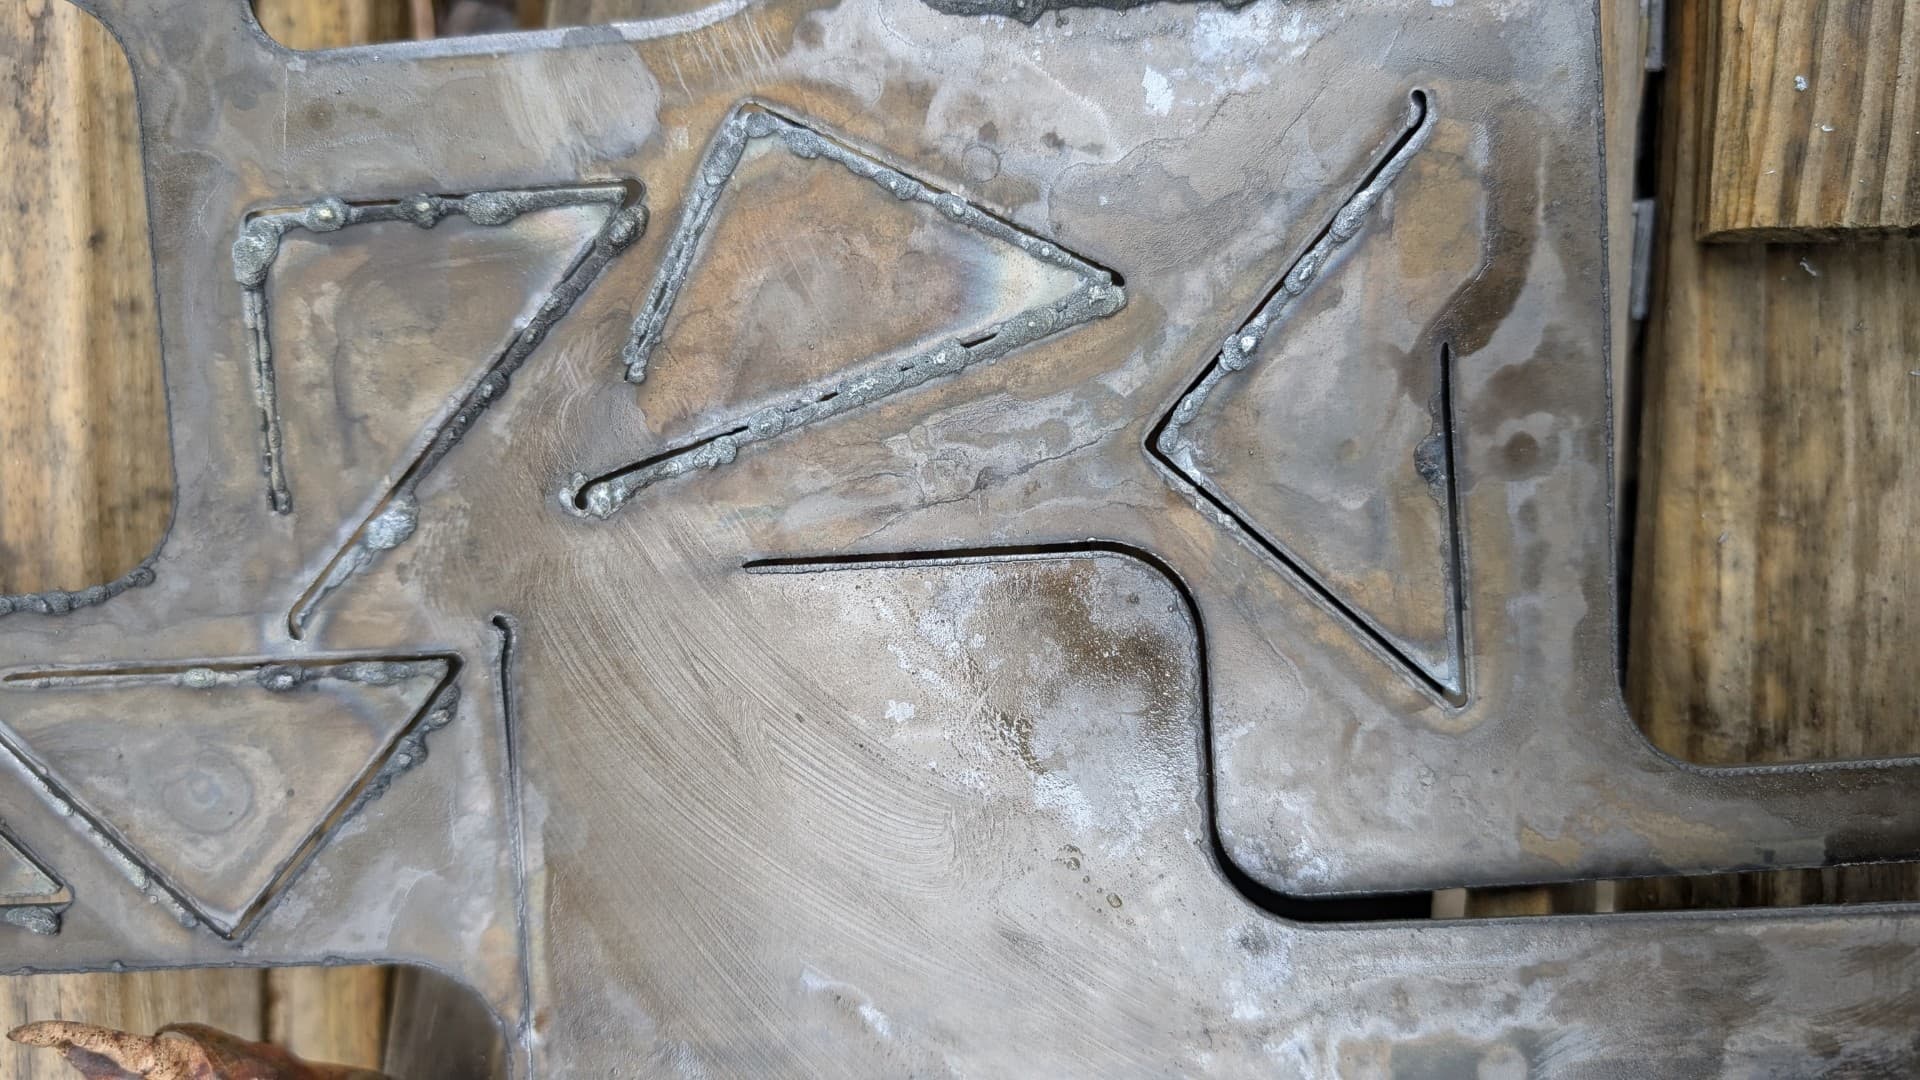
OK, the pictures tell the story for the most part. I’m running 110 ipm on 12 GA steel and the cuts (once it cuts) looks fine, but I’ve set the pierce delay from .5s, to .7, to .75, to .9 to 1 seconds to 2 seconds and the thing just takes off and starts cutting no matter what I set it at. Even on the machine itself I ran a quick straight line cut with a 1 second pierce delay and it just took off and started cutting, no delay. So it’s not the G file from SheetCam that’s the problem.
Any clues?
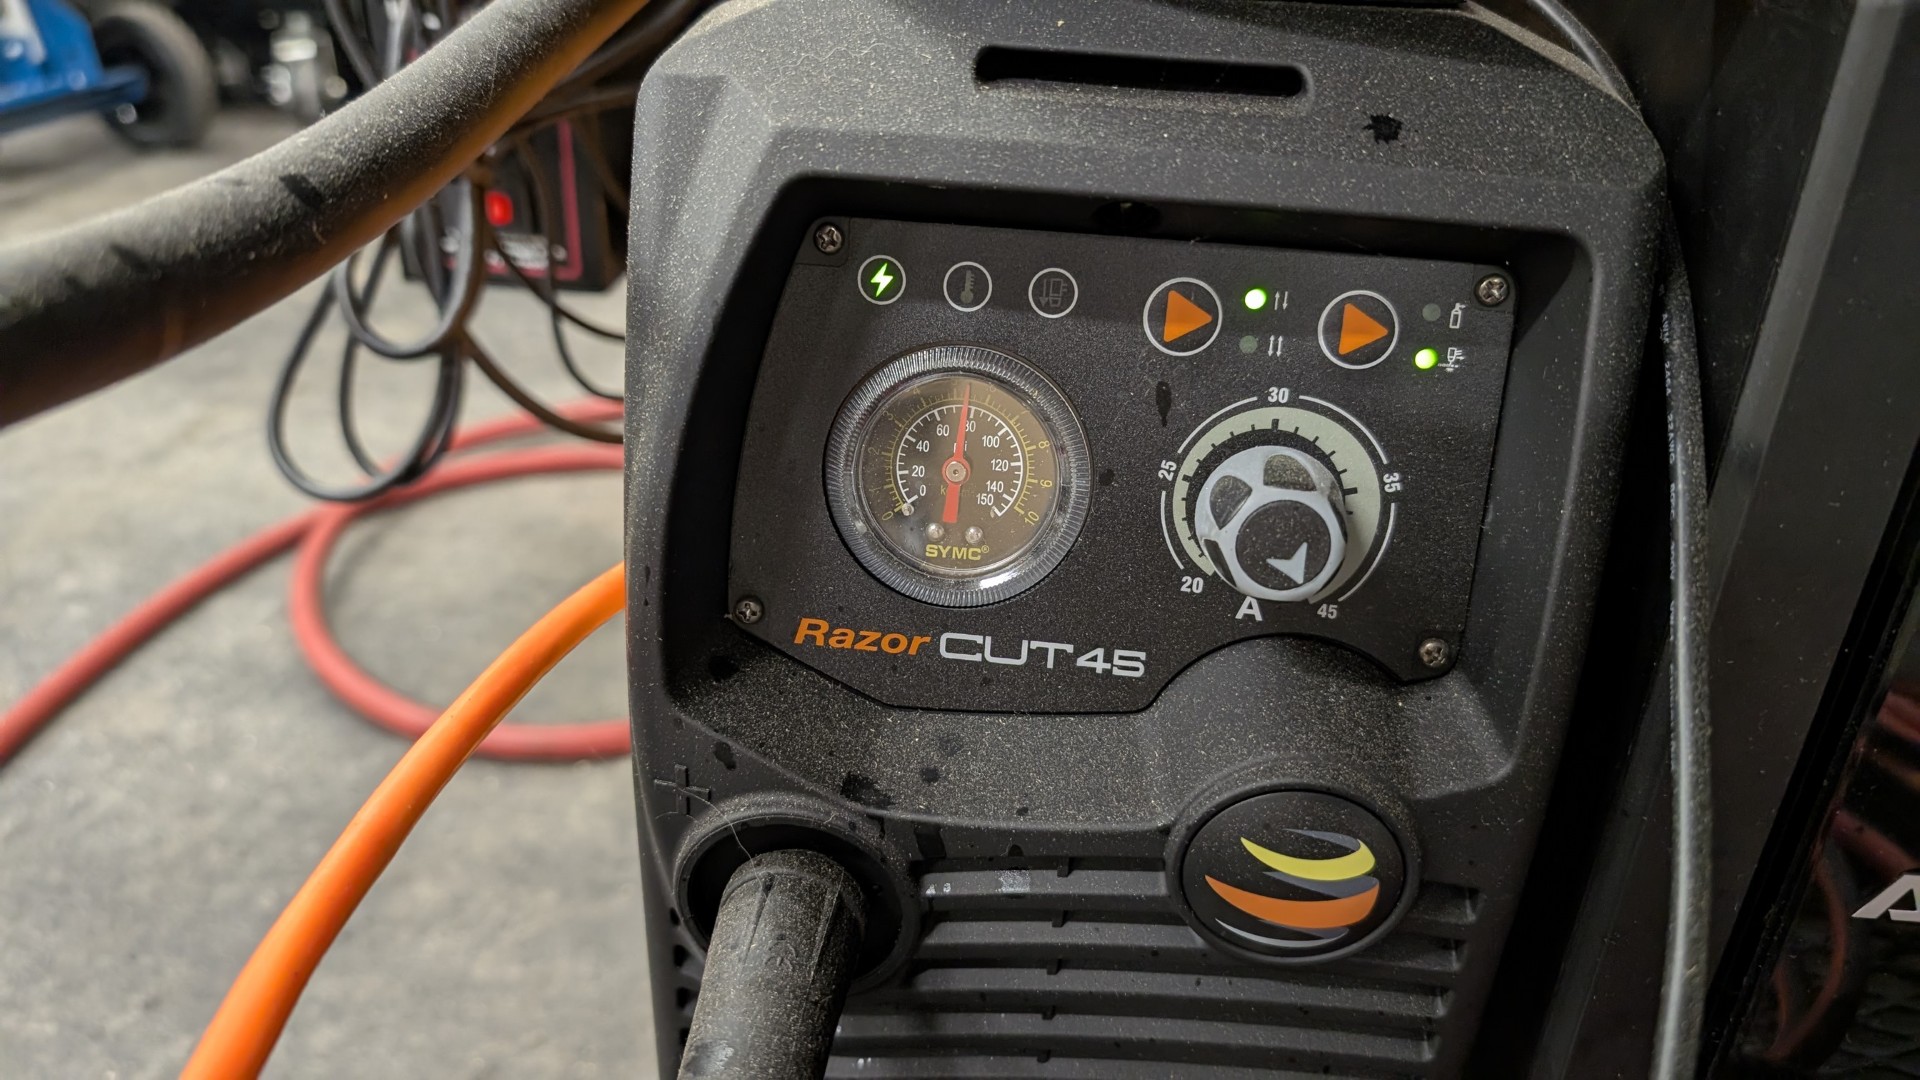
It is set to .15” for a pierce height. I have the TCH controller and it seems about right. I’ve tried reducing it but the cut seems to be the same until it gets worse. I can check that though, try to see if that’s a problem.
Also.. with a 2 second pierce delay you’d think I could see it go down, fire then count to 2 and start, but it doesn’t, it starts moving the instant if fires, no delay. Is there an option in the machine itself to ignore a piece delay?
Pierce height is determined by the touching off of your material, accounting for springback, and jogging up a pre-determined height (set by you) to achieve your pierce height.
Too high of a pierce height can indeed cause a failure to fully penetrate your steel on initial firing.
Adjust your pierce height to 0.12” and re-try.
I’m unsure of how Sheetcam works in regards to pierce delay, but when I used Fusion, I needed a minimum of 0.5 seconds. However, 0.5 seconds worked for me from 16 gauge steel up to 3/16” steel.
OK, I made test gcode file, going to run it and fiddle while measuring actual heights and delays. I intentionally took what SheetCam output and clipped it so it should set the pierce height, delay, then move to cut height and stop doing nothing (is the plan anyway)
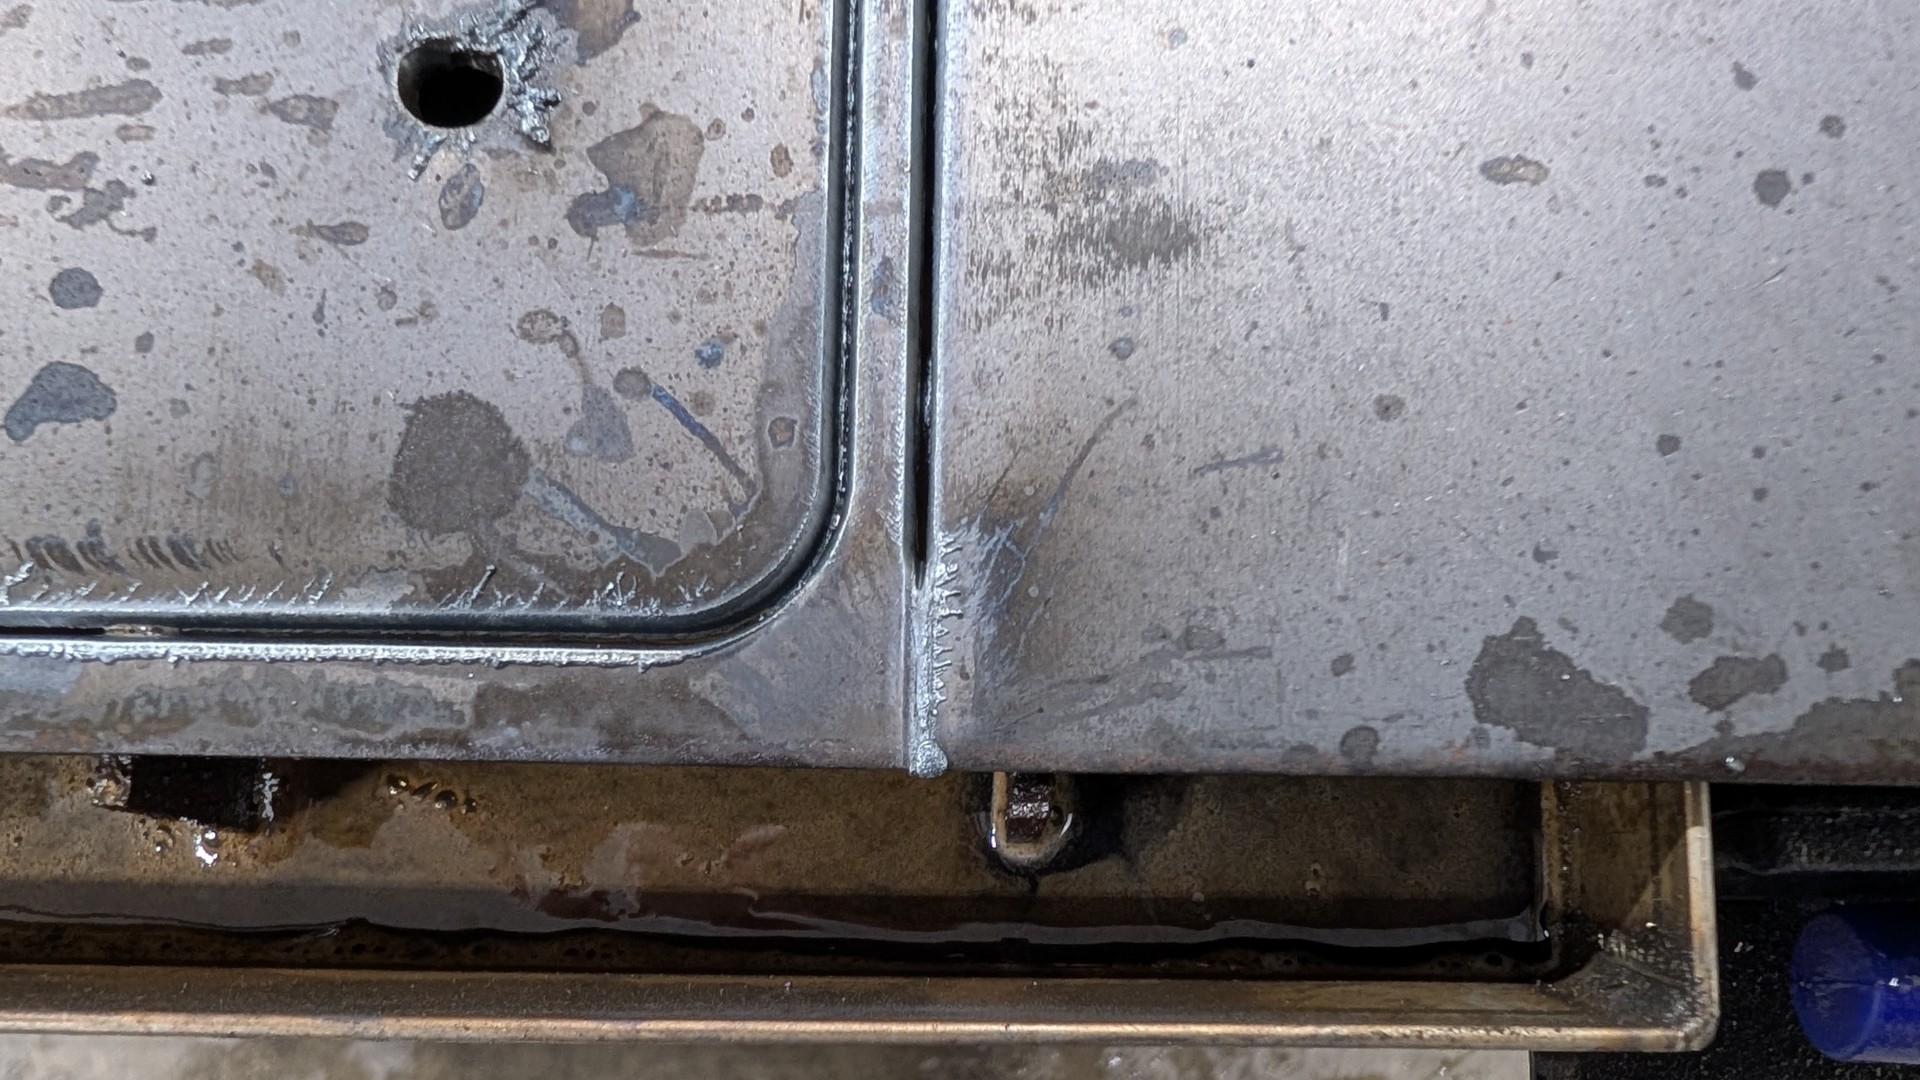
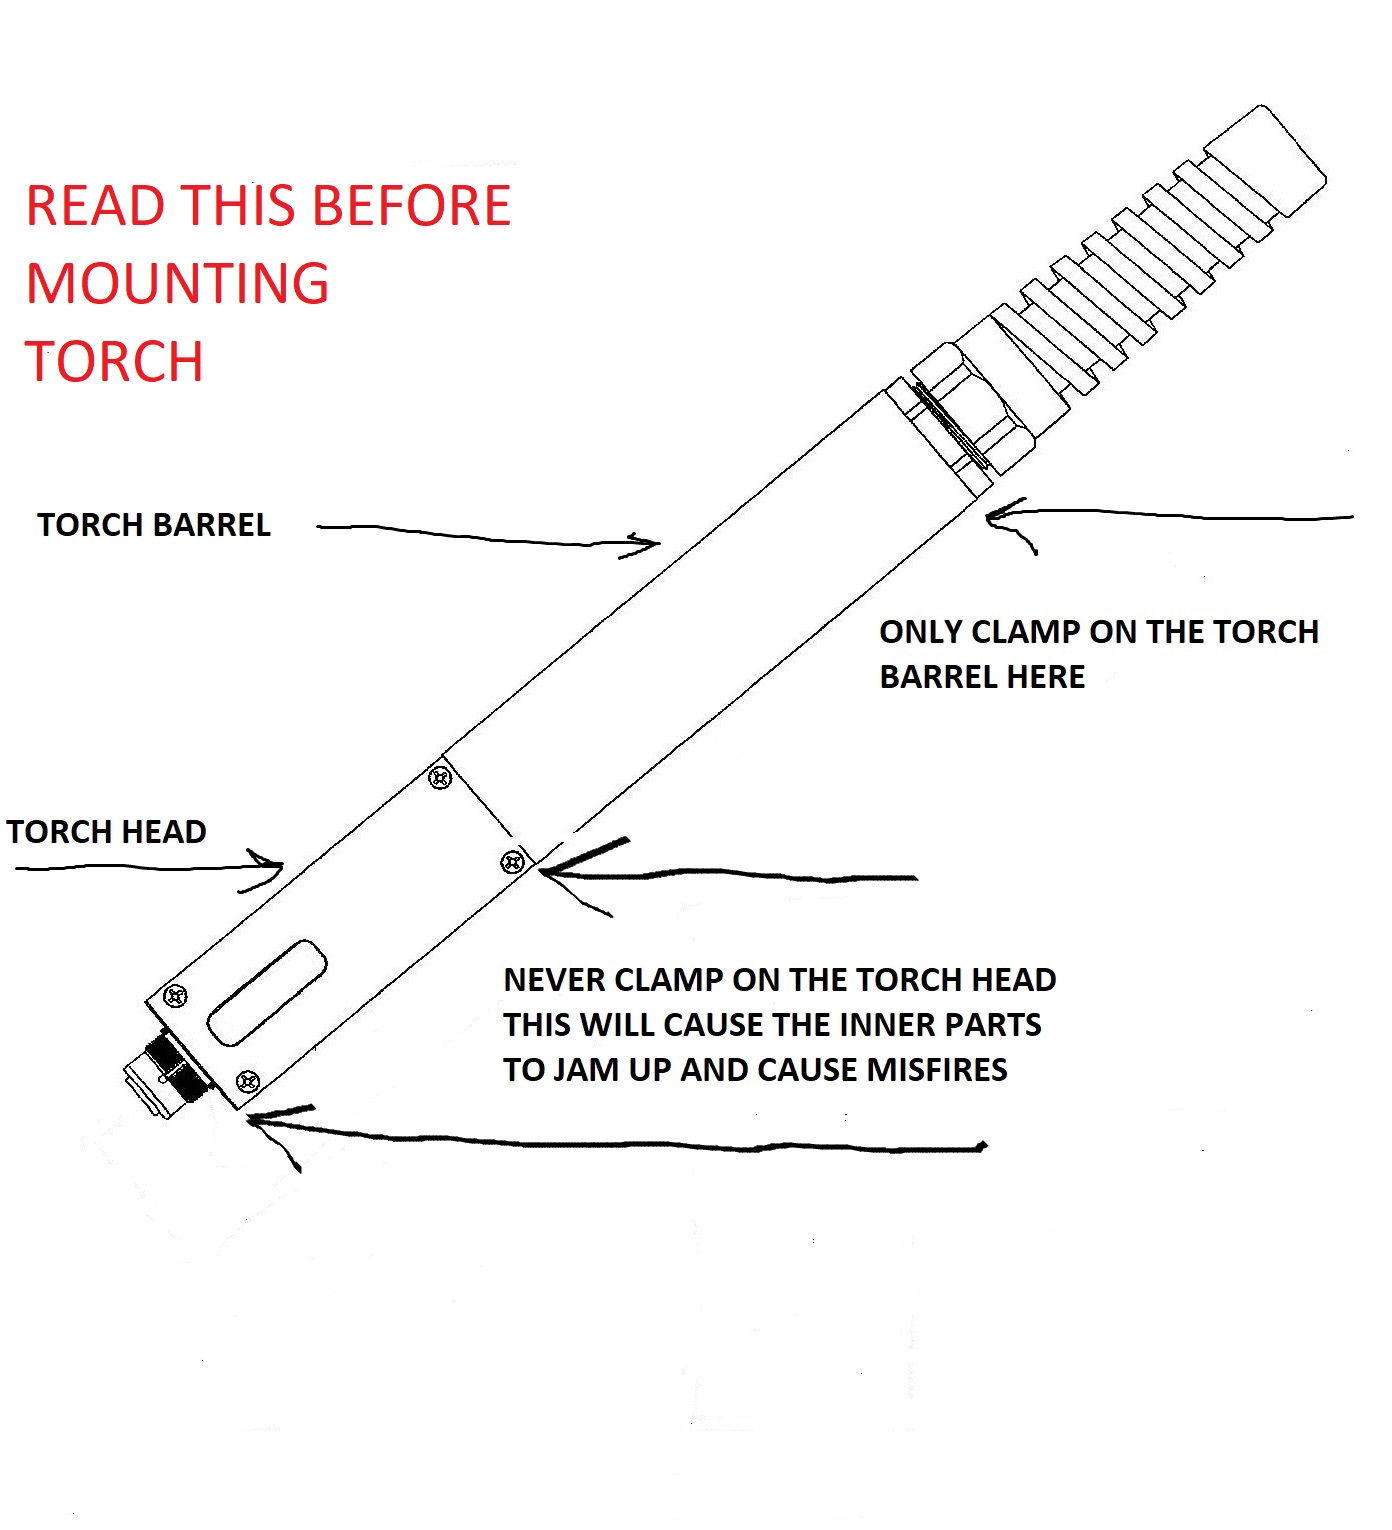
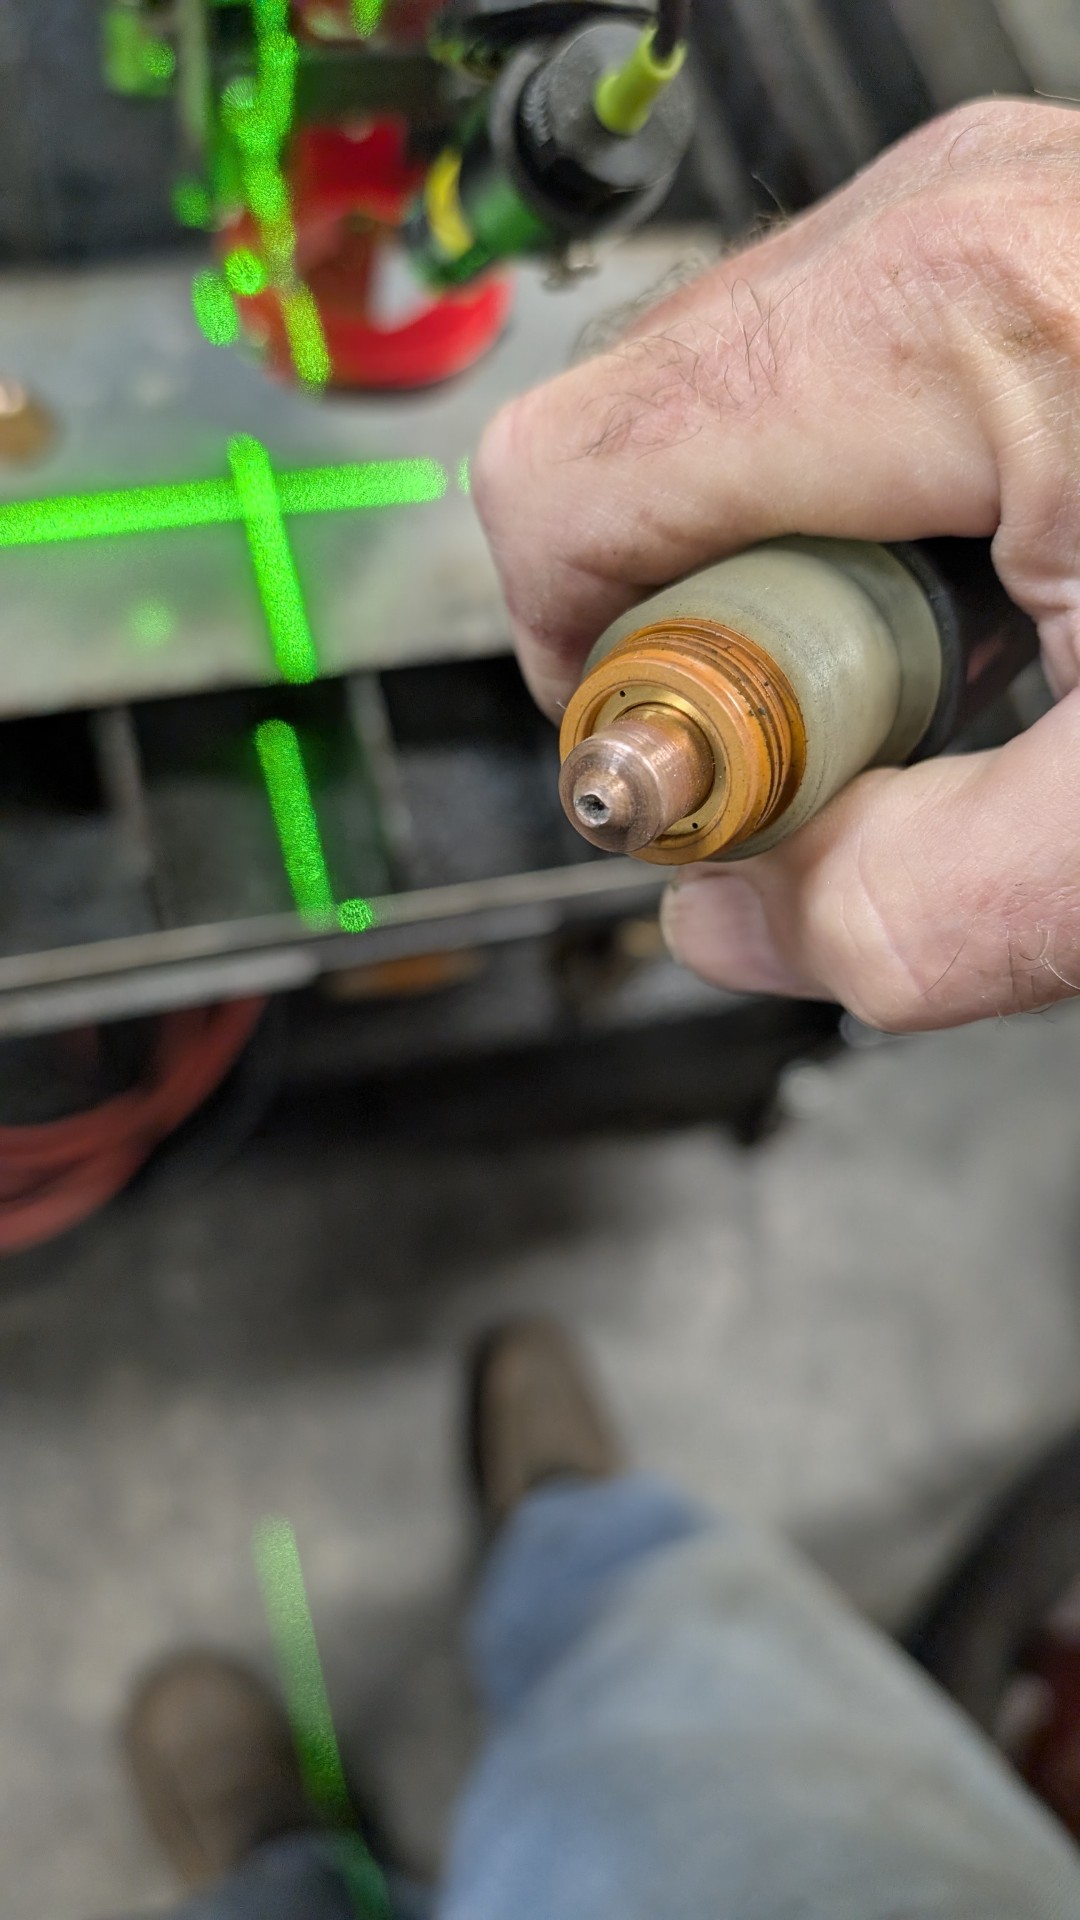
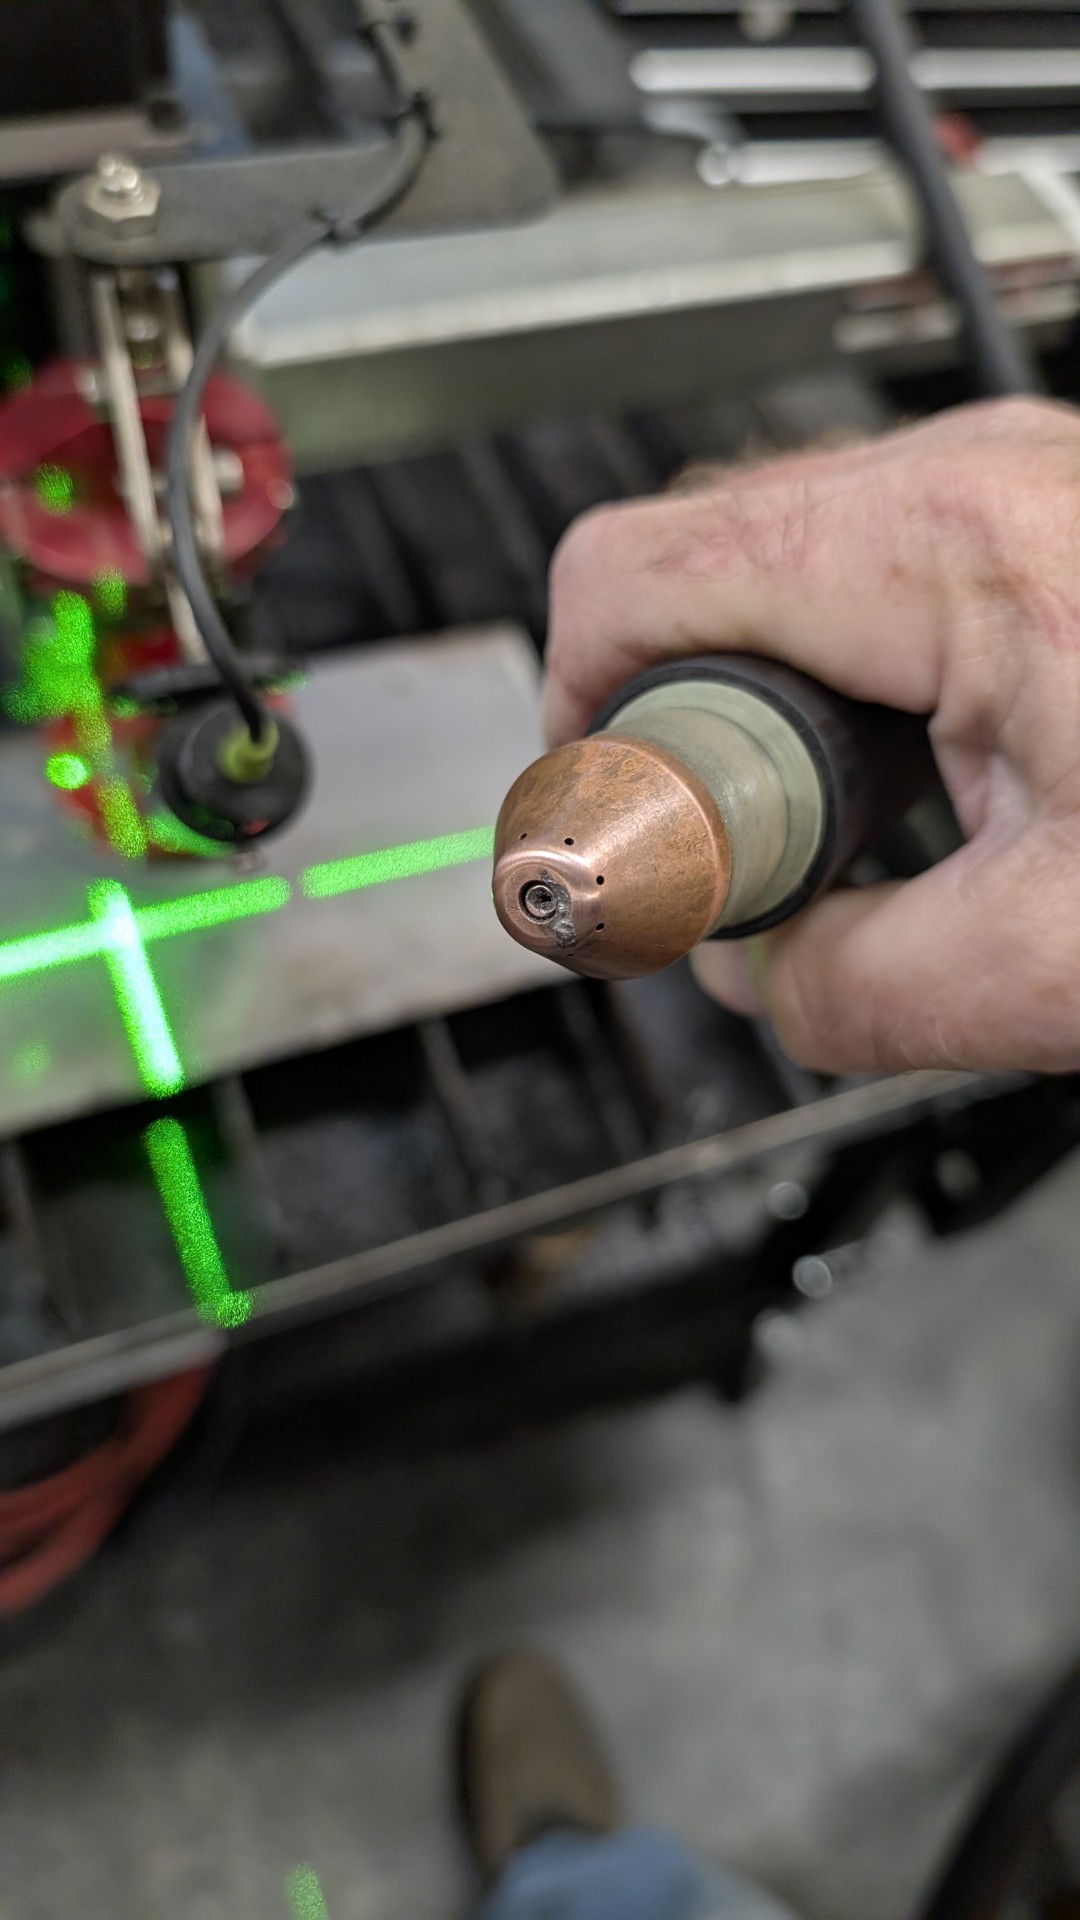
It certainly appears that you don’t have the work clamp on the metal. Plus your torch is mounted incorrectly. I would also add some water to the tray before you are starting a new thread.
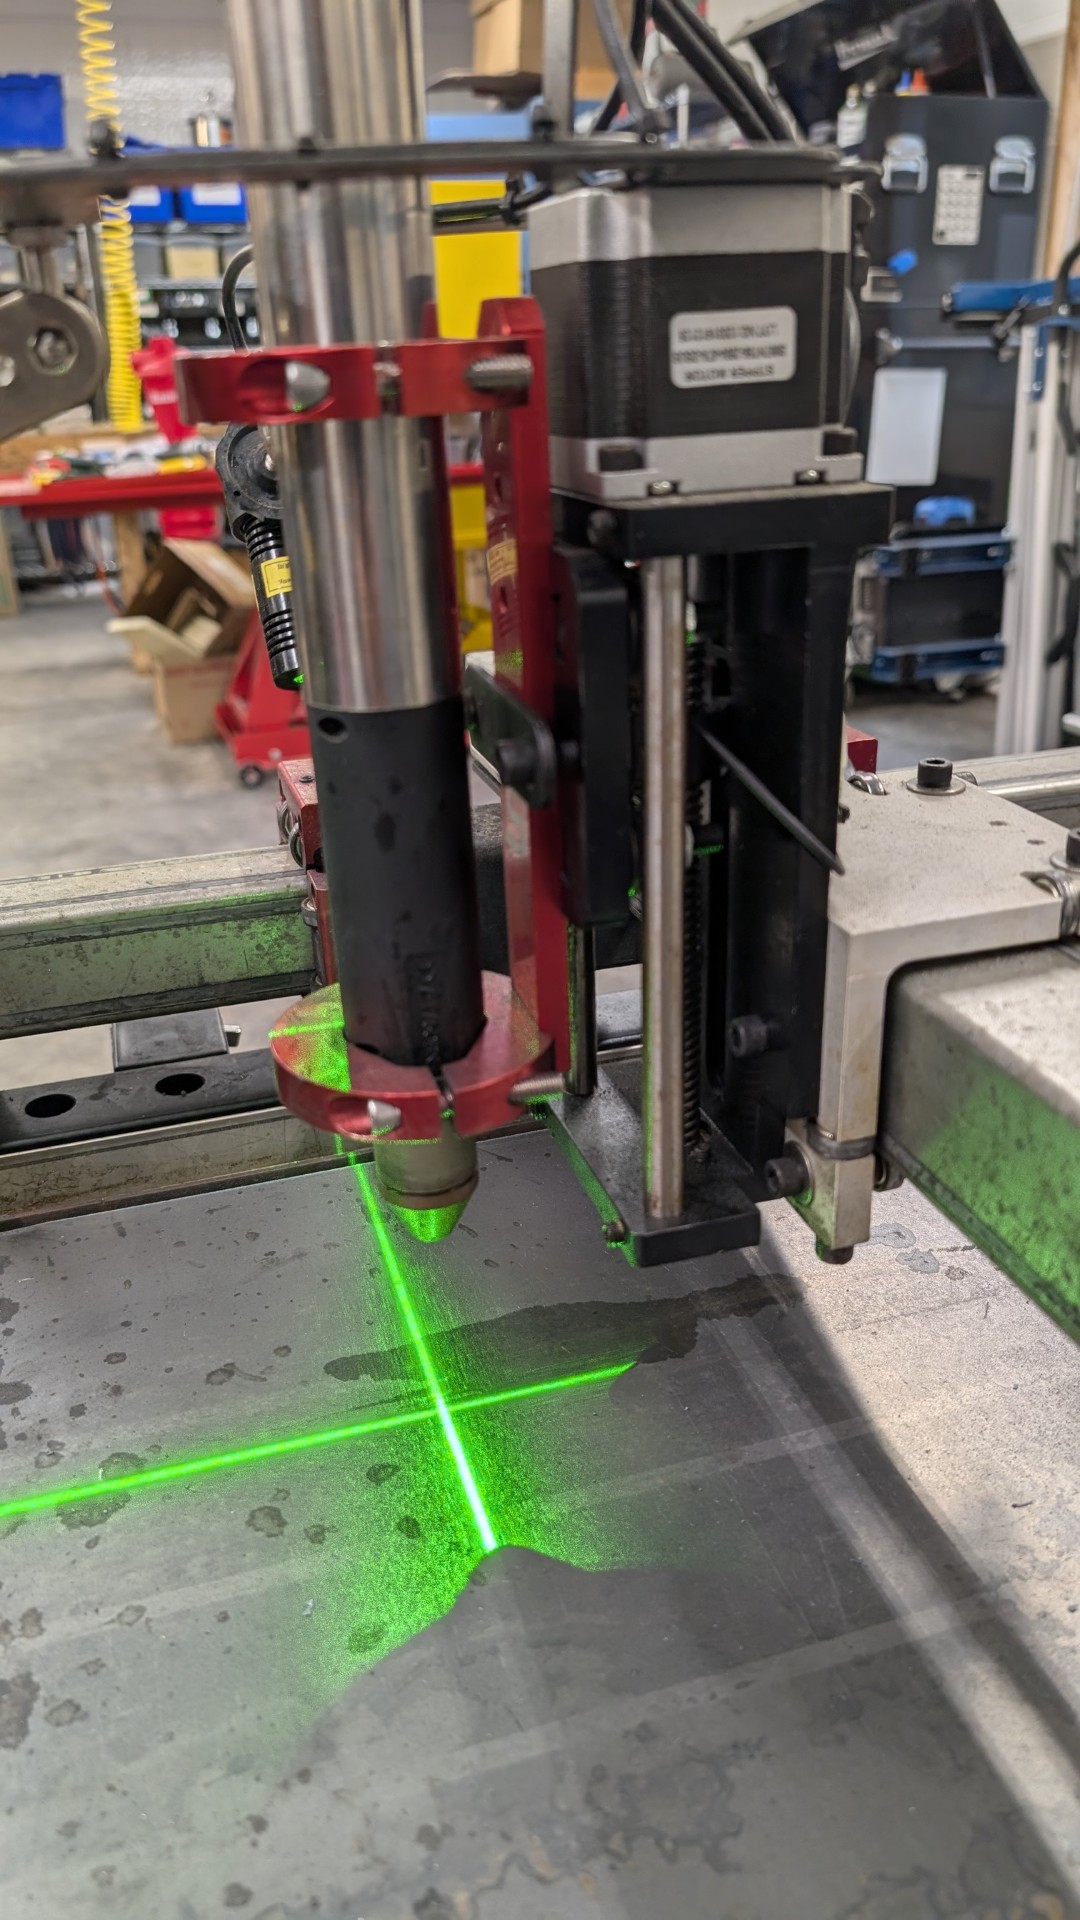
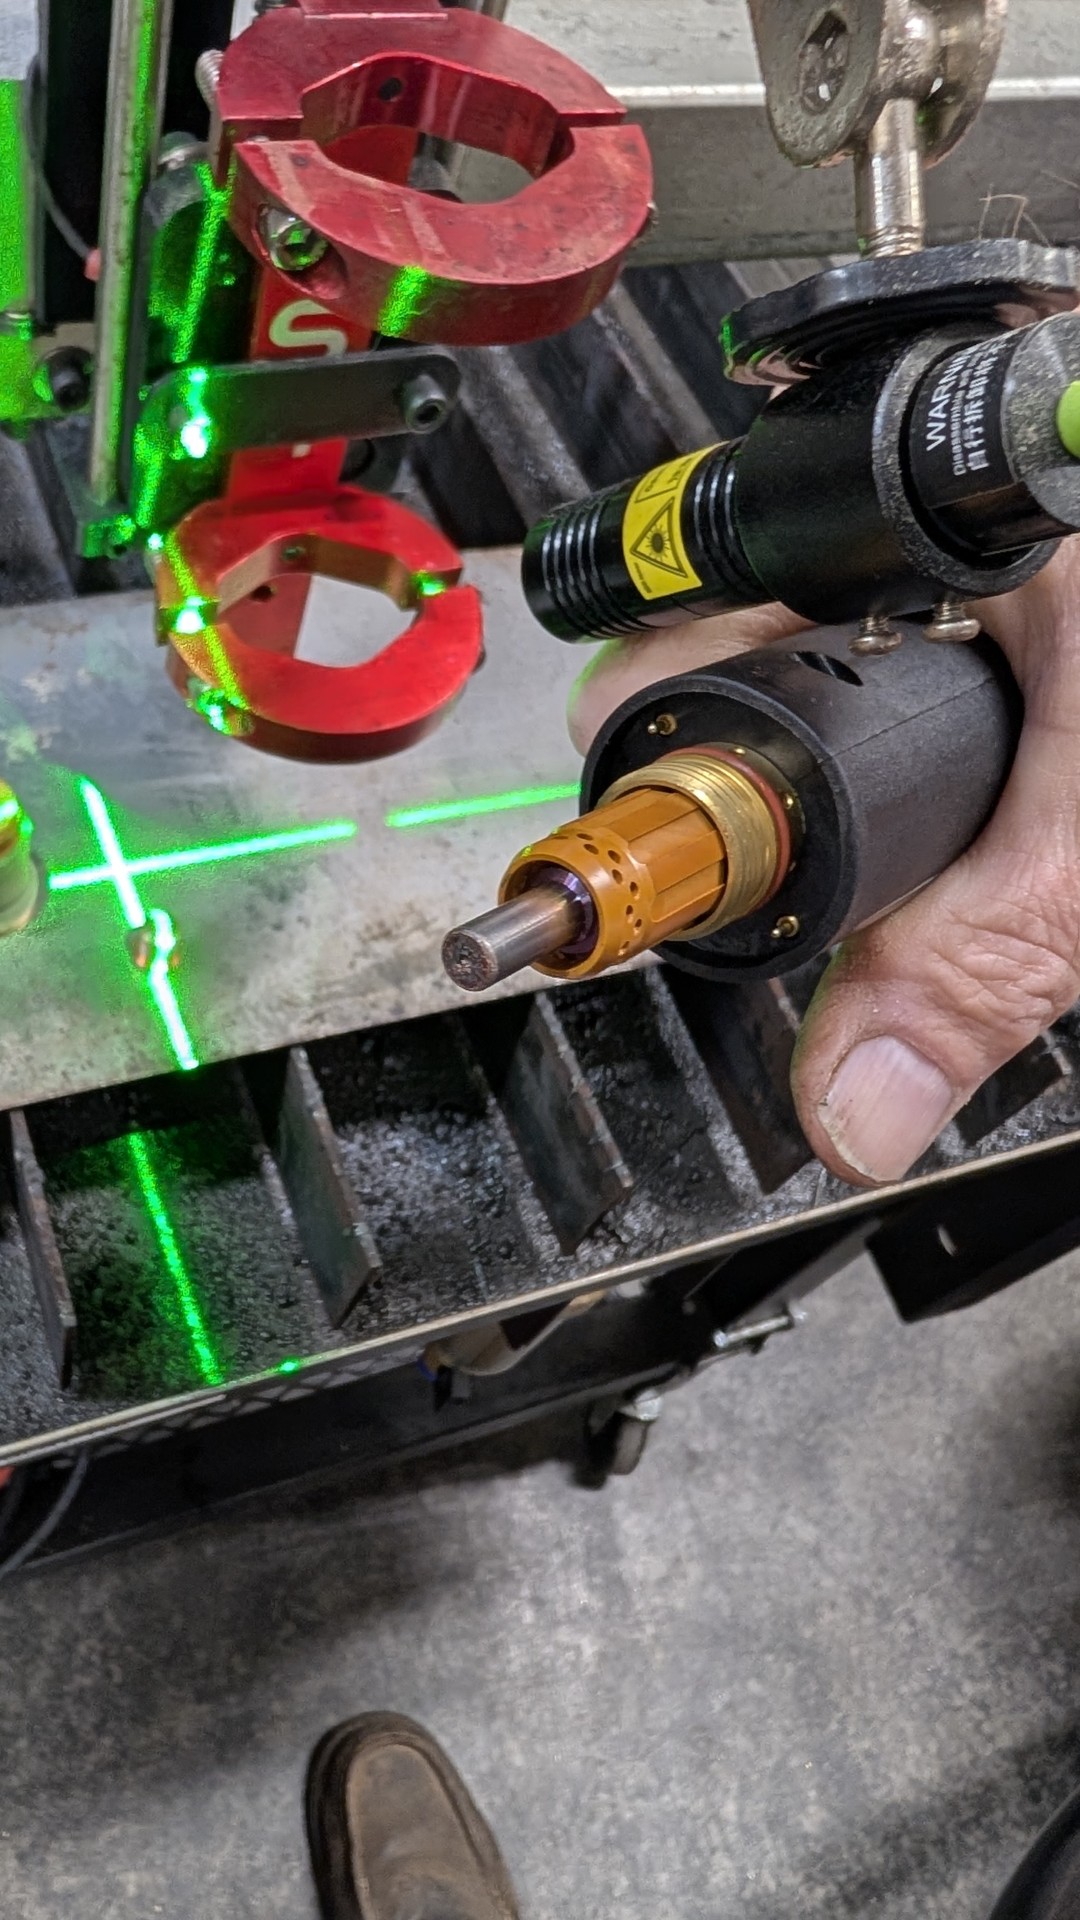
My Z is all the way up here, while I could move it down some… this is how Langmuir sold it to me, I don’t see enough room to mount it any different. But I’ll look at it and call them to see what they suggest.
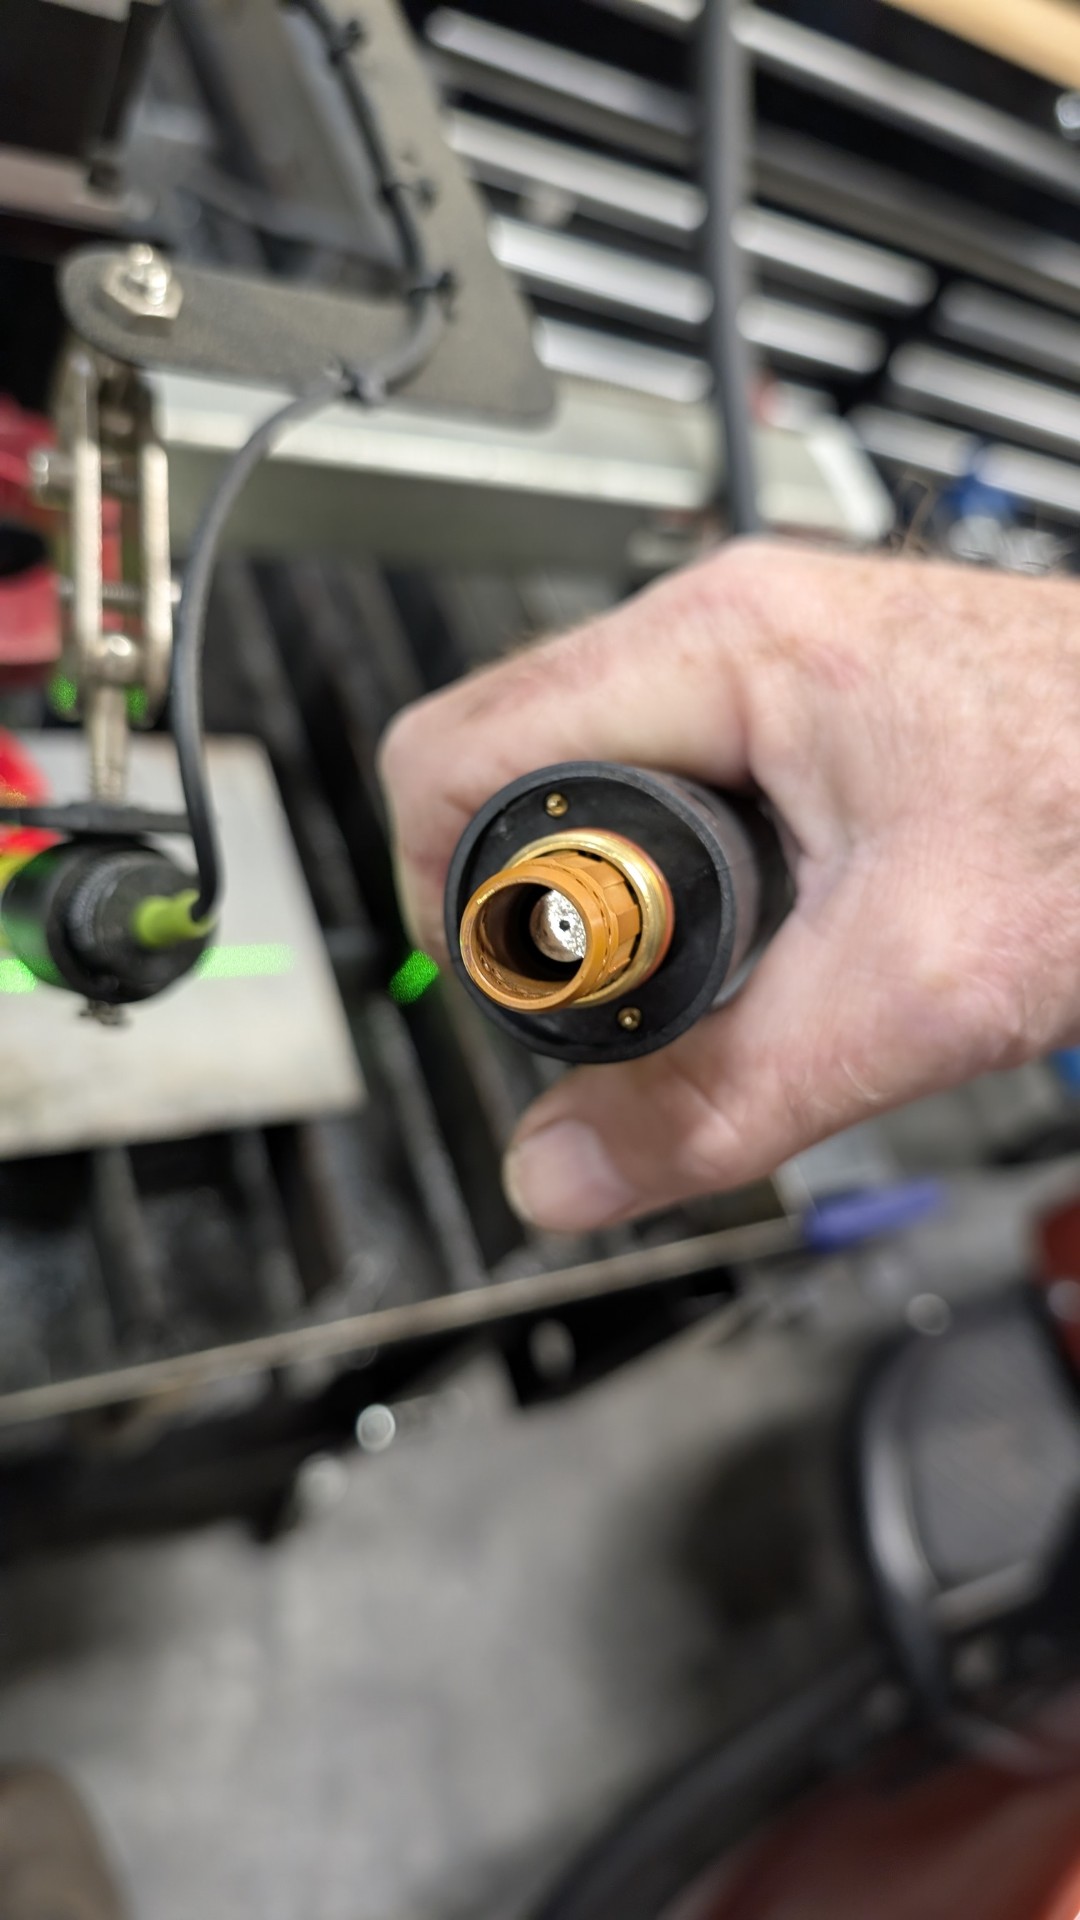
Loosen the screw that secures the torch holder to the Z carriage and raise it up. Then loosen the torch and slide it down so that the bottom of the bracket is above the pilot arc mechanism.
That clamp on the bottom will squeeze the pilot mechanism, causing it to missfire or not fire at all. The electrode must be able to move up and snap back into place. I do like your laser setup.
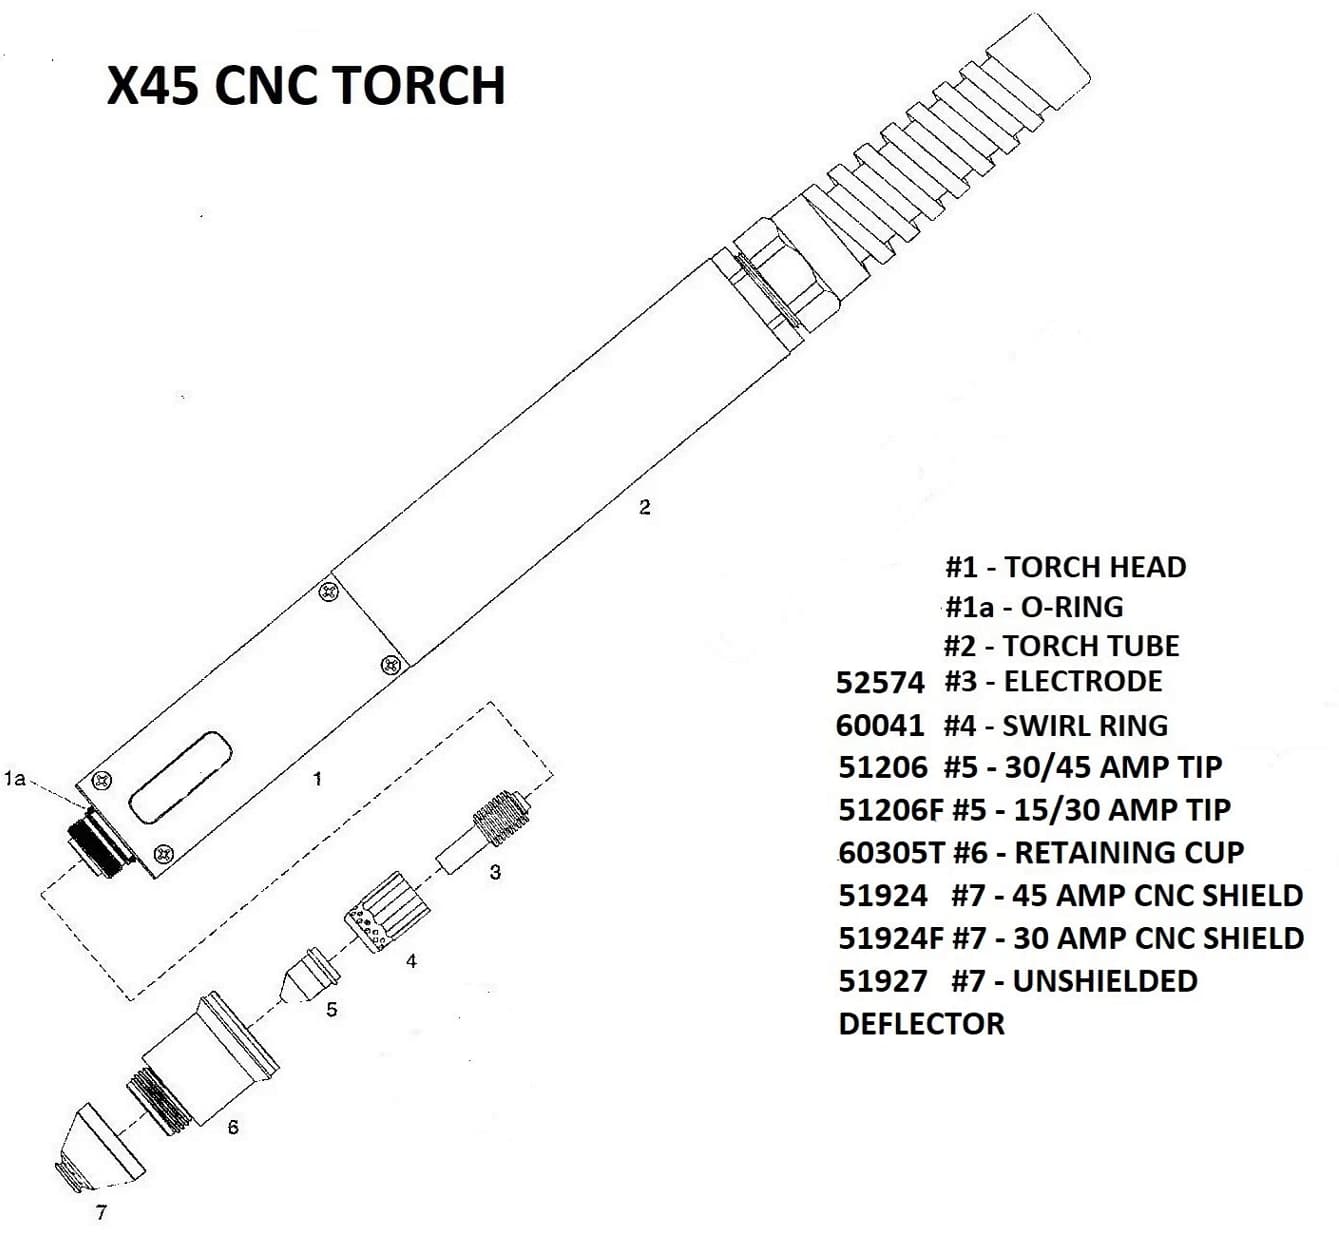
Let me ask first, where is the best place to get consumables for this torch?
I installed the control software FRESH and now I’m getting delays again. I have no idea what setting where screwed what up and it’s possible I was playing and did something somewhere and have no idea what. But when I asked for a 5 second pause before cutting started in about a second. The less pause the more immediate it seemed to move. I’m guessing it thought 1 second was equal to about .2 seconds, so a .7 second delay was nothing to it. So I don’t know if there is a setting somewhere that calibrates timing… no idea. But now it pauses 5 seconds when I tell it 5 seconds.
The torch was removed, all components checked (tell me below if you think they are ready to replace) and everything moves as it should I turned the bracket UPSIDE DOWN (thanks for that hint) and set it back up so the clamps are only on the silver part. I have less Z travel, but I can clear the work piece by about 2” when fully up, so I’m going to call that good.
I double / triple checked all the spacing, I get about .125” for a pierce height when I ask for .12. When it goes to cutting I get like .065 when I tell it .06 so I might cheat both down a little in the file. When I ask for a 1” gap I get .92 inches. It looks like it is setting the torch height as it should though a tad off, it shouldn’t be a problem.
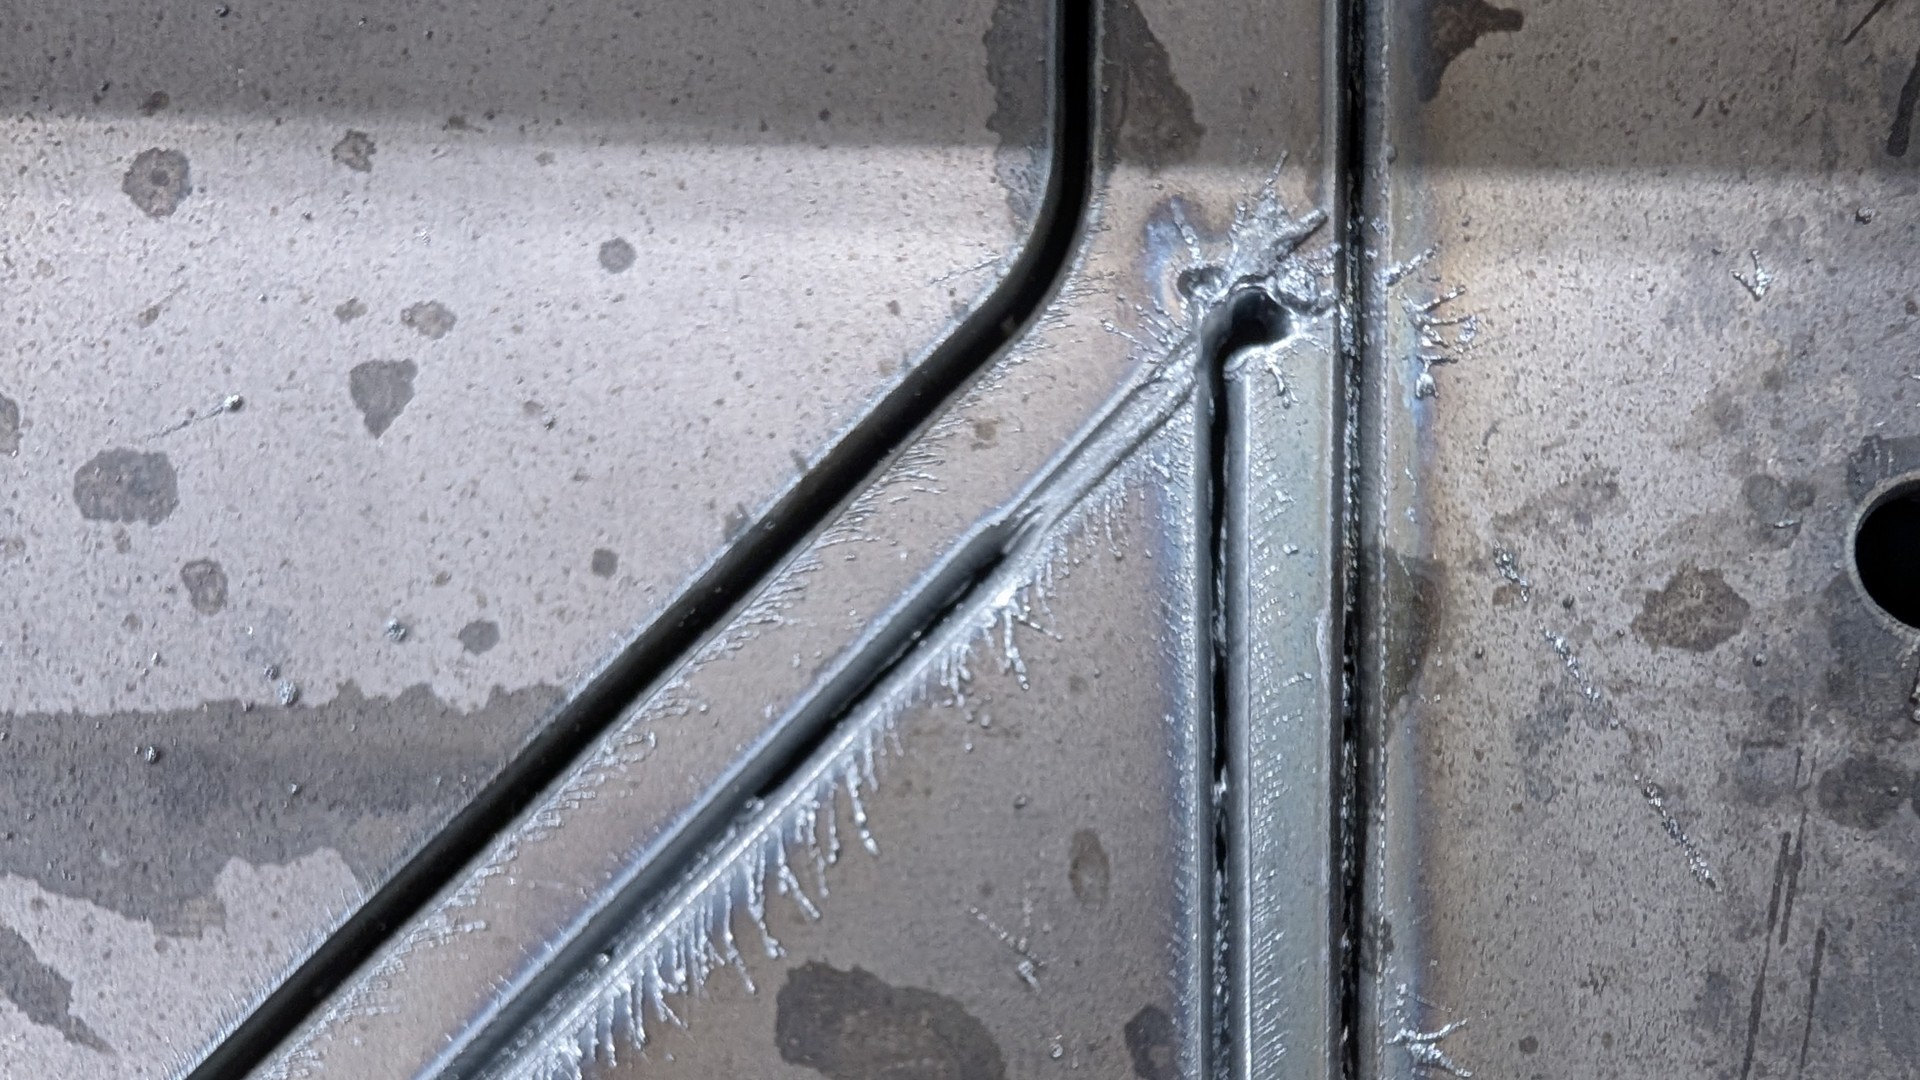
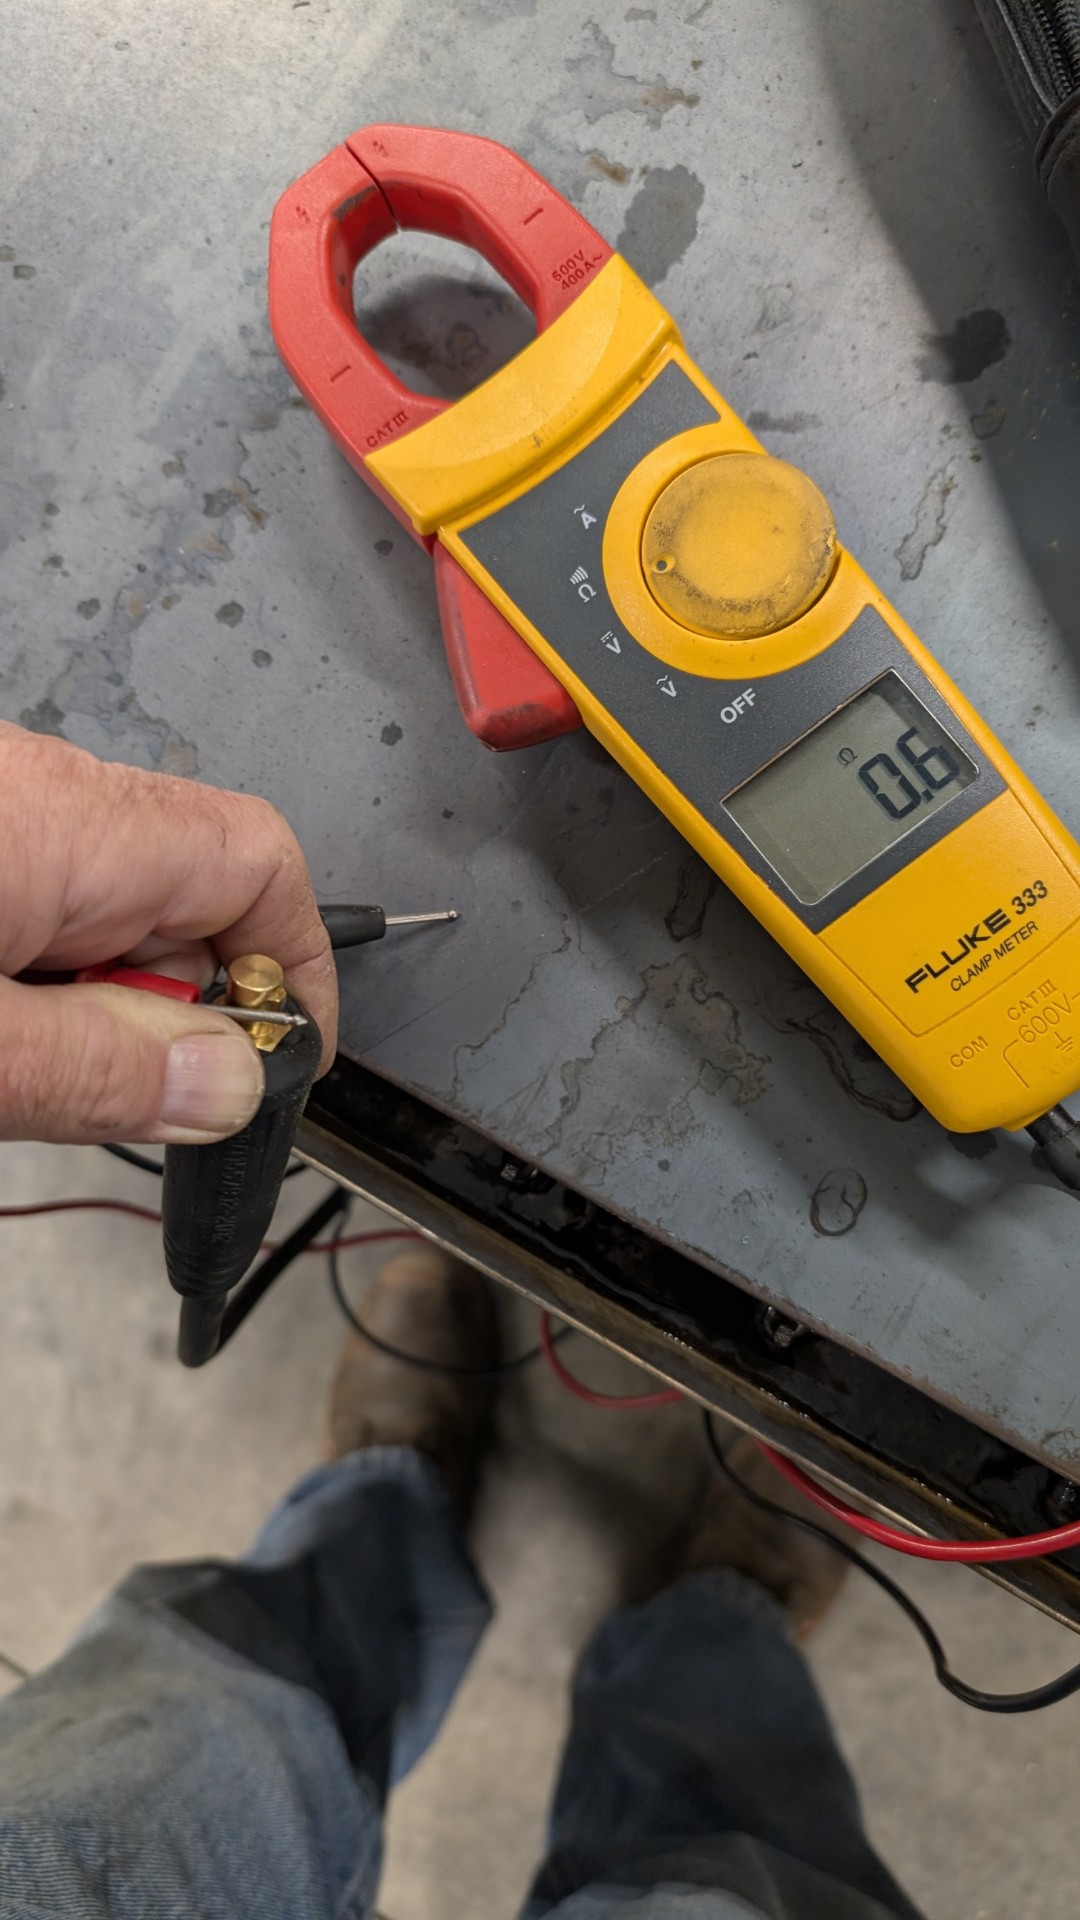
Since the first thing everyone tells me is GROUND GROUND GROUND I sacrificed one of my magnetic welding clamps and made a ground “booster” to make SURE it is grounded.
I have not run it yet, but hopeful this has sorted everything out.
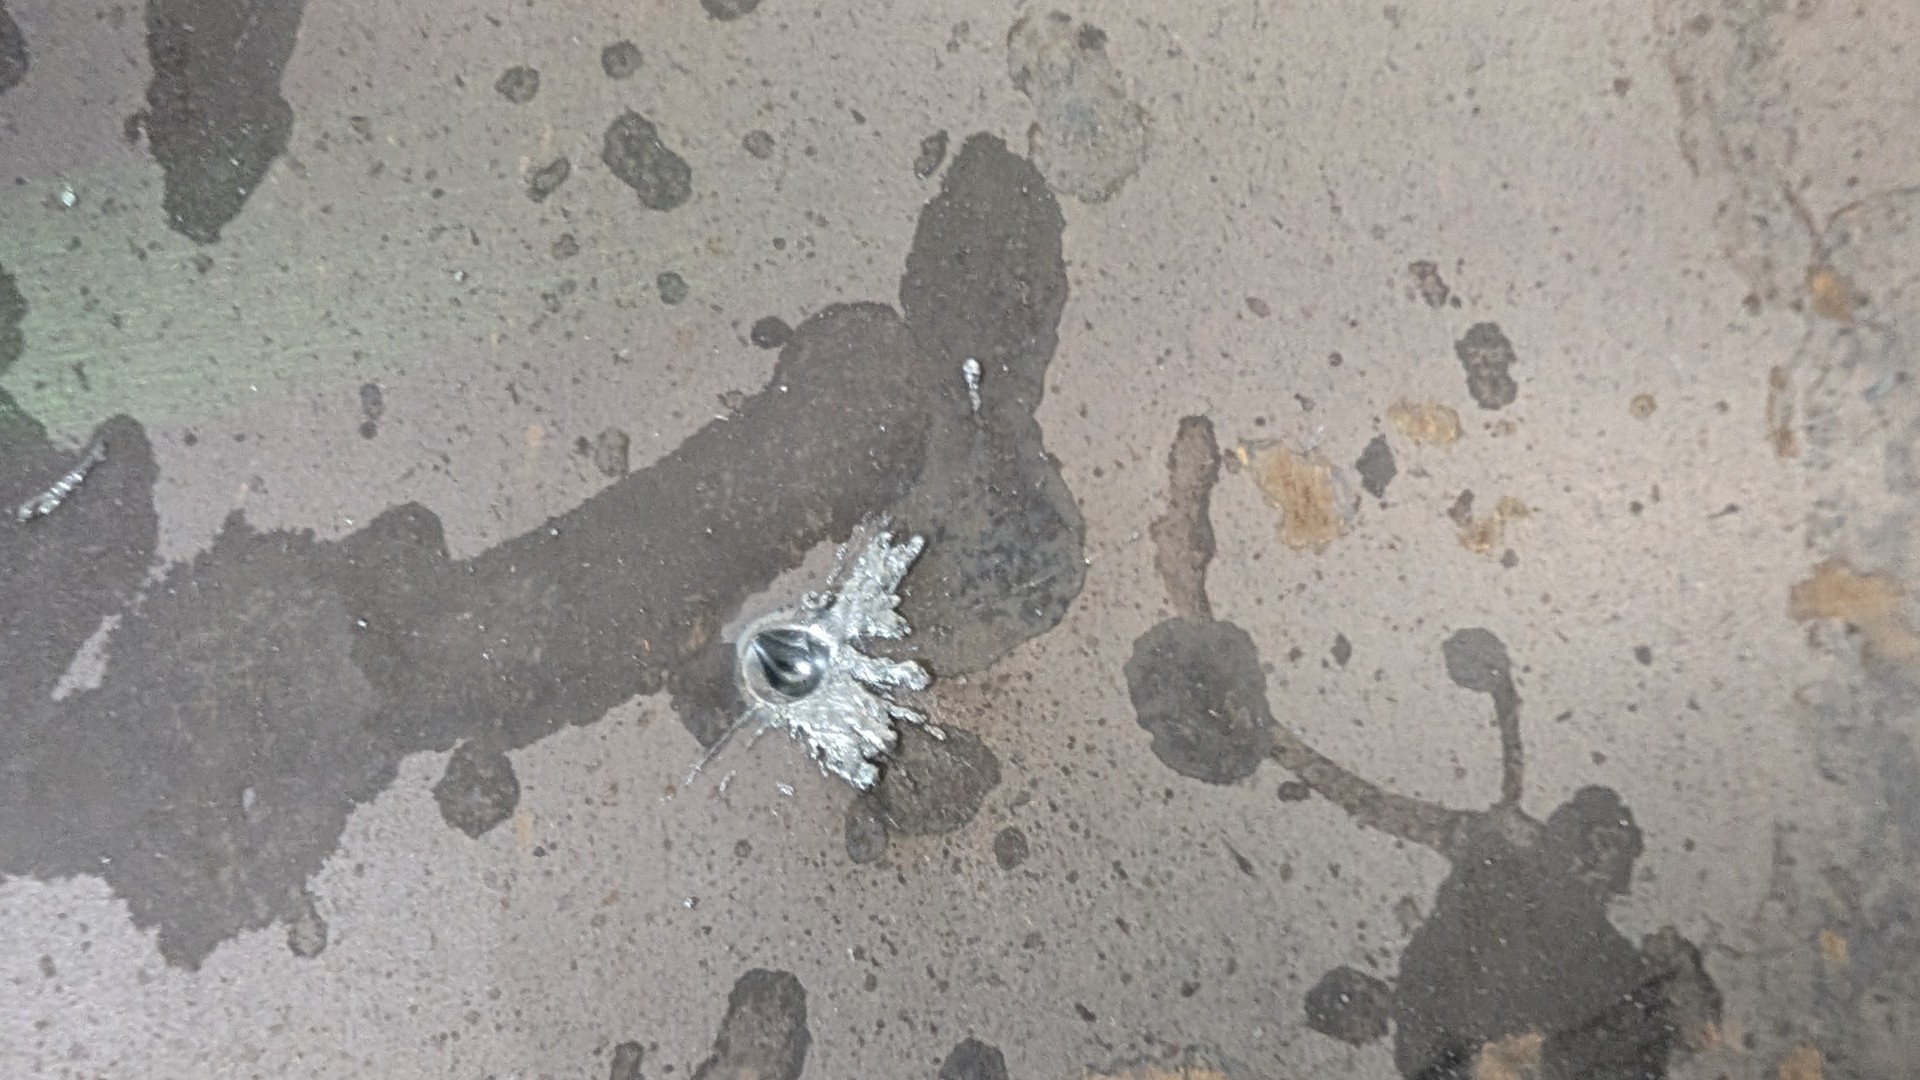
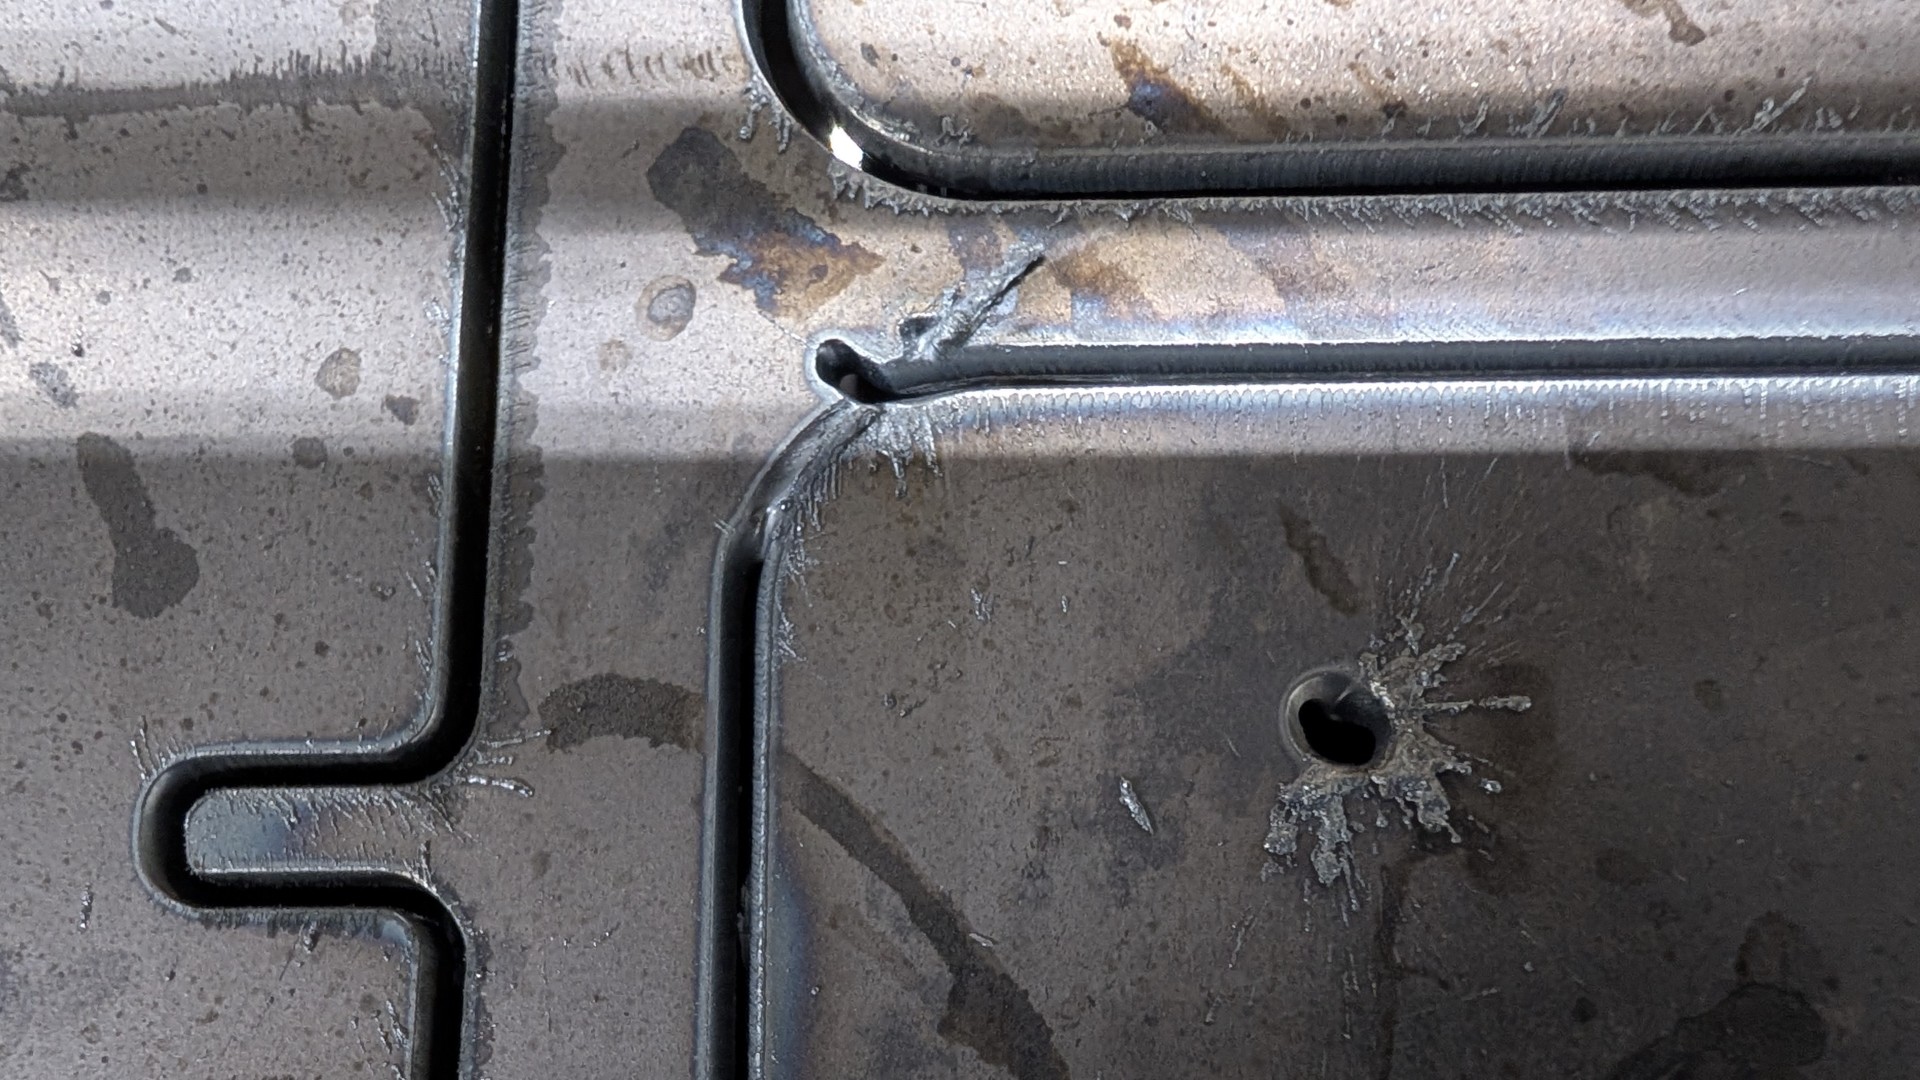
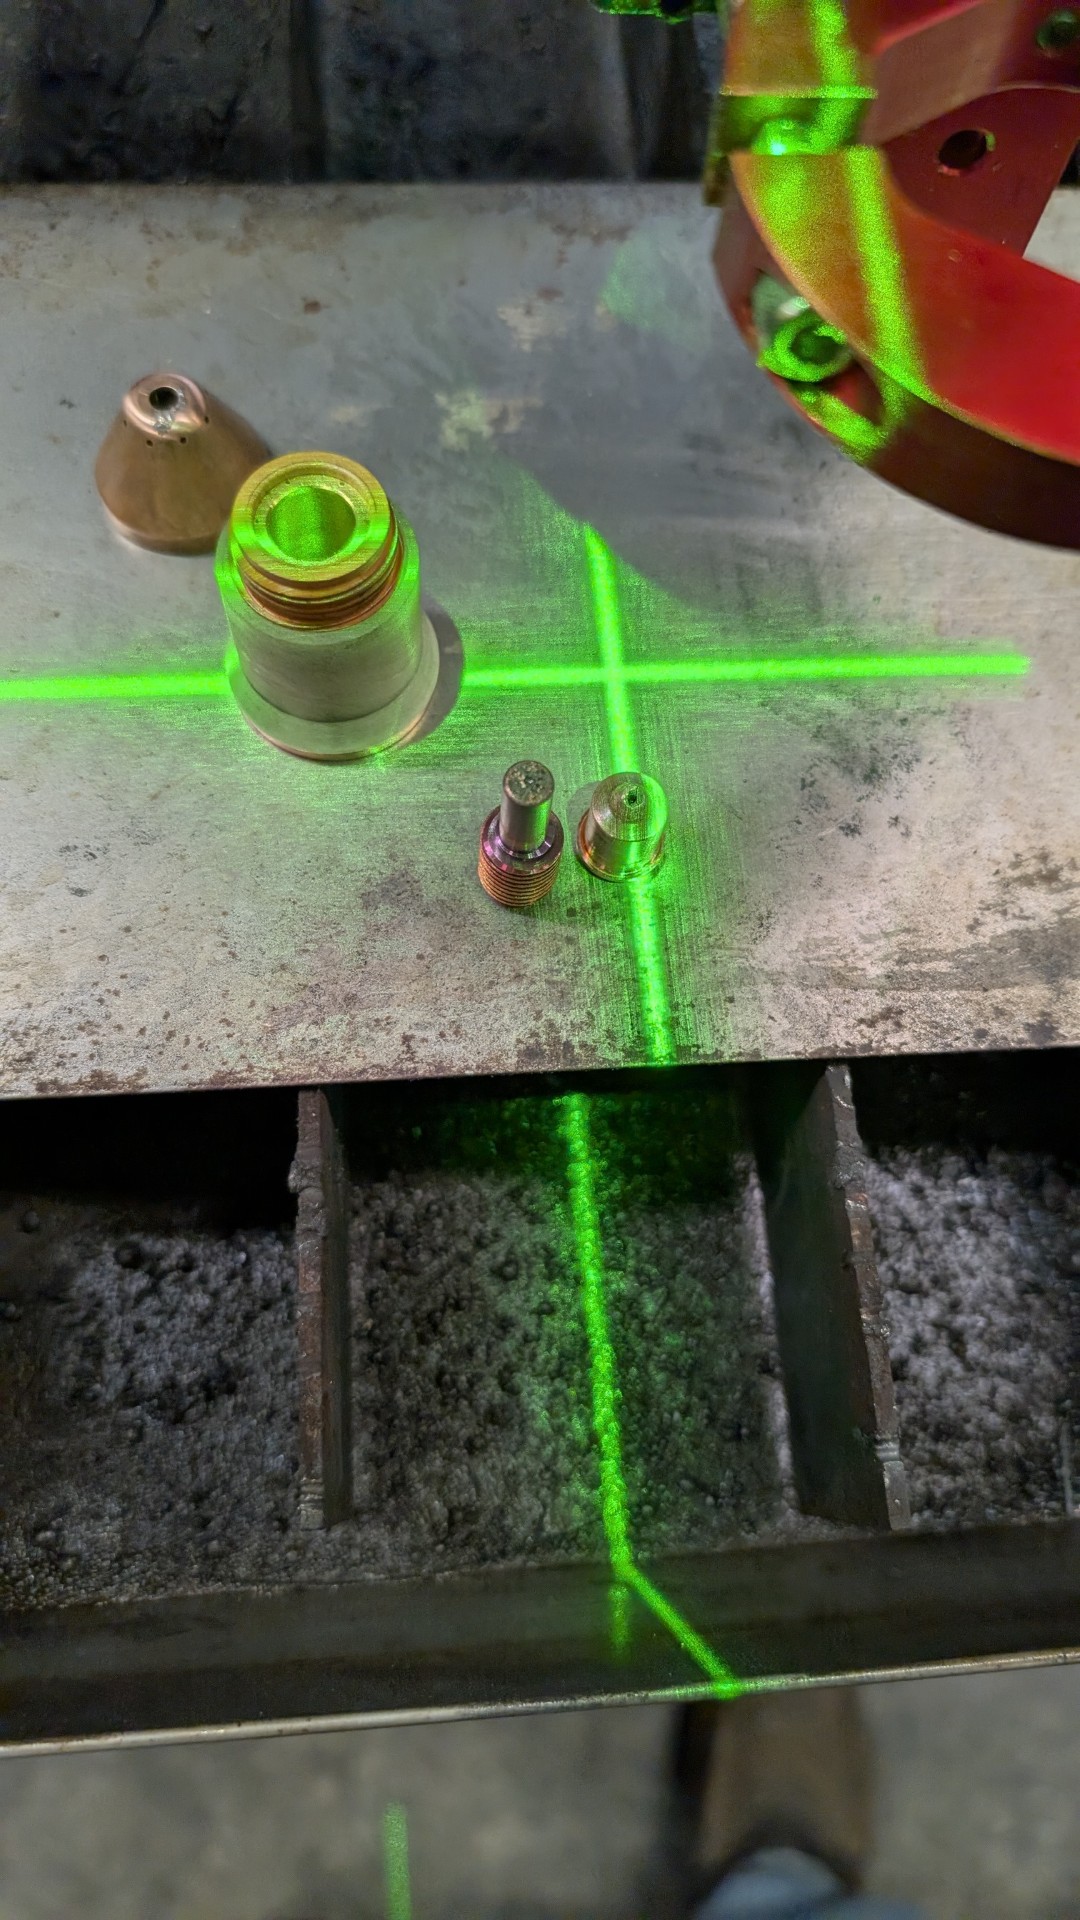
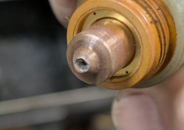
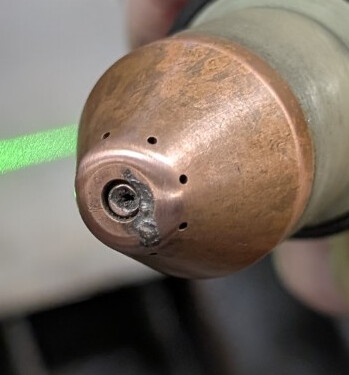
I’ll be honest, I don’t know if these are good or not. The seem OK but I did pick up a bit of splatter this last time cutting so I should probably replace at least the tip.
And you have some significant scarring/dented on the shield and the nozzle is no longer centered. Looks like this torch was dropped on its nose. That needs to be replaced.
Definitely. Ordinarily that shield will last a long time but if it gets physical damage, it will alter the air flow. For me, the nozzles (#5) wear the quickest.
If you’re new to all of this, you need to periodically check your consumables. Maybe every 100 pierces or so, pull them off and inspect them.
Once they’re about worn, make a note of how many pierces that set had and then replace them.
Around 100 pierces or so before the first set wore out, check your consumables again and see if they’re tracking around the same number of pierces or not.
You’ll do this several times until you figure out an average, this way you’ll know when to replace them when you get close to that pierce count.
There are a lot of experienced members here - the information they share often stems from experience and no one is here to lead you down the wrong path. Trying to save you some headache that’s all.