Hey guys,
Just wondering how close to perfect everyone could get there z-axis over 3 inches. Im using langmuirs shim settings and it looks like im getting .0015 over 3in, i’m struggling to get any closer, has anyone got it to be perfect? or around .0005?
0.0015" over 3 inches for Z-alignment is going to be perfectly adequate on MR-1. You can certainly try to shim it further but given the stack-up tolerances of the various components involved, it’s possible that you’re at the limit. It is also within our published alignment specs.
For context 0.0015" over 3 inches of travel is a very small number. Thanks for sharing and good luck!
2 Likes
Mine was out 0.011" over 3 inches. I had that thing apart and back together probably 10 times. I ended up cutting additional shims from the Y rail shims, now it’s 0.000" over 3 inches. I measured 0.002" in the tilt direction, I was initially fine with that, but after running the fly cutter a few times I might try to bring that closer to 0.
4 Likes
Ok yeah i think im gunna keep tuning i faced the base plate and in my opinion i have quite the step it seems like much more the .0015 anf i would like to get rid of that as much as possible. Thank you guys for the input i appreciate it.
Keep in mind that the shimming of the X/Z carriage controls the Z axis alignment. The shimming of the spindle controls Nod tram, and the rotation of the spindle on the Z slide plate controls the Tilt tram. We still need to release the video on how to adjust the tram (measuring, where and how much to shim, etc).
2 Likes
Ahh. I think that must be what im looking for then because i believe i am out of tram. How would i go about shimming this ?
Thanks guys i appreciate the help !
@langmuir-daniel
I should just be able to measure tram like any normal mill just with my indicator mouted to the spindle ? And then use the shims to adjust the bearing faces ?
The first step is to measure the tram error, here’s a good method to do that: How to square the Bridgeport head with the table - YouTube
Note that you will need an articulating indicator mount that can be inserted into a collet so that you can manually turn the spindle shaft and sweep a circle on the table.
Set the indicator arm such that the tip is sweeping a 4" circle. Zero the indicator in the 12 o’clock position. Then rotate the spindle until the indicator is at the 6 o’clock position. If the indicator, for example, were to read +.005 That means the that the spindle is nodding forward. In order to eliminate the nod error, you would insert .005 of shim between the spindle housing and the Z slide plate at the bottom. If the indicator reads -.005, you would need to add .005 shims at the top.
After the shims are installed, you of course will need to check at 12 o’clock and 6 o’clock again to make sure the result is acceptable. Add/remove shims as needed.
Tilt tram is easier to adjust and should be done only after Nod tram is completed. The first step is to break loose and then snug down the four screws that secure the spindle housing. The screws should not be so tight that the spindle assembly cant be slightly rotated about the surface of the Z slide. Load the indicator back into the spindle and set it up to sweep a 4" circle. Zero the indicator at the 9 o’clock position and then rotate it to the 3 o’clock position. Bump the spindle as needed until the two measurement are as close to the same as possible. Then tighten the bolts.
4 Likes
Awesome you guys rock thank you so much going to get this all tuned up now ill provide an update on how it goes !!!
Hey guys,
So i got my z allignment to damn near perfect its within .0005 so im happy with that. Im working on the nod and it looks like i have around .020 of positive nod
(Leaning forward toward front of machine)
Only issue is the marks on my baseplate are indicating a negative not( leaning towards rear of the machine) i can catch my fingernail on each pass. Do i need to take more off my baseplate?
1 Like
Ah guys…
I think i need glasses ![]() ive got it im not really sure what i was thinking but its definitely not positive .020 its negative im getting it dialed in now.
ive got it im not really sure what i was thinking but its definitely not positive .020 its negative im getting it dialed in now.
Thank you for all the help
2 Likes
Hey guys, so ive got everything set up and finally decided to move my spindle to the upper position and this time i Cannot get my nod dialed in. if im understand your previous post i need to place a shim between the spindle housing and the plate behind. is this correct ?

also if anyone has any photos or other tips they would be greatly appreciative. ive had this apart probably 30 times and cant get it within .015.
They really should have a video for this. While the tram of my z axis travel came out at dead nuts on it was very noticeable that the spindle was tilted hard to the left when facing the baseplate with the fly cutter. I was tinkering with it yesterday and tomorrow I hope to take another facing cut to see how it improves. The good news is the surface finish is fantastic.
Yes we are filming nod and tilt tram videos now and hope to have up next week. The good news is its fairly easy to adjust and get great alignment on the machine.
5 Likes
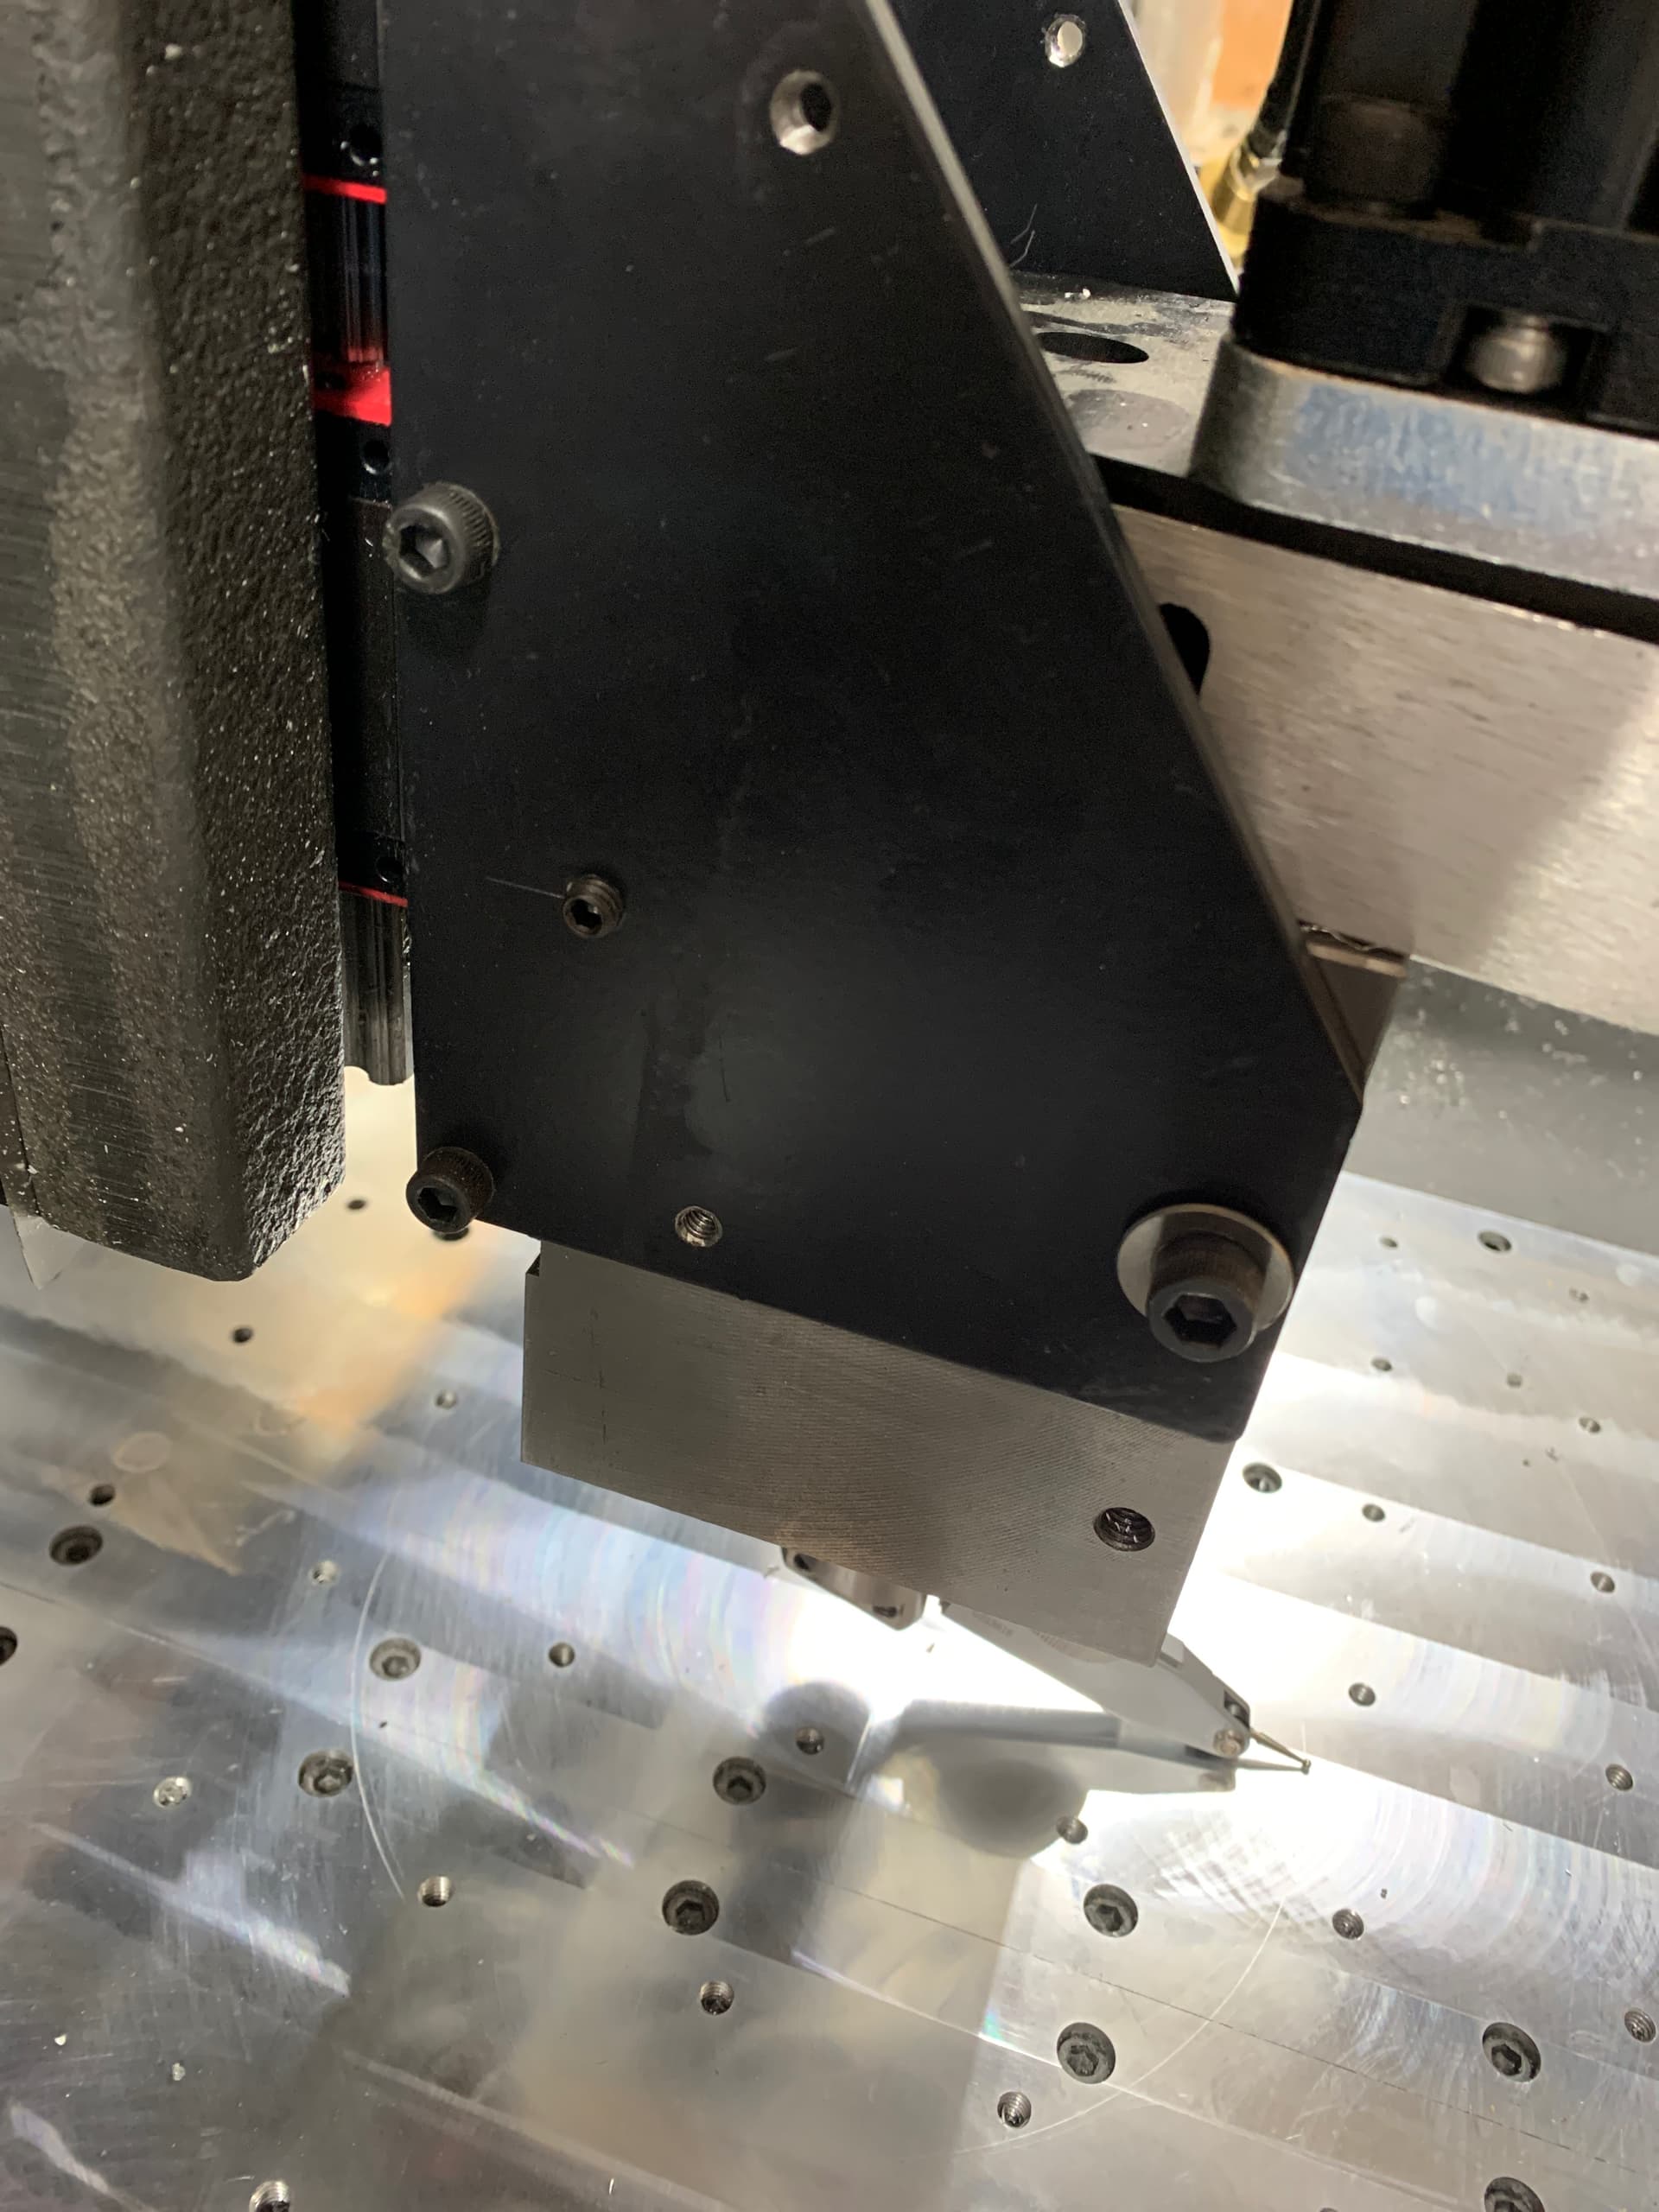
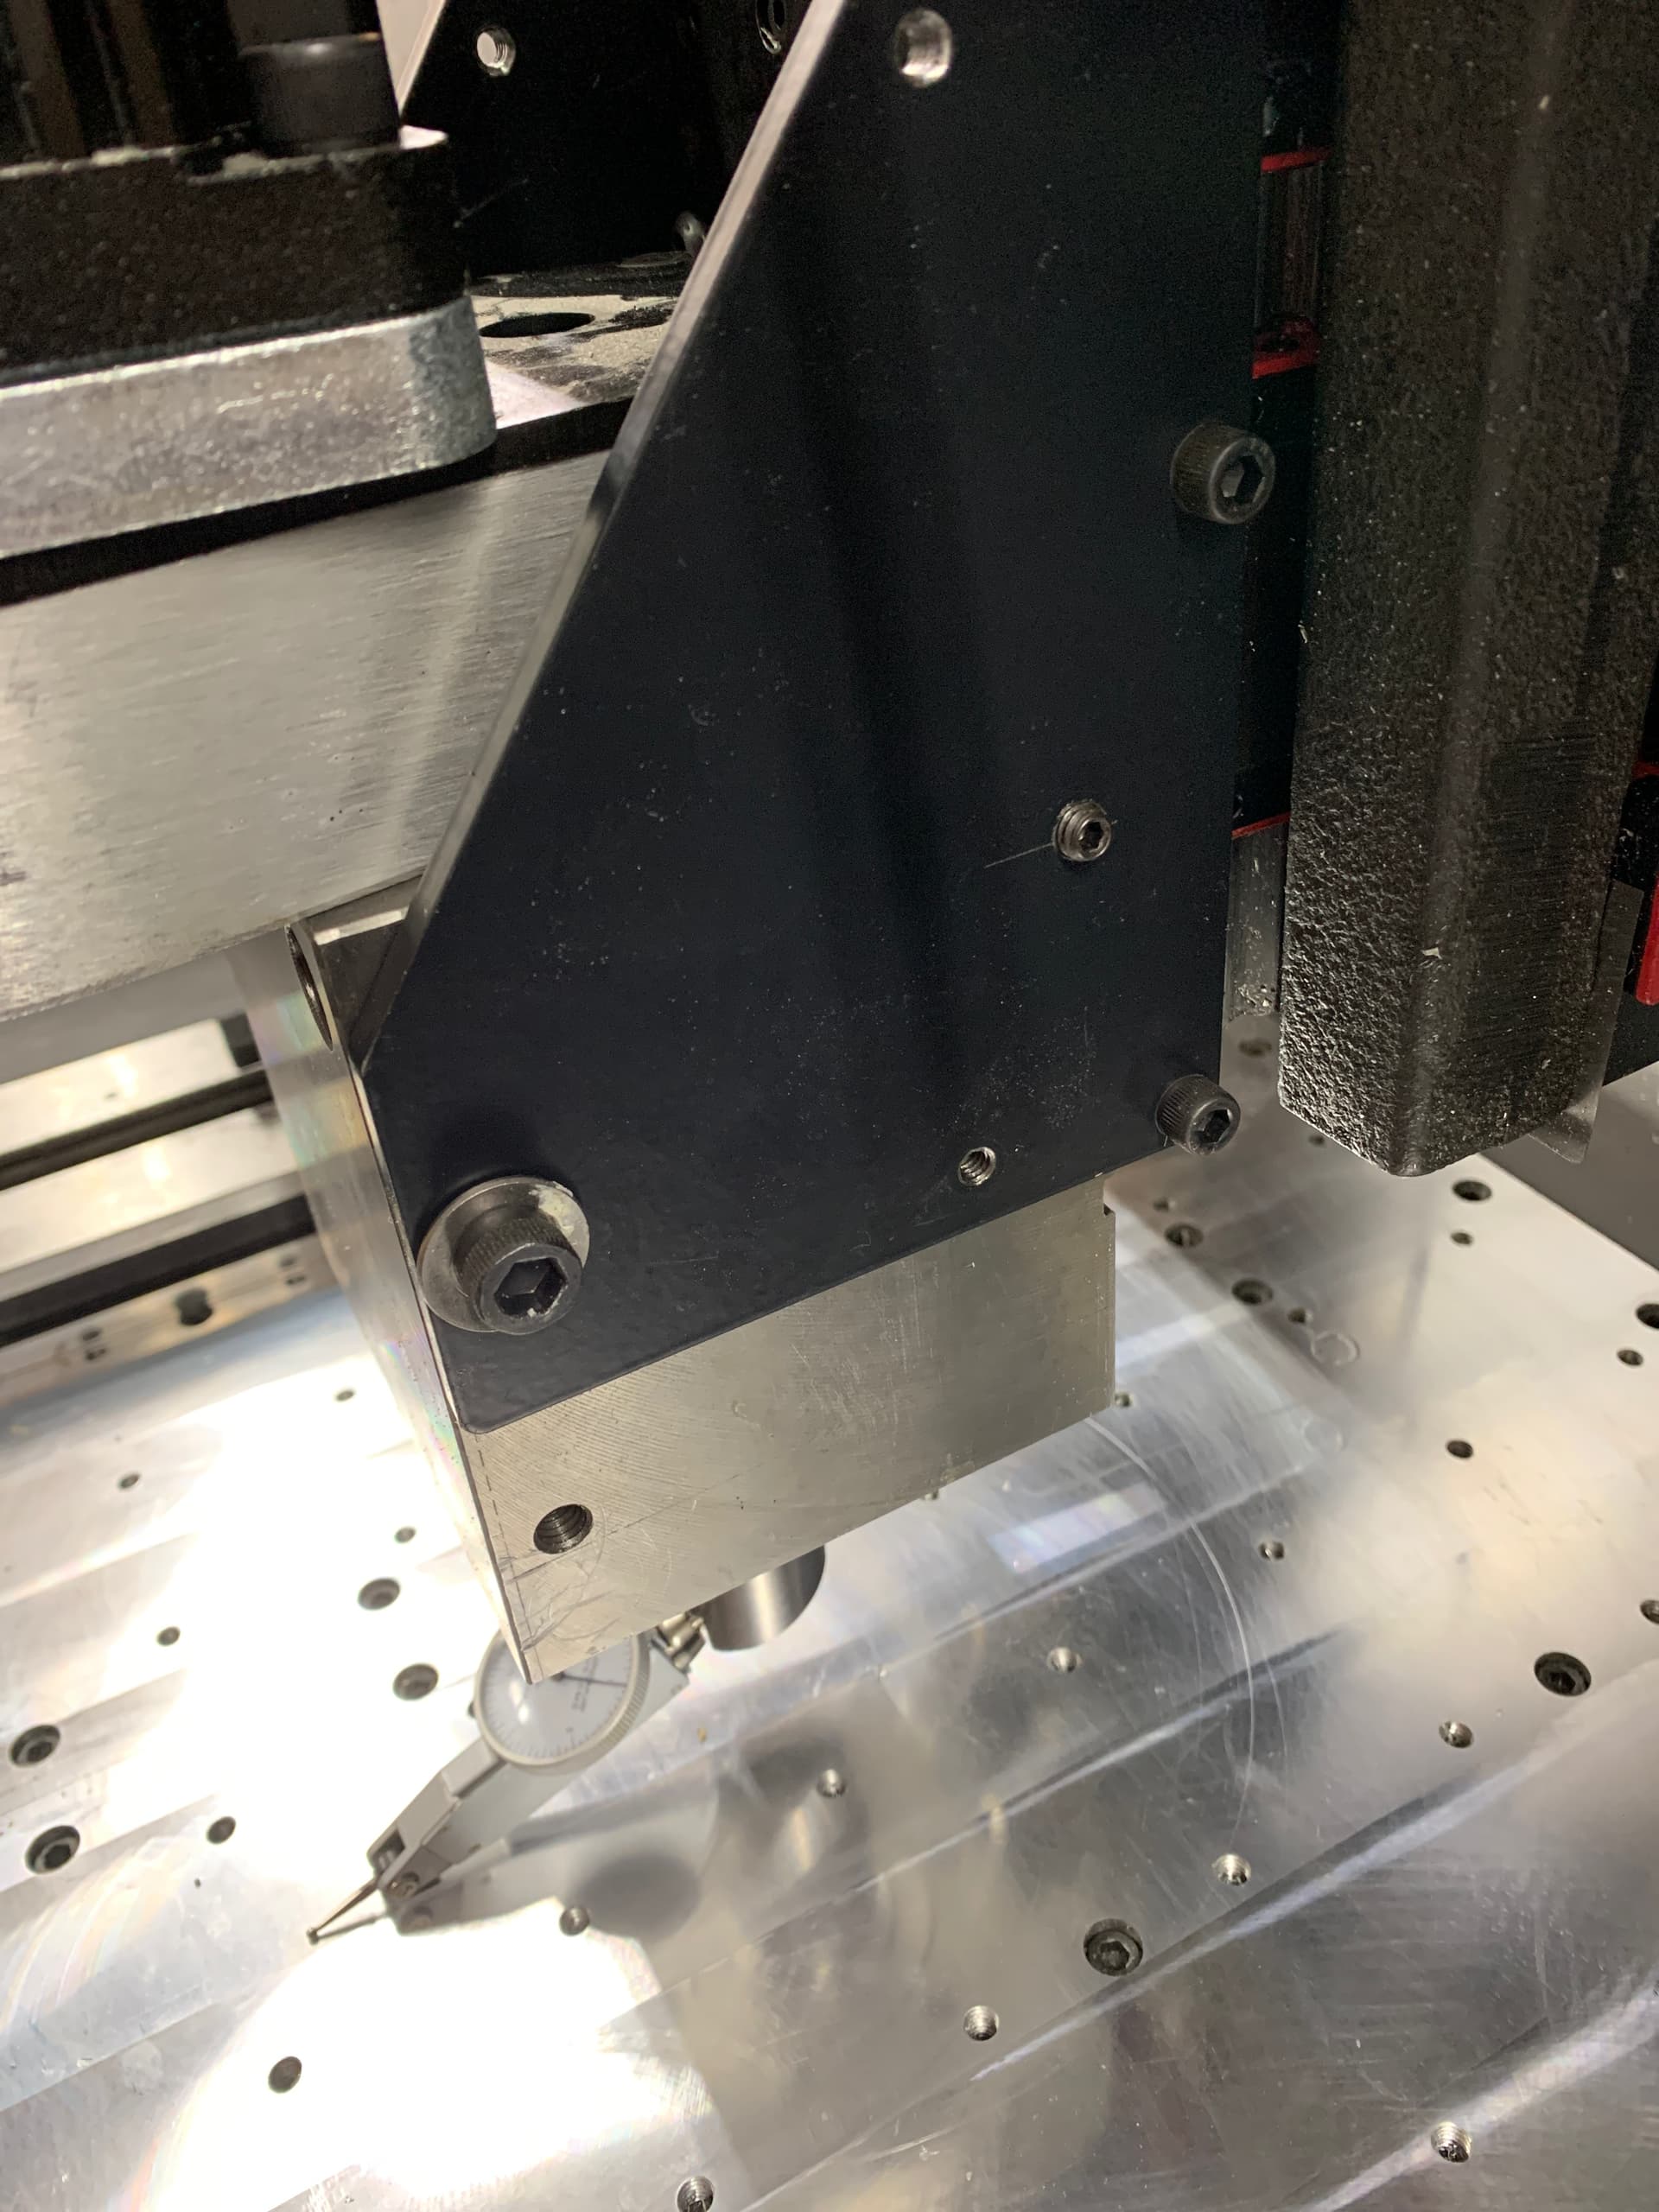
@langmuir-mike am i placing the shims in the correct location per the photo above ? if so i will keep trying i have trammed my manual mill many times with no issues. it just seems a but odd that im struggling to get it close.
This was just the post I needed. Got the thing dialed in to .0008 over 14 inches. Took some time and some creative shims.
Is the video about Tram and nod of the spindle adjustment coming?
So I finally got my spindle trammed! Took many try’s of different shim combinations to get dialed in. Very much a pain in the butt. The nod is the worst, having to remove the spindle housing and adjust shims then replace it and check again, only to find I went too far. The tilt was almost as bad, tapping with a mallet wasn’t working, so I tried (with much frustration) to tweak it by hand, which worked but couldn’t tighten the bolts without it moving on me. Then I had a thought, a couple strategically placed 1/4x20 set screws on the side brackets of the spindle mount and voila! Easy peasy stable adjustment. Got the thing trammed to about .0002 over a 7” diameter. I think I can live with that.
5 Likes
Great idea!!