My Crossfire PRO arrived in mid-summer 2020. Watching these forums while I was waiting for its arrival, I researched the various ways that several users have upgraded the system, and early on I salivated over the various drain, pump, and even circulation systems that I saw here. In the end, however, I’ve abandoned much of that in exchange for a much simpler setup that seems to work extremely well. I’ll document these things in this thread, just in case anyone is interested.
Some background:
I manage an engineering building/lab for a small university engineering department. This machine was purchased to expand the capabilities of our machine shop. So, it’s not used regularly, but probably for a few parts cut once every couple of weeks.
So, here’s my total setup, after using it for six months:
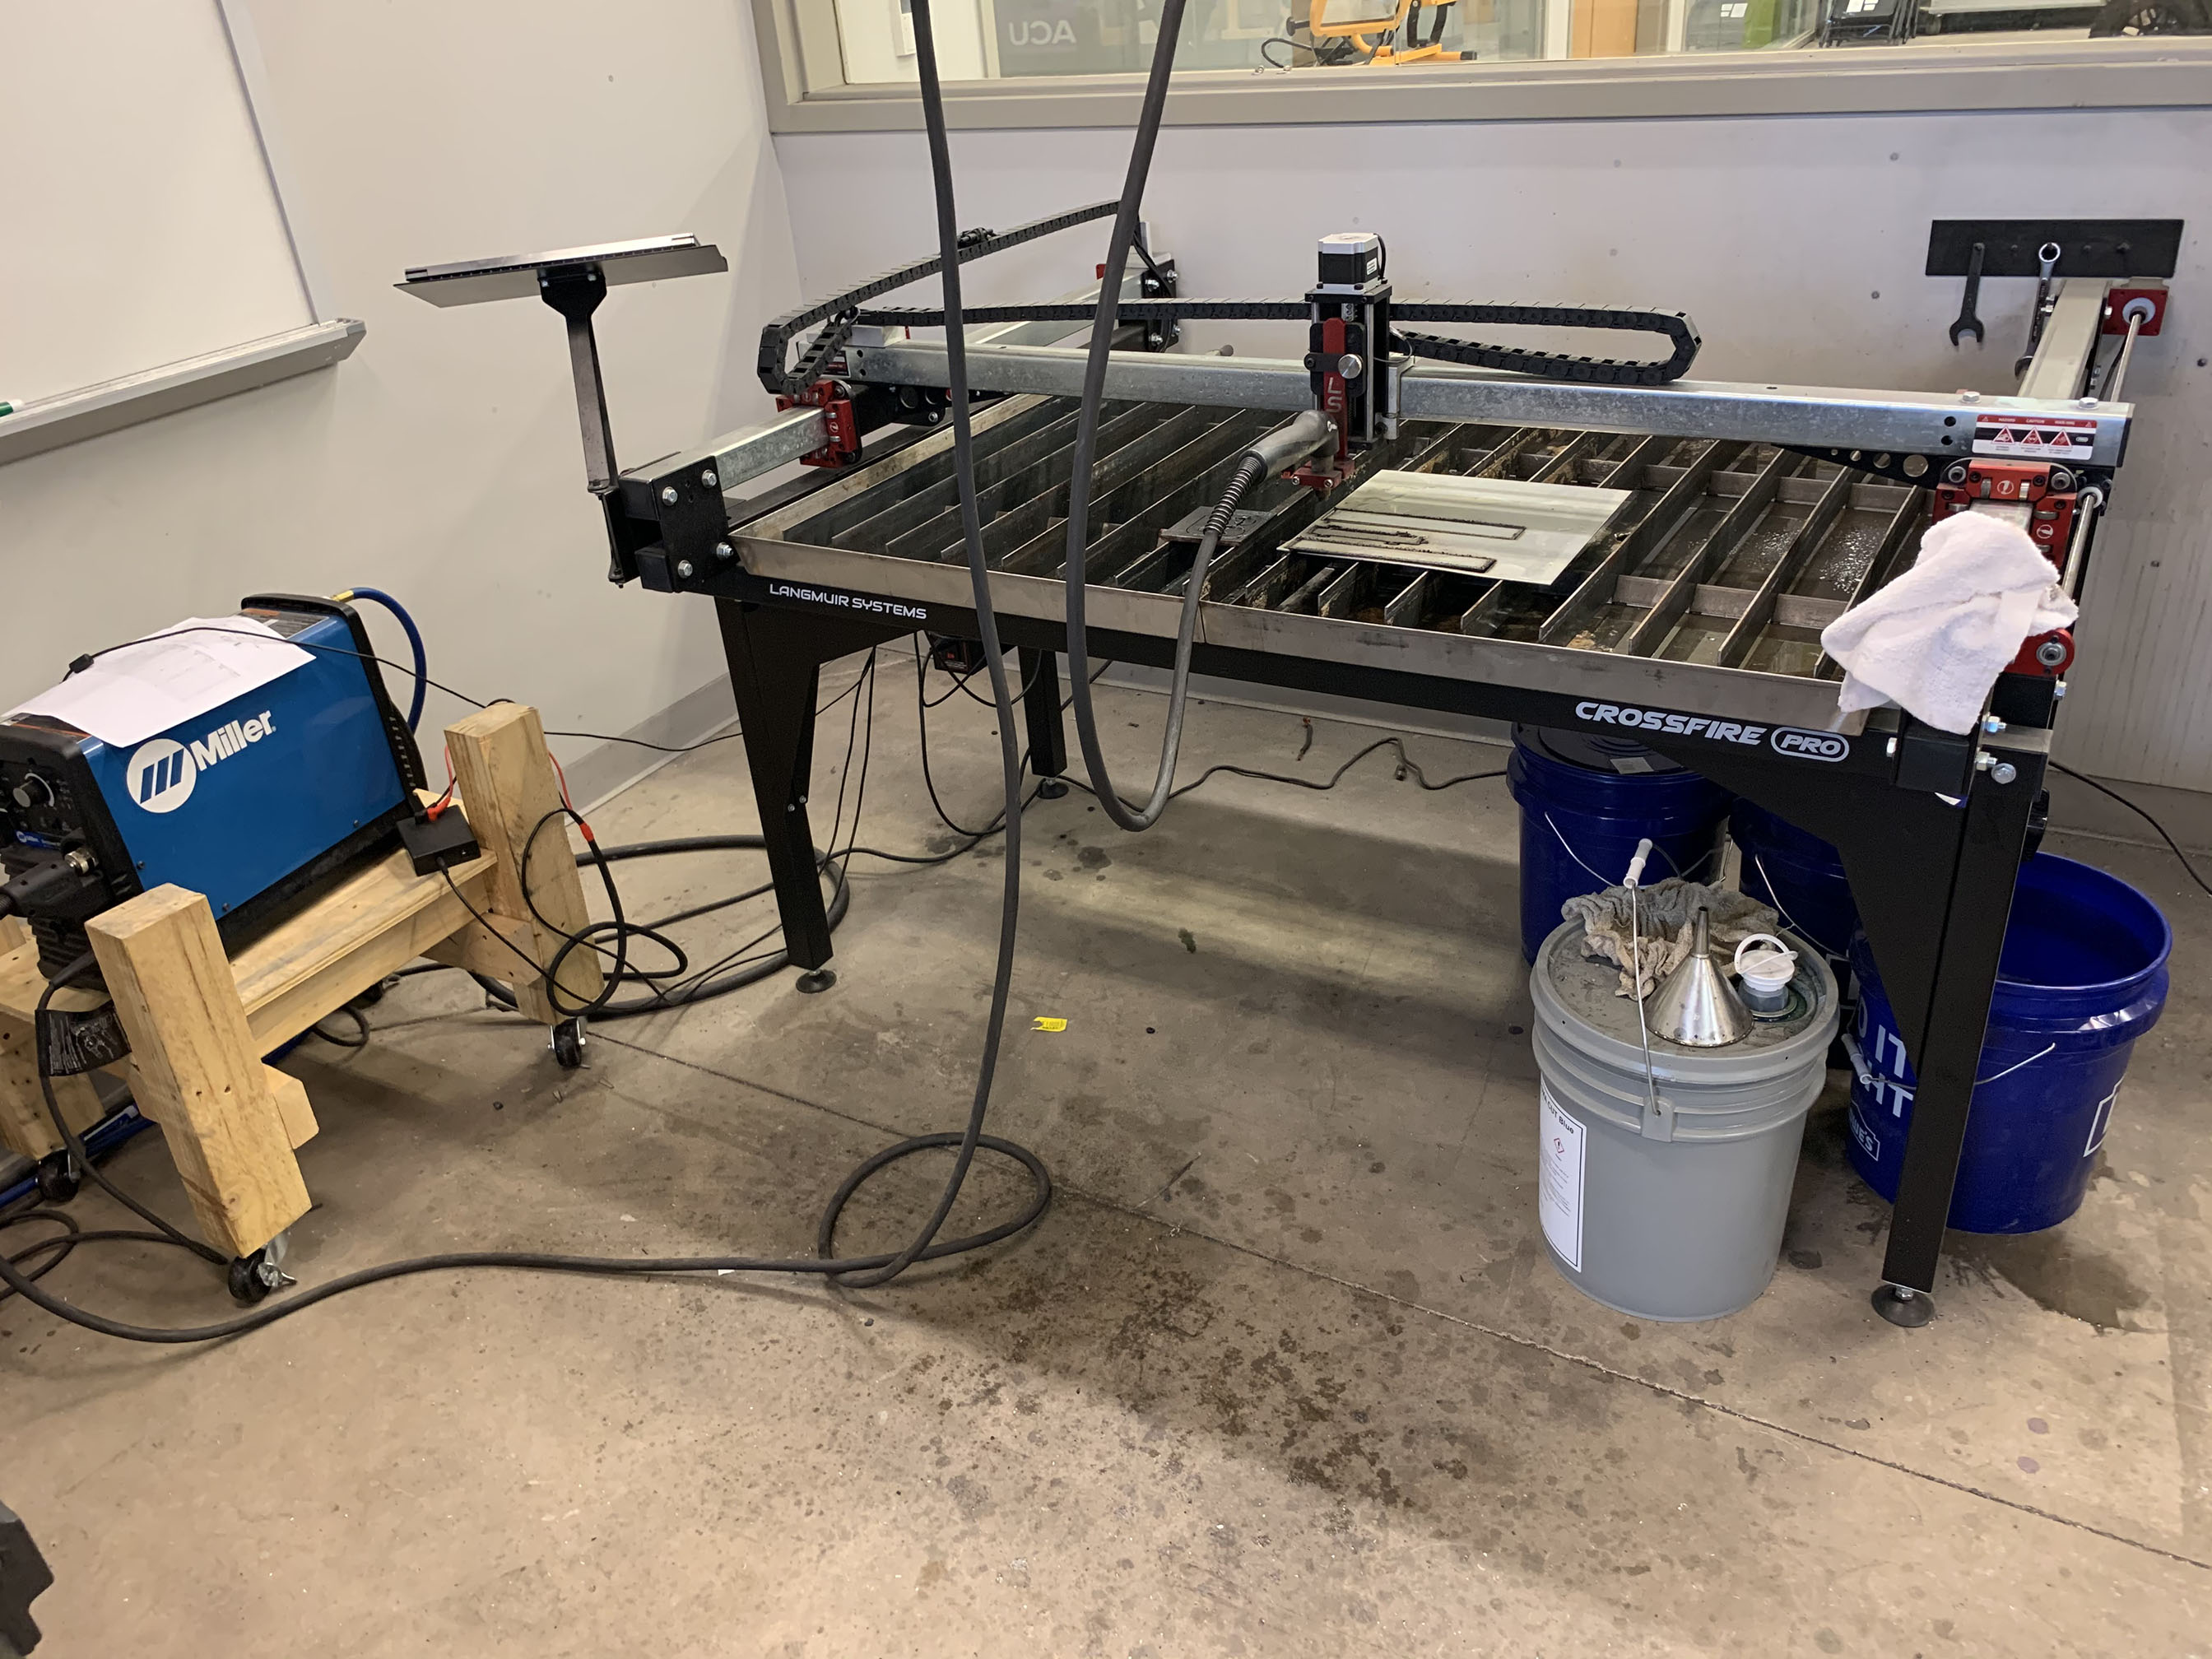
A few notes: I ordered and installed the drag chains as I was assembling. I initially 3D printed the mounts as several have, but one broke as I was assembling, so I scrapped all and cut/tapped them out of aluminum scrap I had in the shop. I wasn’t happy with the rear-mounted swinging arm designed to hold the torch and the amount of hose that had to hang to accommodate the angled hand-held torch, and I wanted to be able to easily remove it to use for hand-held cutting (of course, that hasn’t happened yet). The torch is hanging from a chain attached to unistrut that was already hanging from the ceiling. A better solution would be to buy a machine torch for my cutter, a Miller 875, and attach it from the rear as intended, but that comes with a $700 price tag.
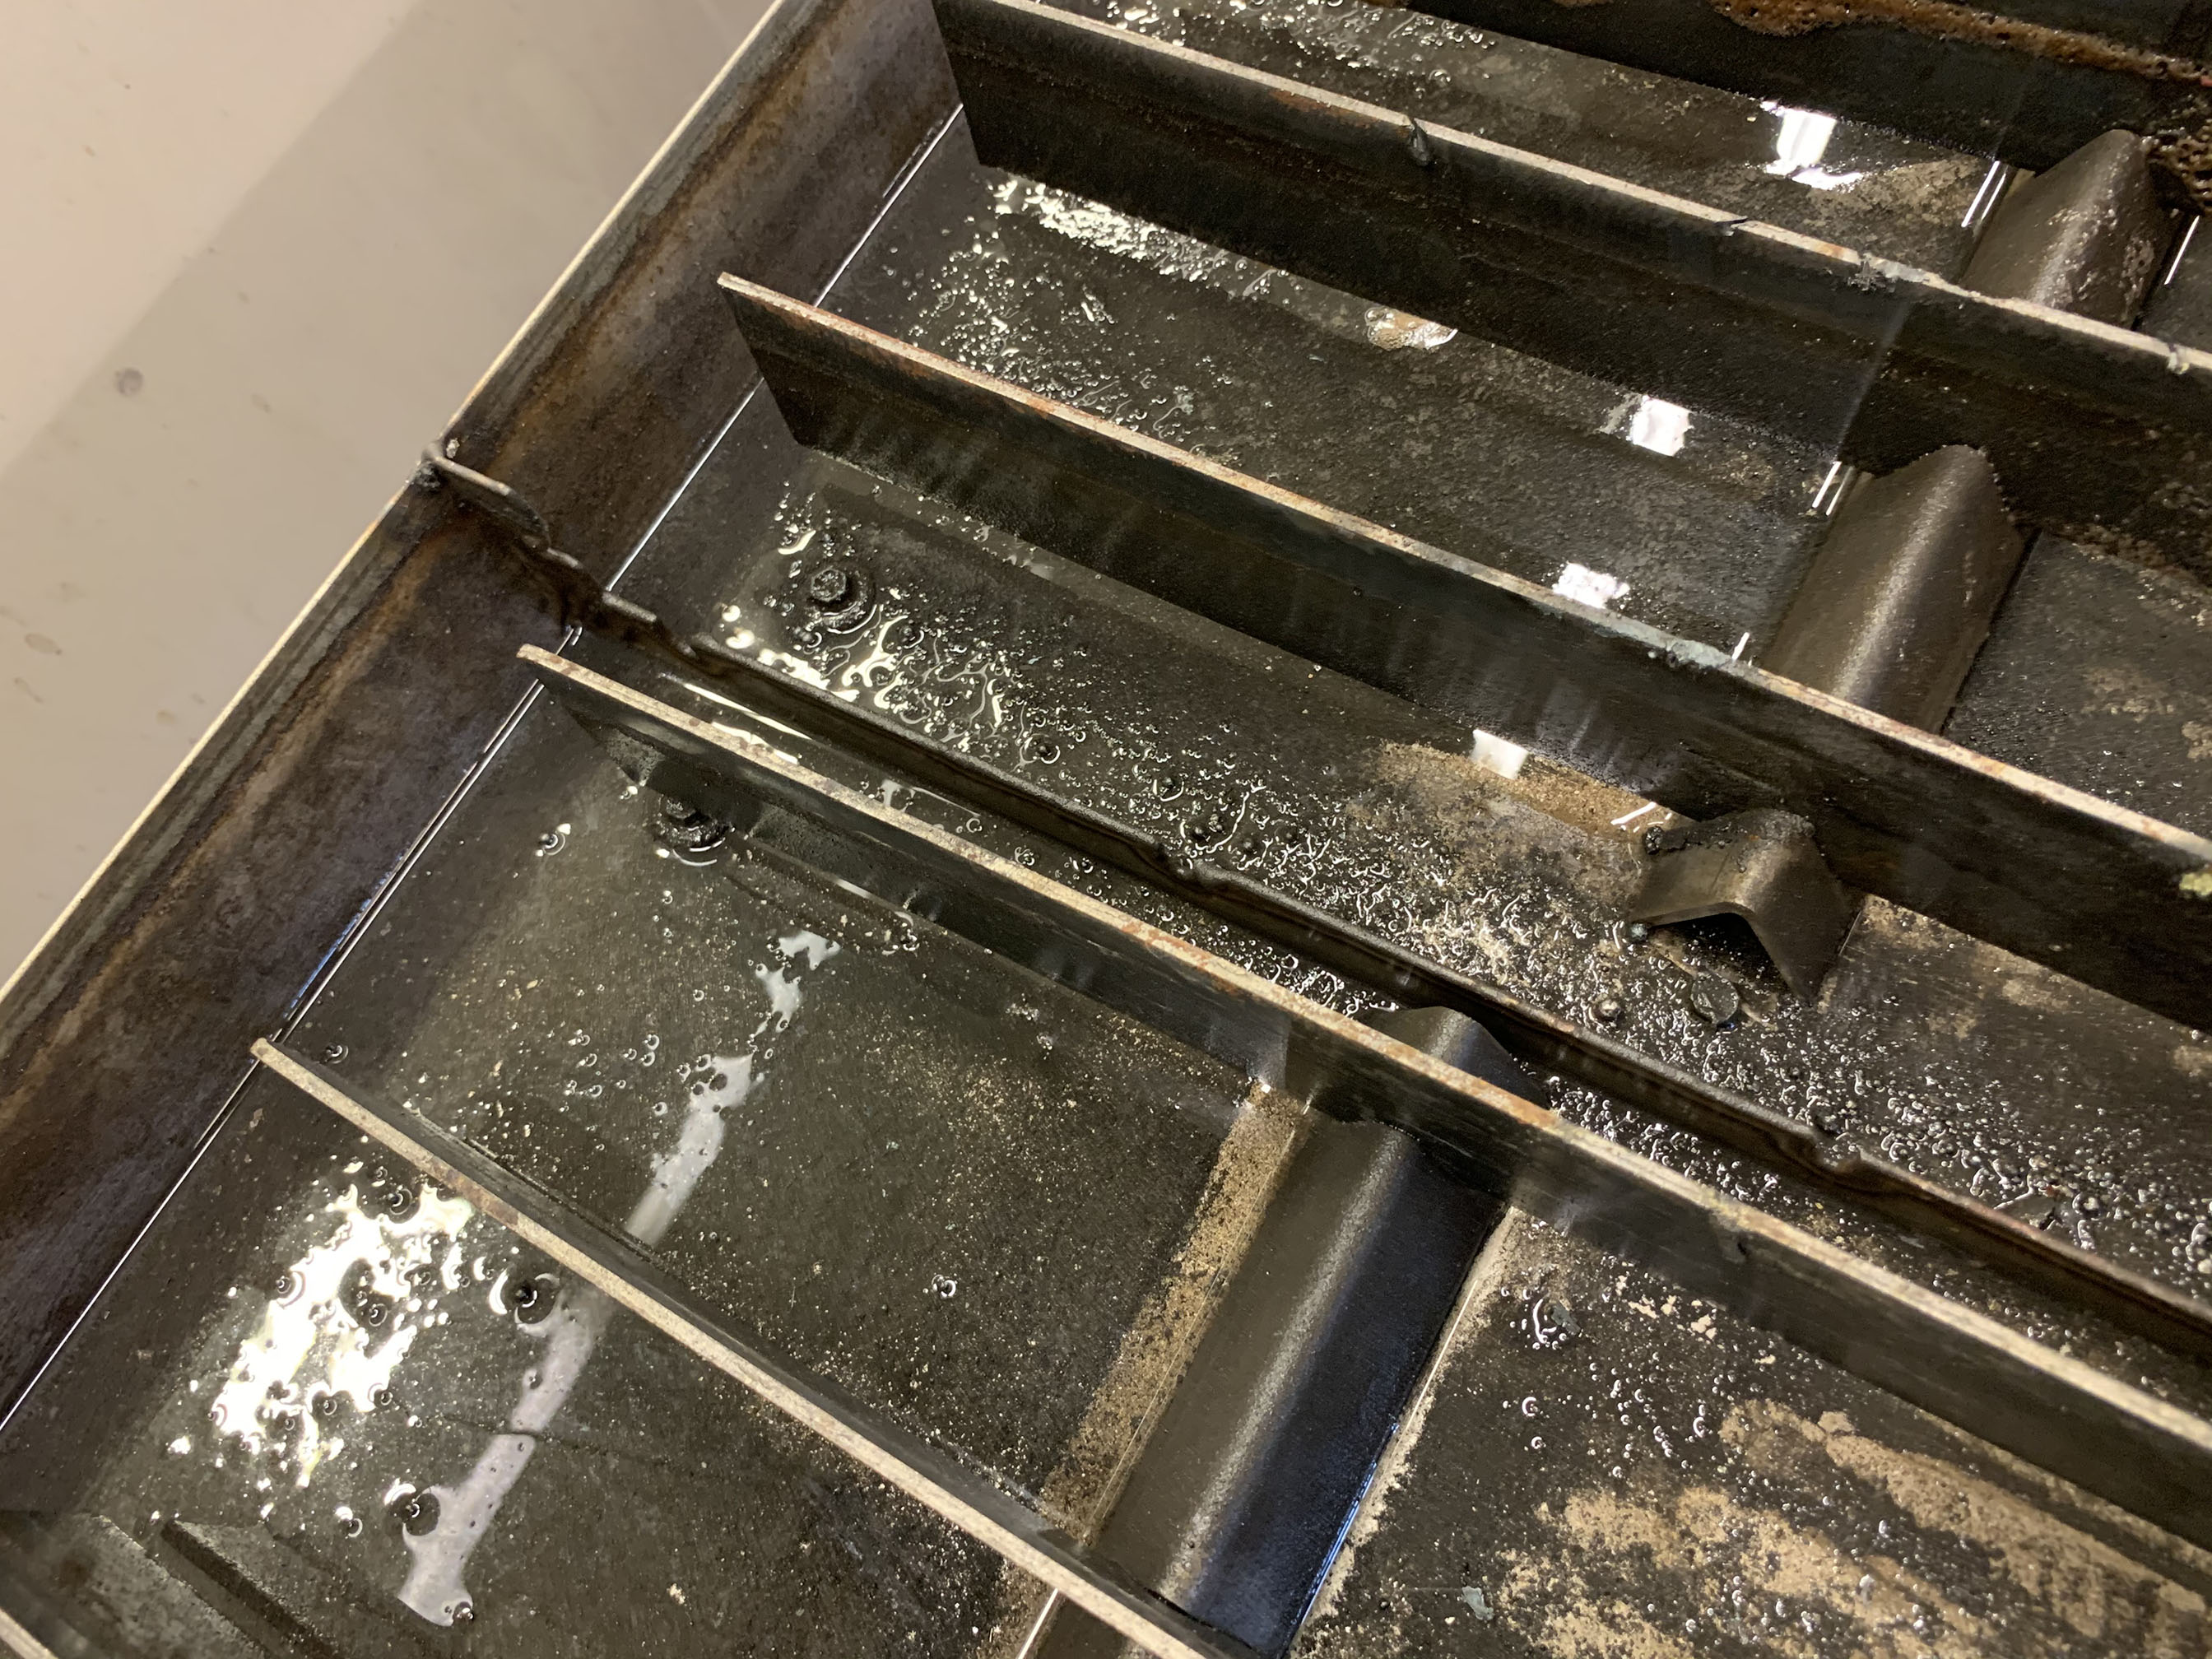
I welded (or one of my students did) the pans together and I’ve had no problems. TIG welding, no filler, 65A. I welded a 14" SS bolt to the outside of the pan to serve as a grounding lug (not pictured).
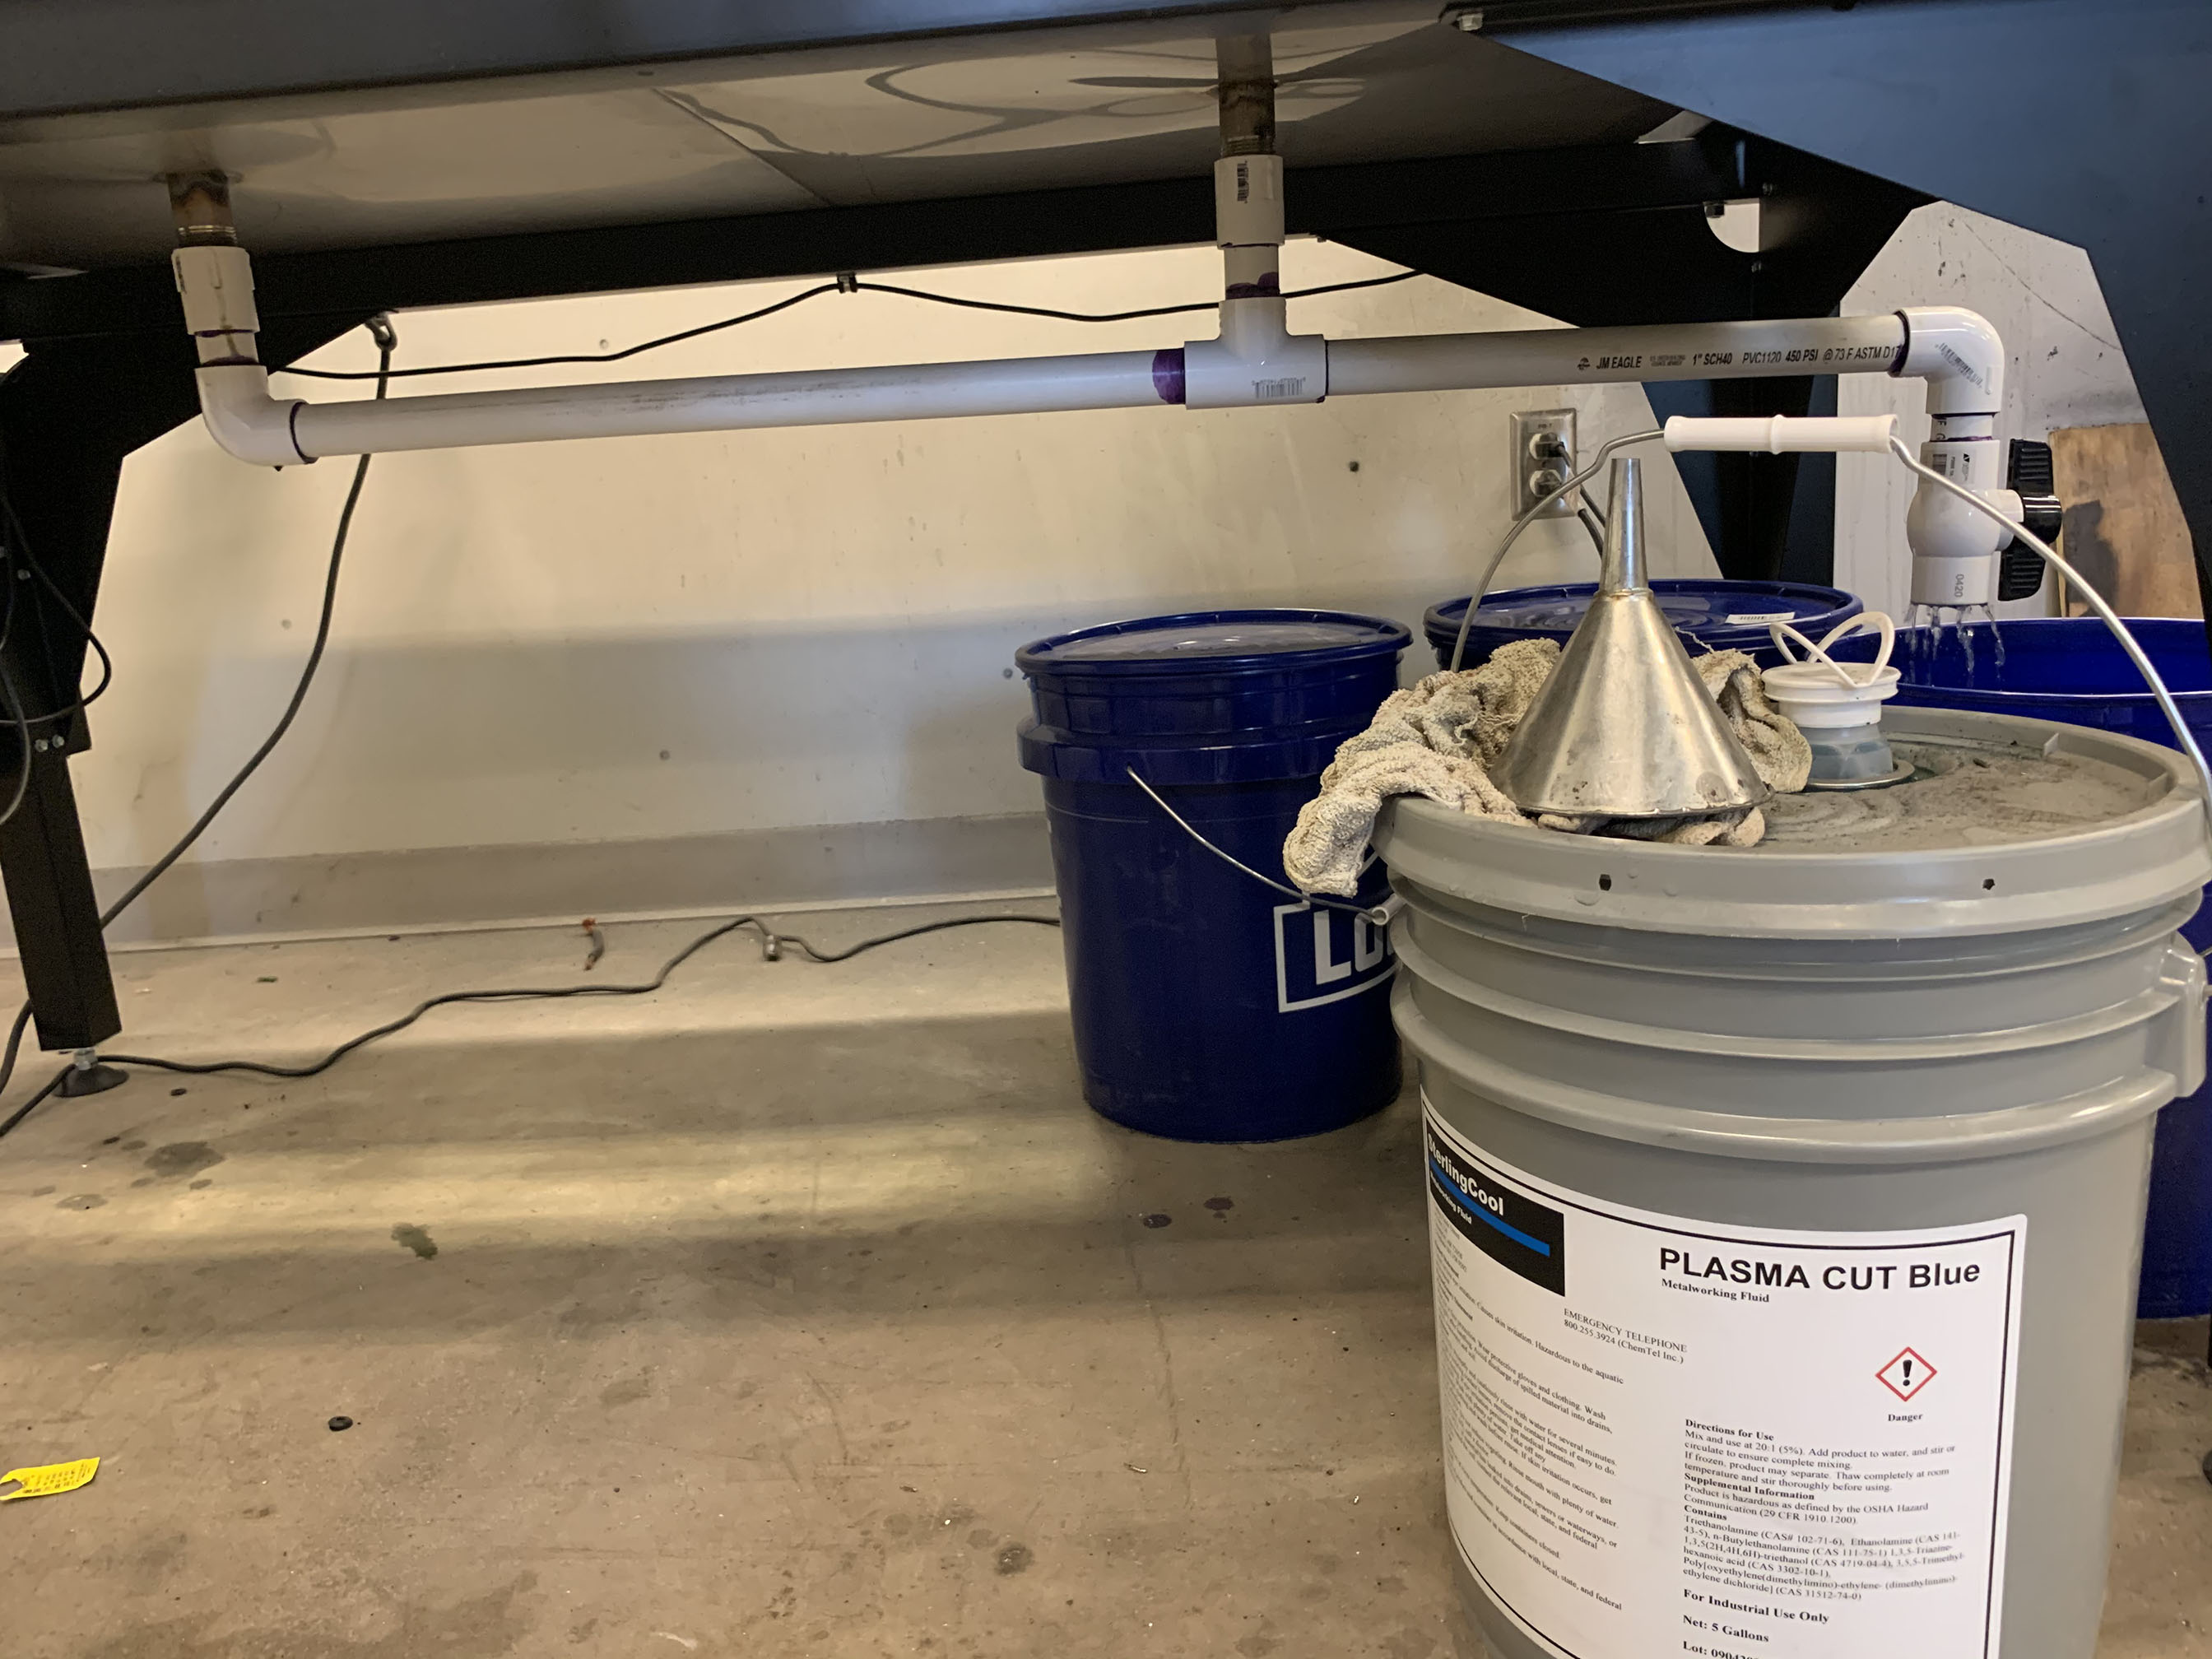
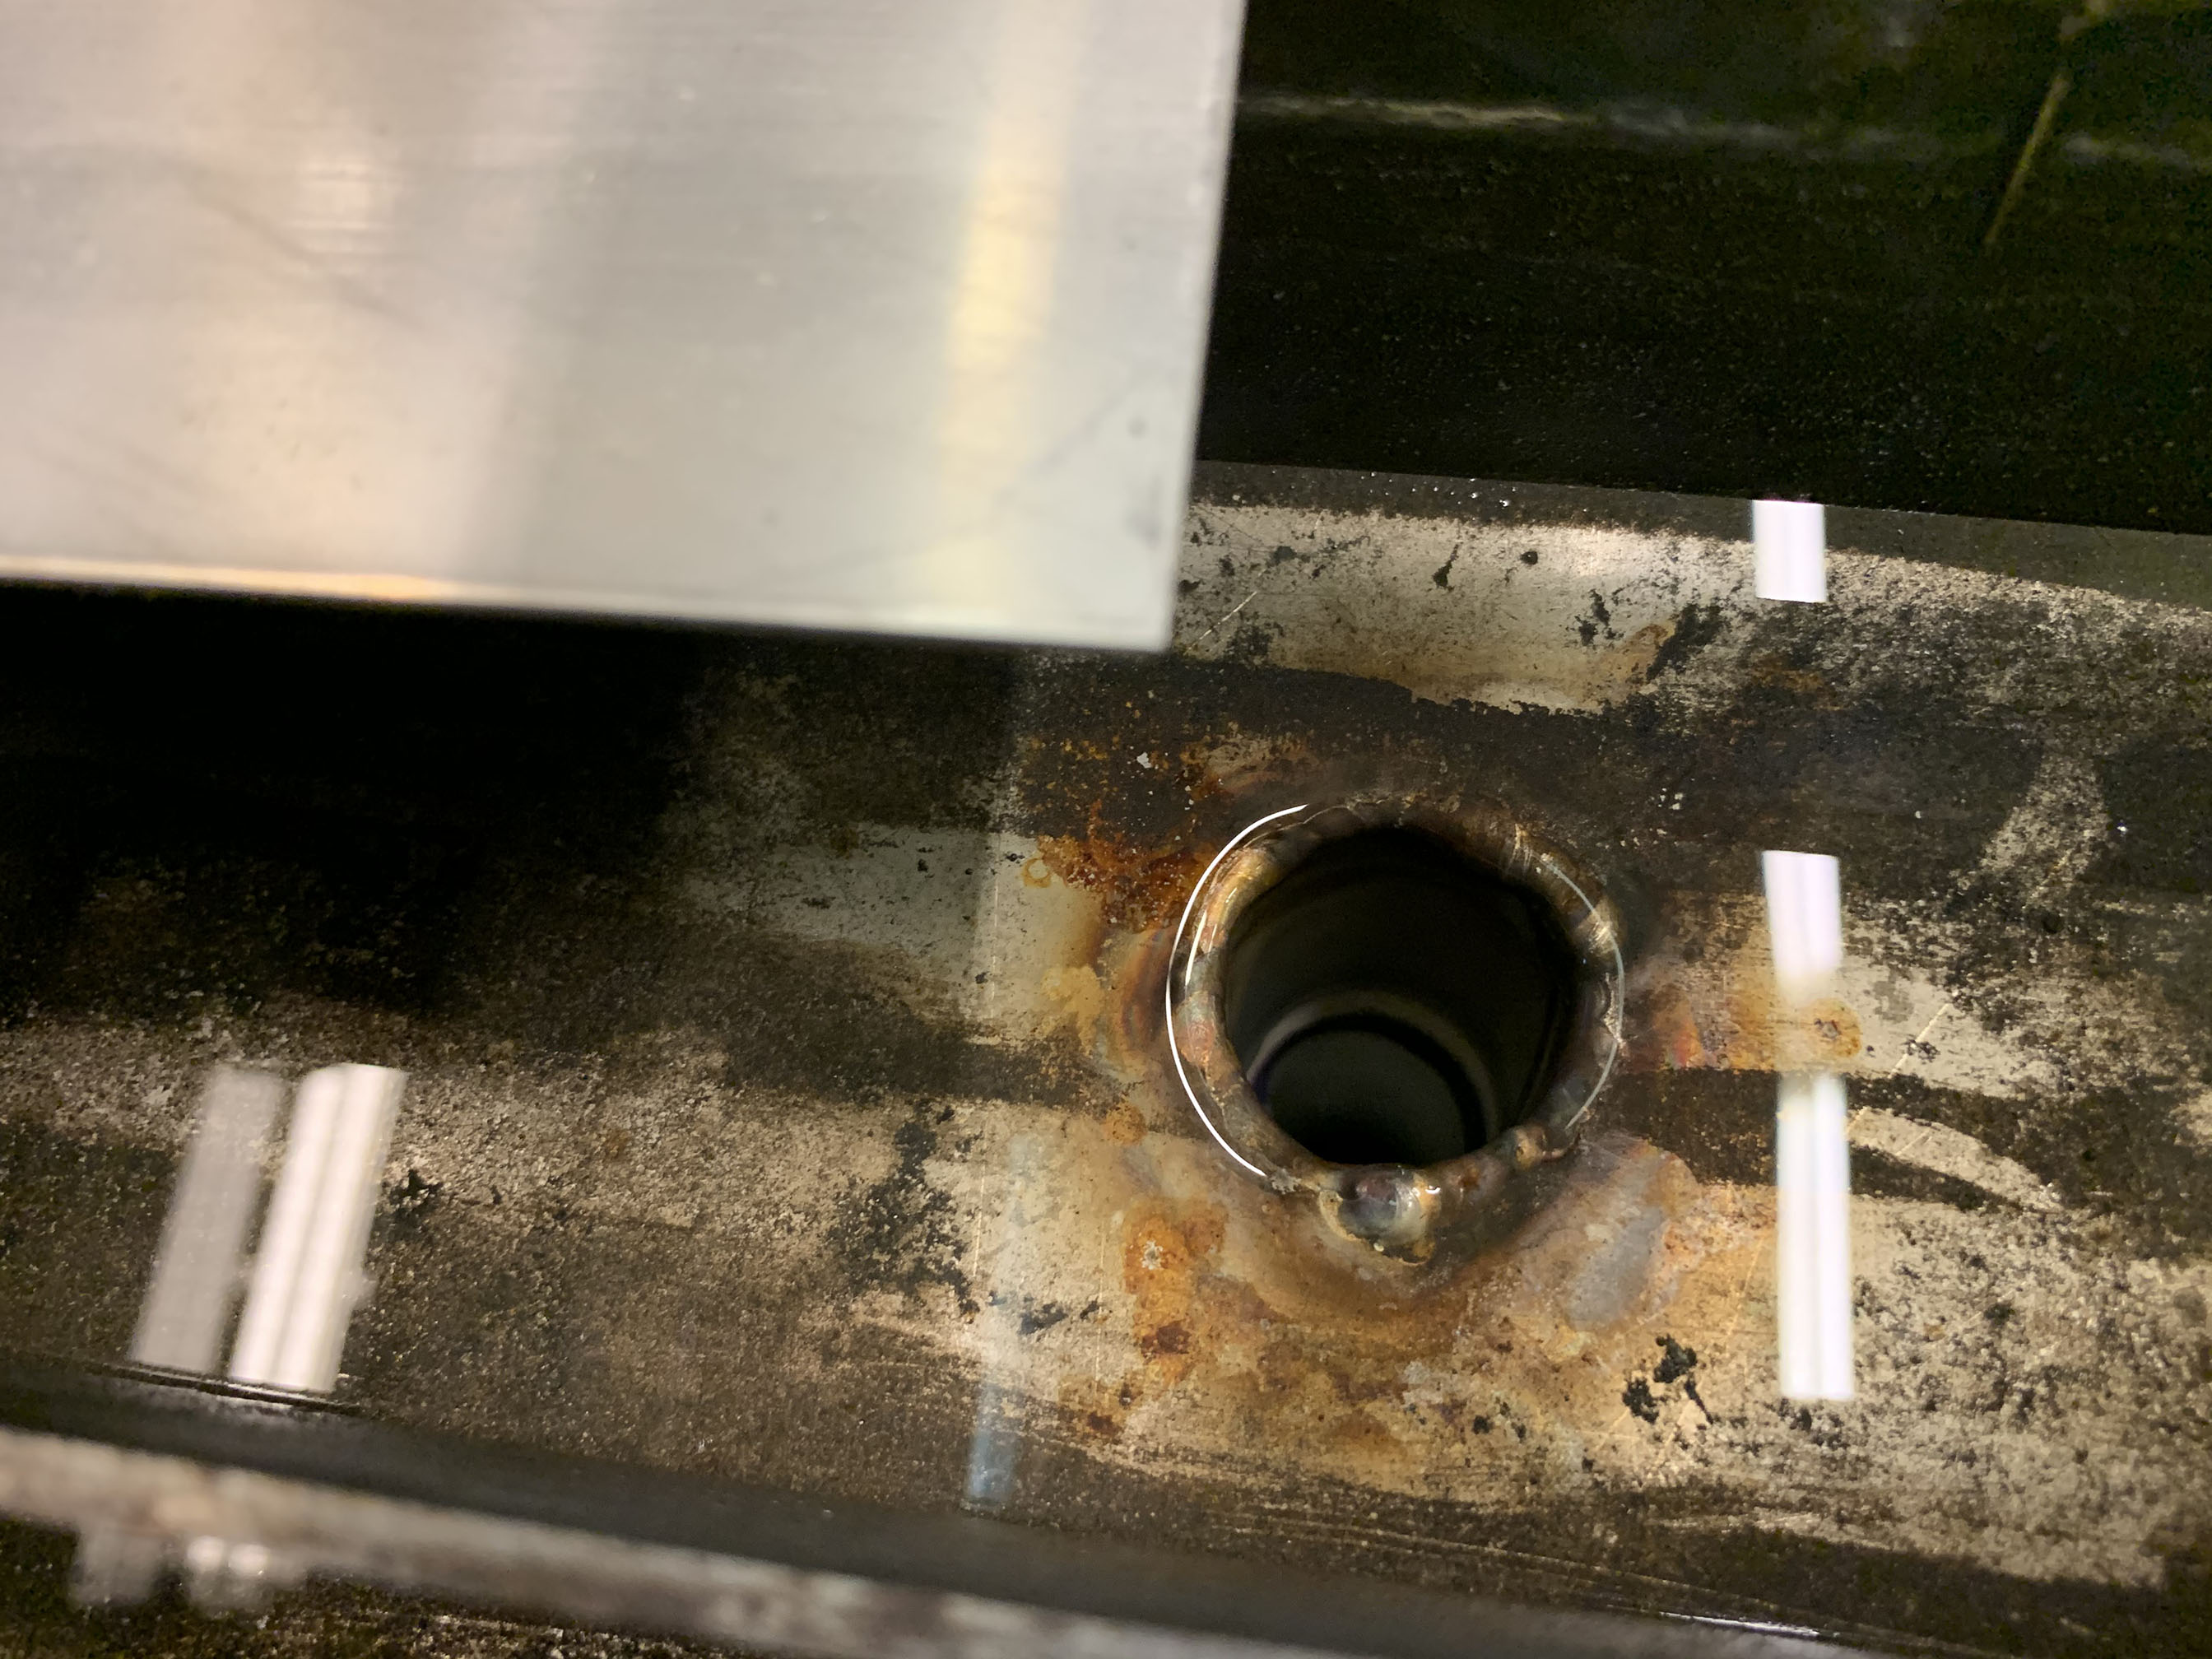
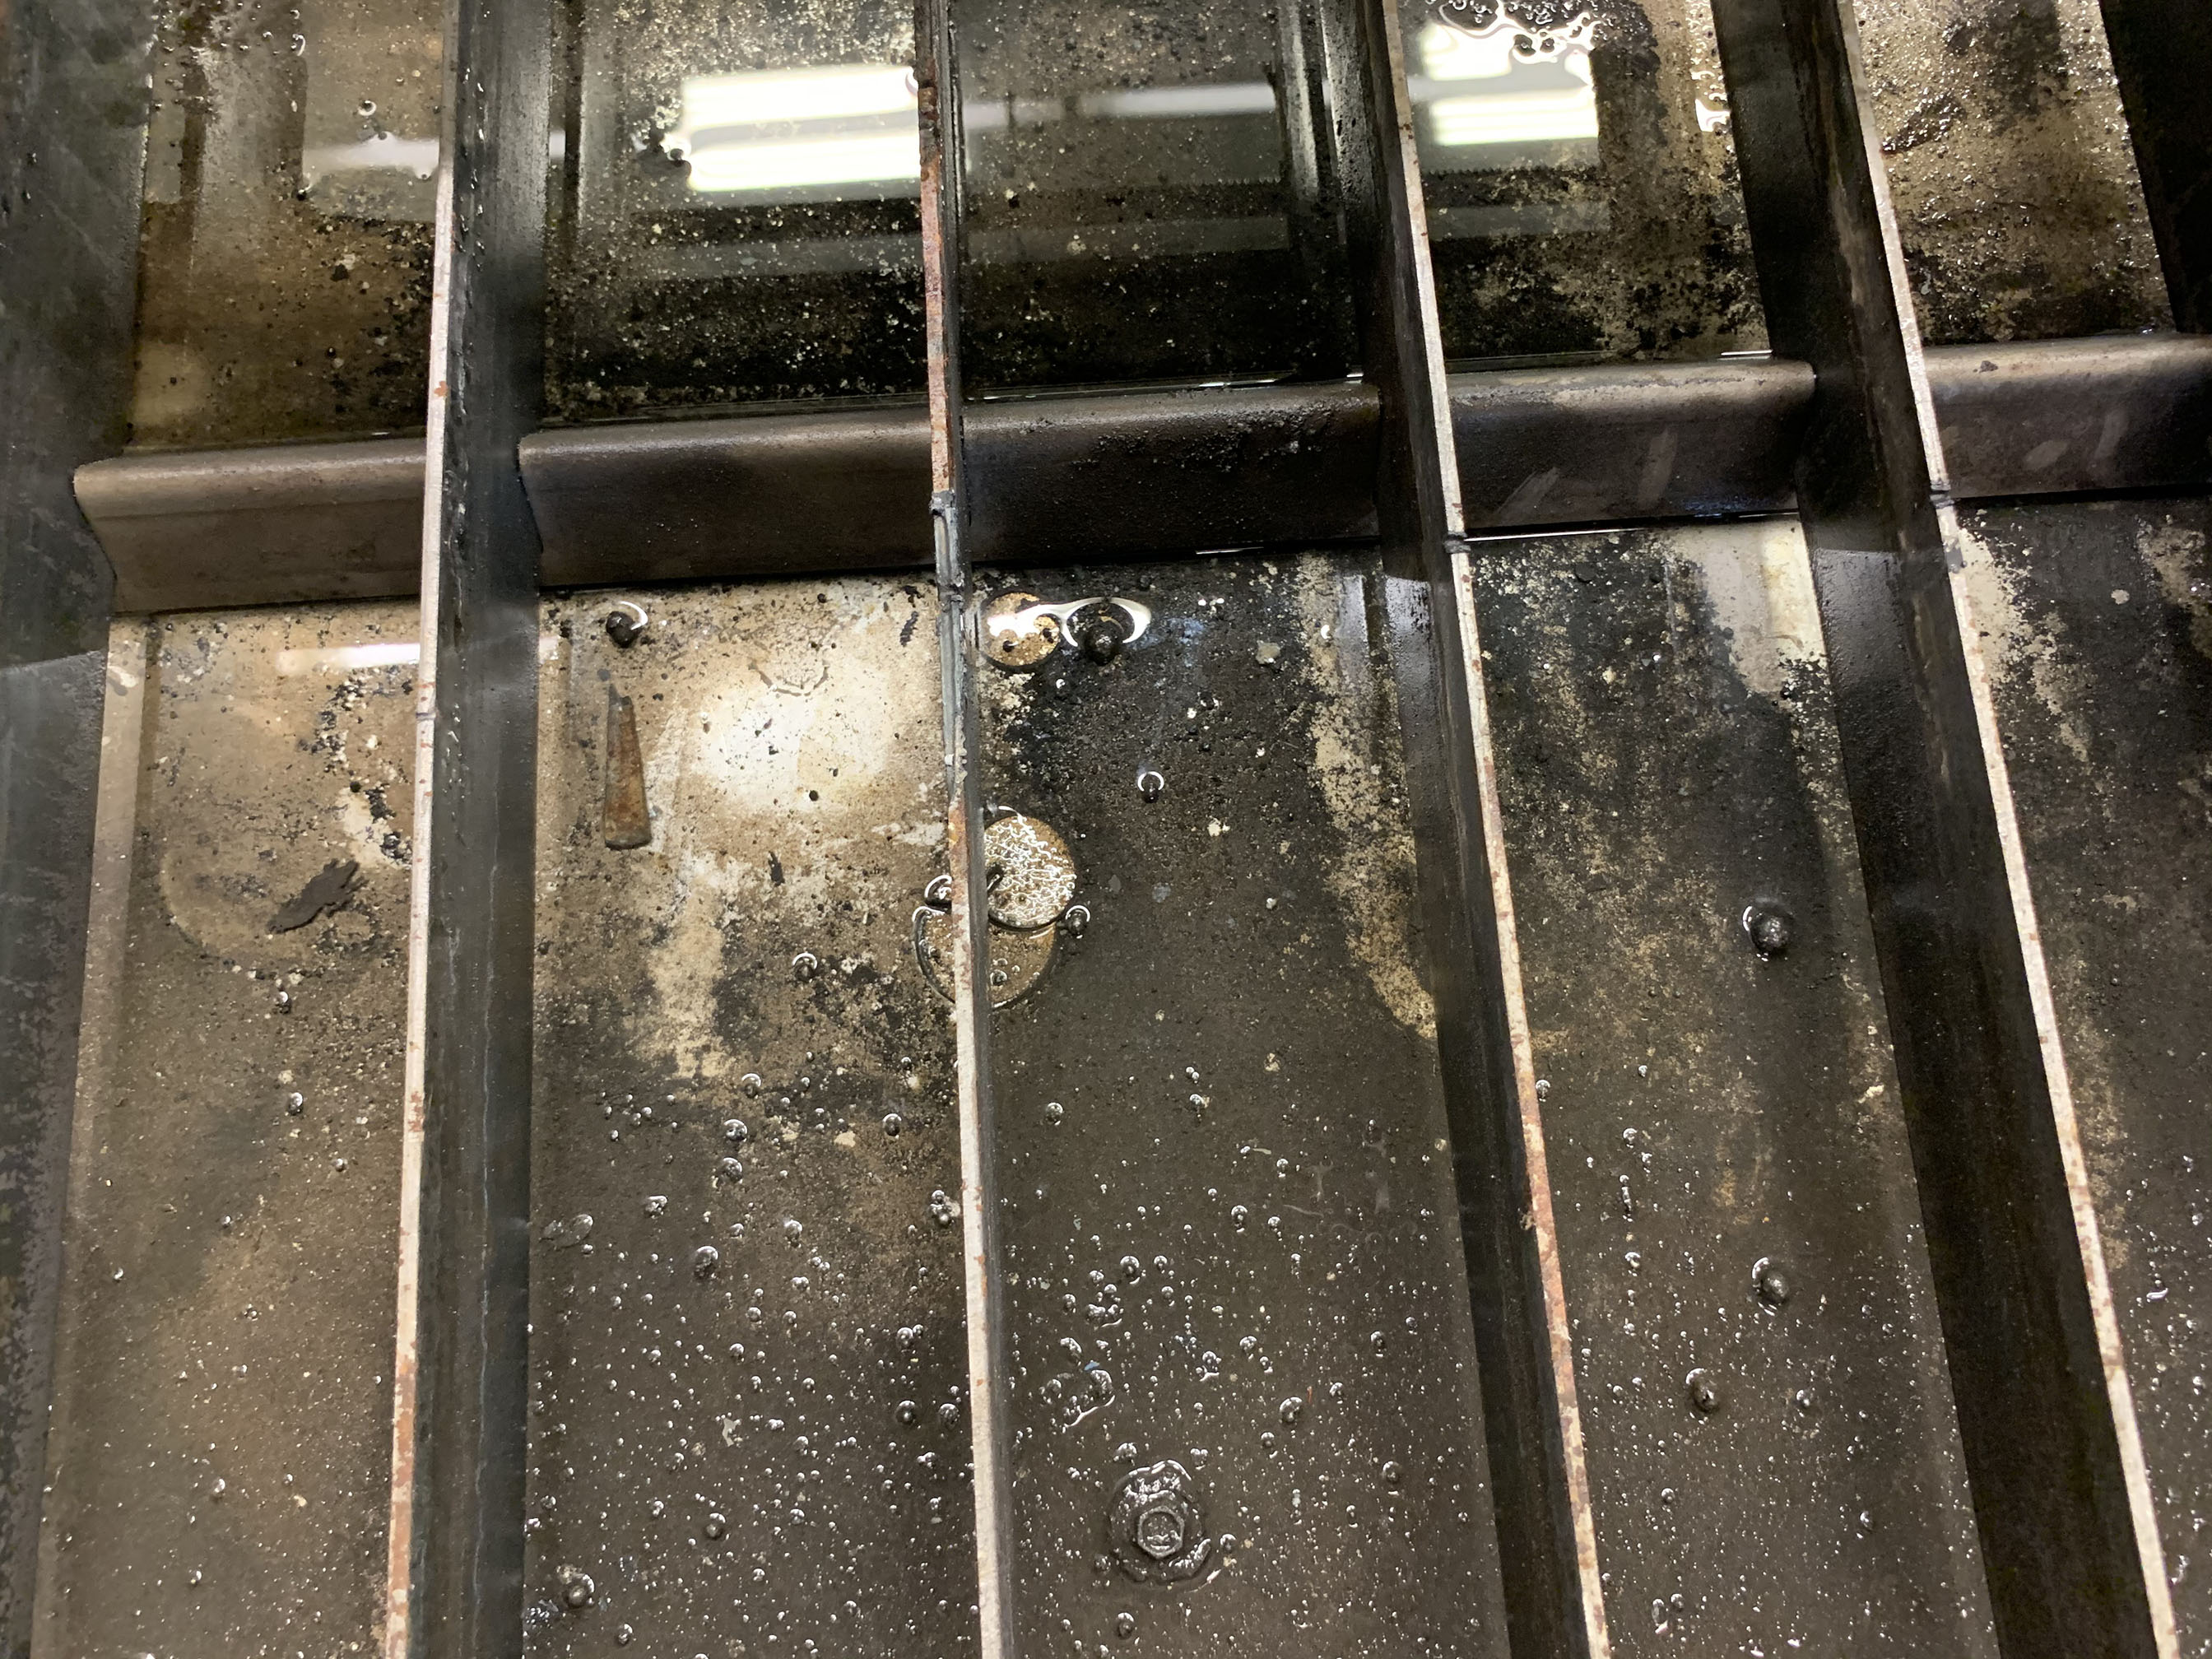
Here you see the simple drain system:
I had some scraps of 316L threaded pipe that I cut 2" sections from to serve as nipples to be TIG welded from the top with 308 filler. They aren’t the most beautiful welds, but they do the job. I’ve seen lots of posts about dimpling the water pan before welding, but I don’t think it’s necessary. I do wish that when I welded I had supported the pan around the outside edge and weighted down the center near the hole so that it would stretch down instead of up in the heat/cool welding process. One of them is elevated a bit and leaves a very small amount in the pan when draining, but it’s no big deal. It’s very easy to clean up.
Underneath I just used 1" PVC, lowering the drain side about 1/2" below the other. When draining, big chunks simply aren’t going to go down the drain, they stay where they are. Anything small enough to make its way to the drain will wash all the way down and out. A full table will fill three 5gal buckets, so it’s easy to manage and easy to see when filling whether or not you will need more water. I was amazed at how fast it would evaporate when just sitting around, so I now empty it at the end of the day if we’ve been using it. It takes less then a minute to empty and not much more than that to pour it back in. If the fluid sits for a week or more, pretty much everything settles to the bottom, so I’m pouring in a very clean solution. I pour, and then rinse the buckets when I see a build-up. I’ve found the scum and residue very easy to clean out of the pan, but I admit that it’s nice to have student employees standing around that I can pass the job to.
That’s it for now. In the future, if I have to open up the plasma cutter again, I’ll post some photos of how we wired it in. We added a connector to the back of the unit that connects both the torch control and the THC.