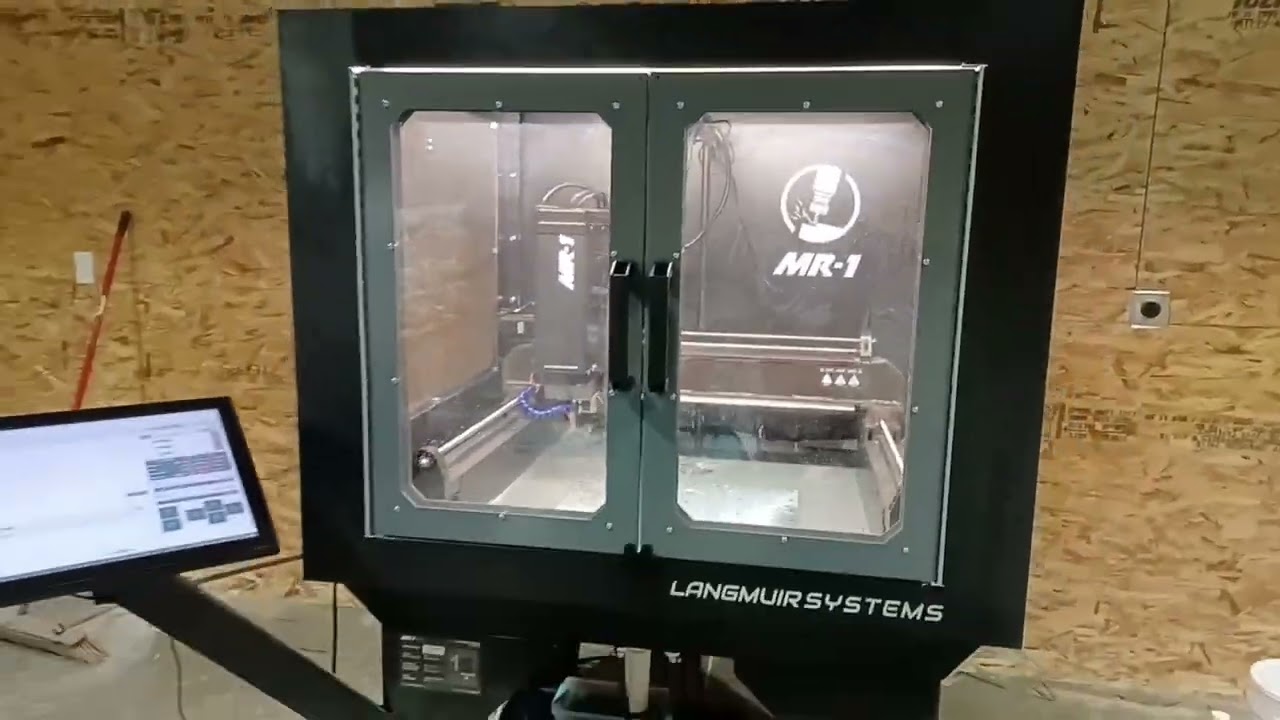
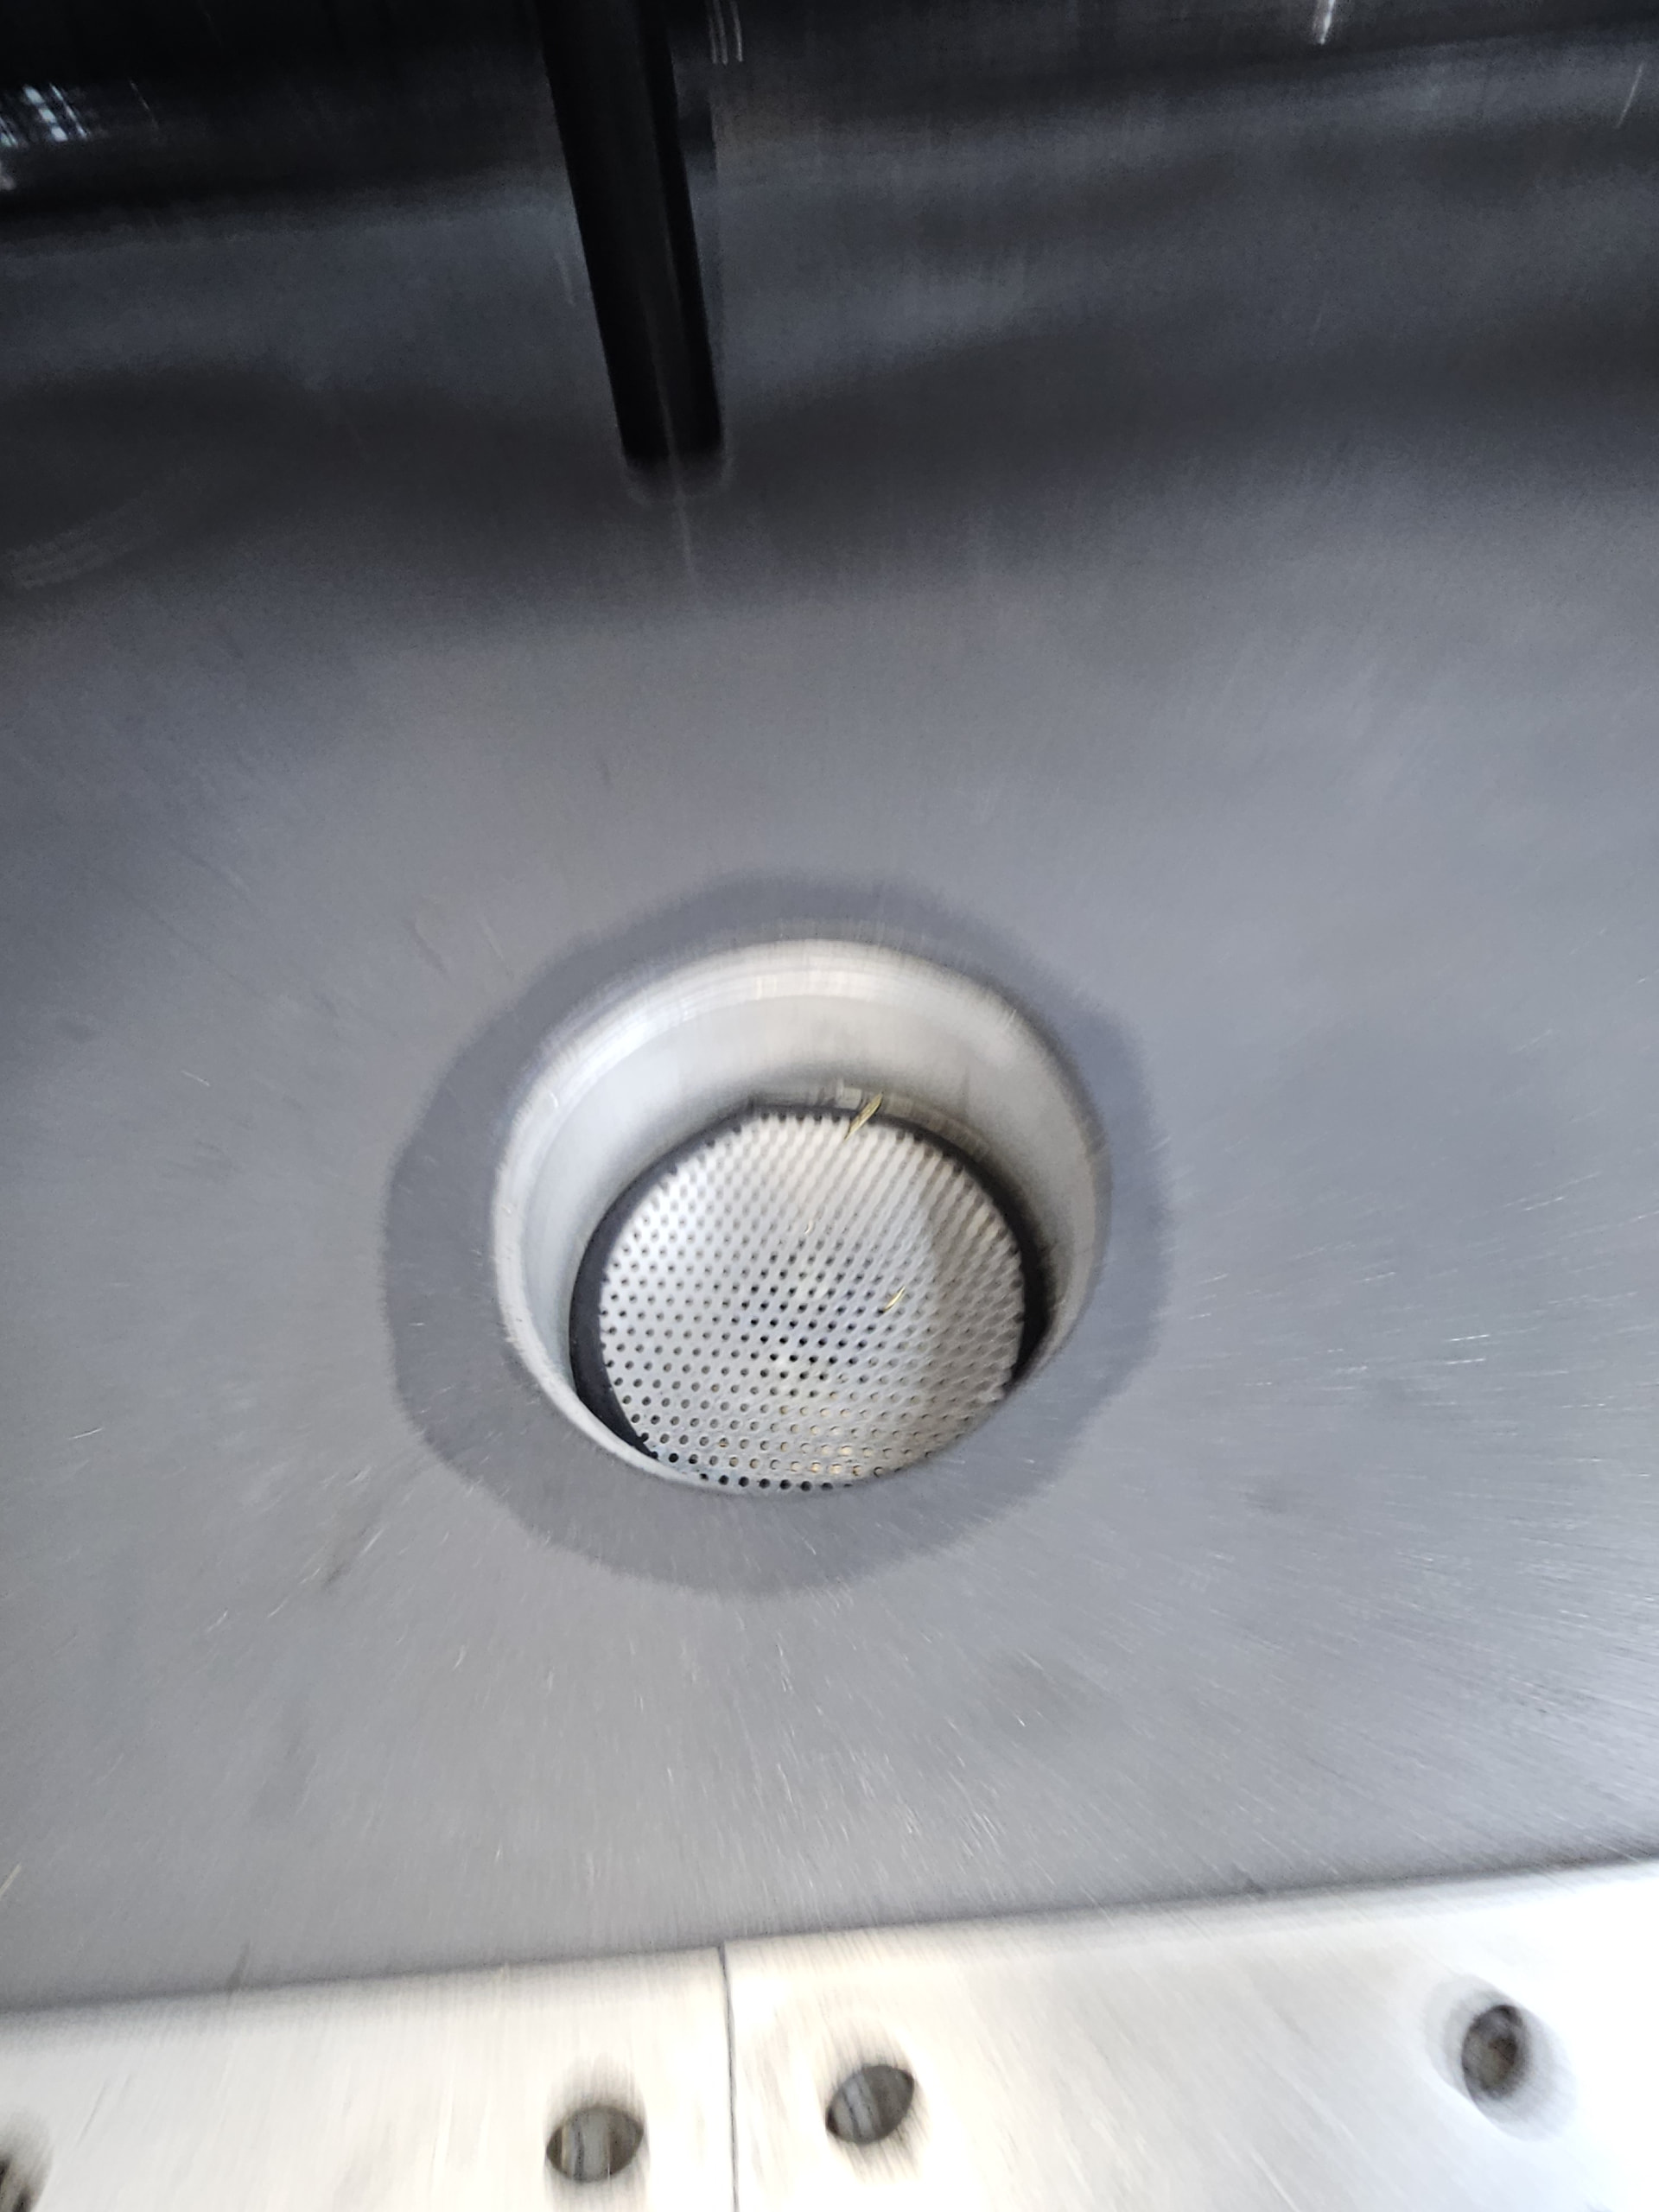
Starting to assemble my MR-1. It seems like half the content on MR-1’s is older and complaining about or redoing the drains. Then Langmuir upgraded the drains a year or two back.
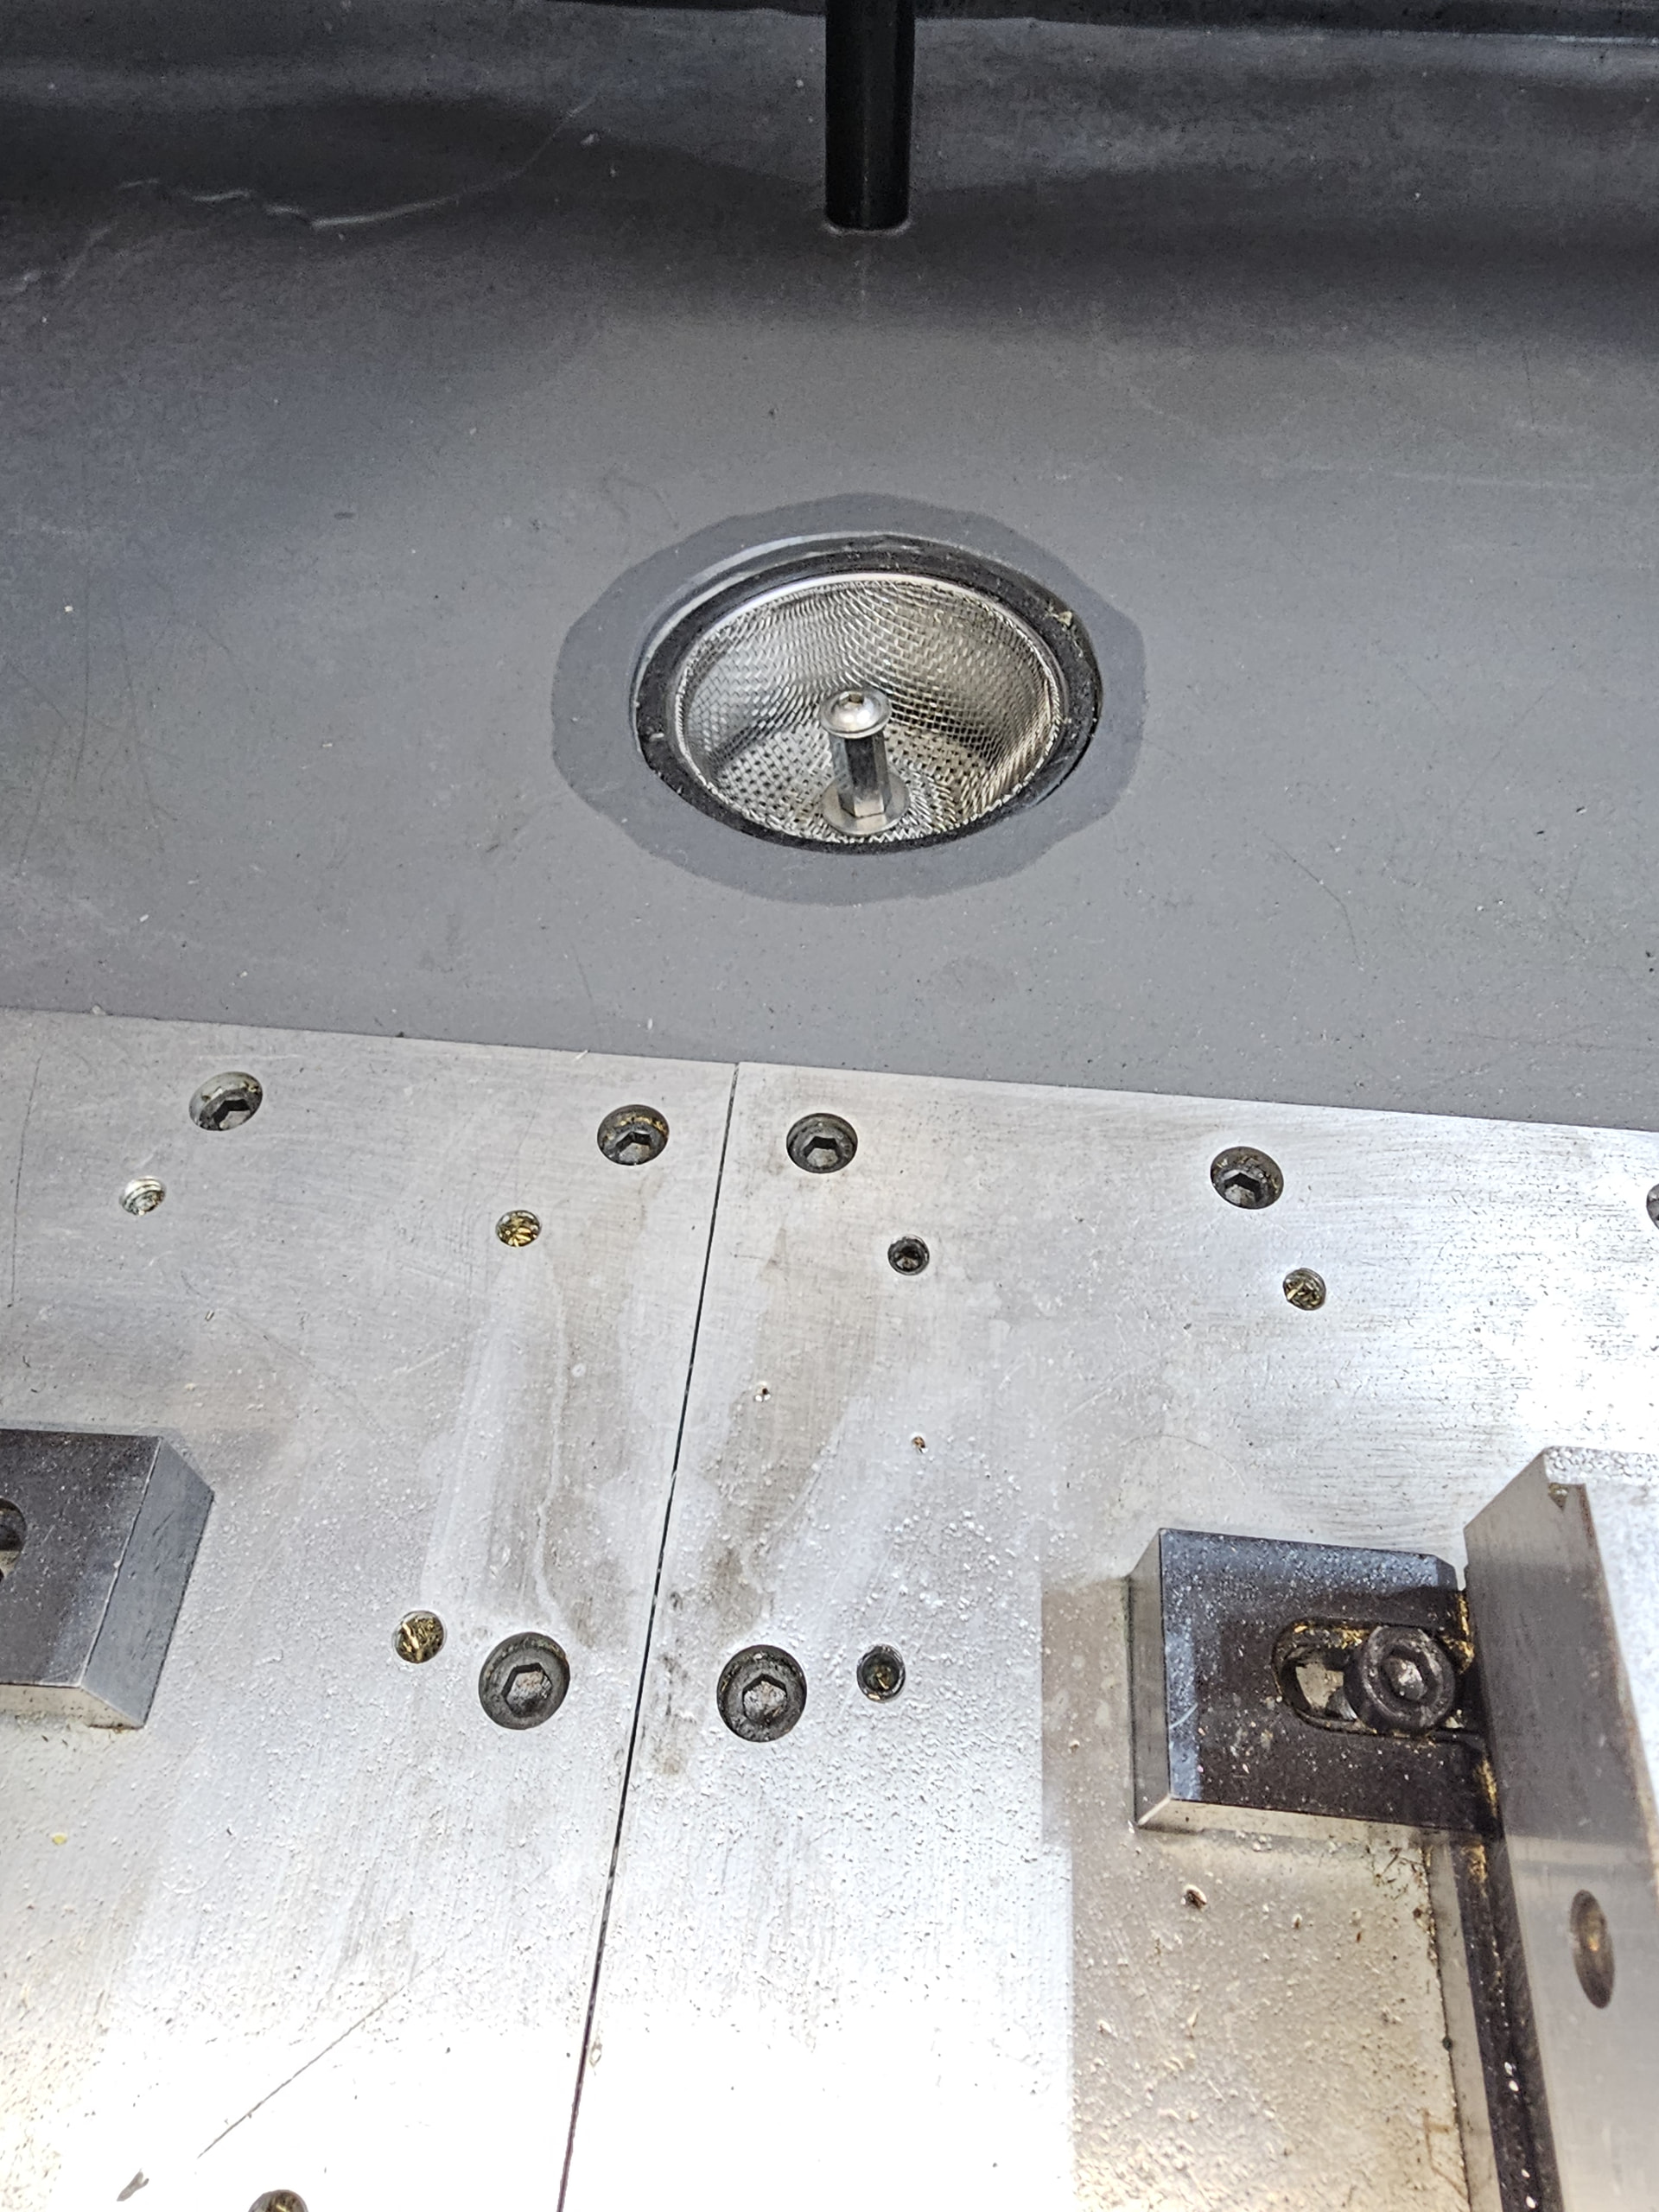
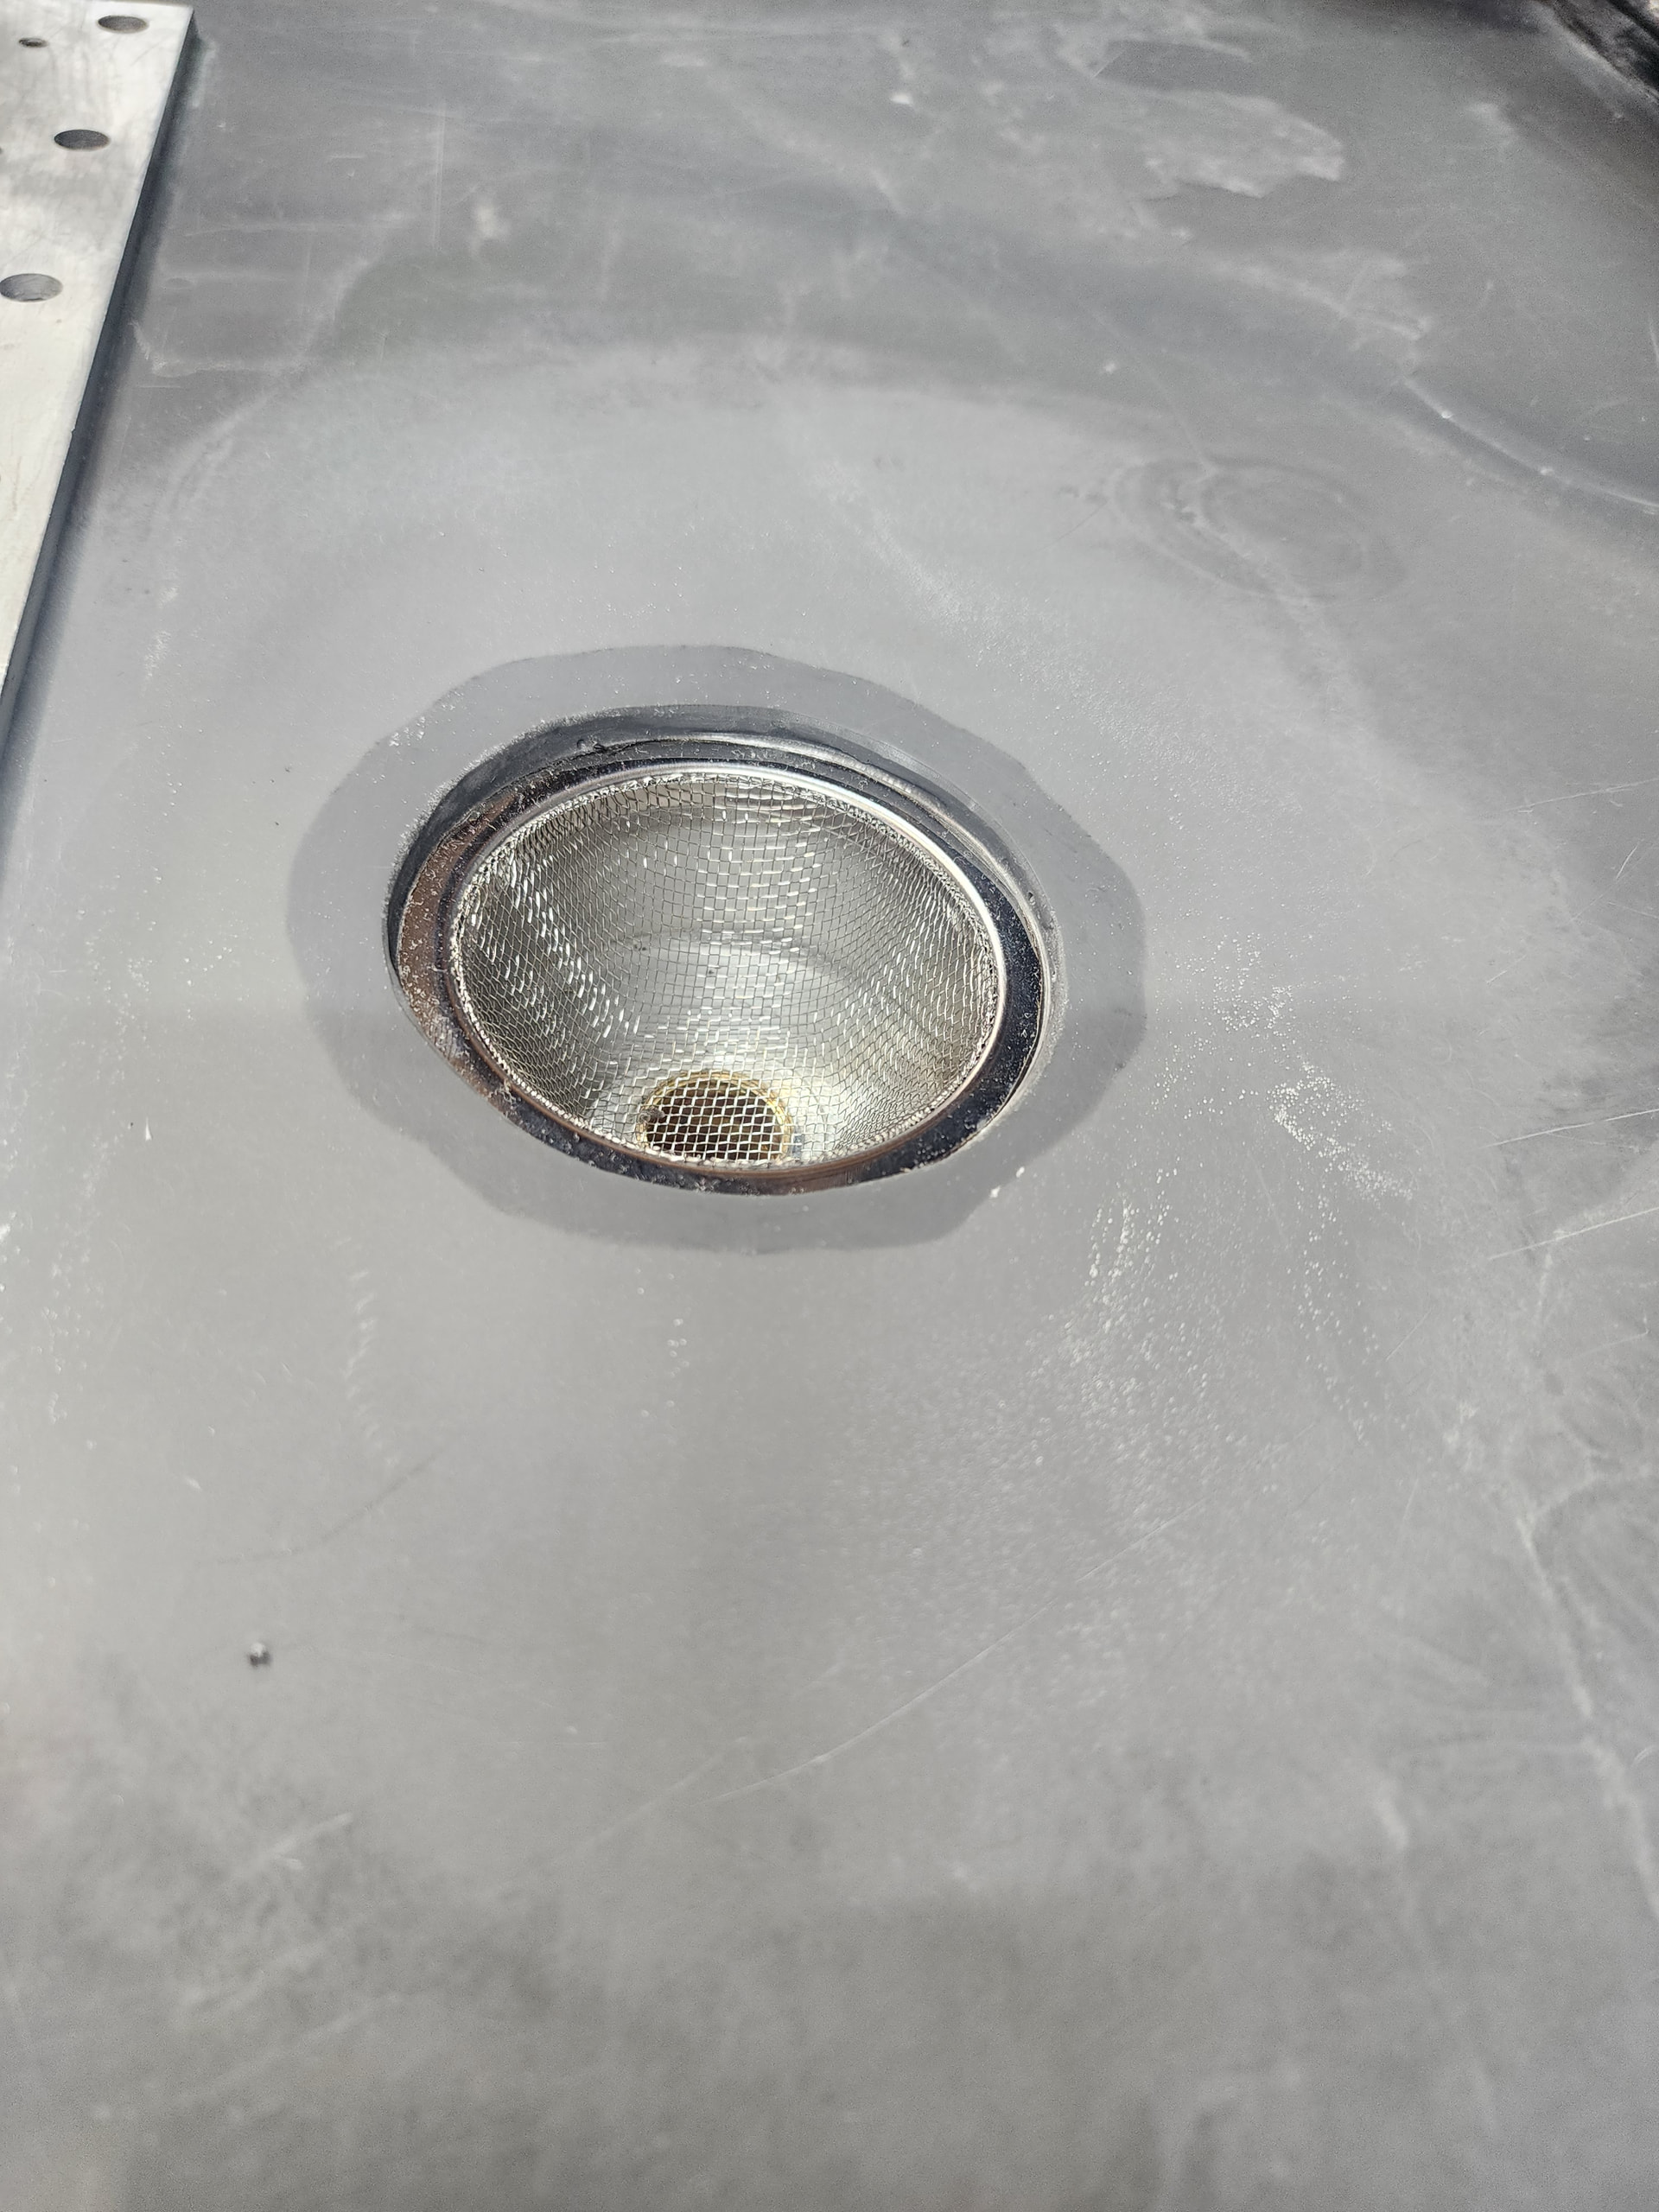
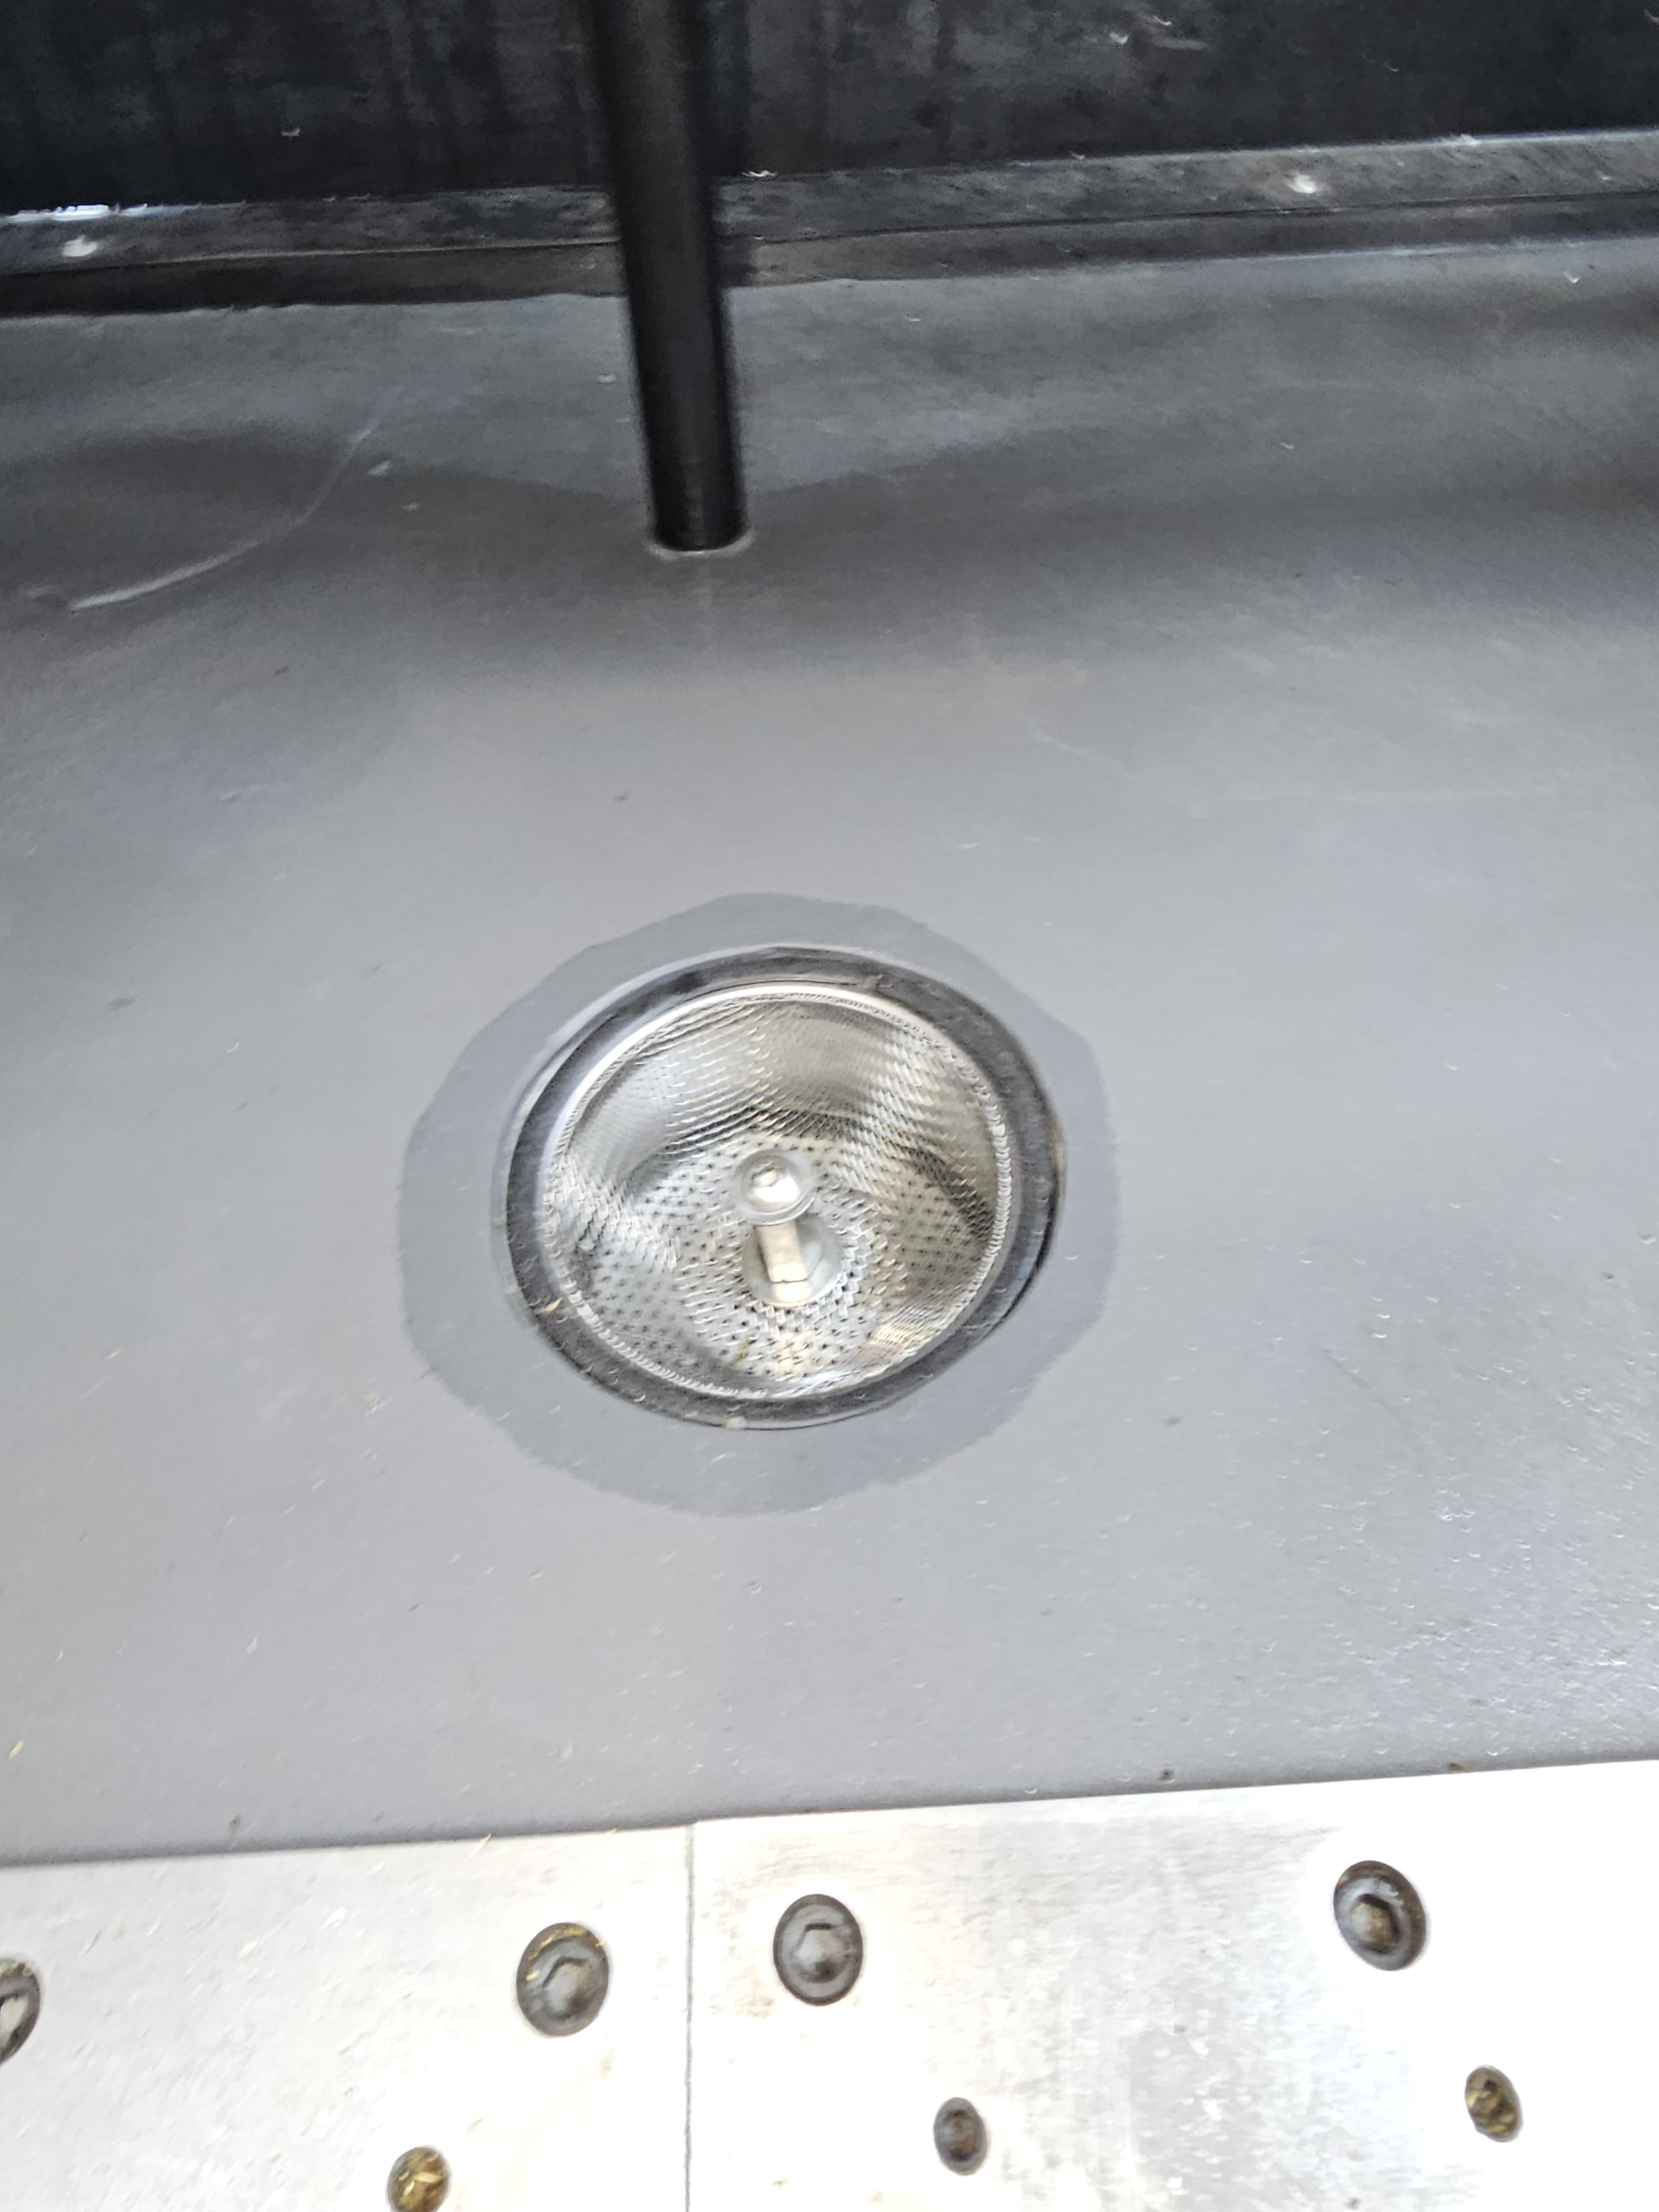
So, the question: are the new style drains just fine? Or pointers to improvements I should be doing pre-concrete?
I cannot give you an intelligent answer. Mine is a first-generation MR1. I had to regroup and cut a 4-inch drain behind the plate. I would say that the third-generation drains on the side work well. The second generation was a copy of mine.
No, i have the newer drain style. Dont bother, go and fashion one up from a pvc drain and pipe. Run it into a chip collector and set it on top of your coolant tub, you will not regret it. My newer style drains still clog up with chips and i need to push them down with a screwdriver into my chip collector.
One thing I can’t figure out: why so much focus on shower drains with grates, or otherwise keeping chips from going down. Wouldn’t it be easier to just slap a piece of 2" PVC vertically, flush with the top of the epoxy, 45 elbow below the bed to a central ‘chip collection’ bucket with overflow into the sump?
Or do people generally want to keep the chips up top and clean them up there?
My drain works well behind the plate. For me, getting rid of the chips is the same as cleaning the chip bin. With a large shop vac, you’re ready to go in 5 minutes. Now, my issue is getting rid of coolant flooding the vise area or filling up over the side panels. A forum user installed an auger system to remove the chips. Use the magnifying glass to search for it. It is a hobbyist machine, not a VF5 Haas. But, with that being said, you can modify it however you desire to meet your needs.
Sorry when i said shower drain i meant just the downspout that the drain grate attaches to. My drains have no grates and go right into a chip bin. I agree a straight pipe to the bin is ideal.
Edited to add
If i were to build another one 2 things i would do would be.
1 dont run the tower in the rear for the wiring, id just use a rod going across the top of the cabinet and string them there.
2 id have the concrete pitched back and cured just a degree or 2 so all the coolant and chips go to the rear of the machine and run a trough drain system in the rear that drops right onto a 1 1/2 inch pvc pipe down to a bin for chips.
This is what I did. It works perfectly. 4-inch aluminum conduit with a bottom plate that has a 1-inch bulkhead fitting through the bottom. You will need to be able to heliarc weld it together. I have zero issues. The 1-inch hose drains directly into the coolant sump
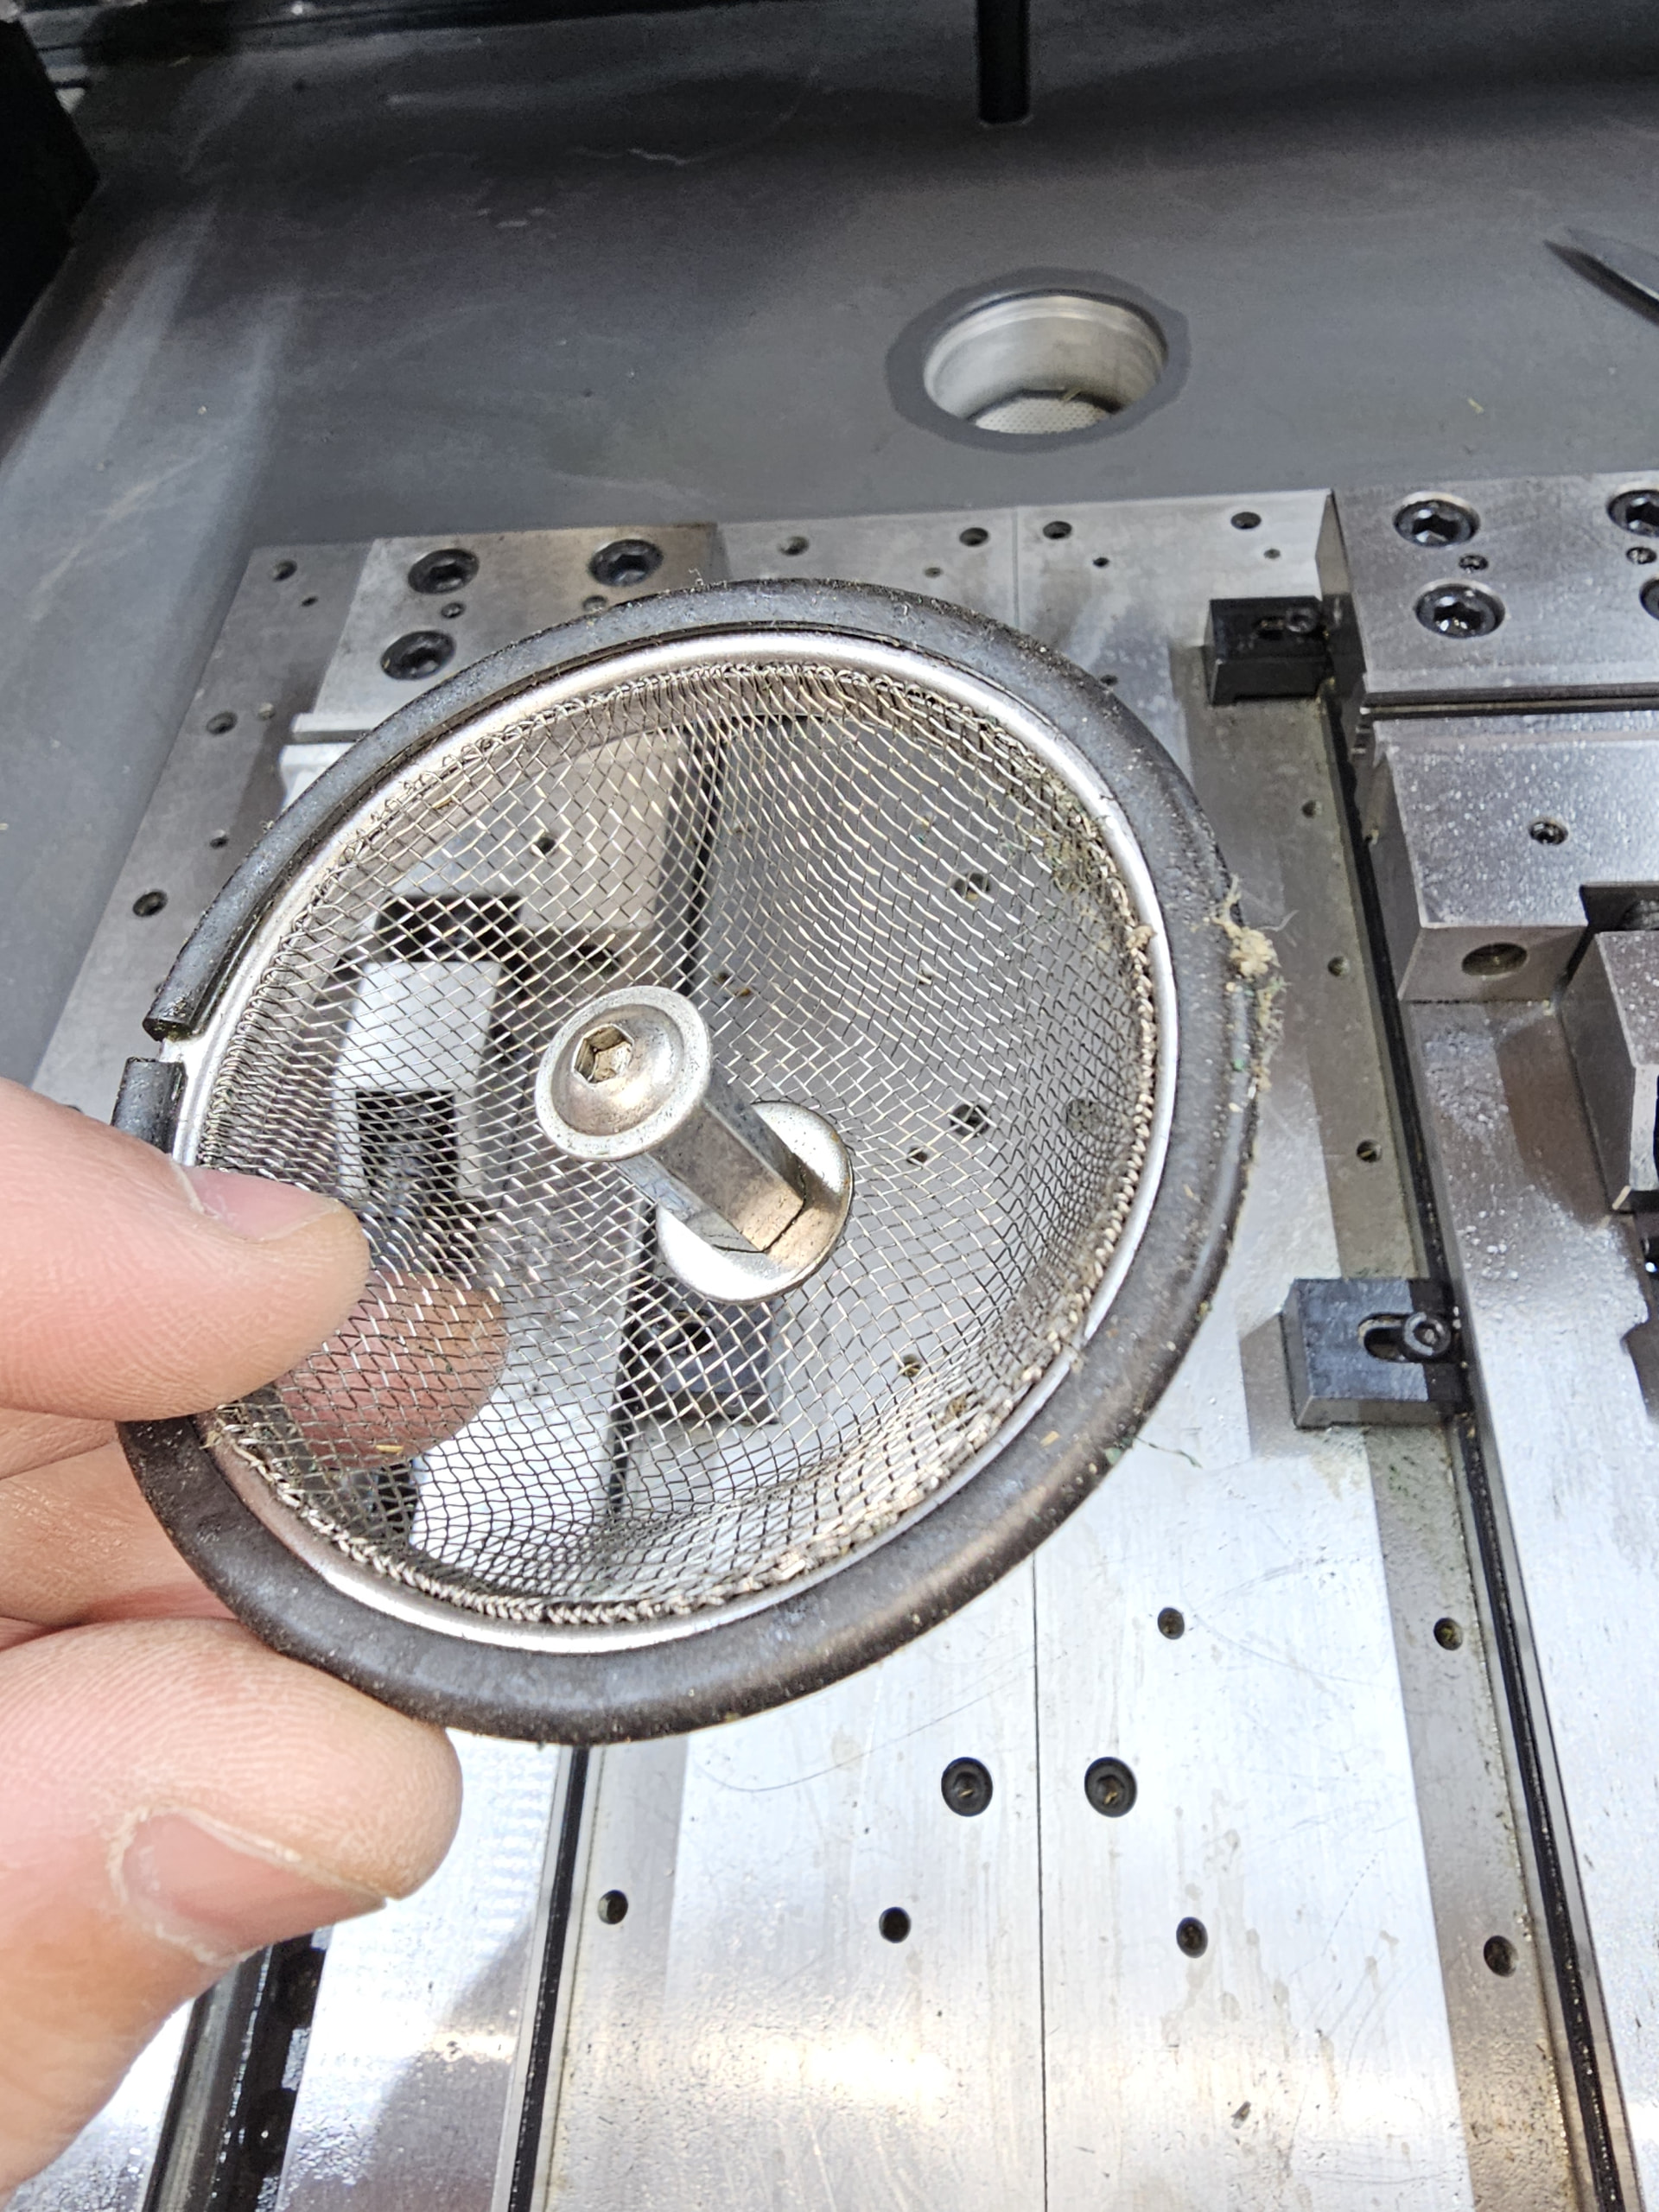
My machine was the first one, so the four corner drains are still in place. I made the screens from a sink drain kit from the grocery store.