So I bought an MR-1. Then I found this forum which is good and bad. Good in the fact that it’s inspiring but also has a tendency to blow the hell out of my budget. Ha!
I am not building it yet, but this thread will contain my build. What I have done is designed and built a complete stand for the new machine. Sorry Langmuir, I just didn’t have the heart to put this monster machine on sheet metal legs. I know we all do it, but it just didn’t seem right.
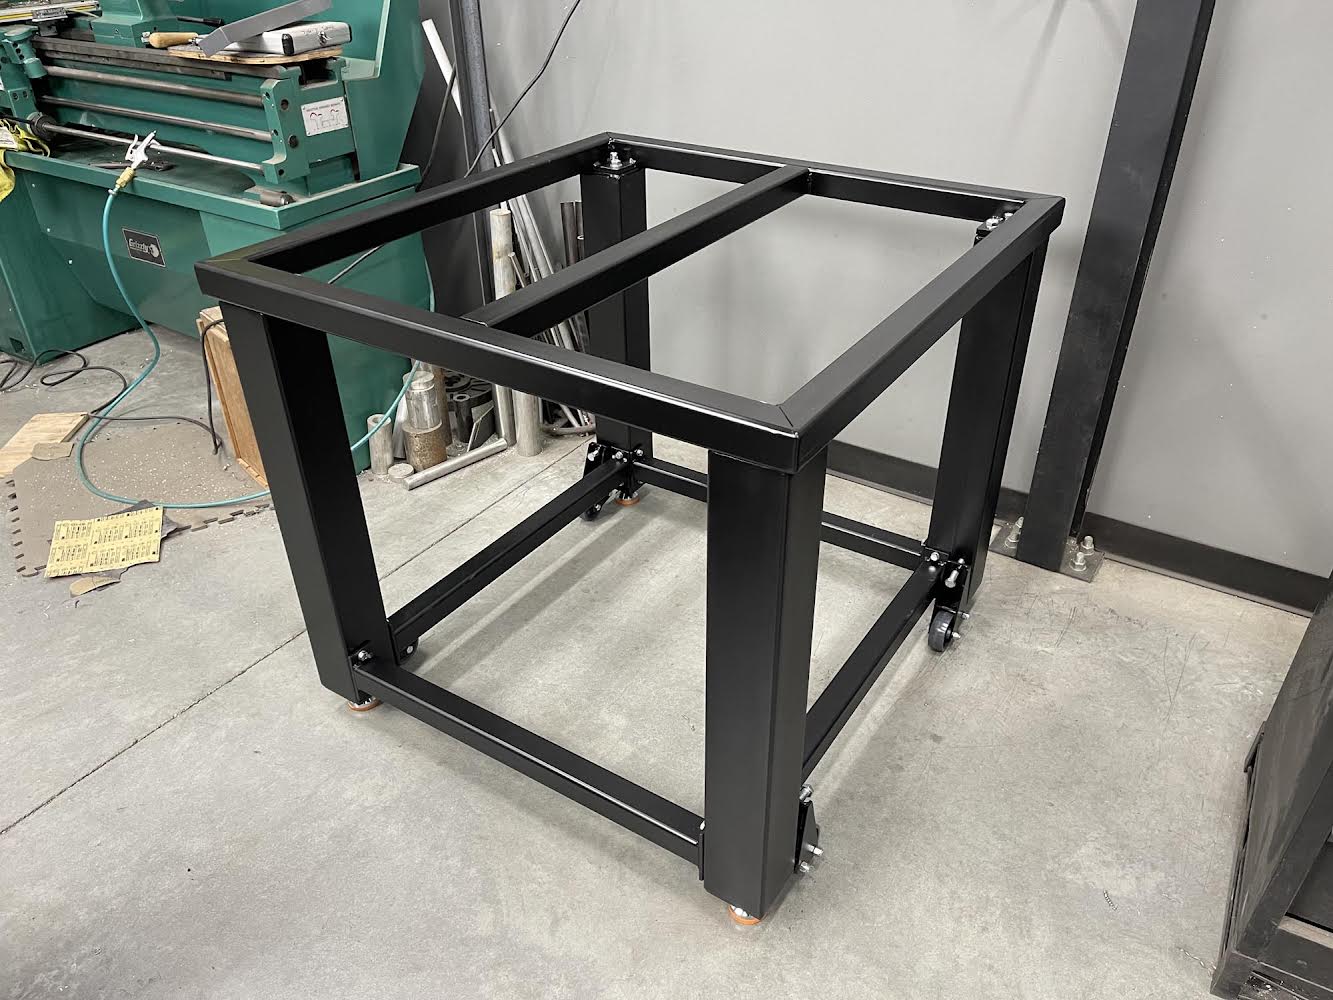
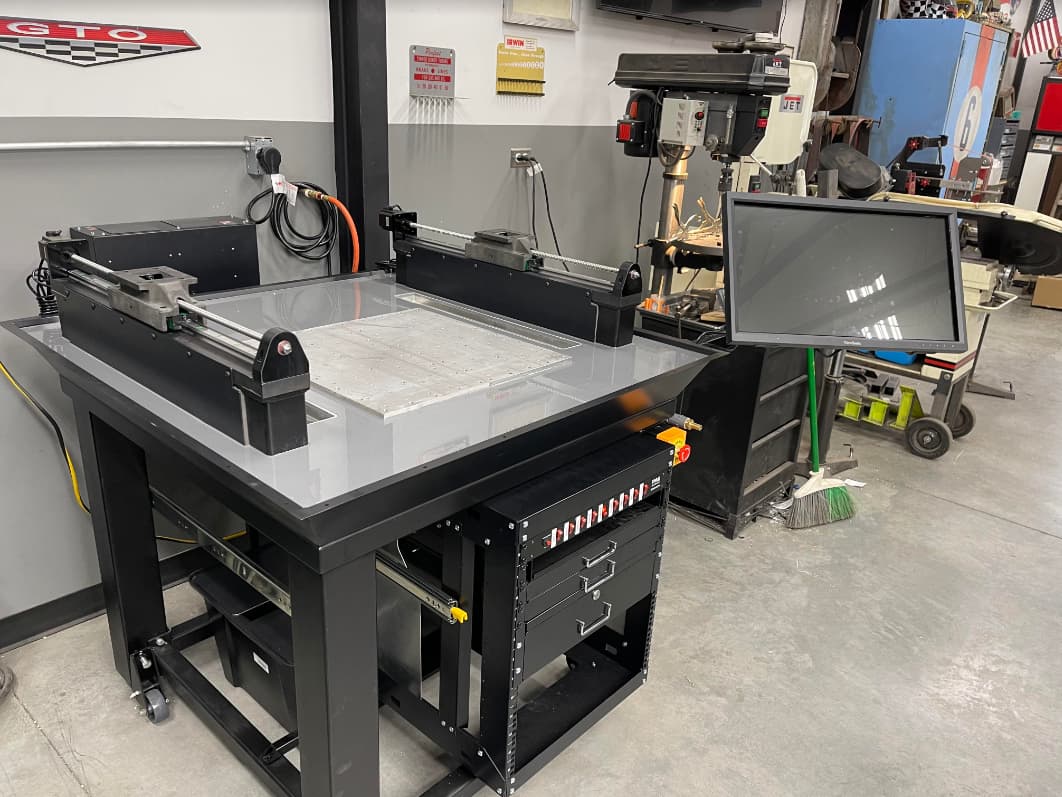
The photos show what I came up with for the base right now. Most of this build will be inspired by AE95 and others.
The build: Legs are 4x1/8” sq tubes with leveling feet. The leg braces are 2x3/16” sq tubes. The top frame, what I call a halo, are also 2x3/16” sq tubes. The design is a little unique in that the legs and braces are bolted together for a rough leveling and the halo is bolted to the top of the legs with 1/2” bolts and grub screws for fine leveling. The assembly flow is to bolt the legs together to hold the shape. Level and plum the legs and the tighten all the bolts. Then set the halo on the legs and start the 1/2” bolts. In the halo you adjust the 3/8 bolts to level the halo and then tighten the 1/2” bolts down to set the level.
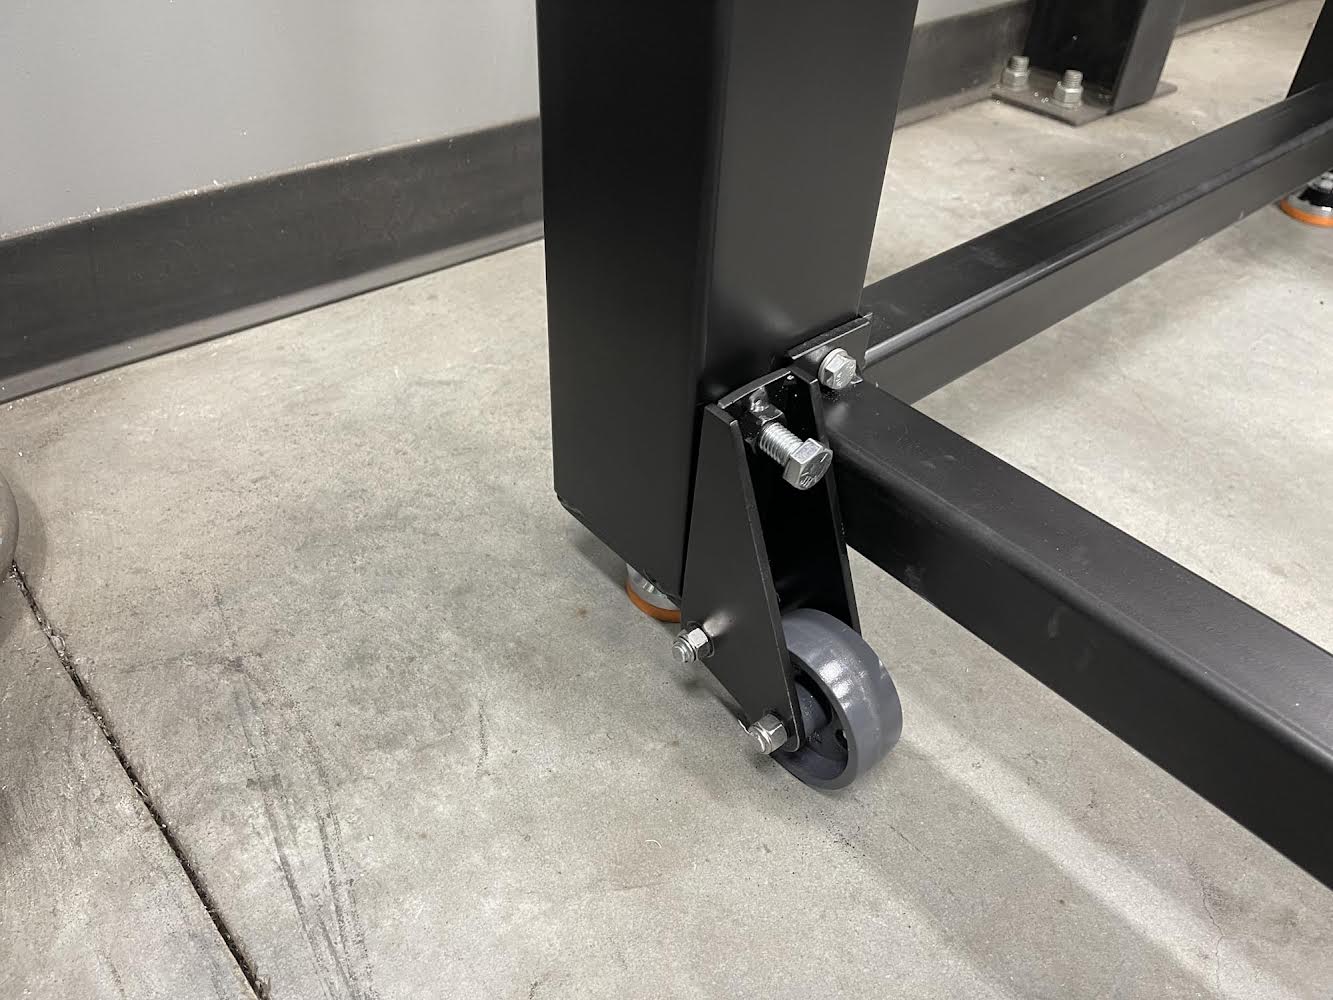
I made some built in casters from some HF steel wheel casters. To move the unit once built, simply run in the bolts and lift the unit. This has to be done individually but counting turns keeps everything level.
As soon as the unit gets here I will start by bolting the pan to the halo. I’ll keep you posted from there.
Oh and no crap for the runs. It was cold and I was in a hurry. You try to paint black paint quickly. Haha!
Thank you. I just received my unit on Tuesday. I unboxed just to see if the pan fit the new frame. Like a glove! Whew! Now time to get back to it. Maybe Monday.
I received my new MR-1 a few weeks ago and was excited to confirm my new super frame was built correctly. Thank you to whoever posted the pan dimensions. Spot on.
Also I need to apologize to the Langmuir team, the legs that come in the kit are stout! I envisioned something like the cross fire pro legs (also an owner/fan). They are nothing like those legs! They are what, 10 gauge? I am still glad I made the frame as I am mounting stuff all over the place.
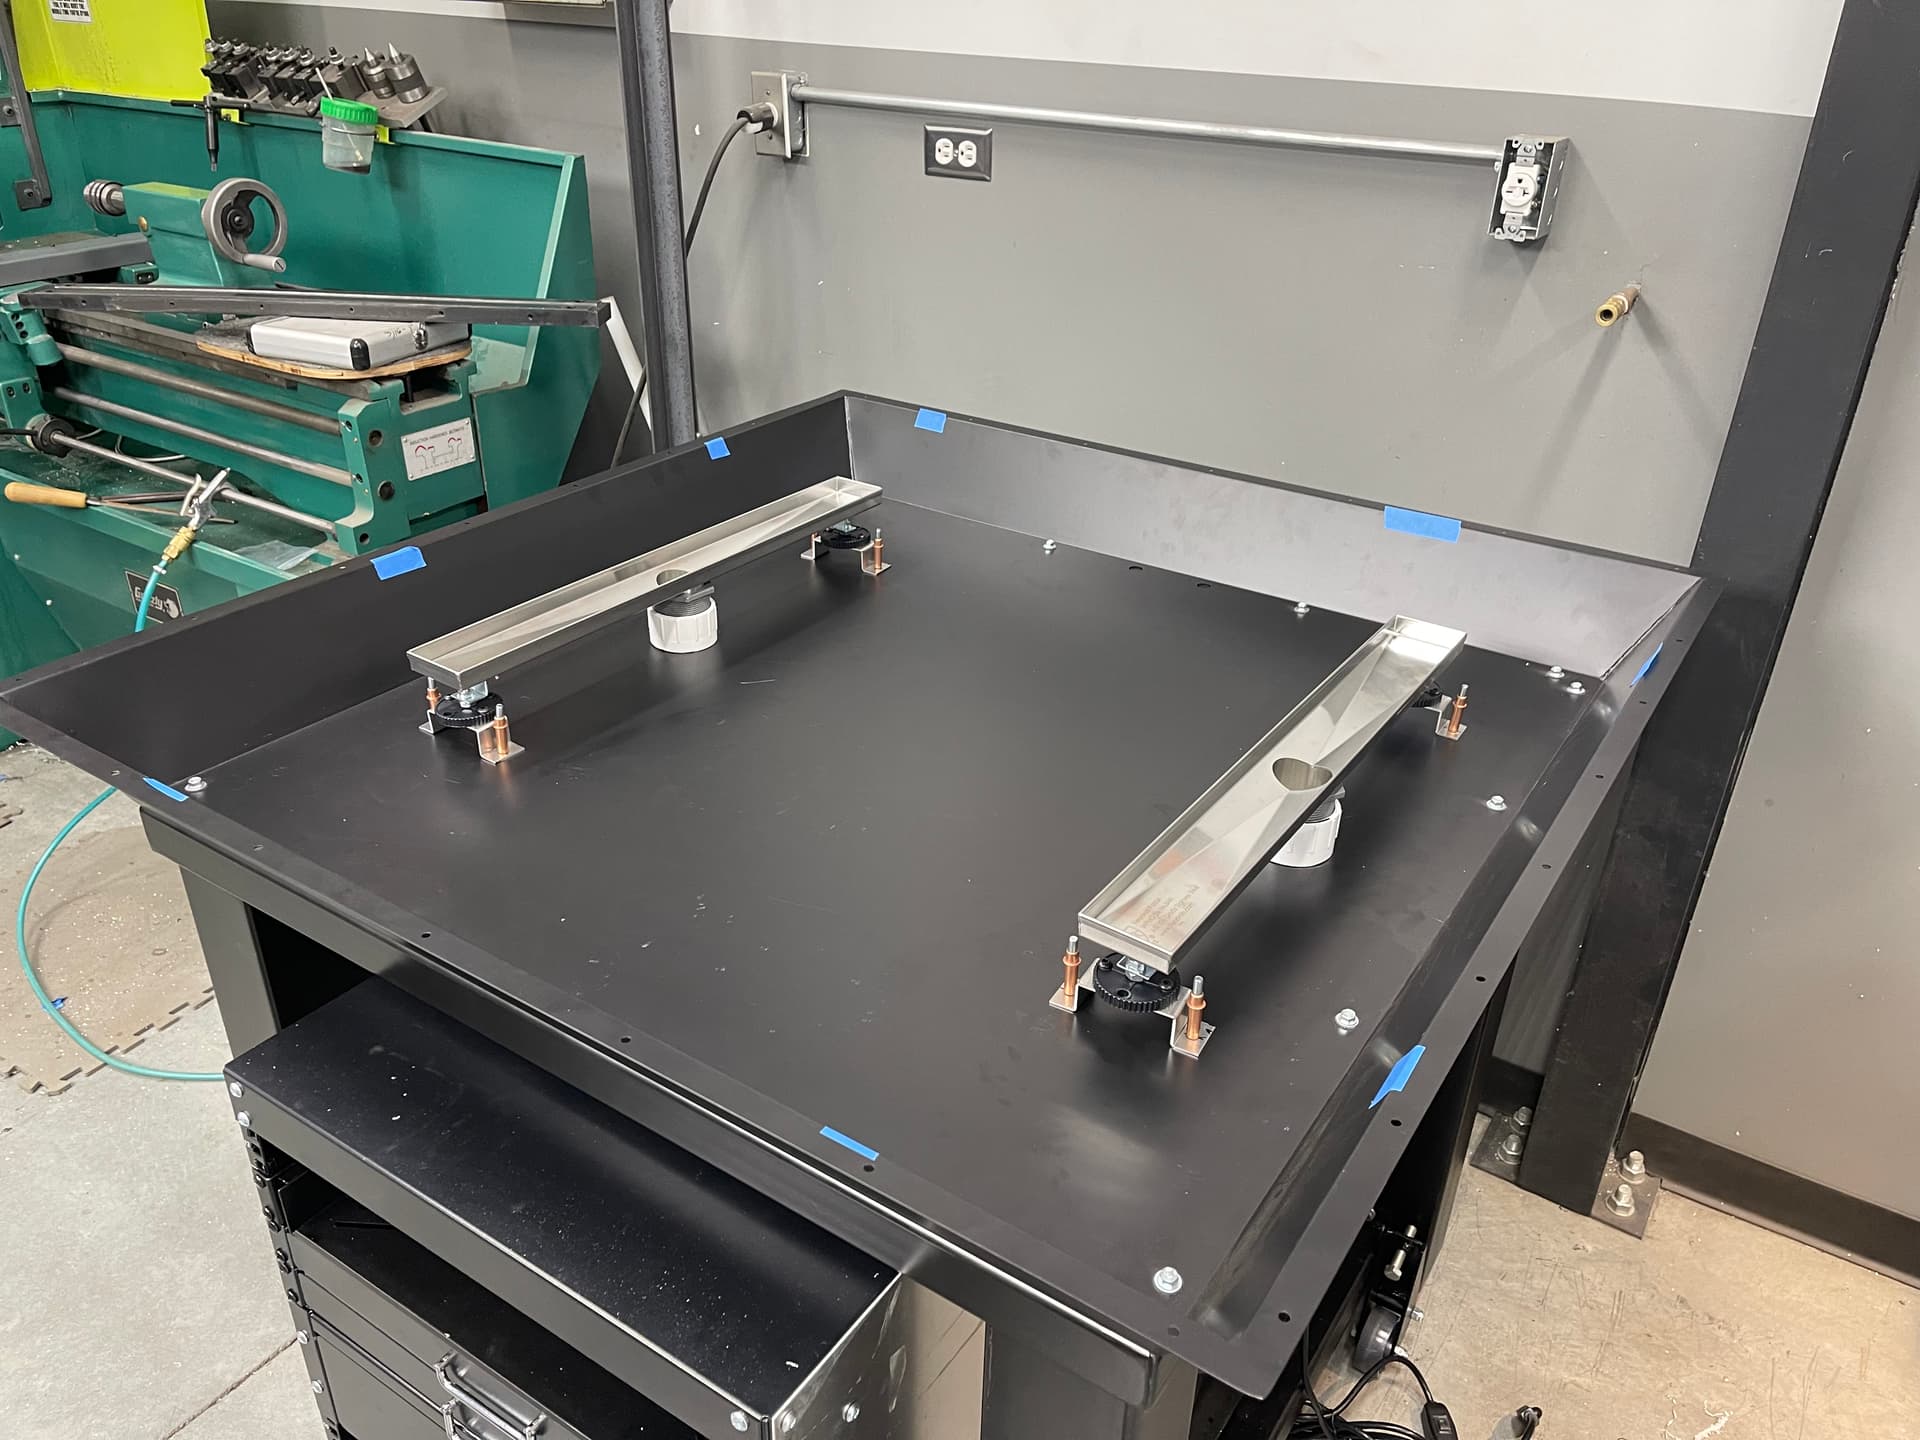
Anyway, finally made some real progress this weekend. I installed the drains that were recommended. This in my opinion is an absolute required upgrade. I didn’t want them to move during the concrete fun and needed to find a way to space them up an inch off the bottom so I had an idea. I sheared and bent .080 aluminum into 1" hats and pop riveted them to the pan. The leveling feet were bolted to the top of the hats. Solid! I trimmed off the 2" thread/slip coupler 7/8" (slip end) so the couple would stay inside the pan and sealed it to the bottom of the pan to contain the concrete water. I punched holes in the pan for the 2" pvc pipe with 2" conduit chassis punches. Perfect fit. I then ran piping to the left side of the machine to dump into a stainless drawer. More on that later.
Lastly, a few friends and I did the concrete dance. Stressful but successful. now we wait. and wait. I will be finishing other parts under the machine while… I… wait… Pictures of that to follow.
Ok a little update on the build. I had some extra time so I got some sheet done!
Where to start. I started by plumbing the coolant system. I put 4 outlets on the back. Three barbed and one 1/2” hard line. The hard line is plumbed to the right front for a wash down nozzle. The other three are one for flood coolant and two for drain floods.
I also plumbed in air. On the back I installed a regulator and a solenoid to control the on off. I plan to have an air nozzle on the cutter for clearing flood and if I want to just run air on a cut. I also plumbed air to the from to have an air nozzle for cleanup.
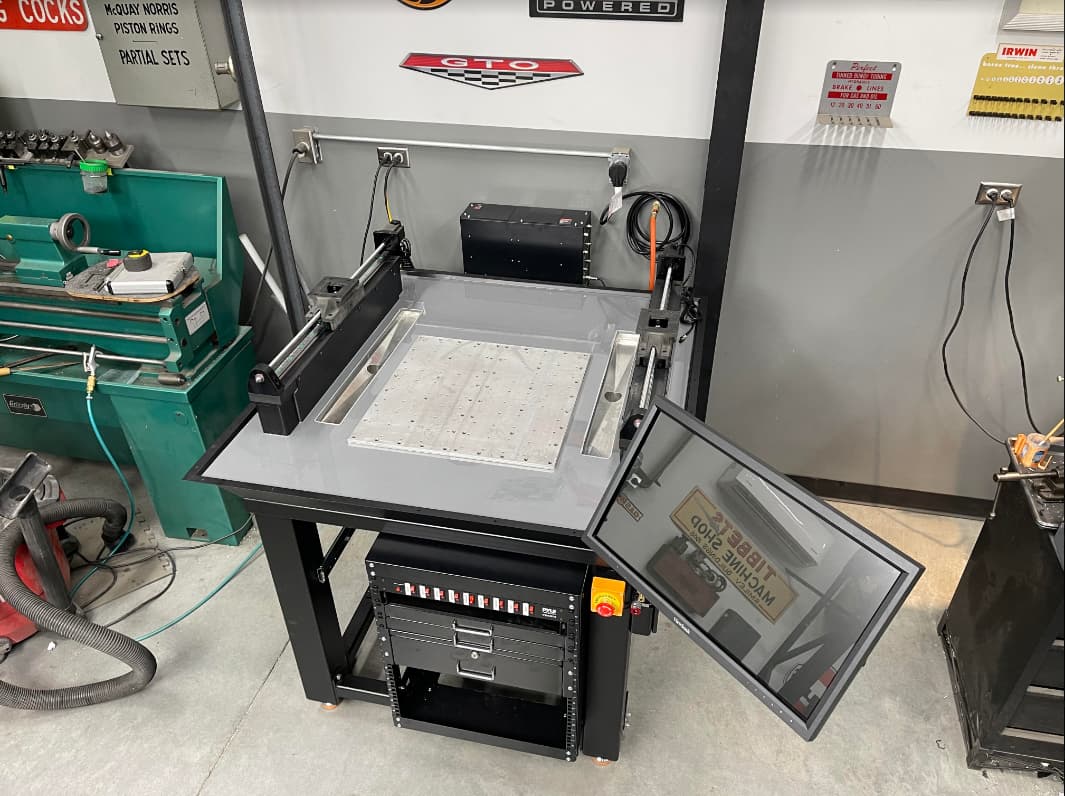
I wired all the components to the rack mounted power distribution panel at the front. This required a custom wire chase up over the drains and the coolant plumbing. My son had a great idea to mount the control box and coolant relay on the wall. I built basically a shelf for it to sit on so pulling it to wire in the remote emergency stop was simple. Speaking of that I also installed the upgraded drivers and chassis punched holes in the top of the box for improved cooling. Along those lines, I installed the monitor mount, computer and touch screen.
Last but not least I installed the Y axis equipment. Seemed a little anticlimactic. Haha!
Ok another update. This weekend I built side doors. My old machine didn’t have windows but I did have access doors that were magnetized on. it was good but sometimes messy.
These doors are again a suggested mod from this forum. I just put my own spin on it. Like I said, I really don’t need windows but I do need access. The are slide past doors. they are hung on some flanged aluminum .080 aluminum and they roll on stainless steel W wheels from amazon. The last thing to do is 3d print the door bottom guides and stops.
I did also get the X axis installed but the nod/tilt calculator is throwing an error so I am going to call LS tomorrow.
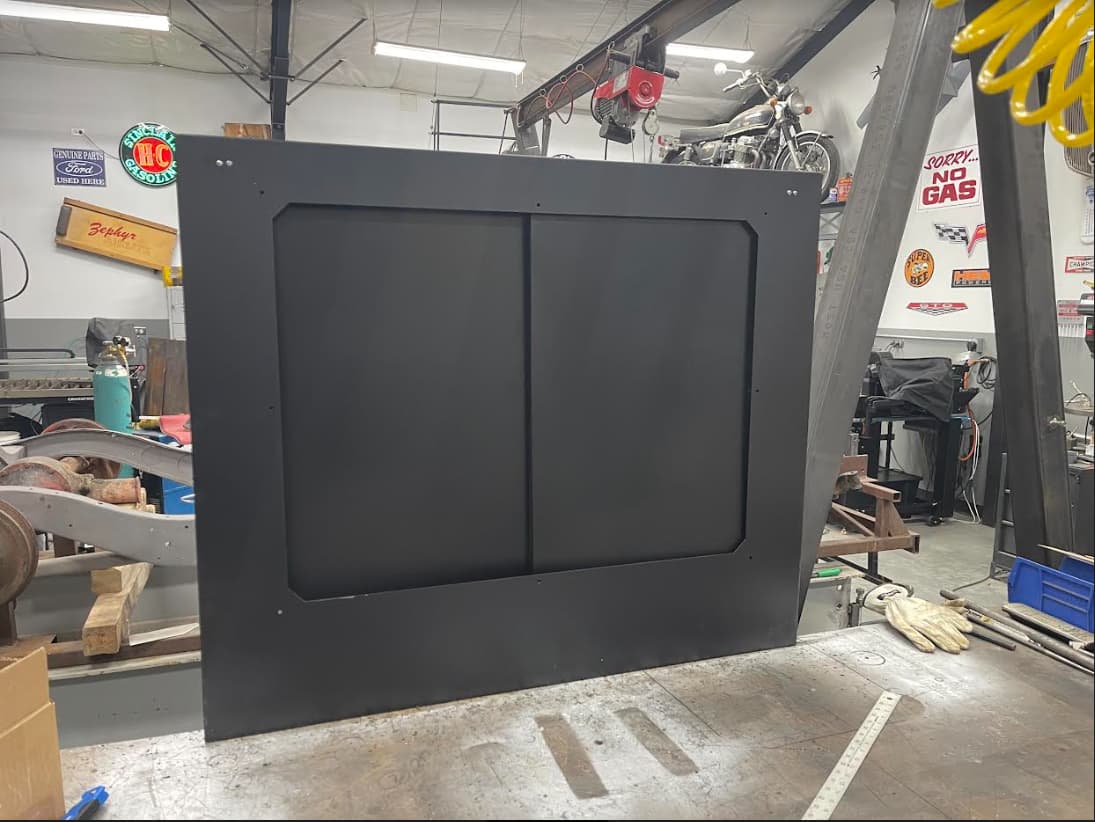
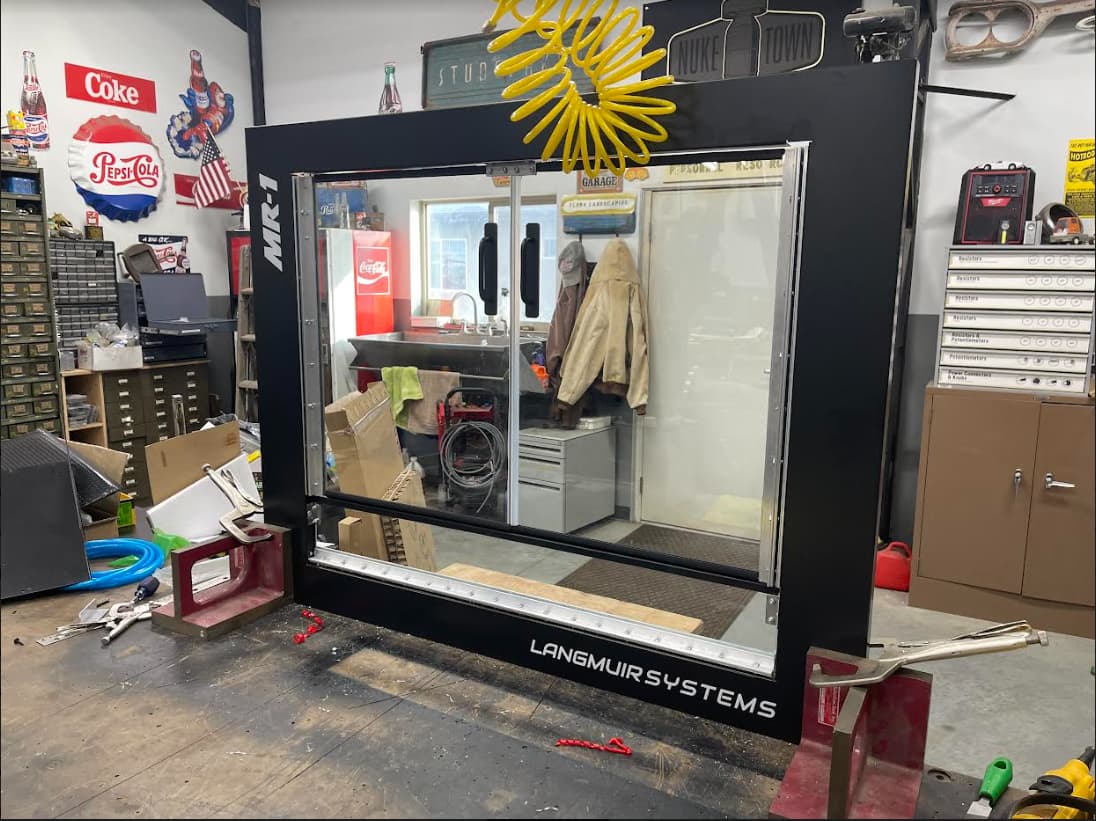
Ok, as promised, I wanted to share my front door solution with the forum and here it is.
After reading all kinds of posts about this issue I went to create a solid solution for leaking, coolant on the floor, protection and high visibility. I considered the curtain solution but that seems to be really messy. I liked someone’s slider door solution but thought it was a little radical to skinny wheel a brand-new machine. So with all that said, this is my solution.
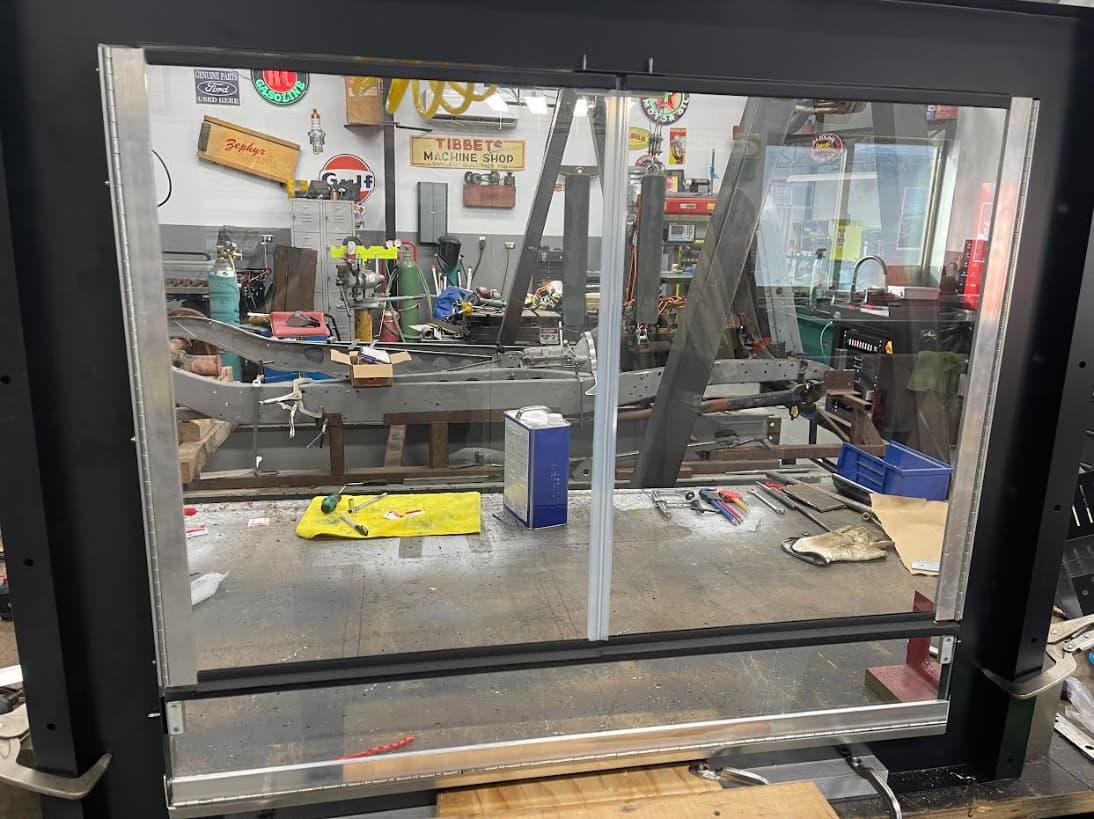
This is a three tempered glass door solution. Why three doors? the bottom, or third door, is to make the top two doors short enough to get over the Y axis. The doors are all build the same way using 1" and 3/4" x.125" aluminum angle. I glued the glass into one half of the 1" angle and then glued the other half to the 3/4" angle and bolted them together along with the piano hinge. These were installed in the standard MR-1 door opening. I used cabinet magnets to keep the doors closed. I had to make some brackets to hold half and double stick tape for the half on the glass. All openings are sealed with molded silicone edge protection and edge seals purchased from Amazon.
I think it came out great and I am super excited to get it installed to see how it works.
I love when you have enough misc hardware you hardly ever have to go and get anything. I thought I had a decent amount of cabinets and drawers but have me beat by alot
I posted these somewhere. This is what I have as the bottom dimensions. 39"w x 37.75"d Are you building a stand? I can share my fusion model if interested.